
london broil instant pot

title 1
london broil instant pot
⏱️ cook time 40 minutes
🍽️ servings 4
⚡ Difficulty easy

intro

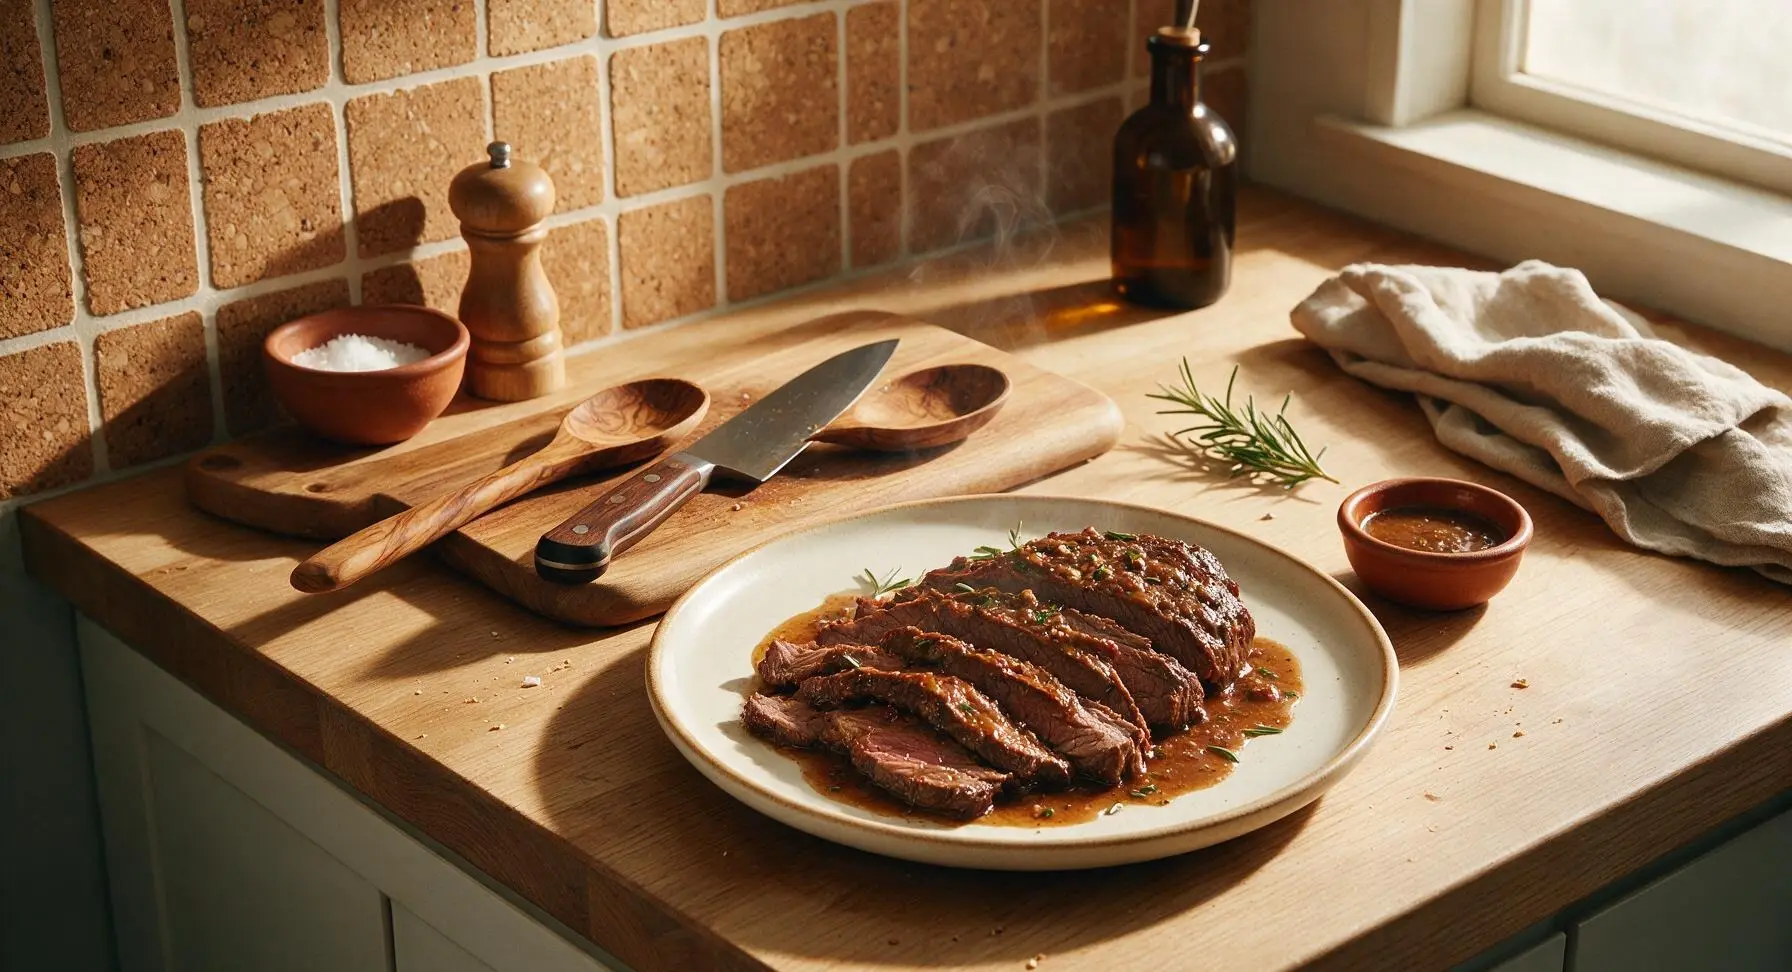
Juicy, tender marinated beef cooked fast in the Instant Pot, with rich savory pan sauce, sliced thin against the grain for a satisfying, no-fuss family main.

Ingredients
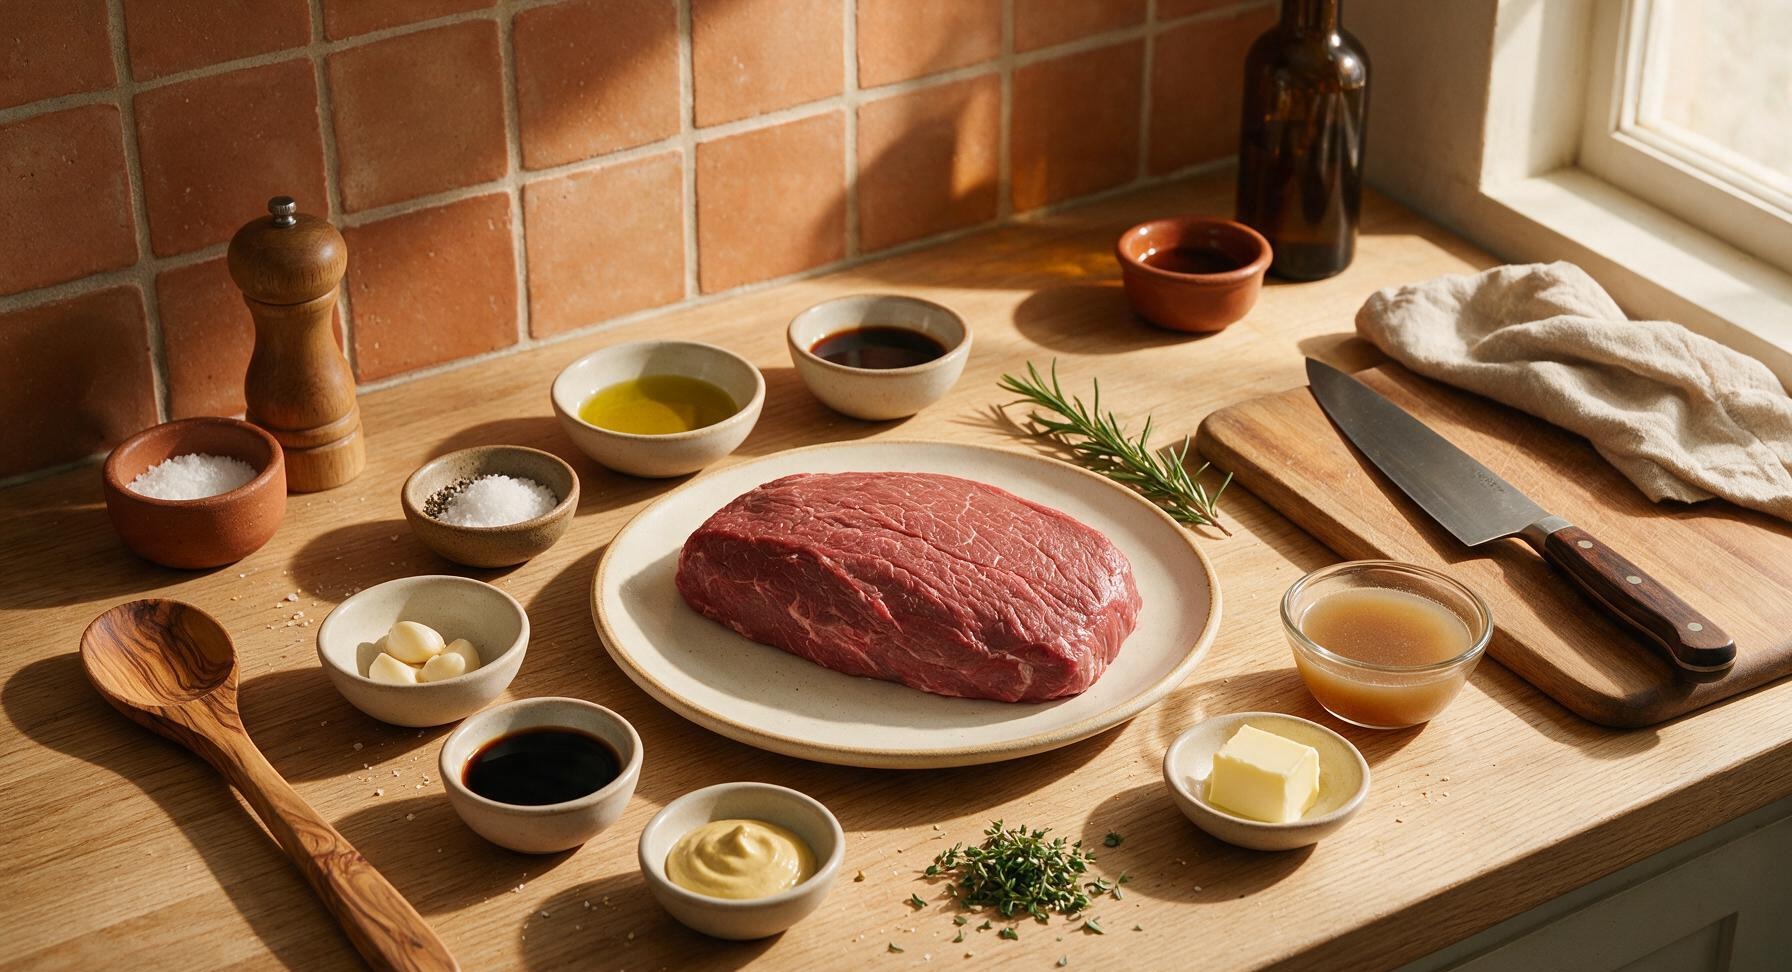
London broil (top round beef roast) 1.5 lbs (680g)
Olive oil 3 tbsp
Kosher salt 1.5 tsp
Cracked black pepper 1 tsp
Garlic cloves 3, crushed
Worcestershire sauce 2 tbsp
Low-sodium soy sauce 1 tbsp
Dijon mustard 1 tbsp
Fresh thyme 4 sprigs
Unsalted butter 1 tbsp
Low-sodium beef broth 1/2 cup

Steps

1

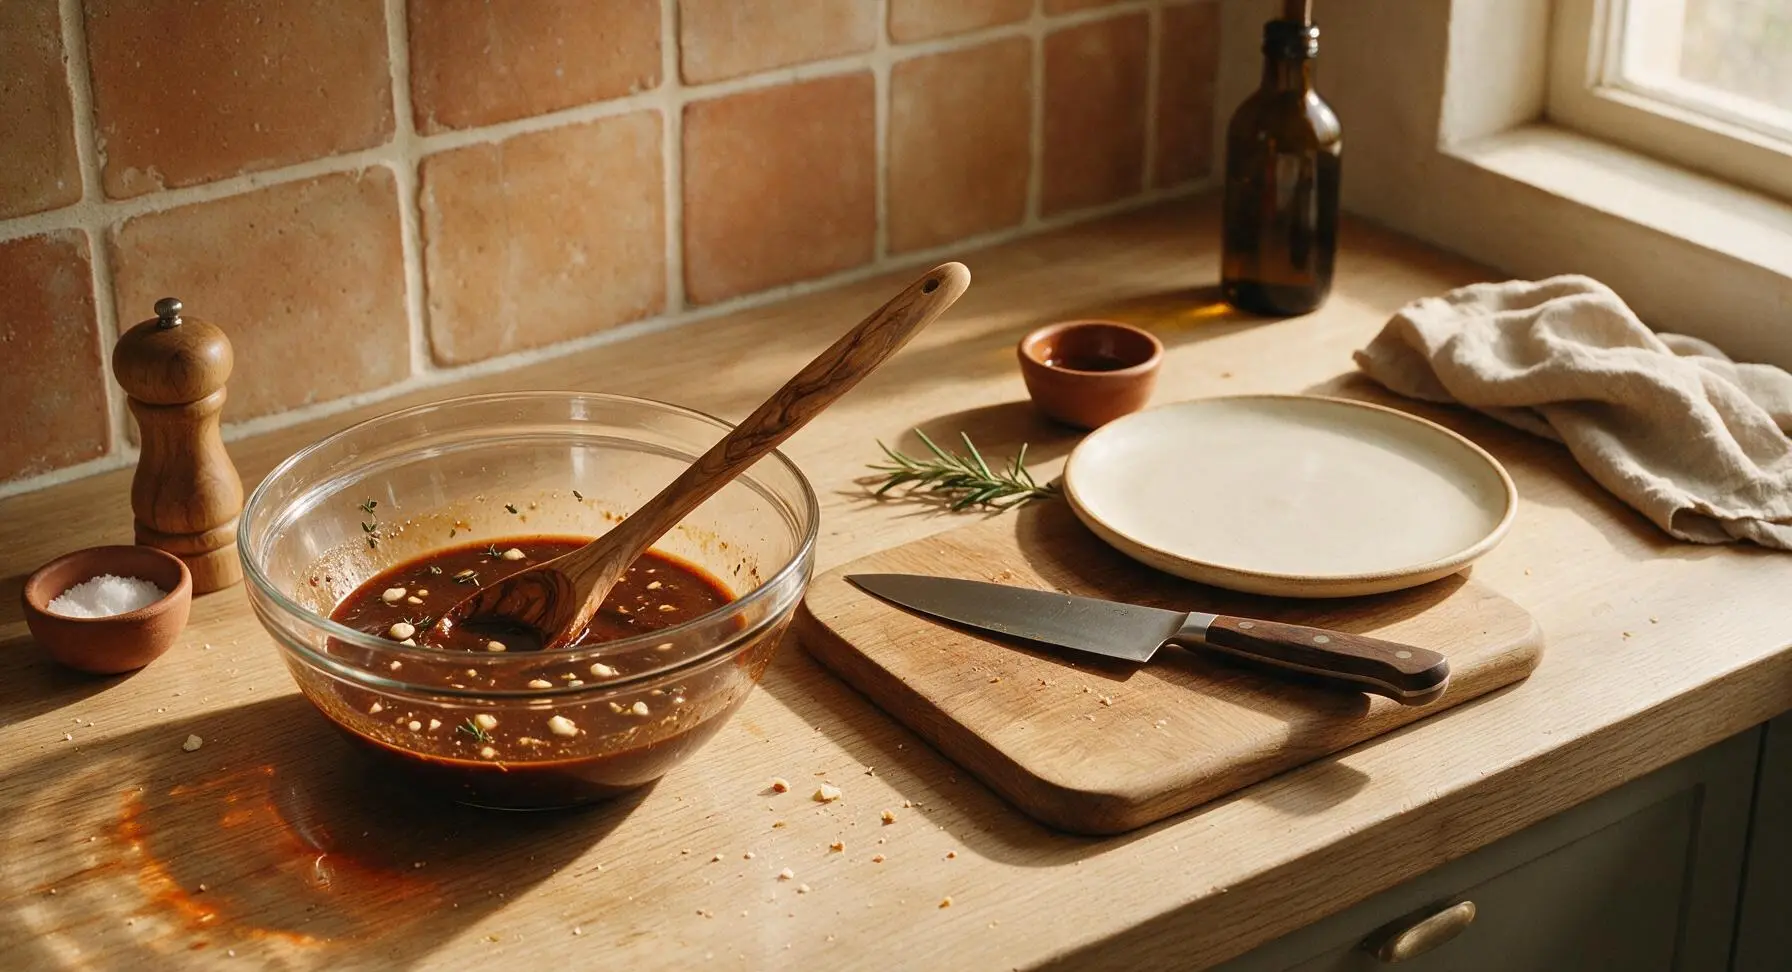
Mix Savory Marinade

In the clear tempered glass mixing bowl, combine 2 tbsp olive oil, 2 tbsp Worcestershire sauce, 1 tbsp low-sodium soy sauce, 1 tbsp Dijon mustard, 3 crushed garlic cloves, 1 tsp cracked black pepper, and leaves stripped from 2 thyme sprigs. Stir with the olive wood spoon until fully smooth, with no visible lumps of mustard remaining. The finished marinade will be deep brown, glossy, and fragrant.
Step 1
step1:Mix Savory Marinade
2

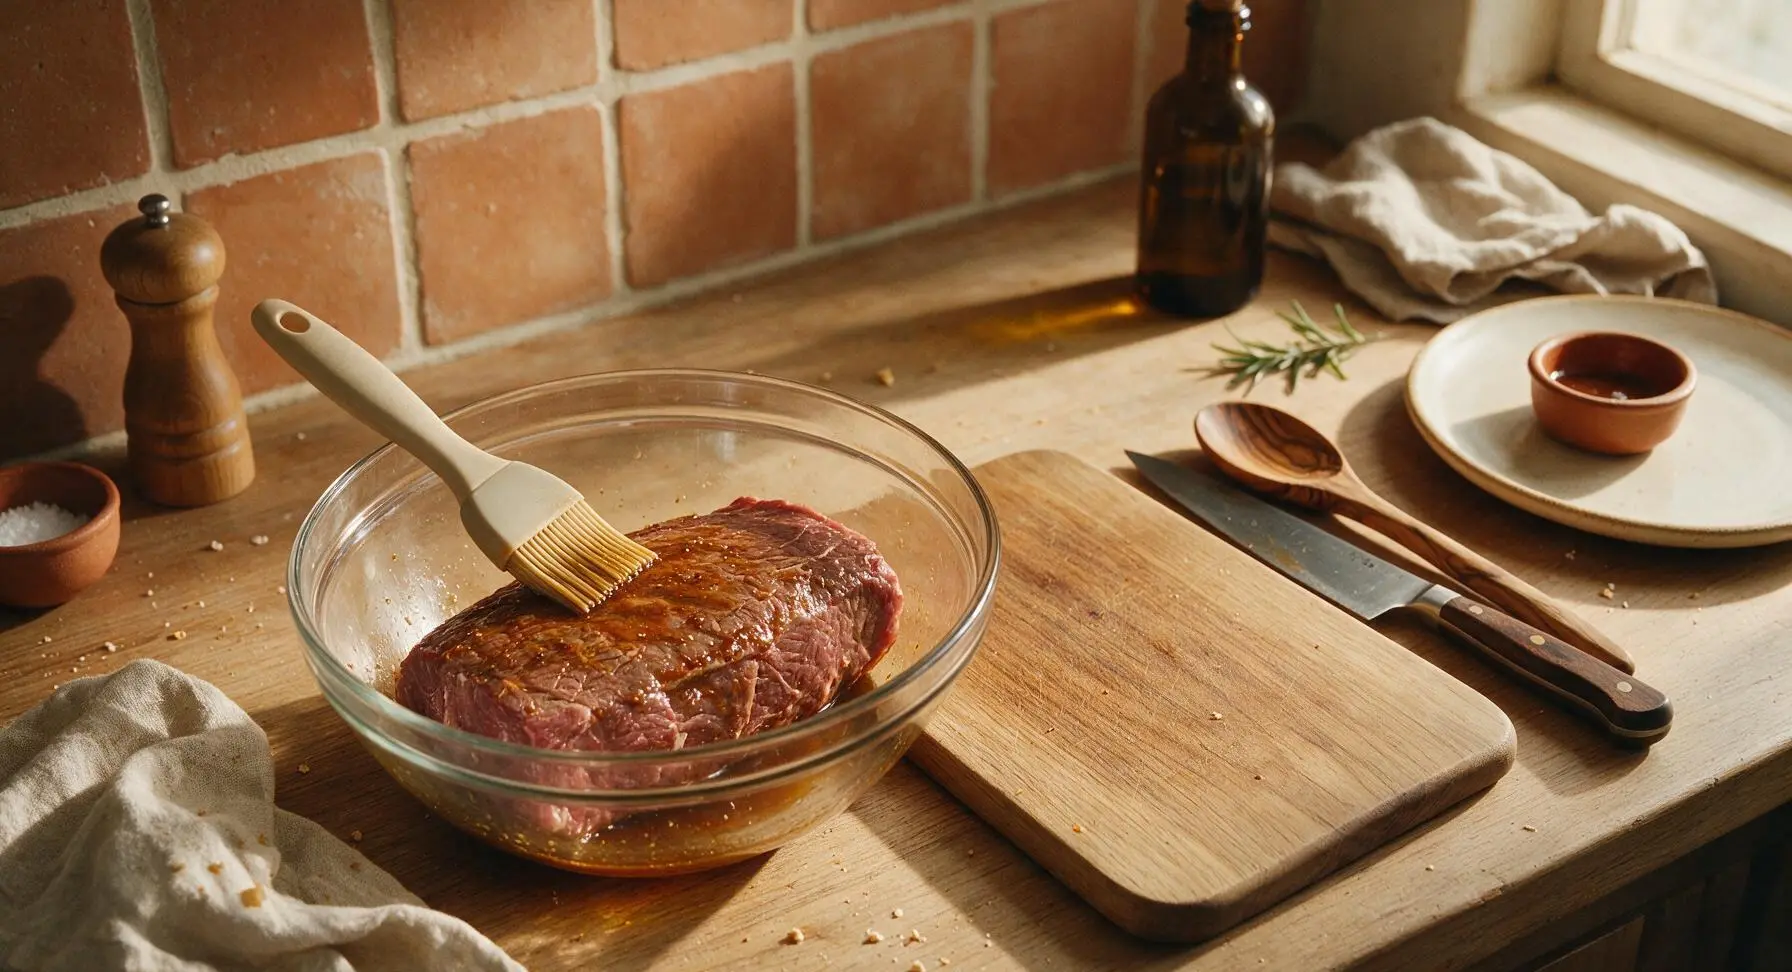
Coat Beef in Marinade

Pat the 1.5lb London broil completely dry with a corner of the draped linen tea towel, then place it in the glass mixing bowl with the marinade. Use the silicone basting brush to coat every surface of the beef thoroughly with the marinade, pressing gently to help the flavor adhere. Let it rest for 5 minutes at room temperature while the Instant Pot preheats on the Sauté setting.
Step 2
step2:Coat Beef in Marinade
3

Sear Beef on All Sides

Add 1 tbsp olive oil to the preheated Instant Pot inner pot. Once the oil is shimmering (about 2 minutes of preheating), remove the marinated beef from the bowl, letting excess marinade drip back into the bowl, and use the stainless steel tongs to lower the beef gently into the pot. Sear for 2 minutes per side (top, bottom, and both narrow edges) until a deep, crisp mahogany crust forms on every surface. Avoid moving the beef during each 2-minute sear to build maximum crust flavor.
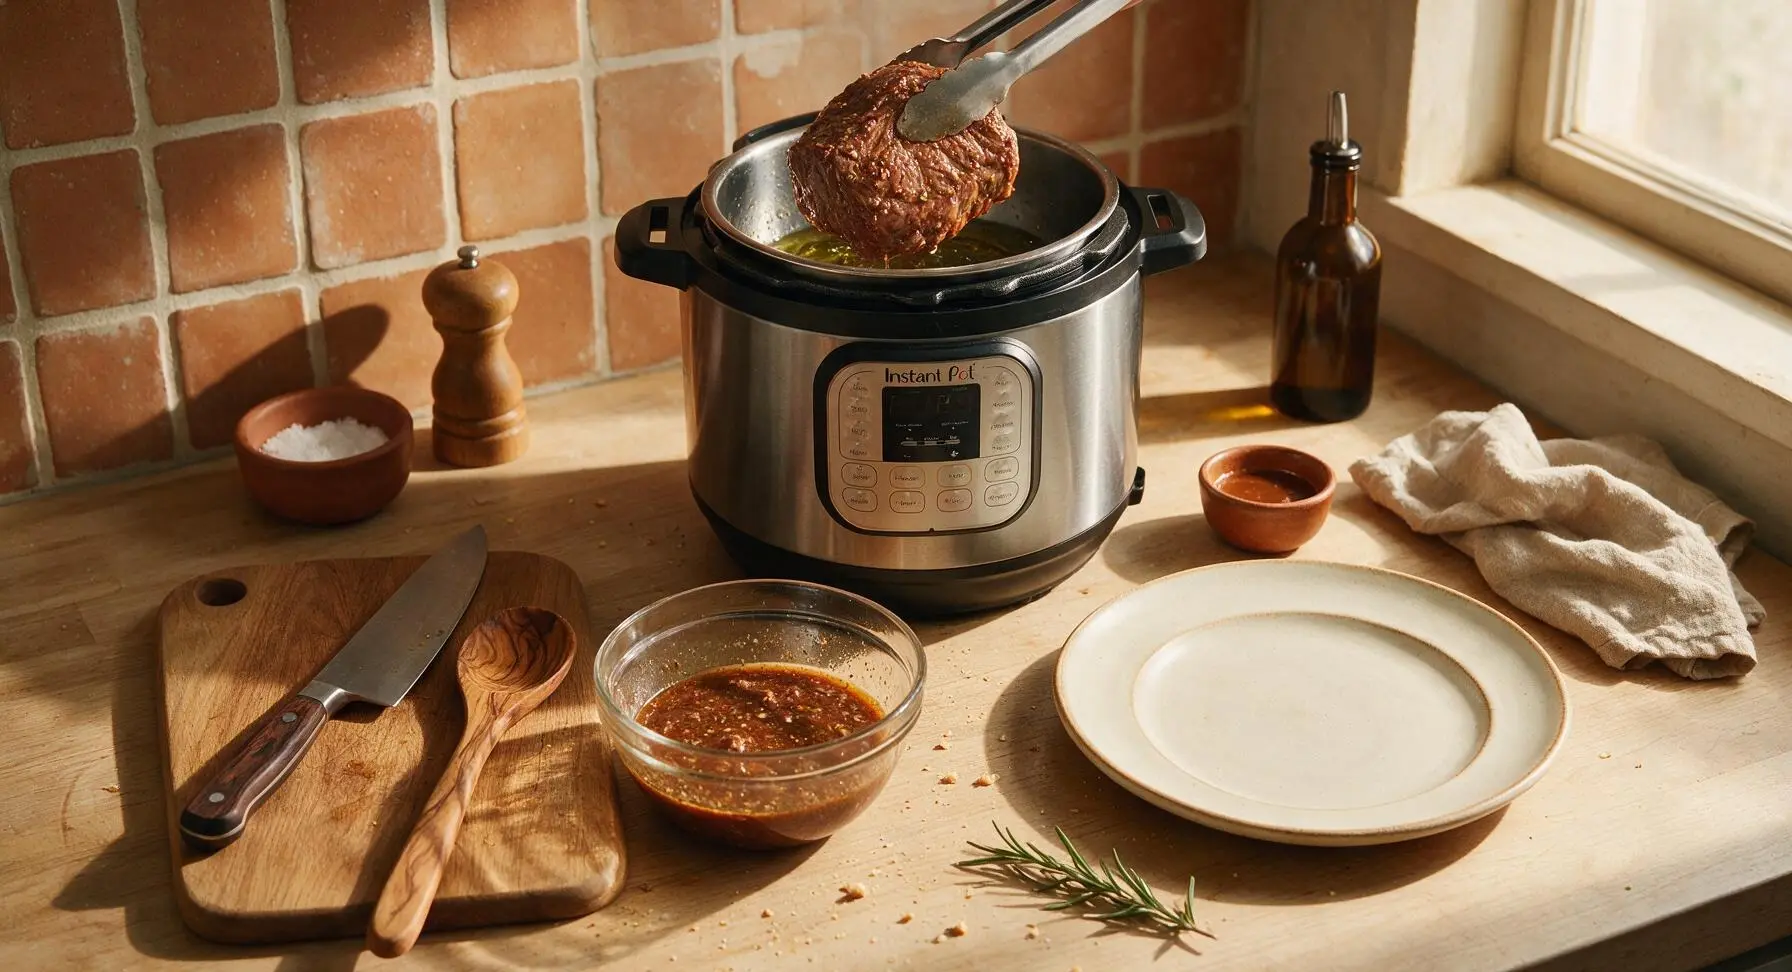
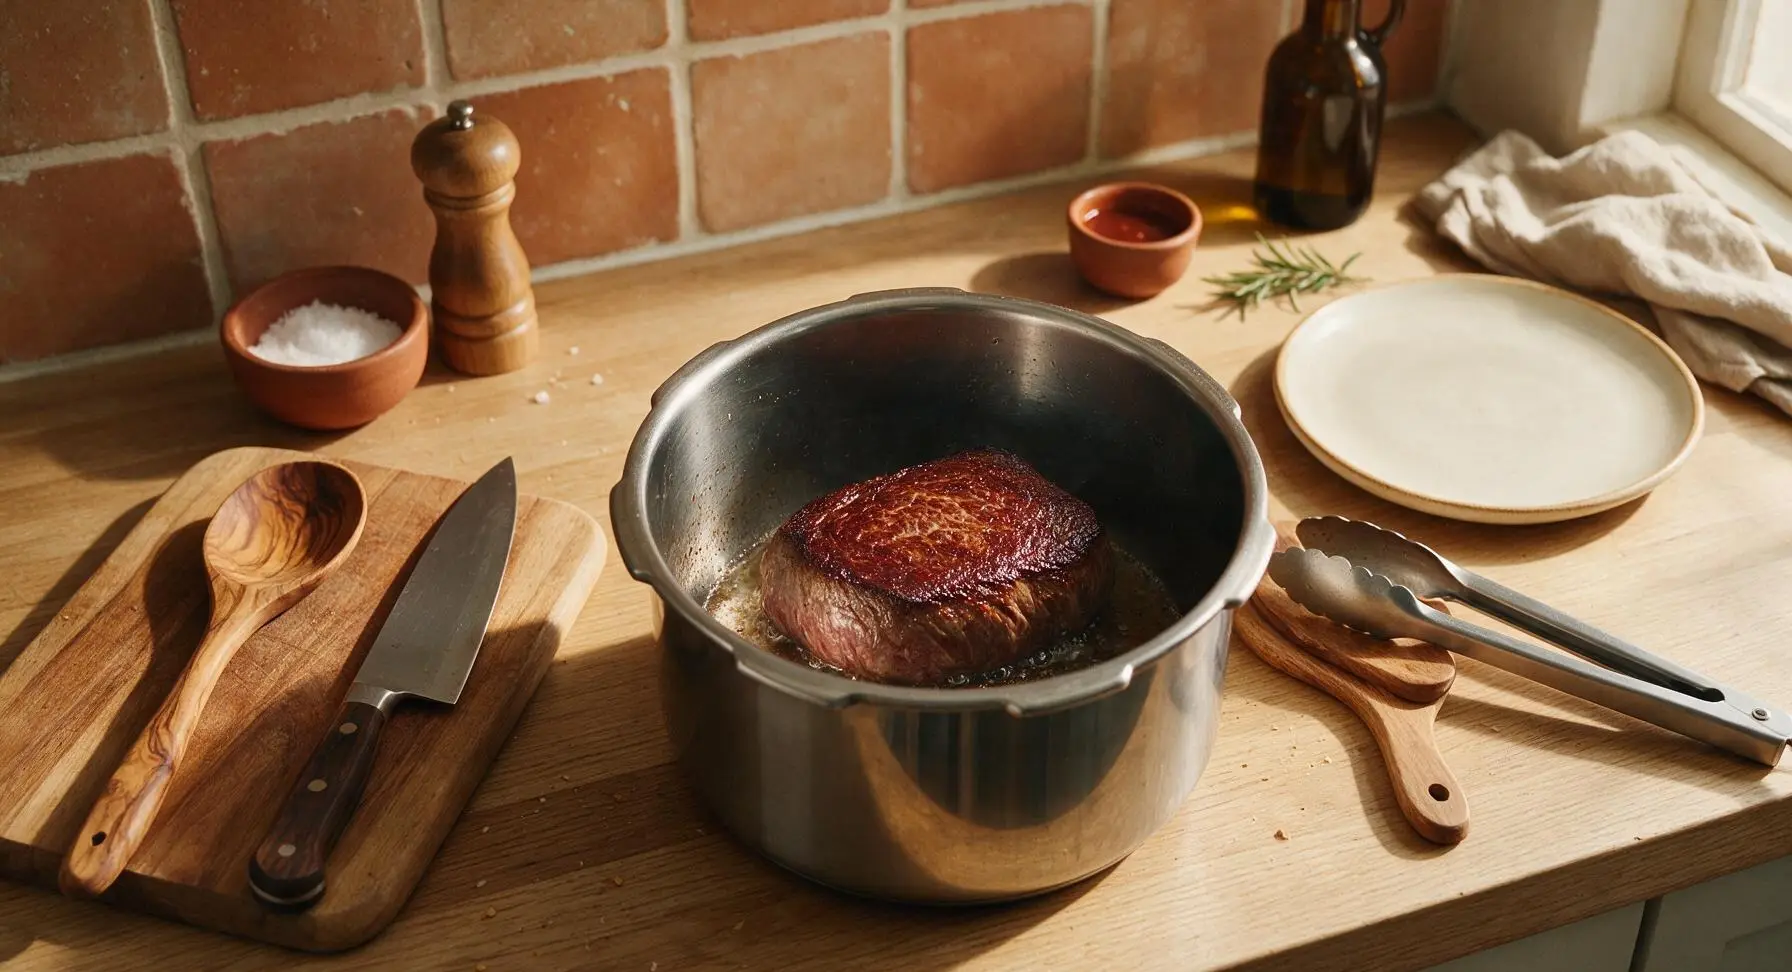
Step 3
step3:Sear Beef on All Sides
Step 3
step3:Sear Beef on All Sides
4

Pressure Cook the Beef

Turn the Sauté function off. Pour the reserved remaining marinade and 1/2 cup low-sodium beef broth into the inner pot, scraping the bottom gently with the olive wood spoon to lift any browned fond bits for extra flavor. Add the remaining 2 thyme sprigs to the pot. Lock the Instant Pot lid into place, set the pressure valve to 'Sealing', and select the High Pressure Manual setting for 18 minutes. The pot will take 8-10 minutes to come to pressure before the active cook time begins.
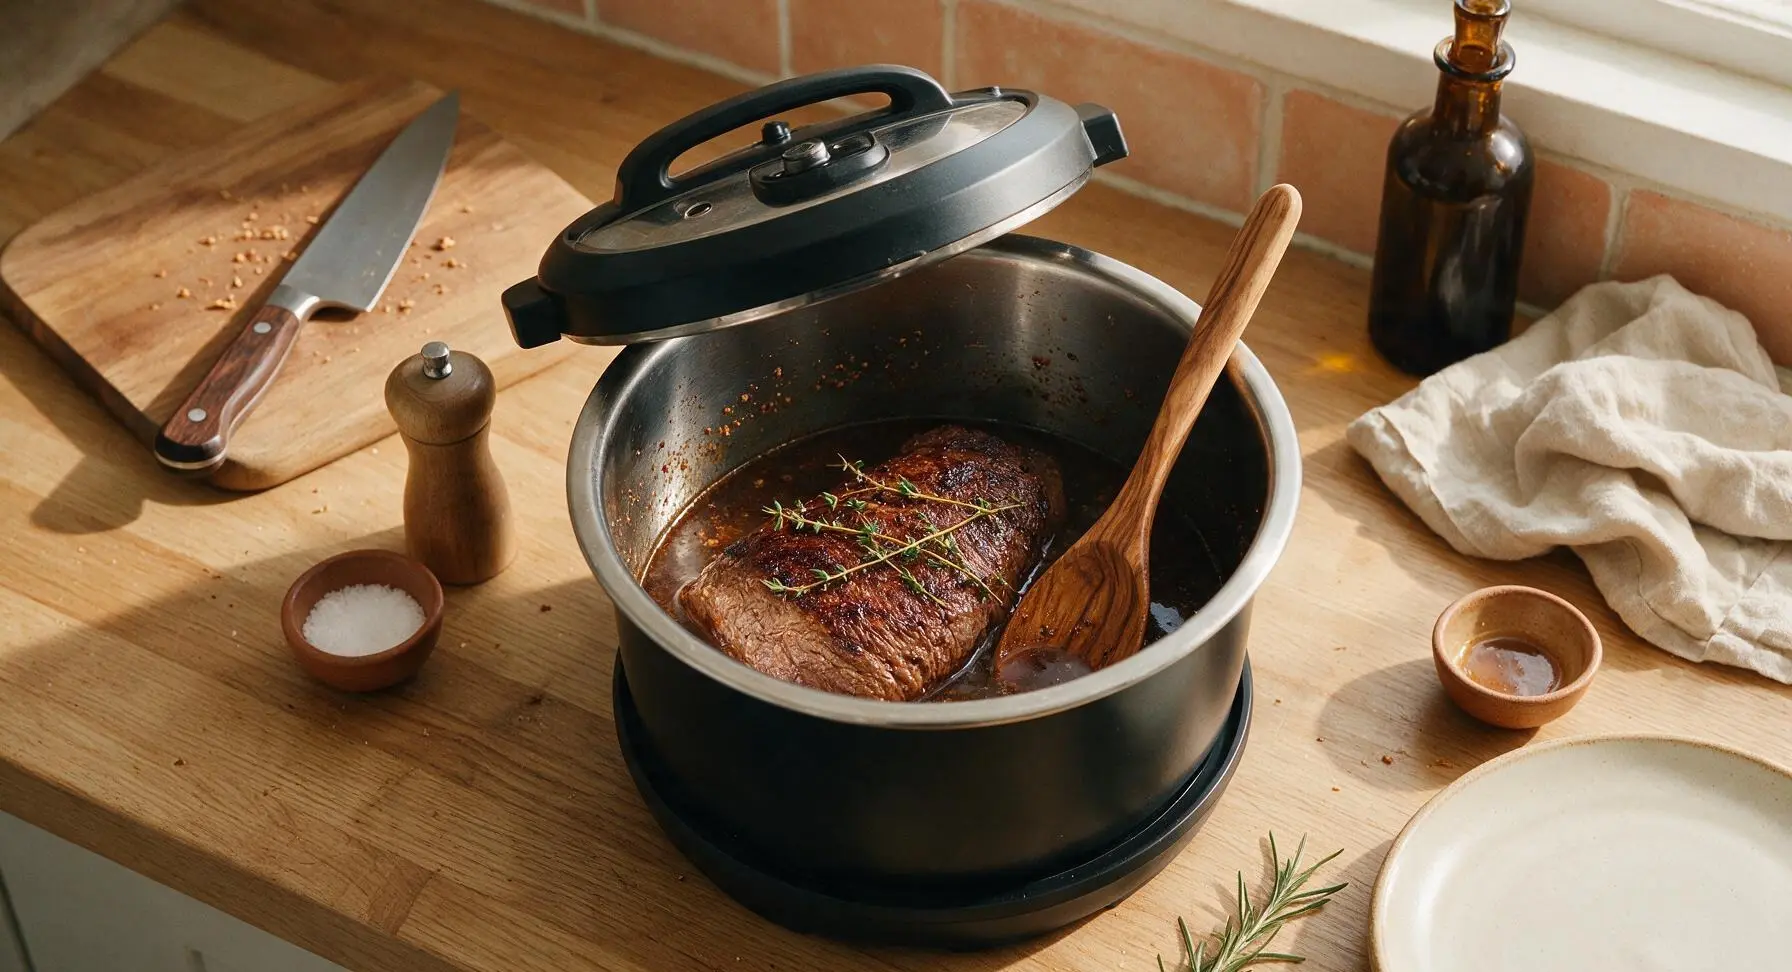
Step 4
step4:Pressure Cook the Beef
5

Rest Cooked Beef

Once the 18-minute pressure cook time ends, allow a 10-minute natural pressure release (do not touch the valve during this time), then carefully turn the valve to Venting using the long olive wood spoon to release remaining steam (keep hands clear to avoid burns). Use tongs to transfer the cooked beef to the acacia wood cutting board, top with 1 tbsp unsalted butter, and tent loosely with aluminum foil to rest for 10 full minutes. Check internal temperature with the instant-read thermometer: it should read 135°F for medium-rare, as carryover cooking will raise it to 140°F as it rests.
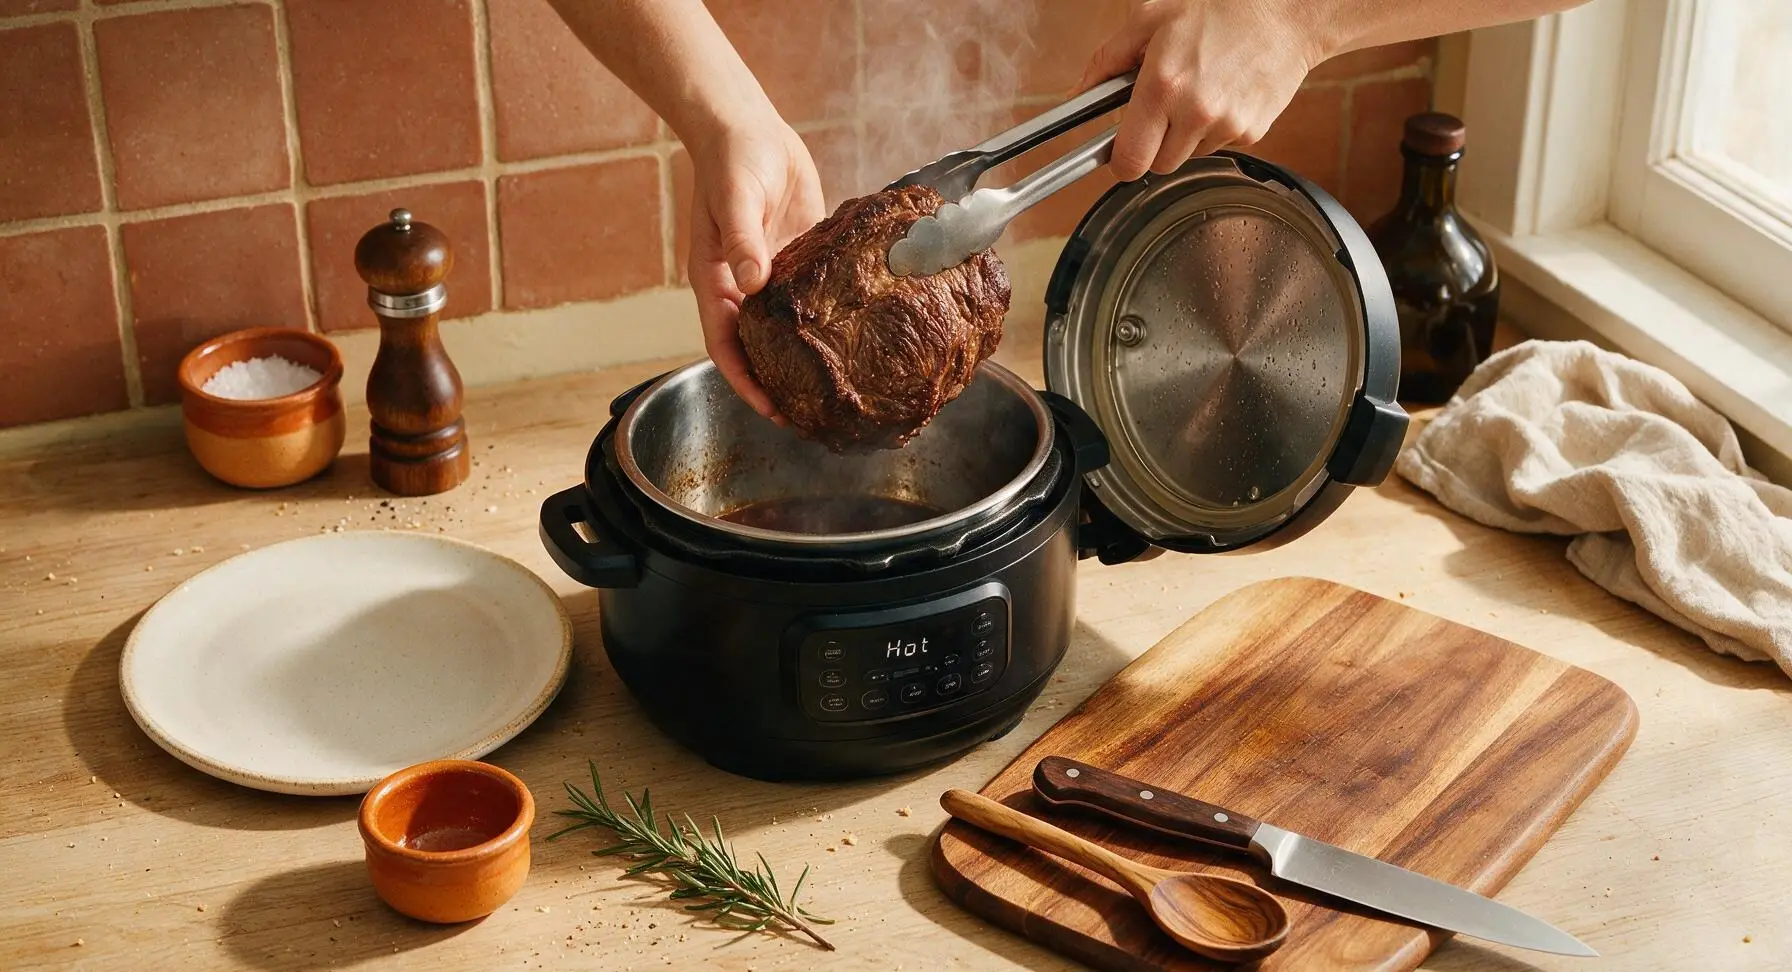
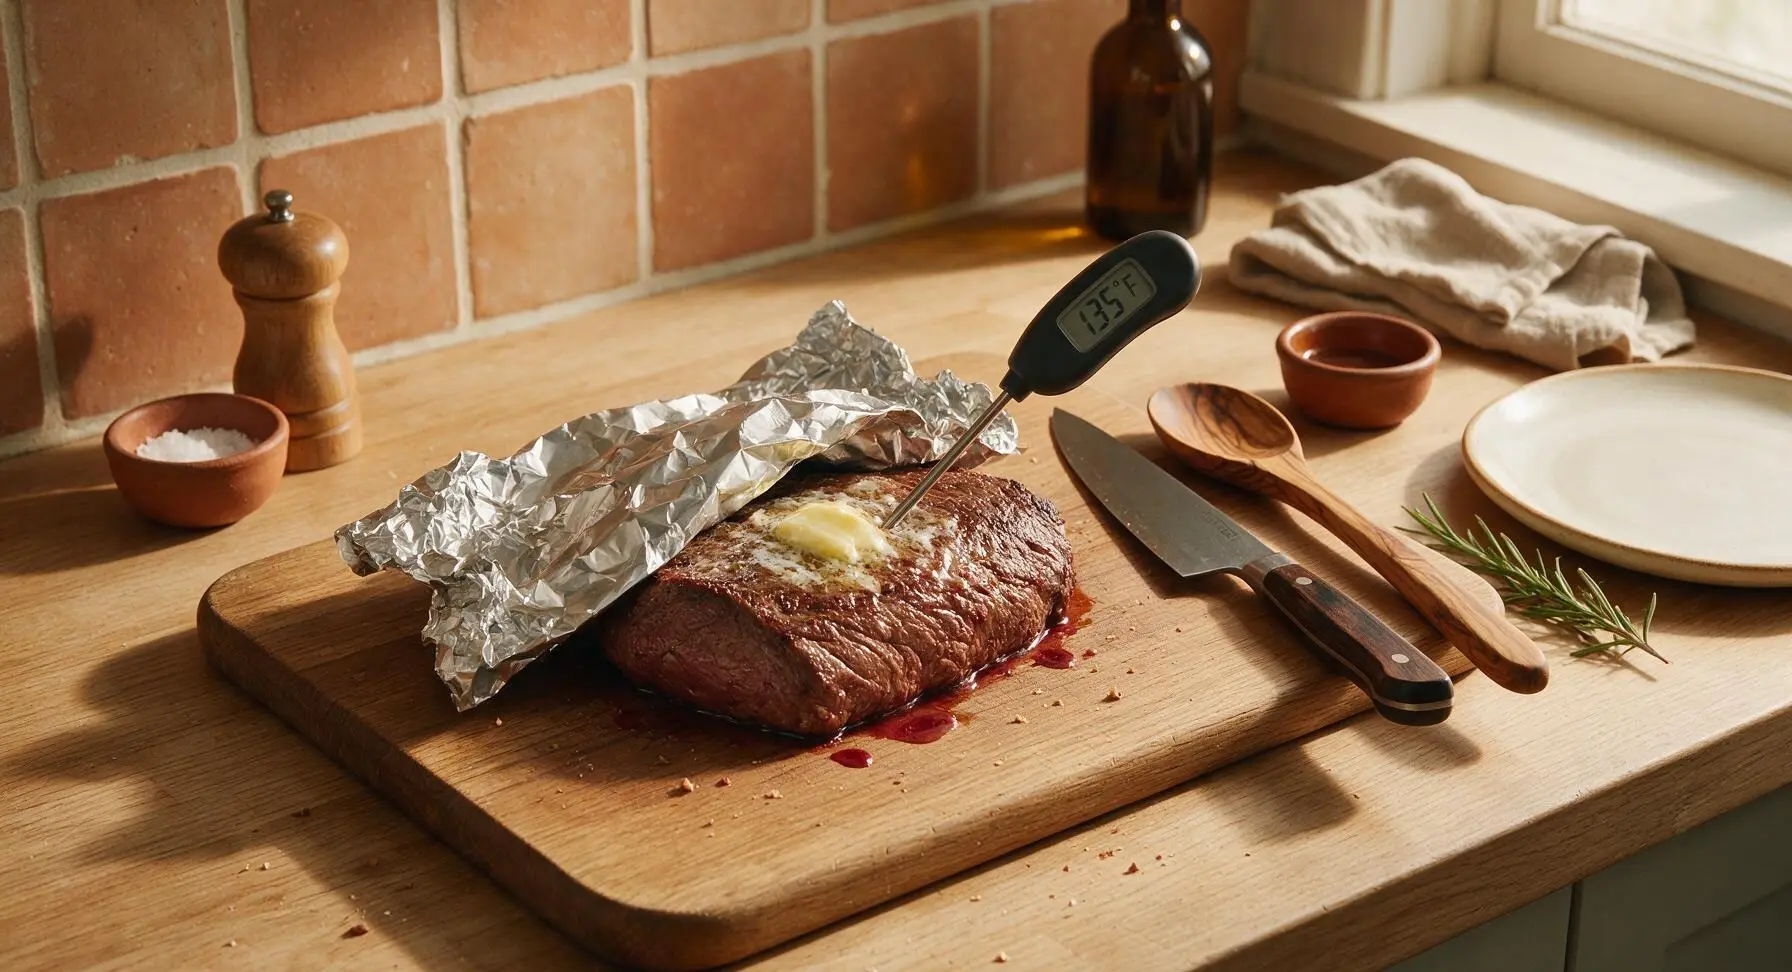
Step 5
step5:Rest Cooked Beef
Step 5
step5:Rest Cooked Beef
6

Make Pan Sauce

While the beef rests, return the Instant Pot to the Sauté function. Bring the remaining cooking liquid in the pot to a gentle simmer, cooking for 5 minutes until reduced by half, stirring occasionally with the olive wood spoon. The finished sauce will be glossy, deep brown, and thick enough to coat the back of the spoon. Taste and adjust seasoning with the remaining 1/2 tsp kosher salt if needed.
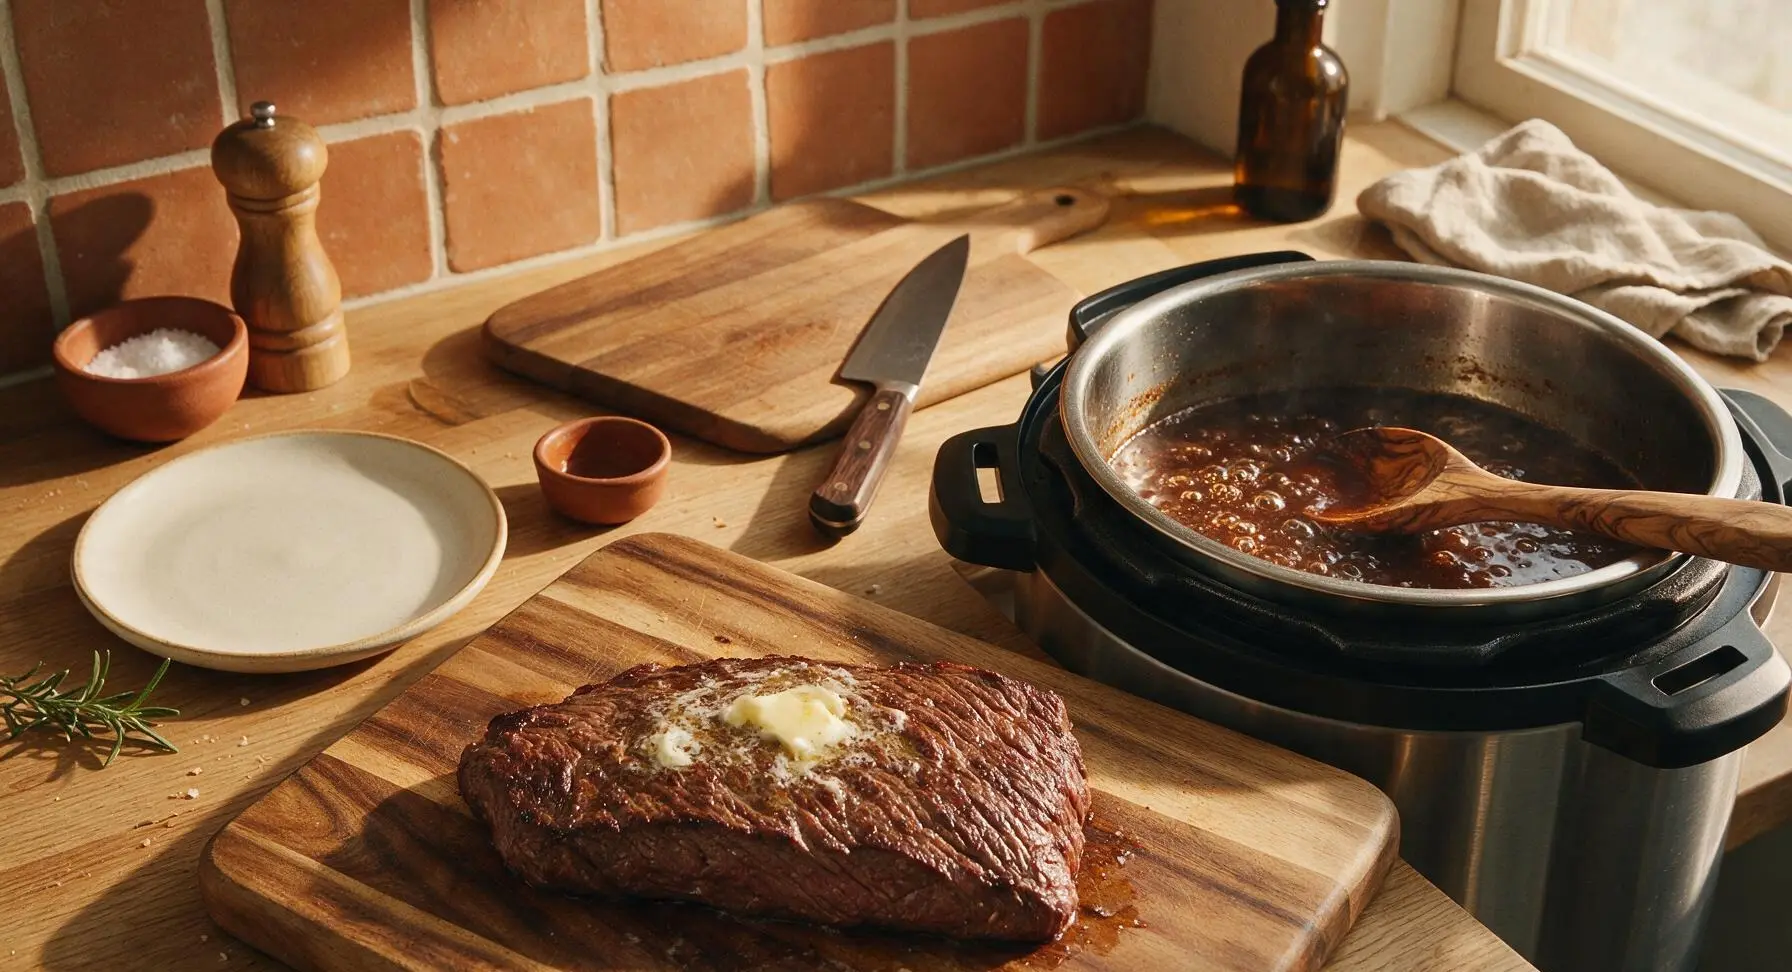
Step 6
step6:Make Pan Sauce
7

Slice Beef Thin

After the 10-minute rest, use the 8-inch chef knife to slice the London broil as thinly as possible (1/4-inch thick slices) strictly against the grain, cutting perpendicular to the visible long muscle fibers of the meat. This breaks up tough muscle fibers to guarantee tender, easy-to-chew slices.
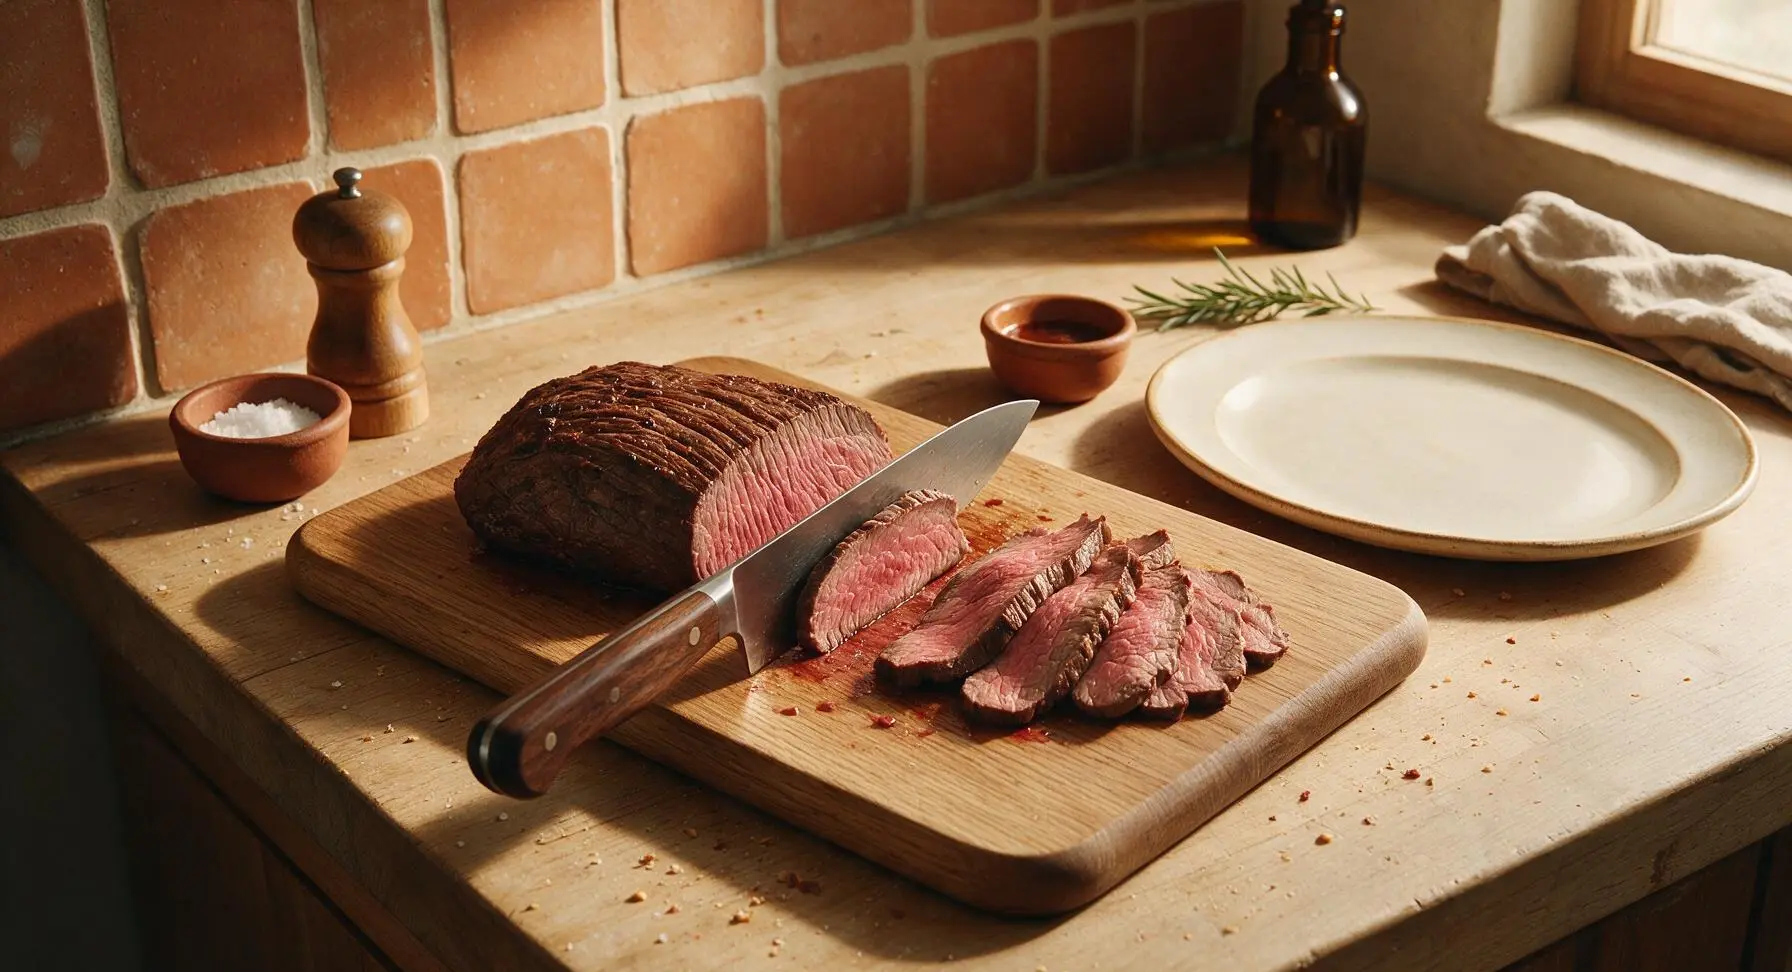
Step 7
step7:Slice Beef Thin
8

Plate and Serve

Arrange the thin sliced beef on the matte ivory stoneware dinner plate, fanning the slices slightly to show the seared edges and pink center. Drizzle 2-3 tablespoons of the reduced pan sauce over the top of the slices, garnish with a few fresh thyme leaves, and serve immediately with remaining sauce on the side in the small matching stoneware ramekin.
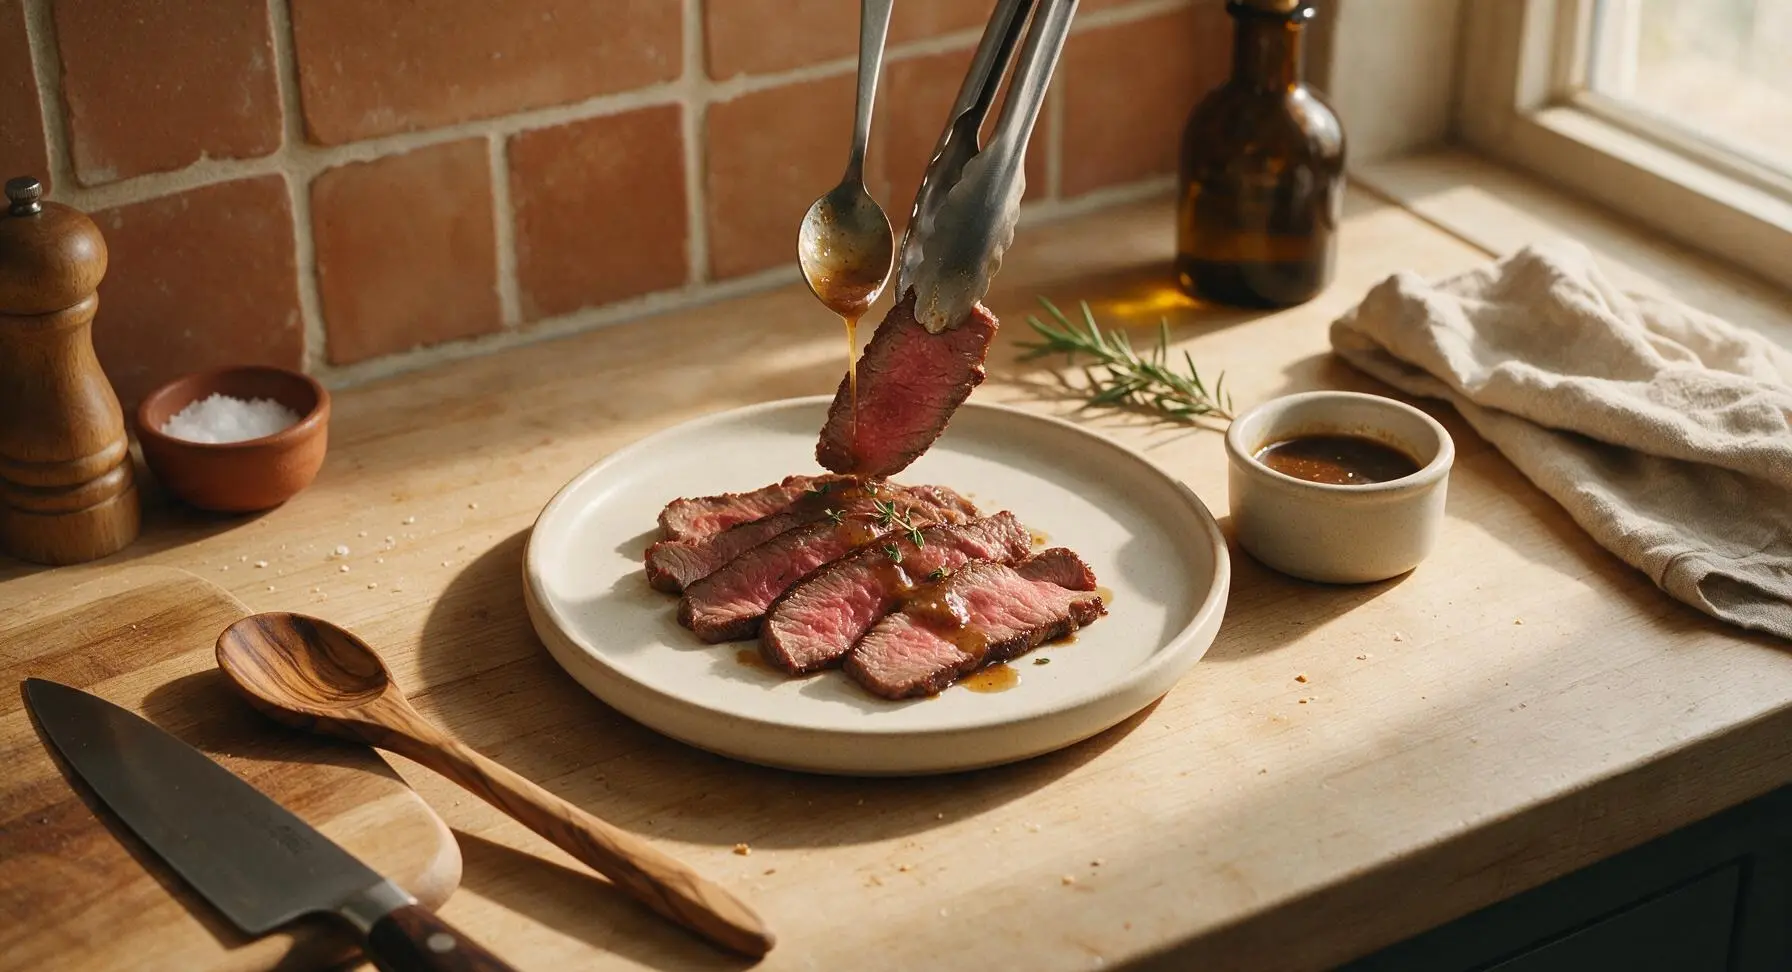
Step 8
step8:Plate and Serve

Tips

1.Always slice London broil strictly against the grain into 1/4-inch thick slices: this lean top round cut has long, tough muscle fibers, and cutting perpendicular to those fibers shortens them for melt-in-your-mouth tenderness, even if you slightly overcook the meat.
2.Do not skip the 10-minute rest period after cooking: cutting the beef immediately will cause all the hot, flavorful juices to run out onto the cutting board, leaving you with dry, bland meat instead of juicy, succulent slices.
3.Make sure to scrape up all the browned fond bits from the bottom of the Instant Pot after searing before pressure cooking: these caramelized meat bits are packed with deep, concentrated beefy flavor that makes the pan sauce taste rich and complex, rather than thin and flat.


✨ You May Also Like

Main Course
🍜 United Kingdom

A showstopping classic of tender seared beef, savory mushroom duxelles, and crisp prosciutto wrapped in flaky golden puff pastry, baked to juicy perfection.

⏱️ 2 hours 1Main Course ★ 4.7
Main Course
🍜 India

Tender charred marinated chicken simmered in a rich, spiced creamy tomato sauce, this iconic Anglo-Indian curry pairs perfectly with basmati rice or warm naan.

⏱️ 50 minuteMain Course ★ 4.6
Main Course
🍜 Thailand

Classic tangy, sweet, and savory Thai stir-fried rice noodles with shrimp, tofu, and crunchy garnishes, balancing all five core Thai flavor profiles.

⏱️ 30 minuteMain Course ★ 4.5
Main Course
🍜 United Kingdom

Crispy golden beer-battered cod and fluffy double-fried chips, served with tangy tartar sauce and malt vinegar: the timeless, beloved British pub comfort classic.

⏱️ 45 minuteMain Course ★ 4.7
Main Course
🍜 Mexico

Smoky, chile-marinated pork tacos with caramelized pineapple, fresh cilantro, and lime: a beloved classic Mexican street food perfect for casual summer gatherings.

⏱️ 1 hour 45Main Course ★ 4.8
Main Course
🍜 United States

Crunchy Fritos corn chips layered with savory beef chili and melted cheddar, topped with cool, zesty fixings for a beloved, cozy Tex-Mex comfort food.

⏱️ 35 minuteMain Course ★ 4.8

london broil instant pot:Frequently Asked Questions

1.What cut of beef is best for this Instant Pot London Broil? ▾
This recipe relies on top round beef roast, the standard cut for classic London broil. It’s a lean, budget-friendly, deeply beefy cut that can turn tough with dry high-heat cooking, but the Instant Pot’s pressure gently breaks down its connective tissue beautifully for tender results without hours of braising.
2.Do I need to marinate the London broil overnight before pressure cooking? ▾
You don’t need a long, overnight marinade for this recipe! A simple 30-minute rest at room temperature rubbed with olive oil, crushed garlic, kosher salt, and cracked black pepper lets seasoning penetrate the surface, and the pressure cooking process locks in that savoriness without extra advance prep.
3.How long does it take to cook London broil in the Instant Pot? ▾
For a 2–3 lb top round roast, cook on high pressure for 20 minutes, followed by a 10-minute natural pressure release before venting remaining steam. This timing yields juicy medium-rare to medium doneness, rather than the tough, dry, overcooked beef you get from too much time under pressure.
4.Why did my Instant Pot London broil come out tough and chewy? ▾
Tough London broil almost always stems from one of two common missteps: either you cooked it too long on high pressure, which squeezes all moisture out of the lean cut, or you sliced it with the grain instead of against it. Stick to the recommended cook time, and rest beef 10 minutes before slicing to lock in juices.
5.Do I have to sear the beef before pressure cooking it? ▾
Yes, a quick 2–3 minute sear on all sides in olive oil using the Instant Pot’s sauté function before pressure cooking builds deep, caramelized beefy flavor that forms the base of your rich pan sauce. Don’t skip this step—it only adds 5 minutes of total prep time and makes a huge difference in final taste.
6.How do I make the savory pan sauce for this London broil? ▾
After removing the cooked beef from the Instant Pot, switch the unit back to sauté mode. Simmer the leftover cooking juices and browned bits (called fond) from the pot bottom for 3–4 minutes until slightly thickened, scraping up stuck-on bits as you go. No extra thickeners are needed for this rich, concentrated sauce.
7.What does “slice against the grain” mean for this recipe? ▾
Top round has long, visible muscle fibers that run in one consistent direction across the roast. Slicing against the grain means cutting perpendicular to those fibers, rather than parallel to them, to shorten tough muscle strands. This makes every bite feel tender, even with perfectly cooked beef, and takes just seconds to do.
8.Can I use a frozen London broil for this Instant Pot recipe? ▾
You can cook a frozen top round roast without thawing first, but add 5–7 minutes of extra high pressure cook time, and skip the initial searing step if the roast is too solid to brown evenly. For the best seared flavor and even doneness, though, fully thawed beef is always the preferred choice.
9.How thick should I slice the cooked London broil? ▾
Aim for ¼-inch thick slices, cut as evenly as possible across the grain. Thin slices ensure you don’t get long, chewy muscle fibers in each bite, and they soak up the rich pan sauce far better than thick, steak-style cuts. A sharp, smooth-bladed carving knife makes this slicing quick and effortless.
10.What internal temperature should I aim for with this London broil? ▾
For juicy, tender results that aren’t overcooked, aim for an internal temperature of 135–140°F at the thickest part of the roast after the 10-minute natural release. That lands you at perfect medium doneness; remember beef rises 3–5°F as it rests, so don’t wait for higher temps in the pot.
11.Can I add extra seasonings to the basic garlic, salt, and pepper rub? ▾
Absolutely! The simple base rub is totally customizable: add a pinch of smoked paprika, dried thyme, or rosemary for earthy depth, a splash of soy sauce or Worcestershire for umami, or a pinch of red pepper flakes for subtle heat. Just don’t overdo it—let the rich beef flavor stay the star.
12.How much liquid do I need to add to the Instant Pot for this recipe? ▾
You only need ½ cup of liquid—beef broth, water, or even a splash of dry red wine works—to build enough steam for the Instant Pot to come to pressure. The beef releases its own juices as it cooks, which combine with seasonings to make pan sauce, so extra liquid will only dilute flavor.
13.Can I cook vegetables alongside the London broil for a one-pot meal? ▾
You can add hearty veggies like quartered potatoes, carrot chunks, or thick onion wedges to the pot under the roast when you start pressure cooking. They’ll cook in the beefy juices and be perfectly tender by the time the roast is done, making a full meal with zero extra cleanup.
14.How long should I let the London broil rest before slicing? ▾
Let the cooked roast rest on a cutting board, tented loosely with foil, for 10 full minutes before slicing. This rest time lets muscle fibers relax and reabsorb all the juicy, flavorful moisture that would otherwise run out onto your cutting board, leaving you with dry, bland slices.
15.Is London broil the same cut as flank steak? ▾
No, they’re entirely different cuts! Flank steak comes from the cow’s abdominal muscle, while the London broil in this recipe uses top round from the hind leg. Top round is leaner and slightly firmer than flank steak, which is why pressure cooking works so well to tenderize it reliably.
16.What should I do if my Instant Pot won’t come to pressure for this recipe? ▾
First, check that your silicone sealing ring is properly seated in the lid, and that the pressure release valve is set to the “sealing” position rather than “venting.” You also need the minimum ½ cup of liquid to generate steam; if you skipped that, add a splash more broth and restart the cook cycle.
17.How should I store leftover Instant Pot London broil? ▾
Let leftover sliced beef cool completely, then store it in an airtight container in the fridge for up to 4 days, pouring any leftover pan sauce over the slices to keep them moist. Reheat slices gently in the microwave, a low-heat skillet, or foil-wrapped in a 300°F oven to avoid drying out the lean beef.
18.Can I adjust this recipe to make shredded beef instead of sliced London broil? ▾
If you prefer fall-apart shredded beef, increase high pressure cook time to 45 minutes with a full natural pressure release. The longer cook time breaks down connective tissue completely so beef shreds easily with two forks, perfect for sandwiches or tacos, though it won’t have the classic firm, sliceable texture.
19.Why did my pan sauce turn out watery? ▾
Watery pan sauce usually means you didn’t simmer it long enough on the sauté function after removing the beef, or you added too much cooking liquid at the start. Let the sauce bubble 3–5 minutes, scraping up all the browned fond from the pot bottom, until it reduces by a third to a rich, spoon-coating consistency.
20.Do I really need to use a meat thermometer for this recipe? ▾
While the timing guide is reliable for standard 2–3 lb roasts, an inexpensive instant-read meat thermometer is the best way to guarantee you don’t overcook or undercook your London broil. Insert it into the thickest part of the roast, avoiding any bone, to hit that 135–140°F sweet spot for juicy results every time.

Comments (10)

2 days ago

OMG this was SO good! I was so nervous to make London broil because it always comes out tough for me, but the Instant Pot method worked like a charm. My husband and two kids devoured it at Sunday dinner, even my super picky 7 year old asked for seconds! Total game changer for weeknights too since it only took 40 minutes start to finish.

1 day ago

So glad your whole family loved it, MamaBear2020! That picky eater approval is the best win we could ask for 😊 Pro tip: save any leftover au jus to dip roast beef sandwiches for lunch the next day!

1 week ago

Made a double batch of this on Sunday for my weekly meal prep. The meat came out perfectly tender, I sliced it thin and paired it with roasted veggies and mashed cauliflower for lunches all week. Only thing I added was an extra sprinkle of smoked paprika to the rub because I love that smoky kick. 10/10 will be making this again for sure.

5 days ago

Oh the smoked paprika add is genius! I’ve been making this recipe for months and never thought to throw that in, definitely trying that next batch. How long do the leftovers keep in the fridge for you?

4 days ago

They hold up great for 4-5 days no problem! I just make sure to store the meat separate from the veggies so it doesn’t get soggy. The paprika makes the whole house smell amazing while it cooks too, trust me you’ll love it.

3 days ago

Brought this to my neighborhood block party potluck last weekend and people were coming up to me asking for the recipe all night! I sliced it super thin and served it with little slider buns and horseradish sauce, it was gone in 20 minutes flat. So easy to make even when you’re juggling 10 other potluck prep tasks.

5 minutes ago

Okay full transparency, I’ve never cooked any cut of beef other than ground beef before, and this still turned out really well! The instructions were so straightforward, no fancy steps, and it didn’t taste like a beginner meal at all. My roommate thought I ordered takeout from a steakhouse lmao. Only reason I’m giving 4 stars instead of 5 is I wish the recipe included a quick gravy option to go with it!

just now

So stoked this worked out for your first time cooking a whole cut of beef, Jake! That steakhouse-level takeout fakeout is what we love to hear. Great note on the gravy – we’ll add a quick 2-minute pan gravy option to the recipe notes later this week!

yesterday

Wait, 40 minutes total cook time? That’s unheard of for London broil! I usually have to marinate mine for 24 hours and roast it for over an hour, but this was just as flavorful without all the advance prep. The only change I made was using low-sodium soy sauce in the marinade because that’s what I had in the pantry.

20 hours ago

Wait you don’t have to marinate it forever? I’ve always skipped London broil because I can never plan that far ahead for weeknight meals. That’s a total game changer, adding the ingredients to my grocery list right now!

18 hours ago

Hi Liz! So glad the quick marinade worked for you even with the low-sodium soy swap – that’s one of our go-to easy swaps for folks watching their sodium intake. And Carl, you’re totally right – no 24-hour marinade required! The pressure cooker infuses all that savory flavor right into the meat in minutes, perfect for last-minute dinners.

2 weeks ago

I’ve been making London broil the old-fashioned oven way for 40 years, and I have to say this Instant Pot version might be even better! My grandkids came over for dinner last night and said it was the “best beef ever”. I was worried the pressure cooker would make it mushy but it had the perfect chew, just how I like it.

1 week ago

Pat, I feel exactly the same way! I was so stuck in my old oven routine I didn’t think an electric gadget could make it better, but my son convinced me to try it and I’m never going back. Tender every single time!

2 hours ago

Made this last night after a 10 hour work day when I had zero energy to cook, and it still came out incredible. I didn’t even have all the exact spices so I used a generic steak seasoning I had in the cabinet, and it was still so flavorful. No fancy ingredients, no fuss, exactly what I need on busy weekdays.

5 days ago

Super easy recipe, but heads up for anyone who doesn’t like spicy food – the red pepper flake amount listed makes it pretty kicky! I added the full amount like the recipe said and my mouth was on fire, lol. Next time I’ll cut it in half, but other than that the meat texture was perfect, super tender and juicy. I’ll definitely make it again just with less heat.

3 days ago

Thank you for saying this! I’m a total wimp when it comes to spice and I almost followed the recipe exactly, I would’ve been dying. Cutting the red pepper flakes in half for my batch tonight, appreciate the heads up!

2 days ago

Thanks so much for the honest feedback, Tyler! We totally get that heat preference is super personal, so we’ve added a note to the recipe card about adjusting the red pepper flakes to taste – folks who love heat can keep the full amount, and folks who prefer mild can cut it back or skip it entirely without losing that great depth of flavor!

30 minutes ago

London broil is such an affordable cut of beef, I’ve been looking for a way to make it not taste like shoe leather for ages, and this recipe nails it! Fed my family of 4 for under $15 total, which is way cheaper than getting takeout these days. Served it with roasted potatoes and steamed green beans, total comfort food.

15 minutes ago

Oh this is right up my alley! I’ve been trying to cut our grocery bill and cheap cuts that turn out tender are my favorite. Did you use a specific marinade base or just follow the recipe exactly?

just now

This made the best leftover French dip sandwiches the next day! I dipped the bread in the leftover cooking liquid, piled on thin slices of the beef, added a little provolone, and broiled it for 2 minutes. Better than any sandwich I’ve gotten at a deli, no joke. 10/10, will be making this just for the sandwiches going forward.



