
Mac and Cheese Quesadilla

title 1
Mac and Cheese Quesadilla
⏱️ cook time 15 minutes
🍽️ servings 4
⚡ Difficulty easy

intro

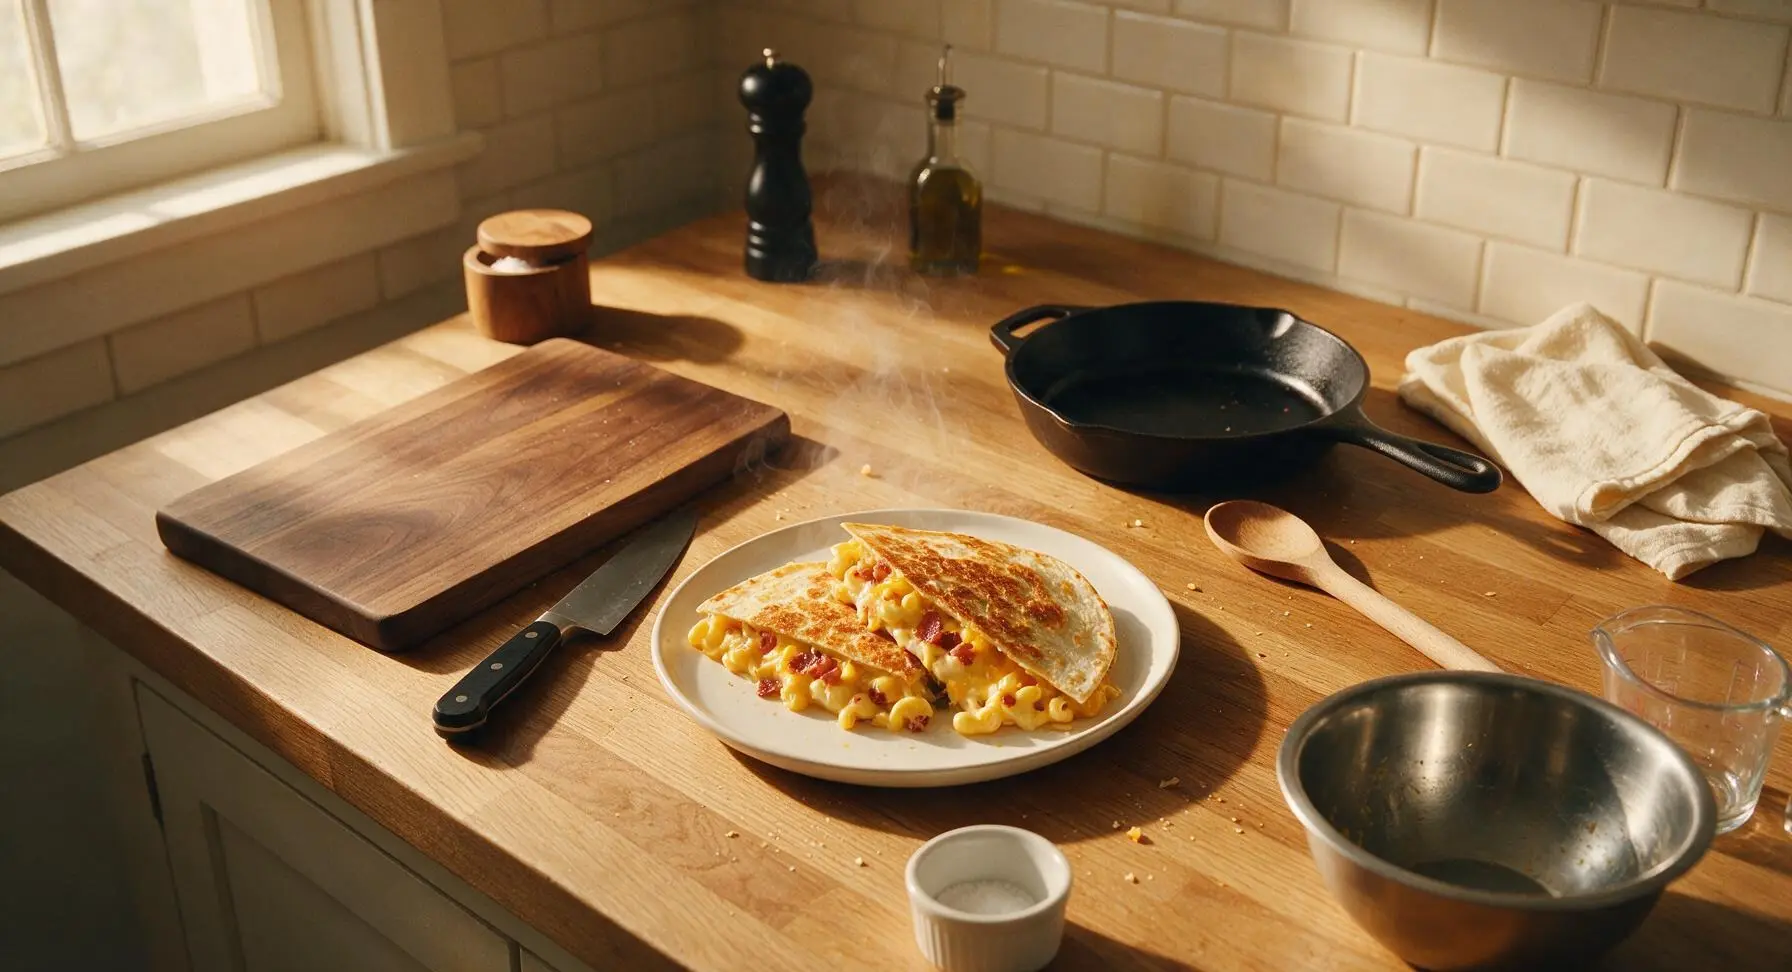
Crispy golden tortillas oozing with creamy, bacon-studded mac and cheese and melted cheddar: the ultimate quick, cozy fusion comfort food ready in 25 minutes.

Ingredients
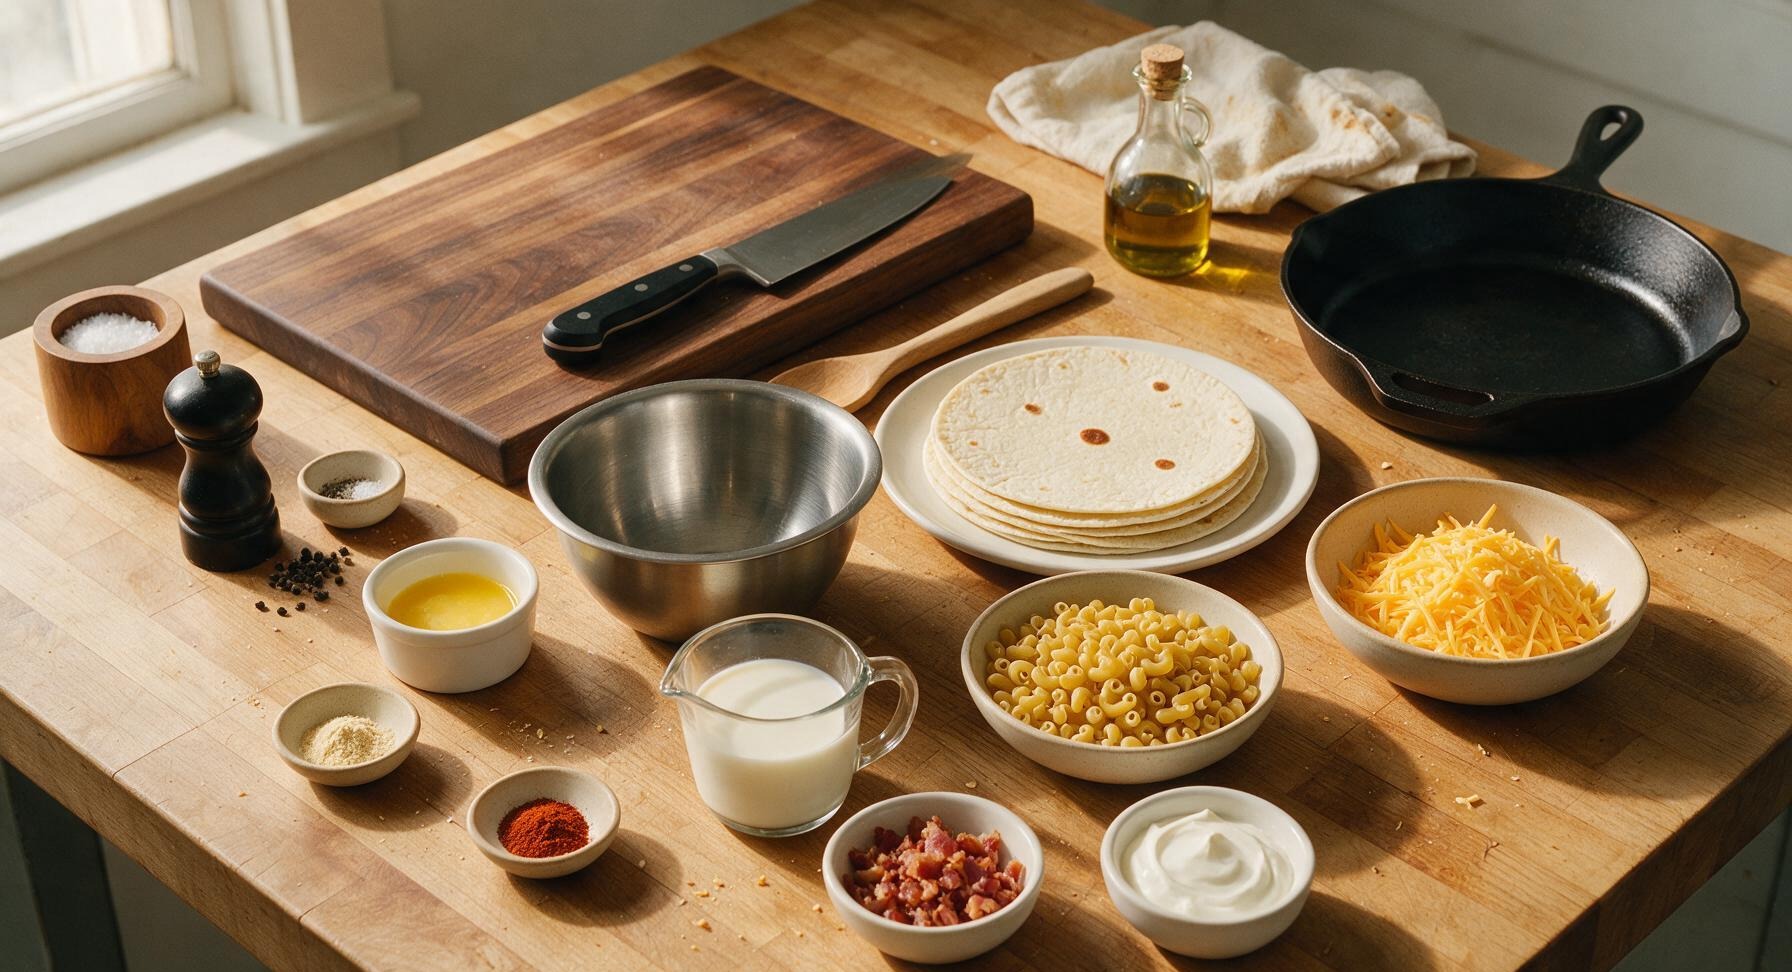
8-inch all-purpose flour tortillas 8 each
Dry elbow macaroni 1 cup (110g)
Sharp yellow cheddar cheese, freshly shredded 1.5 cups (165g)
Whole milk 1/2 cup (120ml)
Unsalted butter 1 tbsp (14g)
Crispy cooked bacon, crumbled 1/2 cup (60g)
Garlic powder 1/2 tsp
Smoked paprika 1/4 tsp
Kosher salt 1 tsp, divided
Freshly ground black pepper 1/4 tsp
Sour cream (for serving) 1/2 cup (120g)

Steps

1

Boil Macaroni Until Tender

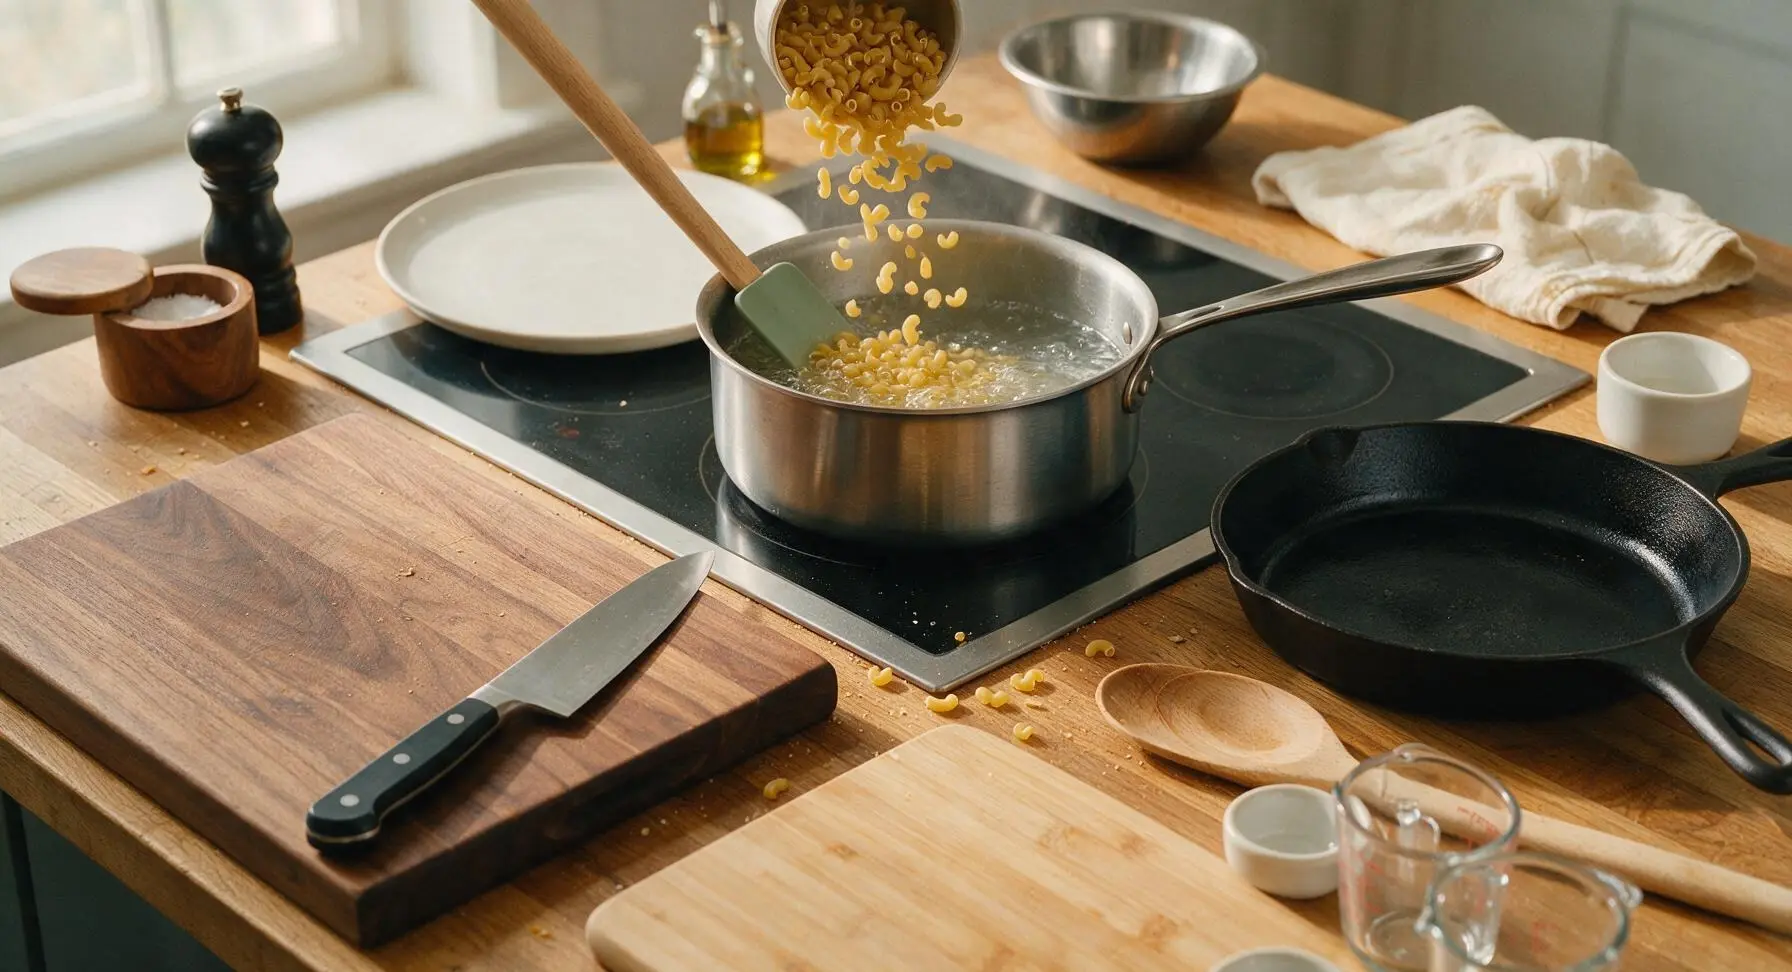
Fill the 2-quart stainless steel saucepan 2/3 full with water, add 3/4 tsp kosher salt, and bring to a rolling boil over high heat. Add 1 cup dry elbow macaroni, stir once with the sage green silicone spatula, and cook for 7 minutes until al dente (firm to the bite, no raw white center when you bite into a noodle). Drain thoroughly and set aside; do not rinse the pasta, as the starchy coating helps the cheese sauce adhere.
Step 1
step1:Boil Macaroni Until Tender
2

Mix Creamy Cheese Sauce

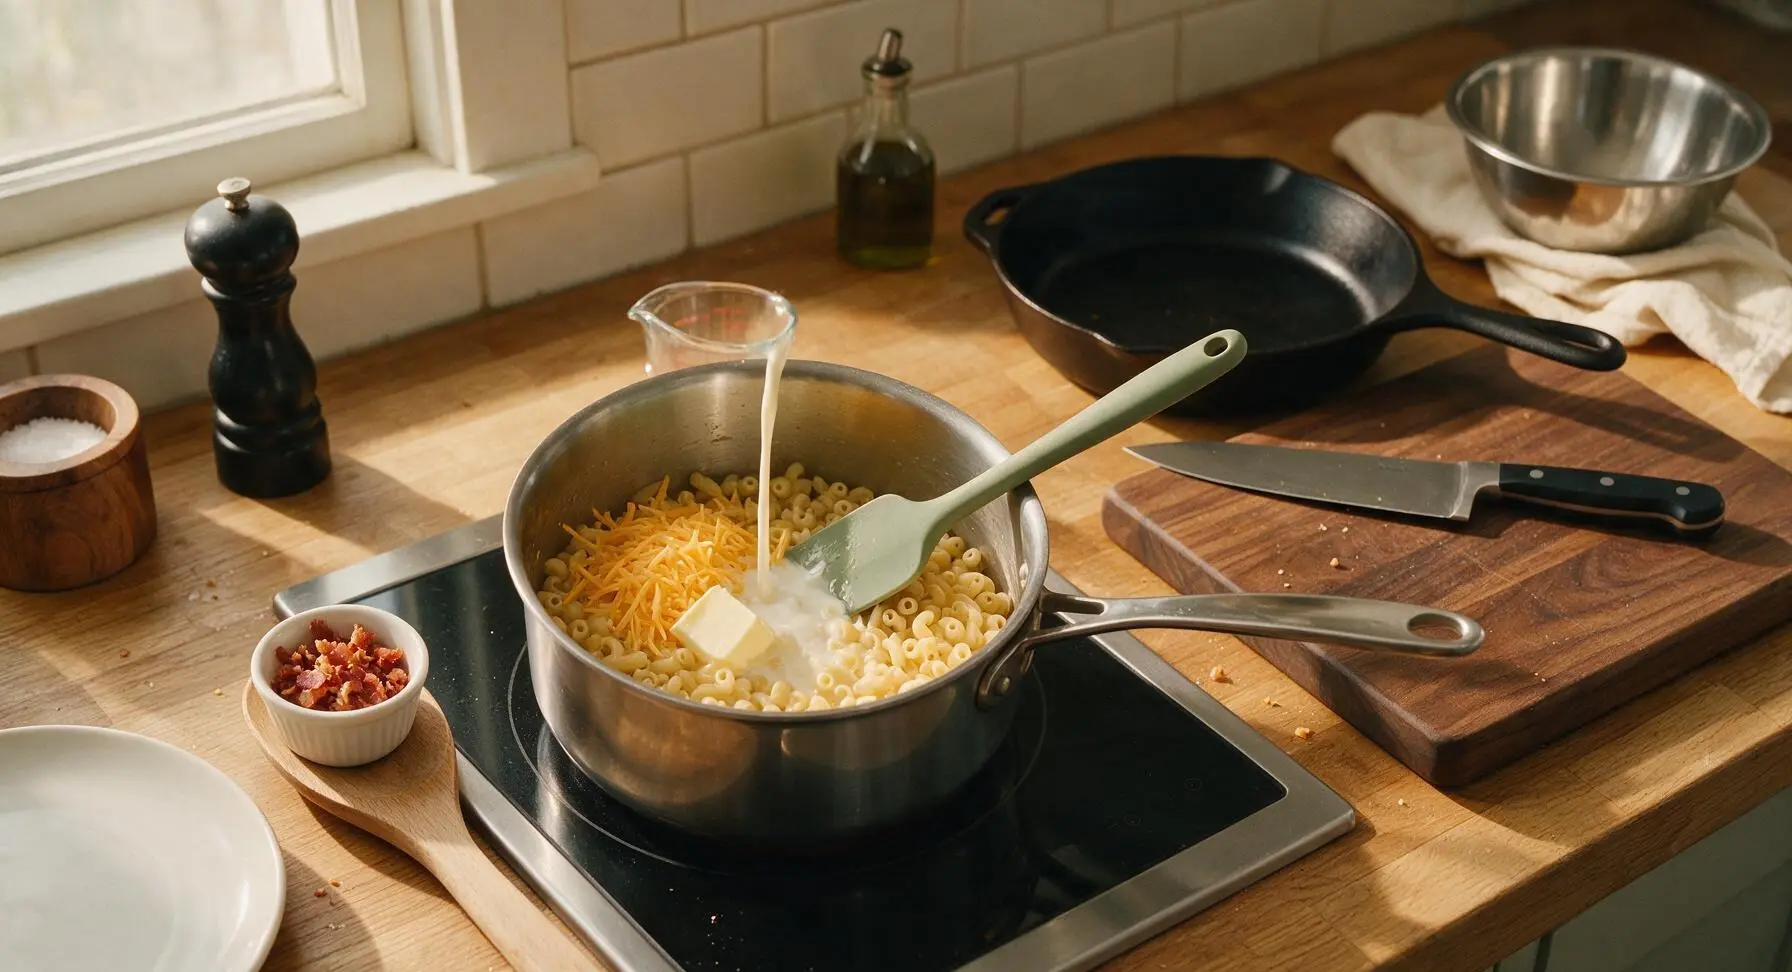
Return the drained macaroni to the warm saucepan over the lowest heat setting. Add 1 tbsp unsalted butter, 1/2 cup whole milk, 1 cup of the shredded sharp cheddar, 1/2 tsp garlic powder, 1/4 tsp smoked paprika, remaining 1/4 tsp kosher salt, and 1/4 tsp black pepper. Stir continuously with the sage green silicone spatula for 2 minutes until the cheese is fully melted, the sauce is smooth, and every macaroni noodle is evenly coated. Remove from heat and stir in 1/2 cup crumbled crispy bacon, then set aside. Reserve the remaining 1/2 cup of shredded cheddar for layering in the quesadillas.
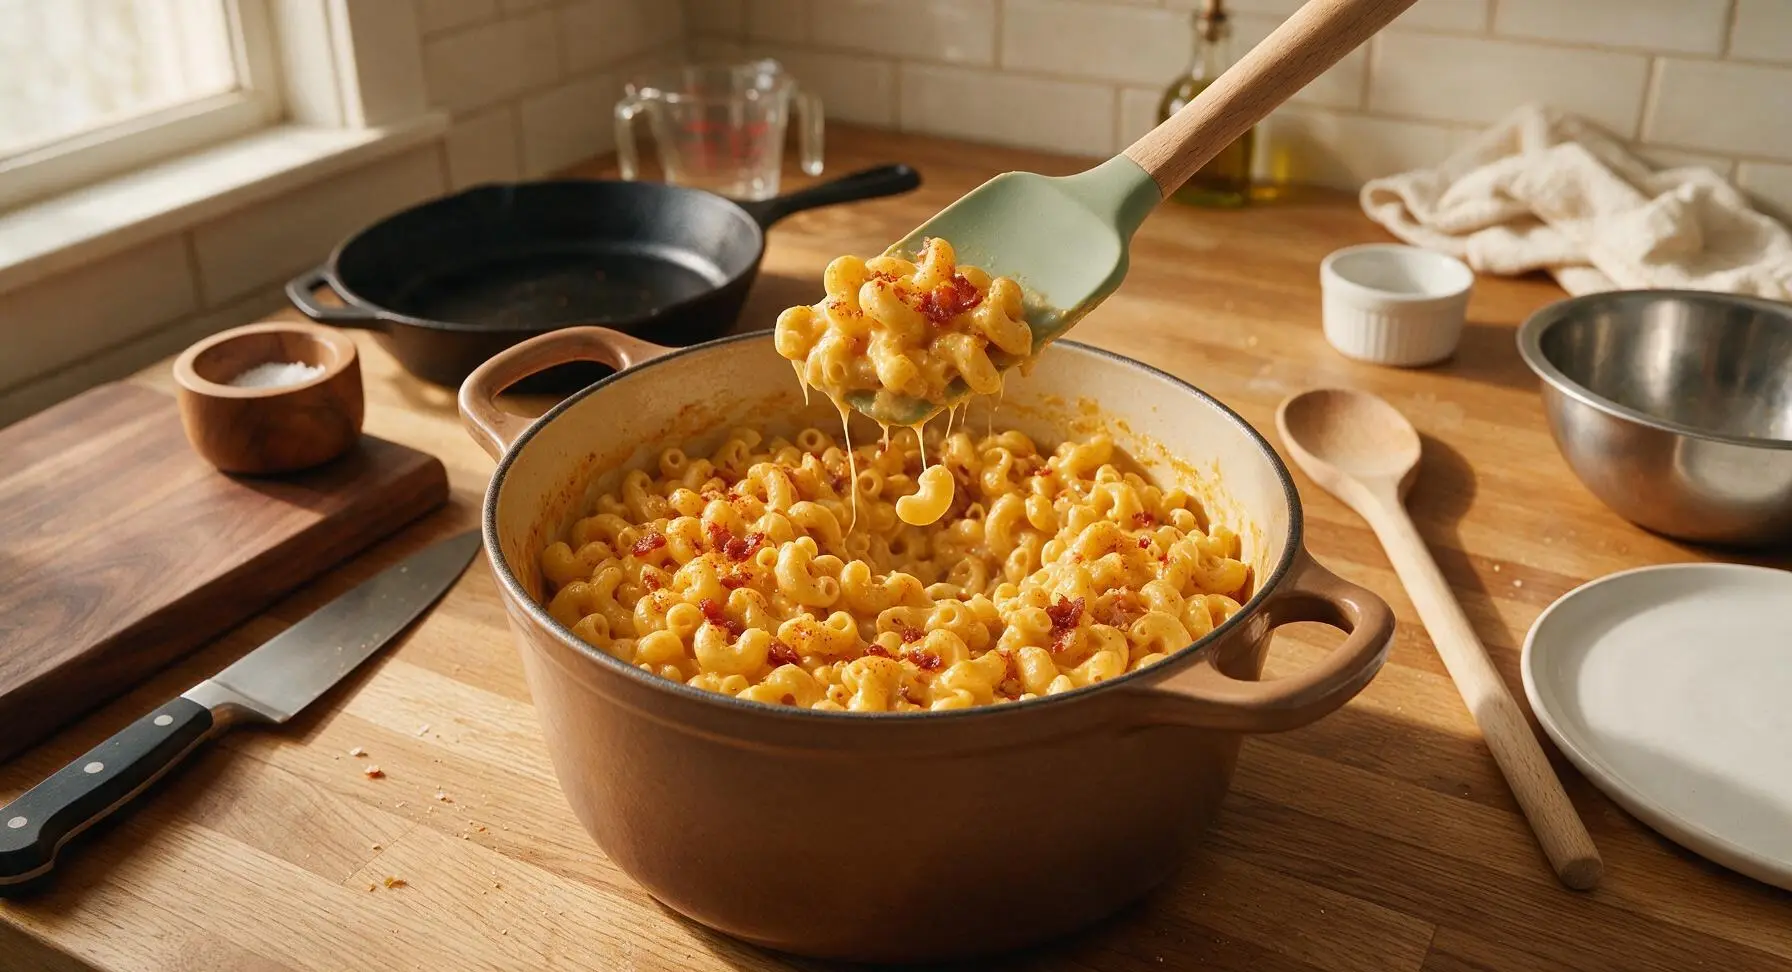
Step 2
step2:Mix Creamy Cheese Sauce
Step 2
step2:Mix Creamy Cheese Sauce
3

Layer Quesadilla Fillings

Lay 4 of the 8-inch flour tortillas flat on the light honey bamboo cutting board. Sprinkle 1 tbsp of the reserved shredded cheddar evenly across the surface of each tortilla, leaving a 1/2 inch border around the edge. Spoon 1/2 cup of the warm bacon mac and cheese over the cheese layer, spreading it gently into an even thin layer (do not overfill, or filling will leak out during cooking). Top the mac and cheese with another 1 tbsp of reserved shredded cheddar per tortilla, then place a second flour tortilla on top to form a sealed sandwich, pressing gently to adhere.
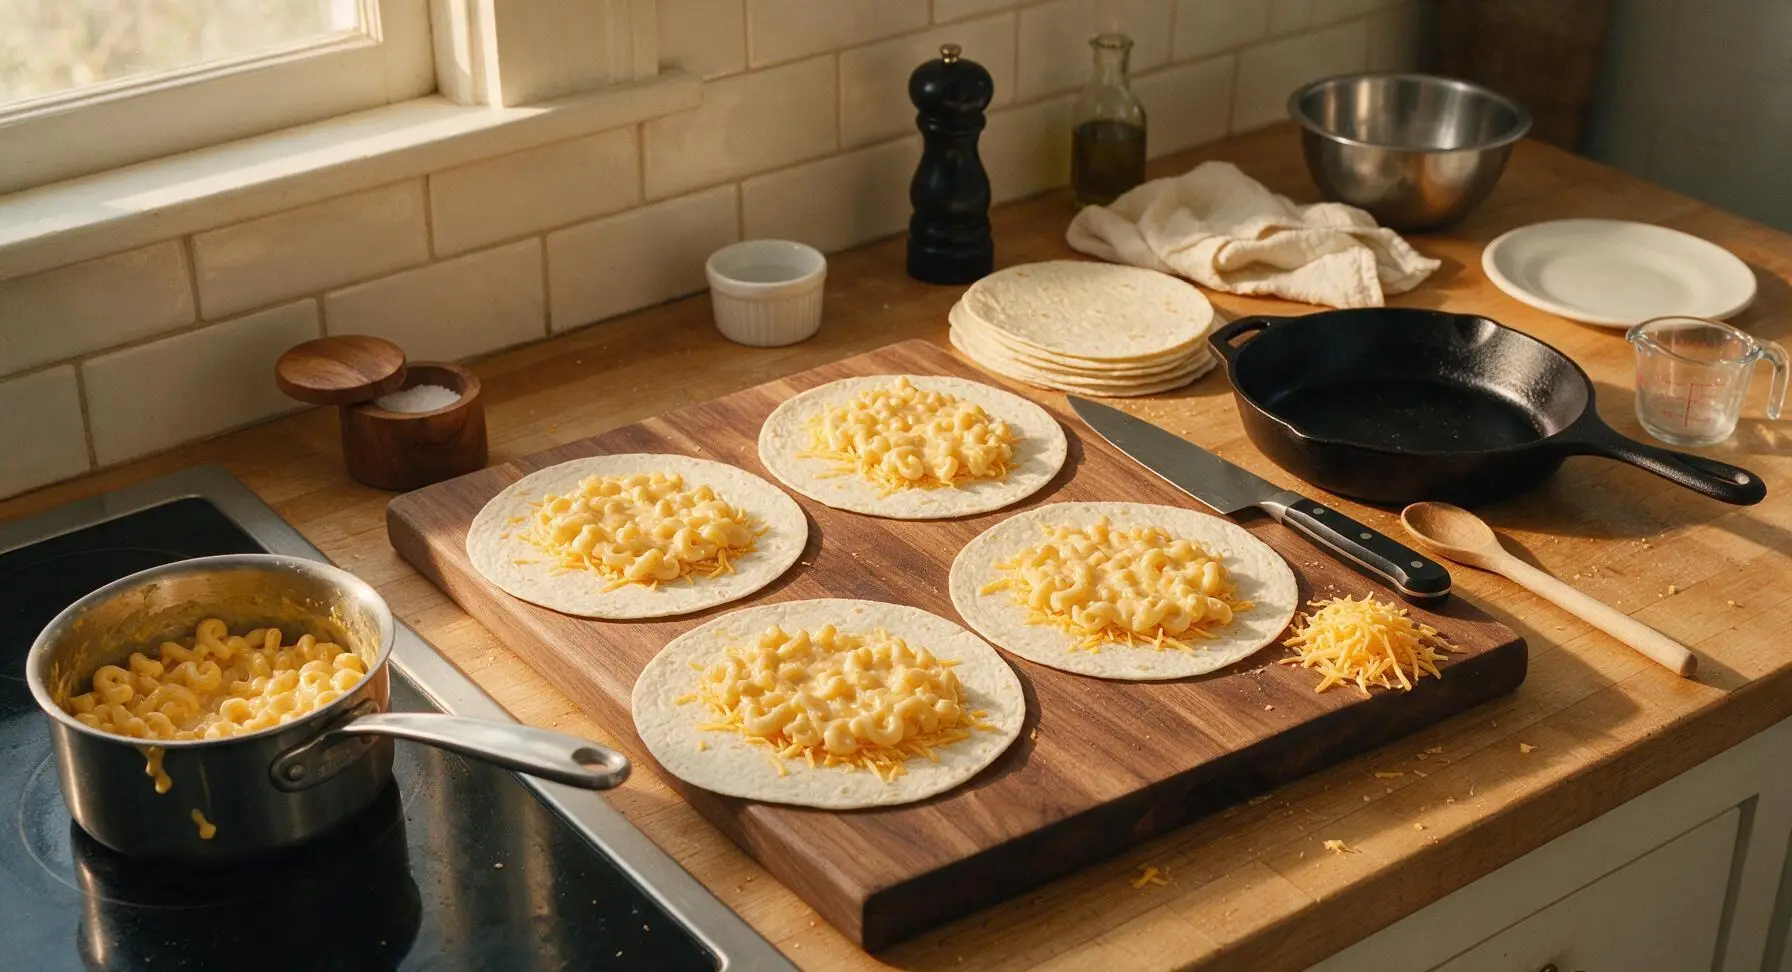
Step 3
step3:Layer Quesadilla Fillings
4

Toast First Quesadilla Side

Place the 10-inch matte charcoal non-stick skillet on the induction burner over medium heat (350°F / 175°C), allowing it to preheat for 1 minute. No oil is needed, as the dry tortillas will crisp naturally as they cook. Carefully lift one assembled quesadilla from the cutting board with the thin stainless steel turner and lower it gently into the dry skillet. Cook for 2 to 3 minutes, watching closely, until the bottom tortilla turns deep golden brown with slightly darker, crisp toasted spots, and the cheese along the quesadilla edge begins to bubble and melt.
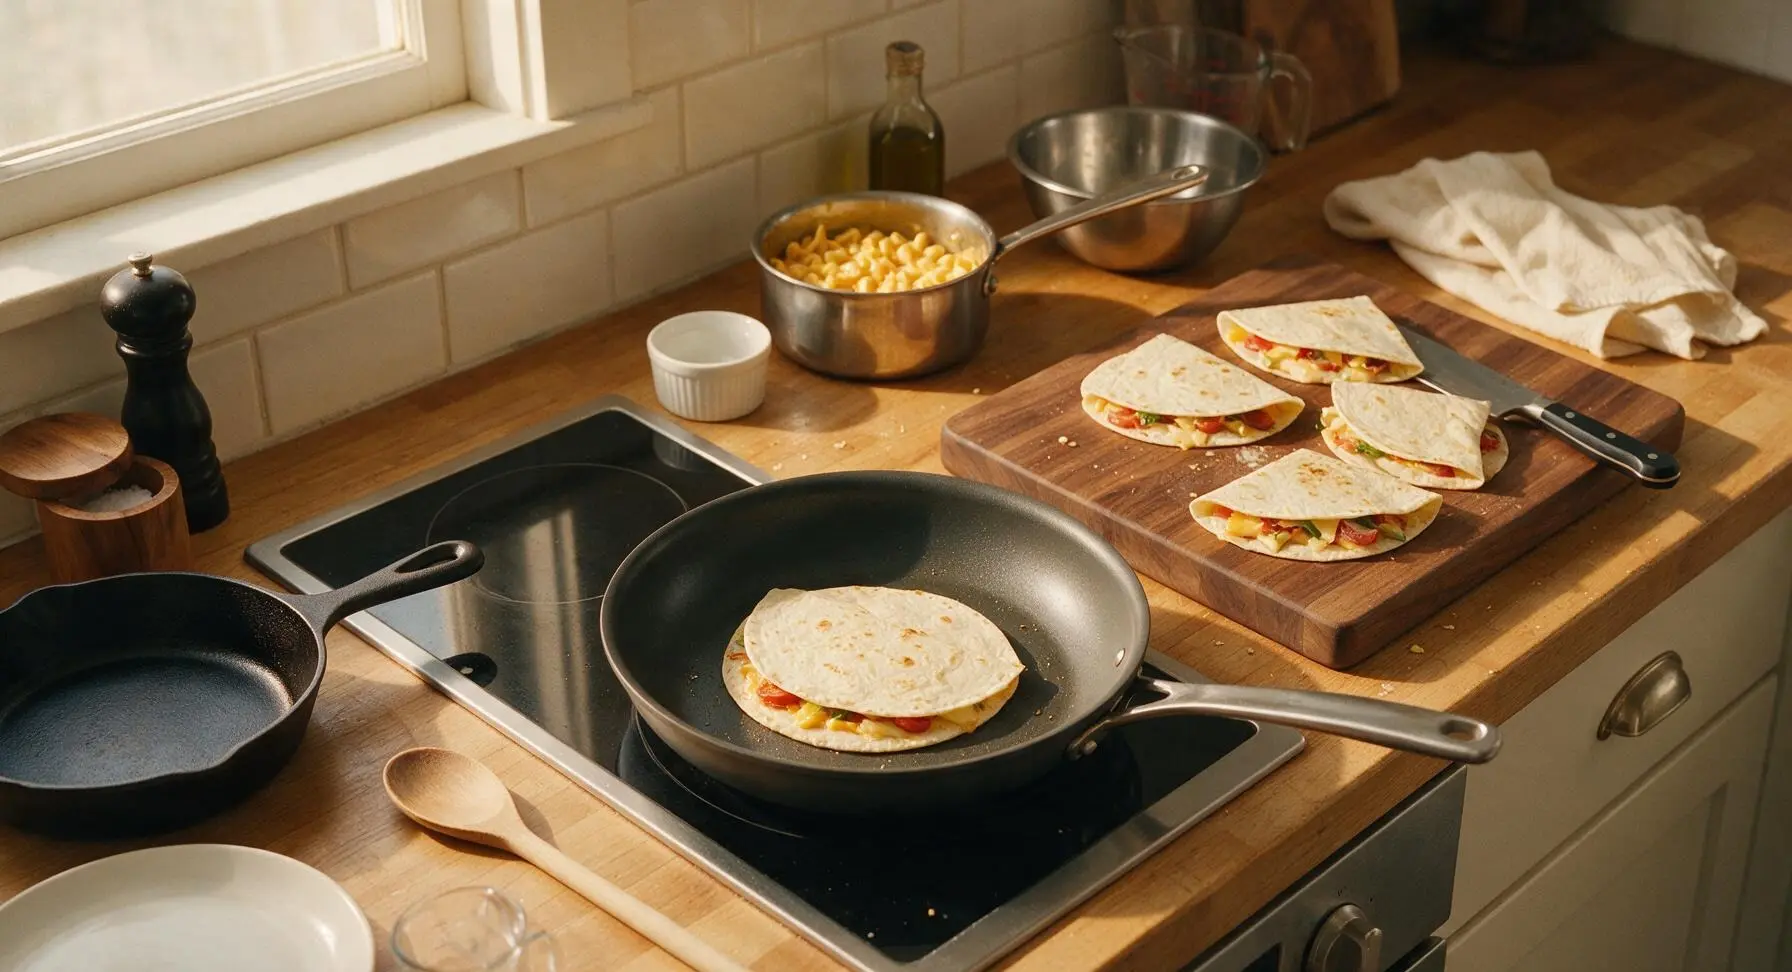
Step 4
step4:Toast First Quesadilla Side
5

Flip and Finish Cooking

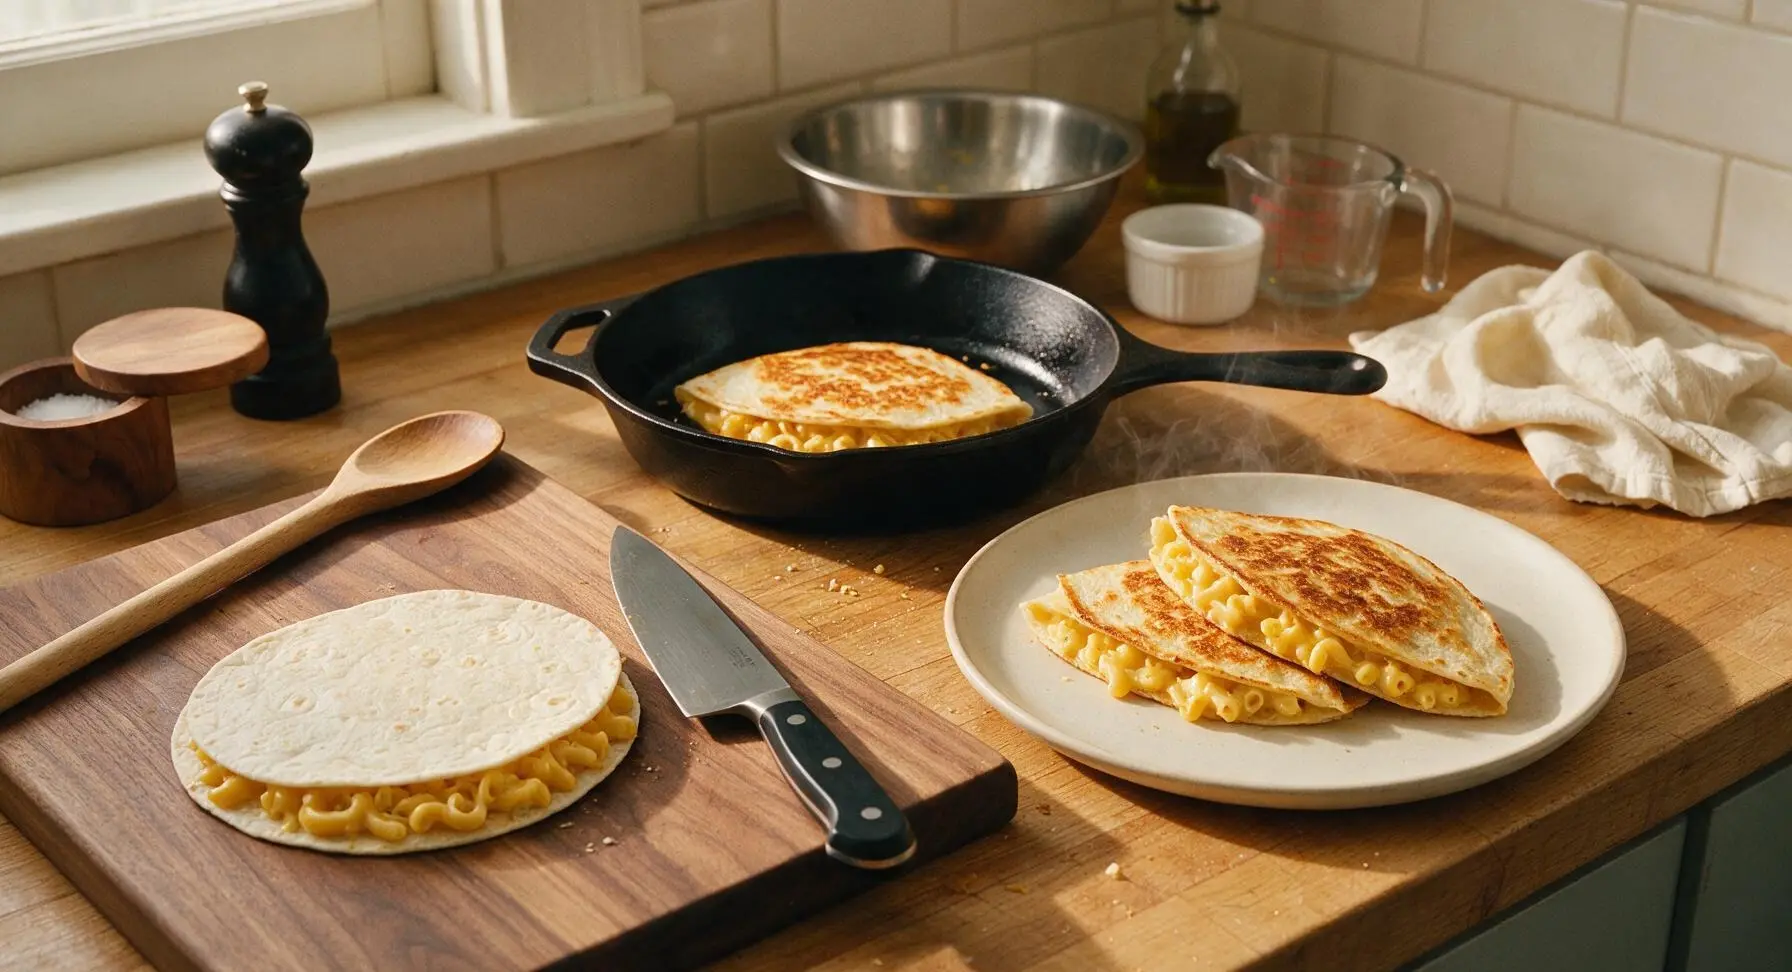
Slide the thin stainless steel turner fully under the center of the quesadilla, then flip it in one smooth, quick motion to avoid spilling hot filling. Cook the second side for another 2 minutes, until it is equally golden and crispy, and all the cheese inside is fully melted and stretchy when you lift the edge of the tortilla. Transfer the cooked quesadilla to the matte off-white ceramic dinner plate, then repeat the cooking process with the remaining 3 assembled quesadillas, stacking them loosely on the plate as they finish to keep them warm while you work.
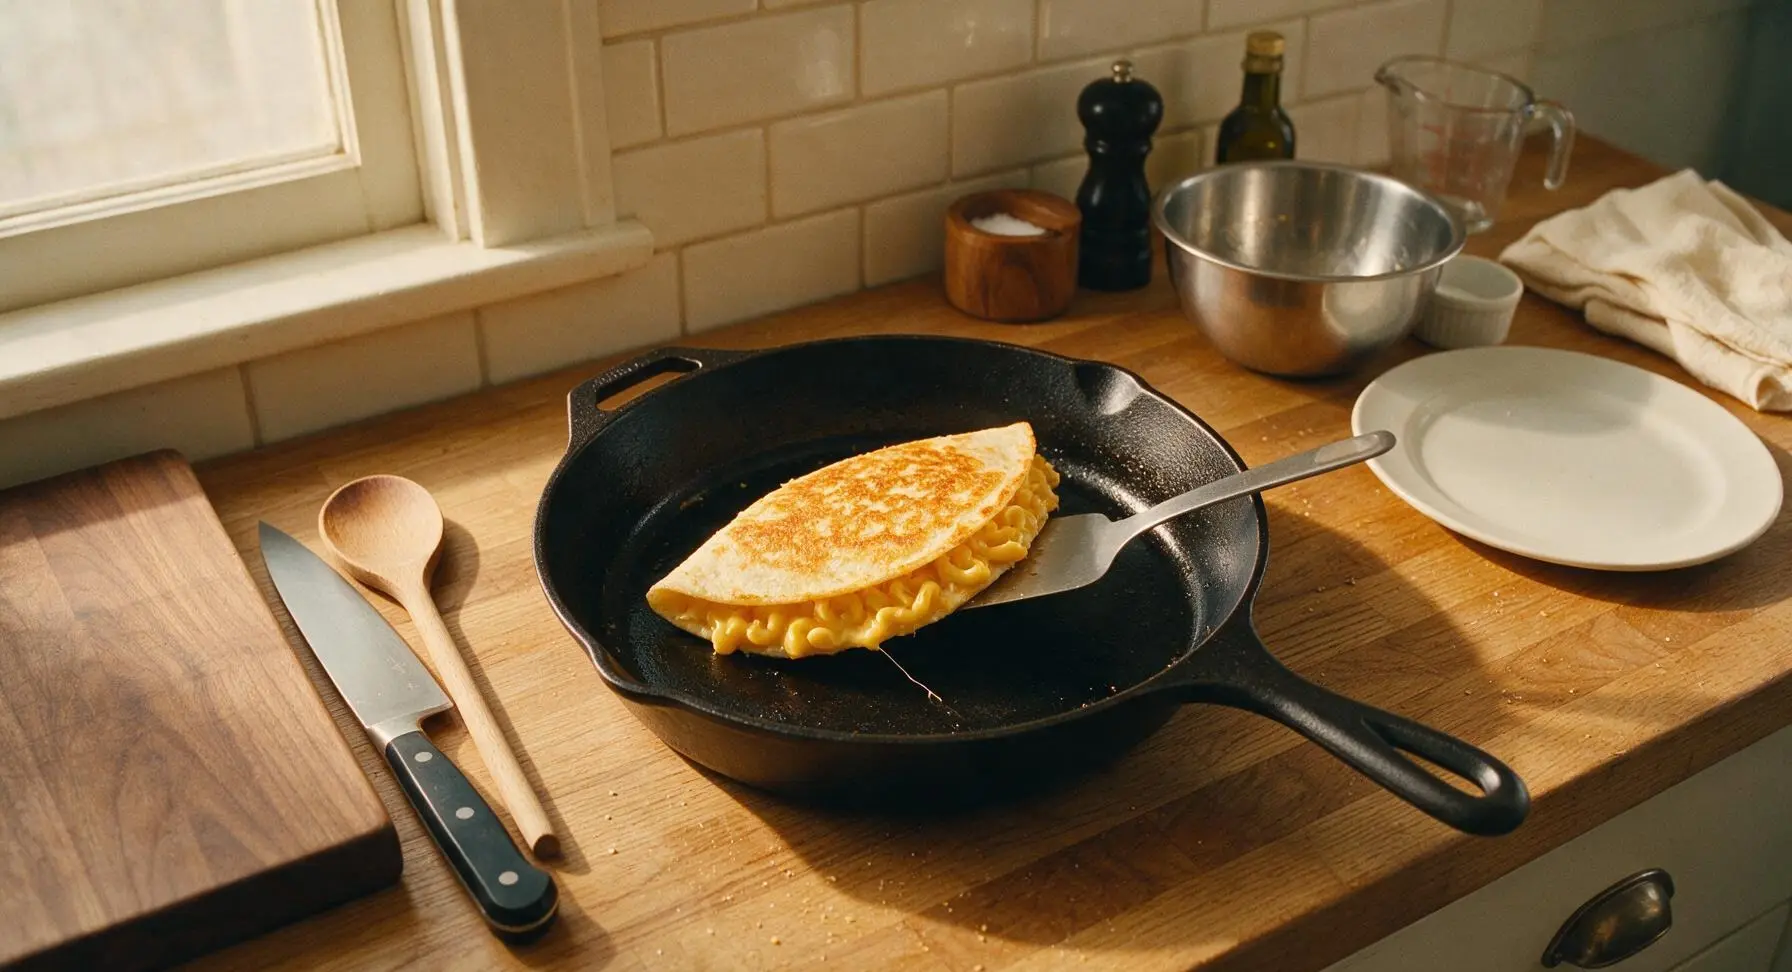
Step 5
step5:Flip and Finish Cooking
Step 5
step5:Flip and Finish Cooking
6

Slice and Plate Quesadillas

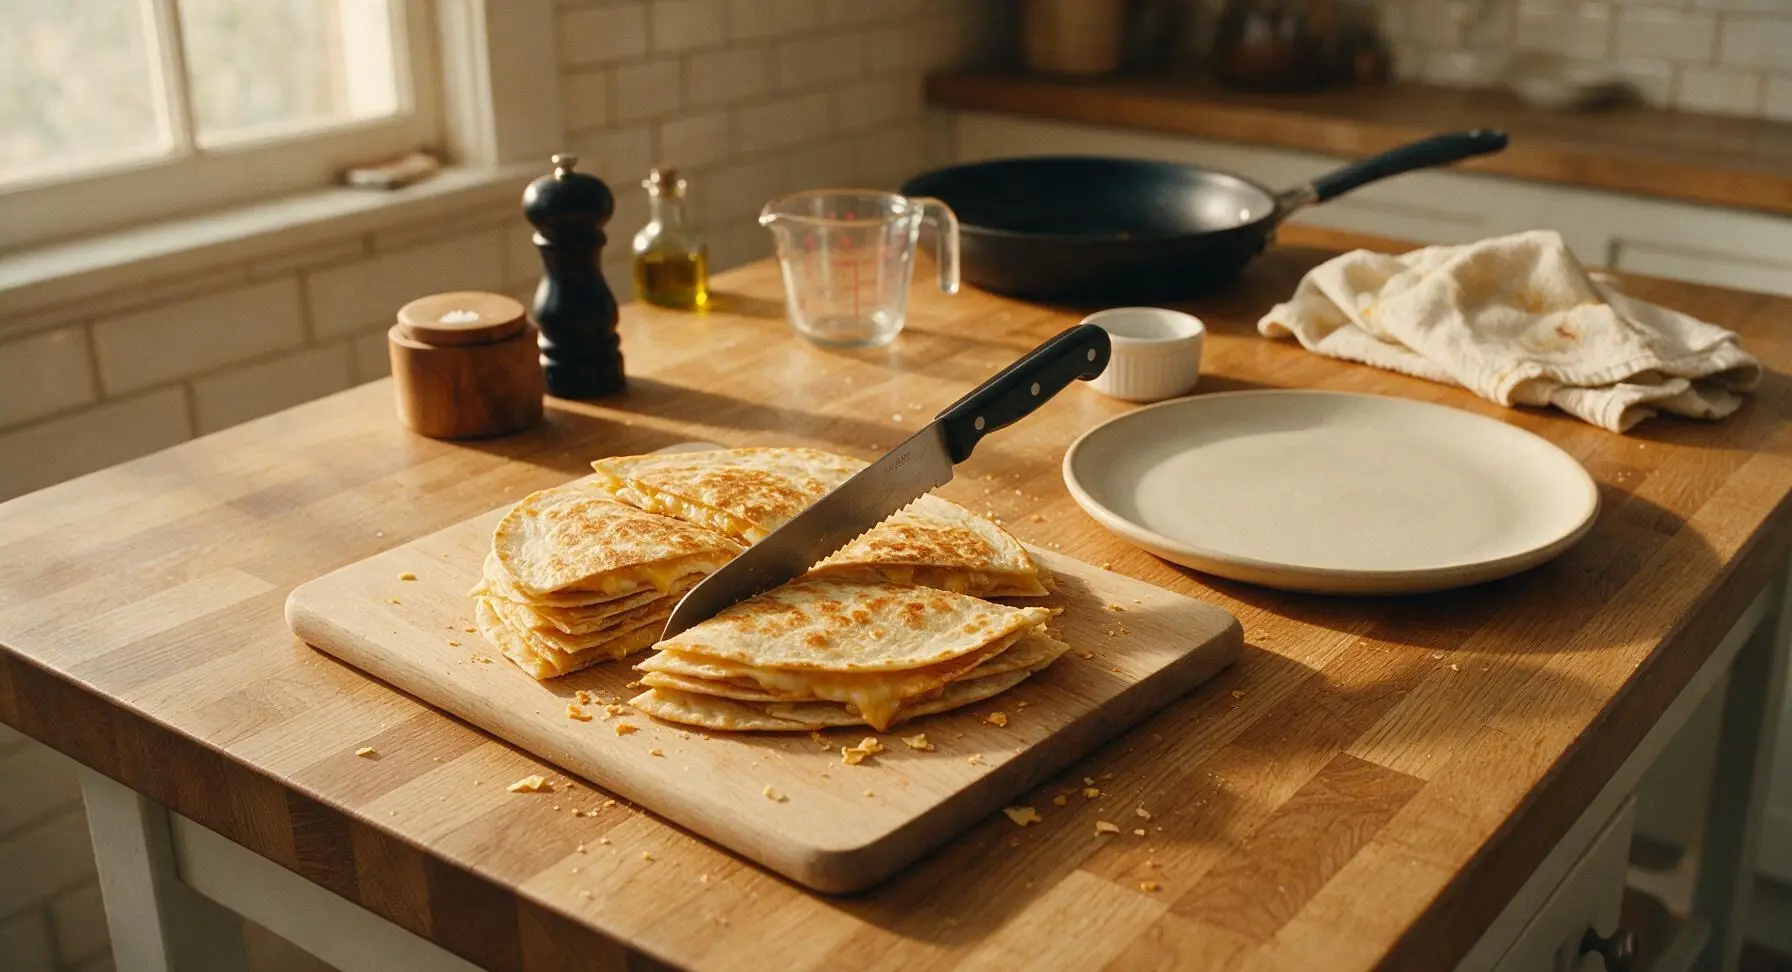
Once all quesadillas are cooked, transfer the loose stack from the dinner plate back to the light honey bamboo cutting board. Hold the stack steady with one hand, and use the 20cm serrated utility knife to cut each whole round quesadilla into 4 even triangular wedges, wiping any melted cheese from the knife blade with the edge of the linen towel between cuts as needed. Arrange 2 wedges per serving on the matte off-white dinner plate, add a small dollop of sour cream and a parsley leaf garnish if desired, and serve immediately while the cheese is stretchy and the tortillas are crisp.
Step 6
step6:Slice and Plate Quesadillas

Tips

1.Shred your own cheddar cheese instead of using pre-shredded bagged cheese: pre-shredded cheese is coated in potato starch and anti-caking agents that prevent it from melting into a smooth, stretchy sauce, leading to a grainy, clumpy filling.
2.Do not overfill the quesadillas: using more than 1/2 cup of mac and cheese per tortilla will cause hot filling to leak out into the skillet, burn, and prevent the tortilla edges from sealing properly.
3.Cook quesadillas over medium heat, not high: high heat will burn the outer tortilla to a bitter crisp before the cheese inside fully melts, leading to an unpleasantly raw, un-melted center.


✨ You May Also Like

Main Course
🍜 United Kingdom

A showstopping classic of tender seared beef, savory mushroom duxelles, and crisp prosciutto wrapped in flaky golden puff pastry, baked to juicy perfection.

⏱️ 2 hours 1Main Course ★ 4.7
Main Course
🍜 India

Tender charred marinated chicken simmered in a rich, spiced creamy tomato sauce, this iconic Anglo-Indian curry pairs perfectly with basmati rice or warm naan.

⏱️ 50 minuteMain Course ★ 4.6
Main Course
🍜 Thailand

Classic tangy, sweet, and savory Thai stir-fried rice noodles with shrimp, tofu, and crunchy garnishes, balancing all five core Thai flavor profiles.

⏱️ 30 minuteMain Course ★ 4.5
Main Course
🍜 United Kingdom

Crispy golden beer-battered cod and fluffy double-fried chips, served with tangy tartar sauce and malt vinegar: the timeless, beloved British pub comfort classic.

⏱️ 45 minuteMain Course ★ 4.7
Main Course
🍜 Mexico

Smoky, chile-marinated pork tacos with caramelized pineapple, fresh cilantro, and lime: a beloved classic Mexican street food perfect for casual summer gatherings.

⏱️ 1 hour 45Main Course ★ 4.8
Main Course
🍜 United States

Crunchy Fritos corn chips layered with savory beef chili and melted cheddar, topped with cool, zesty fixings for a beloved, cozy Tex-Mex comfort food.

⏱️ 35 minuteMain Course ★ 4.8

Mac and Cheese Quesadilla:Frequently Asked Questions

1.Can I use pre-shredded cheddar instead of freshly shredded for this recipe? ▾
Freshly shredded sharp cheddar melts far smoother for that ideal oozing texture, since pre-shredded versions are coated in anti-caking agents that can leave your filling grainy. If you’re short on time, pre-shredded works, but add 1 teaspoon of whole milk per cup of cheese to help it melt more evenly across the quesadilla.
2.How do I keep my tortillas from getting soggy when making these quesadillas? ▾
Sogginess almost always comes from overly wet mac and cheese filling. Let your cooked mac and cheese rest 3 to 4 minutes after mixing so it thickens slightly, and don’t overstuff the tortillas. Cook over medium heat (not low) to crisp the tortilla fast, and set cooked quesadillas on a wire rack for 1 minute instead of stacking them immediately.
3.Can I make the mac and cheese filling ahead of time for faster weeknight prep? ▾
Absolutely! You can make the bacon-studded mac and cheese filling up to 3 days ahead and store it in an airtight container in the fridge. When you’re ready to assemble, warm the filling slightly in the microwave for 30 to 45 seconds so it spreads easily, then build and cook your quesadillas as normal for a quick weeknight meal.
4.What size tortillas work best if I don’t have 8-inch all-purpose flour tortillas? ▾
8-inch flour tortillas are ideal for single-serve, easy-to-flip quesadillas, but you can use 10-inch burrito-size tortillas for larger, shareable portions—just add ¼ cup extra filling and 2 minutes total cook time. Avoid corn tortillas here, as their firm, crumbly texture won’t hold the creamy filling well without tearing.
5.Do I have to use elbow macaroni, or can I swap in other pasta shapes? ▾
Elbow macaroni is classic because its small, curved shape tucks neatly into tortillas without poking through, but you can swap in other small, short pasta shapes like mini shells, ditalini, or small rotini. Just cook the pasta to al dente so it holds its shape and doesn’t turn mushy when mixed with cheese and folded into the tortilla.
6.How do I get that perfectly crispy, golden tortilla exterior without burning the cheese? ▾
Stick to medium heat on your stovetop—high heat will burn the outside of the tortilla before the inner cheese fully melts, while low heat will leave the tortilla greasy and limp. Melt a tiny pat of unsalted butter in the pan instead of oil for a richer, golden crust, and cook 2 to 3 minutes per side until crisp.
7.Can I add extra mix-ins to the mac and cheese filling? ▾
Definitely! This recipe is super flexible for custom add-ins: crumbled cooked bacon (noted in the intro), diced pickled jalapeños for a spicy kick, caramelized onions, diced cooked ham, or a sprinkle of smoked paprika all work beautifully. Just keep mix-ins chopped small so they don’t tear the tortilla or make the filling too bulky to flip.
8.What’s the best way to reheat leftover mac and cheese quesadillas? ▾
Skip the microwave, which will make the tortilla soggy and the filling rubbery. Instead, reheat leftovers in a dry skillet over medium-low heat for 2 minutes per side, or in a 375°F air fryer for 3 to 4 minutes, until the tortilla crisps back up and the cheese is fully melted. Leftovers keep for 3 days in the fridge.
9.Can I make these quesadillas in the air fryer instead of on the stovetop? ▾
Absolutely! Assemble your quesadillas, lightly spritz the outside of each tortilla with a little cooking spray, and air fry at 375°F for 4 to 5 minutes, flipping halfway through, until the tortilla is crispy and the cheese is oozing. This method cuts down on stovetop mess and gives an evenly crisp crust every time.
10.Why is my mac and cheese filling coming out grainy instead of creamy? ▾
Grainy mac and cheese usually happens when you heat the cheese too quickly over high heat, which causes milk proteins to separate. Shred your cheese finely, take the pan off the heat before stirring in the cheese, and add the milk a splash at a time while stirring constantly to get that smooth, creamy, non-grainy texture.
11.Can I make this recipe vegetarian, or swap dairy for non-dairy alternatives? ▾
For a vegetarian version, simply skip the bacon noted in the intro, or swap it for roasted broccoli or plant-based bacon crumbles. For dairy-free swaps, use unsweetened plain oat milk, dairy-free sharp cheddar shreds, and vegan butter—just note that dairy-free cheese may take 1 extra minute per side to fully melt.
12.How much filling should I put in each quesadilla to avoid mess when flipping? ▾
For 8-inch tortillas, stick to ⅓ cup of prepared mac and cheese plus 2 tablespoons of extra shredded cheddar per quesadilla, spread in an even thin layer leaving a ½-inch border around the edge. Overstuffing will cause filling to leak out into the pan and make the quesadilla nearly impossible to flip without tearing.
13.What dipping sauces pair best with mac and cheese quesadillas? ▾
These cozy quesadillas pair perfectly with simple, tangy dips that cut through the rich, cheesy flavor: try sour cream, mild restaurant-style salsa, ranch dressing, spicy chipotle crema, or even warm marinara. For an extra indulgent twist, serve with a small side of warm cheese sauce, though they’re plenty rich on their own.
14.Can I freeze assembled or cooked quesadillas for quick future meals? ▾
You can freeze fully cooked, cooled quesadillas for up to 2 months: wrap each tightly in plastic wrap, then store in a labeled freezer bag. Reheat directly from frozen in a skillet over medium-low heat for 4 minutes per side, no thawing needed. Don’t freeze uncooked assembled quesadillas, as the tortilla will turn soggy as it thaws.
15.Can I use boxed mac and cheese instead of making the filling from scratch to save time? ▾
Definitely, if you’re crunched for time! Use a standard 6-ounce box of cheddar mac and cheese, prepared per package instructions, and let it thicken for 2 minutes before using as your filling. You’ll still want to add the extra layer of freshly shredded cheddar inside the tortilla to get that perfect, stretchy cheese pull when you bite in.

Comments (7)

2 hours ago

OMG this mac and cheese quesadilla is a total game changer for weeknight dinners! My 3 kids devoured these in 5 minutes flat, I didn’t even have time to set out the salsa. The 15 minute cook time is no lie, perfect for those chaotic after soccer practice nights. Will be adding this to our regular meal rotation for sure!

30 minutes ago

Right?! I made these for my kid’s class potluck last week and every single parent asked for the recipe. I added a little crumbled bacon on the inside and it was chef’s kiss!

5 minutes ago

So glad your whole family loved it! Adding crumbled bacon is such a delicious, savory upgrade – we’re huge fans of that tweak too. Pro tip: a drizzle of hot honey on the side pairs amazing with the bacon version!

3 days ago

Bro this is so easy even I can’t mess it up. I only have a mini fridge and a tiny countertop griddle in my dorm and these came out SO good. Used the boxed white cheddar mac I had stashed under my bed, tossed in a little extra shredded cheese, crisped the tortilla perfectly. 10/10 late night study snack hack.

2 days ago

Love this dorm-friendly hack! Boxed mac works perfectly here, no fancy ingredients or equipment required. So stoked this made your late night study rotation!

1 week ago

Made these for our neighborhood block party last weekend and they were a huge hit! I cut them into little triangle bites as appetizers and they were gone within 10 minutes of me setting the platter down. Only reason I’m not giving 5 stars is I wish the recipe had a little section with recommended dipping sauces – I served them with sour cream and buffalo sauce but would love more pairing ideas!

5 days ago

Total game changer. I prepped a big batch of these on Sunday, wrapped them individually in foil, and grabbed one for lunch every day this week. They reheat perfectly in the office microwave – the tortilla stays a little crispy, the mac is still creamy, no weird soggy mess like other meal prep quesadillas I’ve tried. Will be making these monthly for work lunches for sure.

3 days ago

Wait how do you reheat them without them getting soggy? I tried making regular cheese quesadillas for meal prep a few months back and they turned mushy by Tuesday!

yesterday

Y’all are sleeping on adding pickled jalapeños to these! I threw a handful of sliced pickled jalapeños in with the mac and cheese before folding the tortilla over and the tangy heat cuts through the richness so perfectly. My roommate walked in, smelled them, and begged me to make him a second one. SO good, 10/10 easy recipe.

2 hours ago

Oh my gosh that sounds incredible! I have a jar of pickled jalapeños in my fridge right now, I’m definitely adding those when I make these tonight. Do you use flour or corn tortillas?

30 minutes ago

The pickled jalapeño addition is genius! We usually use flour tortillas for that perfect soft, crispy chew, but corn tortillas work great too if you prefer that nuttier flavor. Let us know how they turn out tonight!

30 minutes ago

I’m literally the worst at cooking and I was able to pull these off! I was worried I’d burn the tortilla or the mac and cheese would ooze out everywhere, but it was so straightforward. I used leftover mac and cheese from last night’s dinner and it tasted even better in the quesadilla. My boyfriend said it’s the best thing I’ve ever made him lol

just now

Leftover mac is the secret! I do this all the time after Thanksgiving when we have a ton of leftover baked mac, it’s next level.

2 weeks ago

Made a veggie version of these for my meat-free Monday dinner! I used vegan mac and cheese, added some roasted broccoli bits inside, and used a whole wheat tortilla. It was so creamy and satisfying I didn’t even miss the dairy. Super easy to customize for different diets, love that!



