
making bacon from pork belly
intro
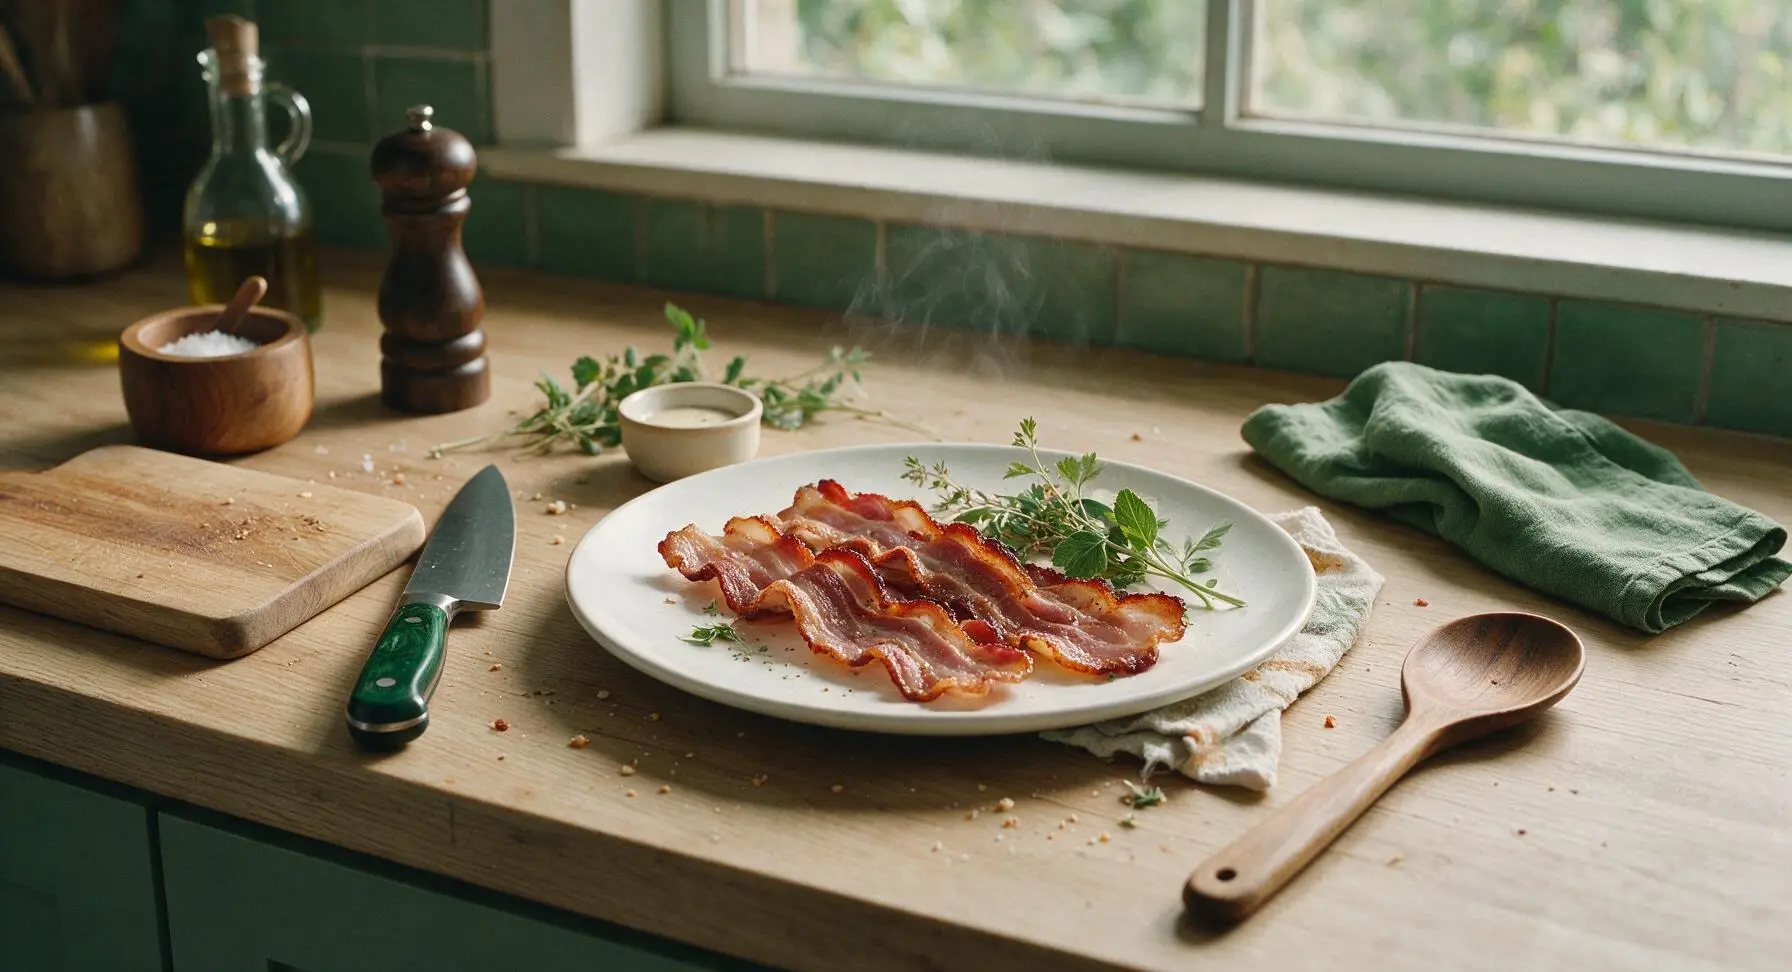
Rich, smoky, perfectly salty homemade bacon cured from pork belly, far more flavorful than store-bought, with crisp rendered edges and tender, meaty bites perfect for breakfast, sandwiches, and more.
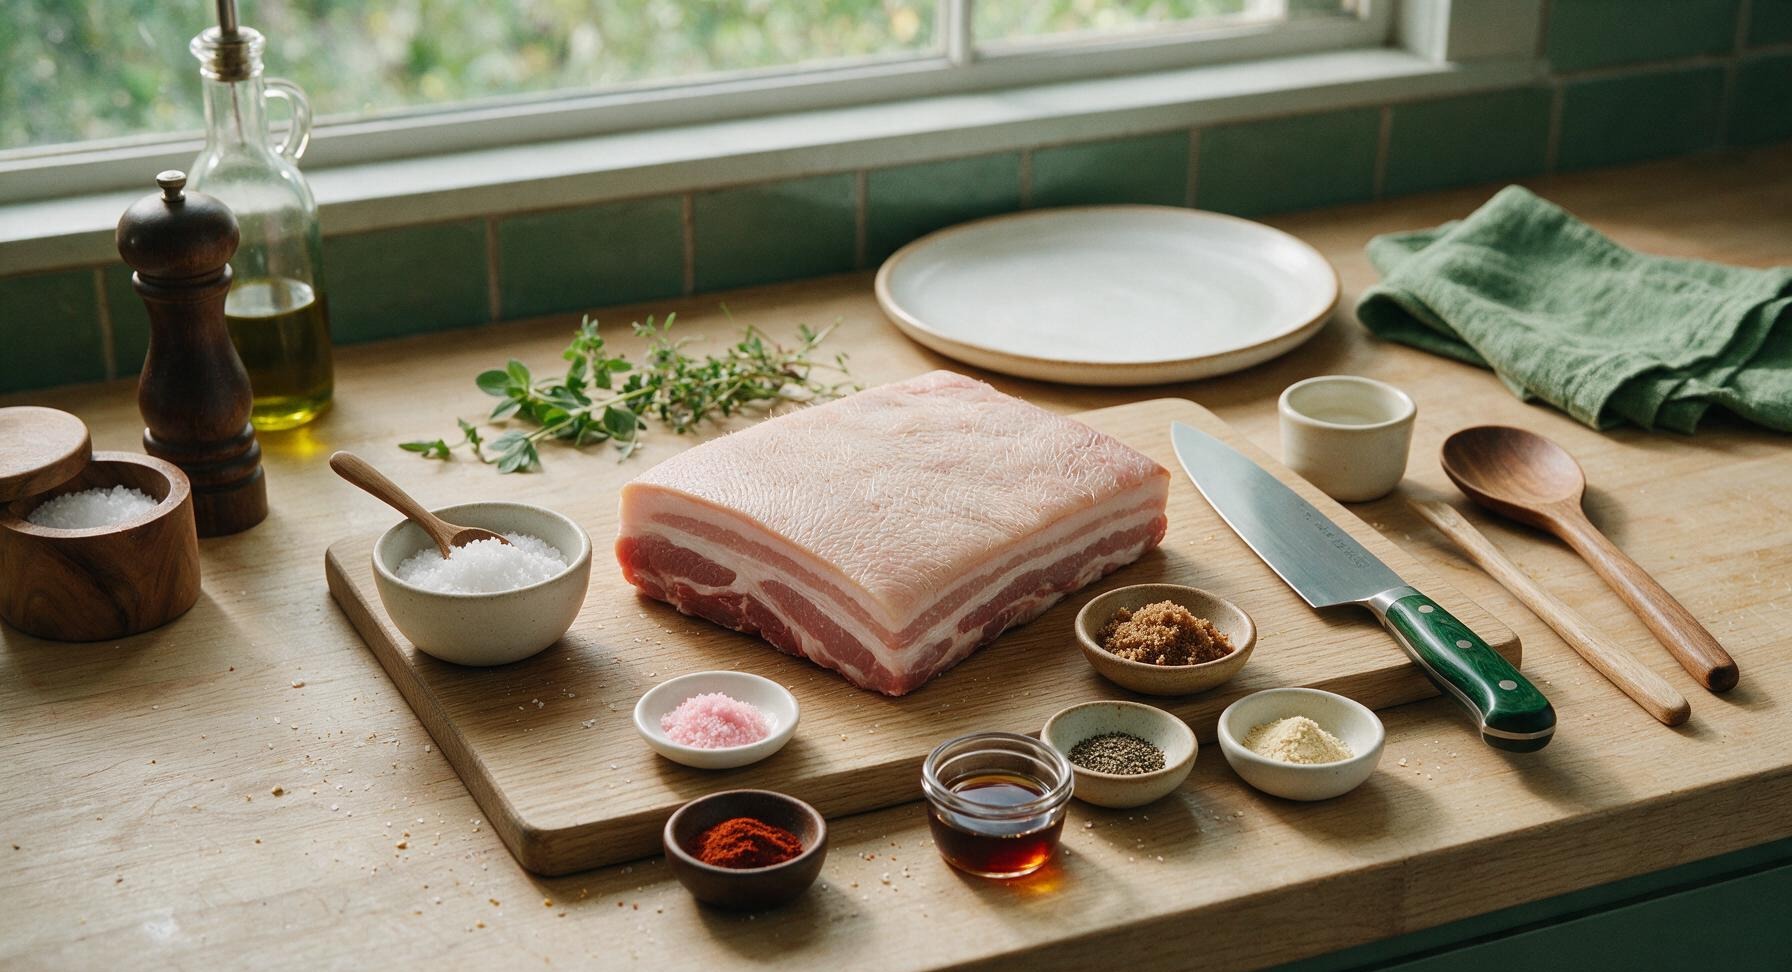
Ingredients
Steps
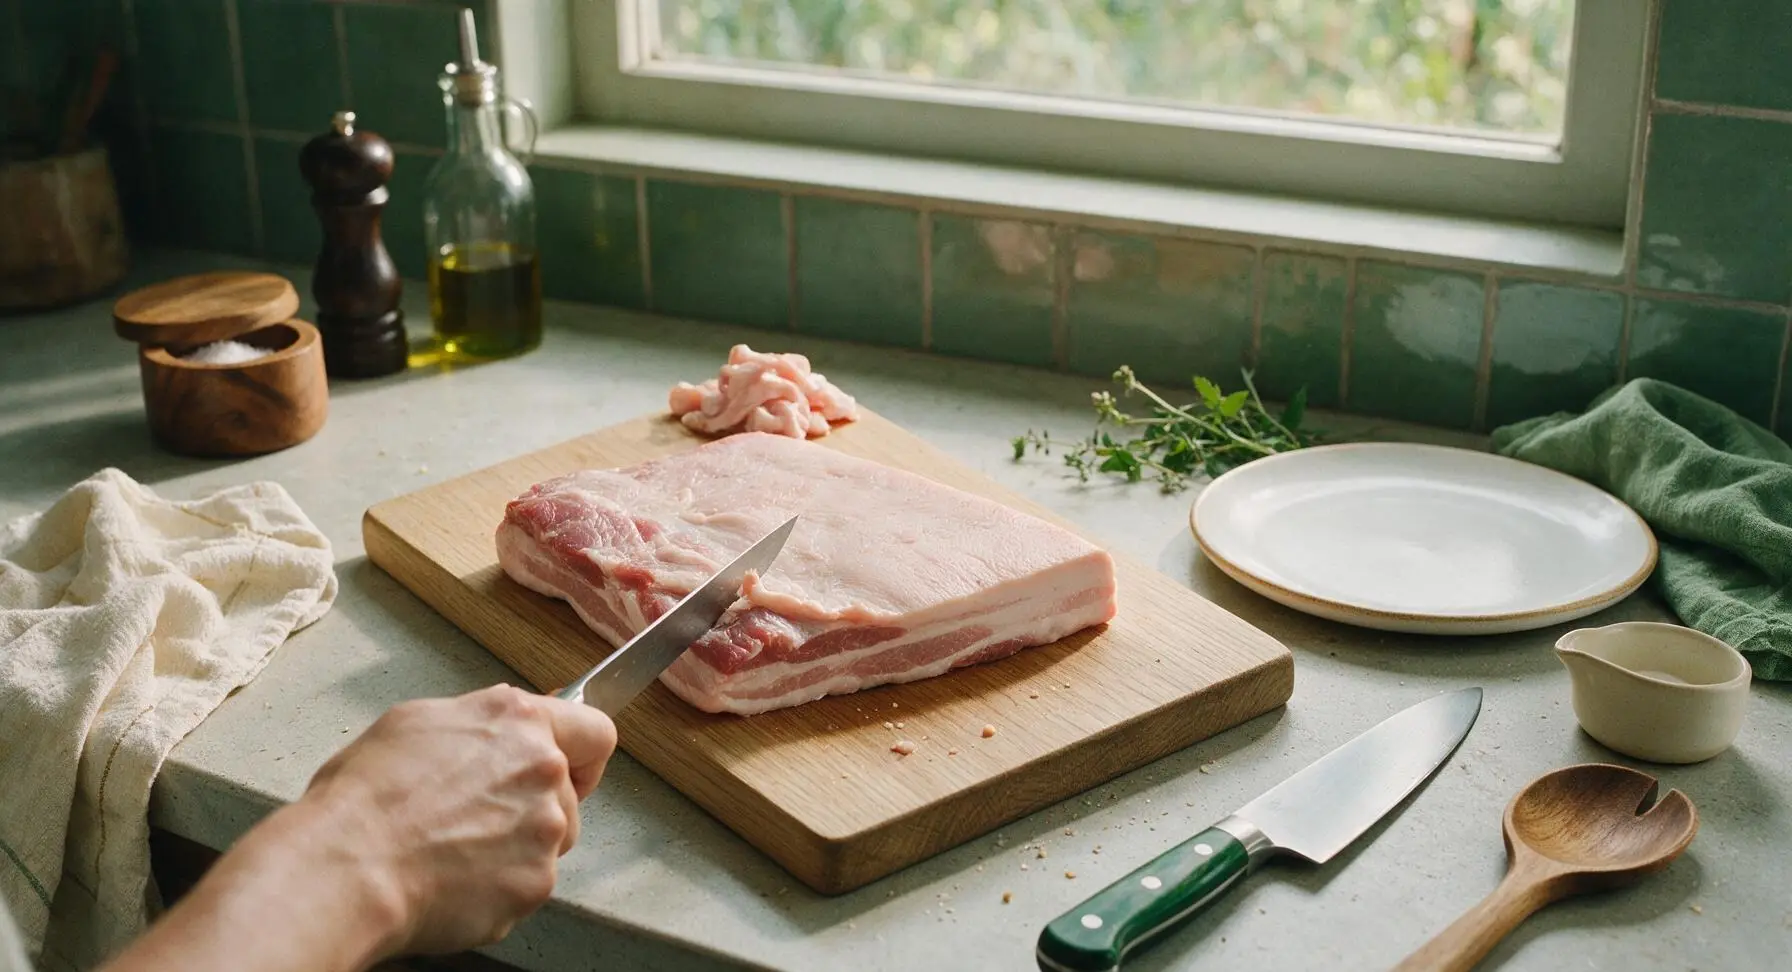
Trim Pork Belly Slab
Place the 1kg skin-on pork belly on the light bamboo cutting board. Use the 6-inch stainless steel boning knife to trim any ragged edges, loose fat, or remaining silver skin from the meat side. Leave the skin intact, and trim the fat cap to a uniform 1/2 inch thickness across the entire slab for even curing and cooking. Pat the entire surface completely dry with the cream cotton kitchen towel.
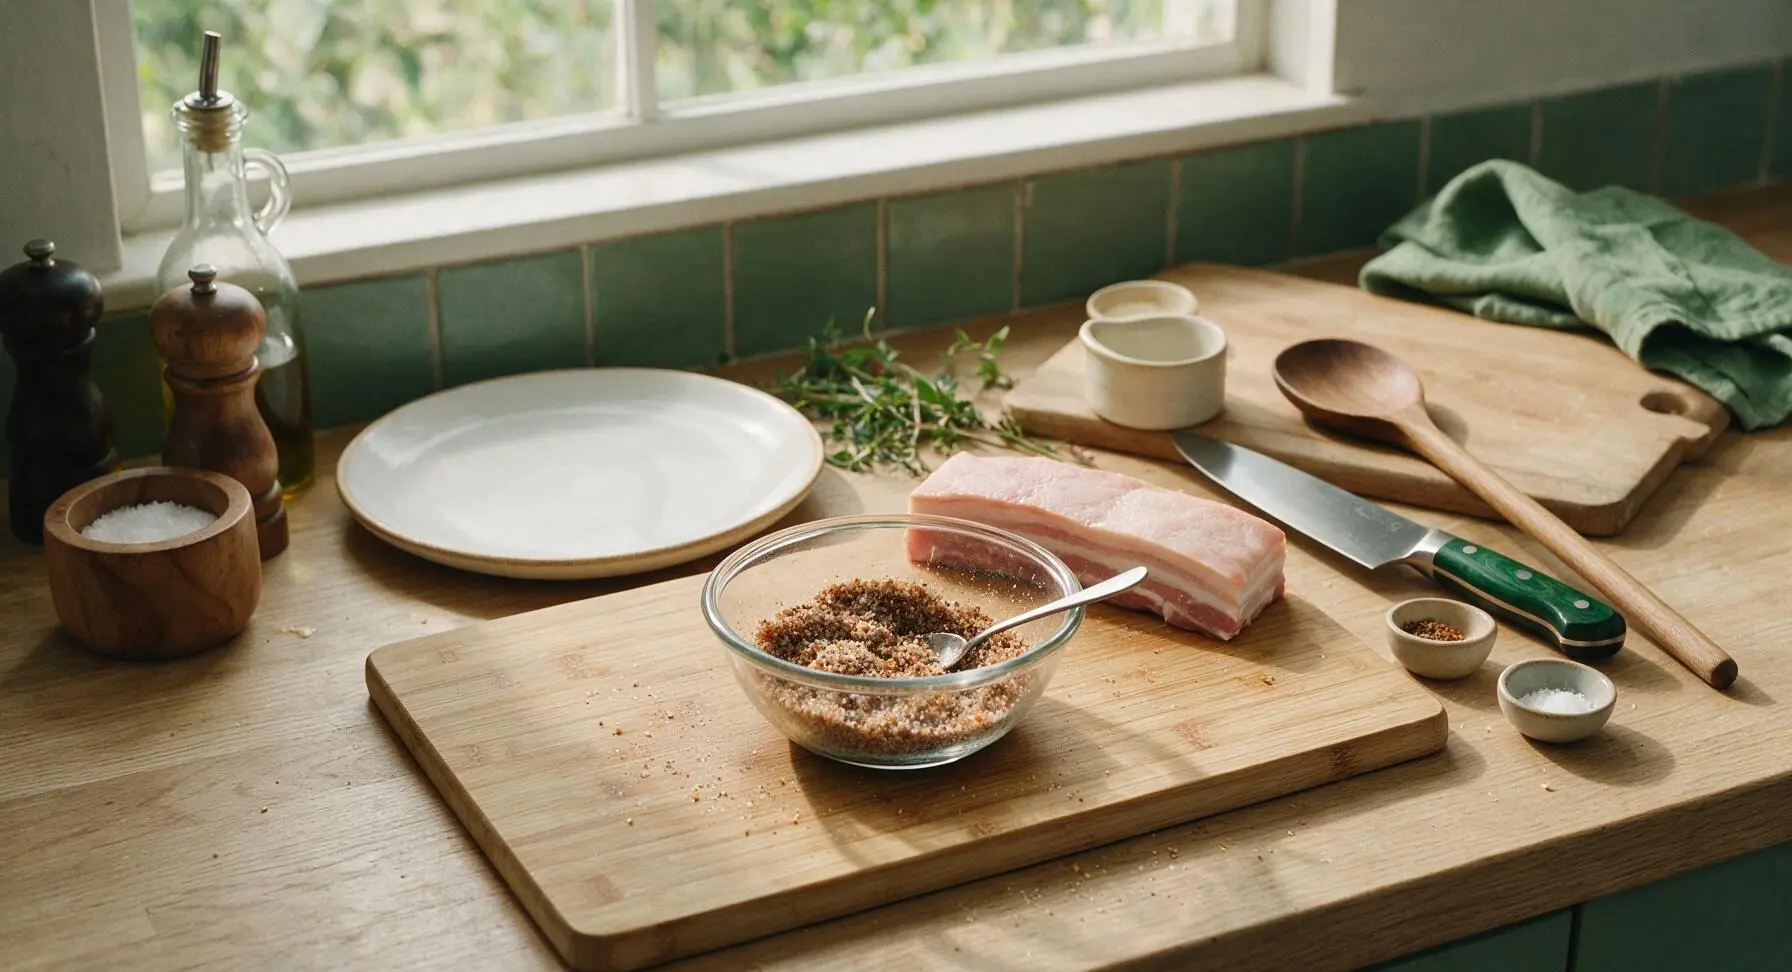
Mix Curing Seasonings
In the small clear glass mixing bowl, combine 3 tbsp coarse kosher salt, 1 tsp pink curing salt #1, 2 tbsp dark brown sugar, 1 tsp smoked paprika, 1 tsp freshly ground black pepper, 1/2 tsp garlic powder, and 1 tbsp pure maple syrup. Stir thoroughly with a small stainless steel spoon until the mixture forms a damp, evenly combined sand-like texture, with no clumps of brown sugar or curing salt remaining.
Rub Cure All Over
Scoop half the curing mixture and rub it firmly and evenly across every surface of the pork belly, including the sides, fat cap, and skin side. Press the cure into the meat so it adheres fully, with no bare spots remaining. Use the entire batch of cure for full, uniform coverage.
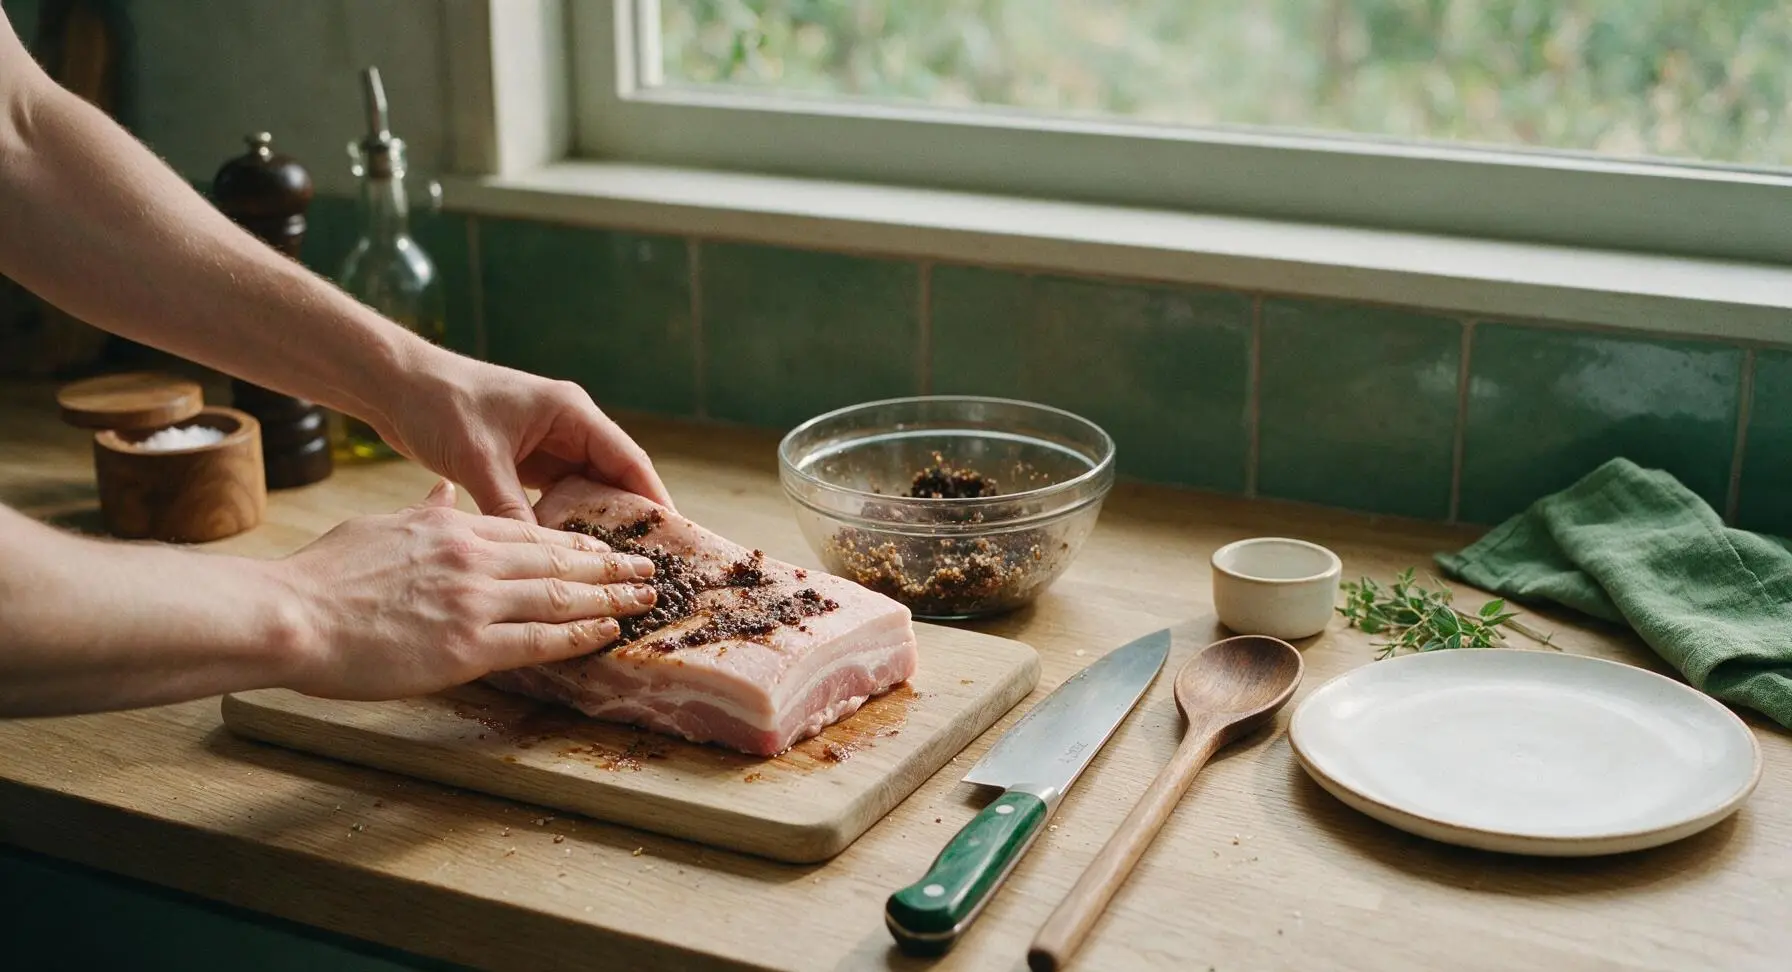
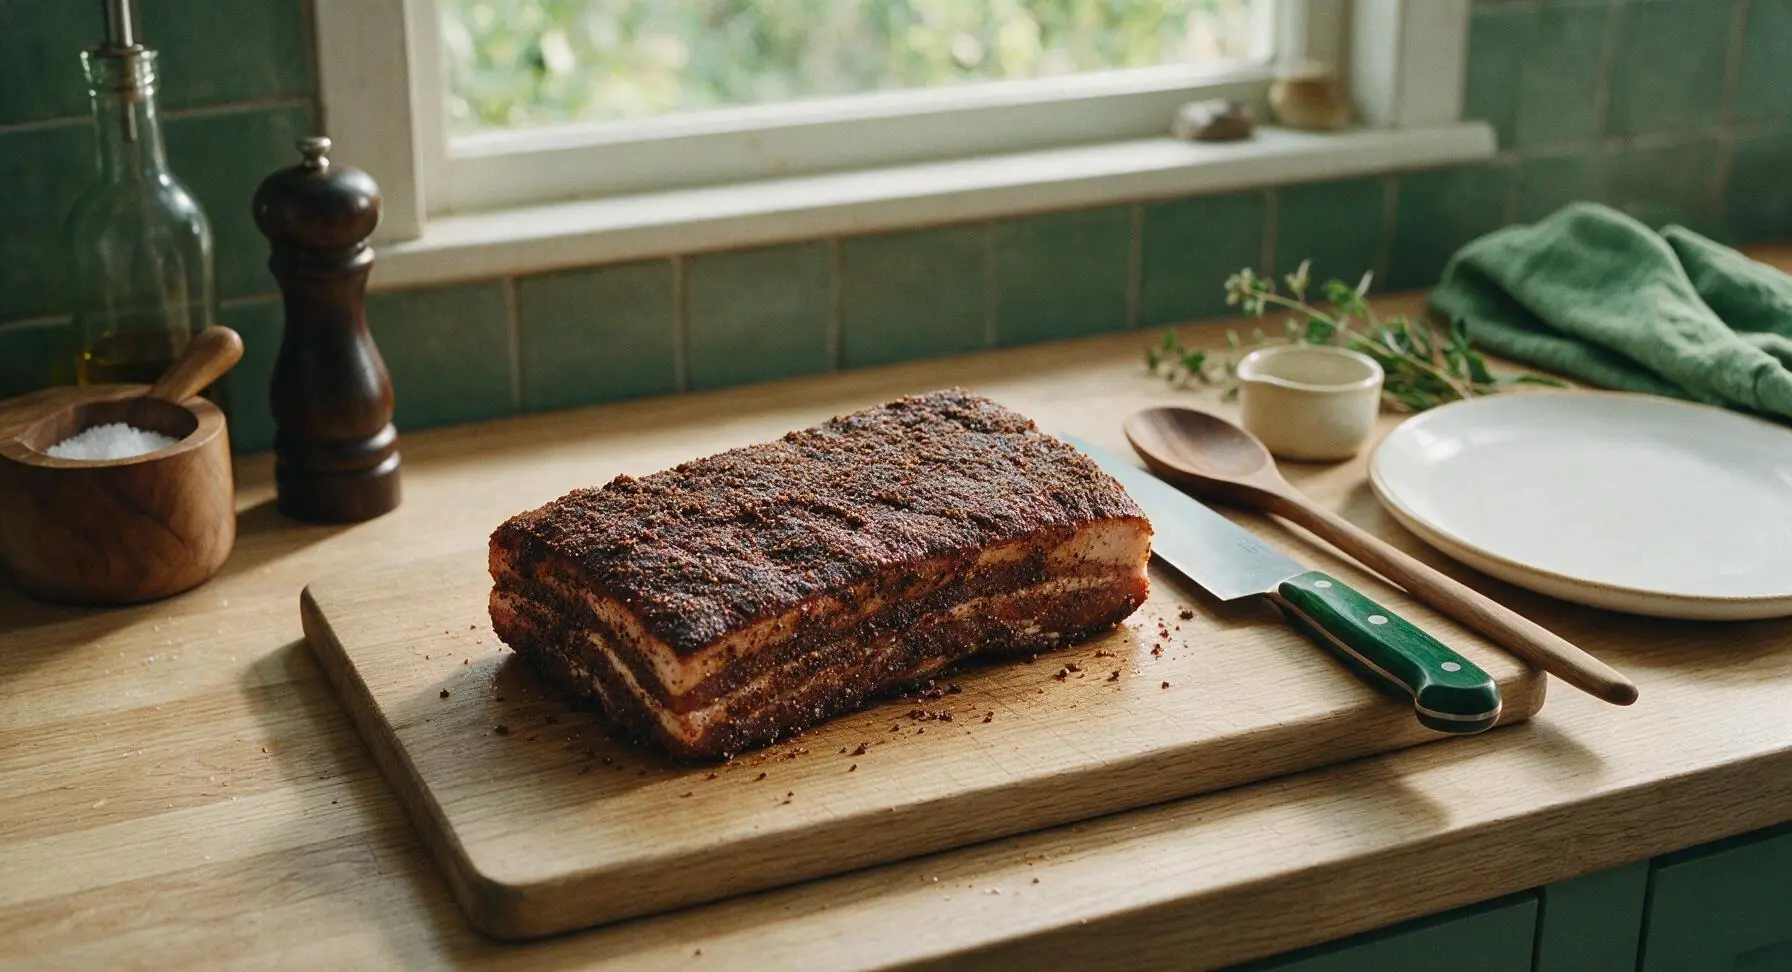
Cure for Seven Days
Place the cure-coated pork belly in the clear 2L food-safe curing container, seal tightly with the lid, and place on the lowest shelf of the refrigerator. Leave the belly to cure for 7 full days, flipping the slab over every 2 days to redistribute the liquid that leaches out of the meat. The belly will feel firm to the touch when fully cured, with no soft, squishy raw spots remaining.
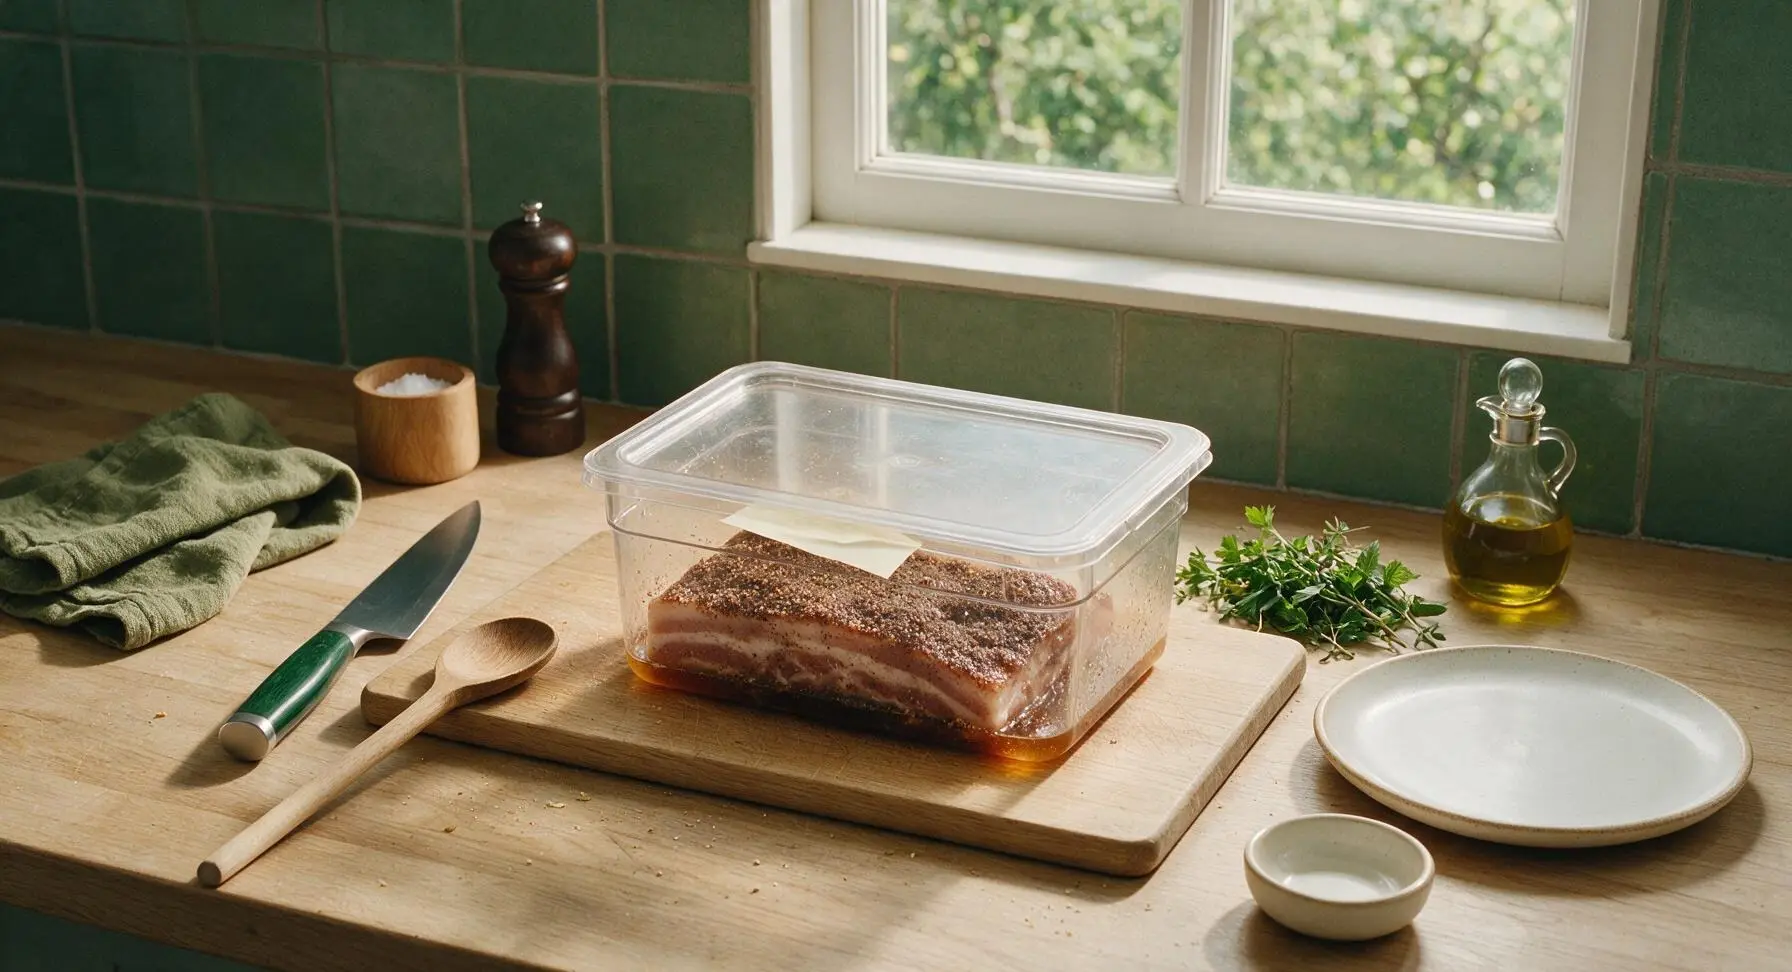
Rinse and Pat Dry
After 7 days of curing, remove the pork belly from the container. Rinse all surface cure off completely under cool running water, then pat the entire slab completely dry with the cotton kitchen towel. Set the rinsed, dried belly on the bamboo cutting board, and leave it uncovered on a fridge shelf for 12 hours (or overnight) to form a dry, slightly tacky pellicle on the surface, which helps smoke and flavor adhere during cooking.
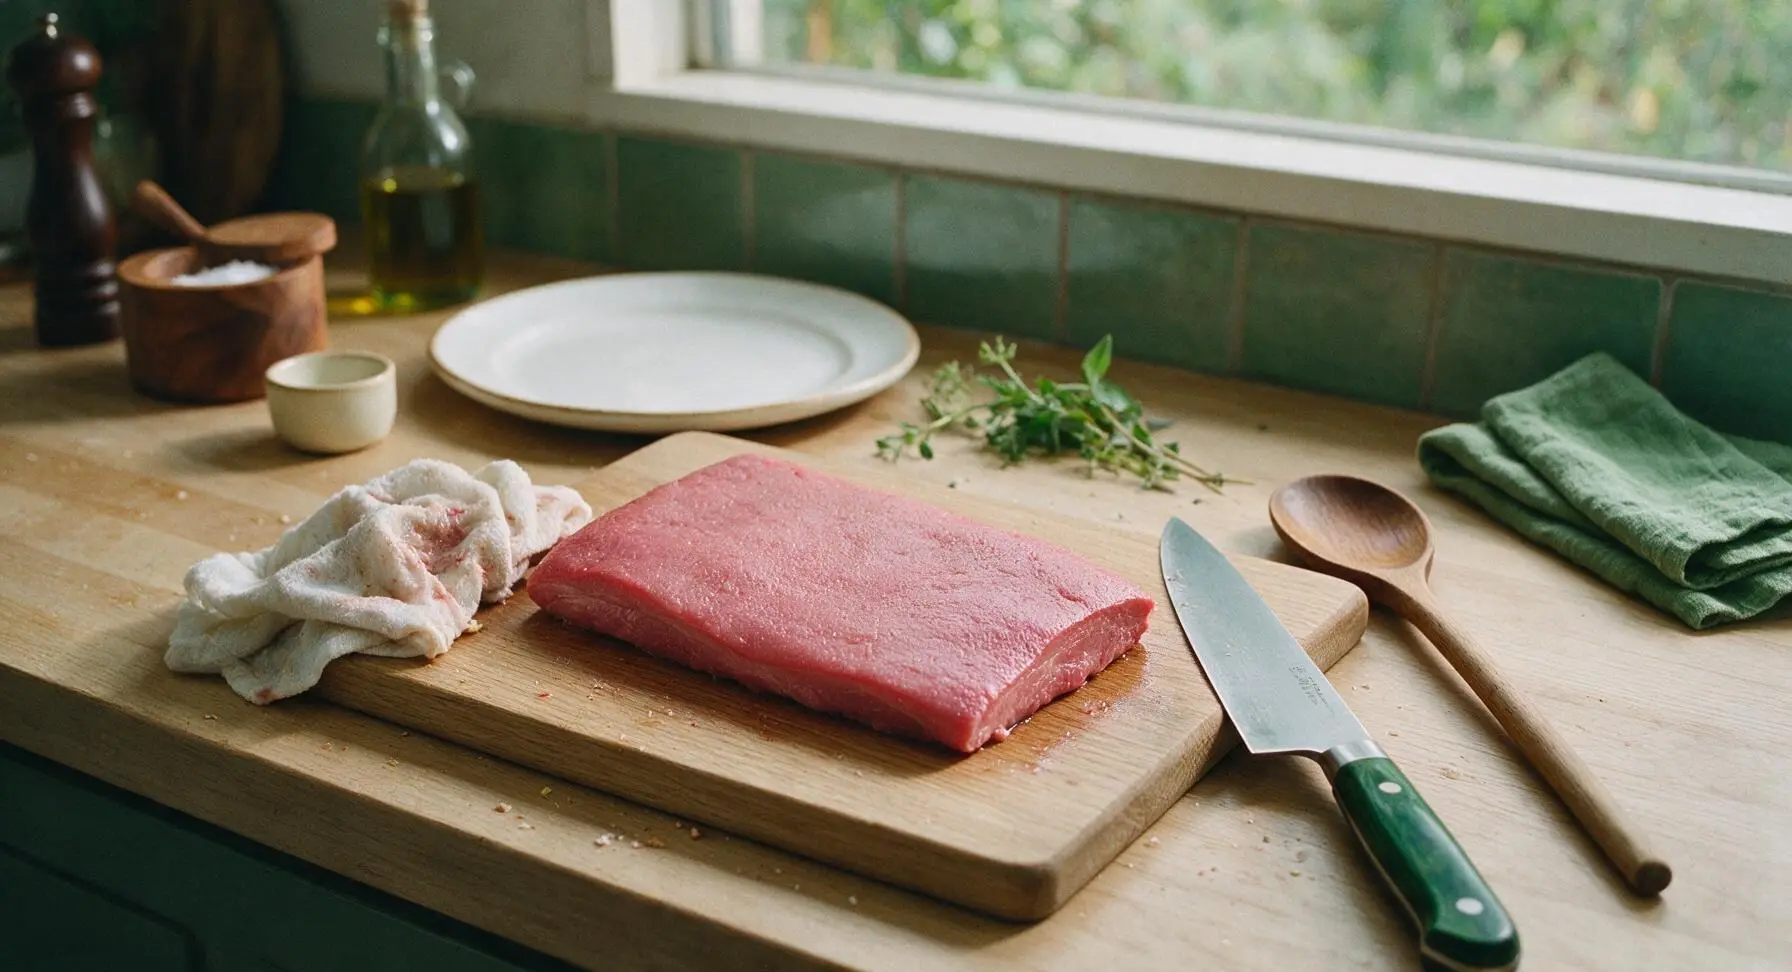
Arrange on Baking Rack
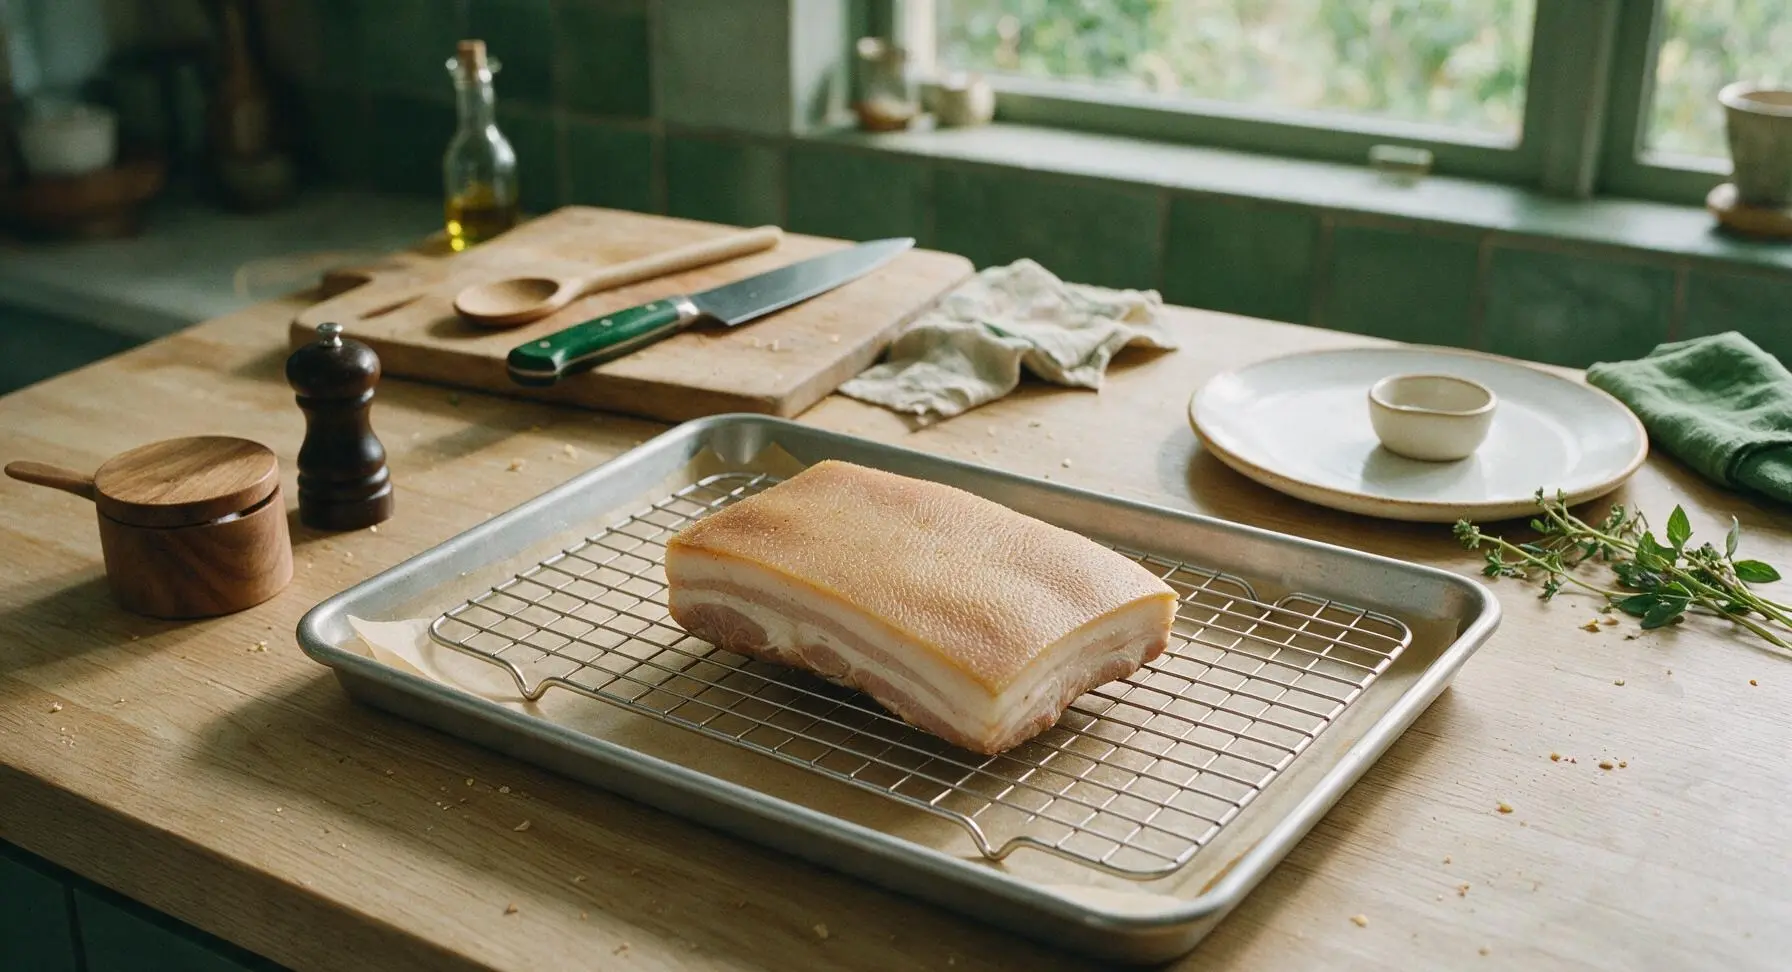
Place the stainless steel wire cooling rack inside the rimmed aluminum baking sheet lined with unbleached parchment paper. Set the cured, dried pork belly skin-side up on top of the rack, making sure no part of the slab touches the baking sheet surface, to allow even air flow all around during cooking. Preheat oven to 200°F (95°C).
Slow Cook to Temp
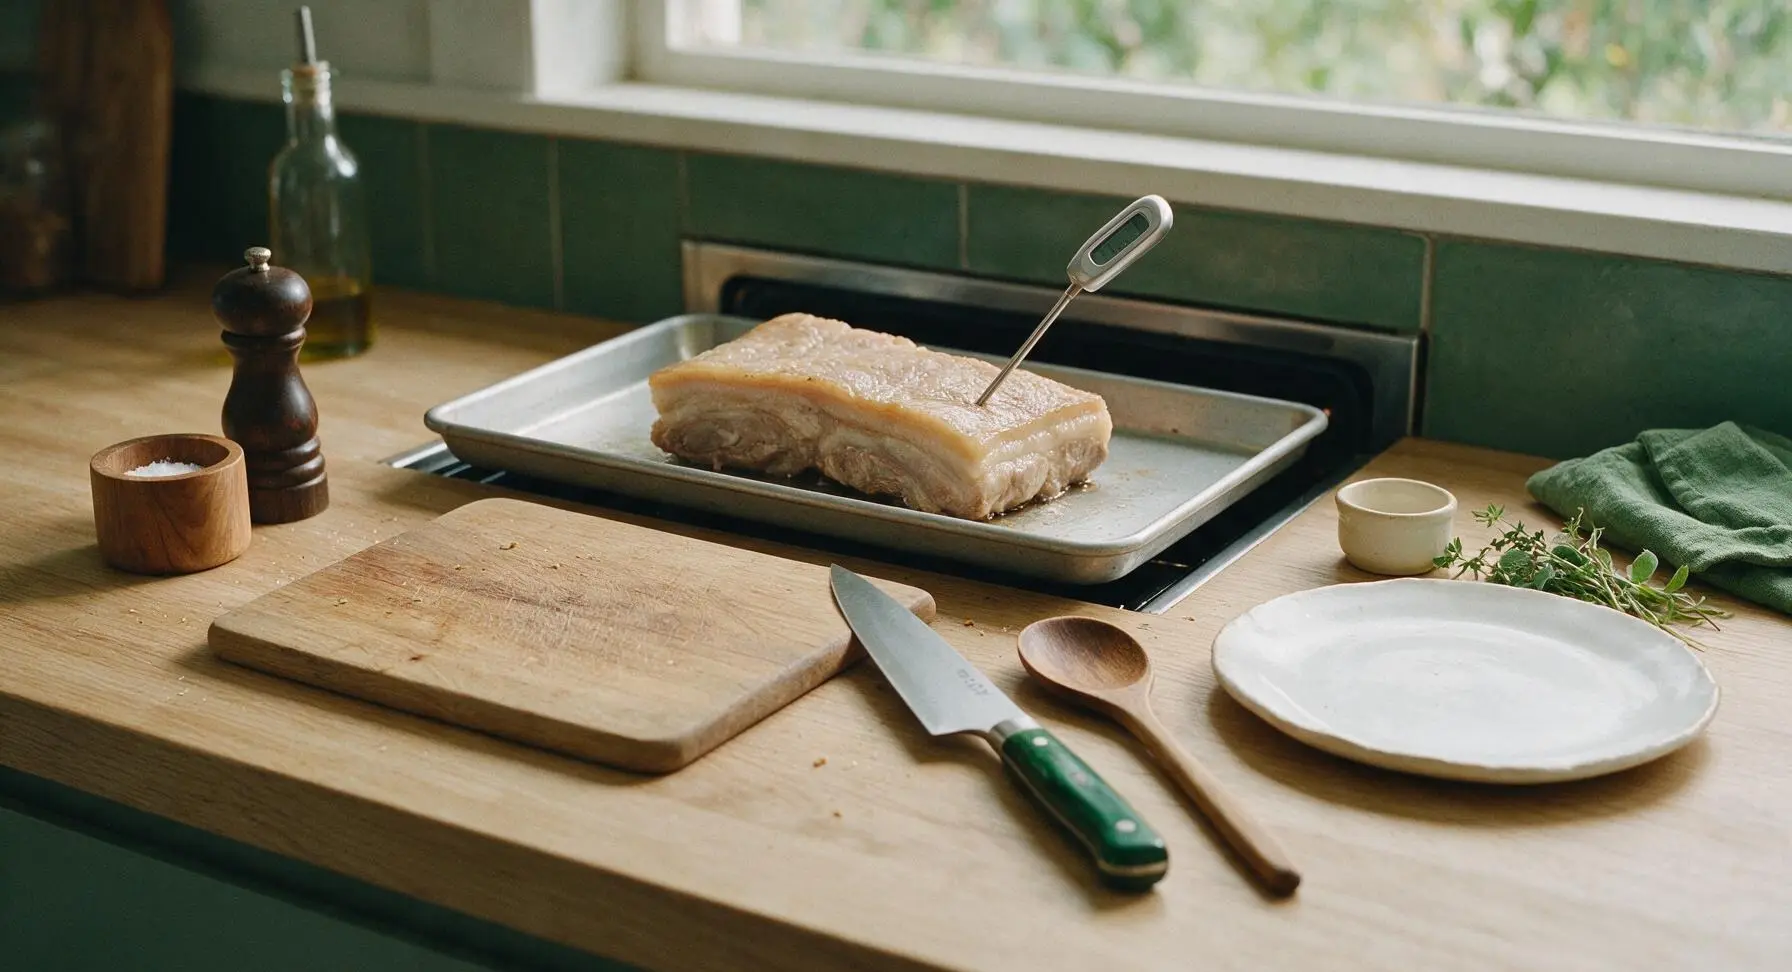
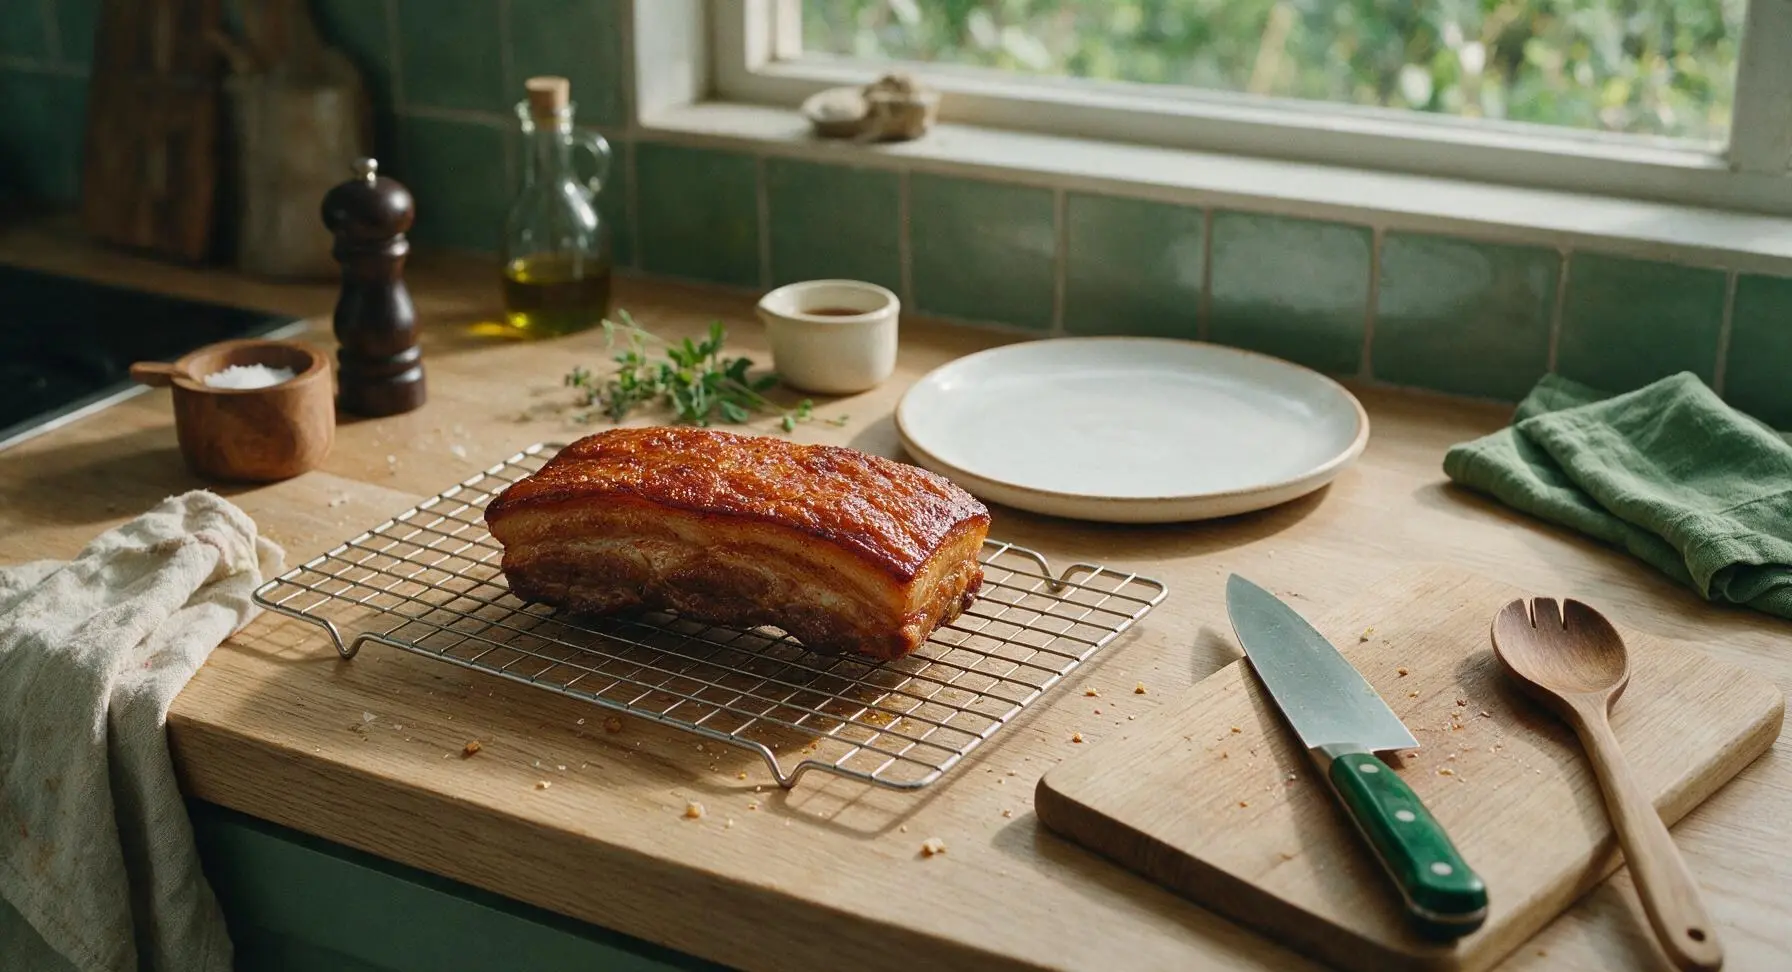
Place the baking sheet with the pork belly in the preheated 200°F (95°C) oven. Cook for 1.5 to 2 hours, checking internal temperature with the digital instant-read thermometer until the thickest part of the slab reaches 150°F (66°C). Do not cook at a higher temperature, as this will cause the fat to render out too quickly and result in tough, dry bacon.
Slice and Crisp Bacon
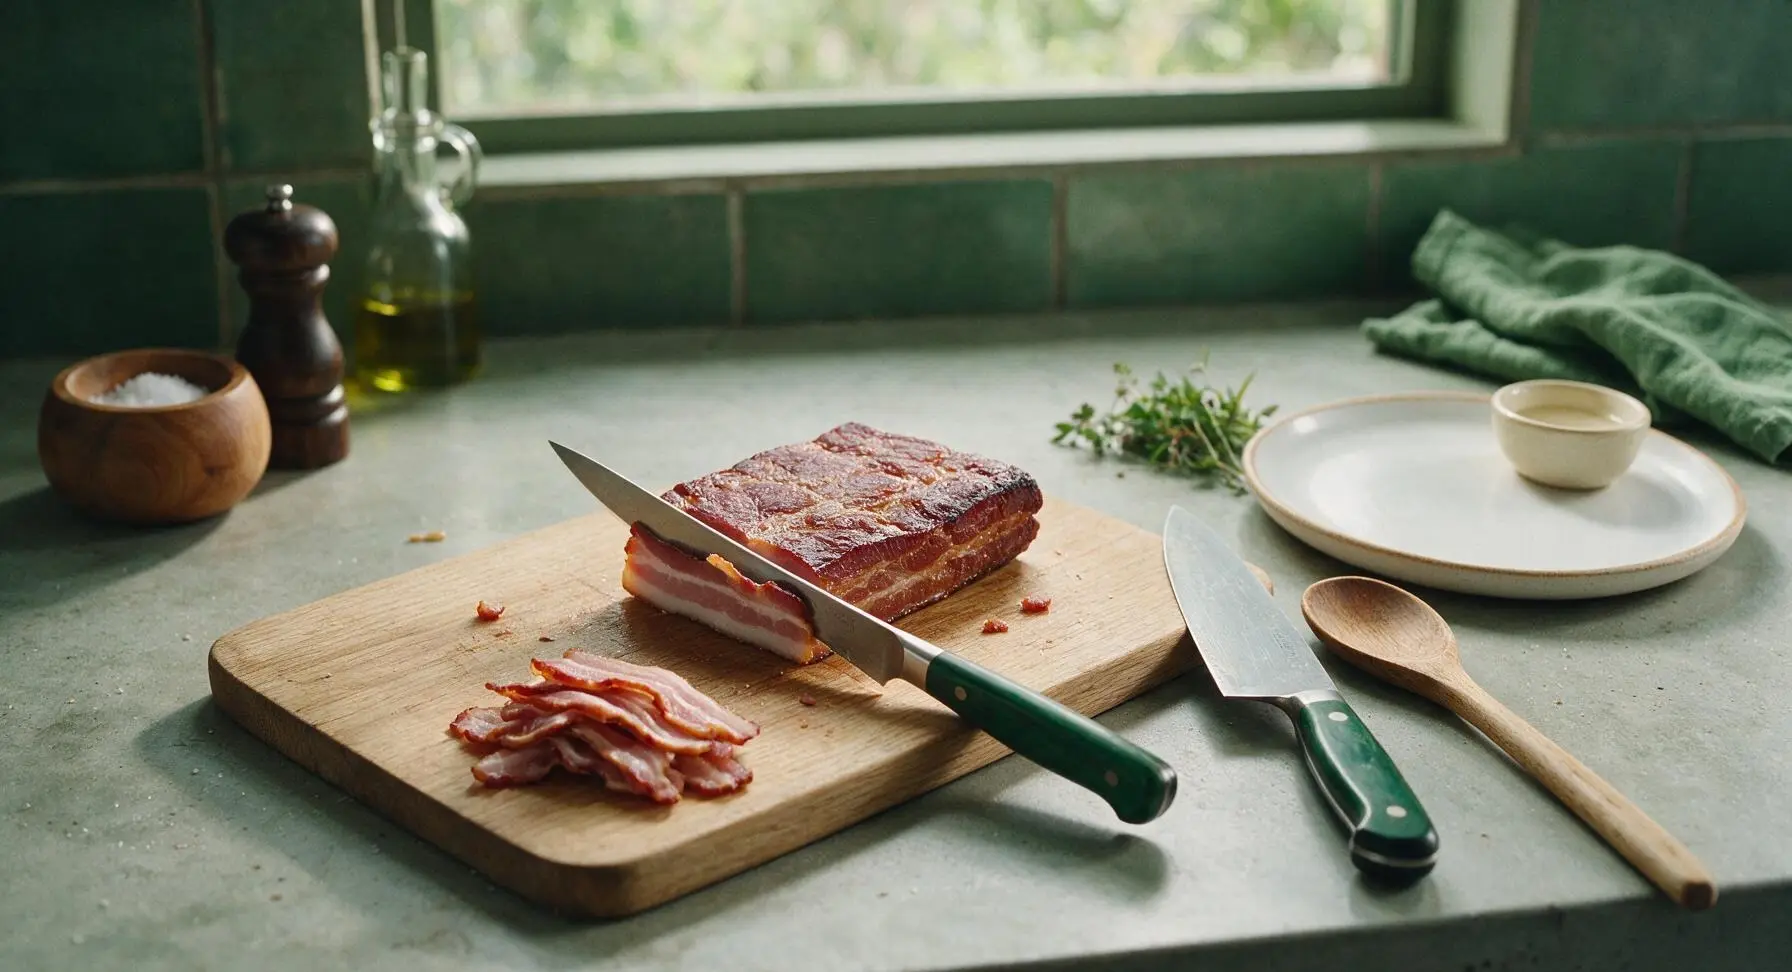
Once the cooked bacon slab is fully cooled, place it back on the bamboo cutting board. Use the 6-inch boning knife to slice the bacon against the grain into 1/8-inch thick strips, cutting through the skin and fat evenly. Cook slices in a skillet over medium heat for 2-3 minutes per side until crisp to your preference, or store unsliced in the fridge for up to 2 weeks, or freezer for up to 3 months.
Tips
2.The 12-hour uncovered fridge drying step to form a tacky pellicle is non-negotiable if you plan to smoke your bacon (swap oven cooking for 2 hours of applewood or hickory smoking at 200°F) — the dry surface traps smoke particles for a deeper, more even smoky flavor without bitter, sooty spots.
3.Let the cooked bacon slab cool completely (and even chill for 1 hour in the fridge, or freeze for 15 minutes) before slicing: warm bacon will tear and slice into uneven, ragged strips, while firm, chilled bacon cuts into perfectly uniform thin slices that crisp evenly without curling excessively when pan-fried.






OMG y’all, this homemade bacon is a total game changer! I made a batch for our weekend family brunch and even my super picky 10-year-old asked for seconds. The cure ratio was perfect—not too salty, just enough smoky flavor when I cooked it on my pellet grill. I was so nervous it’d be too fussy for a medium-difficulty recipe but the steps were super straightforward! Already prepped a second pork belly to make more for next week’s meal prep, it’s SO good.
Made this for our neighborhood potluck last weekend and people were literally hovering around the platter the whole time! The only tweak I made was adding a little extra cracked black pepper and a pinch of maple syrup to the cure for that perfect sweet-savory kick. Cook time was right at 2 hours like the recipe said, which was a total lifesaver because I was juggling three other dishes that day. Never going back to store-bought bacon, this is way better!
I was so intimidated to try making bacon at home since I’m still pretty new to cooking from scratch, but this recipe broke every step down so clearly! Just pulled my first batch out of the oven and it smells insane—can’t wait to slice it up thick for breakfast sandwiches all work week. Total game changer for my Sunday meal prep, no more shelling out for overpriced grocery store bacon for me!