
Malted Milk Biscuits

title 1
Malted Milk Biscuits
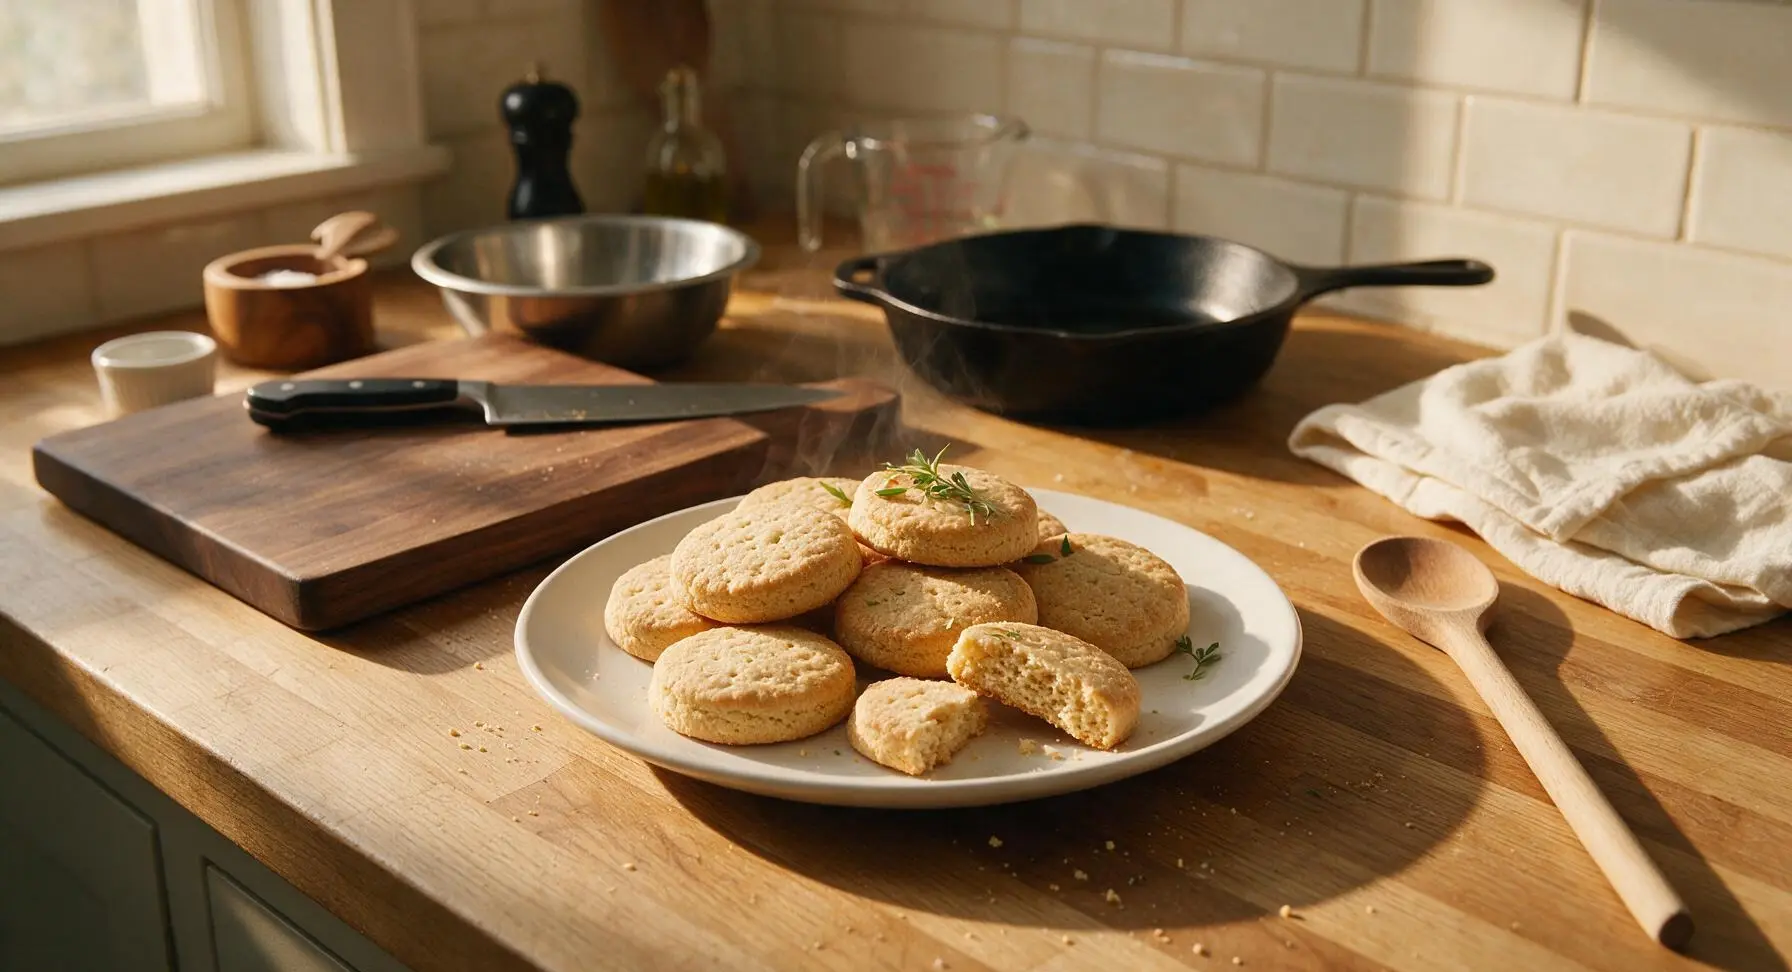
⏱️ cook time 12 minutes
🍽️ servings 12
⚡ Difficulty easy

intro

Buttery, tender-crumbed classic British biscuits with warm toasty malt flavor, lightly sweet, perfect for tea dipping or stacking in holiday cookie tins.

Ingredients
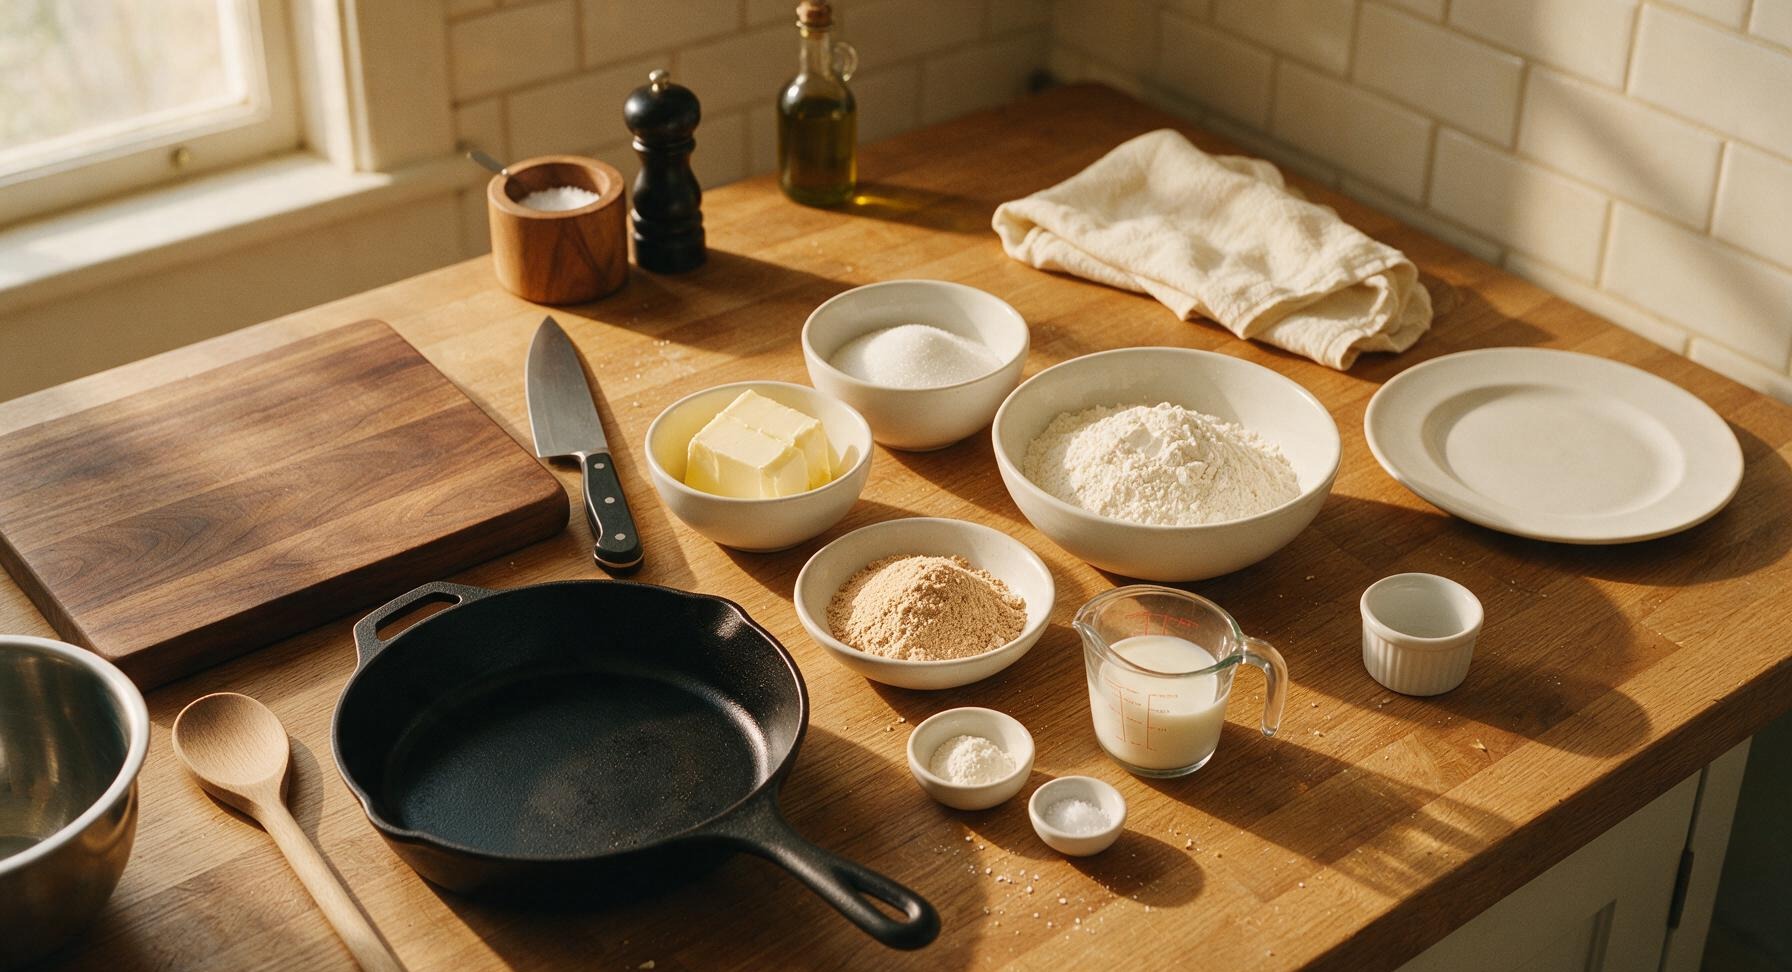
Unsalted butter (softened) 115g (1 stick)
Caster sugar 75g
All-purpose (plain) flour 200g
Barley malted milk powder 50g
Whole milk 2 tbsp (30ml)
Baking powder 1/2 tsp
Fine sea salt 1/4 tsp

Steps

1

Cream Butter and Sugar

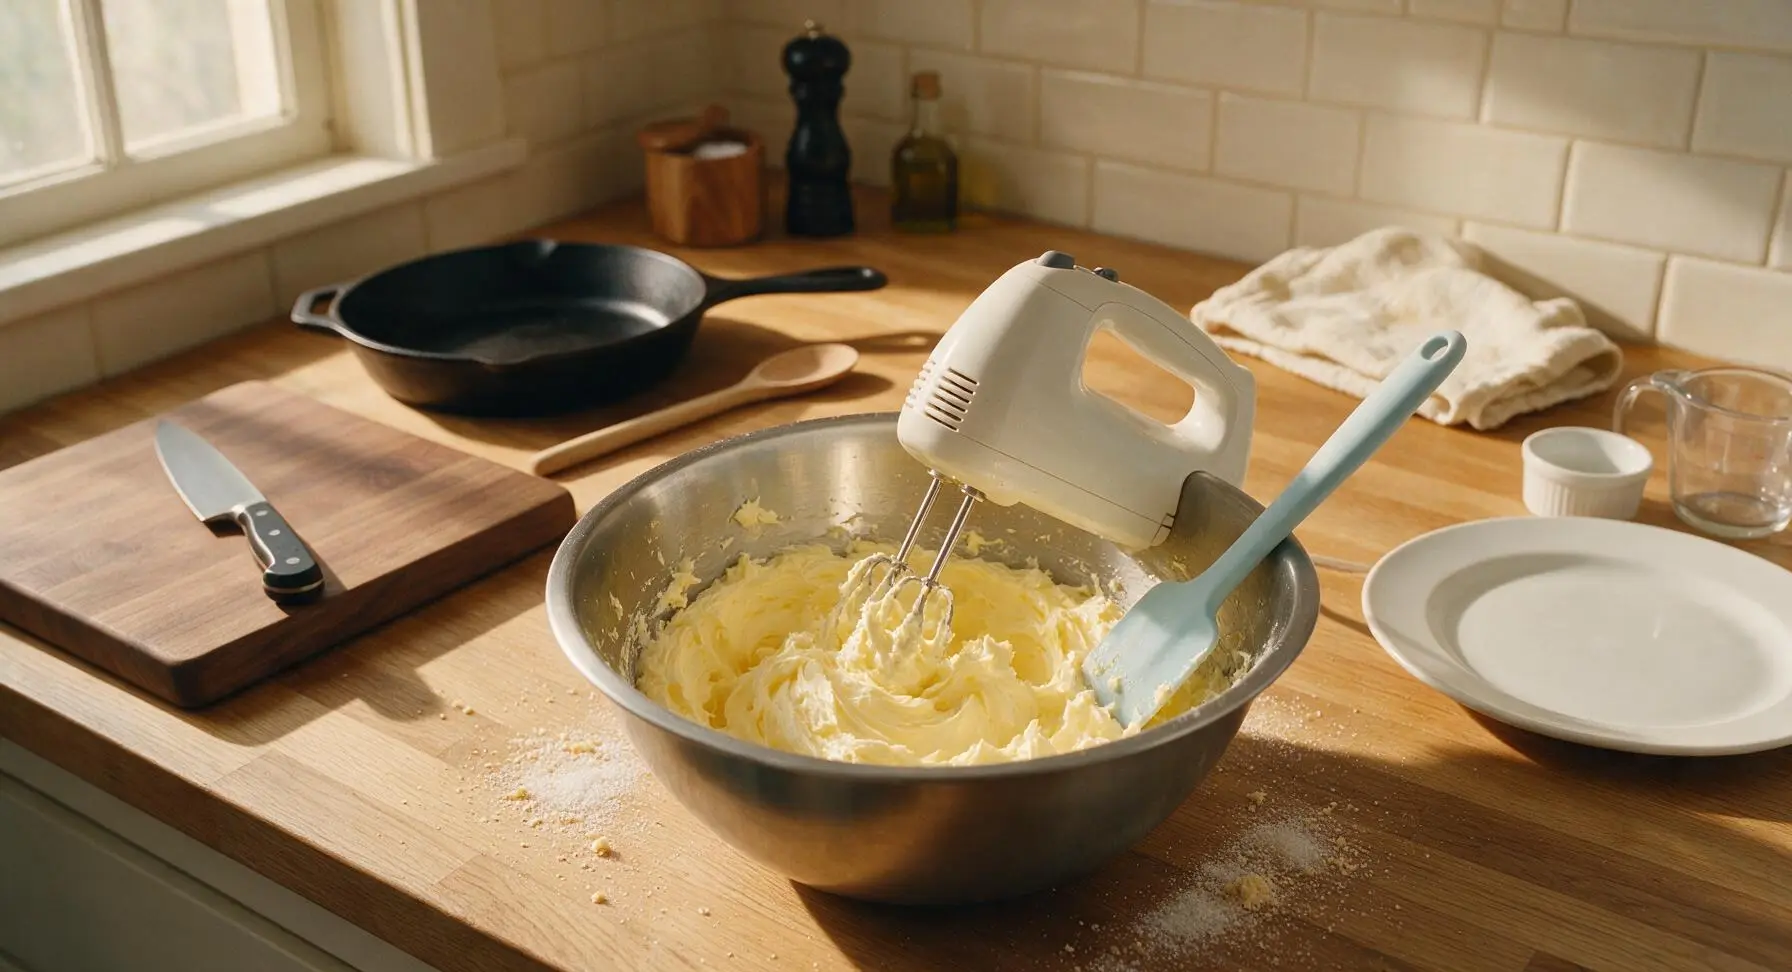
Place 115g softened unsalted butter and 75g caster sugar into the large brushed stainless steel mixing bowl. Using the matte white handheld electric mixer on medium speed, beat the mixture for 2–3 minutes until it turns pale lemon-yellow, light, and fluffy. Pause once halfway through to scrape down the bowl sides with the pale sky blue silicone spatula to ensure even mixing. The finished creamed mixture will hold soft peaks when the beaters are lifted, with no gritty undissolved sugar felt when a small amount is rubbed between your fingers.
Step 1
step1:Cream Butter and Sugar
2

Sift Dry Ingredients

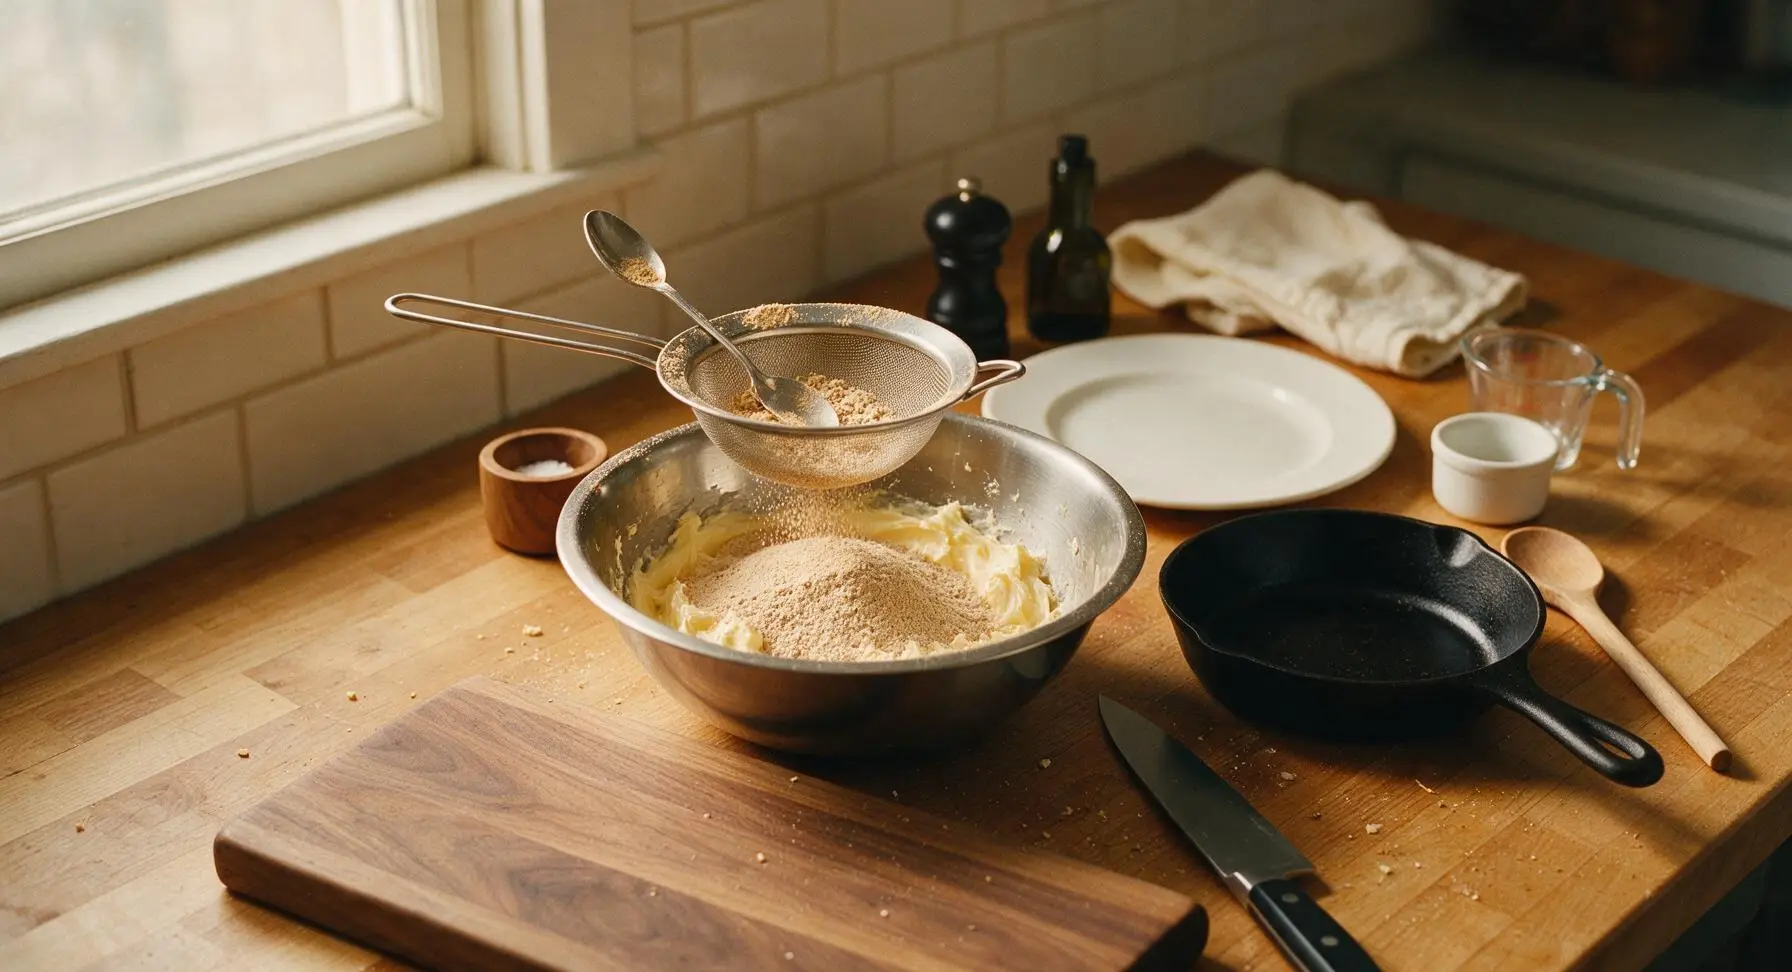
Rest the 15cm fine-mesh stainless steel sieve over the top of the mixing bowl with creamed butter. Add 200g all-purpose flour, 50g malted milk powder, 1/2 tsp baking powder, and 1/4 tsp fine sea salt to the sieve. Tap the sieve edge gently with the polished stainless steel teaspoon to sift all dry ingredients evenly into the bowl, breaking up any small lumps of malt powder with the back of the spoon as you work. The sifted dry ingredients will form a soft, tan-tinged powdery mound on top of the creamed butter base.
Step 2
step2:Sift Dry Ingredients
3

Form Smooth Dough

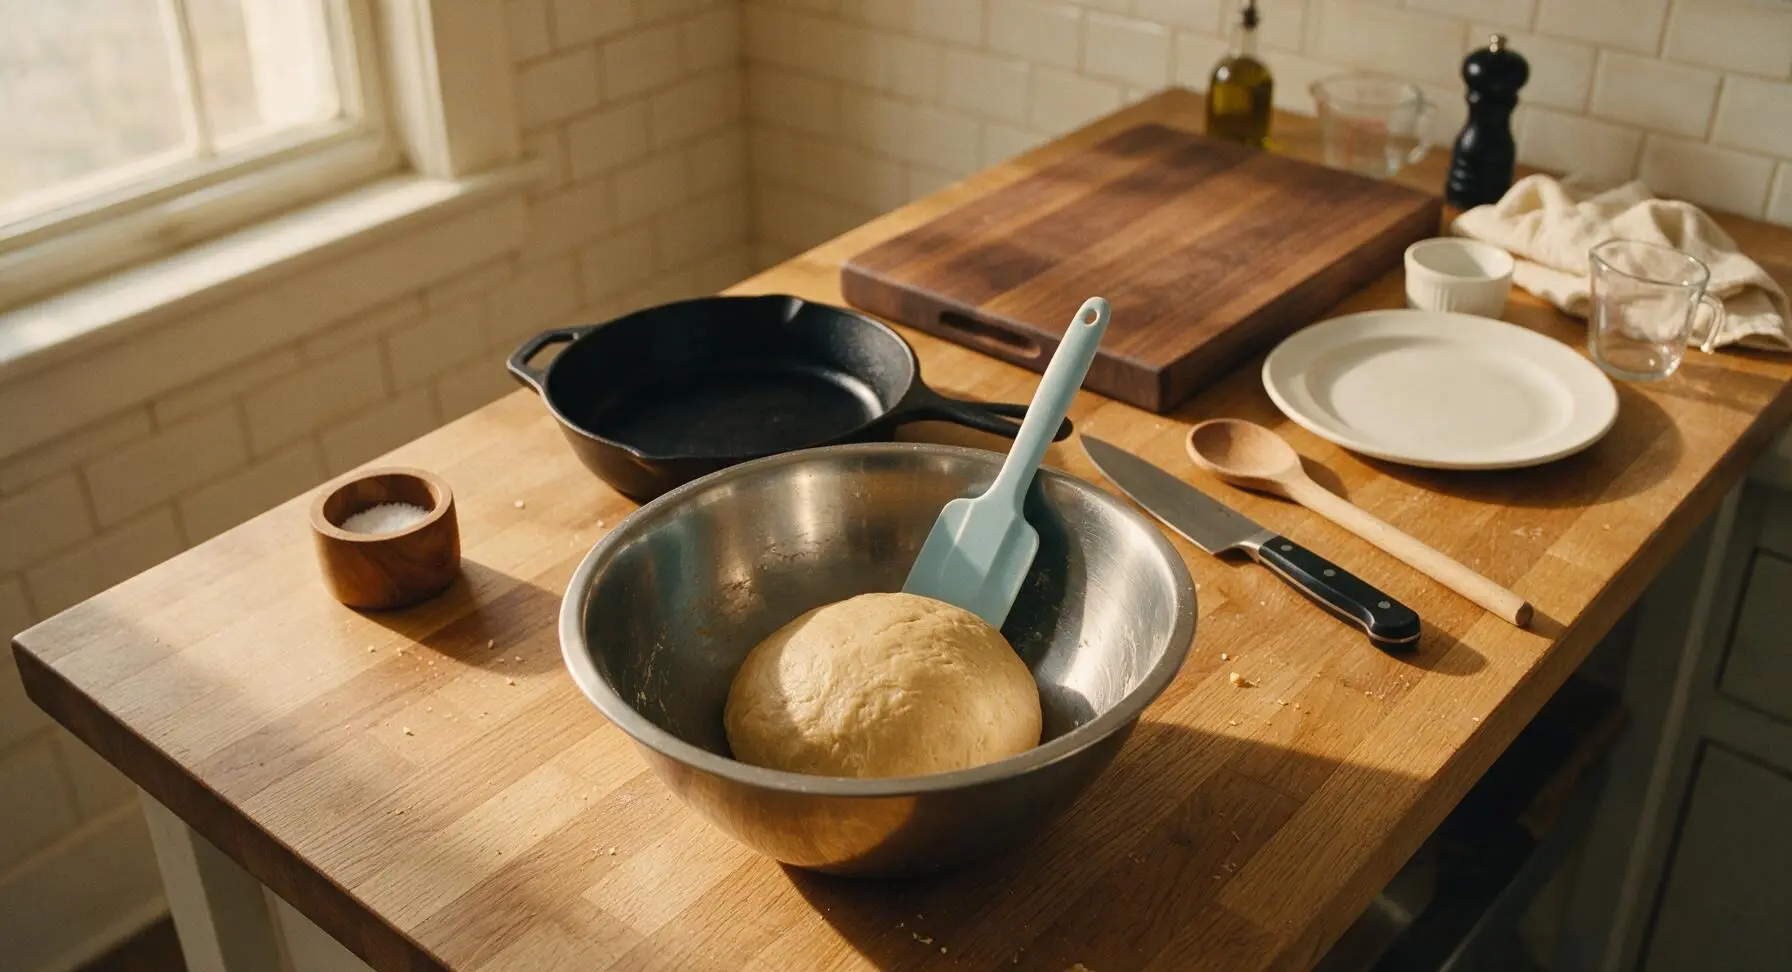
Use the pale sky blue silicone spatula to fold the dry ingredients into the creamed butter in gentle, short strokes, until coarse, crumbly clumps form. Add 2 tbsp whole milk, 1 tbsp at a time, stirring continuously until the mixture comes together into a smooth, firm dough that pulls cleanly away from the bowl sides, with no remaining dry flour patches. Avoid overmixing, as this will develop gluten and result in tough, dense biscuits rather than tender, crumbly ones.
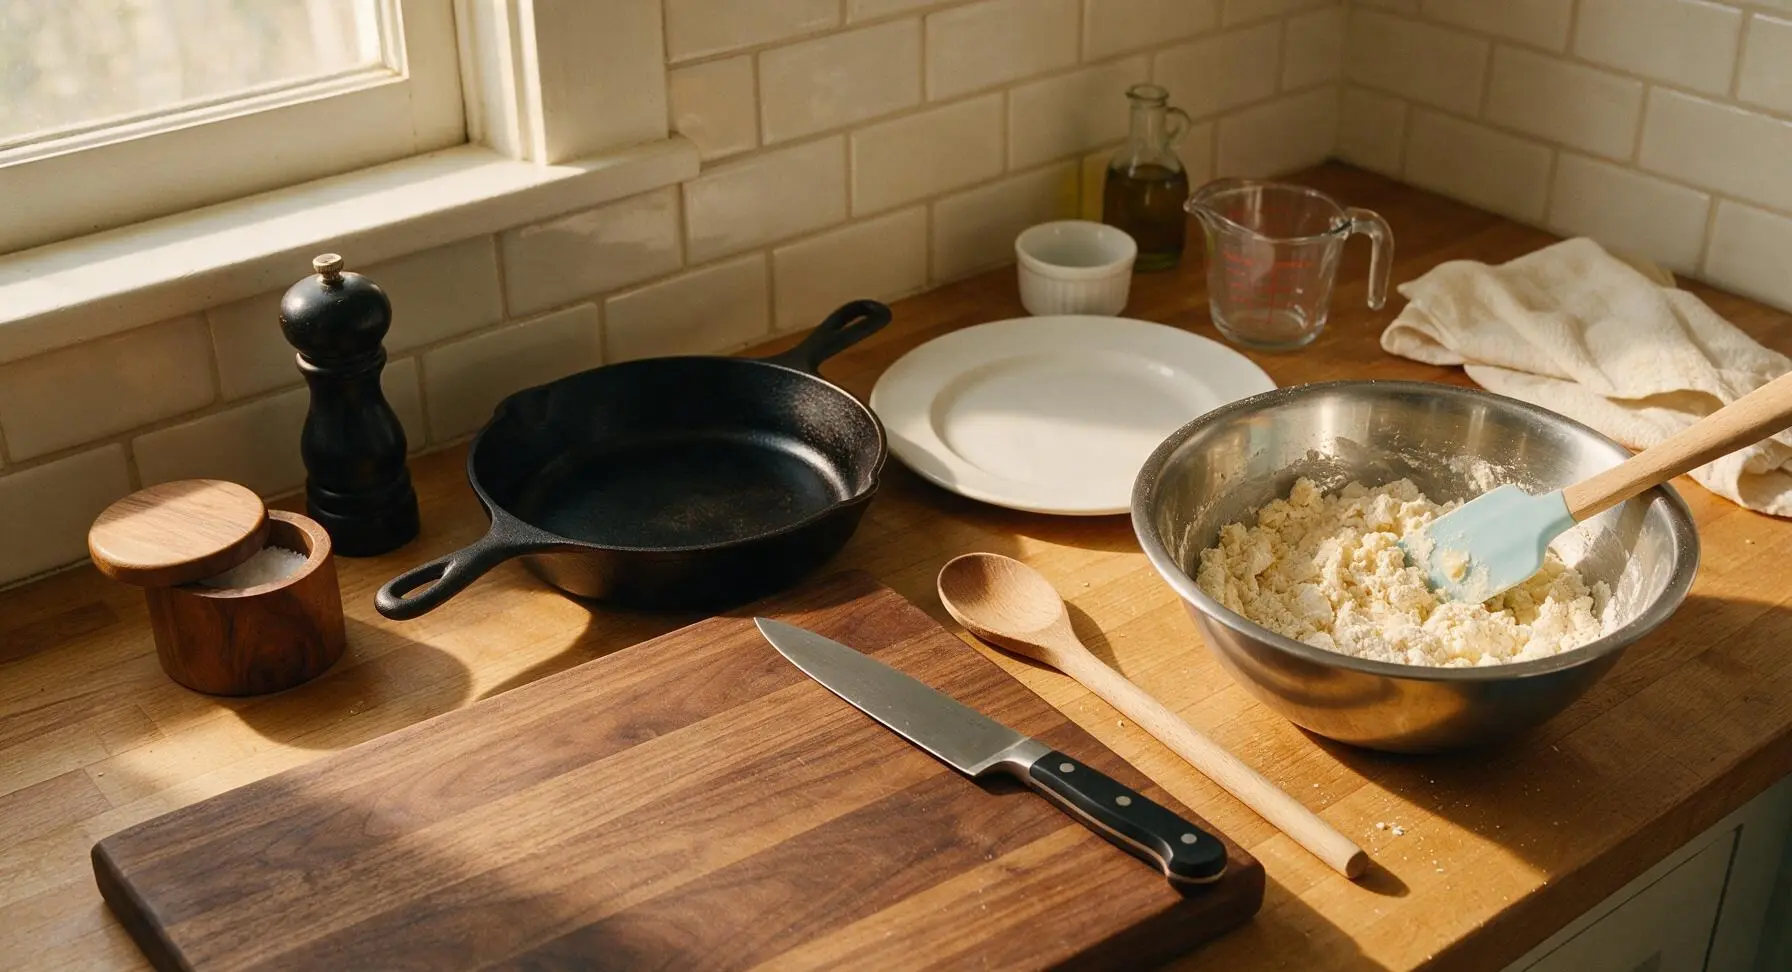
Step 3
step3:Form Smooth Dough
Step 3
step3:Form Smooth Dough
4

Chill Dough Disc

Turn the dough out onto a sheet of unbleached tan parchment paper, pat it into a uniform 2cm thick flat disc, and wrap it tightly in the parchment. Transfer the wrapped disc to the refrigerator to chill for 15 minutes. Chilling solidifies the butter in the dough, which prevents excessive spreading during baking and ensures the biscuits hold their crisp, crumbly shape.
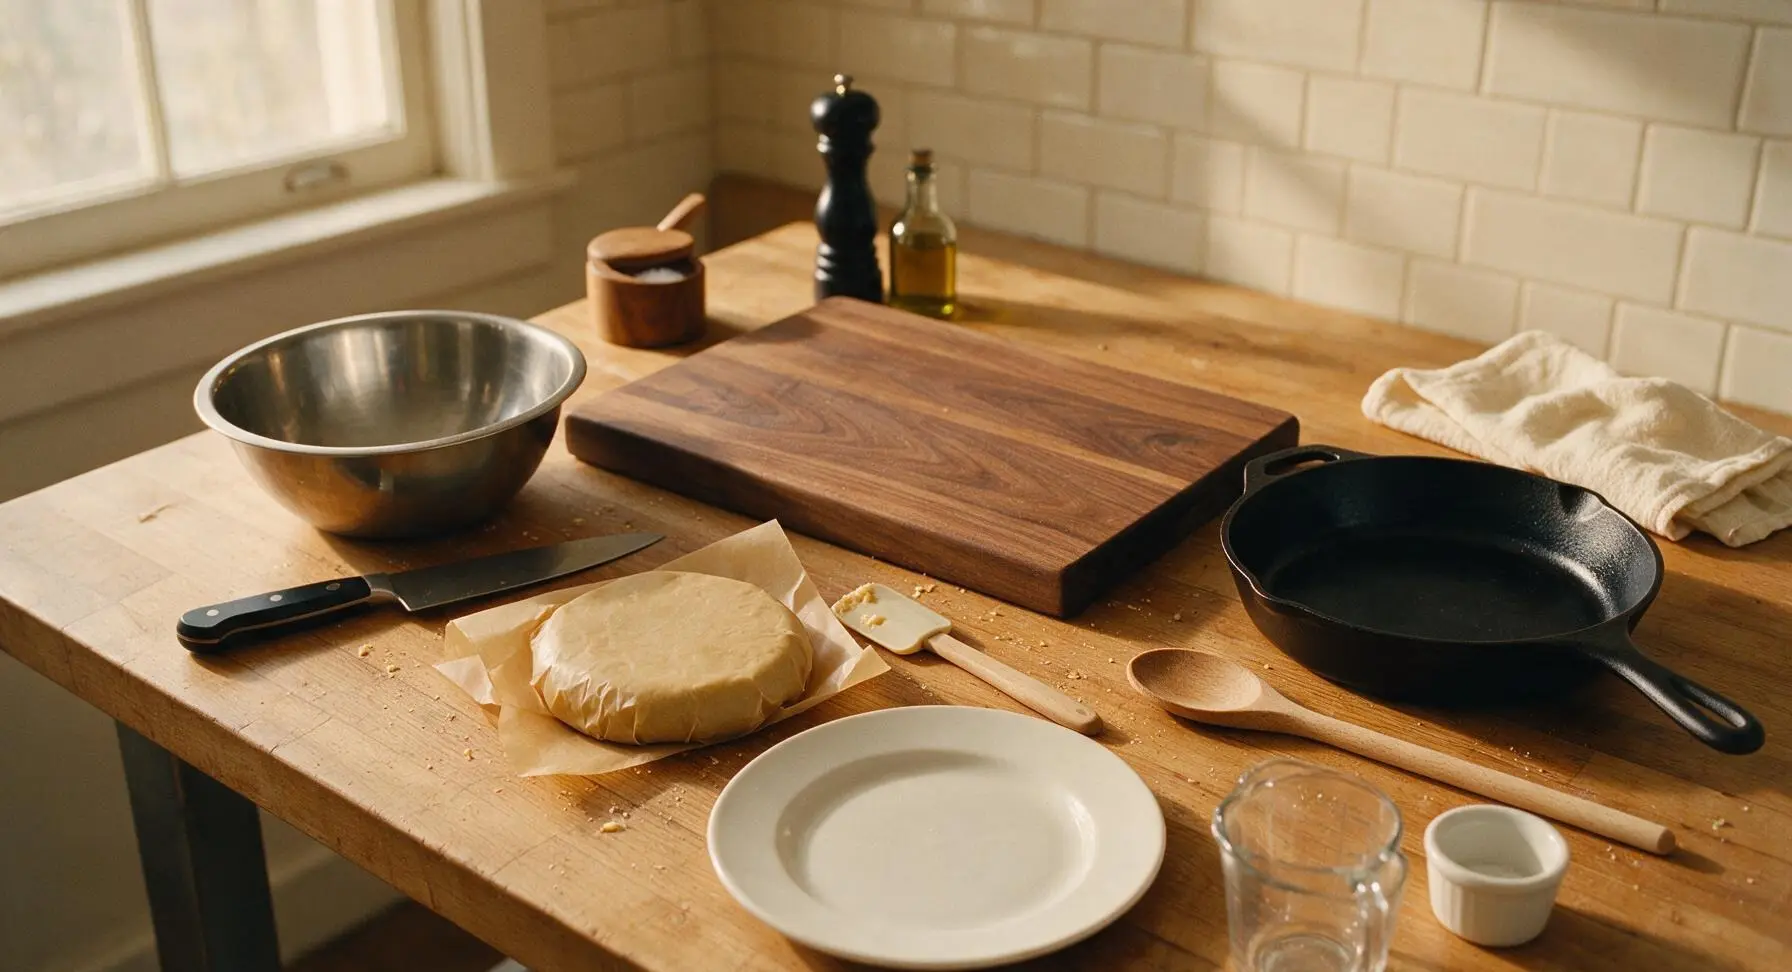
Step 4
step4:Chill Dough Disc
5

Roll and Cut Shapes

Remove the chilled dough disc from the refrigerator, unwrap it, and place it on a lightly floured section of the oak counter. Use the solid beech wood rolling pin to roll the dough to an even 5mm thickness, applying consistent, gentle pressure to avoid uneven edges. Dip the 5cm fluted stainless steel biscuit cutter in a small dusting of flour between each cut, then press straight down through the dough to cut round biscuits. Gather dough scraps, re-roll once to 5mm thickness, and cut additional biscuits until all dough is used. Prick the top of each cut biscuit 3 times with the tines of a fork to create the classic malted milk decorative pattern and prevent uneven puffing during baking.
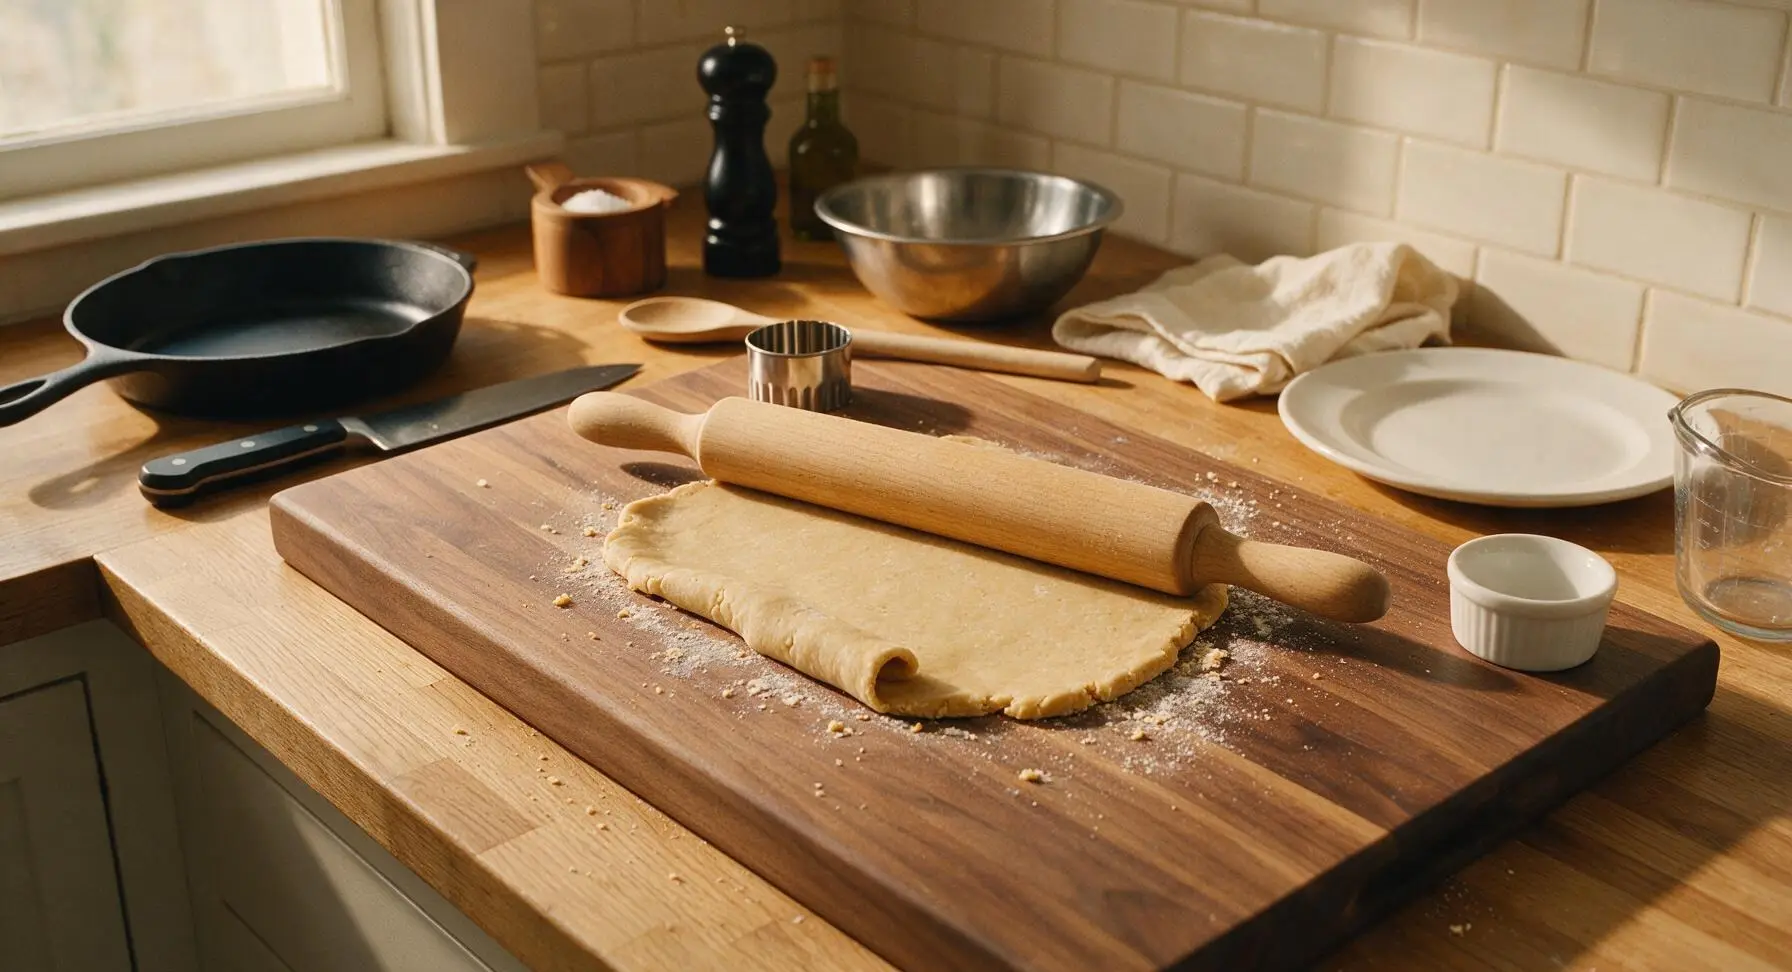
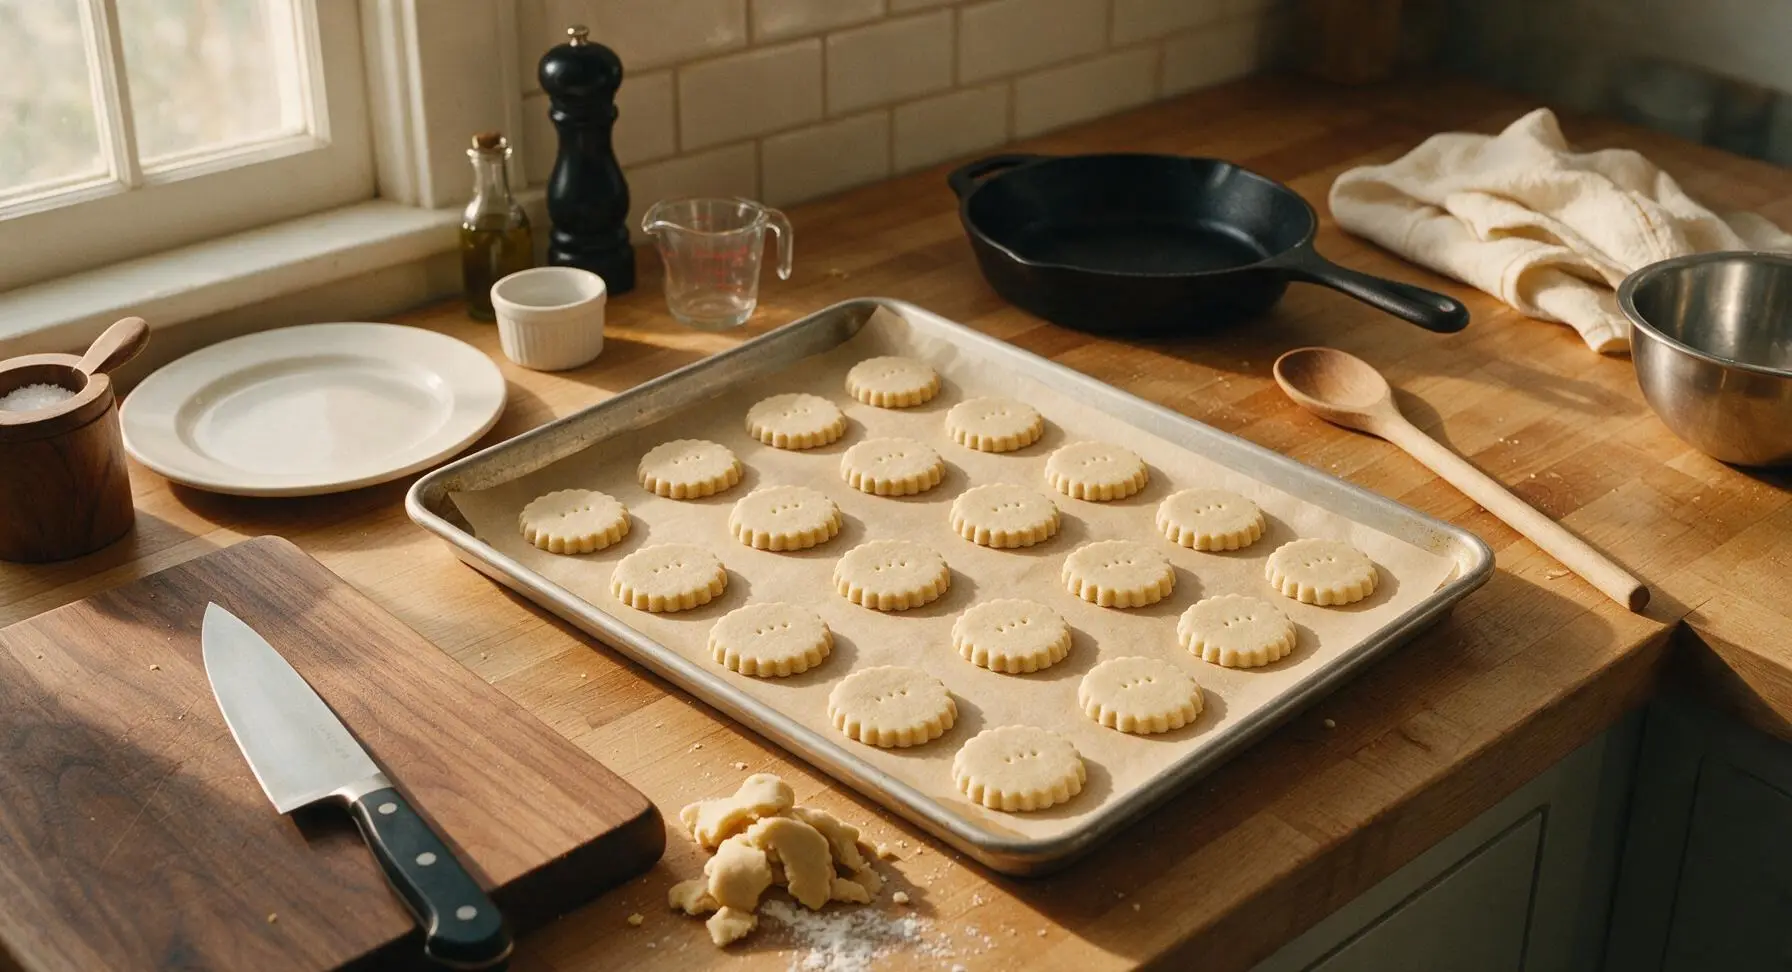
Step 5
step5:Roll and Cut Shapes
Step 5
step5:Roll and Cut Shapes
6

Bake to Golden Edge

Slide the aluminum baking sheet with cut biscuits onto the middle rack of a preheated 170C (340F) oven. Bake for 10–12 minutes, rotating the sheet 180 degrees at the 6 minute mark to ensure even browning. The biscuits are fully baked when their edges turn a light, toasty golden brown, while the centers remain pale and just set to the touch. They will feel slightly soft when removed from the oven, and will crisp as they cool.
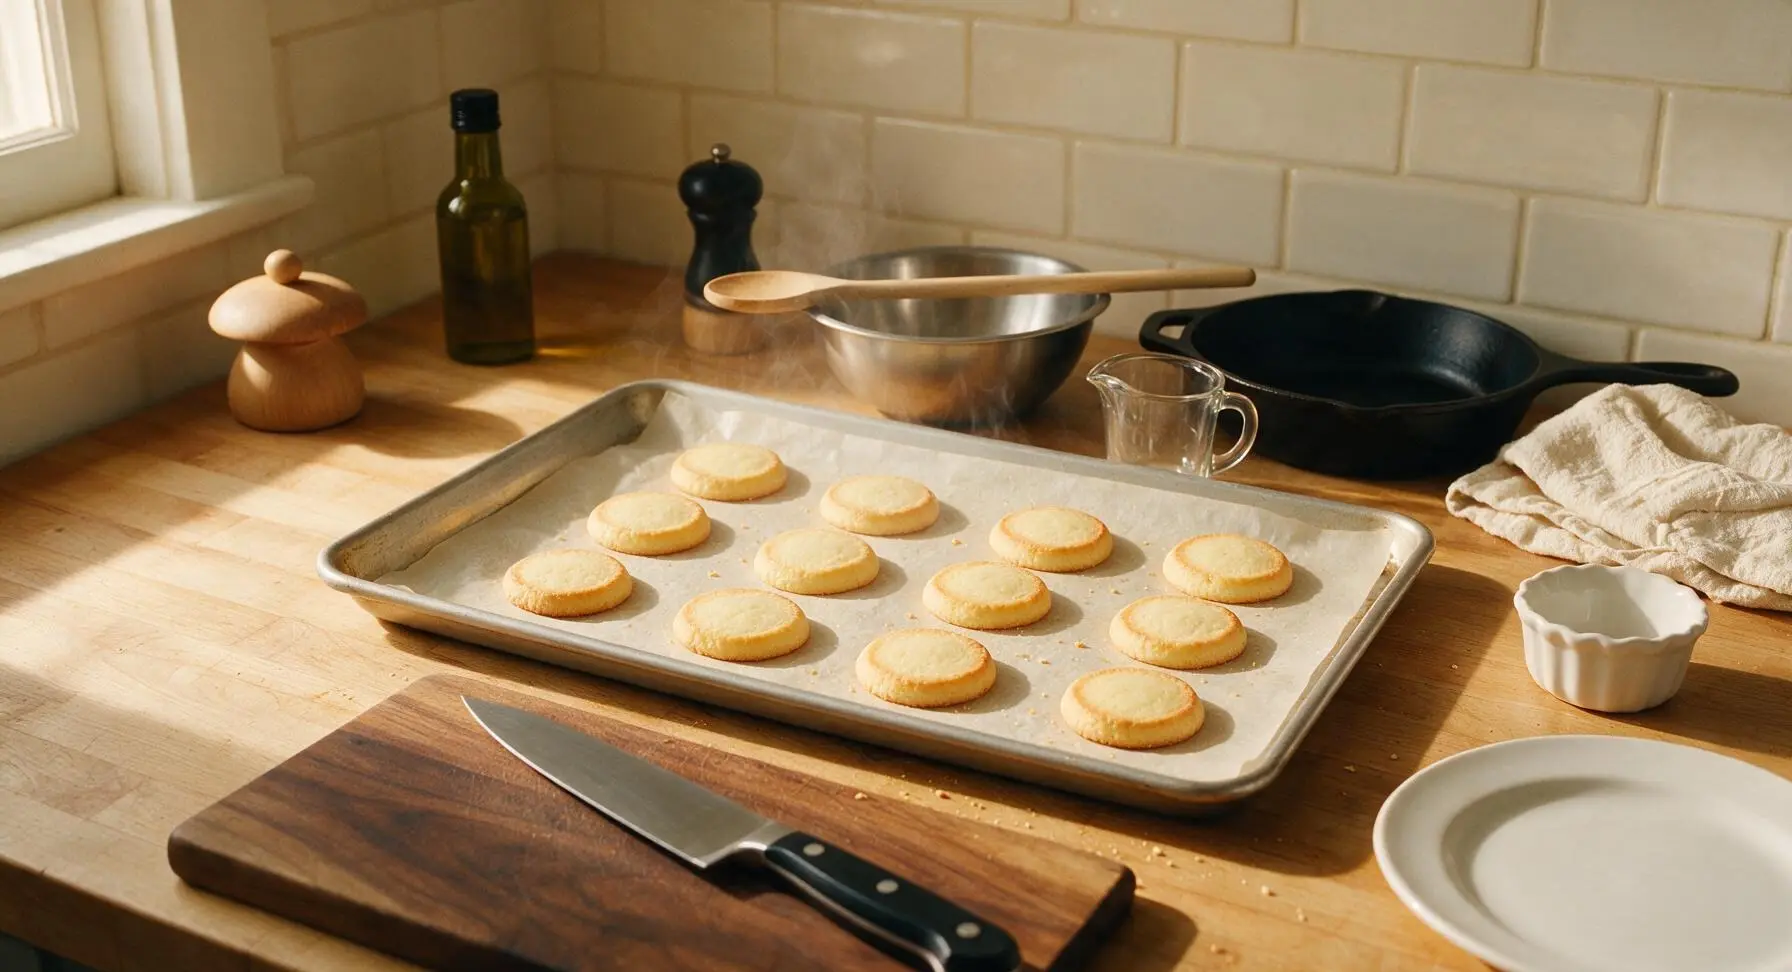
Step 6
step6:Bake to Golden Edge
7

Cool Before Serving

Let the baked biscuits rest on the hot baking sheet for 5 minutes to set, as they will be too fragile to move immediately after baking. Use the silicone spatula to transfer each biscuit to the chrome wire cooling rack, arranging them in a single layer with space between each for air flow. Cool completely for 20 minutes before serving or storing in an airtight tin.
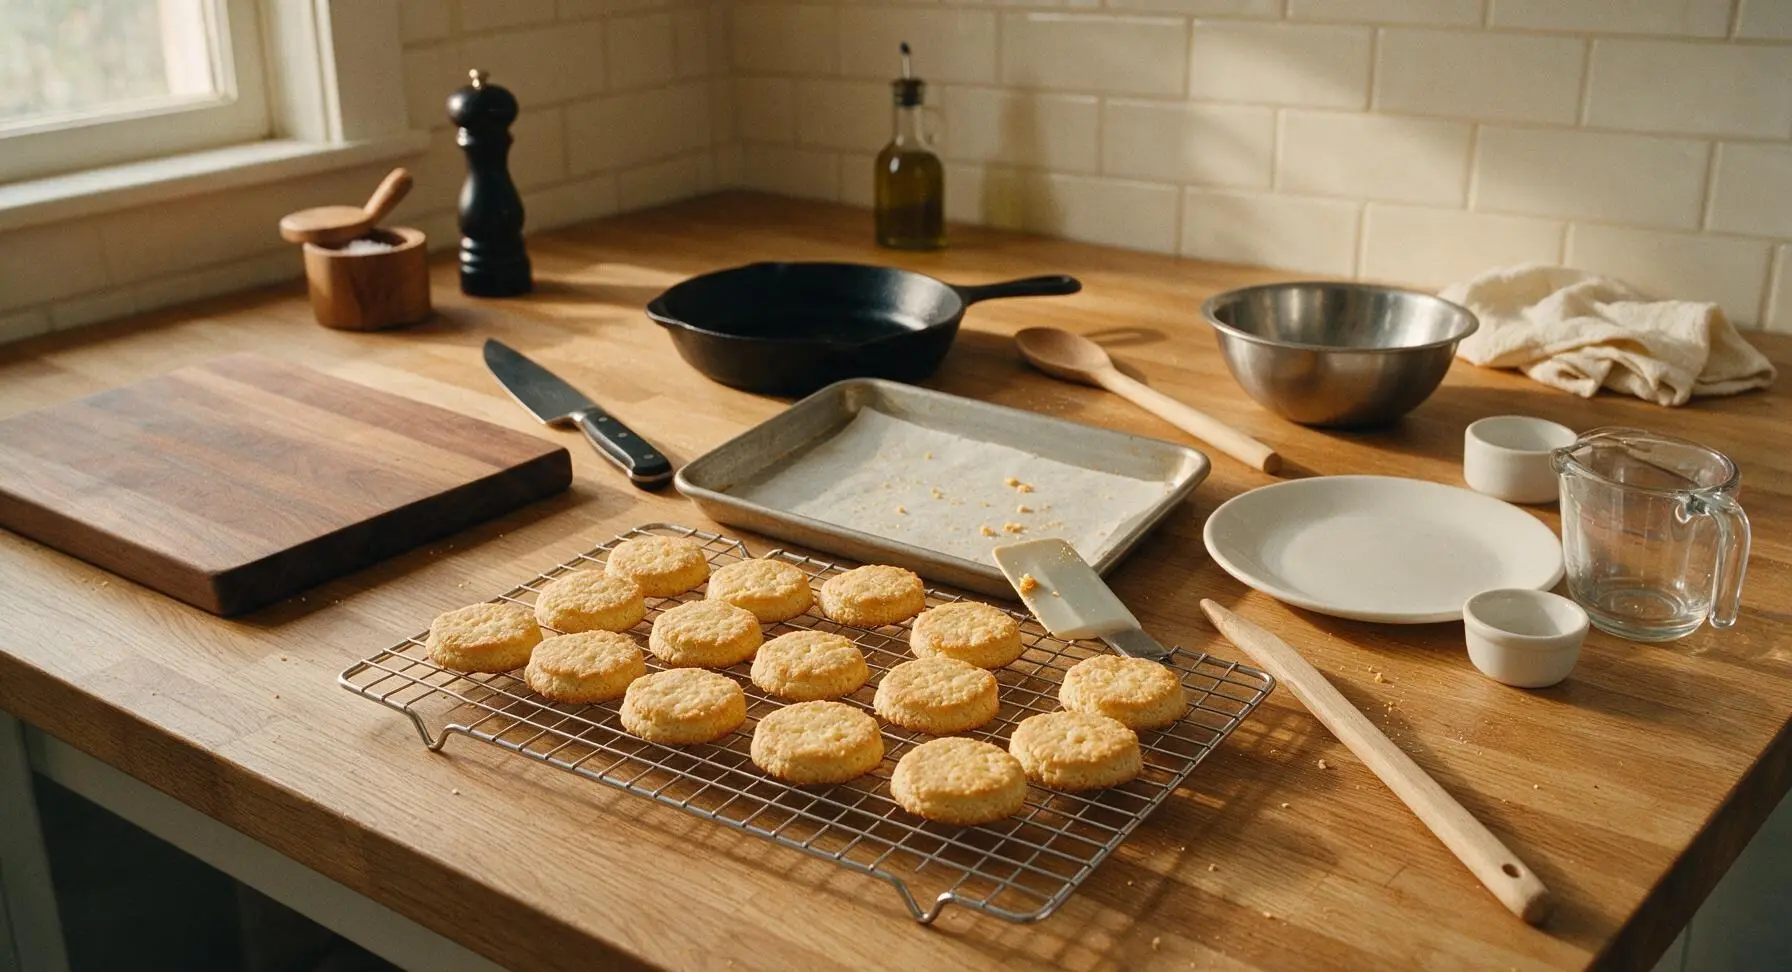
Step 7
step7:Cool Before Serving

Tips

1.Use plain barley-based malted milk powder (not chocolate malt, malt syrup, or wheat malt drink mix) for the authentic warm, toasty, slightly milky malt flavor; alternative malt products will produce a bitter, overly sweet, or flat flavor that does not match the classic biscuit profile.
2.Do not skip the 15-minute dough chill: warm, soft butter in unchilled dough will melt too quickly in the hot oven, causing biscuits to spread thin, lose their fluted shape, and develop a greasy texture instead of a tender, crumbly crumb.
3.Watch baking time closely: these biscuits are meant to only turn pale golden at the edges, with pale centers. Baking past 12 minutes will result in dry, hard biscuits that lose their signature buttery melt-in-your-mouth texture, and are too crisp for tea dipping.


✨ You May Also Like

Desserts & Baking
🍜 Italy

Creamy, coffee-kissed classic Northern Italian no-bake dessert, with layers of rum-spiked mascarpone cream, soft ladyfingers, and a rich cocoa dusting.

⏱️ 4 hours 3Desserts & Baking ★ 4.7
Desserts & Baking
🍜 France

Flaky, shatteringly crisp, buttery French croissants with golden exteriors and soft, airy layered interiors, perfect for pairing with coffee for a special morning treat.

⏱️ 12 hours Desserts & Baking ★ 4.5
Desserts & Baking
🍜 United States

Warm, spiced baked apples topped with a fluffy golden biscuit crust, this cozy dessert pairs perfectly with vanilla ice cream for cool-weather comfort.

⏱️ 55 minuteDesserts & Baking ★ 4.6
Desserts & Baking
🍜 United States

A star-spangled classic American blueberry pie with buttery flaky crust and bright sweet-tart filling, perfect for summer patriotic gatherings.

⏱️ 1 hour 25Desserts & Baking ★ 4.7
Desserts & Baking
🍜 United States

A beloved no-bake regional Maine candy with a chewy coconut-potato center coated in rich dark chocolate, a New England holiday staple since the 1870s.

⏱️ 2 hours 3Desserts & Baking ★ 4.8
Desserts & Baking
🍜 France

Luxuriously creamy, floral frozen custard made with aromatic Tahitian vanilla beans, boasting a smooth, rich texture that melts slowly on the tongue.

⏱️ 3 hours 3Desserts & Baking ★ 4.5

Malted Milk Biscuits:Frequently Asked Questions

1.Do I have to use caster sugar, or can I substitute regular granulated sugar for these biscuits? ▾
Caster sugar’s fine grain creates that signature tender, even crumb, but you can swap in regular granulated sugar if that’s what you have on hand. Just blitz it in a food processor for 10 to 15 seconds to break down the grains slightly before creaming with butter, so you don’t end up with a gritty texture in the finished baked biscuit.
2.What’s a good substitute for barley malted milk powder if I can’t find it at the store? ▾
If you can’t track down barley malted milk powder, use plain malted milk powder (the kind sold for milkshakes) as a 1:1 swap. For the closest toasty malt depth, add ¼ teaspoon of molasses per ¼ cup of powder to mimic roasted barley notes, and skip added vanilla to keep the classic warm malt flavor front and center.
3.Why do my biscuits turn out tough instead of tender and lightly crumbly? ▾
Tough biscuits almost always come from overworking the dough after you add the flour, which develops too much gluten. Mix just until the flour disappears into the butter-sugar base, and don’t re-roll dough scraps more than once when cutting shapes. Chilling cut dough for 15 minutes before baking also helps keep the crumb soft and tender.
4.What oven temperature and bake time gives the perfect texture for these biscuits? ▾
Bake these at 350°F (175°C) for 10 to 12 minutes, rotating the tray halfway through for even browning. They’re done when the edges are just light golden brown—don’t wait for the centers to darken, as they’ll keep setting as they cool on the tray for 5 minutes after coming out of the oven. Overbaking makes them too dry for tea dipping.
5.Can I make this dough ahead of time to bake for gatherings or holiday tins? ▾
Absolutely! The dough keeps really well wrapped tightly in plastic wrap in the fridge for up to 3 days, or frozen for up to 3 months. If frozen, thaw it in the fridge overnight before rolling and cutting. You can also freeze pre-cut biscuit shapes and bake them straight from frozen, adding 2 to 3 minutes to total bake time with no thawing needed.
6.Why do my biscuits spread too much and lose their cut shape while baking? ▾
Excess spread usually comes from butter that was too soft when you mixed the dough, or skipping the chill step after cutting shapes. Your butter should give slightly when pressed, not be melty or greasy to the touch. If your kitchen runs warm, pop cut biscuits on the baking tray in the fridge for 15 minutes before baking to lock their shape in.
7.Can I add mix-ins like chocolate chips to these classic malted milk biscuits? ▾
You can absolutely fold in small mix-ins once the dough comes together—mini chocolate chips, crushed malted milk balls, or a light sprinkle of flaky sea salt on top all work beautifully. Stick to ½ cup of mix-ins per batch so you don’t weigh down the tender crumb or overwhelm that subtle, toasty malt flavor that makes these biscuits iconic.
8.How should I store these biscuits to keep them fresh, especially in holiday cookie tins? ▾
Once the biscuits are fully cooled to room temperature, store them in an airtight container or stacked holiday cookie tin with a sheet of parchment between layers to prevent sticking. They’ll stay buttery and tender for up to 1 week at room temperature, and you can refresh slightly stale biscuits with a 10-second zap in the microwave before serving with tea.
9.Can I use non-dairy ingredients to make these biscuits vegan? ▾
You can easily make these vegan with a few straightforward swaps. Use a firm, stick-style vegan butter (not the spreadable tub kind, which has too much water) softened to room temperature, and swap the whole milk for unsweetened oat milk, which has a creamy, slightly sweet profile that pairs perfectly with malt. The final texture and flavor will be nearly identical to the classic version.

Comments (3)

3 days ago

OMG these are SO good! I whipped these up for my kids’ after-school snack earlier this week and they demolished the whole batch in 10 minutes flat. I was worried the malt flavor would be too strong but it’s perfectly sweet and nostalgic, exactly like the store-bought biscuits I grew up with but way fresher. That 12-minute cook time is a total game changer for busy weeknights, no lie.

2 days ago

Wait did you add any mix-ins? I’m thinking of tossing a handful of mini chocolate chips in my next batch, my kids go crazy for anything chocolate!

2 days ago

So glad your family loved the biscuits! Adding mini chocolate chips or even crushed Whoppers is such a fun twist—we’ve tested it and it works perfectly without adjusting the 12-minute bake time at all.

5 days ago

Brought these to my neighborhood block party potluck last weekend and people were hounding me for the recipe all night! They’re so buttery and crumbly, the malt powder gives such a cozy, unique flavor that stood out from all the regular chocolate chip cookies everyone else brought. They were so easy to make too, I didn’t even have to make a special grocery run because I already had malted milk powder in my pantry for weekend milkshakes.

3 days ago

We love hearing these were a potluck hit! The biscuits hold up really well in an airtight container for 3-4 days, so they’re perfect for making ahead for events like block parties and office get-togethers.

1 week ago

Total game changer for my weekly meal prep snack rotation! I baked a double batch on Sunday and they’ve held up perfectly all week for my mid-morning work slump. I was worried they’d be too crumbly to toss in my work lunch bag but they hold their shape great, and that rich malt flavor is so satisfying I don’t even reach for the candy bar I usually keep stashed at my desk. Quick pro tip: I sprinkled a tiny bit of flaky sea salt on top right before baking and wow, *chef’s kiss*, it takes the whole thing to the next level.



