
mamas burrito
intro
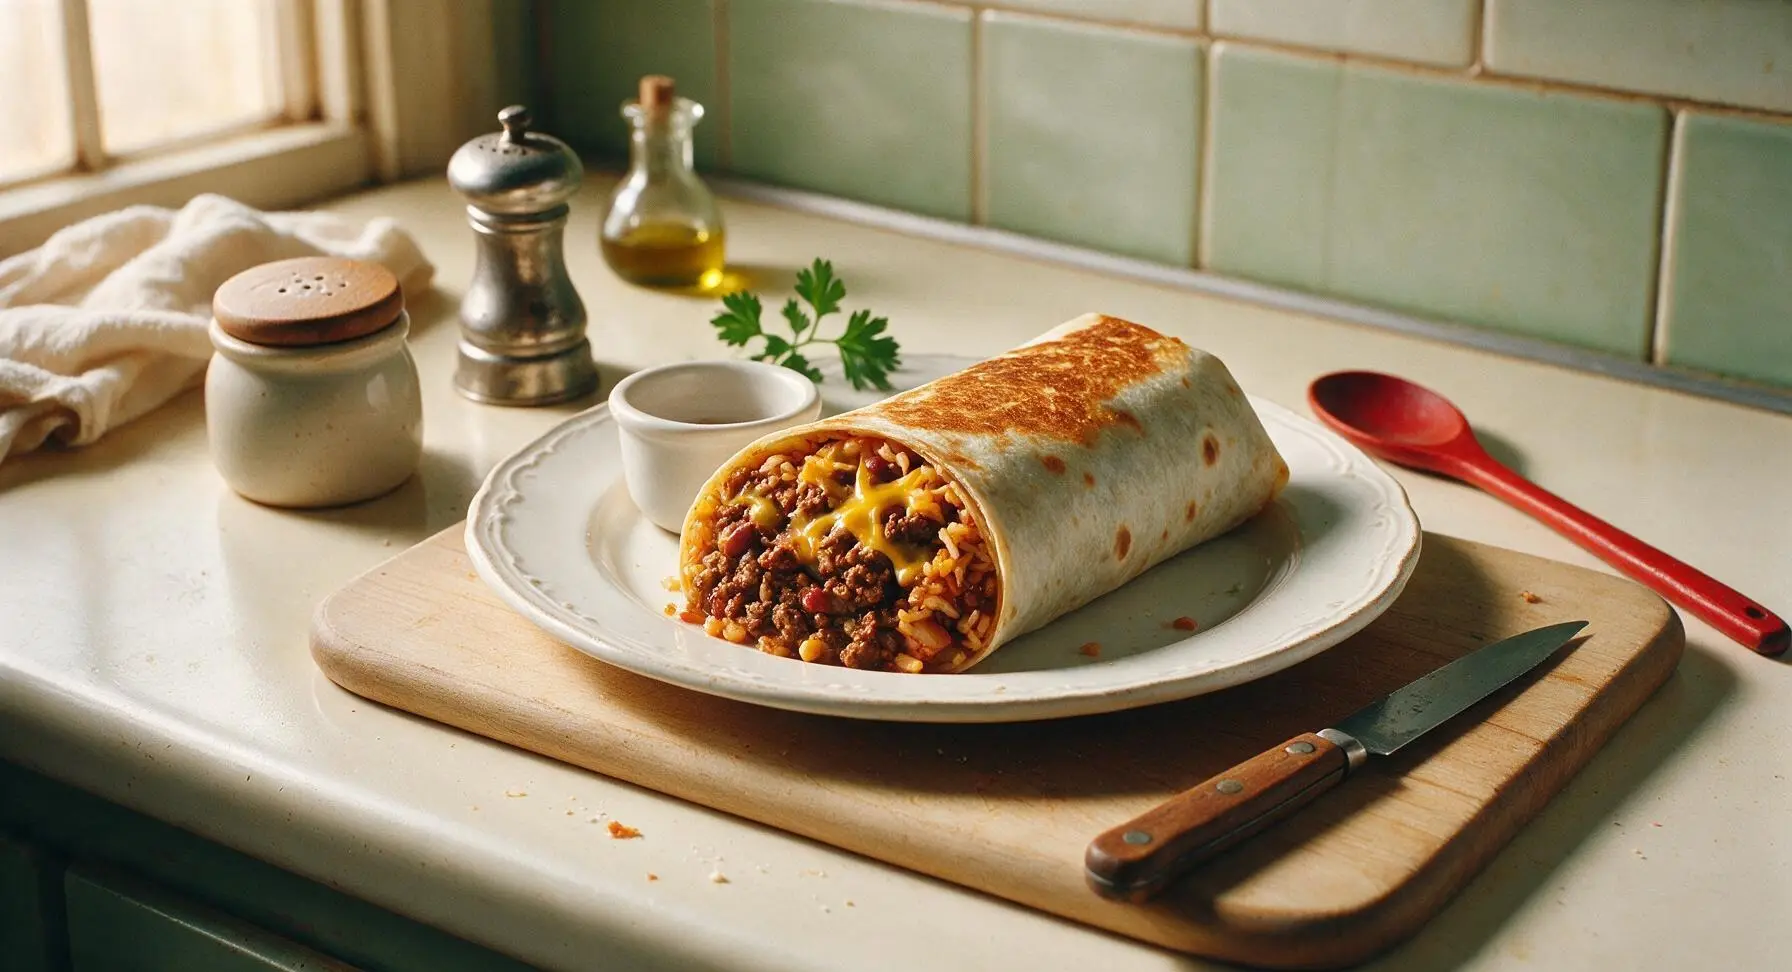
Hearty, generously stuffed burritos loaded with seasoned ground beef, rice, beans, and melted cheddar, wrapped tight and toasted crisp just like mama made for weekend family meals.
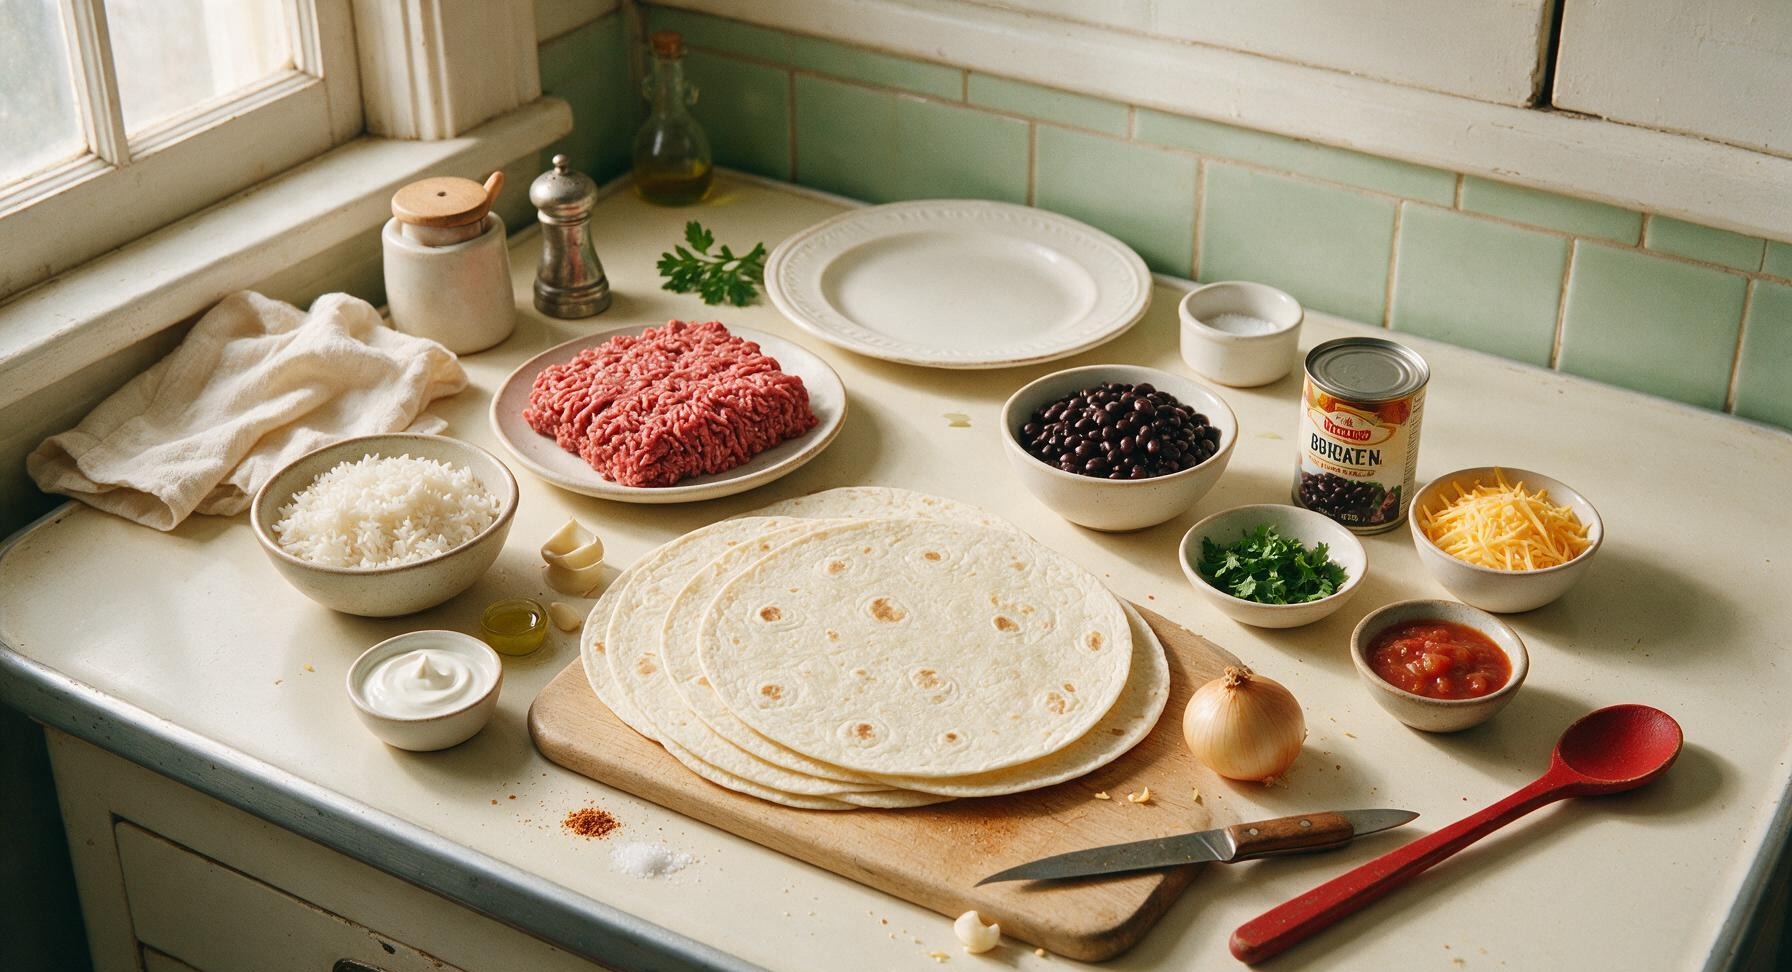
Ingredients
Steps
Dice Aromatic Vegetables
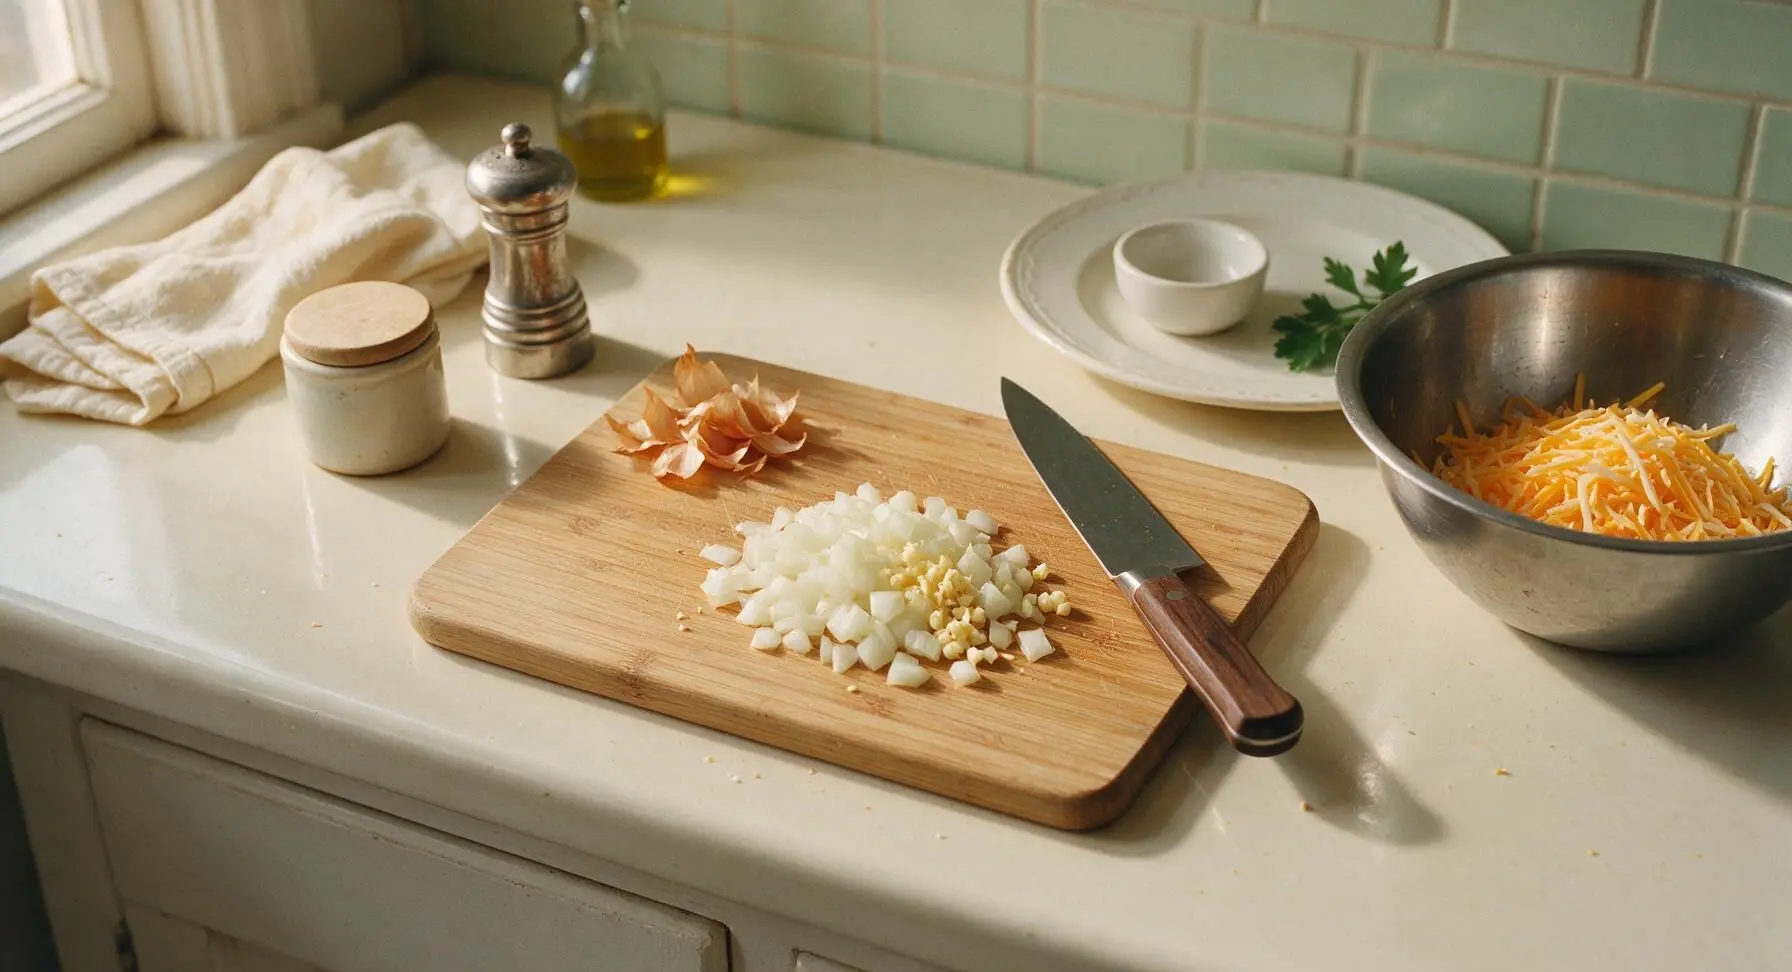
Place the medium bamboo cutting board at the center of the counter. Use the 8-inch walnut-handled chef knife to dice the small yellow onion into uniform 1/4-inch pieces, mince the 3 garlic cloves finely, and pile them neatly at the front edge of the cutting board. Gather dry onion papery skins into a small scrap pile at the top corner of the board for easy disposal. Place shredded sharp cheddar in the stainless steel mixing bowl positioned to the right of the cutting board.
Cook Seasoned Ground Beef
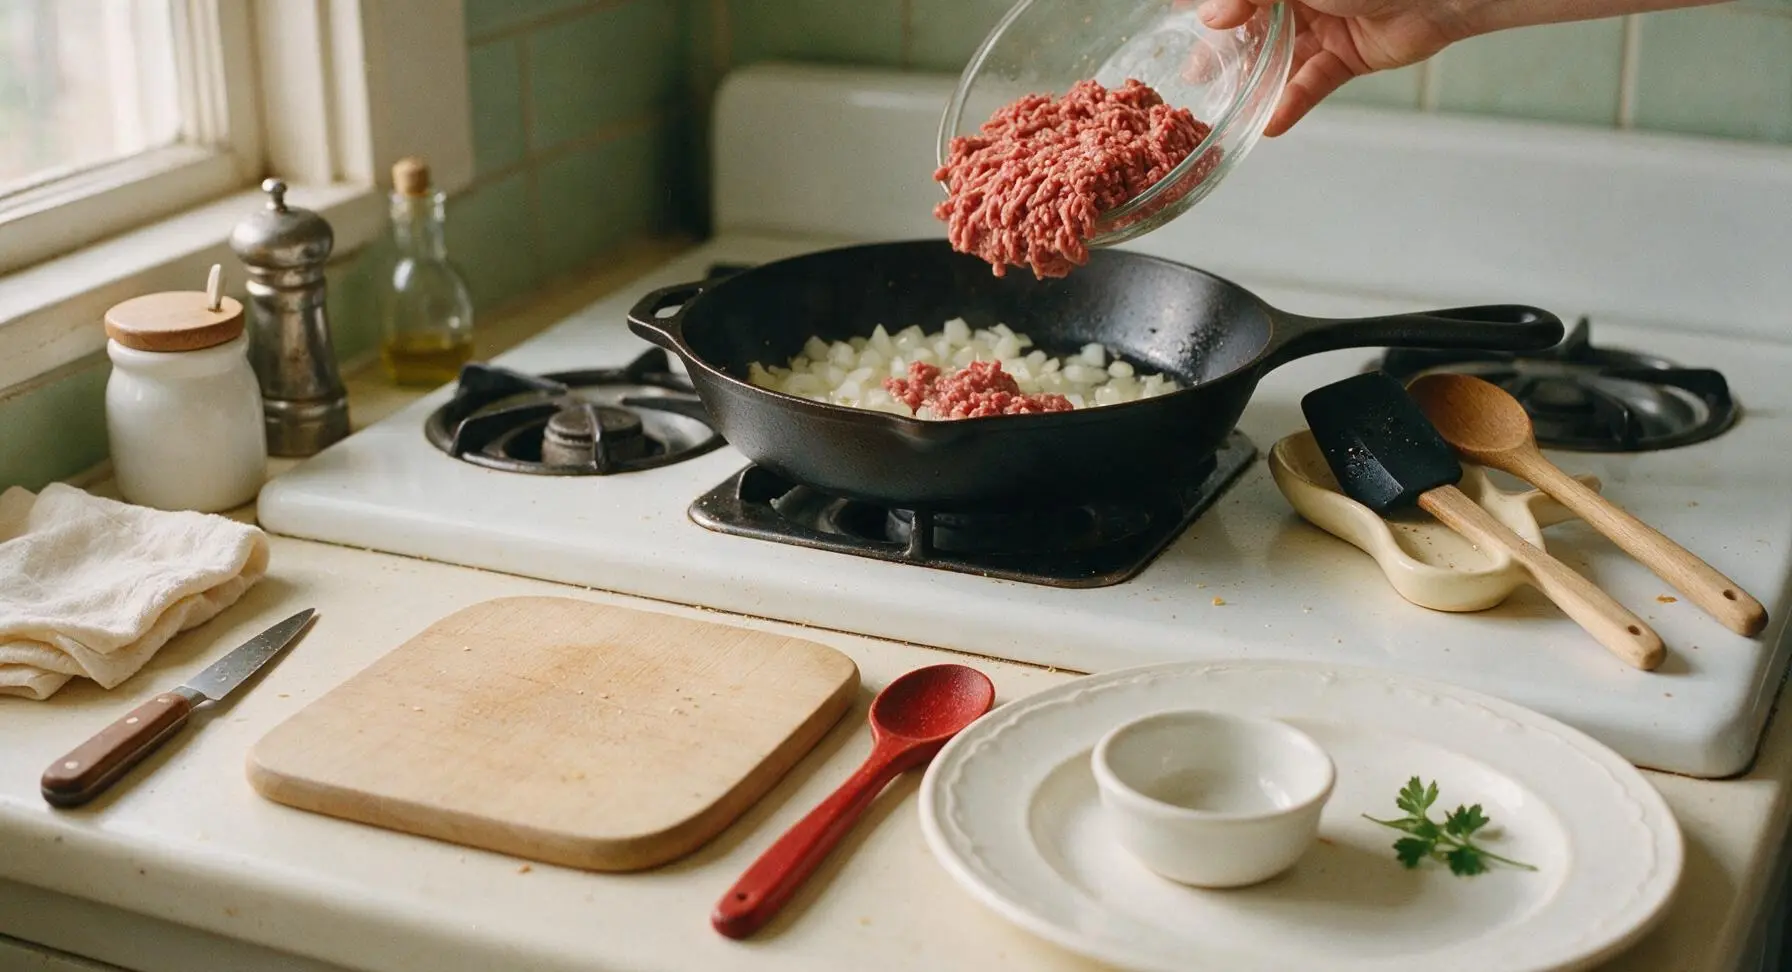
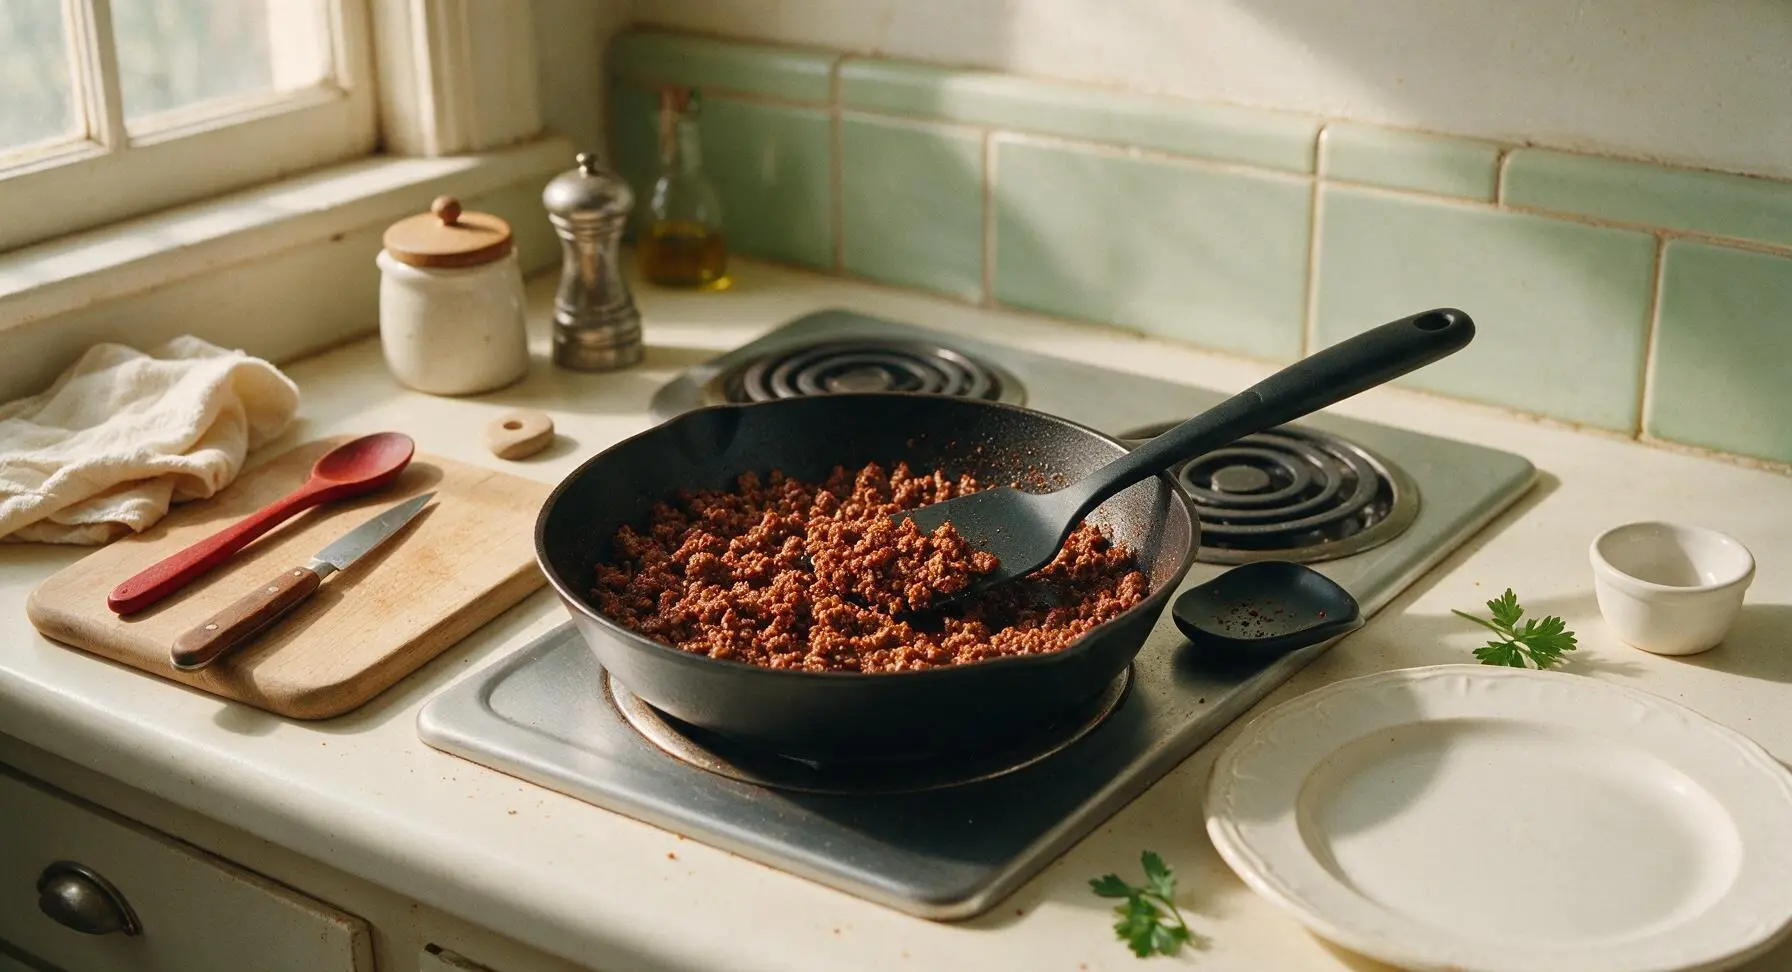
Place the 10-inch matte black carbon steel skillet on the back center stovetop burner over medium heat, add 1 tablespoon olive oil from the glass oil bottle. Once the oil shimmers (approximately 1 minute), add the diced onion and sauté for 3 minutes until soft and translucent, stirring occasionally with the light oak wooden mixing spoon. Add the raw ground beef to the skillet, breaking it into small, even crumbles with the black silicone turner spatula as it cooks, about 5 minutes until no pink remains. Drain excess grease from the pan, then stir in 2 tablespoons taco seasoning, 1 teaspoon kosher salt, and 1/2 teaspoon black pepper, cooking for 1 additional minute to toast the spices until fragrant.
Warm Rice and Bean Filling
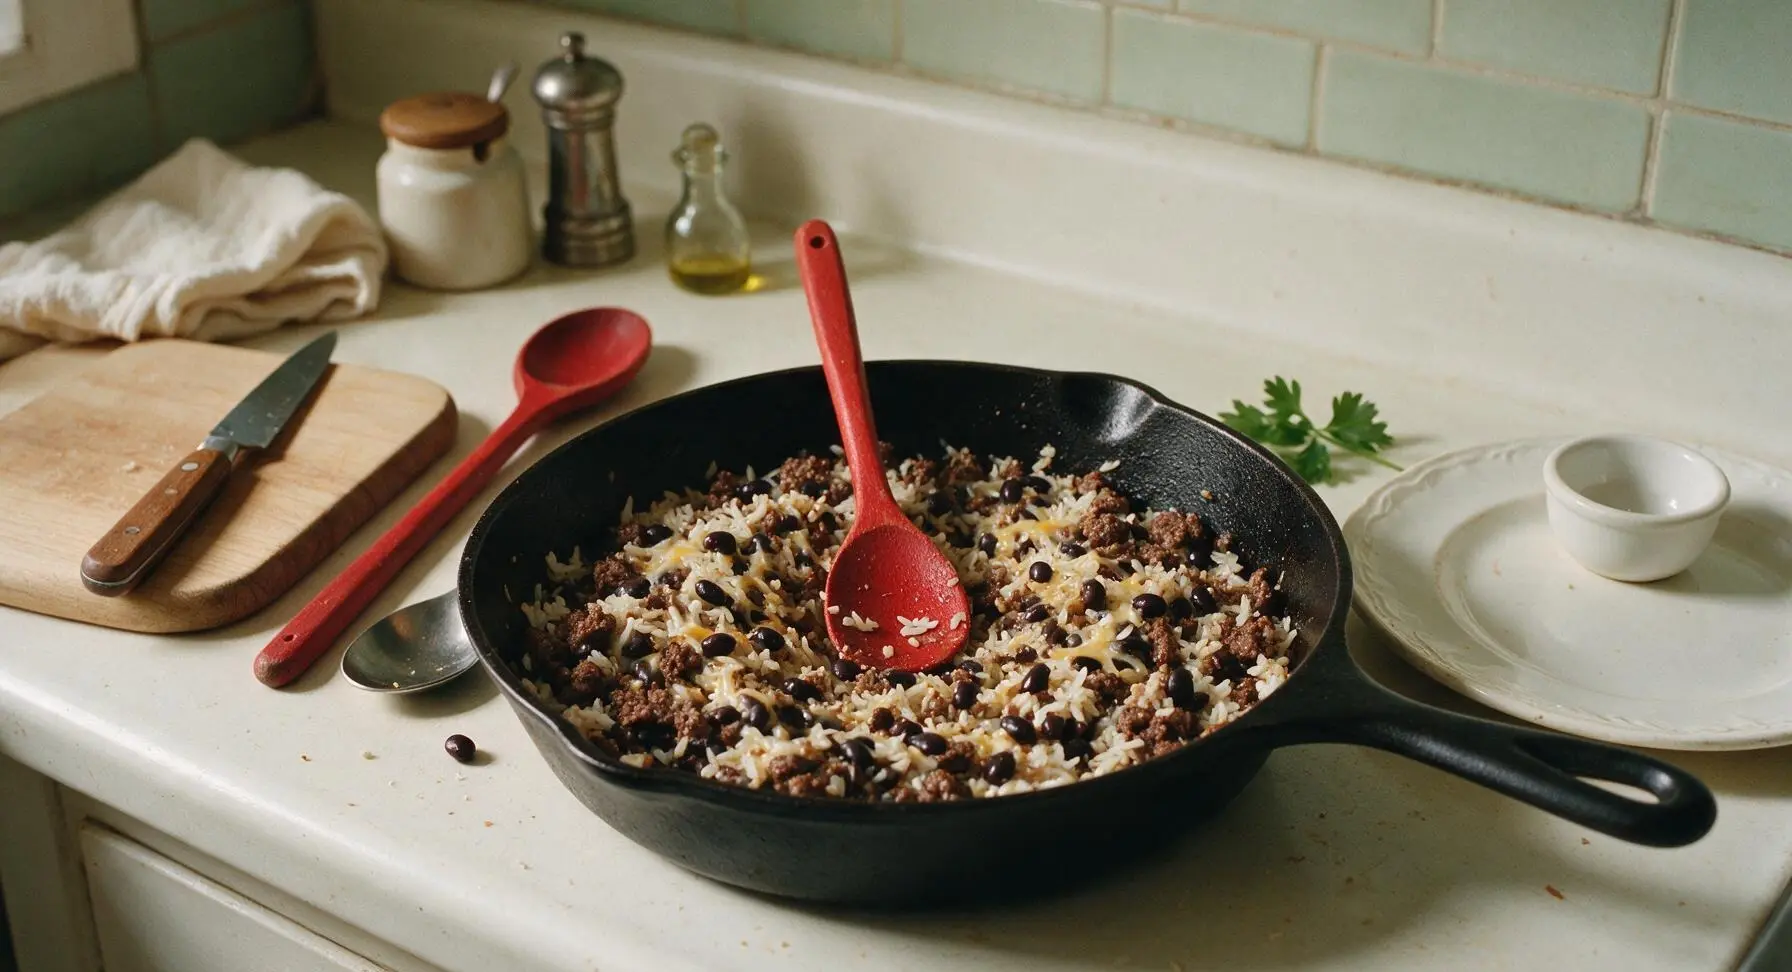
Reduce stovetop heat to low. Add the rinsed, drained black beans and 2 cups of cooked long-grain white rice to the skillet with the seasoned beef, stirring gently with the wooden mixing spoon to combine all ingredients evenly. Cook for 2 minutes until the beans and rice are heated through, then turn off the stovetop heat. Stir 1/2 cup of shredded cheddar from the mixing bowl into the warm filling, letting it melt slightly to create a creamy texture that binds the filling together and prevents it from falling out of the burrito.
Warm Flour Tortillas
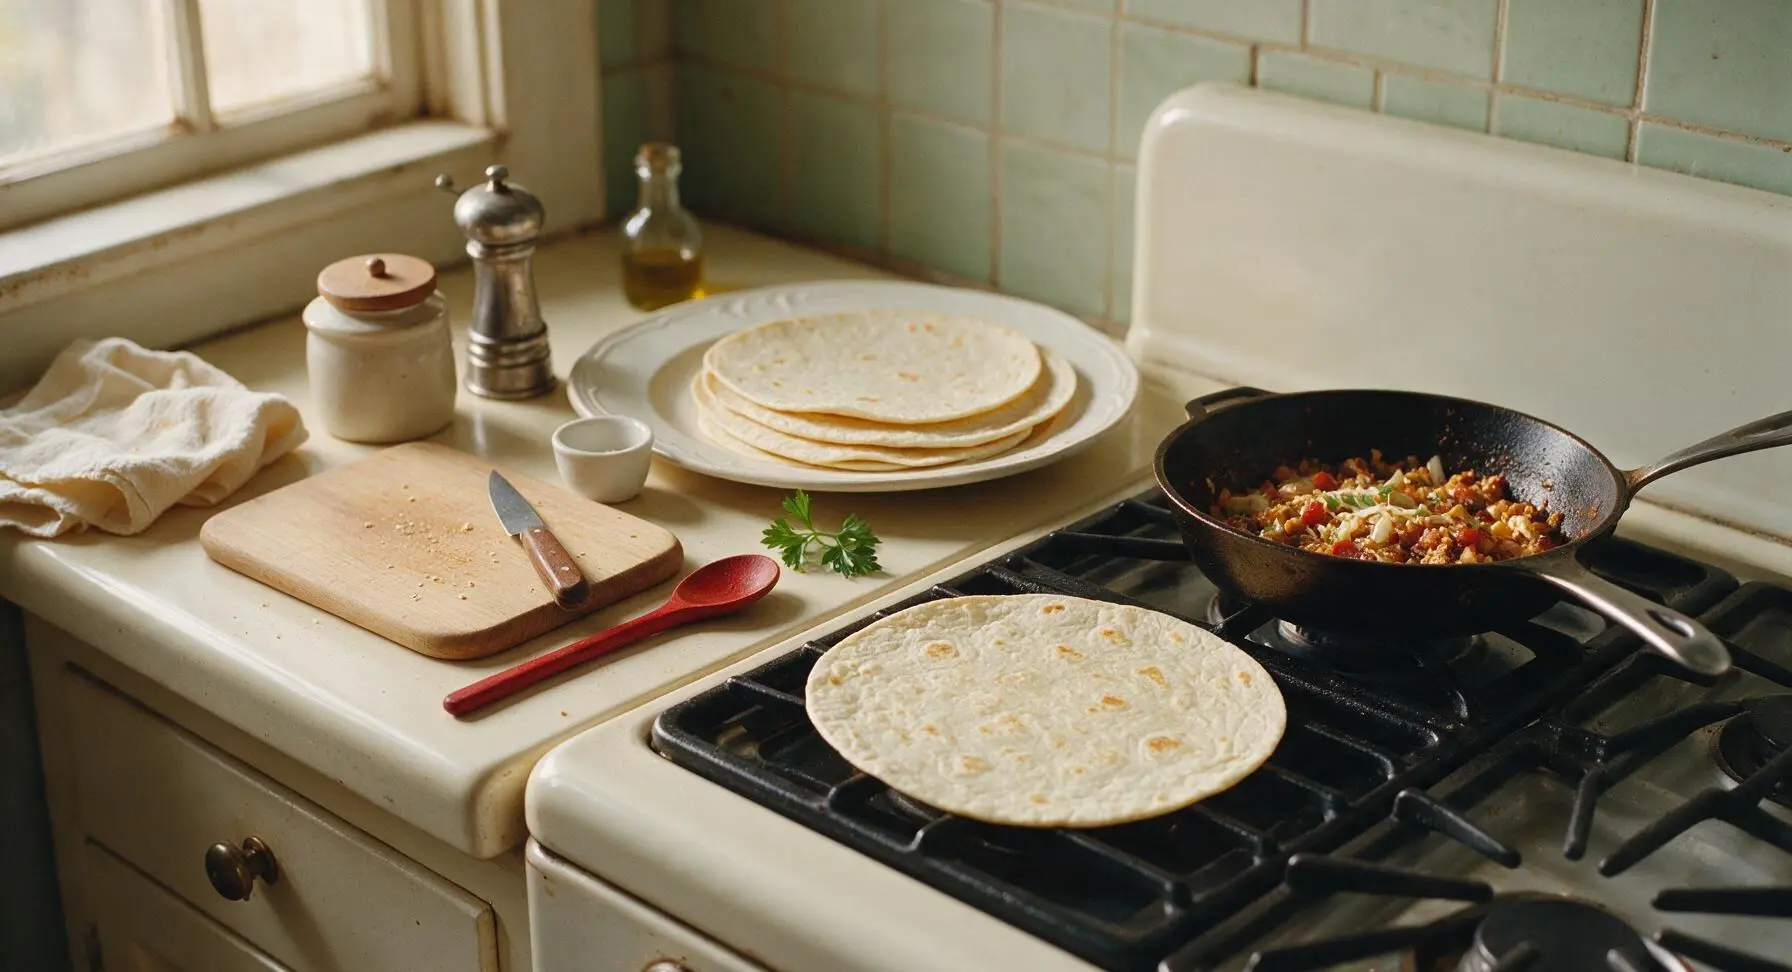
Stack the four 10-inch flour tortillas on the top plate of the stacked cream ceramic dinner plates next to the stovetop. Working one at a time, place each tortilla directly on the stovetop grate over low heat for 10 seconds per side, until soft and pliable with faint light golden toasting marks. Stack warmed tortillas on a clean section of the plate to keep them soft; do not over-toast, as this will make tortillas brittle and prone to cracking when rolled.
Fill and Roll Burritos
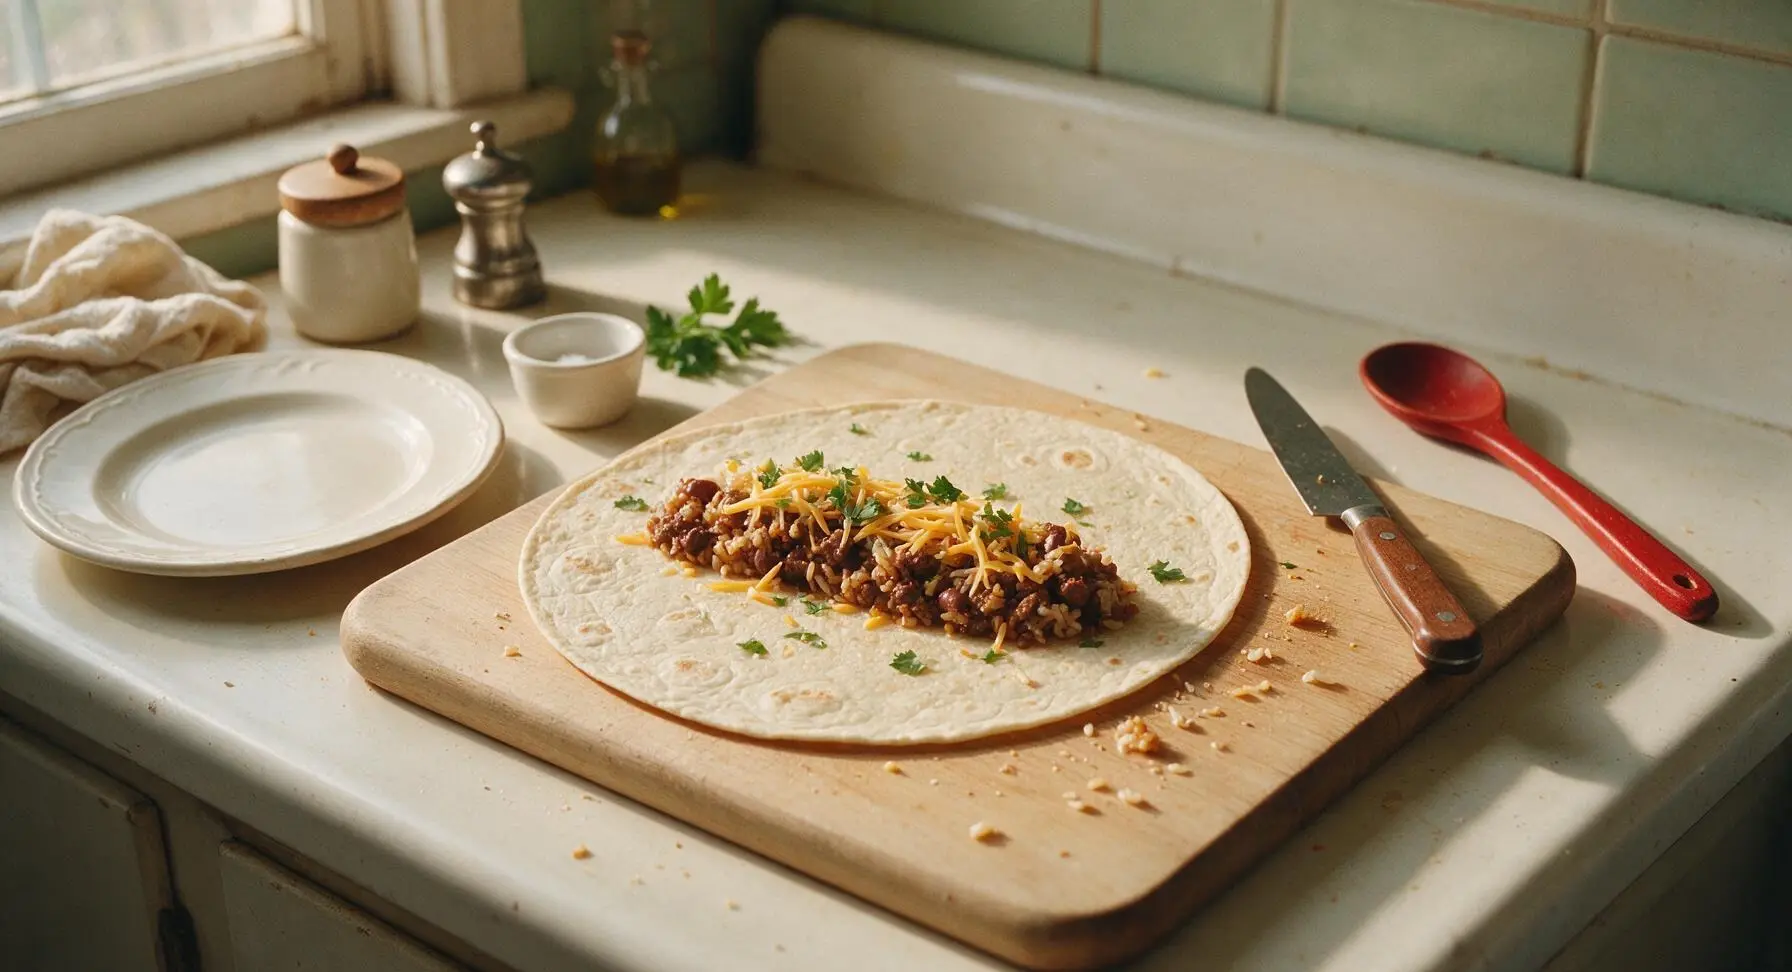
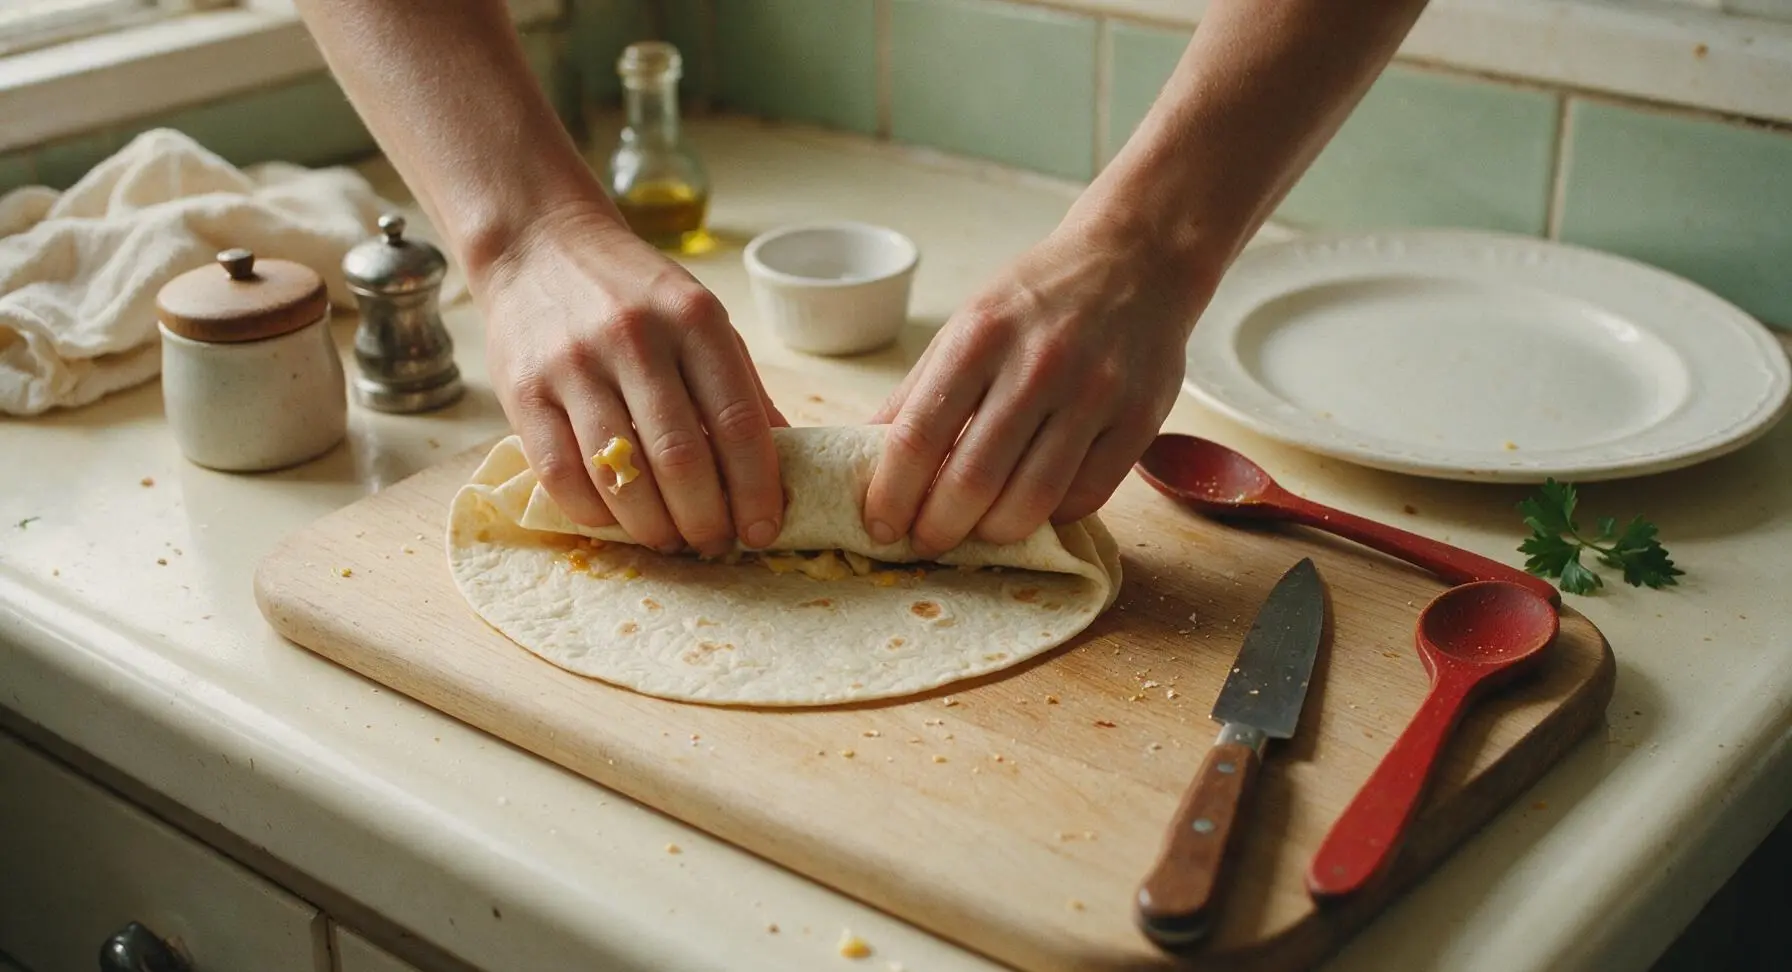
Lay one warmed tortilla flat on the bamboo cutting board. Scoop 1/4 of the beef, rice, and bean filling into a horizontal line across the center of the tortilla, leaving 2 inches of empty space at the top and bottom edges to prevent filling from leaking when rolling. Top the filling with 2 tablespoons of remaining shredded cheddar and a pinch of chopped cilantro. Fold the left and right tortilla edges in 1 inch over the filling, then roll the bottom edge up tightly over the filling, tucking firmly as you go to create a sealed, tight cylinder. Repeat with all four tortillas.
Toast Rolled Burritos
Wipe the black carbon steel skillet clean with a paper towel, then return it to medium-low heat. Place rolled burritos in the skillet seam-side down, cooking for 1 minute per side, until the tortilla exterior is lightly golden and crisp, and the cheese inside is fully melted. Press gently on the top of each burrito with the silicone turner as it toasts to create an even, crisp crust and seal the seam shut.
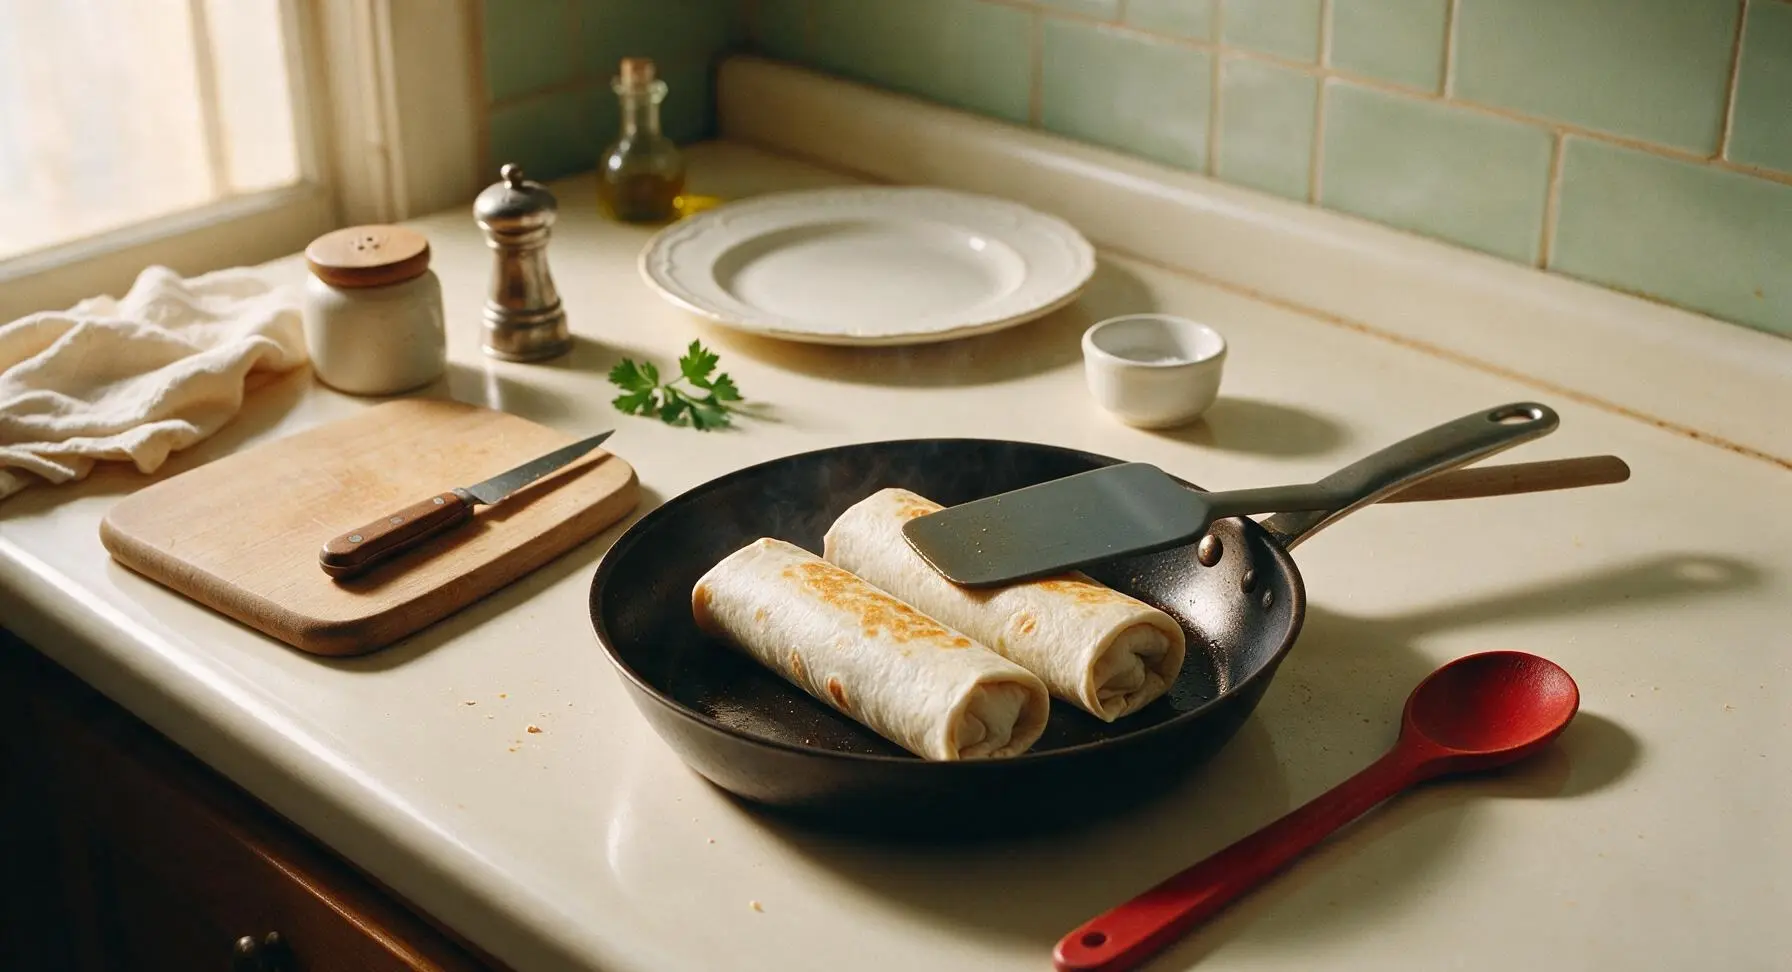
Plate and Garnish Burritos
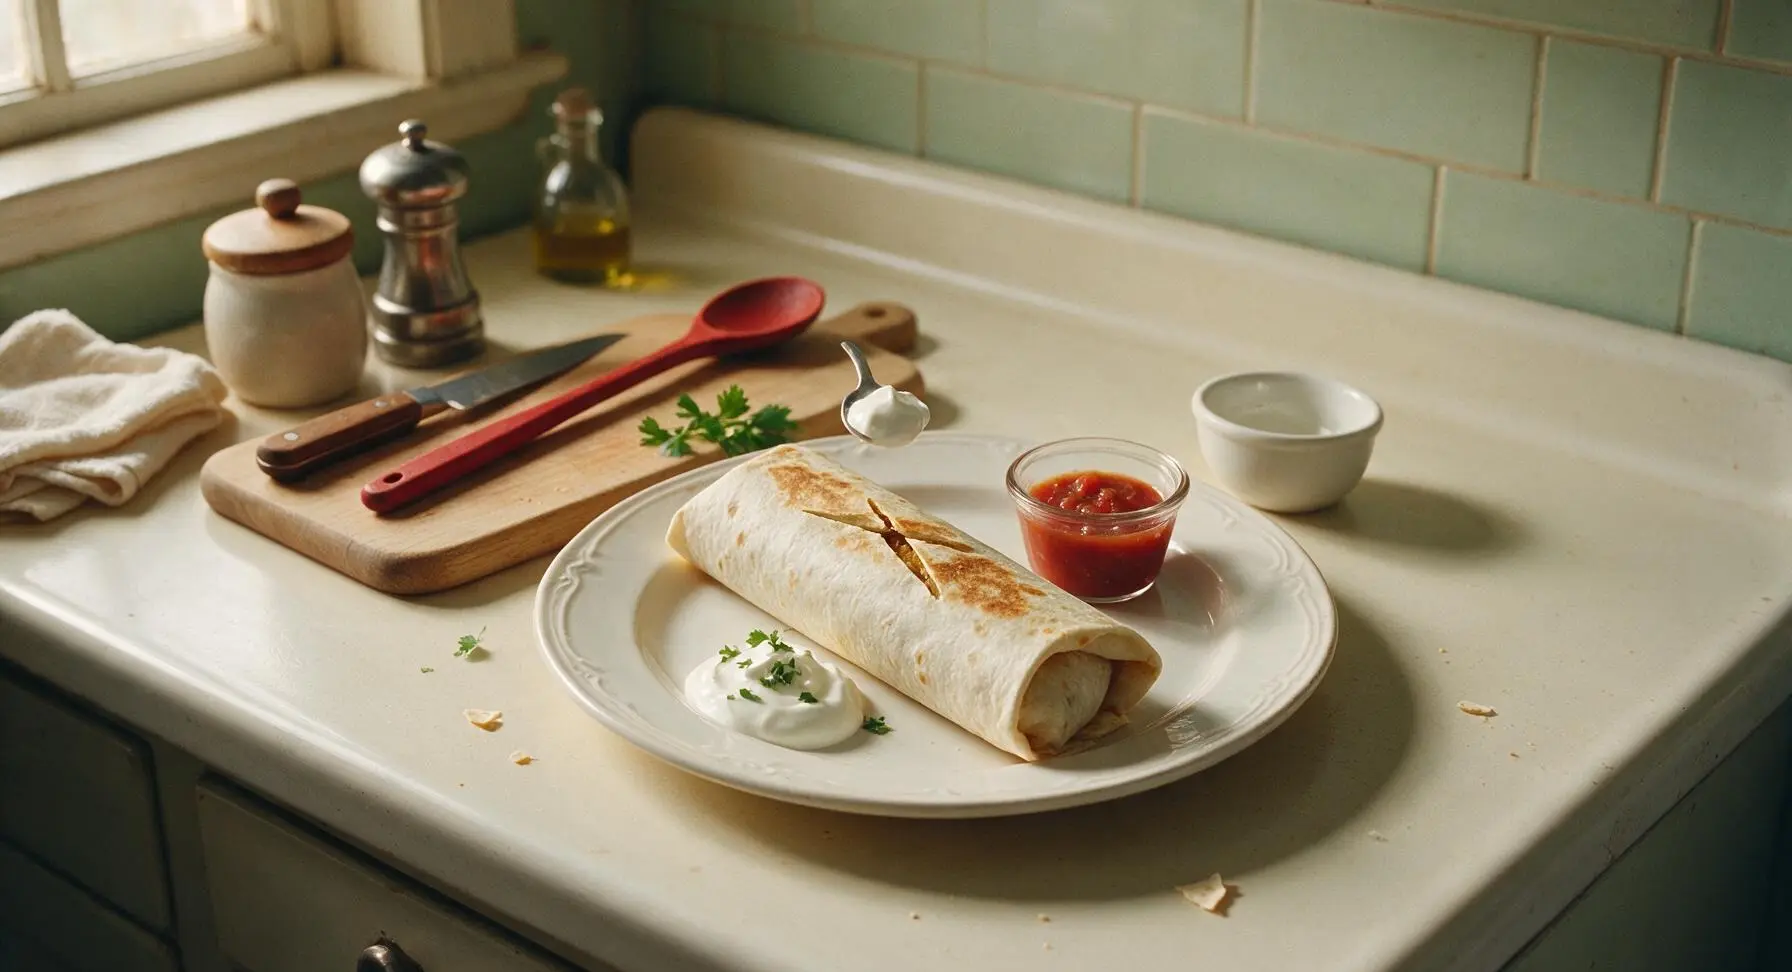
Pull one matte cream ceramic dinner plate from the stack to the center front of the counter. Transfer one toasted burrito to the plate, placing it diagonally across the center. Cut a 1-inch slit in the top of the burrito to vent steam, then add a 2-tablespoon dollop of sour cream next to the burrito, sprinkle with a pinch of fresh chopped cilantro, and place a filled small clear glass salsa cup of red salsa on the plate for dipping. Serve immediately while warm.
Tips
2.Drain excess grease after browning beef: Too much leftover rendered grease in the filling will soak through the tortilla, making it soggy and likely to tear when you pick up the burrito to eat it.
3.Toast burritos seam-side down first: The heat melts the tortilla edges together to create a natural, leak-proof seal, while adding a satisfying crispy texture contrast to the soft, cheesy filling inside.






OMG y’all, these burritos were a total game changer for our weeknight dinner! I threw in a little extra cilantro lime rice like my abuela used to make, and even my super picky 7 year old asked for seconds. Cook time was totally spot on at 25 minutes, no fancy skills needed which is perfect for my chaotic after work schedule. Already added the ingredients to my weekly meal prep list!
These were SO good, I brought a batch to our neighborhood potluck last weekend and people were hounding me for the recipe! Only reason I’m knocking off a star is I found the filling a little dry when I followed the measurements exactly, so I added an extra scoop of refried beans and a dollop of sour cream to the mix to moisten it up. Will definitely make again though!
As a college student with barely any cooking skills and a tiny dorm kitchen, I was shocked how easy these were to pull off! No weird specialty ingredients, cook time didn’t even take the full 25 minutes for me, and I’ve got leftovers for the next 3 days. 10/10 would recommend to anyone who’s sick of eating ramen every night.
Made these before a big day hike with my buddies, wrapped them in foil and tossed them in the cooler – they held up perfectly and were way more filling than the sad granola bars we usually bring. I added a little extra taco seasoning and some pickled jalapeños for a kick, chef’s kiss. Super easy to make even after a long work day the night before a trip.
My kids loved it! I’ve been in a total dinner rut lately and was scrambling to find something that didn’t require a million ingredients or hours of cook time, and this popped up. I let the kids stuff their own burritos with their favorite toppings (guac, extra cheese, you name it) and they thought it was the most fun dinner ever. Will be going into our regular rotation for sure.
These are a meal prep dream! I made a big batch on Sunday, wrapped each burrito tightly in plastic wrap and foil, and tossed them in the freezer. They reheat perfectly in the microwave in 2 minutes, and they taste just as good as the day I made them. Saved me so much time during the work week when I don’t feel like cooking after my commute.
Really solid base burrito recipe! I spiced mine up with some hot sausage and a drizzle of chipotle crema, and it was absolutely delish. My only tiny note is that I wish the recipe had a little more guidance on how tightly to wrap them so they don’t leak when you pick them up, but I got the hang of it by my third one. Tasty, easy, will make again.