1.Do I need to pre-cook dry manicotti tubes before stuffing them?
▾
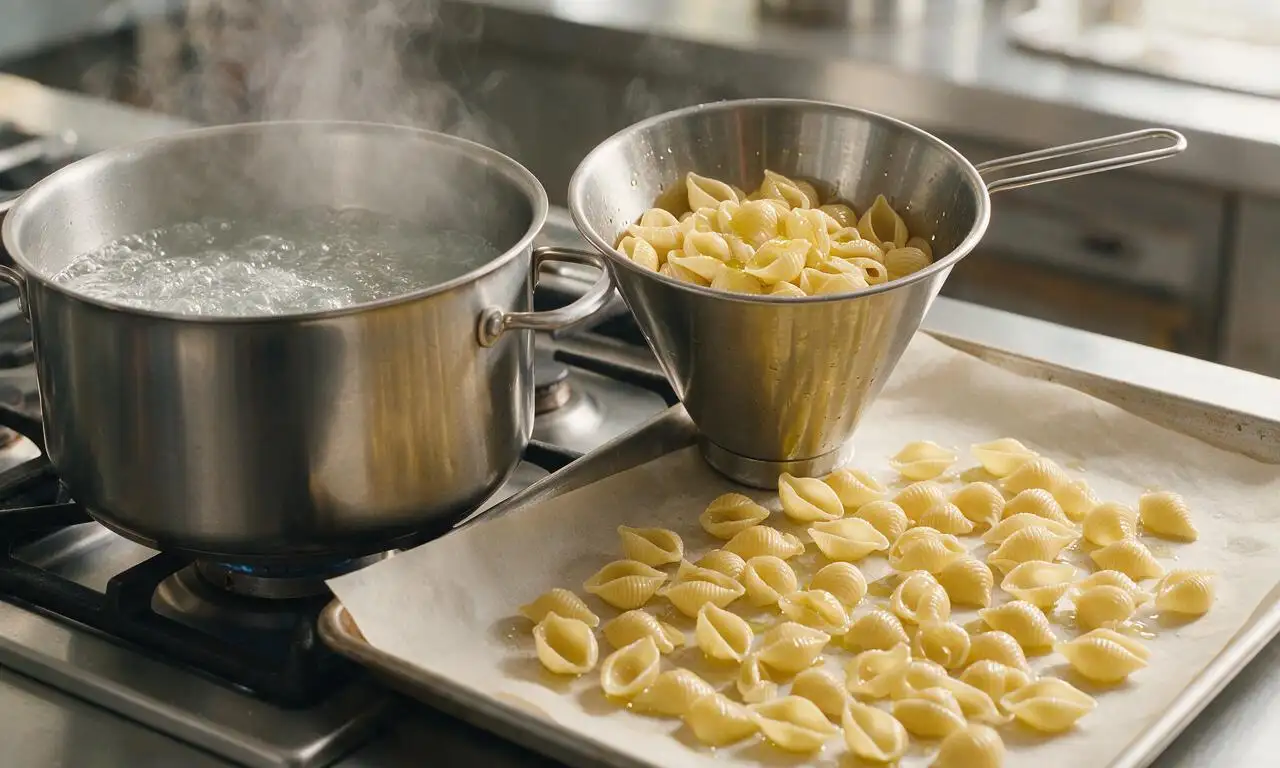
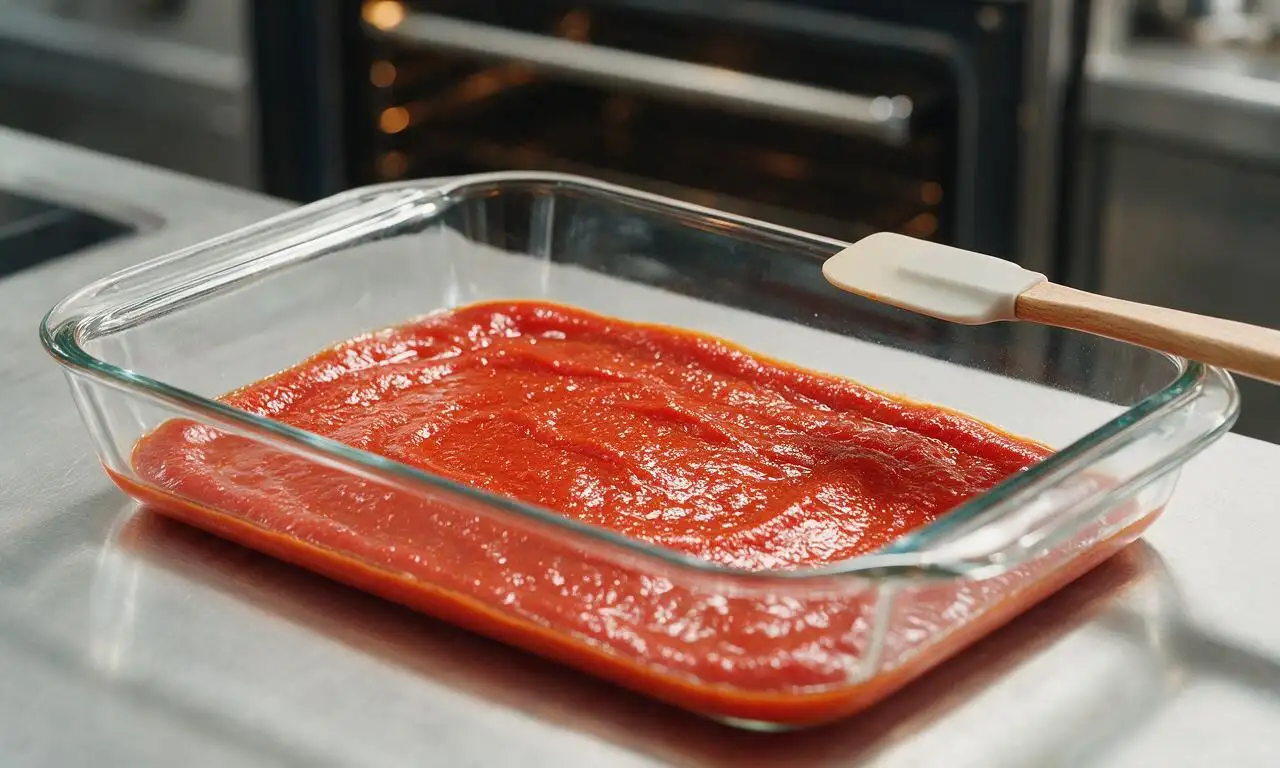
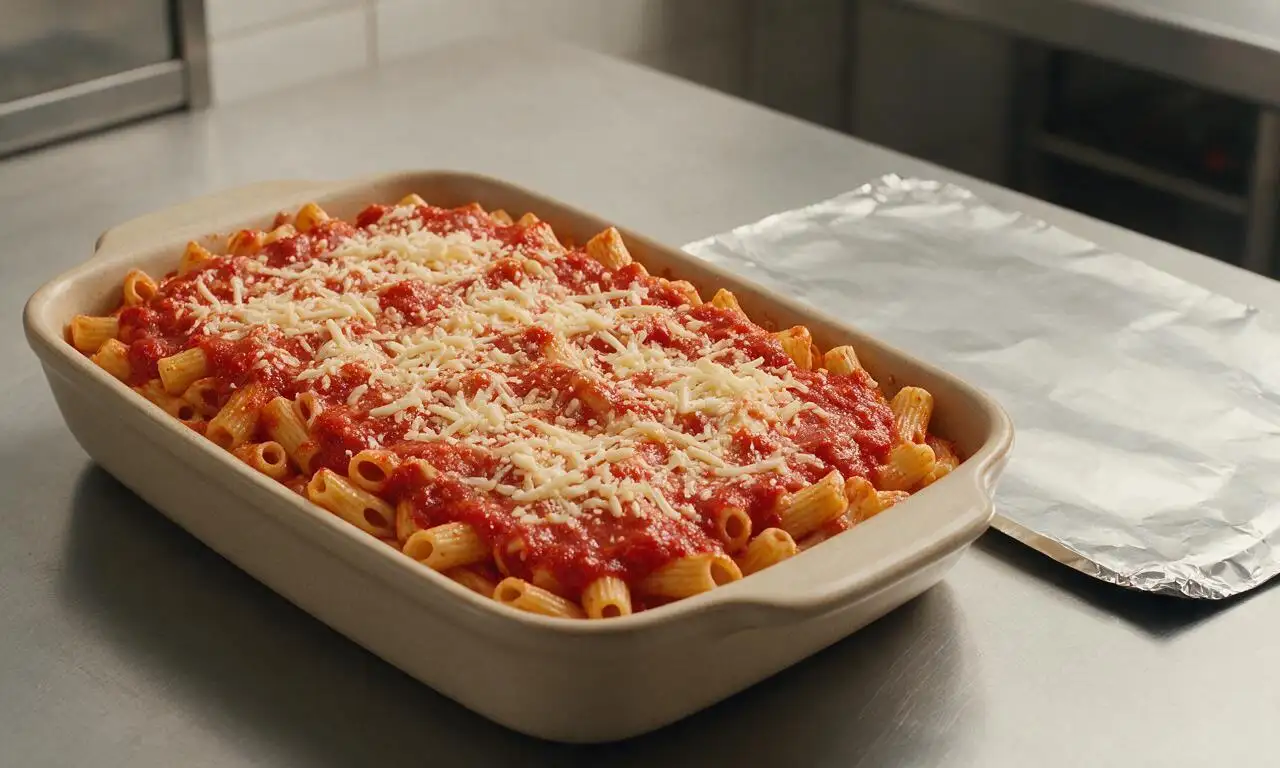
You don’t have to, and I actually recommend skipping pre-boiling for less mess! Uncooked tubes hold their shape far better when stuffed. Just stir ½ cup of water into your marinara, cover the dish tightly with foil, and the pasta will steam perfectly tender as it bakes at 375°F for 45-50 minutes.
2.Why do I need to drain whole-milk ricotta for the filling?
▾
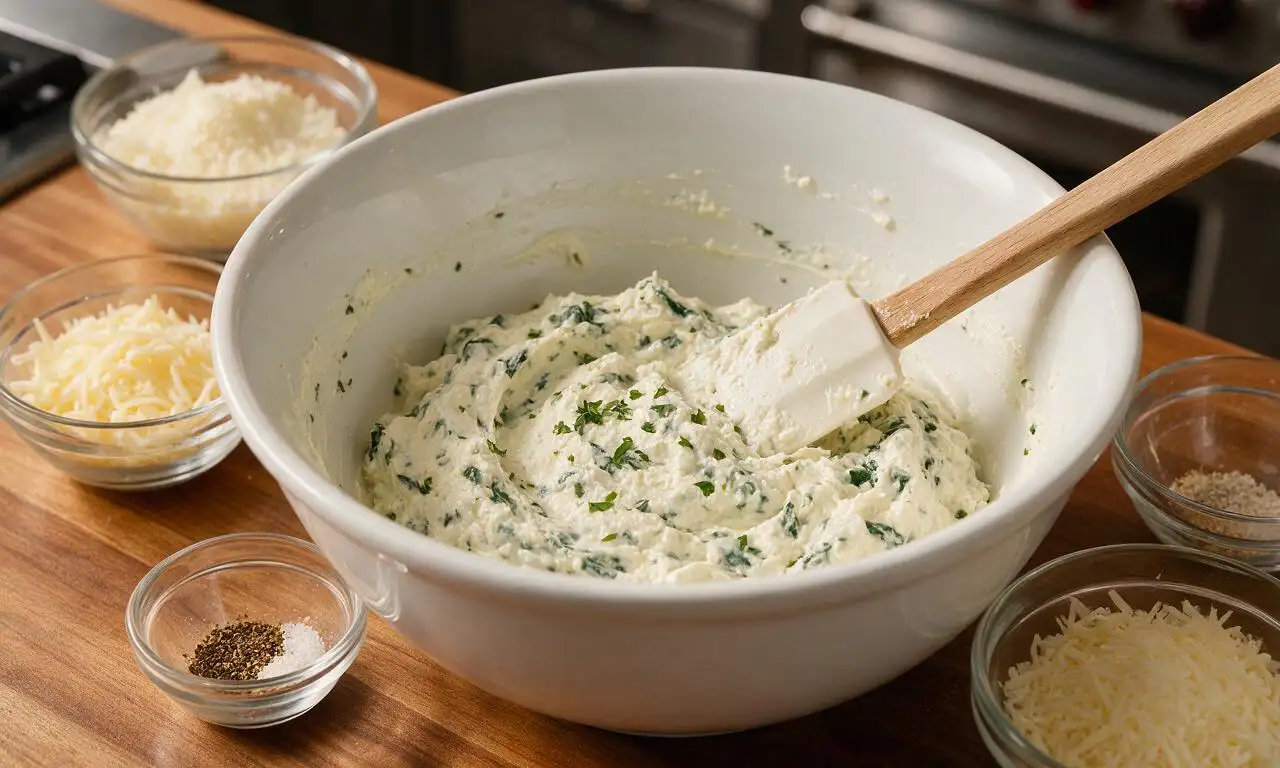
Draining ricotta removes excess watery whey that would make your filling runny and your baked manicotti soggy instead of rich and creamy. Set the ricotta in a fine-mesh sieve lined with paper towels over a bowl for 30 minutes, or press out extra moisture with paper towels for a quick, last-minute fix.
3.What’s the easiest way to stuff manicotti tubes without making a mess?
▾
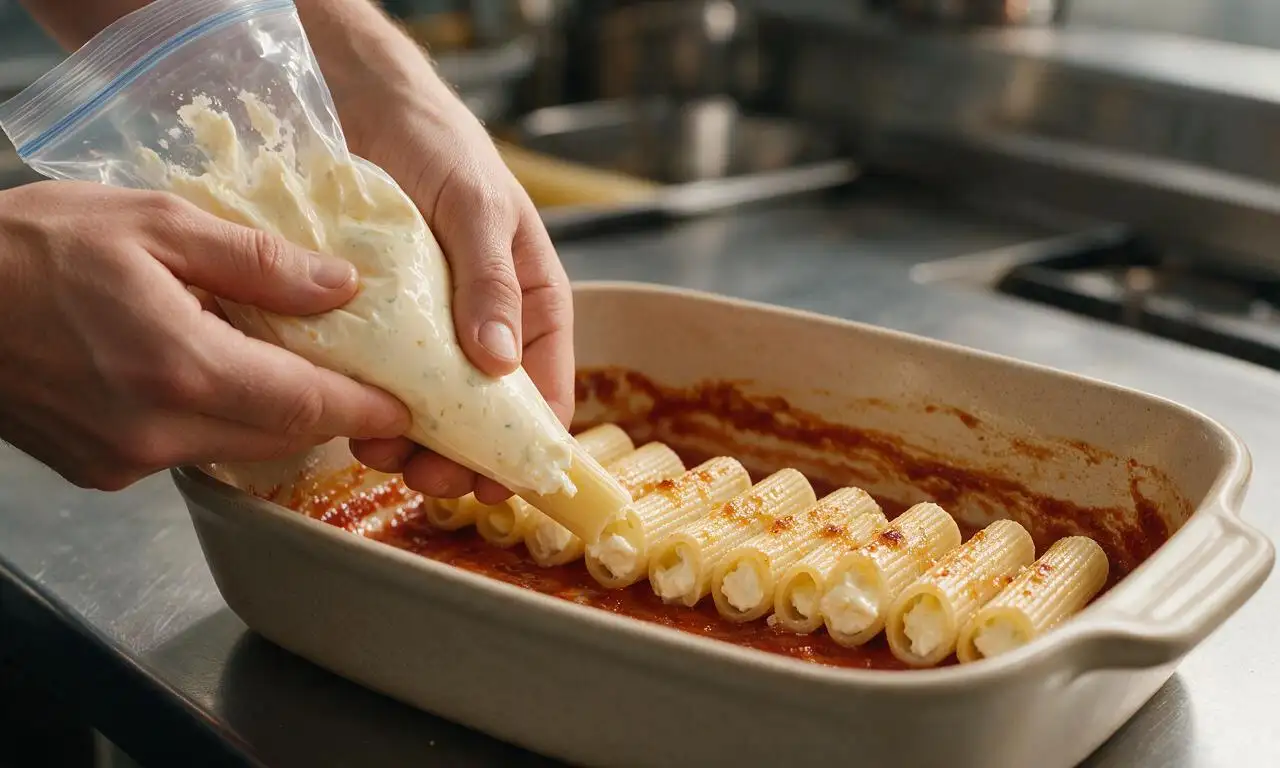
Skip tiny spoons that tear soft pasta! Spoon your cooled ricotta-spinach filling into a heavy-duty zip-top bag, snip a ½-inch corner off the bottom, and pipe the filling straight into each open end of the tube. It’s fast, cuts down on broken pasta, and delivers even filling in every piece without oozing mess.
4.Can I leave the spinach out of the cheese filling if I don’t like it?
▾
Of course! The spinach adds subtle earthy flavor and a pop of color, but it’s totally optional. If you skip it, just add an extra ¼ cup of grated Parm and a pinch more dried oregano and garlic powder to the ricotta mix to keep the filling flavorful and the right thick, scoopable consistency.
5.Why do you recommend low-moisture mozzarella instead of fresh mozzarella?
▾
Low-moisture shredded mozzarella melts into that perfect stretchy, gooey, golden cheesy top without releasing excess water that sogs out your pasta. Fresh mozzarella has very high water content; if you do use it, pat it very dry first and slice it thin to avoid watery, soupy baked manicotti.
6.How much filling should I put in each manicotti tube?
▾
Aim to fill each tube about ¾ full, no more! The ricotta filling puffs slightly as it bakes, and overstuffing will cause it to ooze out the ends and make a burnt, sticky mess in your baking dish. You’ll know it’s right when you see a tiny gap at each open end after piping.
7.Can I make this manicotti ahead of time for a weeknight meal?
▾
Absolutely! Assemble the stuffed manicotti in your baking dish, cover it tightly with plastic wrap, and store it in the fridge for up to 2 days before baking. When you’re ready to cook, remove the plastic, cover with foil, and add 10 minutes to the bake time to account for the chilled dish.
8.Do I have to use homemade marinara for this recipe?
▾
Not at all! A good quality jarred marinara works perfectly here and cuts down on prep time significantly. Look for a marinara with no added sugar, and give it a quick taste first; stir in a pinch of garlic, dried basil, or a splash of red wine if you want to bump up its flavor.
9.Why is my manicotti coming out watery every time I make it?
▾
Watery manicotti almost always traces back to three easy fixes: you didn’t drain your ricotta long enough, you used high-moisture cheese without drying it, or you didn’t cover the dish tightly while baking so steam didn’t properly absorb into the pasta. Double check those steps for perfect results.
10.Can I add ground meat to this classic cheese manicotti?
▾
You totally can, if you want a heartier version! Brown 8 ounces of lean ground beef or Italian sausage, drain off all excess fat, and stir half of it into your marinara, then sprinkle the rest between the cheese layers. Don’t mix meat into the ricotta filling, as that makes the texture too dense.
11.How do I get that perfectly golden, bubbly cheese top?
▾
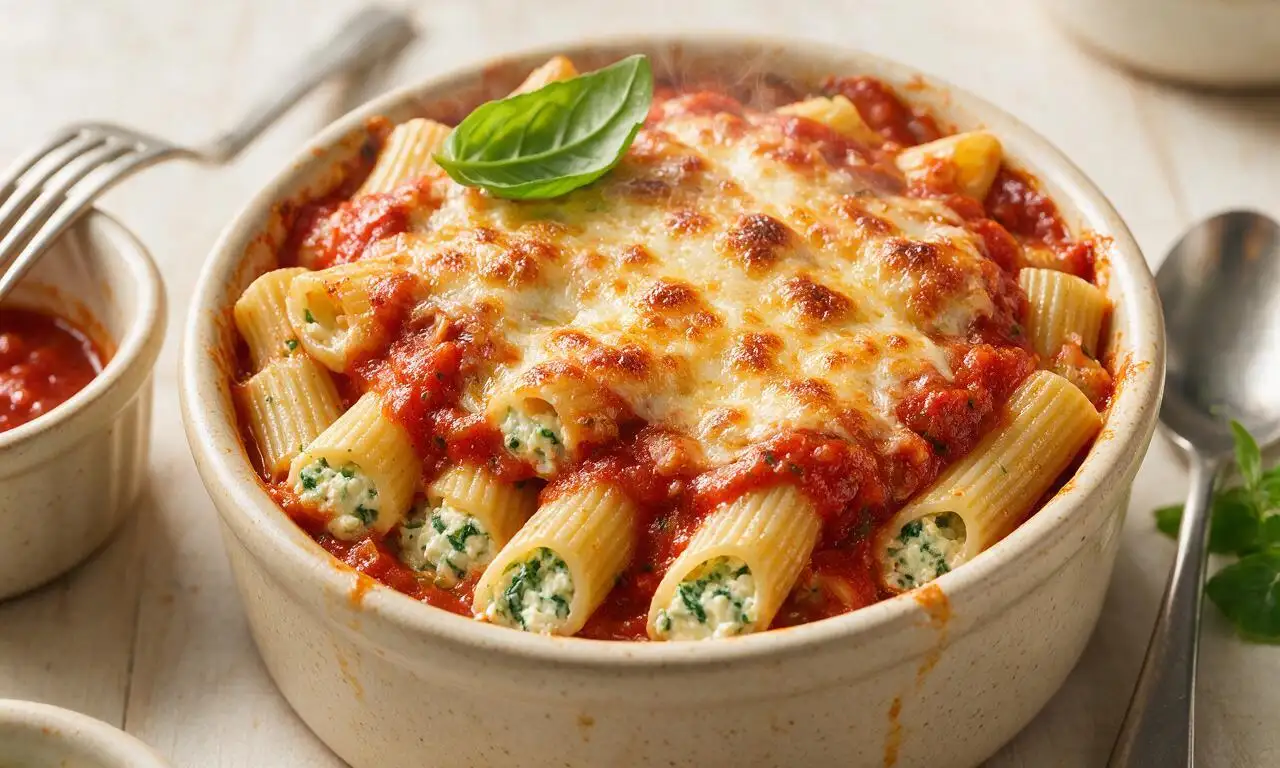
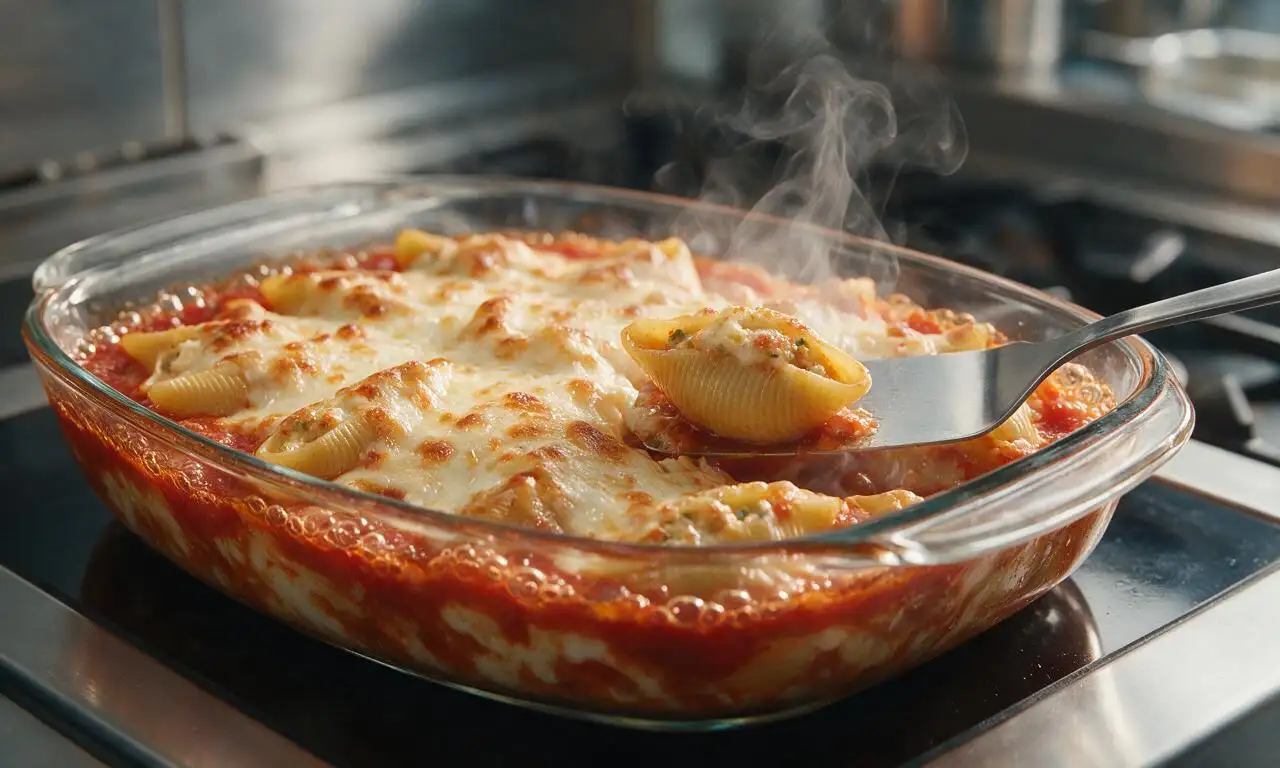
Keep the dish covered with foil for the first 35 minutes of baking, then remove the foil, sprinkle the last ⅓ of your mozzarella and a light dusting of Parm over the top, and bake uncovered for the final 10-12 minutes. Broil for 1 minute at the very end if you want extra crispy, browned cheese spots.
12.What’s the best way to store leftover baked manicotti?
▾
Let leftover manicotti cool completely to room temperature first, then cover the baking dish tightly with airtight foil or transfer individual portions to sealed containers. It will stay fresh in the fridge for up to 4 days, and you can reheat portions in the microwave at 50% power or in a 350°F oven until warm.
13.Can I freeze assembled or baked manicotti for later?
▾
Yes! Unbaked, assembled manicotti freezes beautifully for up to 3 months when wrapped tightly in two layers of plastic wrap and one heavy layer of aluminum foil. Bake straight from frozen, covered, for 1 hour 20 minutes at 375°F. Baked leftovers also freeze well for up to 2 months, thawed overnight in the fridge before reheating.
14.Is there a substitute for Parmigiano-Reggiano if I don’t have any?
▾
If you don’t have authentic Parmigiano-Reggiano, use a good quality domestic grated Parmesan cheese (skip the shelf-stable powdered kind in the green can, which has a gritty, artificial flavor). For a nuttier twist, swap in half pecorino Romano, just cut back added salt since pecorino is saltier.
15.Should I add egg to the ricotta filling?
▾
I recommend adding 1 large beaten egg to your drained ricotta mix! The egg acts as a binder that keeps the filling thick, creamy, and held together instead of oozing out when you cut into the baked manicotti. If you have an egg allergy, skip it, just make sure your ricotta is extra well-drained to keep the filling firm.
16.How many servings does a standard pan of this manicotti make?
▾
A standard 9x13 inch baking dish holds 12-14 stuffed manicotti tubes, which works out to 6 generous servings (2 tubes per person) when paired with a side salad and garlic bread, or 4 very hearty servings for bigger appetites. It’s ideal for family dinners or casual potlucks since it stretches so well.
17.What seasonings work best in the ricotta cheese filling?
▾
Stick to classic Italian flavors to keep that traditional, cozy taste! Mix in 1 teaspoon of dried oregano, ½ teaspoon of garlic powder, ¼ teaspoon of black pepper, a tiny pinch of freshly grated nutmeg, and 2 tablespoons of chopped fresh parsley to your drained ricotta for bright, herby flavor that doesn’t overpower the cheese.
18.What should I do if my manicotti tubes break while prepping?
▾
Don’t panic! A small tear or split in a pasta tube won’t ruin your dish. Just arrange the broken tube seam-side down in the baking dish, cover it completely with marinara and extra cheese, and it will bake up just as tasty as fully intact pieces. No one will notice the small flaw once it’s smothered in bubbly, golden cheese.







Meal prepped this on Sunday for the work week and it held up perfectly! I portioned it out into individual containers and just popped them in the microwave for 2 minutes at lunch. So much better than the sad cafeteria pasta. 10/10
I’ve been making manicotti for 40+ years and this recipe is hands down better than my old go-to! The three cheese blend with that little hint of nutmeg? Game changer. My grandkids begged for seconds before they even finished their first serving.
First time making manicotti ever and I was so nervous it would turn out a mess! It was definitely a little work stuffing the noodles, but the end result was so worth it. My roommates thought I ordered takeout from our favorite Italian spot lol.
Made this for my partner’s birthday dinner and he said it’s the best thing I’ve ever cooked. Only note is I added a little extra mozzarella on top because we are cheese obsessed around here. Will be making this again for sure.
Brought this to our church potluck last weekend and people were asking for the recipe before I even set the pan down! Only issue I ran into was my noodles got a little mushy because I boiled them too long, oops. Any tips?
I swapped the regular manicotti noodles for gluten free ones and used my own homemade marinara, and it turned out INCREDIBLE. Even my non-gluten free husband didn’t notice a difference. So happy I found a baked pasta recipe that works for my dietary needs!
Taste was 10/10, but 75 minutes cook time felt a little long for a weeknight for me. Any way to cut down the time so I can make this on busy school nights?
My kids loved it! I added some crumbled Italian sausage to half the pan for the meat lovers in my house and kept the other half classic cheese. Both versions were gone in 10 minutes flat. SO good.
OMG I added a pinch of red pepper flakes to the cheese filling and a dash on top before baking for a little kick, and it was chef’s kiss. If you love a tiny heat boost with your cheesy pasta, don’t sleep on that addition.
Wait, do I have to cover the pan with foil the whole time it bakes? I tried a different manicotti recipe once and the cheese on top got totally burnt because I left it uncovered too long.
This tasted just like the manicotti my Italian mother-in-law used to make for Sunday suppers. The ricotta filling is so smooth, no grainy texture at all. I will be passing this recipe along to my daughter for her own family now.
I added a scoop of cottage cheese to the filling to bump up the protein, and it was so creamy you couldn’t even tell. Perfect for my post-workout meal prep, hit every macro I was aiming for and tasted like a total treat.
Made this in my tiny dorm oven with my roommate and it was so good! We used jarred marinara because we didn’t have time to make homemade, and it still slapped. Way better than the ramen we’ve been living on all semester.
I was worried this would be too hard since the difficulty is marked medium, but it was totally manageable even for someone who mostly bakes cookies! The instructions were super clear, no confusing steps at all. The whole family raved.