
Maple Candy
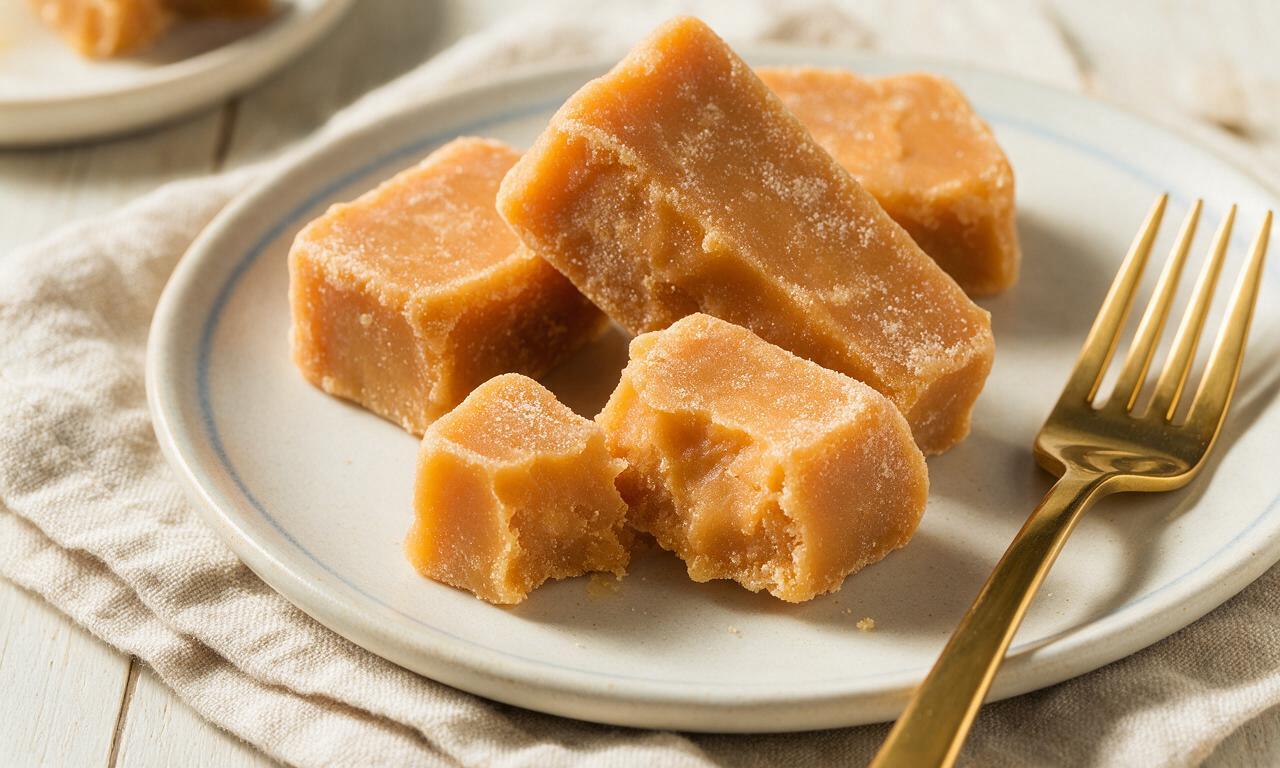
intro
Rich, melt-in-your-mouth pure maple candy with a delicate fudgy texture, made from simple ingredients for a naturally sweet, nostalgic cold-weather treat.
Ingredients
Steps
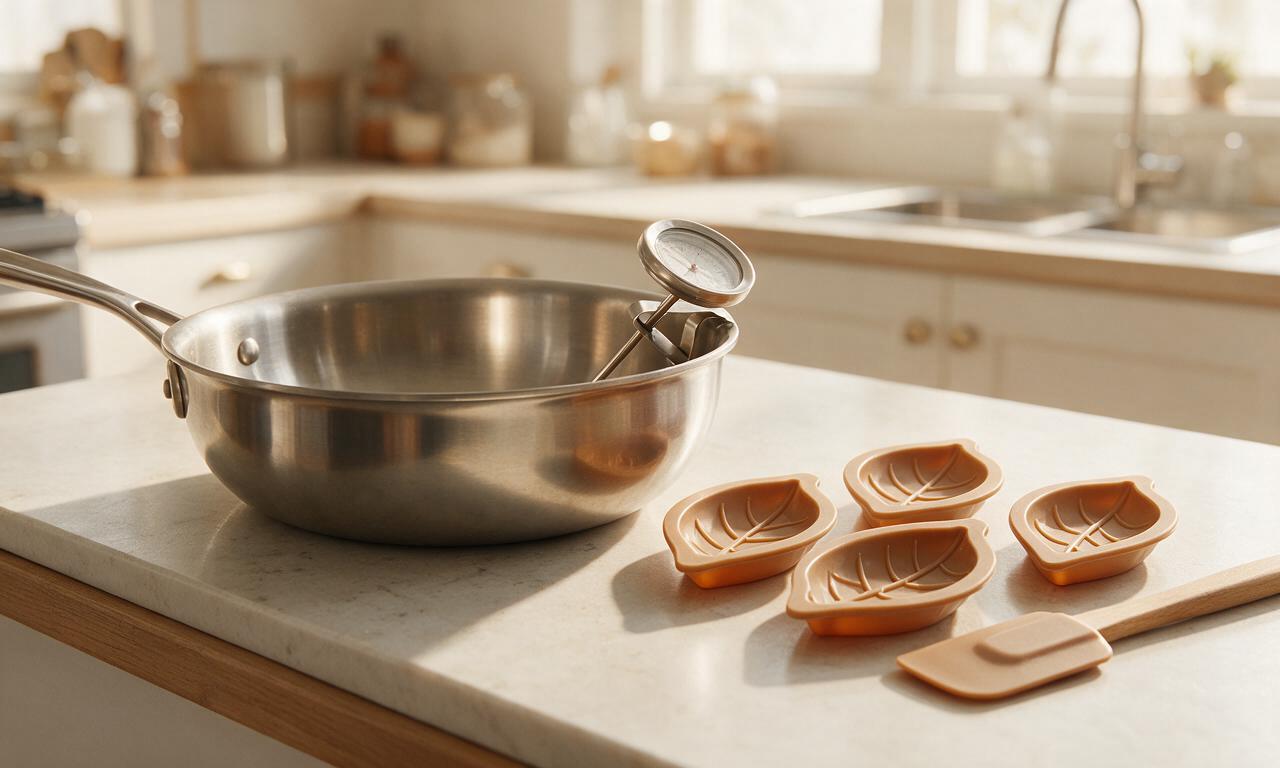
Prep molds and equipment
Gather a heavy-bottomed 3-quart saucepan, clip-on candy thermometer, flexible silicone spatula, and 1-inch leaf-shaped silicone candy mold (or 8x4 inch metal loaf pan). Clip the thermometer to the pan side so its tip sits ½ inch above the pan bottom (not touching the base), and set the mold on a heatproof countertop. This prep takes 3 minutes at room temperature.
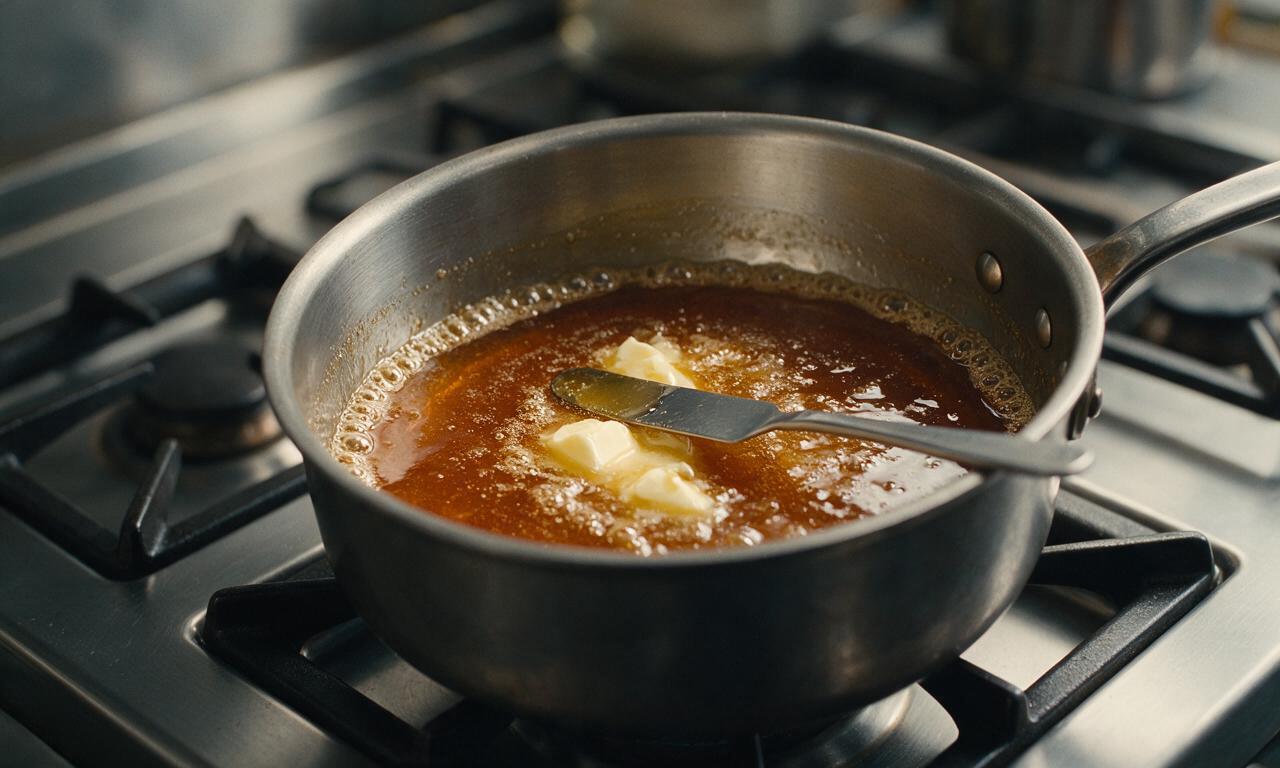
Heat maple syrup base
Pour 2 cups (480ml) dark amber pure maple syrup and 1 teaspoon (5g) unsalted butter into the prepared saucepan. Set stovetop heat to medium-low, stirring slowly with the spatula until the butter fully melts and the syrup comes to a gentle, rolling boil, approximately 5–7 minutes total. Do not raise heat above medium-low, as this will scorch the syrup and create a bitter flavor.
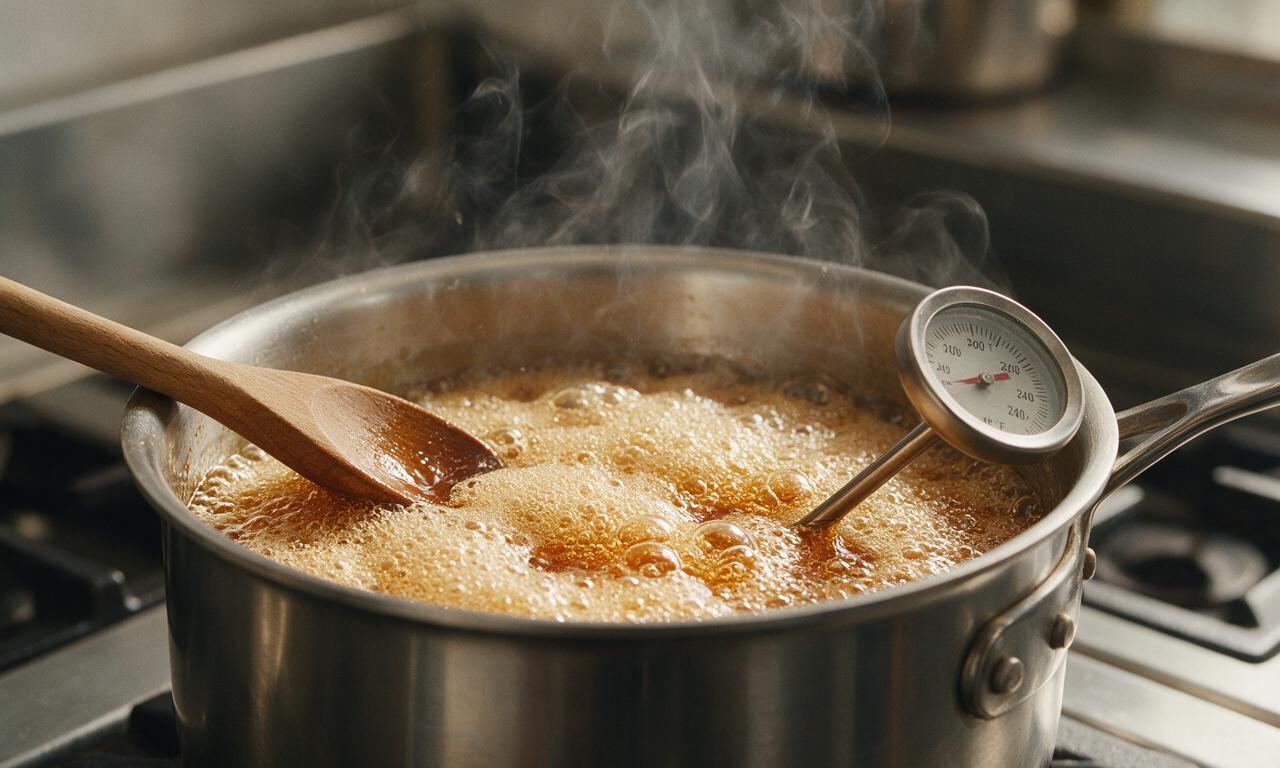
Boil to soft ball stage
Once the syrup reaches a steady, even boil, stop stirring entirely. Let it cook undisturbed over medium-low heat until the candy thermometer reads exactly 240°F (116°C, soft ball stage), which takes 8–10 minutes. Watch closely as the syrup foams as it heats; if foam rises within 1 inch of the pan rim, briefly lift the pan 2 inches off the burner for 10 seconds to reduce foaming before replacing it.
Cool cooked syrup
Immediately remove the pan from heat the moment the syrup hits 240°F. Do not stir or jostle the pan during cooling. Set it on a heatproof silicone mat and let it rest undisturbed until the internal temperature drops to 175°F (80°C), roughly 10 minutes. Stirring during this step will cause large sugar crystals to form, resulting in grainy candy.
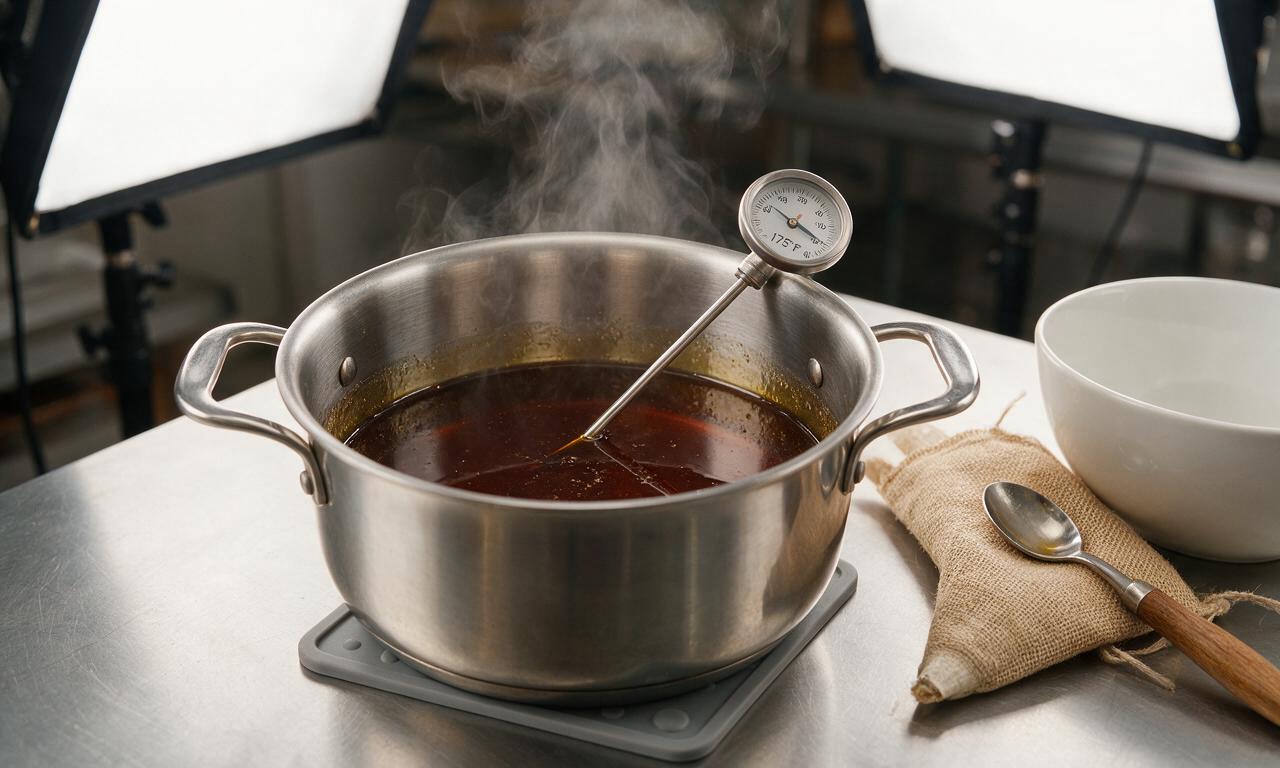
Stir to creamy consistency
Once the syrup reaches 175°F, stir it continuously and firmly with the silicone spatula, scraping the pan’s bottom and sides constantly. After 3–4 minutes of steady stirring, the glossy, translucent dark amber syrup will transform into a lighter, opaque, tan-colored thick mixture that leaves soft, slow-fading ridges when stirred. Stop stirring immediately once this texture forms, as over-stirring will cause the candy to set inside the pan.
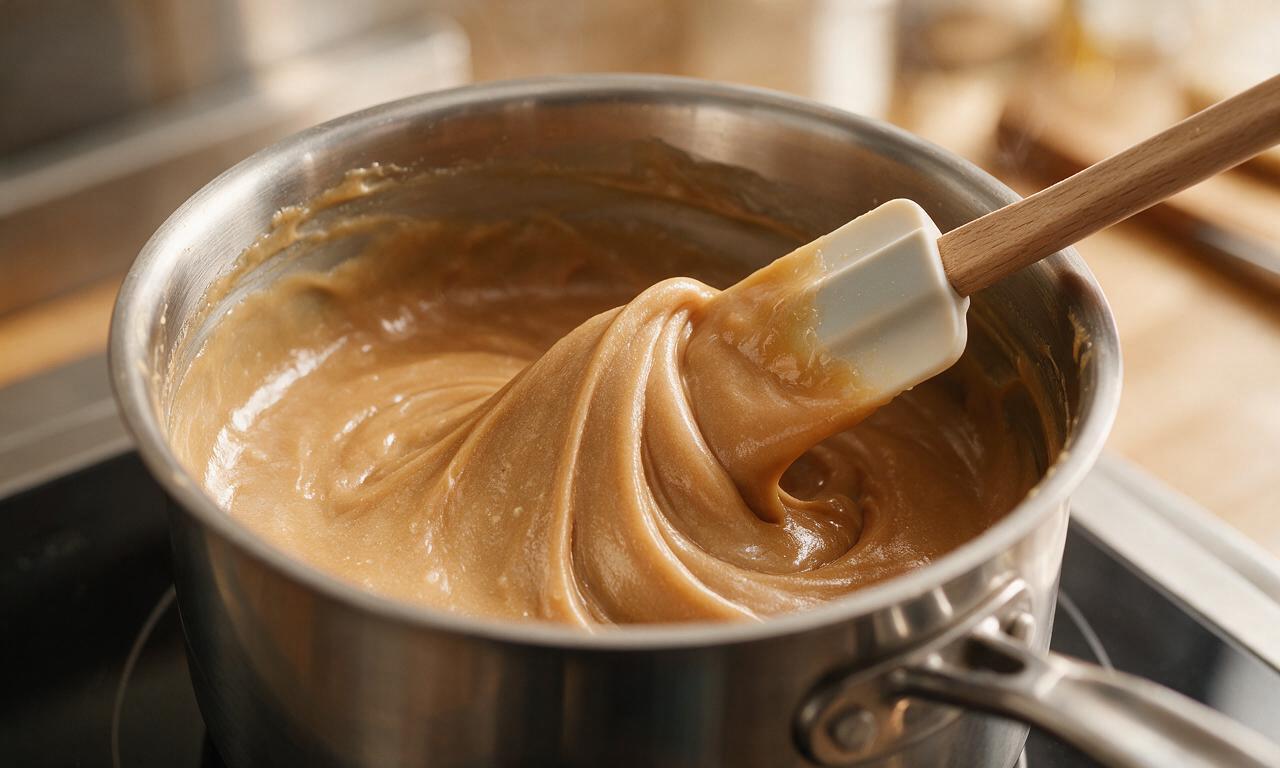
Pour candy into molds
Immediately pour the thickened maple mixture evenly into the prepared candy mold cavities (or loaf pan), filling each flush to the top. Tap the mold firmly on the counter 2–3 times to release any trapped air bubbles that would create holes in the finished candy. Let the candy set undisturbed at cool room temperature (65–70°F / 18–21°C) for 10–12 minutes, until firm to a light touch.
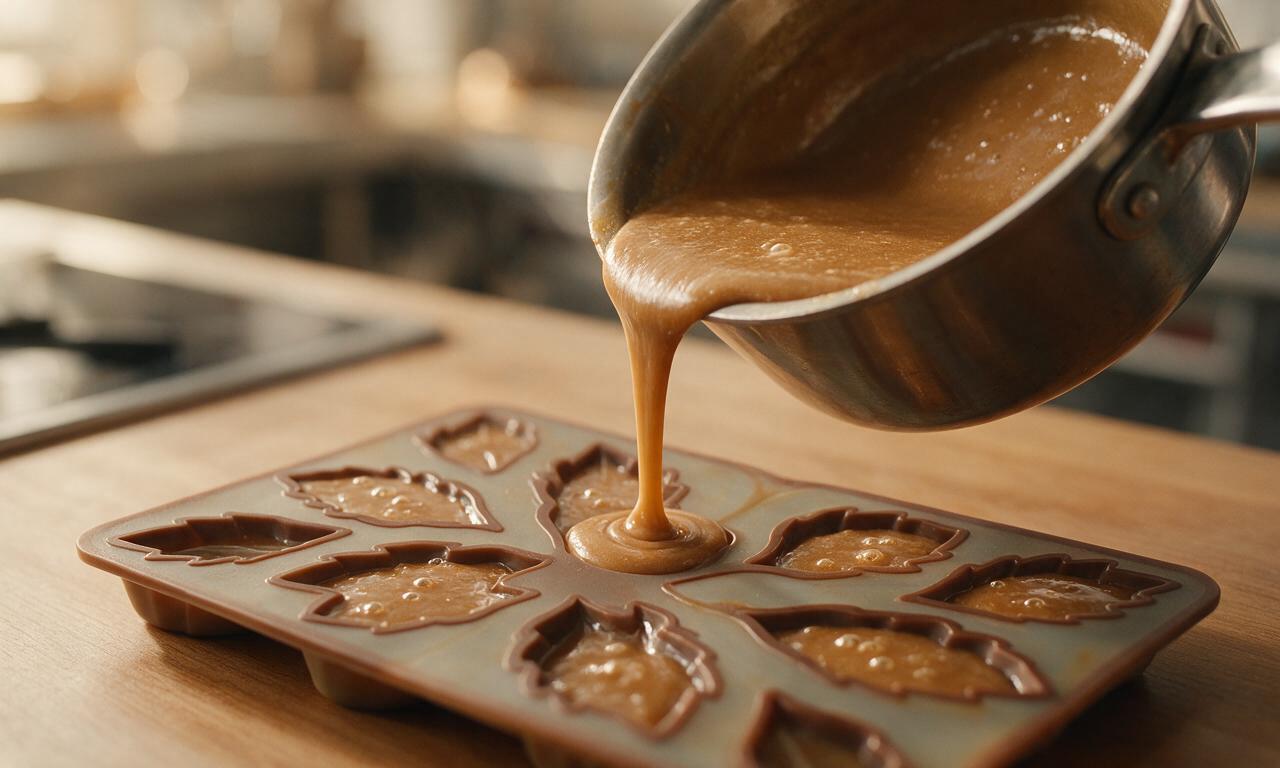
Unmold and store treats
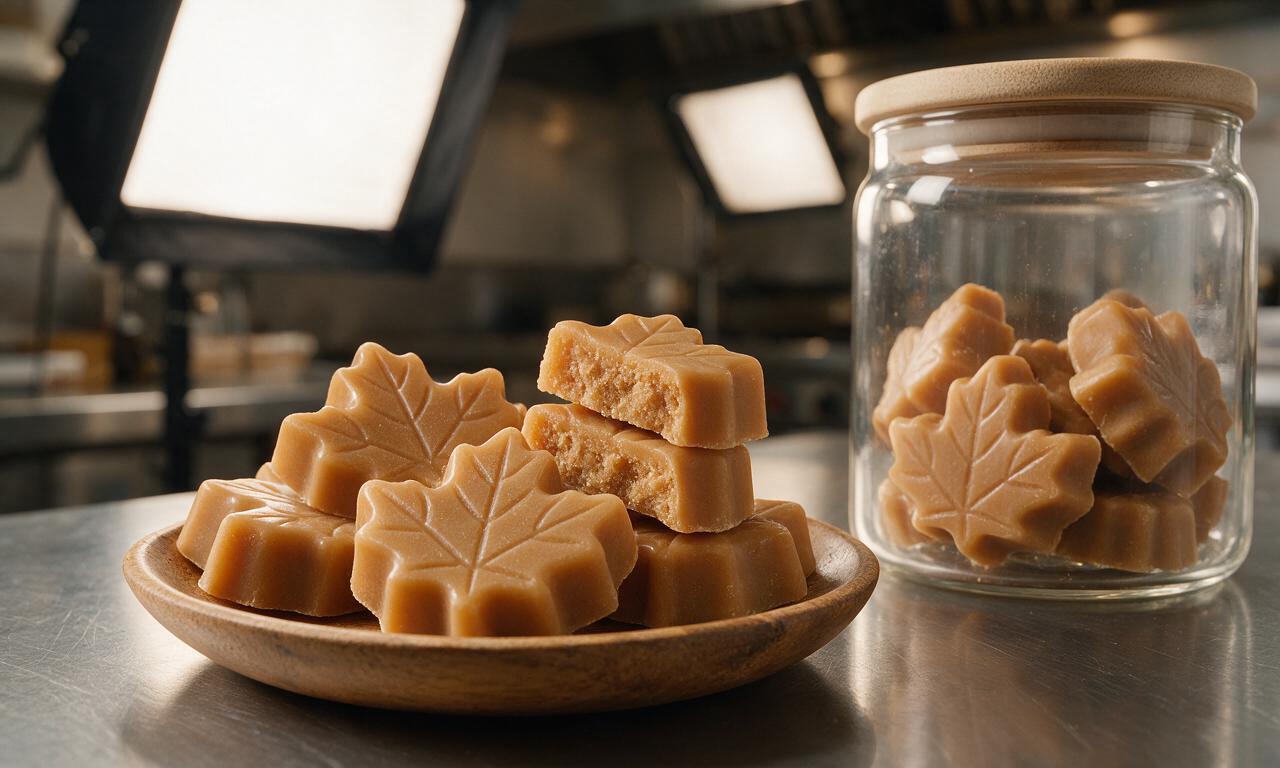
Once fully set, flex the silicone mold gently to pop individual candies loose. If using a loaf pan, lift the solid candy block out and cut it into 1-inch squares with a sharp, dry knife. Store finished candies in an airtight glass container at cool room temperature, separated by small squares of parchment paper to prevent sticking, for up to 1 month.
Tips
2.Avoid scraping the dried syrup crystals from the pan sides when pouring the thickened candy into molds, as these hard crystals will create grainy, uneven texture in your finished candies.
3.If you live above 1,000 feet (300m) elevation, reduce your target boiling temperature by 2°F (1°C) for every 1,000 feet of elevation to account for lower water boiling point, ensuring the candy sets correctly.






OMG this pure maple candy is exactly what my grandma used to make when I was a kid! I was so nervous I’d mess up the temperature since I’ve only made fudge once before, but the instructions were super clear. Cook time was right at 45 minutes for me, no guesswork. Brought a batch to our neighborhood potluck last weekend and people were begging for the recipe. SO good!
My kids went absolutely crazy for this candy! I packed little baggies of it for their soccer team snacks last week and even the coaches asked where I bought it. I will say, it took me a couple tries to get the soft crack stage right the first time, so don’t beat yourself up if your first batch is a little grainy. Worth the effort though!
Game changer for trail snacks! I make a batch of this every couple weeks to toss in my hiking pack for day trips out in the Rockies. No weird additives, just pure maple flavor, and it holds up way better than chocolate when it’s warm out. 10/10 will keep making this on repeat.
Wait, is there a substitute for real maple syrup? I tried making this with the pancake syrup I had in the fridge and it turned out like a sticky, burnt mess. Bummed because I was really looking forward to this!
Made these for our annual fall family dinner and they were the first thing gone from the dessert table! I dusted a few with a tiny bit of flaky sea salt on top and it took the flavor to the next level. If you’re on the fence about making these, just do it.
Full transparency, I thought this was going to be way easier? I burned the first batch because I walked away for 2 minutes to answer the door, and the second batch was too soft because I pulled it off the heat too early. Third time’s the charm I guess? Flavor is incredible when you get it right, but don’t make this if you can’t stand over the stove the whole time.
I’ve been looking for a nut-free, gluten-free treat to bring to school parties for my kid’s class and this is perfect! No common allergens, just simple ingredients, and every single kid asked for seconds. I did cut the pieces a little smaller since little kids don’t need huge candy portions, worked like a charm.
I love keeping a tin of these on my coffee bar for when guests come over. The deep maple flavor pairs so well with a hot latte or black coffee, way better than the store-bought hard candies I used to keep out. Got so many compliments when my book club came over last week!
Wait, how much does this recipe yield? Pure maple syrup is kind of pricey where I live, so I want to make sure I’m not wasting ingredients making too little for the holiday cookie plates I’m putting together.
Bro, this candy is INSANE. I added a tiny dash of cinnamon to half the batch on a whim and it slapped. If you like that warm fall spice vibe, definitely give that a shot. Don’t overdo the cinnamon though, a little goes a long way.
So excited this is naturally vegan! I’ve been missing old-fashioned maple candy since going plant-based and this hits exactly the spot. No weird dairy, no gelatin, just pure maple goodness. I’ll be making this every holiday season from now on.
Full disclosure: I don’t own a candy thermometer, so I did the cold water test to check for the soft crack stage and it worked perfectly! Don’t skip making this just because you don’t have fancy equipment, the old-school method works if you know what to look for.
Help! I poured my candy into the pan but it’s been an hour and it’s still super sticky and won’t set up. Did I do something wrong? I used pure maple syrup like the recipe said.
I meal prep a bunch of sweet treats for the work week and these are perfect for curbing that 3pm sugar crash. They’re rich, so one small piece is totally satisfying, and I don’t feel guilty eating them since the only ingredient is maple syrup! Way better than vending machine candy.
Made these as little party favors for our annual holiday ice skating party and they were such a hit! I wrapped them in little cellophane bags with twine and a tiny candy cane tag, they looked so cute. Everyone loved getting a little homemade treat to take home.
Is this supposed to be the creamy, melt-in-your-mouth style maple candy or the hard, glassy kind? I’ve had both versions before and I’m partial to the soft creamy ones, so I want to make sure I cook it to the right temp for that.
Pro tip: Line your pan with parchment paper with overhang on the sides! I forgot to do that on my first batch and had the worst time prying the candy out of the pan, half of it broke into weird crumbs. Second batch I used parchment and it lifted right out, so easy to cut into even squares.
We tap our own maple trees every spring and make syrup with my family, so I’m always looking for new ways to use it. This candy recipe is hands down the best one we’ve tried! It tastes exactly like the candy we used to buy at the local sugar shack when I was little, and even my picky grandpa said it was perfect.
I made this for my wife for our anniversary since maple is her favorite flavor, and I was so stressed I’d mess it up! I followed the directions exactly, used a candy thermometer, and it turned out perfectly. She said it was the most thoughtful homemade gift I’ve ever made her. Total win.