
Maple Tarts
intro
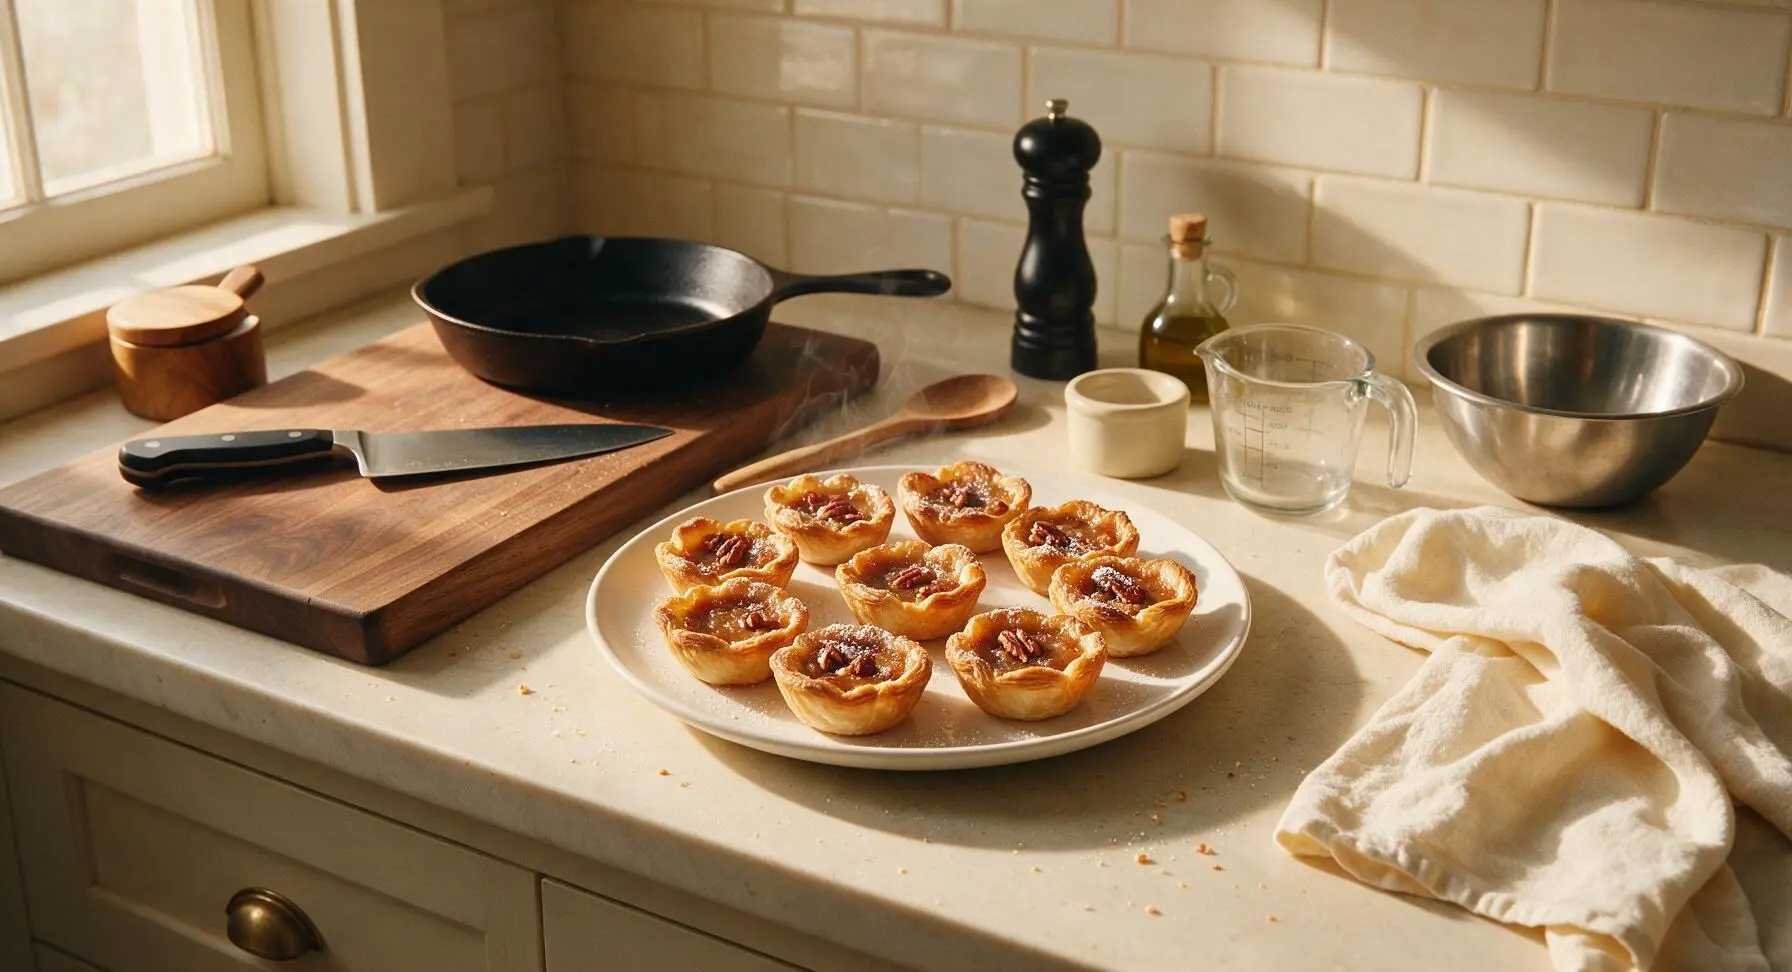
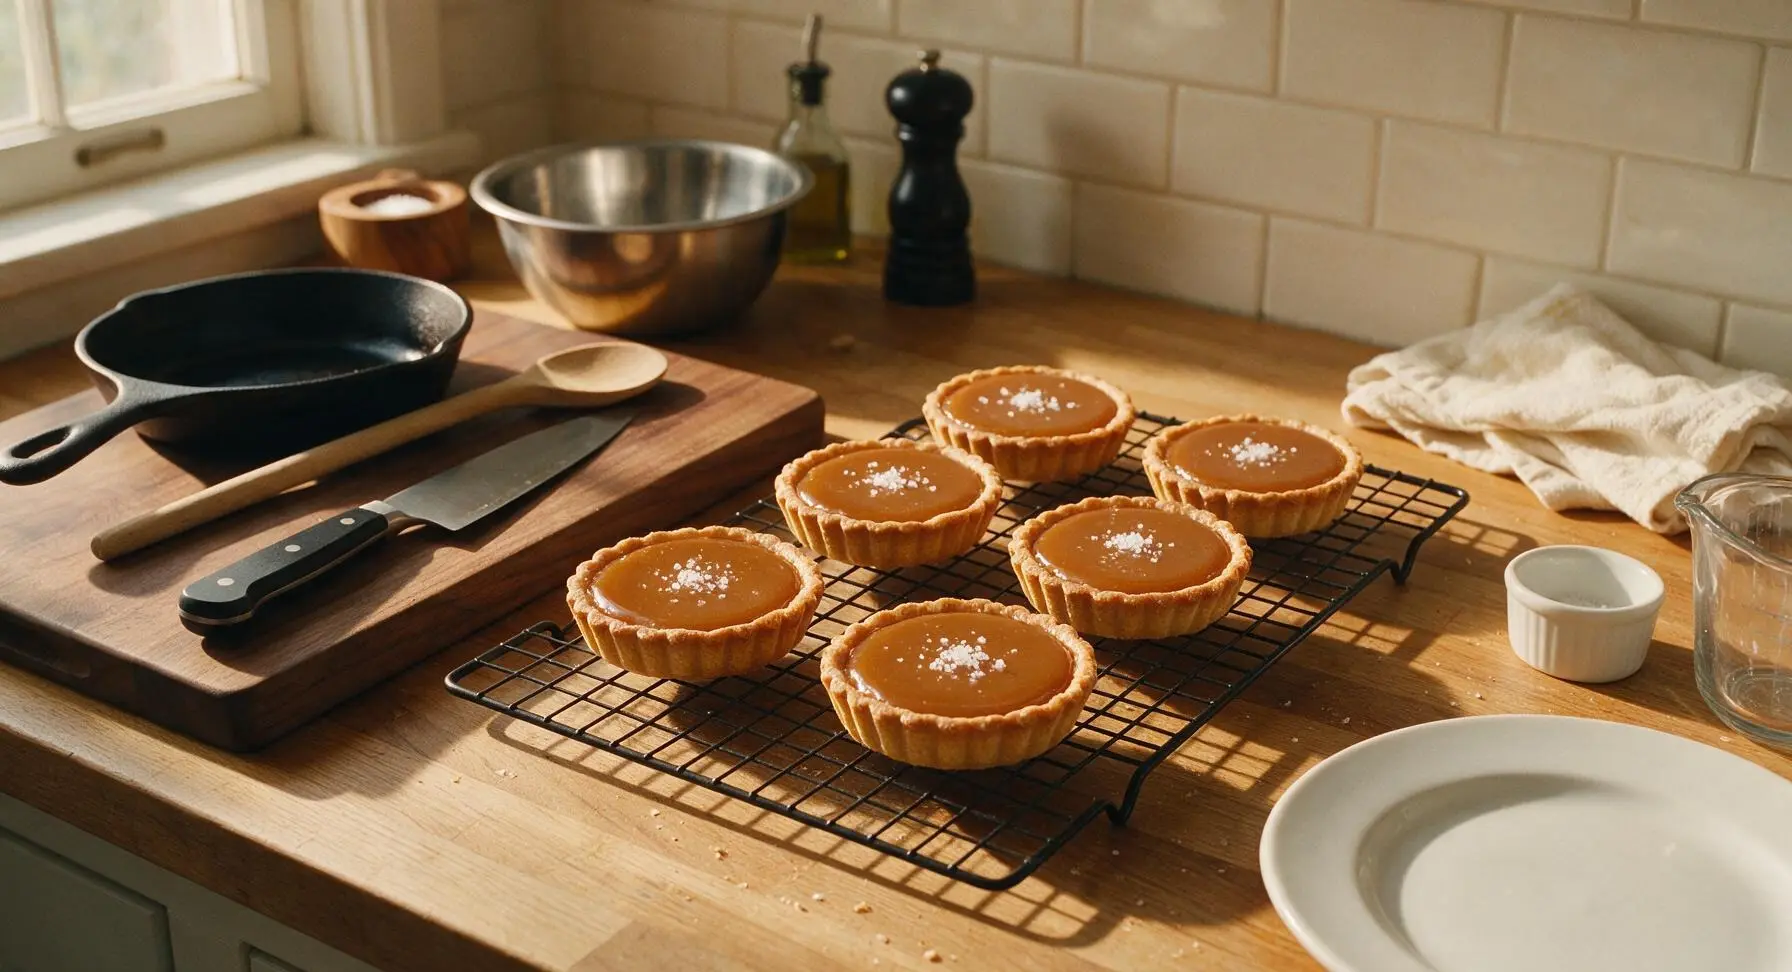
Buttery, flaky tart shells filled with rich, caramelized maple custard, these classic North American treats deliver cozy, warm autumn sweetness in every bite.
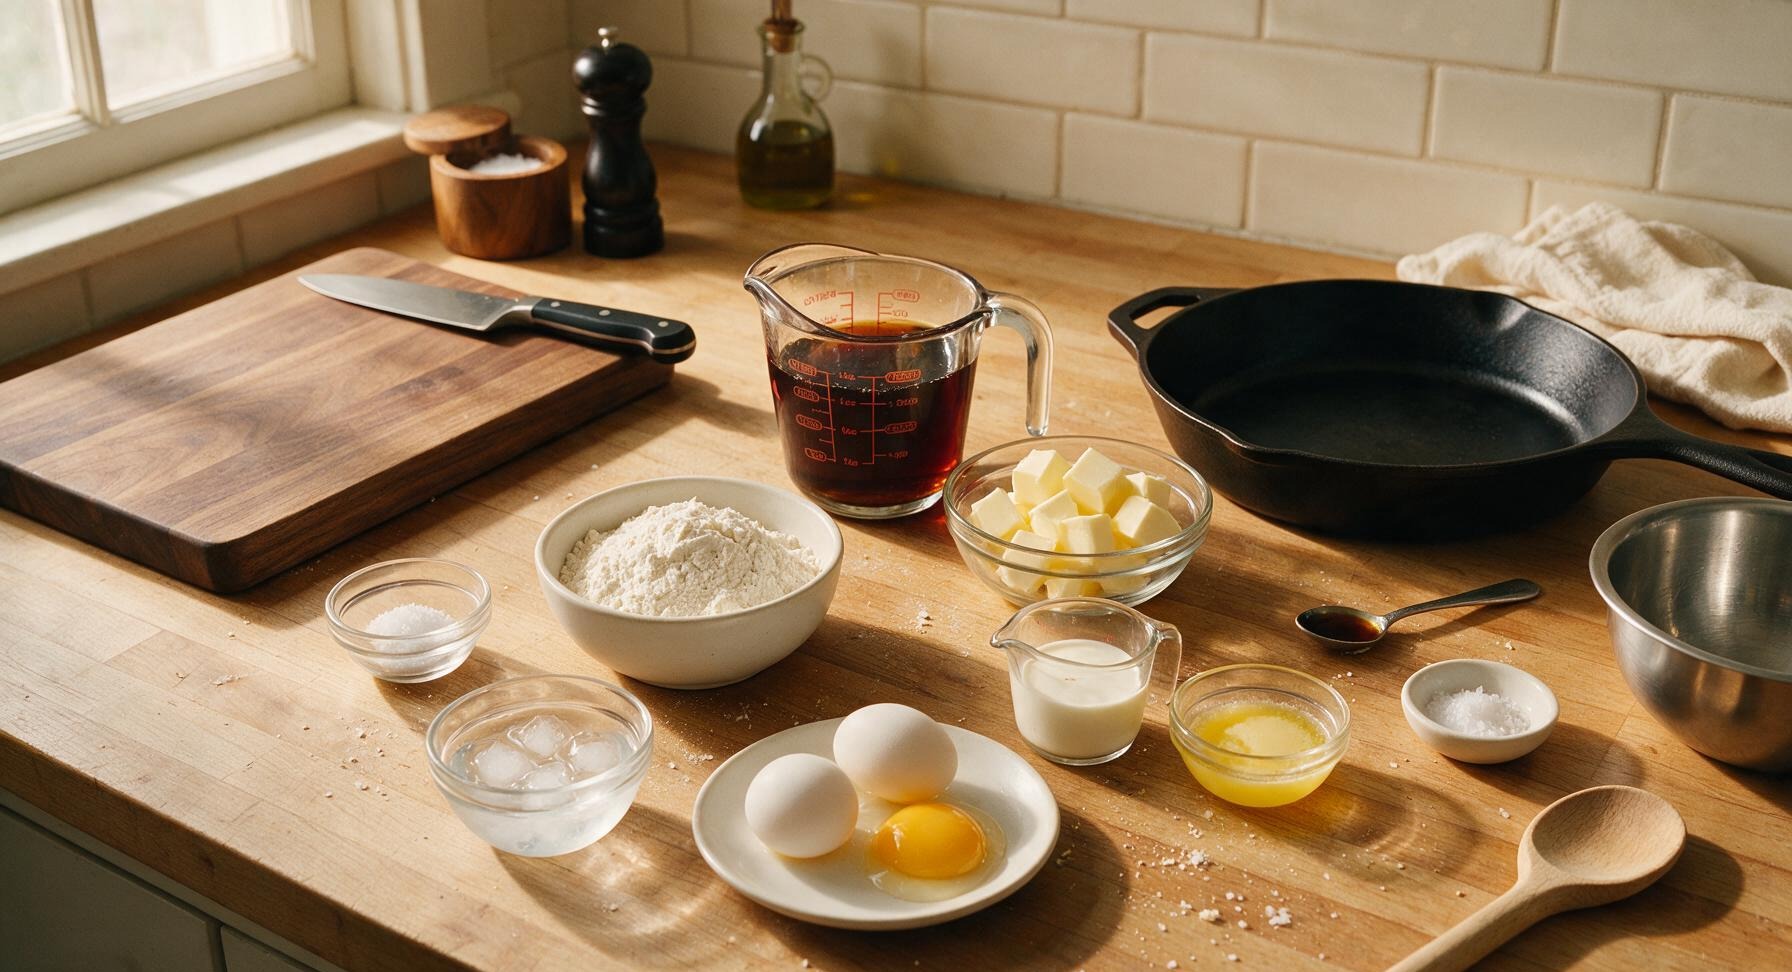
Ingredients
Steps
Mix Pastry Dough
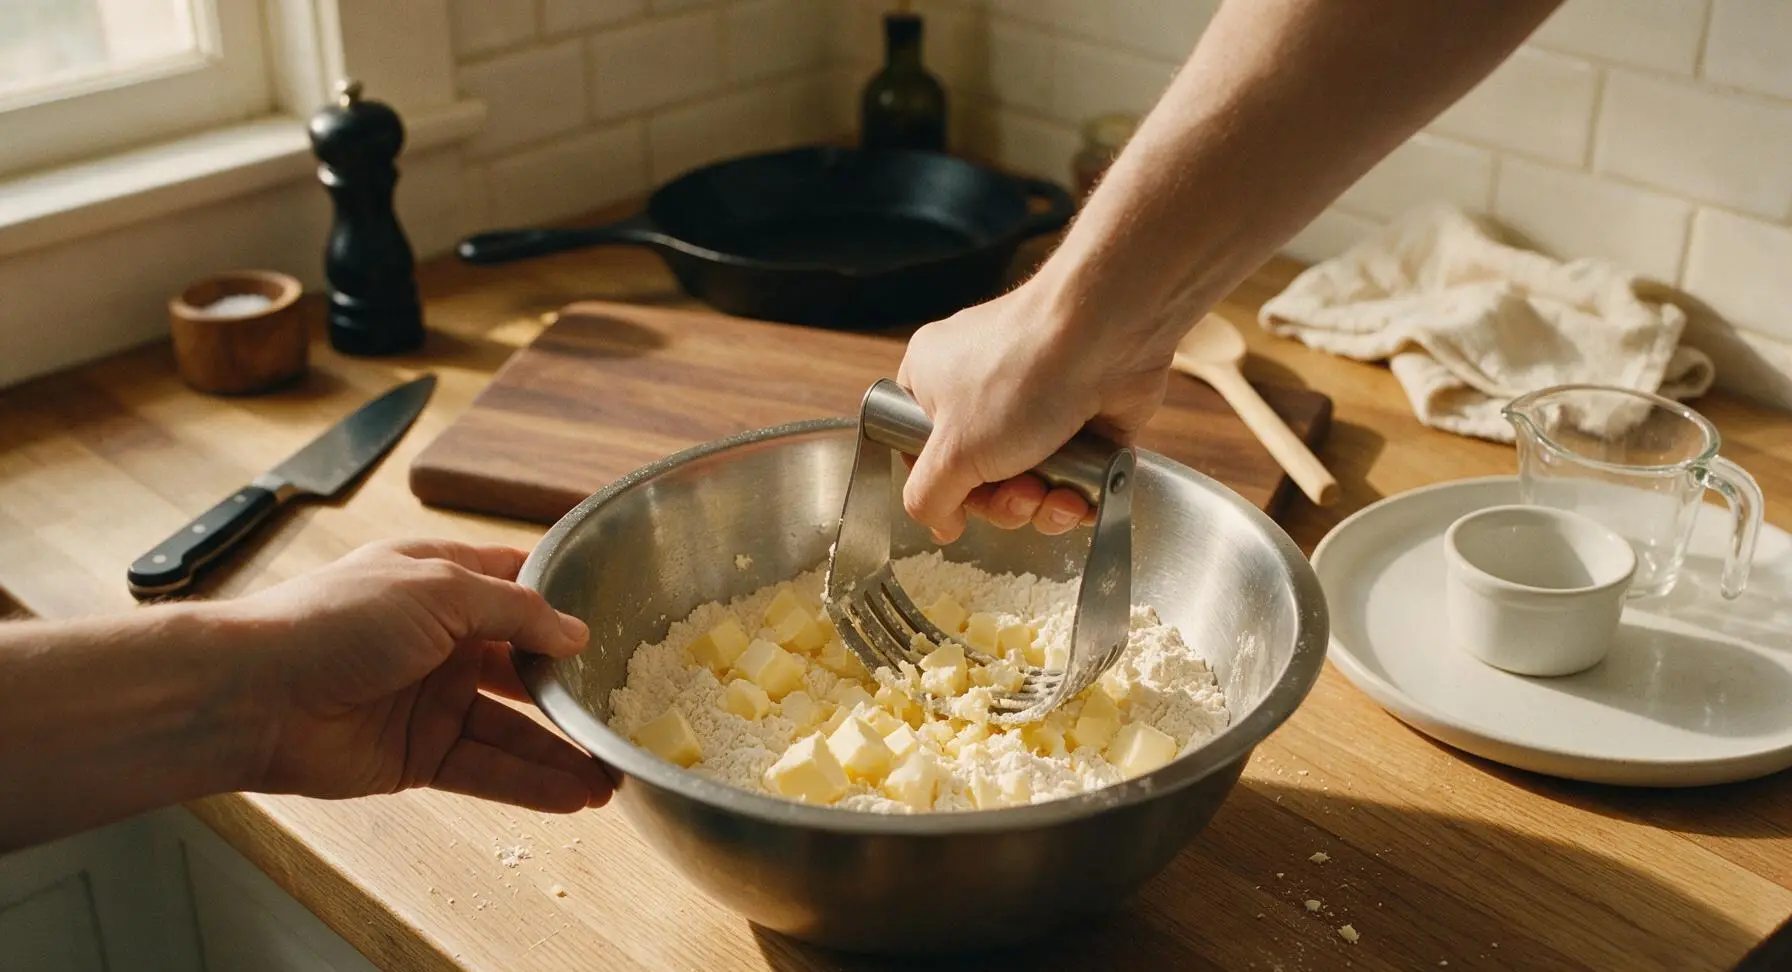
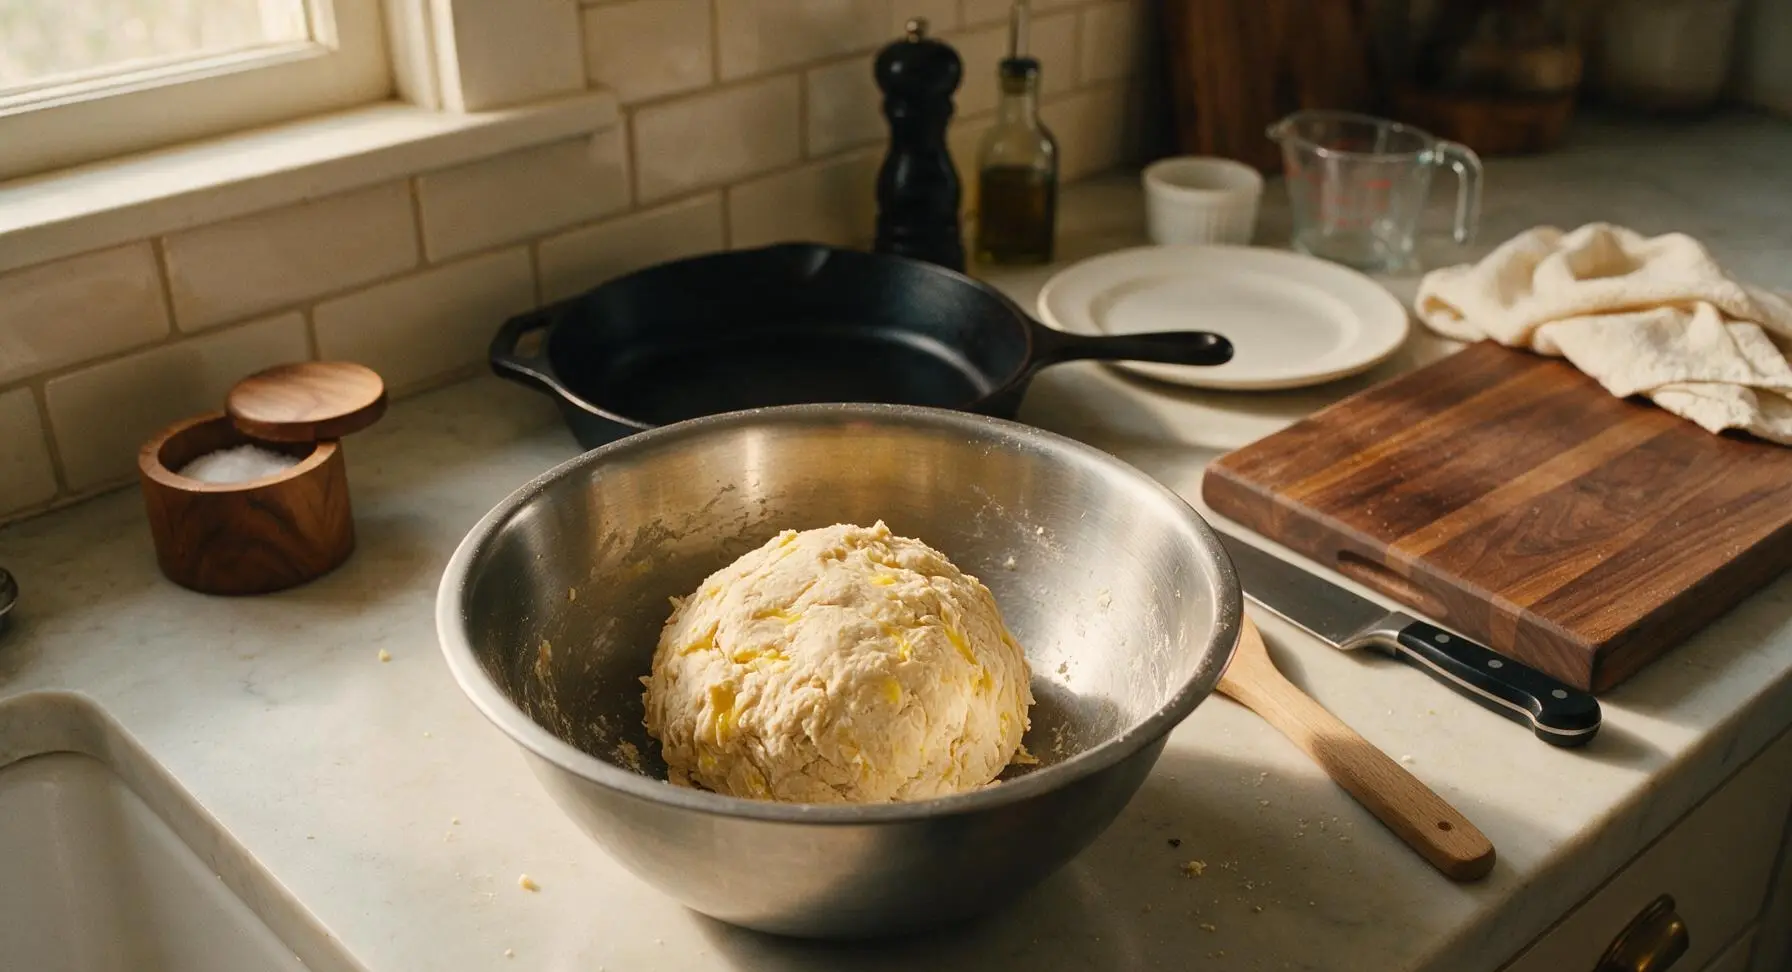
In the medium brushed stainless steel mixing bowl, combine 180g all-purpose flour and ½ tsp fine sea salt. Add 113g cold cubed unsalted butter, and use the pastry blender to cut the butter into the flour until the mixture resembles coarse crumbs with some pea-sized butter pieces remaining. Drizzle in 3-4 tbsp ice water, 1 tbsp at a time, tossing gently with a fork until the dough just comes together when squeezed, with no dry flour patches at the bottom of the bowl. Do not overmix, as this will develop gluten and create a tough crust.
Chill Pastry Dough
Turn the shaggy dough out onto a lightly floured section of the counter, shape into a uniform 2cm thick flat disc, wrap loosely in a sheet of unbleached parchment paper, and refrigerate for a minimum of 30 minutes to relax the gluten and keep the butter solid. Skipping this chill step will cause the pastry to shrink and slide down the tin sides during baking.
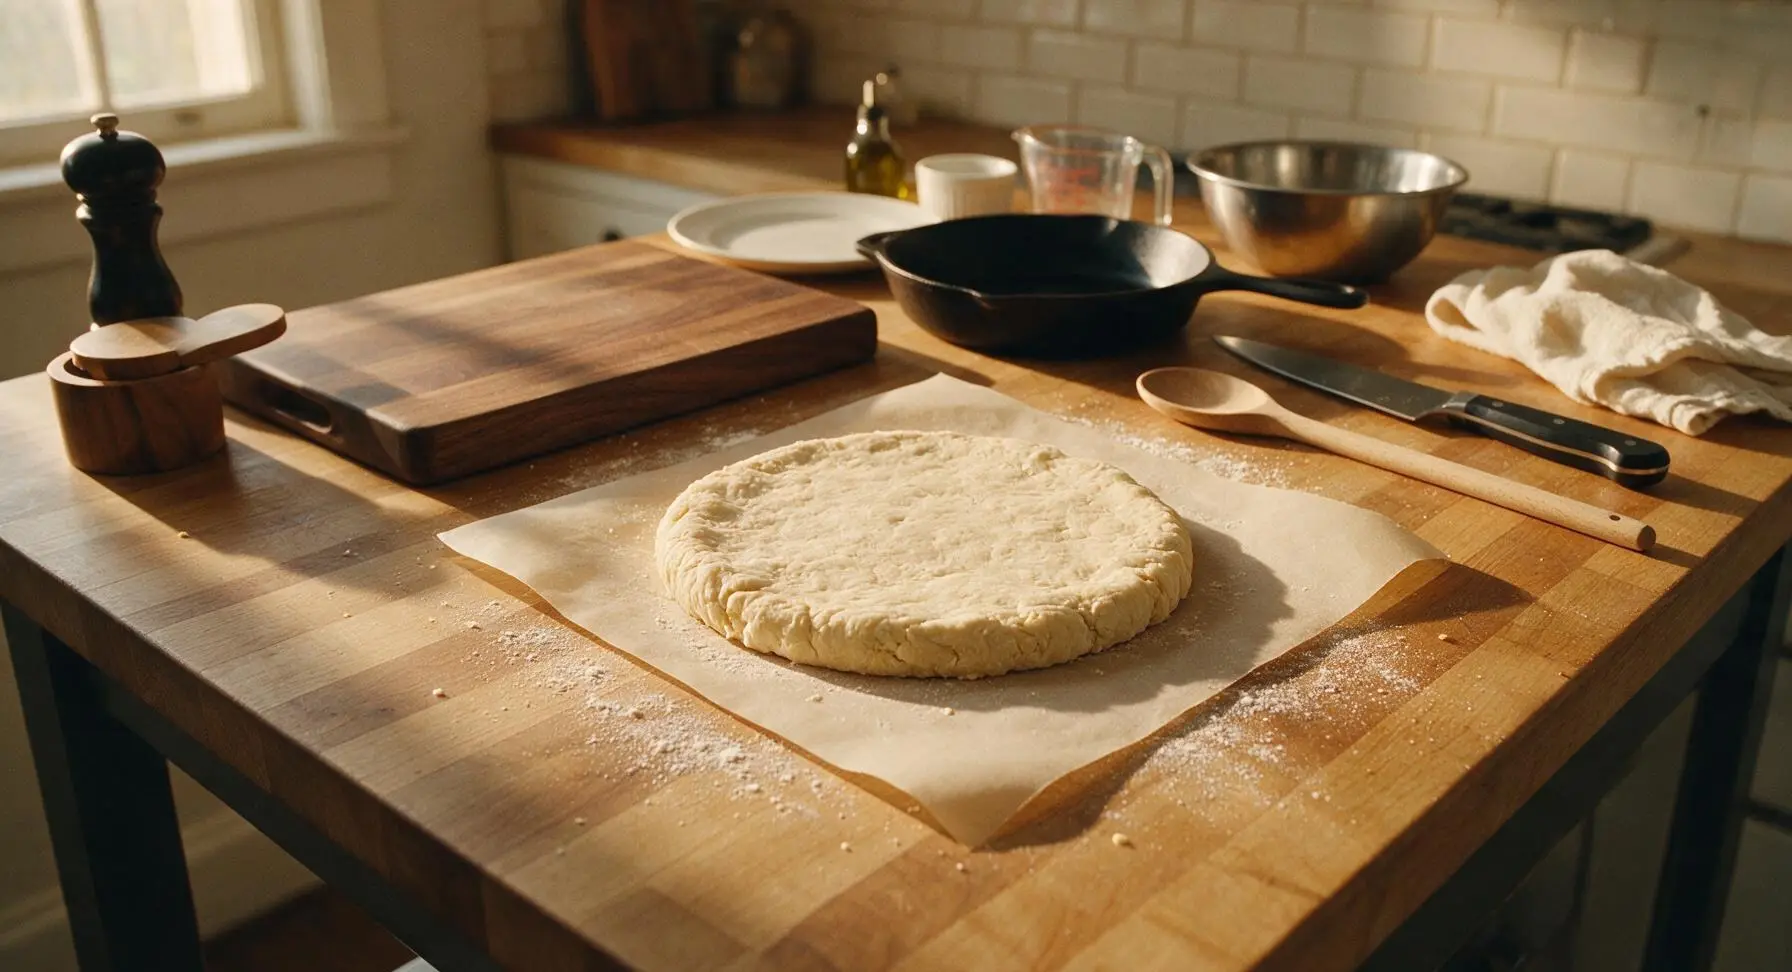
Line Tart Shells
Remove the chilled dough disc from the fridge and let rest 5 minutes to soften slightly so it does not crack when rolled. Lightly flour the counter and the maple rolling pin, then roll the dough out to an even 3mm thickness, lifting and turning the dough a quarter turn every 2 rolls to prevent sticking. Use the 9cm stainless steel round cookie cutter to cut 12 even circles. Gently press each dough circle into the cups of the dark grey non-stick muffin tin, pressing the dough up the sides to form a 1cm tall rim, then prick the base of each shell 3 times with a fork to prevent air bubbles from puffing the pastry during baking. Reroll dough scraps once to cut remaining circles if needed; over-rolling scraps will create tough pastry.
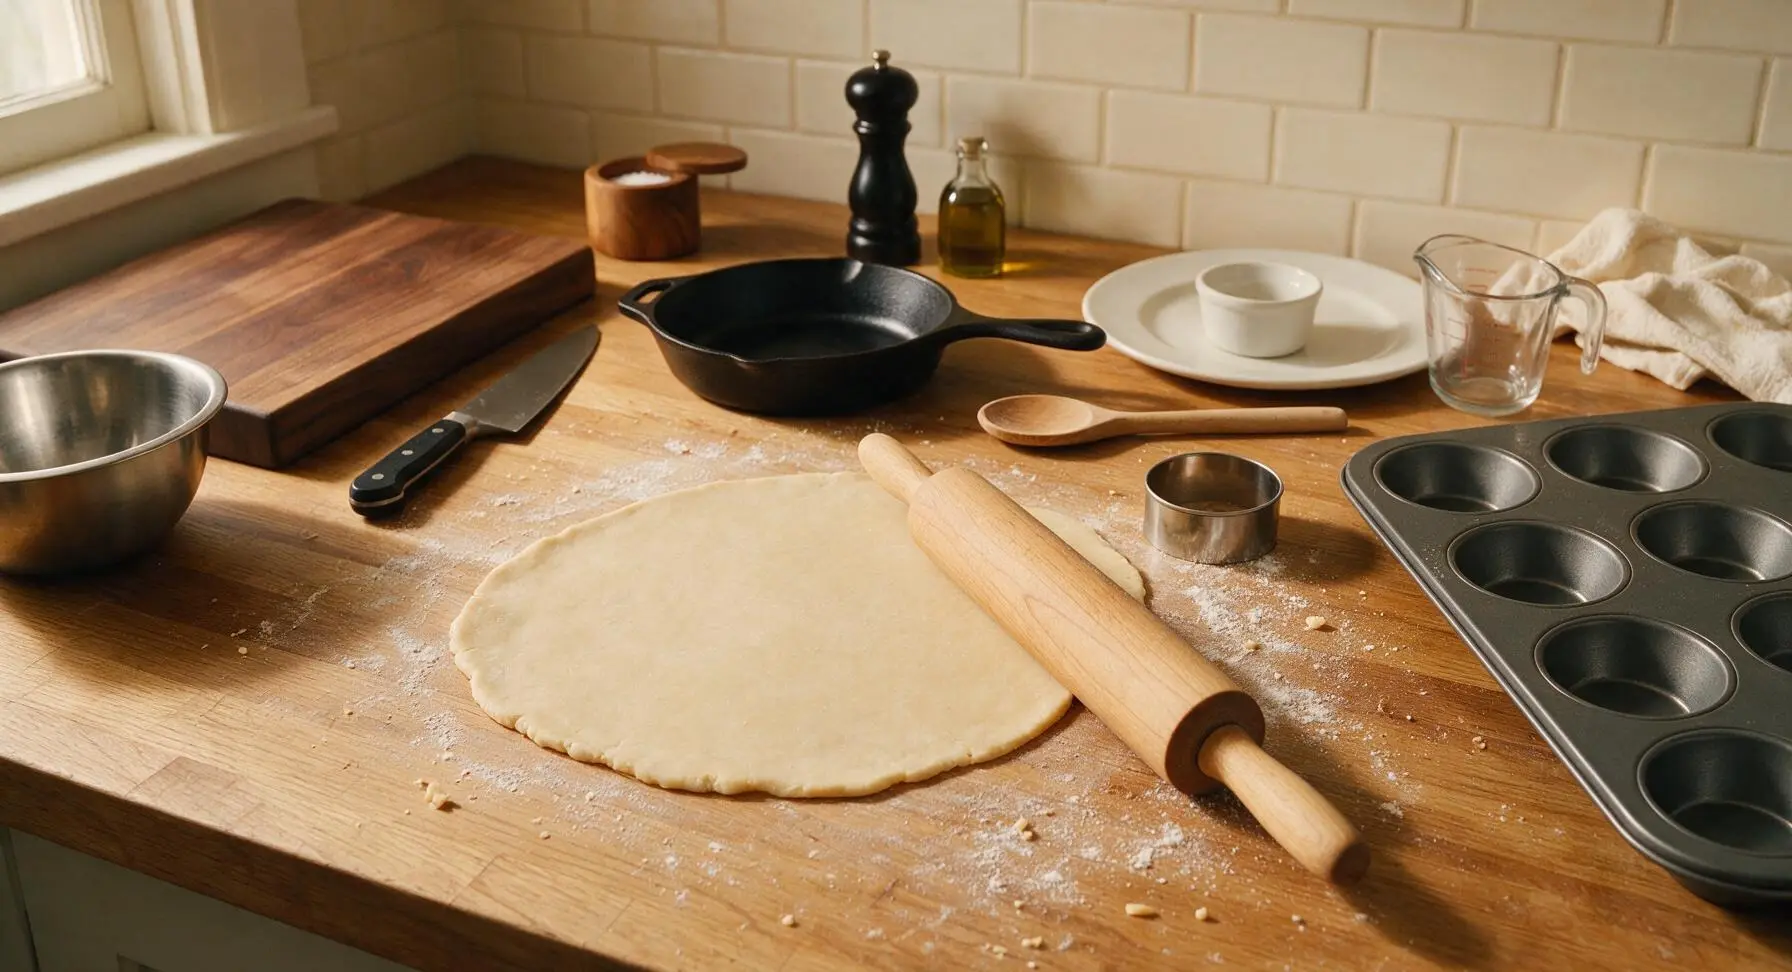
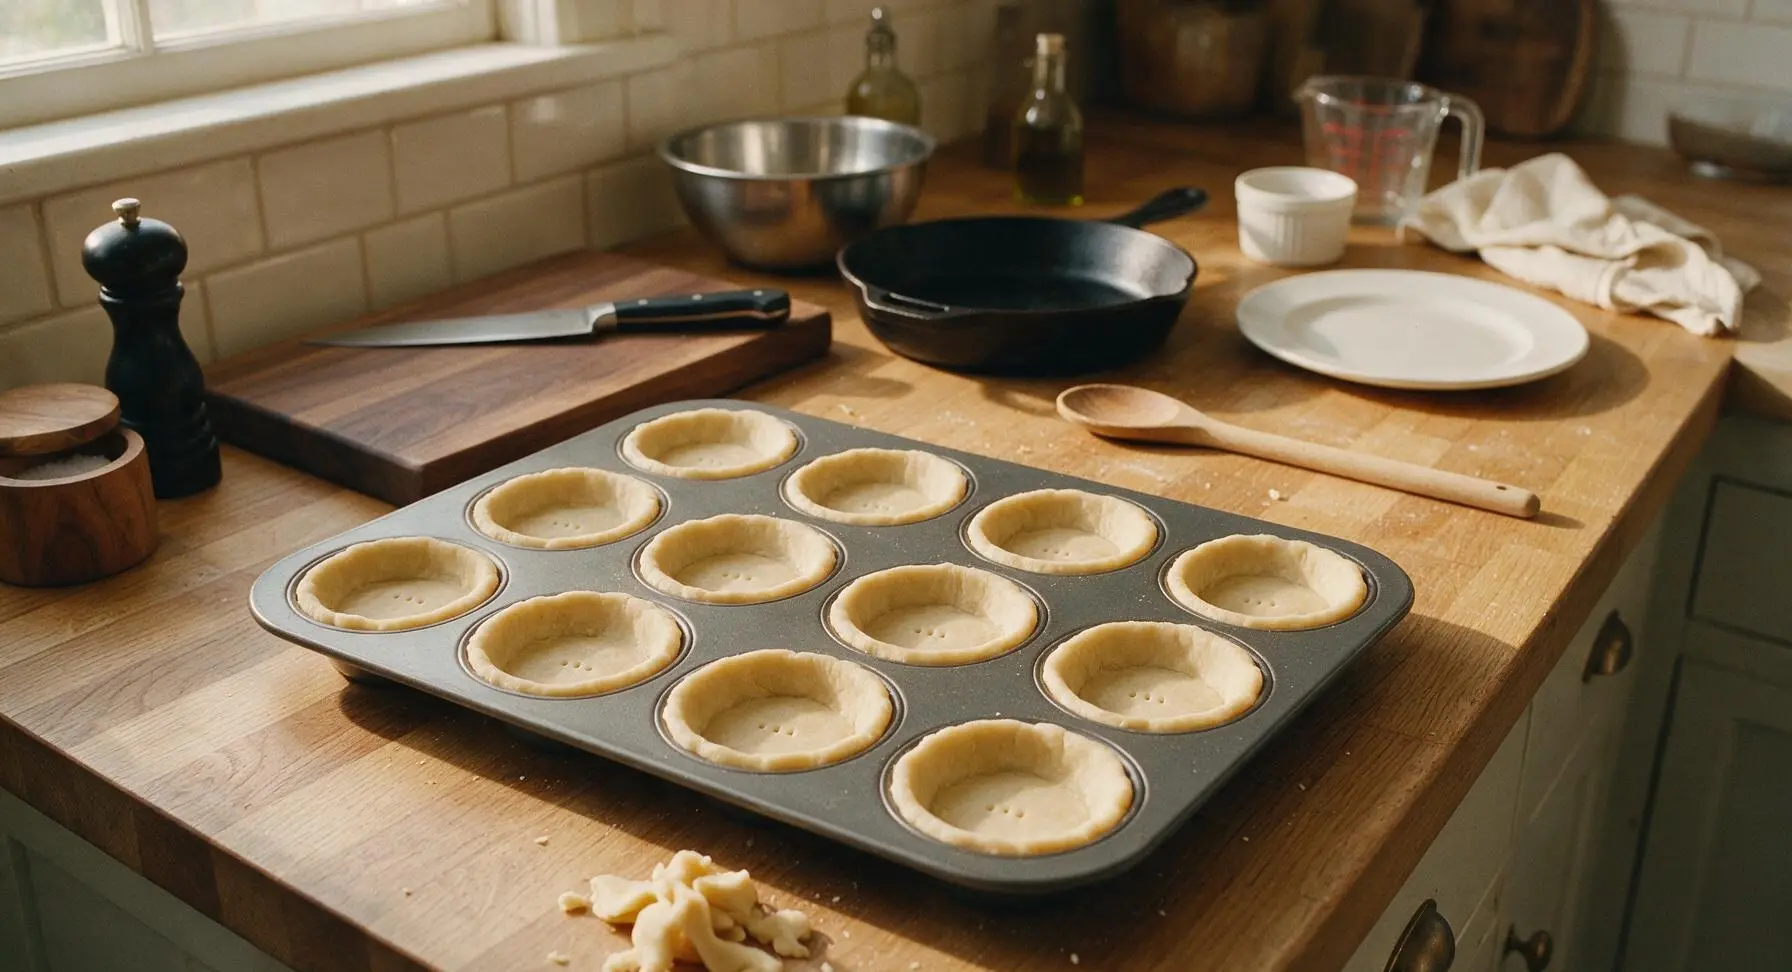
Blind Bake Shells
Cut 12 small 10cm squares of unbleached parchment paper, press one square into each lined tart shell, and fill with ceramic pie weights to hold the pastry flat against the tin. Bake in a preheated 190C (375F) oven for 10 minutes, then carefully lift out the parchment and pie weights, and bake for an additional 3 minutes until the base of the shells is pale golden and no longer looks raw or doughy. Remove from the oven and let cool 5 minutes in the tin while preparing the filling.
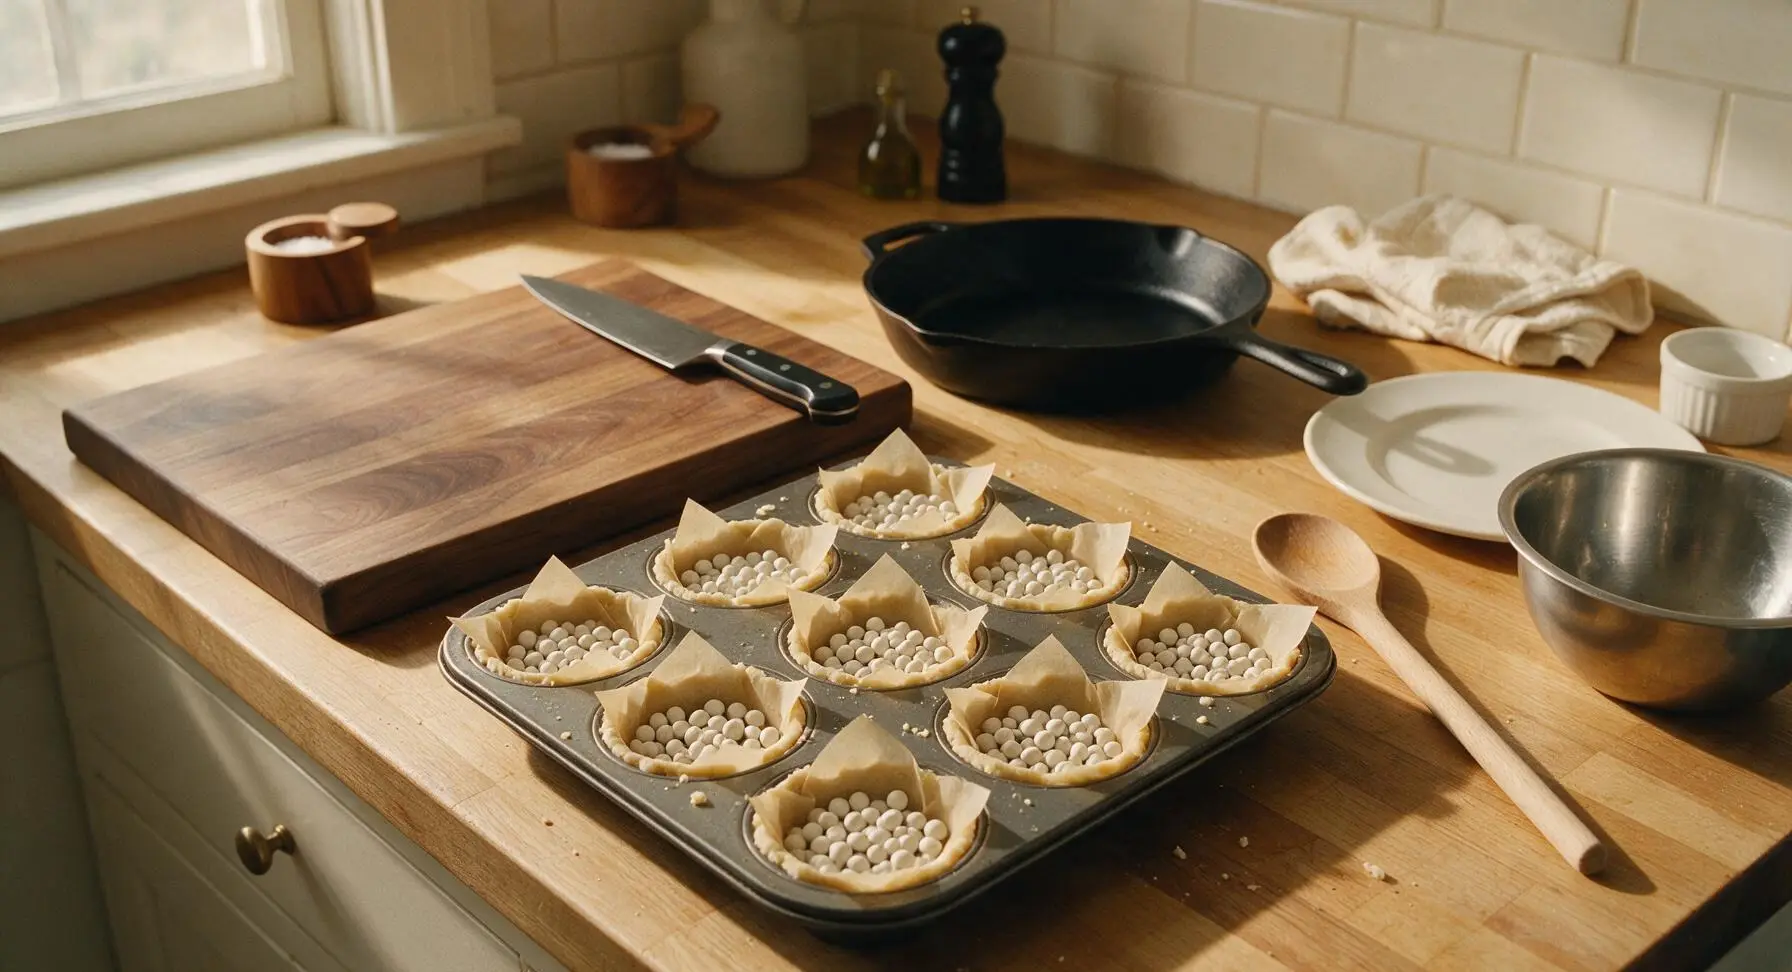
Mix Maple Filling
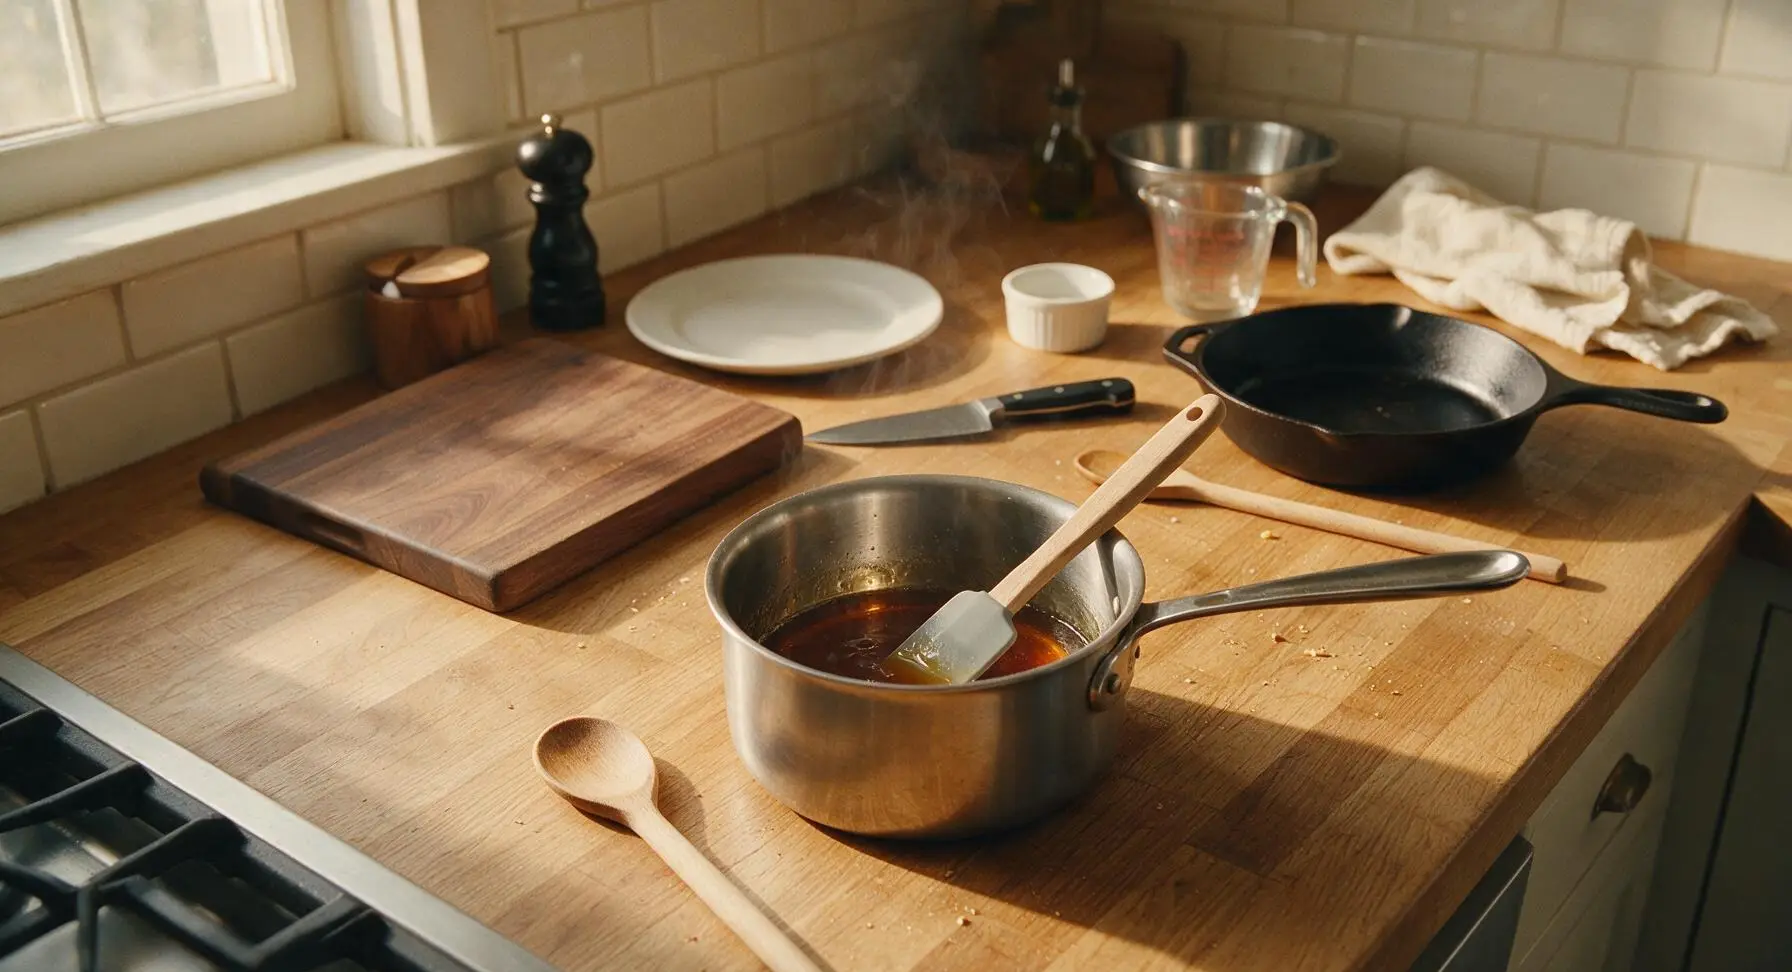
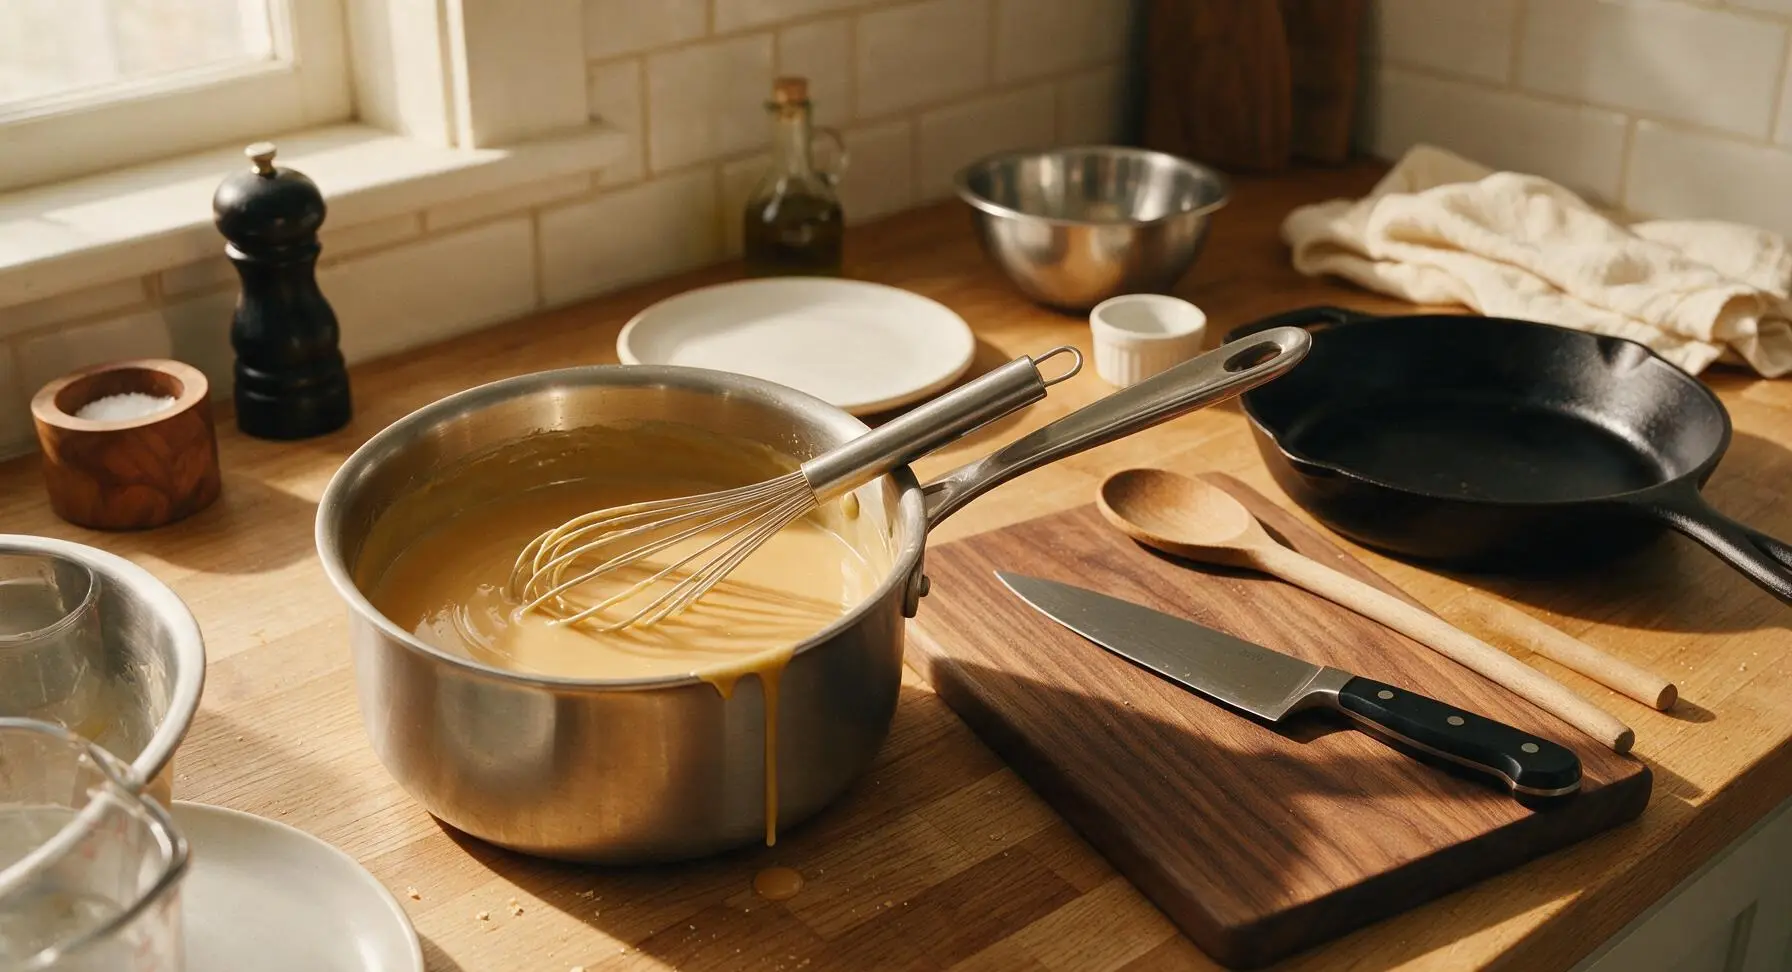
Pour 320g dark amber maple syrup into the 1L heavy-bottomed stainless steel saucepan, and warm over low heat for 3 minutes until it just starts to form small bubbles around the edges. Remove from heat immediately, and stir in 28g melted unsalted butter with the light grey silicone spatula until fully combined. Let the mixture cool 5 minutes (to avoid curdling eggs), then whisk in the whole egg, egg yolk, 60ml heavy cream, and 1 tsp vanilla extract with the stainless steel whisk until completely smooth, with no streaks of unincorporated egg visible.
Fill and Bake Tarts
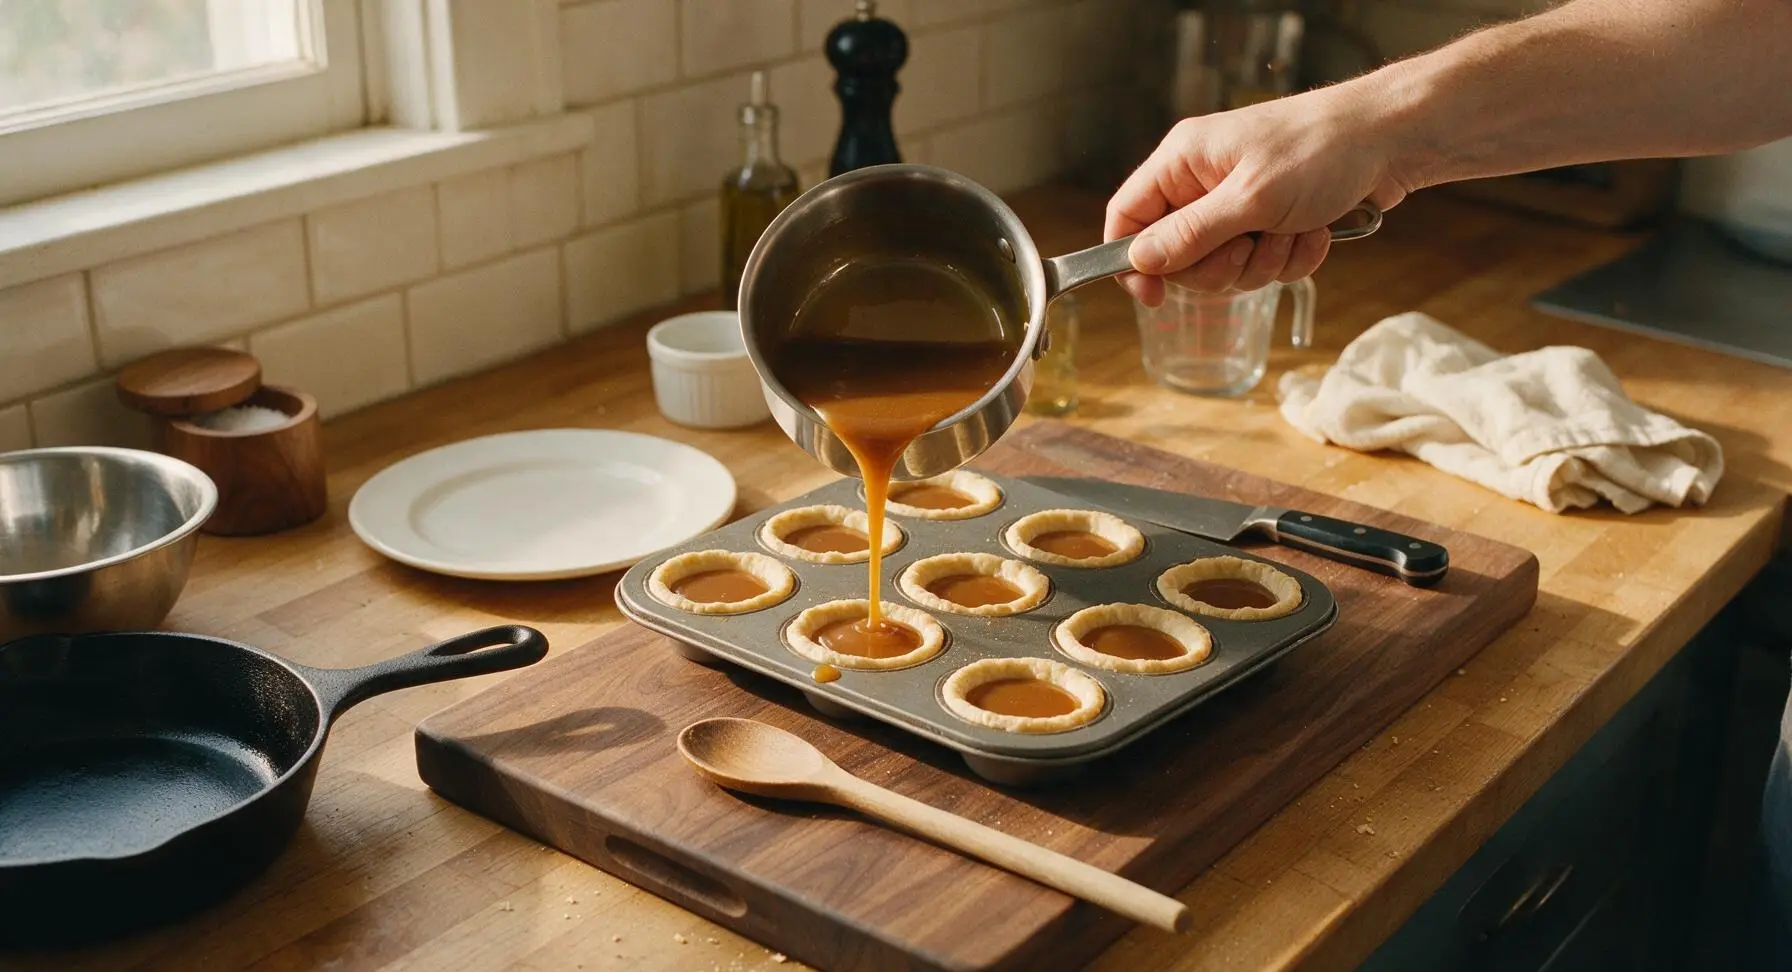
Place the tin of partially baked tart shells back on the counter. Carefully pour the smooth maple filling into each shell, filling to 3mm below the pastry rim to prevent overflow as the filling bubbles during baking. Bake at 190C (375F) for 12-15 minutes, until the filling is fully set around the edges and only has a slight, Jell-O-like jiggle in the very center when the tin is gently shaken. The pastry rims will be a deep, toasty golden brown when done.
Cool and Garnish
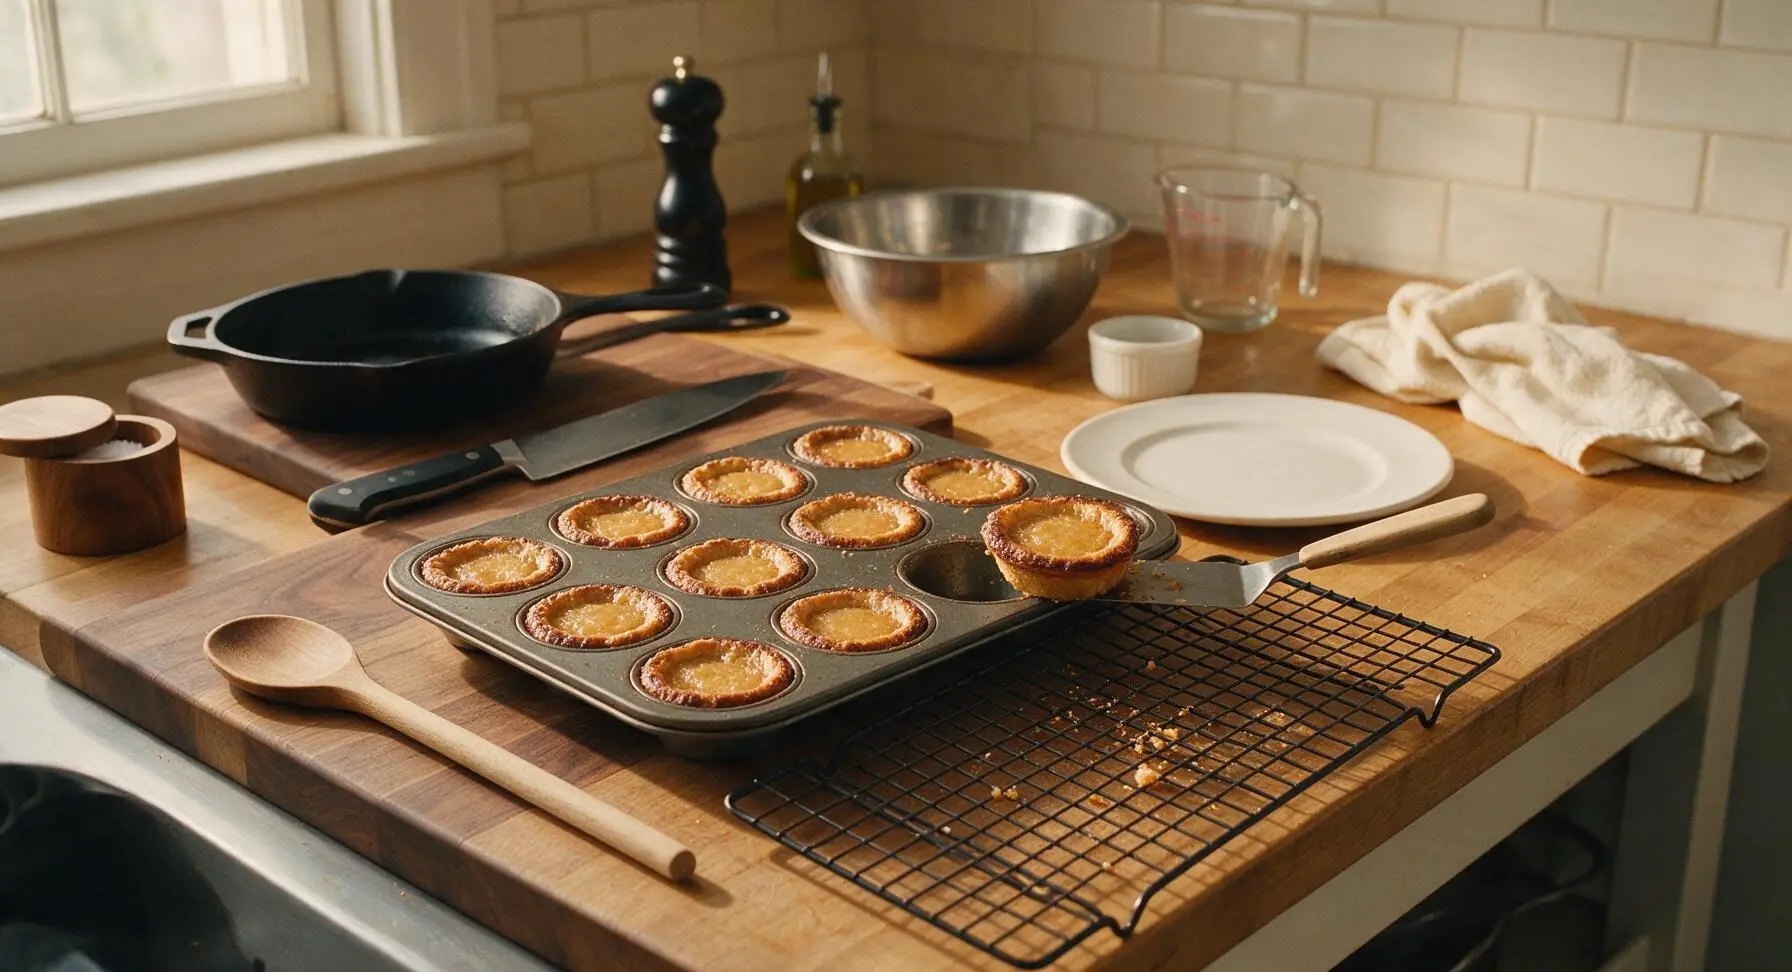
Remove the baked tarts from the oven and let cool in the tin for 10 minutes, as the filling will be very soft and runny straight from the oven. Use the small offset spatula to carefully lift each tart out of the tin, and transfer to the matte black wire cooling rack to cool completely to room temperature (about 20 minutes). Just before serving, sprinkle a tiny pinch of flaky sea salt over the top of each tart to balance the sweet caramel flavor.
Tips
2.Use dark amber Grade B maple syrup for the deepest, most complex caramelized maple flavor; lighter Grade A syrup will taste mild and one-note sweet, without the rich, toasty notes that make these tarts iconic.
3.Do not overbake the filling: the center should still have a soft, Jell-O-like jiggle when you remove the tarts from the oven, as residual heat will continue to set the custard as it cools; overbaking leads to a rubbery, cracked filling that separates from the pastry.






OMG these classic maple tarts were a total game changer for our weekly family dinner! I was worried the medium difficulty would be too much after a long work day, but the 25 minute cook time was totally manageable. My kids devoured them before I even got a second piece! SO good.
First time making any kind of tart from scratch! I messed up the crust a little on the first try, but the filling came out so rich and maple-y, no one even noticed. Definitely will practice the crust before bringing these to my friend’s potluck next month.
Usually I’m all about savory cookout food, but my wife asked me to make these for our neighborhood block party and they were the first thing gone. People were asking for the recipe left and right! Used dark grade B maple syrup like my grandma used to and it slapped.
Brought these to my office potluck yesterday and I swear half my team added me to their “must bring food” list after one bite. The maple flavor is so deep, not that fake sugary junk you get from store bought tarts. 10/10 will make again.
Taste was amazing, but I burned the edges a little because I got distracted by my roommate knocking on the oven door lmao. Next time I’ll set two timers so I don’t space out. Also, would these work with a gluten free crust blend?
I’ve been making maple tarts for my grandkids for 40 years, and this recipe is almost exactly the one my own mom passed down! The only thing I do different is add a tiny pinch of nutmeg to the filling. Tastes like childhood.
Just pulled these out of the oven and my whole apartment smells like a cozy Vermont cabin. I used a little maple sugar to sprinkle on top right before baking and it added the perfect little crunch. Can’t wait for them to cool so I can dig in.
Made these for my daughter’s soccer team snack after their big win on Saturday. I was a little intimidated by the medium difficulty rating, but the steps were super straightforward. I wish I made a double batch, the girls demolished all 12 in 5 minutes flat.
Tested these out for my local amateur baking contest next month, and my roommate said they’re the best thing I’ve ever baked. The balance of buttery crust and sweet, woody maple is absolutely perfect. Fingers crossed I take home first place!
I meal prepped these for my work snacks this week and they’re holding up so much better than I thought they would! I keep them in the fridge and grab one on my way out the door, and it’s the perfect mid-morning pick me up. Way better than the granola bars I usually buy.
Really solid recipe! The only reason I’m not giving 5 stars is I had to add an extra 3 minutes of cook time because my oven runs a little cool, which is totally on me. The filling set perfectly once I let them cool for 20 minutes, just like the recipe said.
I grew up eating maple tarts every fall when my family would go up to Vermont for leaf peeping, and this recipe tastes exactly like the ones we’d get from the little bakery off the highway. Total nostalgia bomb, I almost cried when I took the first bite.
Just made these last minute for my date night tonight and my girlfriend was obsessed. She said they taste better than the ones we got on our trip to Montreal last year. Win for me, lmao. 10/10, will use this recipe forever.
Made these with a 1:1 gluten free flour blend and they turned out PERFECTLY. I’ve had so many bad gluten free tart crusts that turn into crumbly messes, but the cold butter trick mentioned in the notes worked like a charm. No crumbles, all flavor. Thank you!
We tested these out as a possible seasonal special at the small bakery I work at, and they got rave reviews from our regular taste testers! The only reason I’m not giving 5 stars is I wish the recipe included more fun variation ideas, but the base is so solid. The only adjustment we made was adding a tiny drizzle of maple glaze on top for a little extra shine and sweetness. Would absolutely add these to our fall menu.
I was so scared to try these because I’ve never successfully made a tart crust that didn’t shrink in the pan, but I followed the tip to prick the bottom with a fork and chill it before baking and it WORKED. The tarts came out perfect, my roommate is already begging for the recipe. So stoked!
Made these for my family’s Sunday dinner and even my super picky dad who “doesn’t like sweet food” ate two of them. The maple flavor isn’t cloyingly sweet, which I think is why he liked them so much. 10/10, will be making these every fall from now on.