
Margherita Pizza
intro
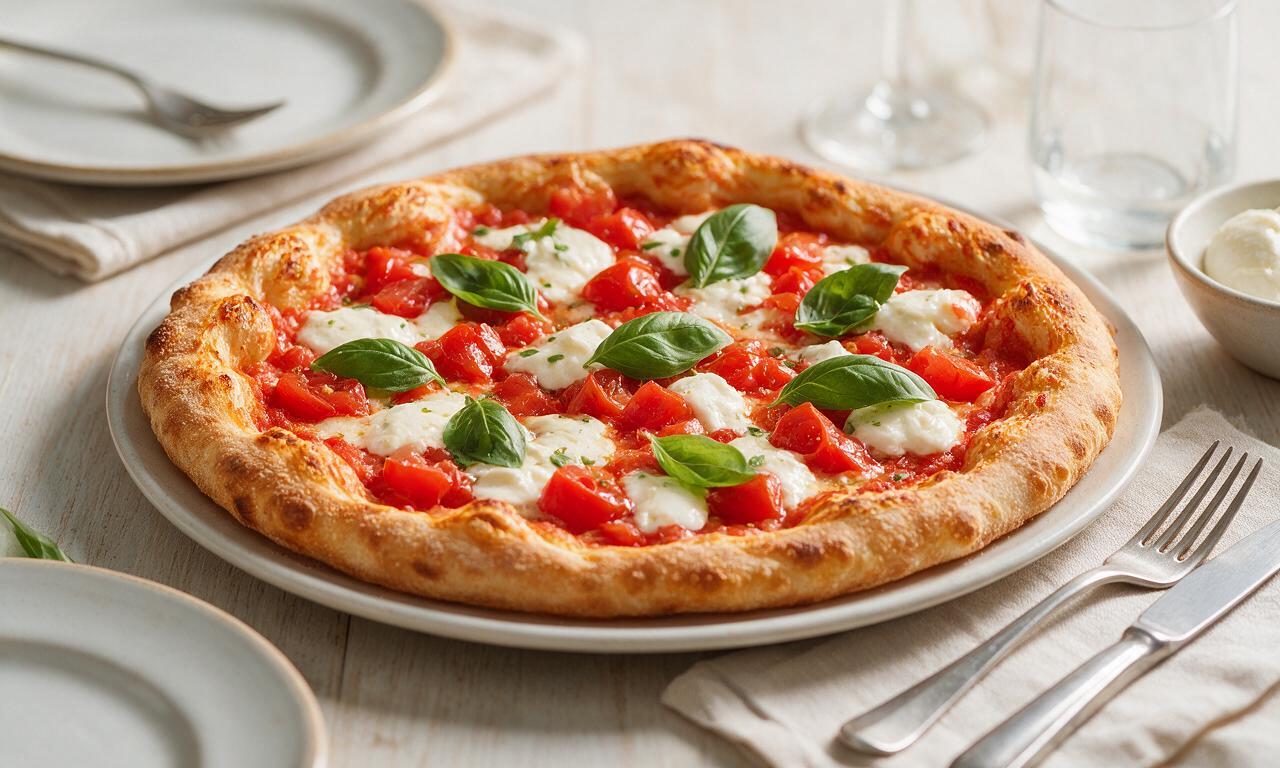
Iconic Neapolitan Italian pizza topped with tangy San Marzano tomato, creamy mozzarella, and fresh basil, baked to crispy, bubbly perfection for a simple, satisfying meal.
Ingredients
Steps
Prepare the pizza dough
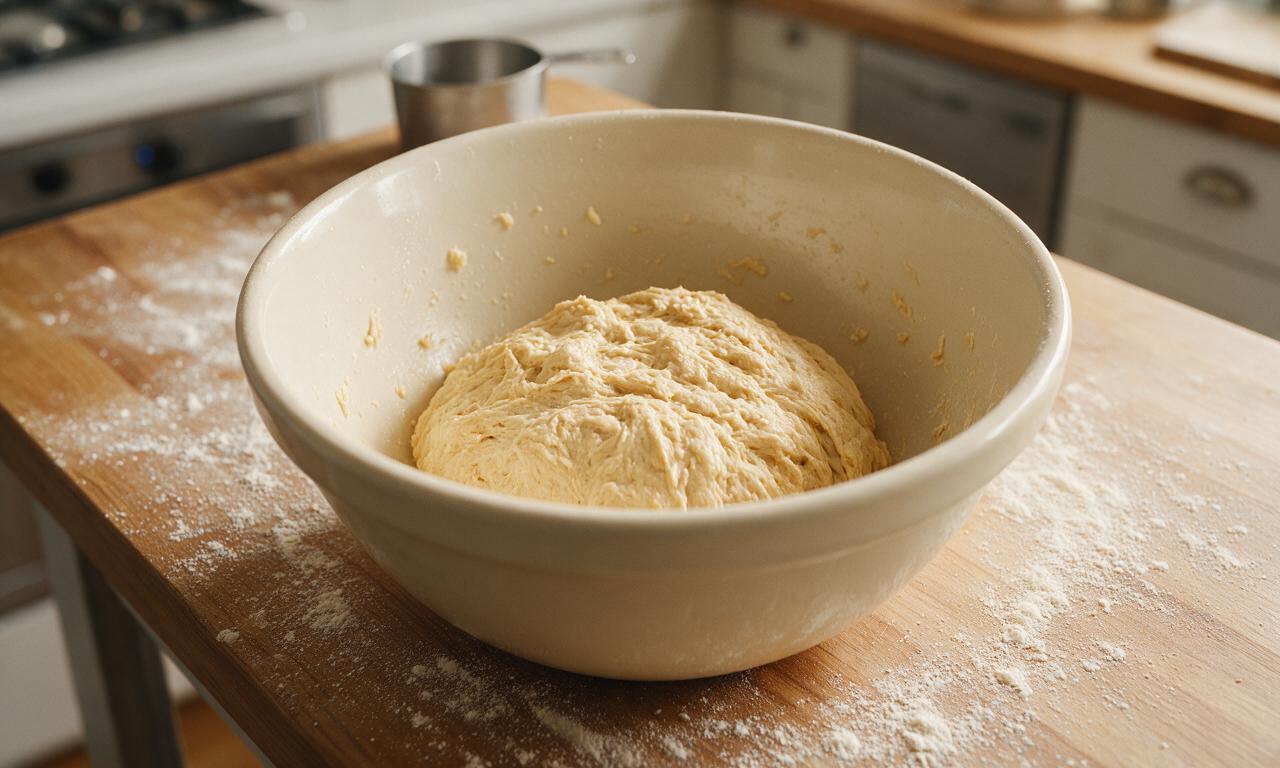
In a large mixing bowl, combine 500g tipo 00 flour, 7g instant dry yeast, and 8g (1.5 tsp) fine sea salt. Pour in 325ml warm (40°C/105°F) water and 15ml (1 tbsp) extra-virgin olive oil, stir with a wooden spoon until a shaggy, sticky dough forms. Knead by hand on a lightly floured surface for 8 minutes until smooth and elastic, then form into a tight ball.
Proof the dough
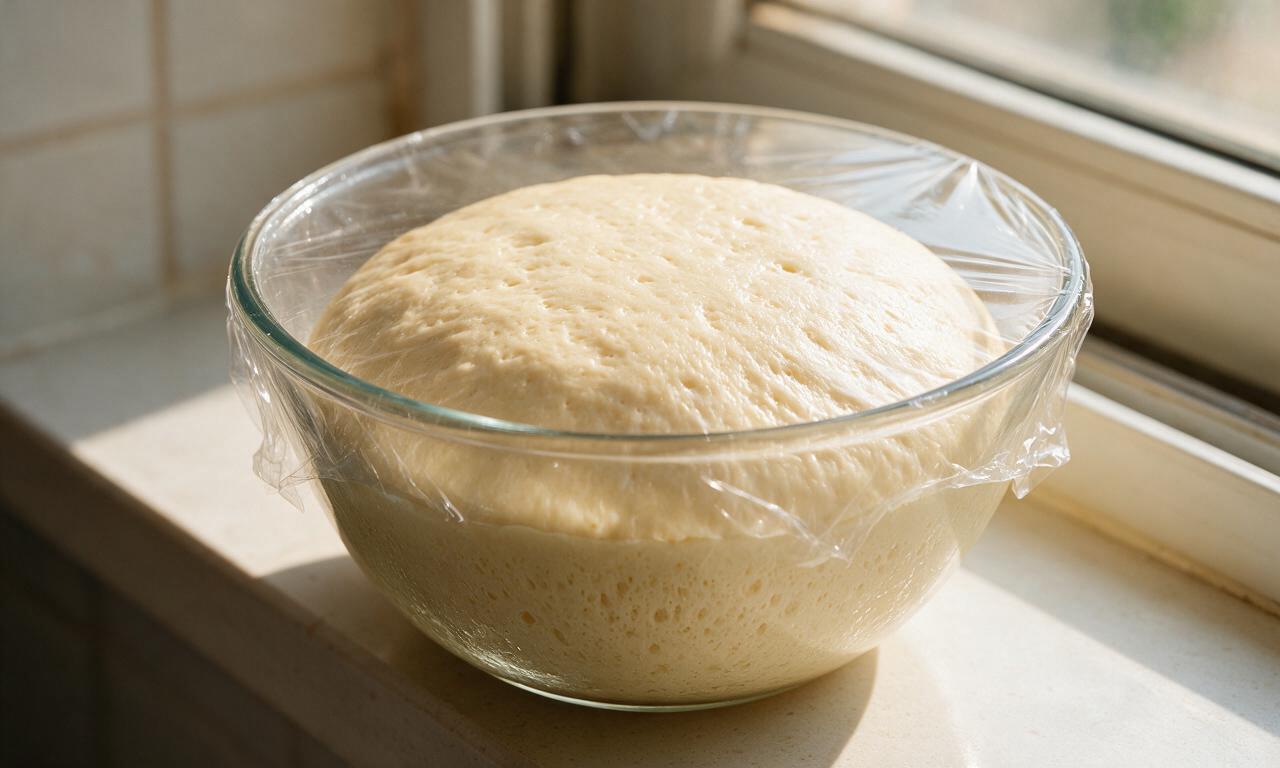
Coat the inside of a clean glass bowl with 5ml (1 tsp) olive oil, place the dough ball inside, and cover tightly with plastic wrap. Let it rise in a warm, draft-free spot (24°C/75°F) for 60 minutes until it doubles in size, then punch it down gently to release trapped air bubbles.
Preheat oven and make sauce
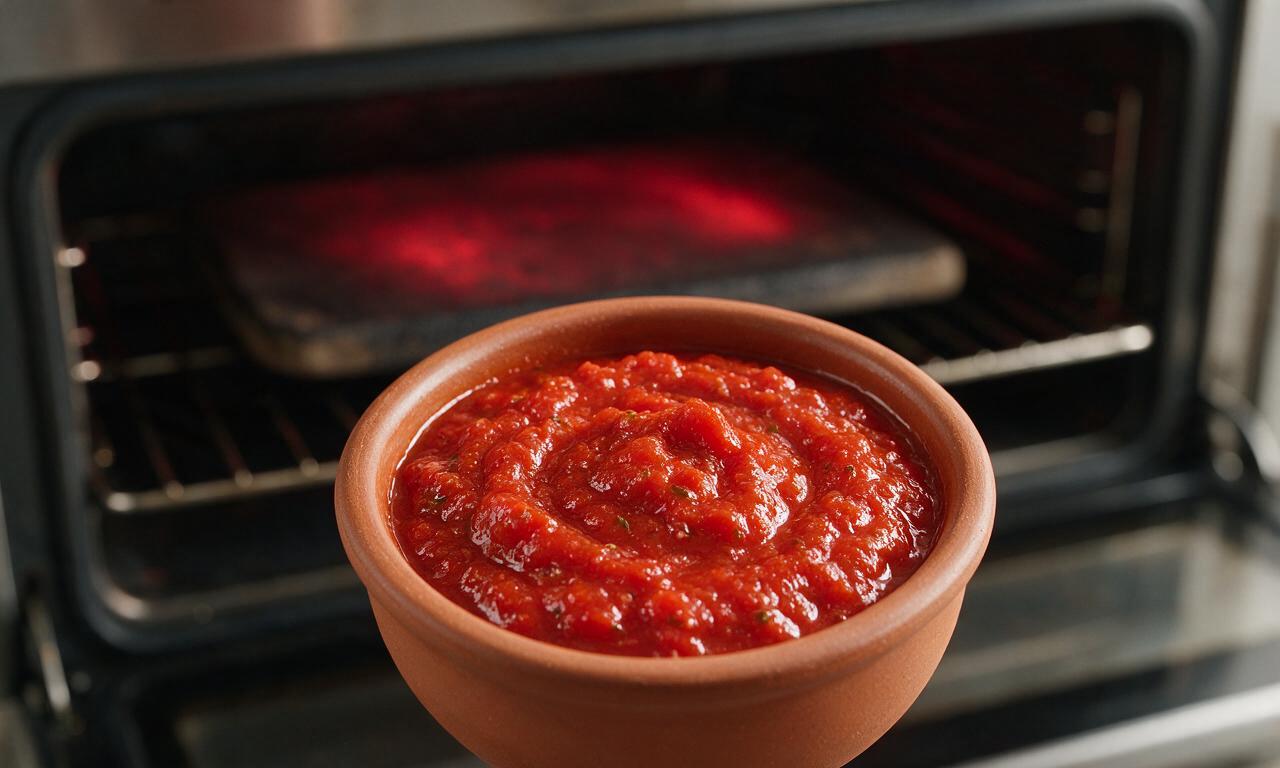
Place a pizza stone or heavy 13x18 inch rimmed baking sheet on the middle oven rack, preheat to 245°C (475°F) for 30 minutes during the last half of dough proofing. For the sauce, drain excess watery juice from 400g San Marzano tomatoes, crush by hand into a chunky pulp, mix in 6g minced garlic, 5ml (1 tsp) olive oil, and 1g (1/4 tsp) fine sea salt, stirring to combine; do not over-blend into a smooth puree.
Shape the pizza crusts
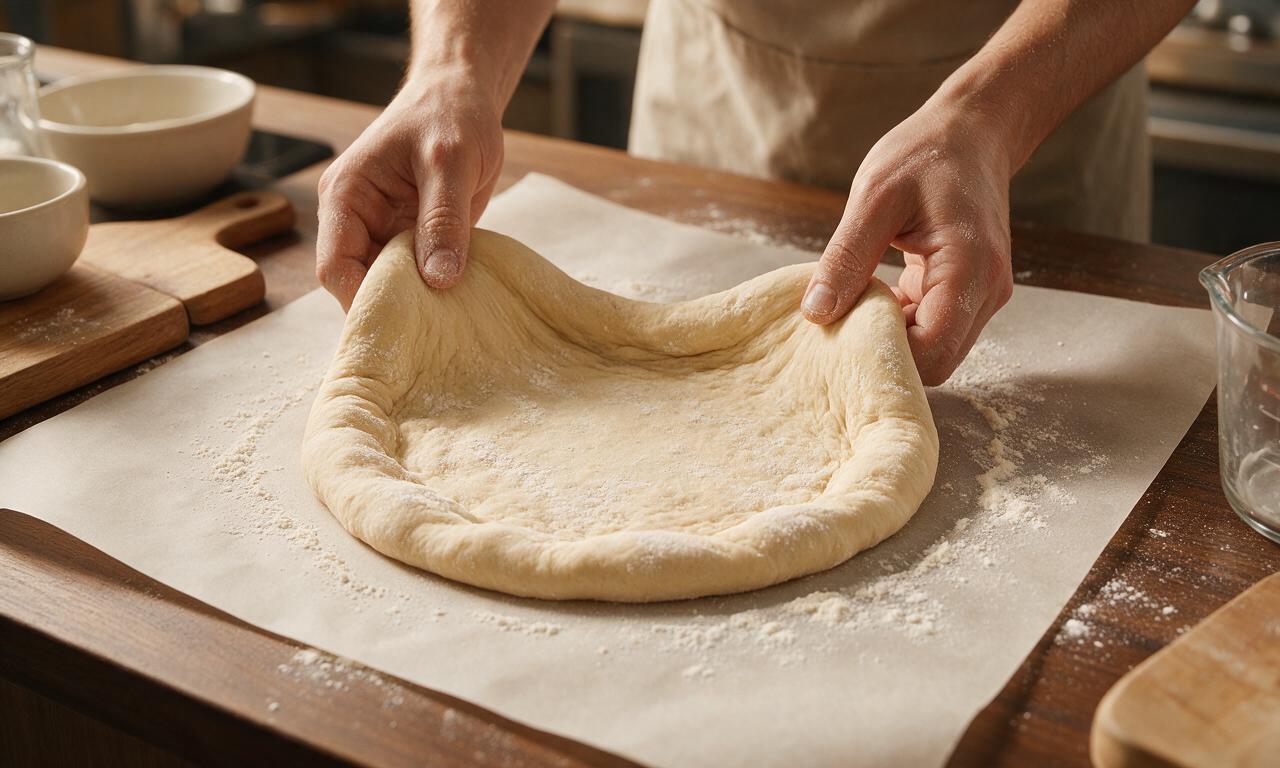
Divide the proofed dough into 2 equal 420g balls, cover with a damp cotton tea towel, and let them rest for 10 minutes to relax the gluten. Press one dough ball out on a lightly floured sheet of parchment paper into a 30cm (12-inch) round, leaving a 2.5cm (1-inch) thicker raised border for the crust; avoid using a rolling pin to preserve light, airy air pockets in the dough.
Add pizza toppings
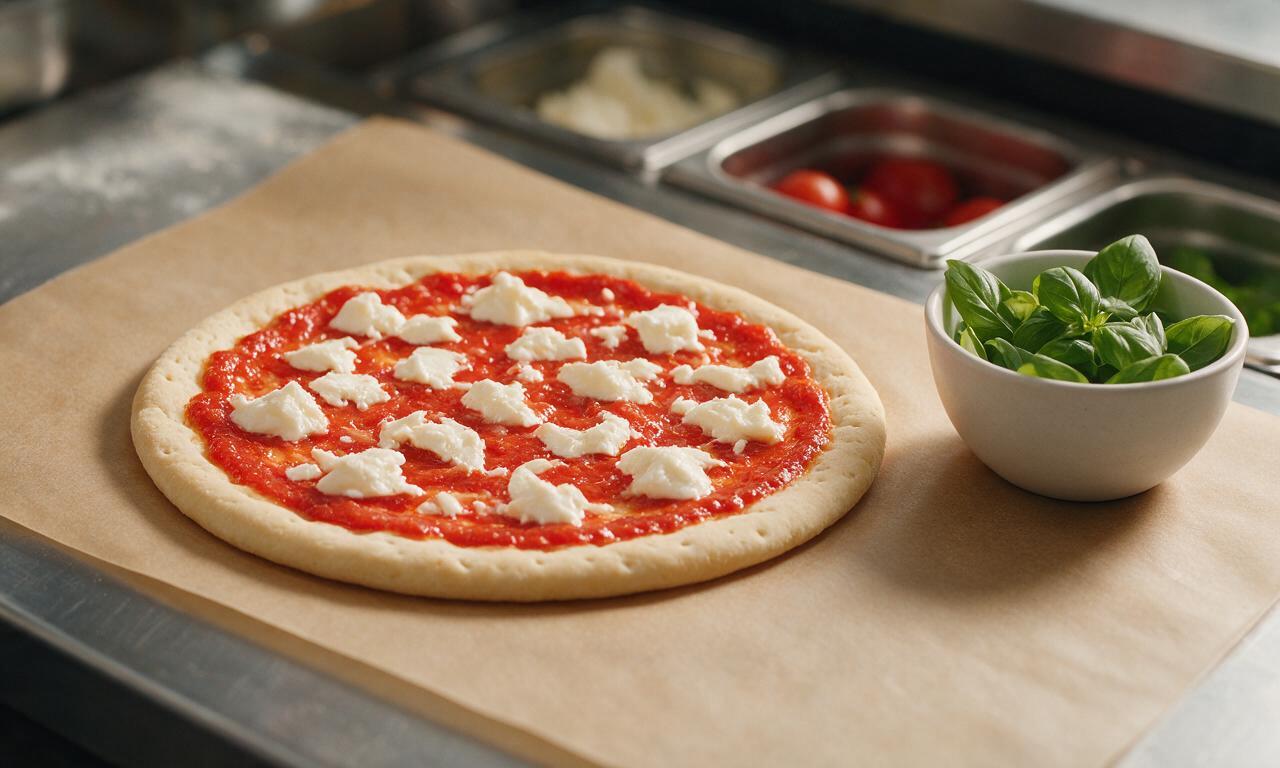
Spread 120ml (1/2 cup) of the prepared chunky tomato sauce evenly over the shaped dough, leaving the 1-inch crust border completely bare. Distribute 125g (1 cup) of torn fresh mozzarella pieces evenly across the sauce, leaving 2cm gaps between cheese pieces to prevent sogginess; repeat the shaping and topping process for the second dough ball.
Bake the pizzas
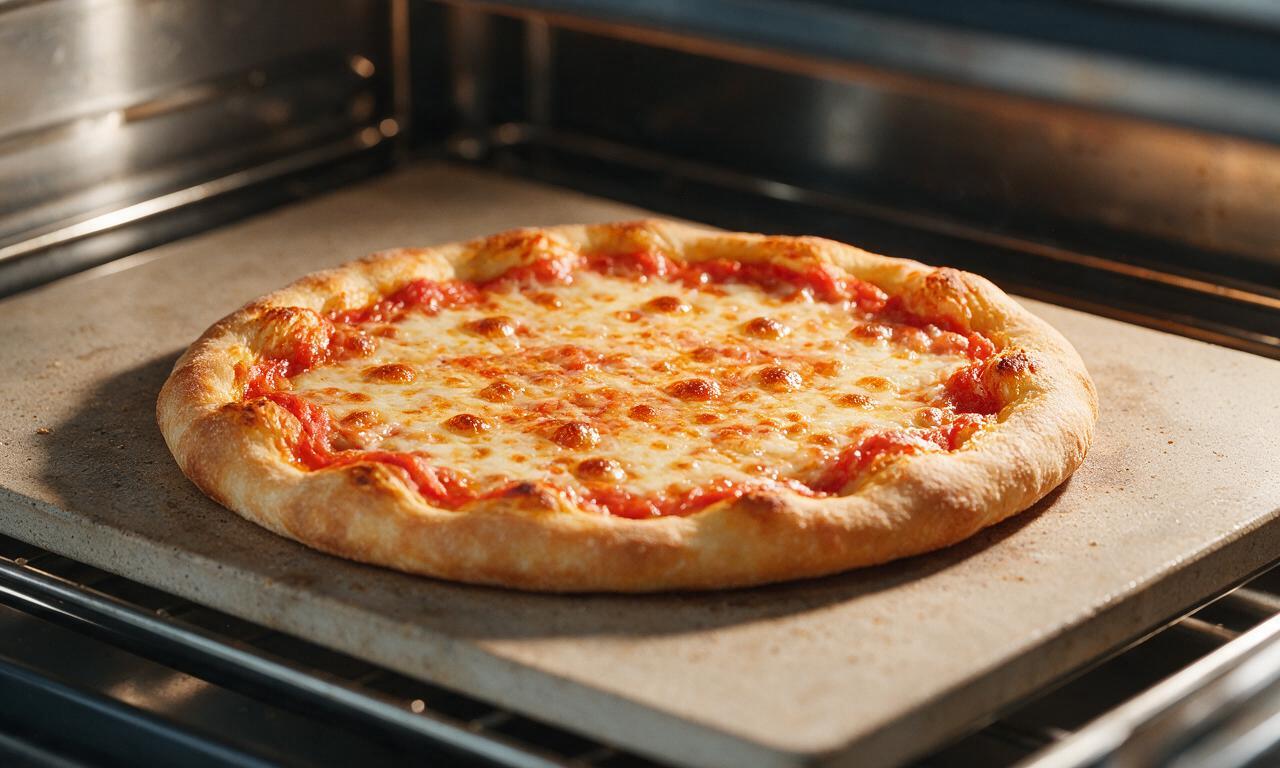
Carefully slide the parchment paper with the first assembled pizza directly onto the preheated pizza stone. Bake for 10-12 minutes at 245°C (475°F) until the crust edge is deep golden and crispy, the cheese is fully melted and bubbly with scattered light browned spots, and the sauce is fragrant. Repeat baking process for the second pizza.
Finish and serve
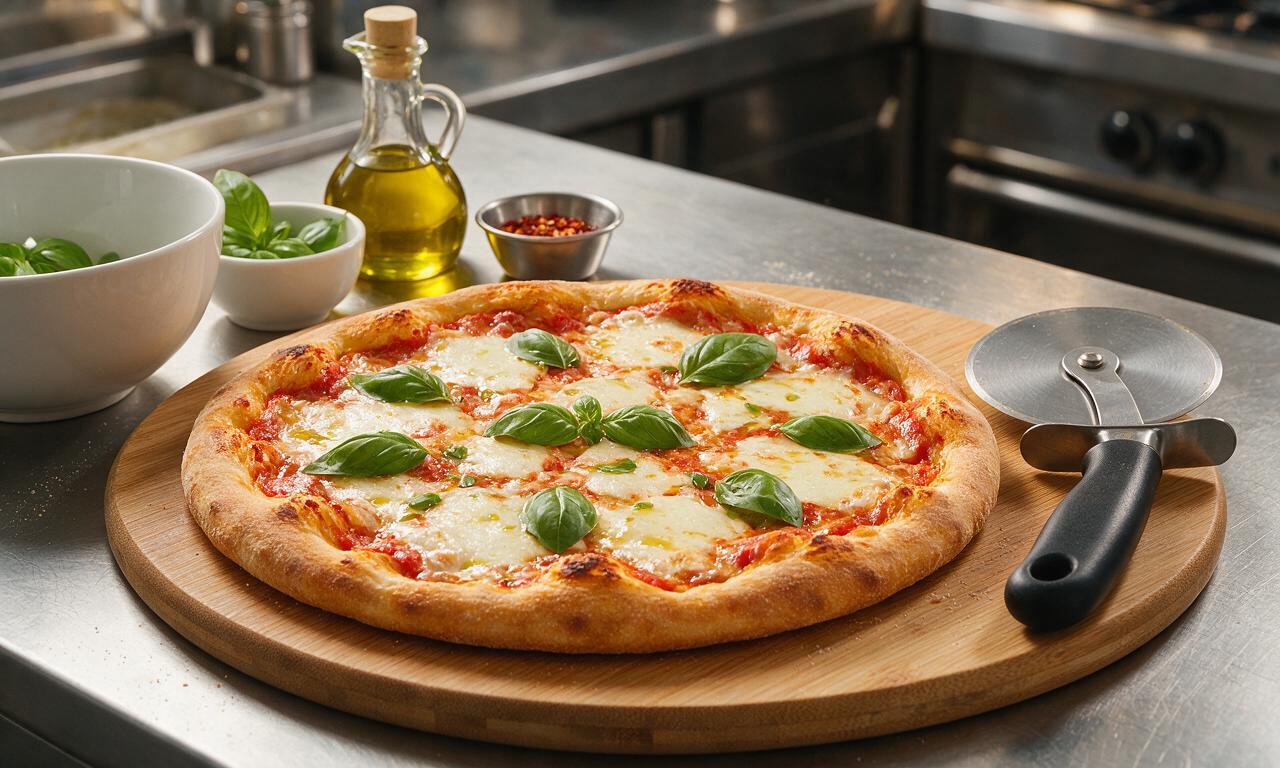
Remove each baked pizza from the oven using a wide pizza peel, immediately top with 7-8 fresh whole basil leaves per pizza, drizzle with the remaining 5ml (1 tsp) extra-virgin olive oil across both pies, and sprinkle with 1g (1/4 tsp) of flaky sea salt. Let pizzas rest for 2 minutes before slicing each into 4 wedges to serve.
Tips
2.Preheat your pizza stone or heavy baking sheet for a full 30 minutes before baking; a fully hot cooking surface creates a crispy, restaurant-quality bottom crust in a home oven.
3.Resist overloading the pizza with extra sauce or cheese; classic Margherita is lightly topped to let the bright, simple flavors of tomato, mozzarella, and basil shine.






OMG this crust is PERFECT. I’ve tried so many homemade margherita recipes that turn out soggy in the middle, but the tip to pre-bake the crust for 5 minutes first? Total game changer. My whole family demolished this at our Sunday dinner last night. 10/10 would make again.
Was worried this would be too time consuming for a weeknight, but I split the prep last night – made the dough before bed and let it slow rise in the fridge, then tossed it together after work tonight. My kids loved it! Even my picky 7 year old asked for seconds. Only change I used was whole wheat flour for half the all purpose to add a little fiber.
Brought this to our neighborhood block party potluck last weekend and people were asking me for the recipe before I even set the platter down! The fresh basil and tomato make it taste just like the pizza I had on a trip to Naples a few years back. SO good.
Okay, full transparency: this was my first time ever making homemade pizza dough from scratch, and I was so nervous I’d mess it up. The instructions were super easy to follow though! My only misstep was I stretched the dough a little too thin in one spot so it leaked a little cheese, but it still tasted amazing. Definitely going to practice my dough stretching skills for next time.
Wait, has anyone tried this with a gluten free flour blend? I have celiac so I can’t do regular all purpose, but this looks so good I want to make it for my partner’s birthday dinner next week.
Made this for my at-home date night with my girlfriend last Friday, and she said it was better than the fancy wood-fired pizza place we go to downtown for $25 a pie. Saved me so much money, plus we had fun stretching the dough together. Will be a regular date night staple from now on.
Do you think this would freeze well? I like to prep individual pizza crusts on Sundays to grab and bake for quick lunches during the work week. Would love to add this margherita to my rotation!
Tasted great, but I wish the recipe noted how important it is to pat the fresh mozzarella dry before putting it on the pizza. I skipped that step and ended up with a super soggy center because of all the excess water from the cheese. Had to blot it halfway through baking, still edible but not as pretty as the photos.
Used fresh tomatoes and basil straight from my backyard garden for this and it tasted like summer on a plate. There’s nothing better than using homegrown produce for a simple, classic recipe like this. I even added a tiny drizzle of hot honey on my slice, chef’s kiss.
Game. Changer. I’ve been paying $12 for frozen ‘artisanal’ margherita pizzas for years and this is 10x better for a fraction of the cost. The crust has that perfect chewy edge with a little crunch, and the ratio of sauce to cheese to basil is spot on. No more frozen pizza for me!
Wait, I don’t have a pizza stone – will a regular baking sheet work okay? I live in a tiny dorm apartment with super basic kitchen gear, so I don’t have any fancy equipment, but I’m craving real pizza so bad.
Used my family’s homemade marinara for the sauce on this instead of the recipe’s quick sauce, and it was incredible. The simple toppings really let the sauce and crust shine, which is what a real margherita is all about. No weird overload of toppings, just perfect classic flavor.
Made this for my kid’s soccer team potluck after practice last week and every single slice was gone in 10 minutes. The parents were all coming up to me asking for the recipe, and a couple of the kids said it was better than the pizza they get at their team parties at the local pizza chain. Total win!
I thought the 1 hour 45 minute total time was going to be too long, but most of that is waiting for the dough to rise! I got so much other stuff done while the dough was proofing: folded laundry, answered emails, prepped a side salad. It felt way less labor intensive than I expected for how good it turned out.
Pro tip for anyone making this: wait to add the fresh basil until the last 2 minutes of baking, or even right after you take the pizza out of the oven. If you add it too early it gets all wilted and bitter, instead of that bright fresh basil flavor you want for margherita.
SO good! I’ve been intimidated to make homemade pizza for years because I thought it was too hard, but this recipe breaks every step down so even a total beginner can pull it off. The crust is chewy, the sauce is bright, the cheese is melty – it’s literally perfect. I’m making it again this weekend for my roommate’s birthday.
I was a little intimidated by the medium difficulty rating, but it was totally manageable! The only part that took me a minute to get the hang of was kneading the dough to the right texture, but the description of what it should feel like (soft, not sticky, bounces back when you poke it) was super helpful. Turned out restaurant quality!
Added a little sprinkle of parmesan on top right before baking and it added the perfect salty kick. Don’t get me wrong, the classic recipe is perfect on its own, but the parm took it up a whole notch for me. Served it with a side of garlic bread and caesar salad for the ultimate Friday night feast.
I meal prepped 4 of these on Sunday for my lunches this week, and I’m actually excited to eat lunch every day instead of being bored of my usual sad desk salads. The slices reheat perfectly in the toaster oven – the crust gets crispy again instead of getting soggy like delivery pizza does when you reheat it. 10/10 for meal prep!