meat broth

title 1
meat broth
⏱️ cook time 4 hours
🍽️ servings 8
⚡ Difficulty easy

intro

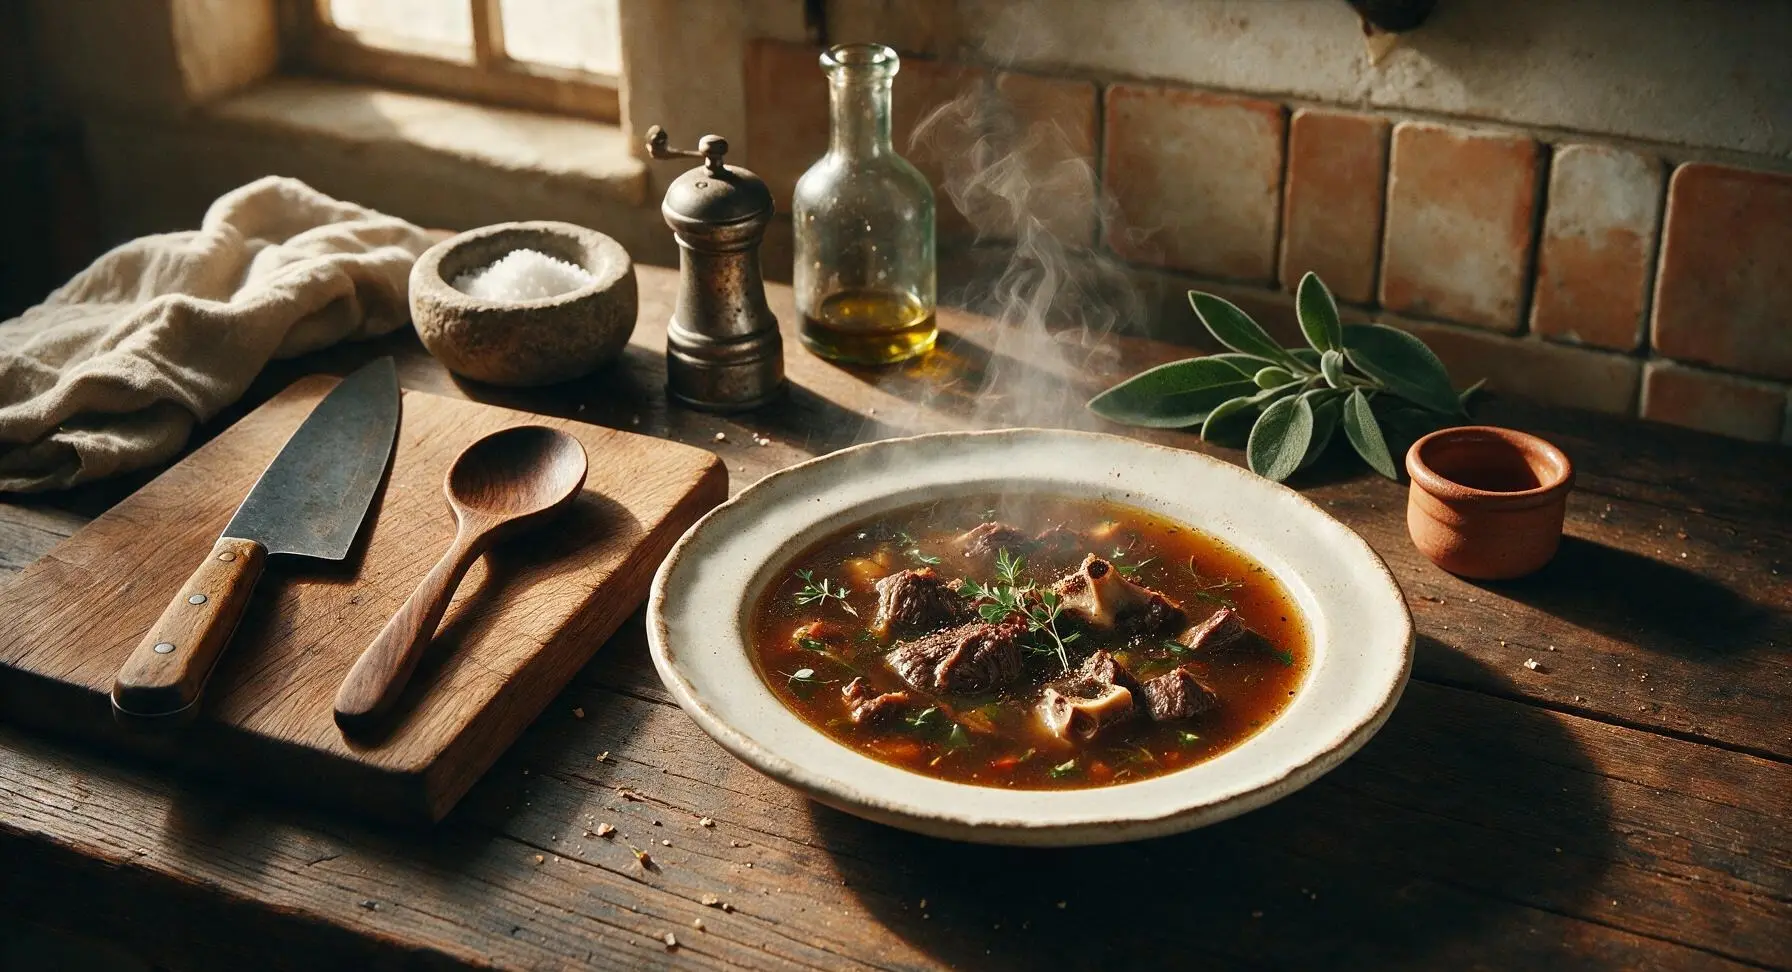
Rich, deeply savory homemade meat broth made with slow-simmered beef, roasted bones, aromatic vegetables, and herbs. A versatile, cozy kitchen staple perfect for soups, stews, and sipping.

Ingredients
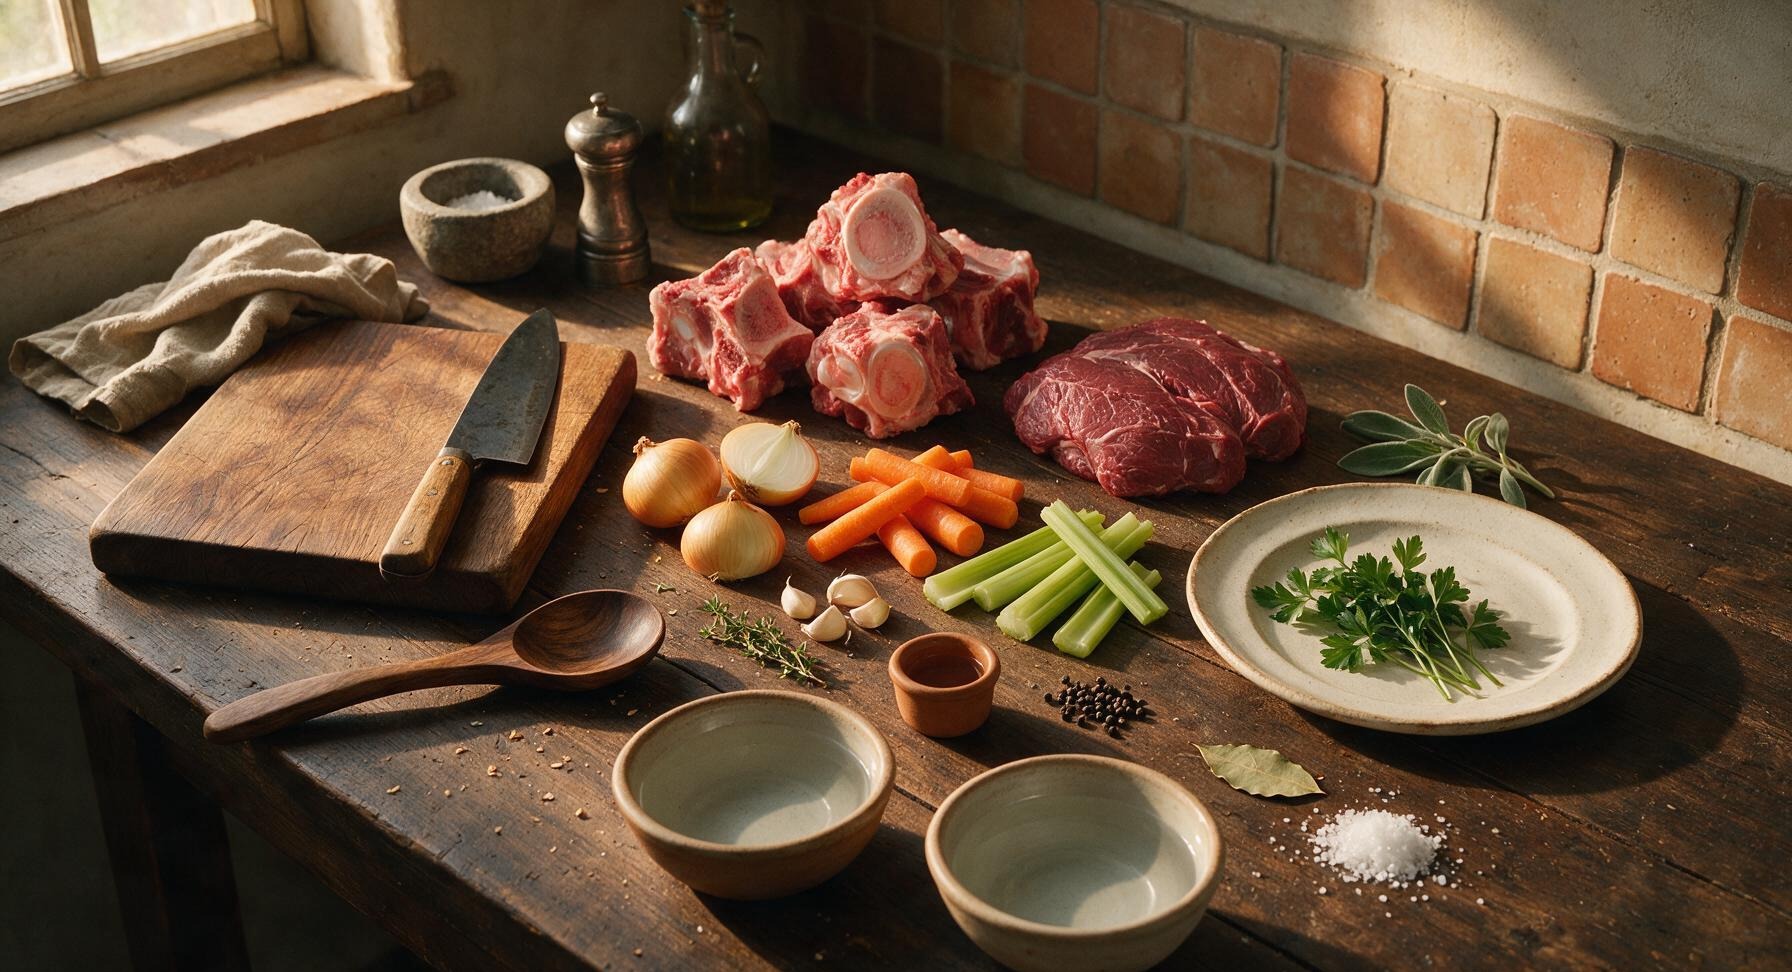
Beef soup bones (marrow and knuckle) 1.5kg
Boneless beef chuck 500g
Yellow onion (unpeeled, quartered) 2 medium (300g)
Carrots (cut into 5cm chunks) 3 medium (250g)
Celery stalks (cut into 5cm chunks) 3 stalks (200g)
Garlic cloves (crushed) 4 cloves
Fresh thyme 5 sprigs
Fresh flat-leaf parsley 10 sprigs
Whole black peppercorns 1 teaspoon
Dried bay leaf 1 leaf
Cold water 3.5L
Coarse kosher salt 1 tablespoon

Steps

1

Roast beef for depth

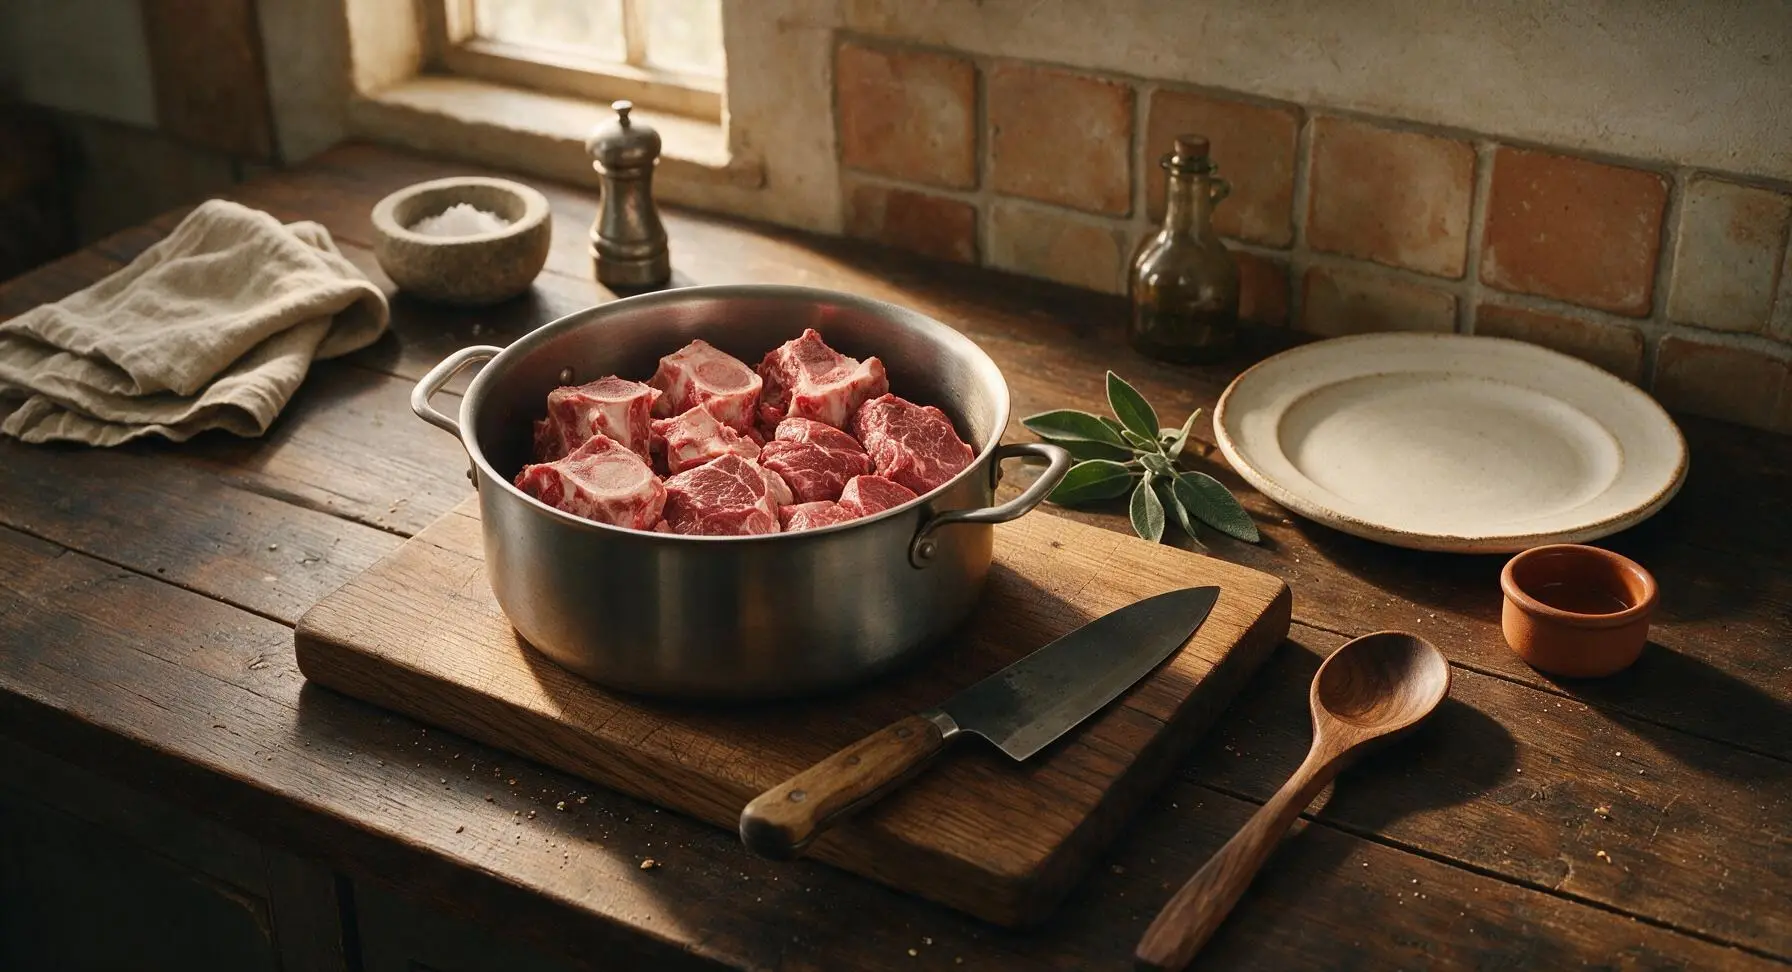
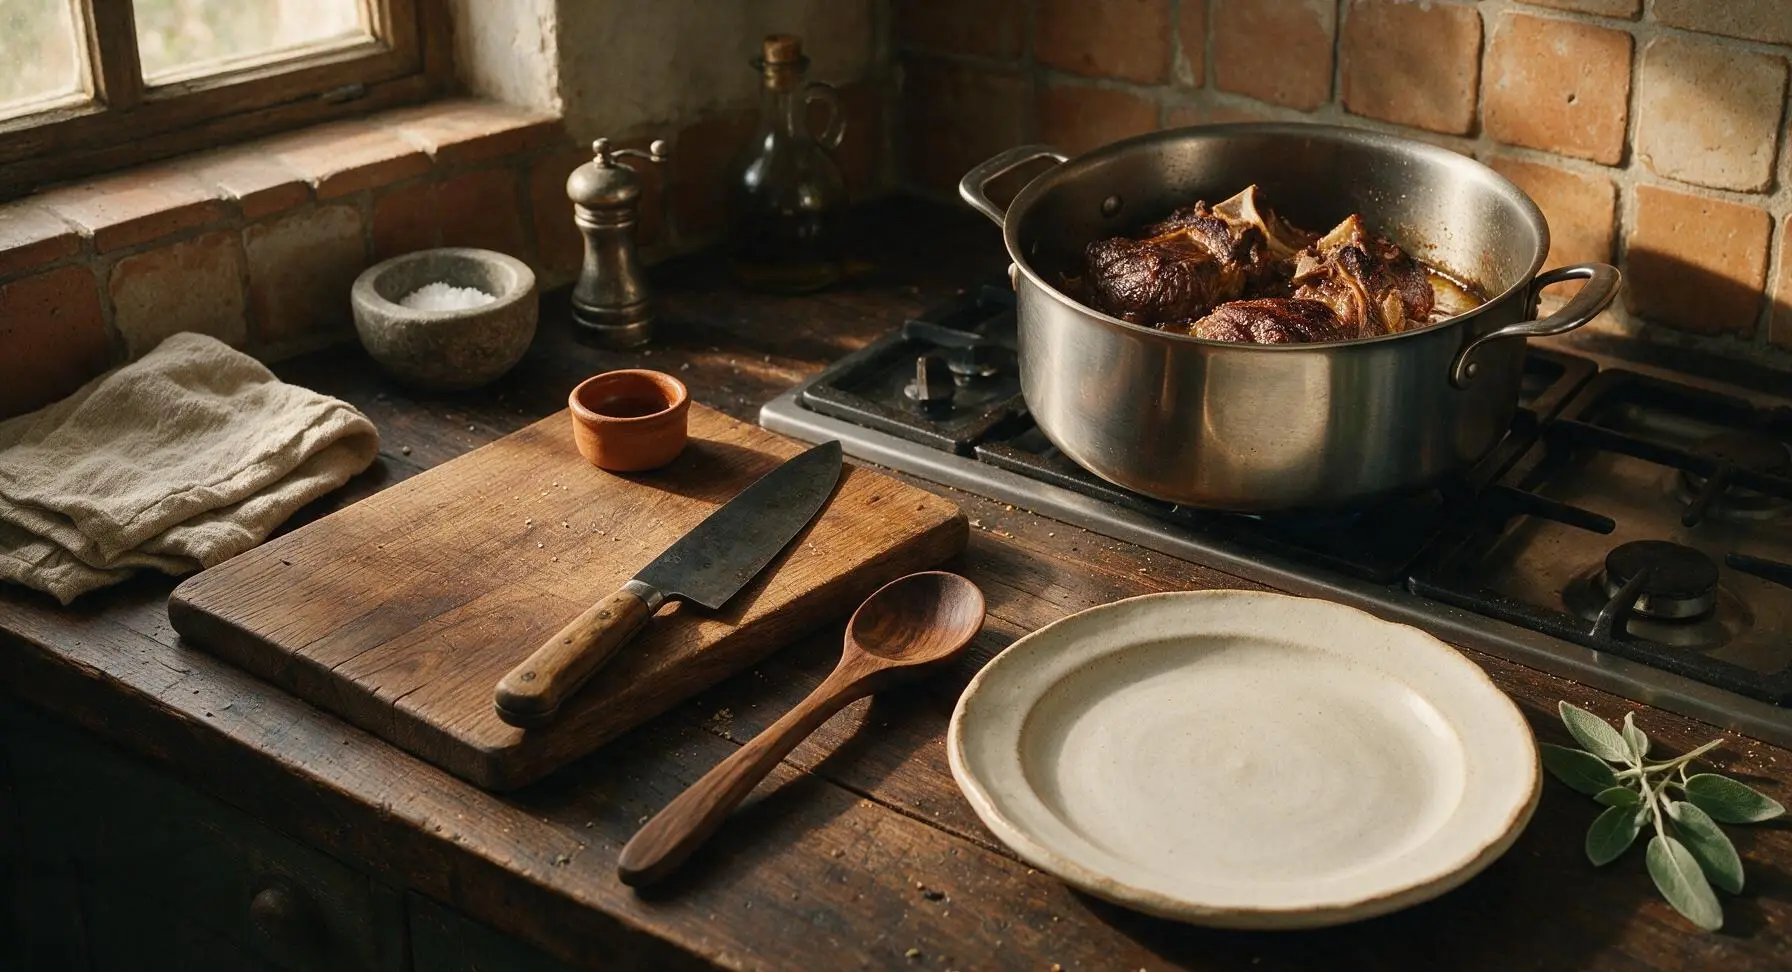
Preheat oven to 200°C (400°F). Pat the 1.5kg beef soup bones and 500g boneless beef chuck completely dry with a corner of the indigo linen towel, then arrange in a single layer across the bottom of the stainless steel stock pot. Roast for 45 minutes, until the meat and bones are deeply golden brown with crisp, caramelized edges. No added oil is needed, as the beef will render its own fat during roasting.
Step 1
step1:Roast beef for depth
Step 1
step1:Roast beef for depth
2

Roast aromatic vegetables

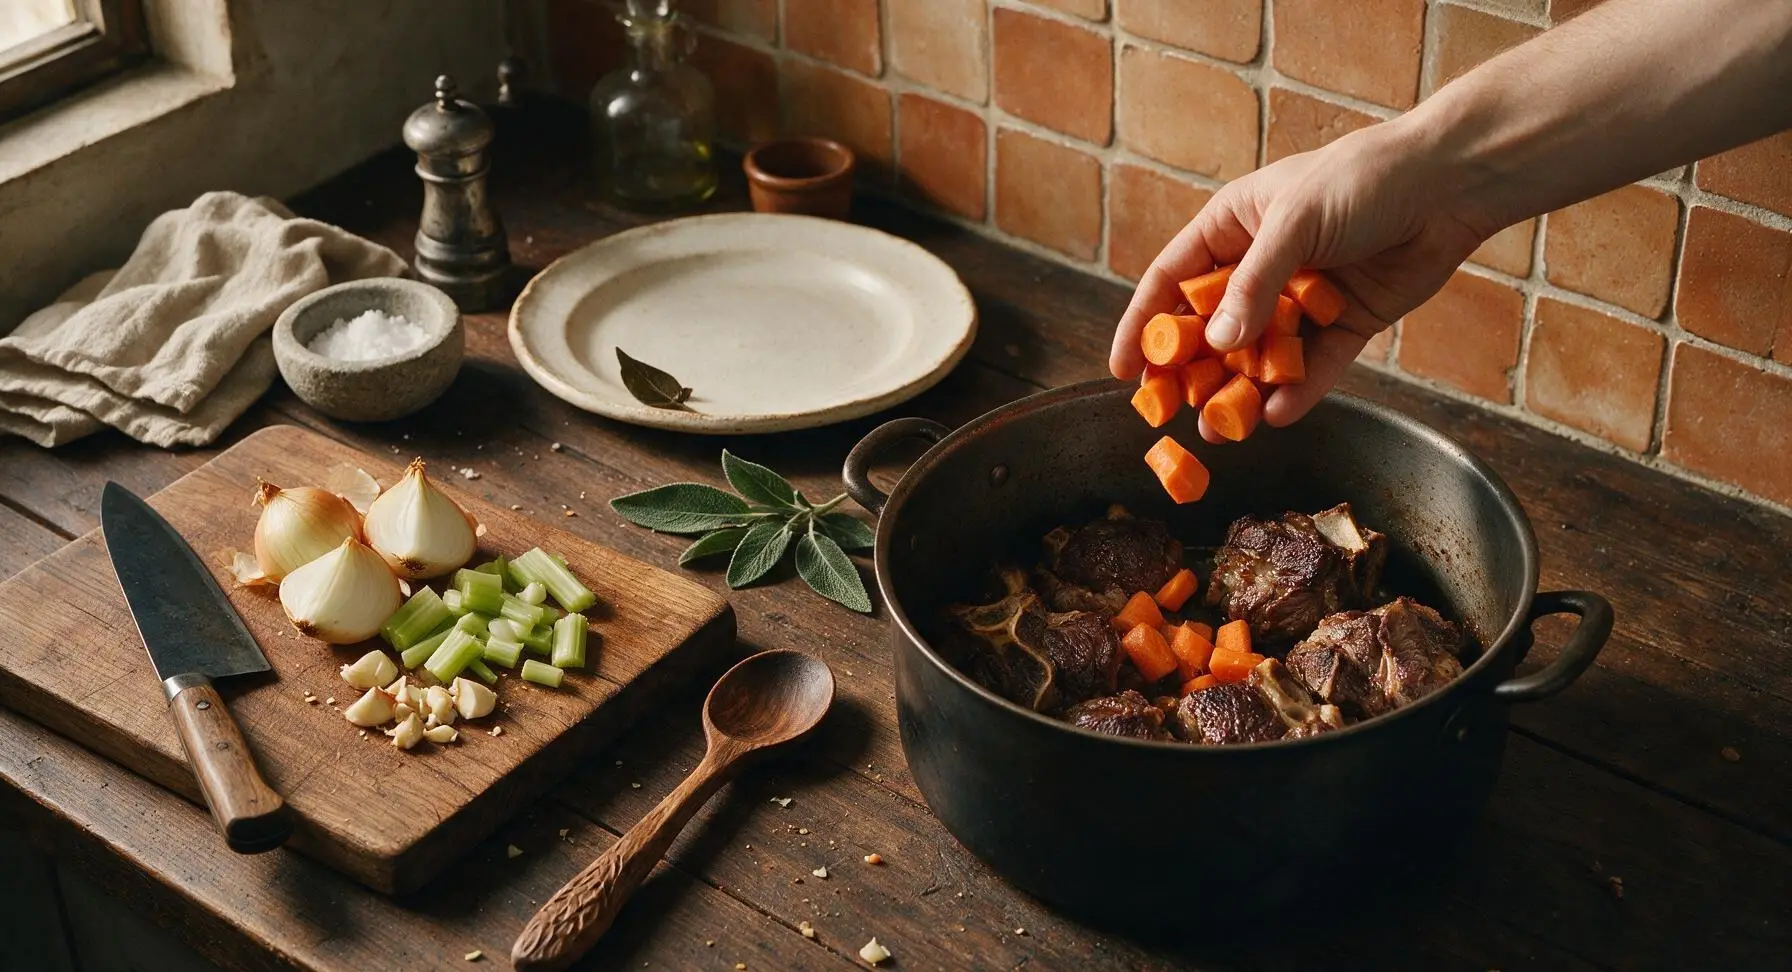
Add the quartered unpeeled yellow onion, 5cm carrot chunks, 5cm celery chunks, and crushed garlic cloves to the stock pot with the roasted beef and bones. Toss gently to coat the vegetables in the rendered beef fat, then return the pot to the oven for 15 minutes, until vegetable edges are lightly browned and sweetly fragrant. This caramelization adds rich, rounded depth that raw vegetables cannot provide.
Step 2
step2:Roast aromatic vegetables
3

Cover with cold water

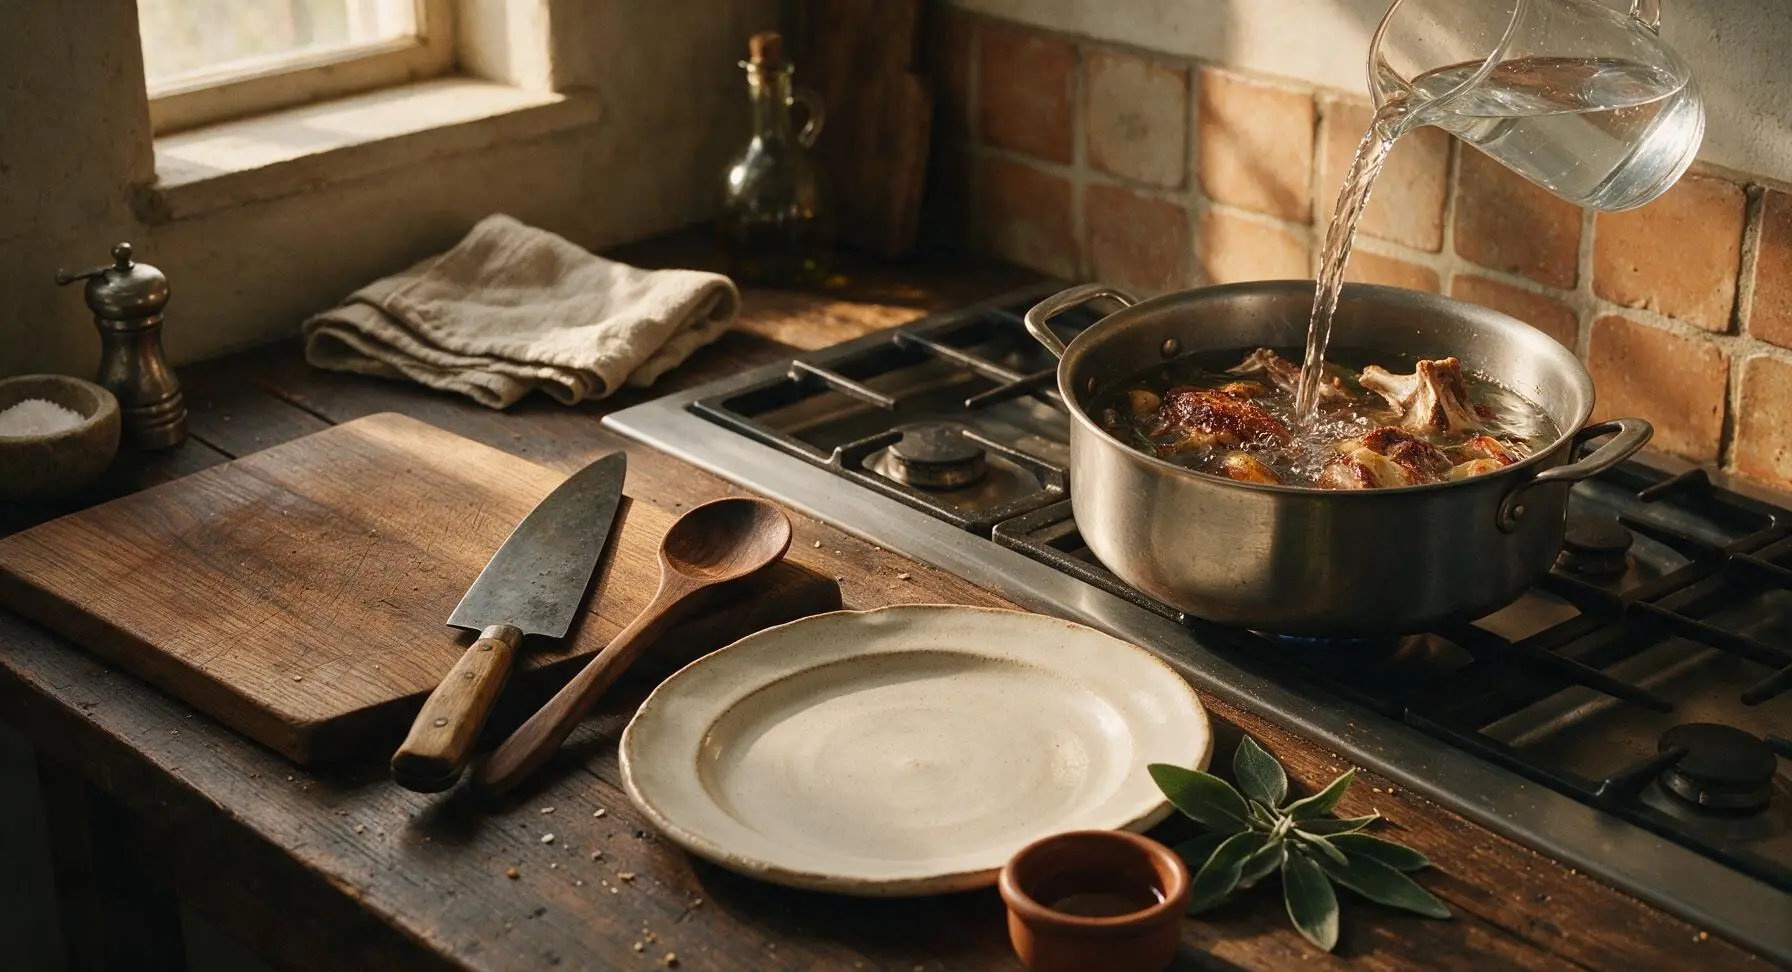
Remove the stock pot from the oven and return it to the back-right stovetop burner. Pour 3.5L of cold water over the roasted meat, bones, and vegetables, ensuring all ingredients are fully submerged by 2cm of water. Turn heat to medium-high to bring the water to a gentle, slow simmer — never allow it to reach a rolling boil, as this will cloud the final broth.
Step 3
step3:Cover with cold water
4

Skim surface impurities

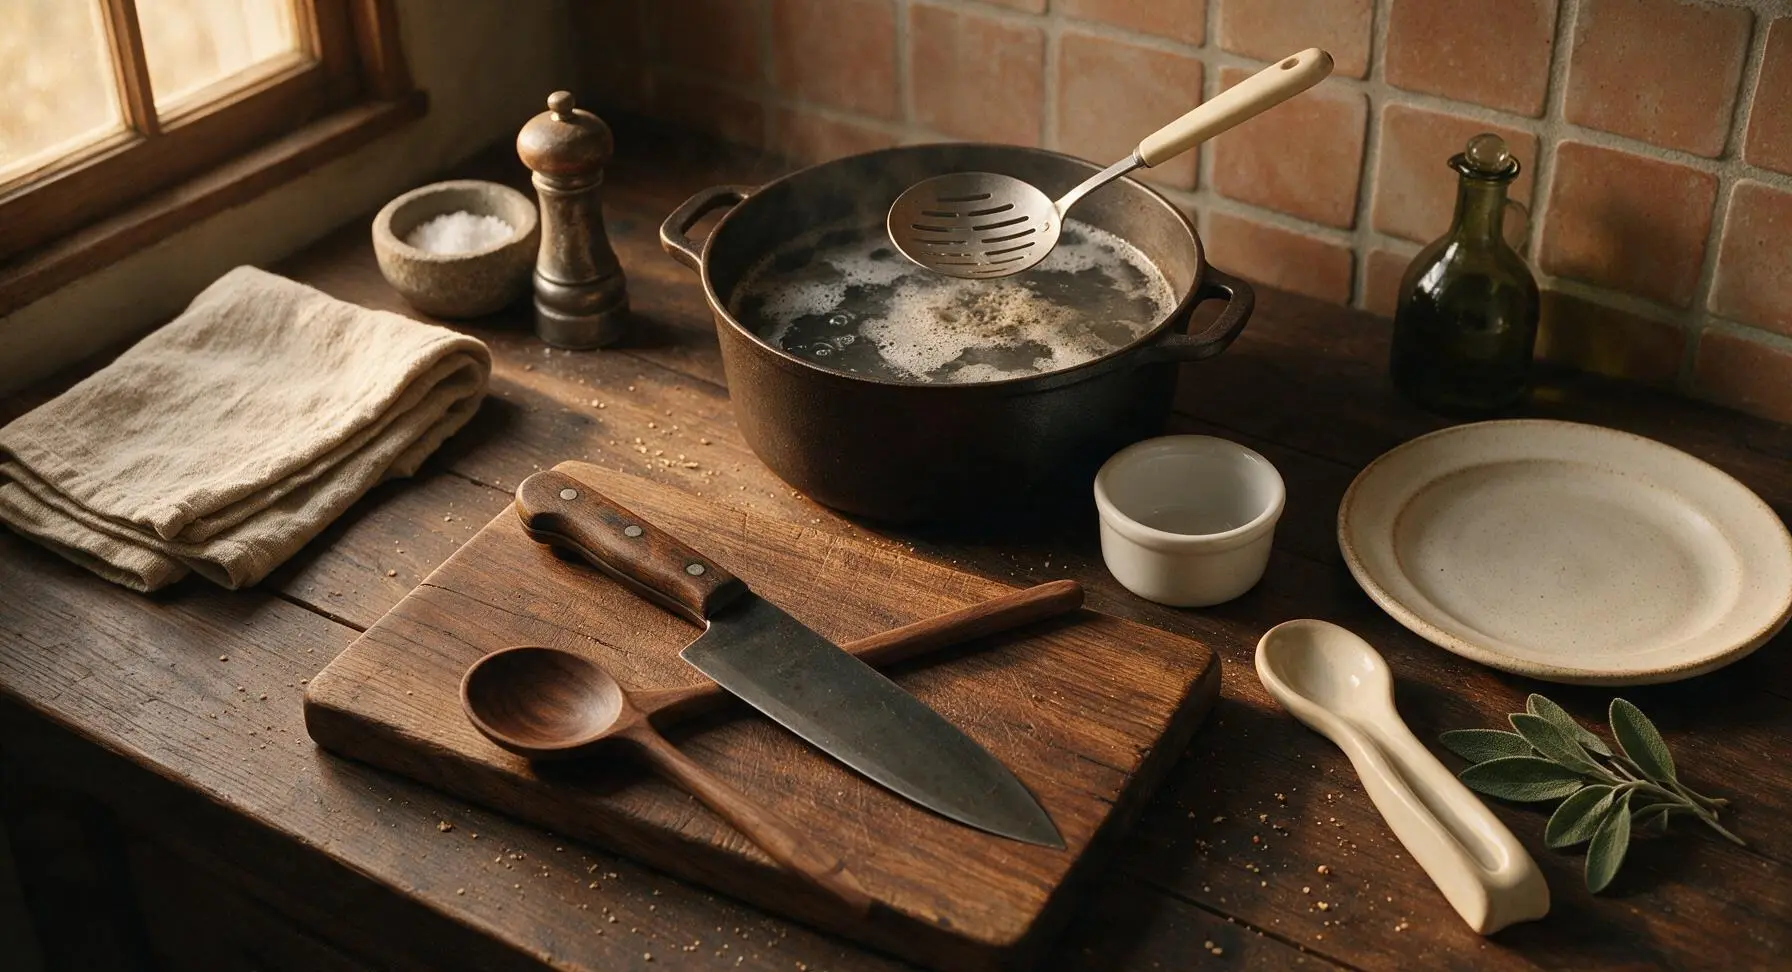
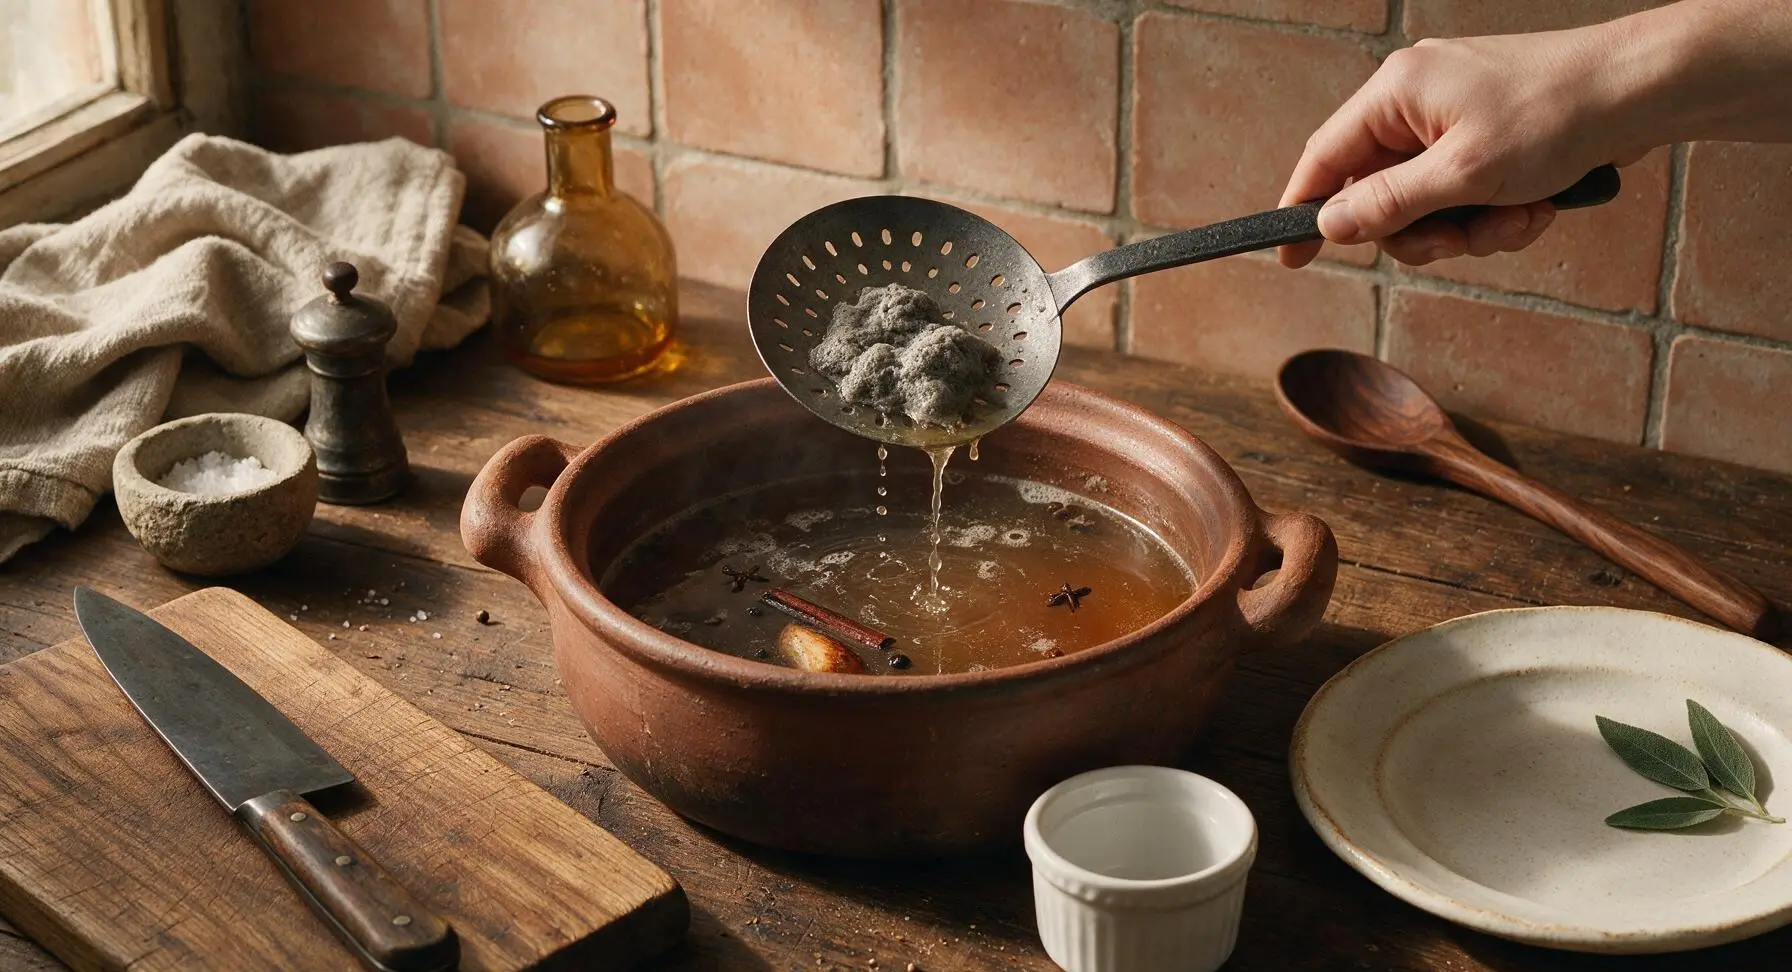
As the water reaches a gentle simmer (small bubbles breaking slowly at the surface, temperature ~93°C/200°F), use the slotted skimmer ladle to carefully scoop off the gray foamy scum that rises to the surface. Deposit collected scum into the matte white ceramic ramekin. Skim repeatedly for the first 30 minutes of simmering, until no more foam rises to the top, for a clear, clean-tasting broth.
Step 4
step4:Skim surface impurities
Step 4
step4:Skim surface impurities
5

Add herbs and spices

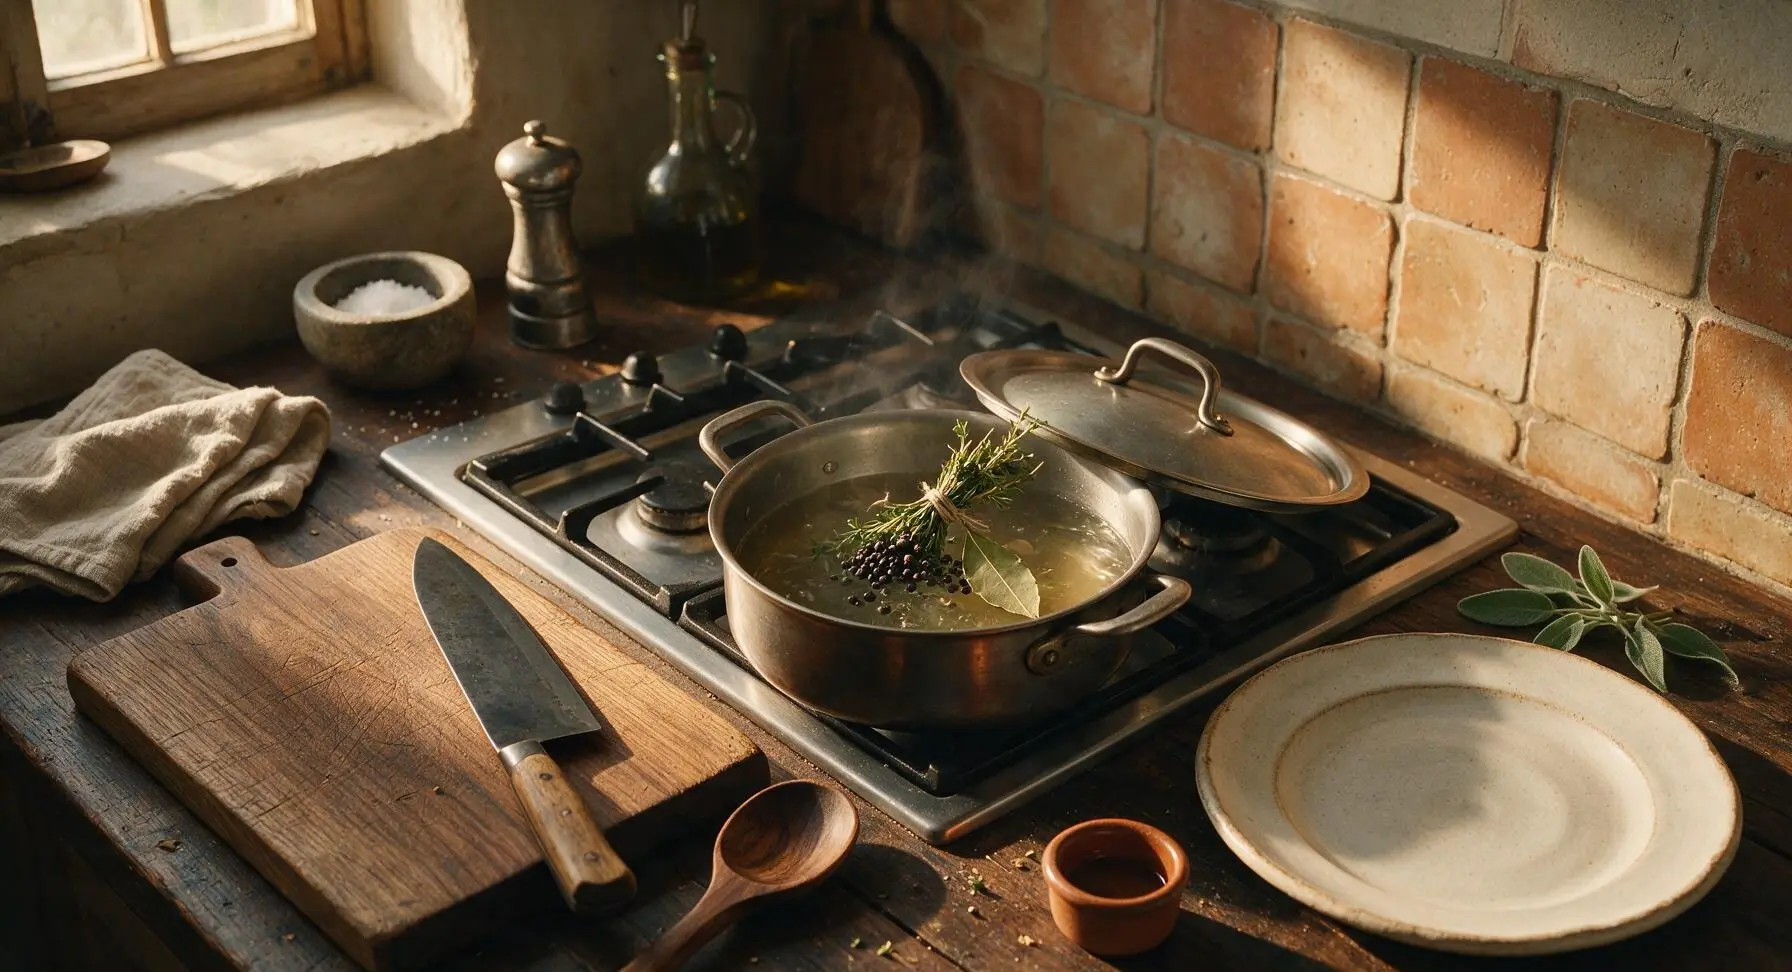
Once the broth surface is free of foam, add the tied bundle of thyme and parsley, 1 teaspoon whole black peppercorns, and 1 dried bay leaf to the pot. Reduce heat to low to maintain a constant gentle simmer (no rolling bubbles, only faint surface movement). Partially cover the pot with its lid, leaving a 2cm gap to allow steam to escape and prevent boiling over.
Step 5
step5:Add herbs and spices
6

Simmer broth slowly

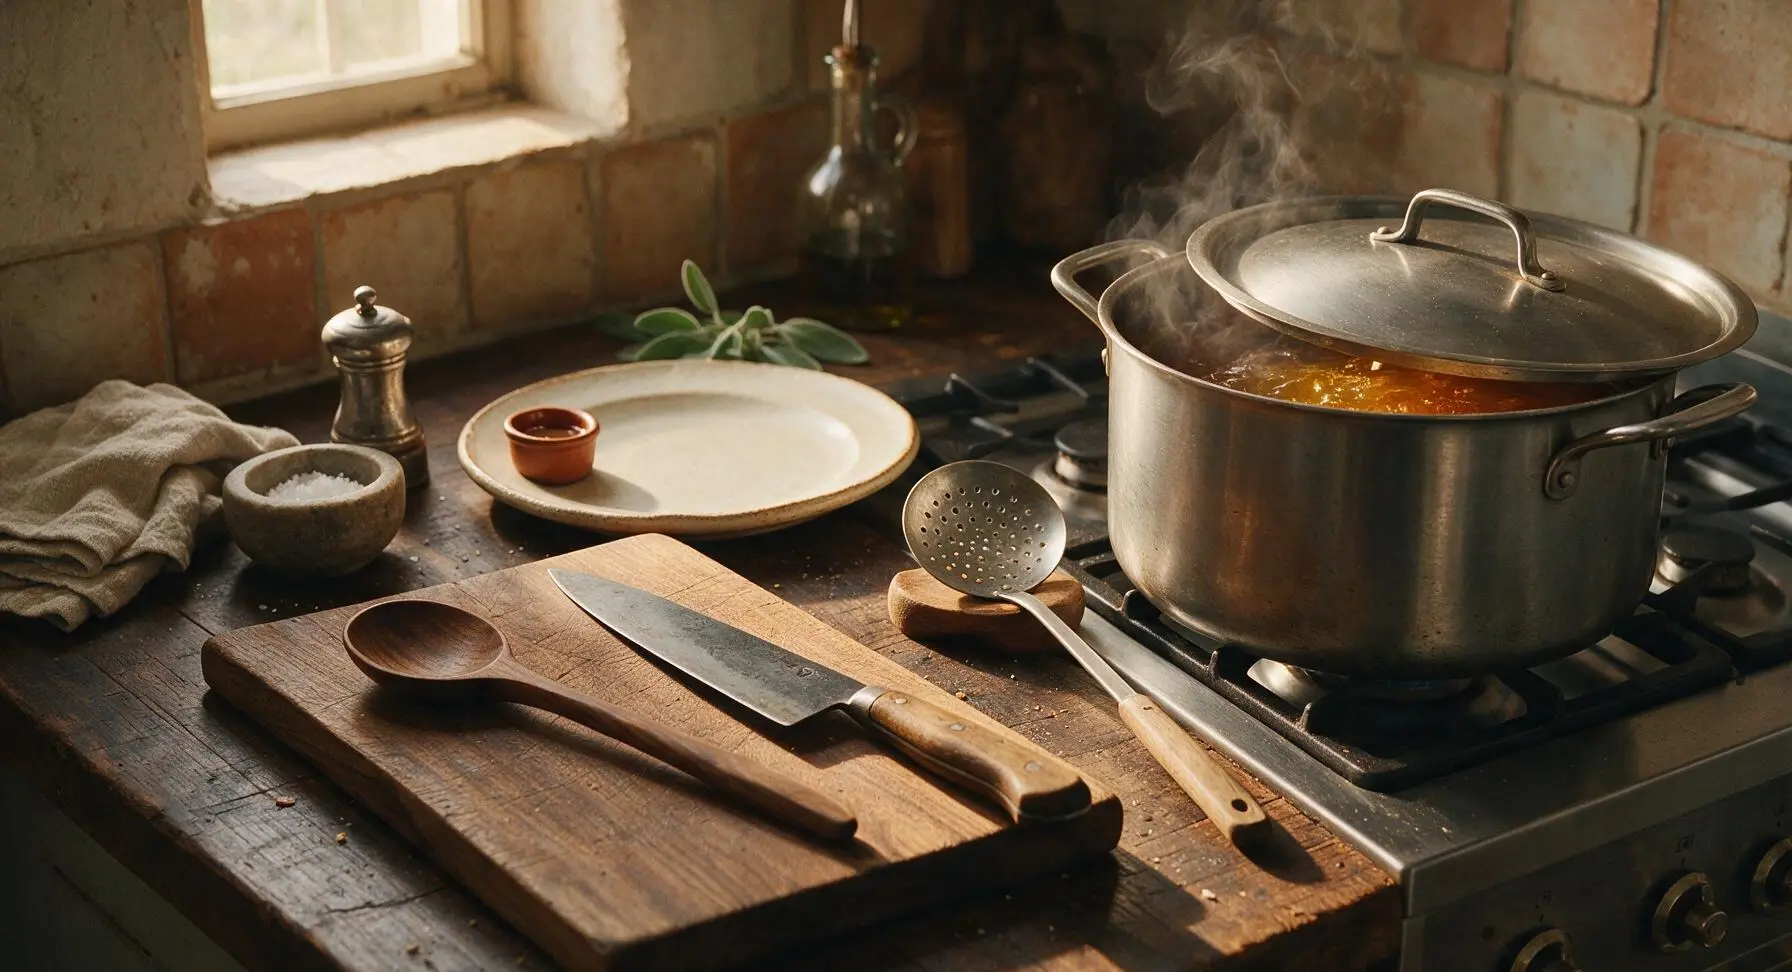
Let the broth simmer at low heat for 2 hours and 30 minutes, checking every 30 minutes to ensure it does not come to a boil. Do not stir the broth during this time, as stirring will agitate sediment and cloud the liquid. The broth will gradually deepen to a rich golden amber color as flavor extracts from the bones, meat, and vegetables.
Step 6
step6:Simmer broth slowly
7

Strain out solids

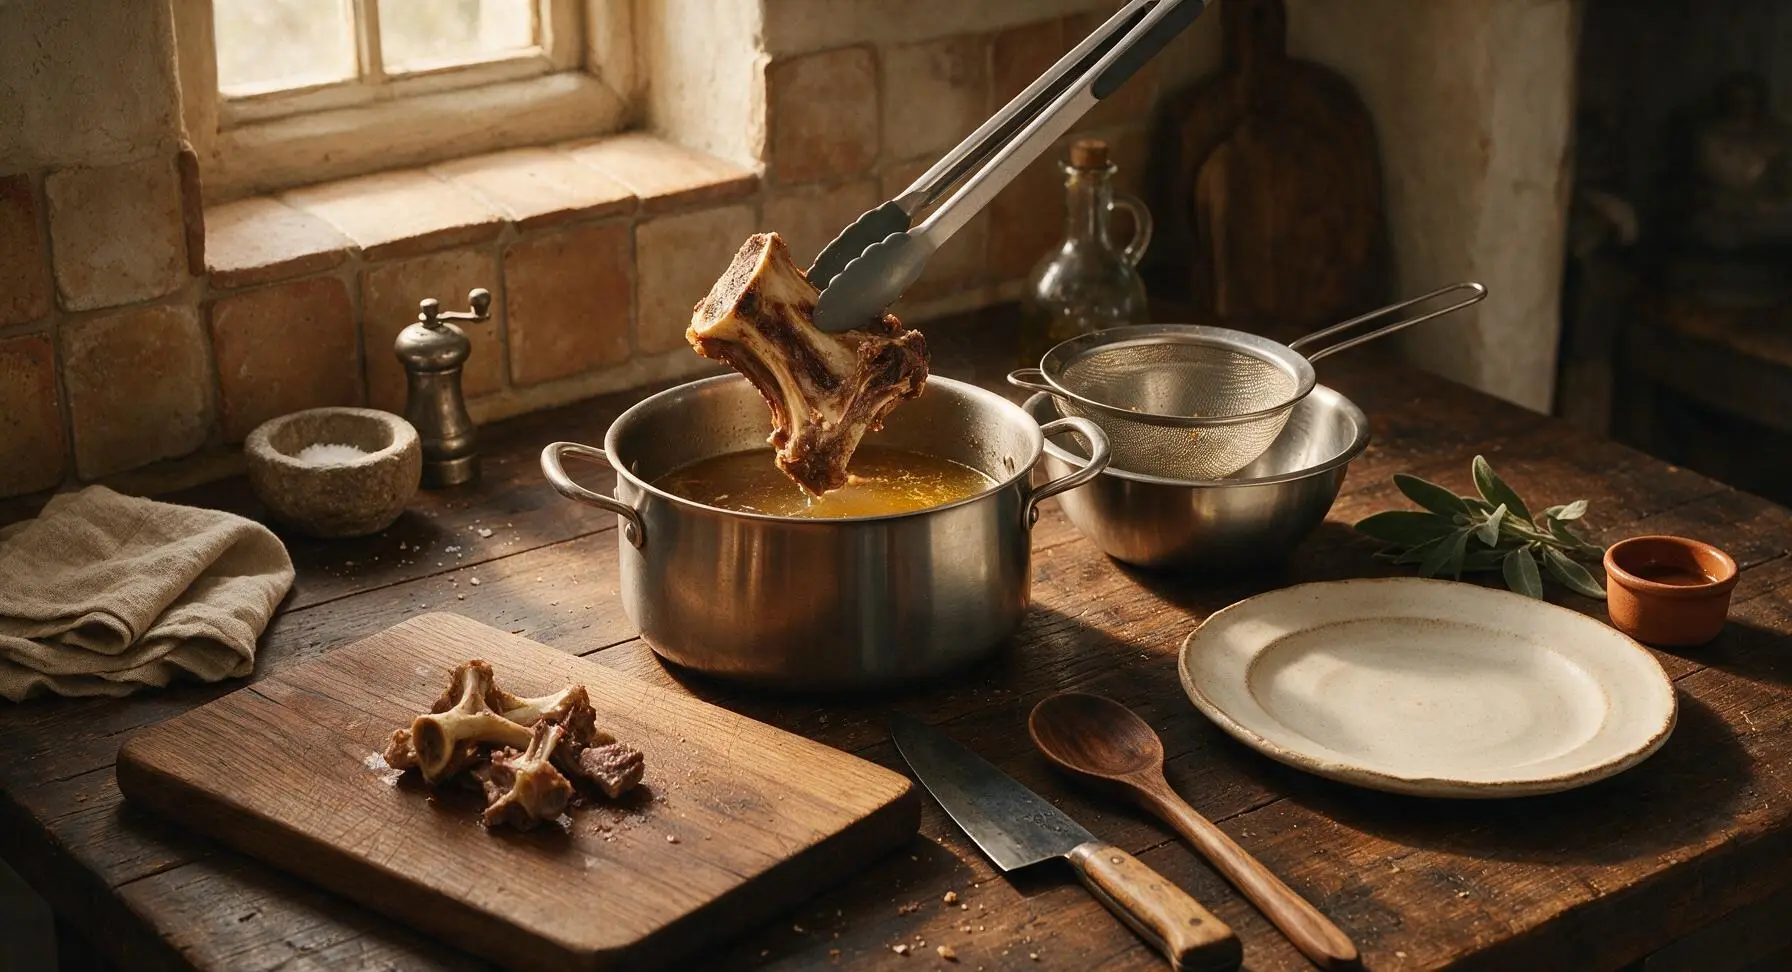
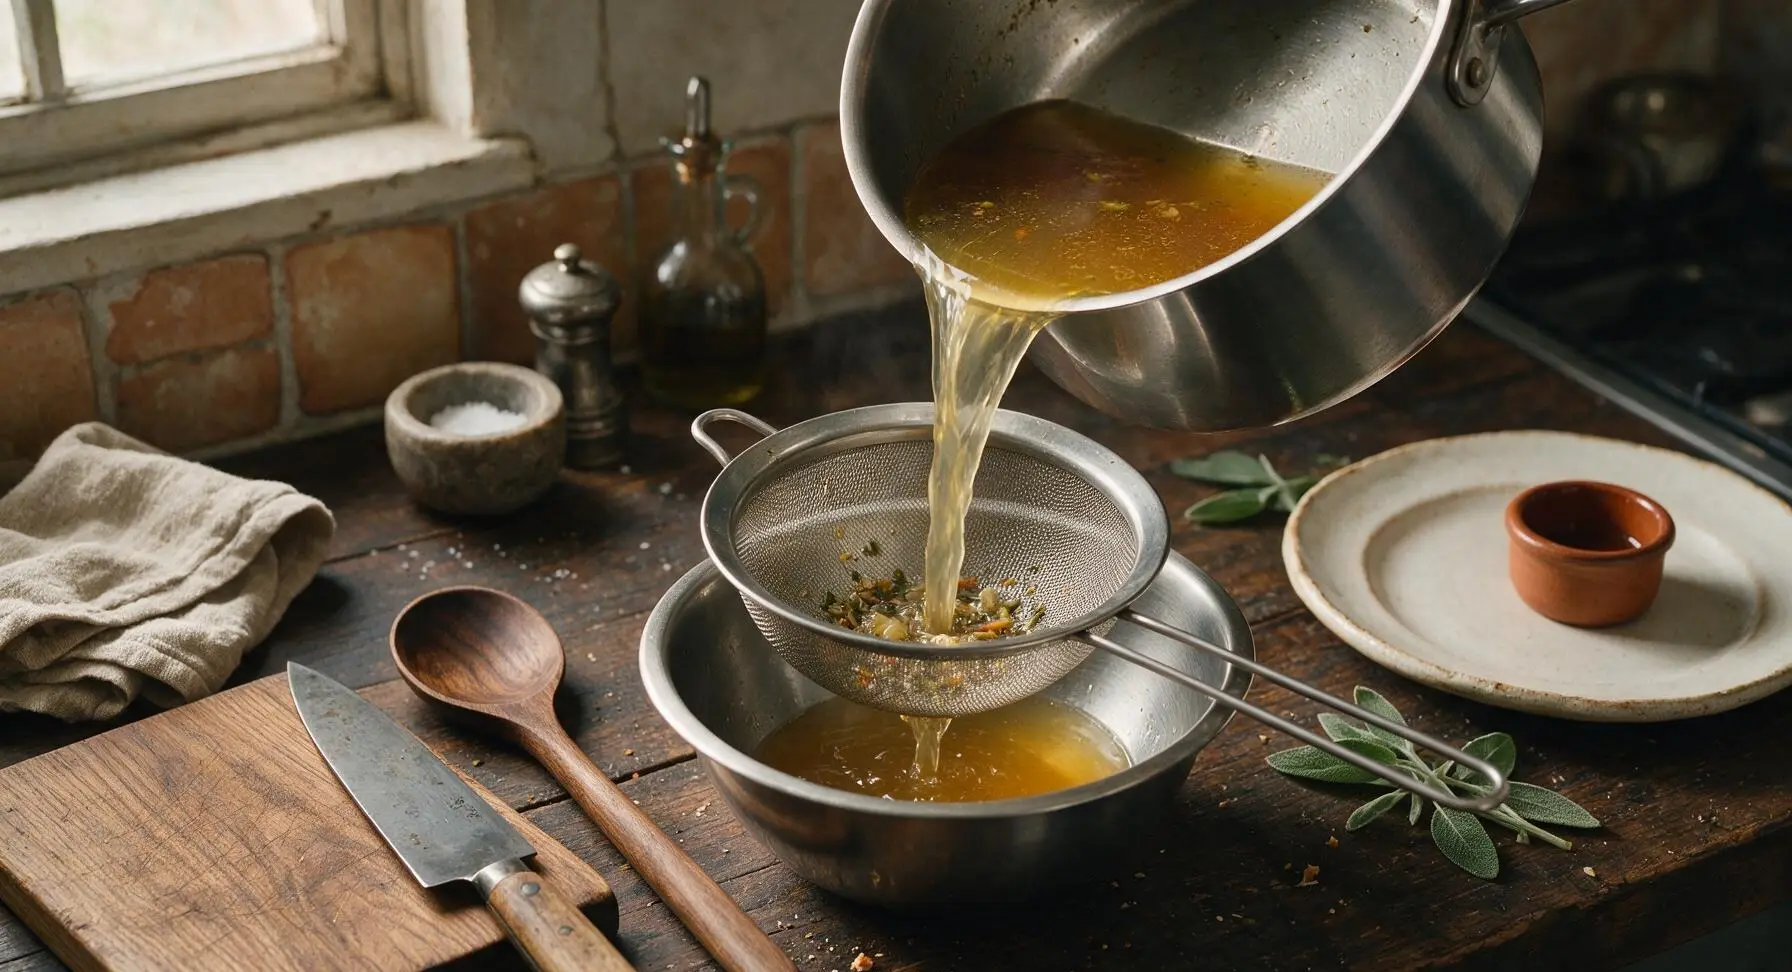
After simmering is complete, turn off the heat. Use the silicone-tipped stainless steel tongs to remove and discard large bones, meat pieces, and vegetable chunks from the pot. Set the fine-mesh stainless steel sieve over the stainless steel mixing bowl, then carefully pour the hot broth through the sieve to catch all remaining small herb and vegetable particles, leaving a perfectly clear golden broth.
Step 7
step7:Strain out solids
Step 7
step7:Strain out solids
8

Season to taste

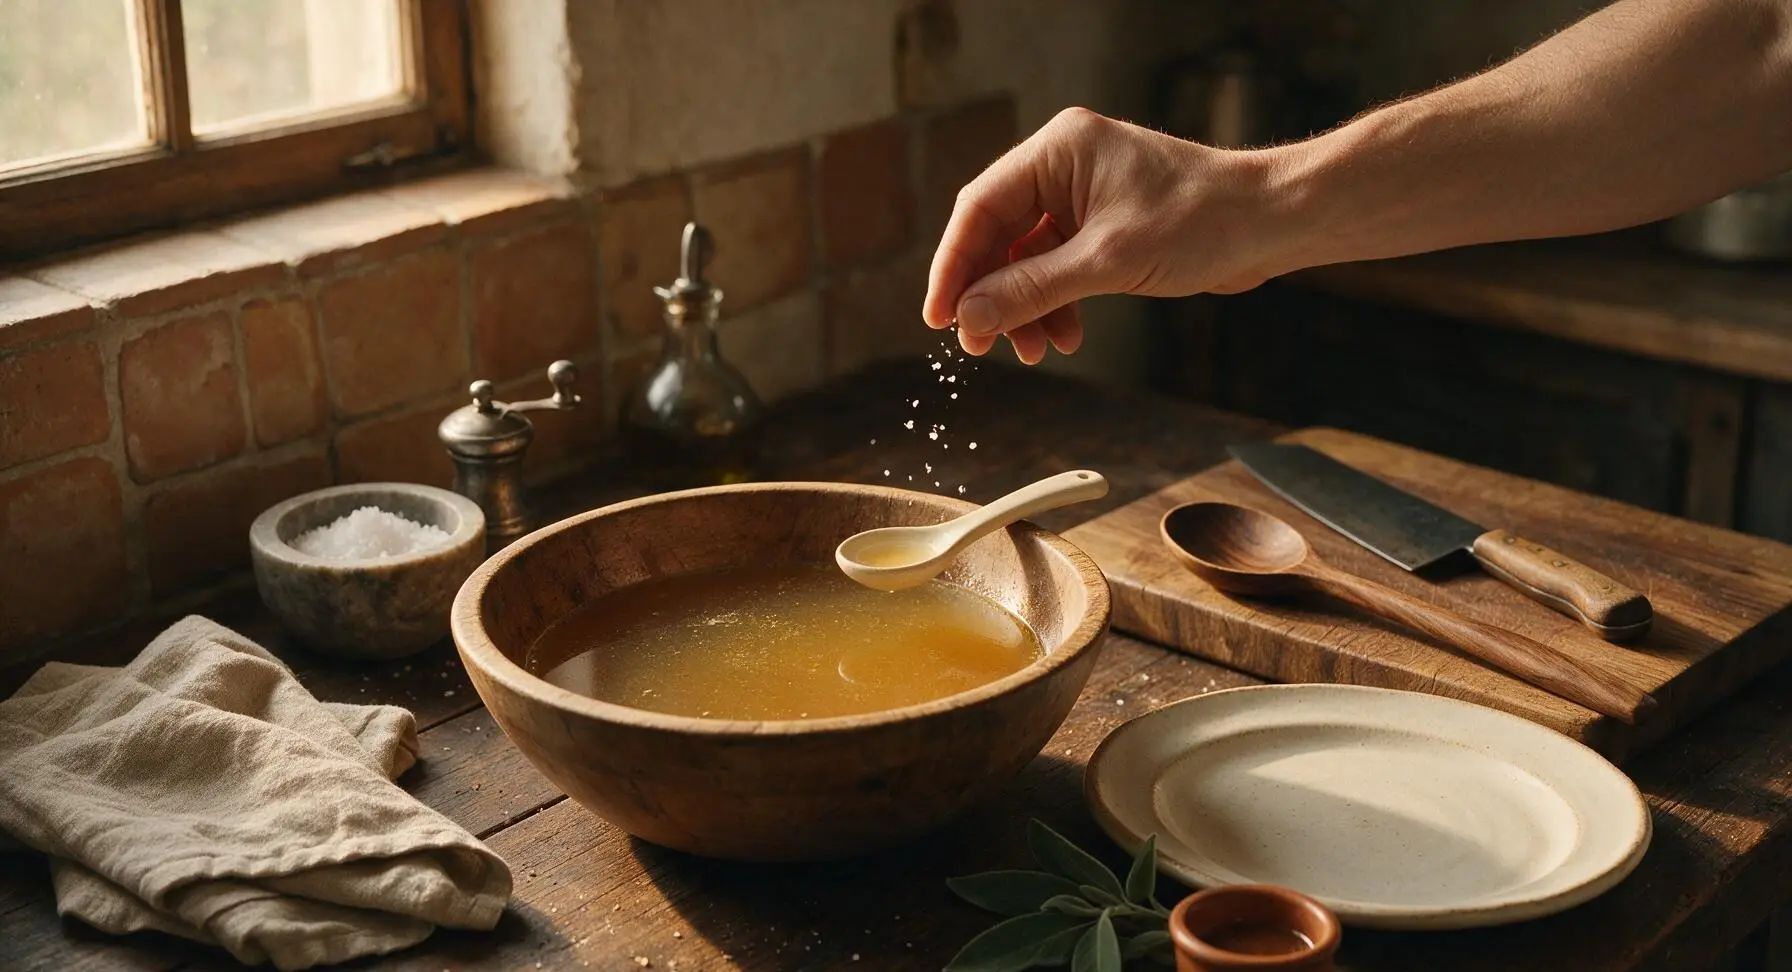
Let the strained broth rest for 5 minutes, then skim any excess surface fat if desired (leave a thin layer for extra richness). Stir in 1 tablespoon of coarse kosher salt, adding more in 1/4 teaspoon increments to taste. Use the small cream ceramic tasting spoon to test seasoning; the broth should taste savory and rich, not overly salty.
Step 8
step8:Season to taste

Tips

1.Always start with cold water when making broth: cold water slowly draws out soluble proteins and impurities from bones and meat as it heats, resulting in a clearer, cleaner-tasting broth instead of a cloudy, murky liquid.
2.Never let broth come to a rolling boil: violent boiling agitates fat and fine sediment into the liquid, making it cloudy and giving it a flat, greasy taste instead of the bright, clean savoriness of gently simmered broth.
3.Store cooled broth in sealed containers for up to 5 days in the refrigerator, or 3 months in the freezer. The thin fat cap that solidifies on top of chilled broth acts as a natural airtight seal to extend freshness; simply scrape it off before reheating if desired.


✨ You May Also Like

Soups & Stews
🍜 Japan

Rich, umami-dense Hokkaido-style miso ramen with chewy noodles, savory fermented broth, and classic toppings, a cozy, deeply satisfying warm meal.

⏱️ 45 minuteSoups & Stews ★ 4.5
Soups & Stews
🍜 United States

A hearty, peppery tripe and root vegetable stew with colonial Philadelphia roots, thick, warming, and packed with bold savory flavor for cold winter days.

⏱️ 2 hours 3Soups & Stews ★ 4.6
Soups & Stews
🍜 Mexico

Hearty, warming red pork posole loaded with tender hominy, slow-simmered in a rich smoky chile broth, served with zesty fresh garnishes for a deeply comforting, satisfying meal.

⏱️ 2 hours 3Soups & Stews ★ 4.7
Soups & Stews
🍜 United States

Warm, soothing classic chicken noodle soup loaded with tender chicken, soft egg noodles, and savory veggies, perfect for chasing chills and feeding the whole family.

⏱️ 40 minuteSoups & Stews ★ 4.9
Soups & Stews
🍜 France

Deeply savory caramelized onion broth topped with crusty bread and bubbly melted Gruyère, a timeless French bistro comfort food ideal for cold days.

⏱️ 1 hour 25Soups & Stews ★ 4.8
Soups & Stews
🍜 United States

Hearty, briny Maryland crab soup loaded with sweet blue crab, tender summer vegetables, and zesty Old Bay, a beloved Chesapeake Bay coastal comfort staple.

⏱️ 55 minuteSoups & Stews ★ 4.9

meat broth:Frequently Asked Questions

1.Why do you roast the bones first instead of simmering them raw? ▾
Roasting caramelizes the bone marrow, connective tissue, and small bits of meat stuck to the bones, building that deep, rich, nutty savoriness you can’t get from raw bones. Roast at 425°F for 30 to 40 minutes until deep golden, then scrape all browned pan bits into your stock pot for extra flavor.
2.Why leave the yellow onion unpeeled instead of removing its papery skin? ▾
The papery golden-brown outer onion skins give the broth a warm, inviting amber hue and subtle earthy depth of flavor. Just trim off the dry root end and any moldy or dirty patches, give the onion a quick rinse, quarter it, and toss it right in—no tedious peeling required.
3.Can I skip the boneless beef chuck and only use bones for the broth? ▾
You technically can, but the boneless chuck adds bright, fresh beef flavor and tender, usable cooked beef you can shred for soups, stews, or sandwiches. Bones add richness and collagen body, but without solid chuck, your broth will taste flat and one-note, even with perfectly roasted bones.
4.Why cut carrots and celery into 5cm (2-inch) chunks instead of dicing them small? ▾
Large 2-inch (5cm) chunks hold up to hours of slow simmering without turning mushy or leaching bitter, overcooked vegetable flavor into your broth. They release sweet, aromatic notes gradually, and are super easy to strain out once the broth is finished, leaving no cloudy fine veg bits behind.
5.How long should I simmer the broth for the best possible flavor? ▾
Aim for a low, gentle simmer (not a rolling boil) for 4 to 6 hours total. Any shorter, and you won’t pull all the collagen and deep flavor from the bones and meat; simmering longer than 8 hours can leave broth with a flat, murky, slightly bitter taste from overcooked ingredients.
6.Why is a rolling boil bad for making meat broth? ▾
A hard, rolling boil emulsifies fat and tiny particle debris from the bones and meat into the liquid, leaving you with cloudy, greasy-tasting broth instead of the clear, clean, rich result you want. Keep heat low enough that only 2 or 3 small bubbles break the surface every second.
7.When should I add herbs and salt to the simmering broth? ▾
Stick to a simple sachet of a few parsley stems, 1 bay leaf, and 2 whole black peppercorns added at the start, but hold off on salt until the very end of cooking. As the broth simmers, it reduces significantly, so salting early can easily leave you with an overly salty final product that’s hard to fix.
8.How do I store leftover homemade meat broth safely? ▾
Let finished, strained broth cool to room temperature within 2 hours (split it into shallow containers to speed this up), then refrigerate for up to 4 days, or freeze for up to 6 months. Once chilled, you can easily scrape off the solid top fat layer if you prefer lower-fat broth for recipes.
9.My broth turned jiggly like Jell-O when it chilled—did I do something wrong? ▾
That jiggly texture is a sign you made perfect broth! That gelatin comes from collagen that breaks down out of the knuckle and marrow bones during slow simmering, and it means your broth has amazing, rich body. It melts right back to smooth liquid when you reheat it.
10.Can I use other cuts of beef if I don’t have chuck on hand? ▾
You can swap chuck for other well-marbled, tough cuts like beef brisket or bottom round, but avoid super lean cuts like eye of round, which turn dry and add very little flavor. Skip pre-cut trimmed “stew meat,” as the removed fat adds key savoriness to the finished broth.
11.Do I really need to skim the foam that rises in the first hour of simmering? ▾
Yes, take 5 minutes to skim that gray, foamy scum that rises early on with a fine mesh skimmer or slotted spoon. That foam is made of coagulated protein impurities from the meat and bones, and leaving it in will make your broth taste murky, bitter, and slightly gritty.
12.Can I make this broth in a slow cooker or Instant Pot instead of on the stovetop? ▾
Absolutely! For a slow cooker, cook on low for 8 to 10 hours, skimming foam for the first hour if you can. For an Instant Pot, cook on high pressure for 90 minutes, let pressure release naturally for 20 minutes, and you’ll get the same rich broth in a fraction of the time.
13.Why does the recipe call for marrow and knuckle bones specifically? ▾
Marrow bones add rich, buttery, deep beefy flavor from the soft marrow inside, while knuckle bones are packed with collagen that creates that luxurious, silky mouthfeel perfect for sipping or building soups. Regular steak or rib bones don’t have enough connective tissue or marrow for that classic flavor.
14.Can I add extra vegetables like tomatoes or mushrooms to the broth? ▾
You can add small amounts for extra depth—one halved tomato or a couple mushroom caps adds nice umami—but stick to small quantities. Too many extra vegetables will overpower the pure, classic beef flavor, and acidic ingredients like tomatoes can break down collagen too quickly if added early.
15.How do I fix a broth that turns out too weak or watery? ▾
If your finished broth is thin and bland after straining, pour it back into a clean pot and simmer it uncovered over medium-low heat to reduce it by 25 to 30%. This concentrates the flavor and thickens it slightly as excess water evaporates. Taste and add salt gradually after reducing to avoid over-seasoning.
16.Is this classic meat broth the same thing as regular beef stock? ▾
They’re very close, but this broth is slightly different from plain beef stock because it includes solid boneless beef chuck along with bones, giving it a richer, meatier flavor nice enough to sip on its own. Plain stock typically uses only bones, no solid meat, for a lighter, more neutral cooking base.
17.What are the best ways to use this finished homemade meat broth? ▾
It’s an incredibly versatile kitchen staple! Use it as a base for French onion soup, beef stew, or gravy, sip it plain with a pinch of salt and pepper for a cozy nourishing drink, cook grains or risotto in it for extra savoriness, or use it to braise pot roasts and vegetables.

Comments (12)

1 week ago

OMG this broth is SO good! I made it for Sunday family dinner last weekend and everyone was asking for the recipe. I used it as a base for my chicken noodle soup later in the week for meal prep too, total game changer. 4 hours sounds long but it’s totally hands off most of the time, super easy like the recipe says!

5 days ago

Wait did you add any extra veggies? I’m thinking of tossing in some extra parsnips when I make mine this weekend!

3 days ago

So glad it was a hit for your family dinner! Parsnips are a fantastic add-in, they bring a lovely subtle sweetness to the broth — just make sure to skim any foam off the top in the first 30 minutes for the clearest result!

2 days ago

I’ve been buying store bought broth for years because I thought homemade was too fussy, but this was actually so easy! My toddler who refuses almost everything ate two bowls of soup made with this broth last night. Will 100% be making this a monthly meal prep staple.

yesterday

That makes our day to hear! There’s really nothing like homemade broth for coaxing even the pickiest eaters to dig in. Pro tip: freeze leftover broth in ice cube trays for quick portions when you need a splash for sauces or gravies!

3 days ago

Made this for a neighborhood potluck last weekend, brought a big pot of French onion soup using this broth as the base and people were lined up for seconds. Worth every minute of the 4 hour cook time, no notes!

2 days ago

French onion soup with this broth sounds insane! Did you top yours with gruyere like classic French onion?

2 weeks ago

This tastes just like the meat broth my mom used to make when I was a kid! I was worried I’d lost the recipe forever but this is spot on. I did add a little extra thyme like I always do, but didn’t change a thing otherwise.

1 week ago

Oh I love adding extra thyme too! Did you use beef bones or a mix of beef and pork like a lot of old school recipes?

5 days ago

I used a mix of beef marrow bones and a little pork neck bone just like mom did! Gives it that extra rich depth you can’t get from just beef alone.

5 days ago

Wait, has anyone tried making this in a slow cooker instead of on the stovetop? I work 9-5 and don’t want to leave the stove on for 4 hours when I’m not home, but this recipe looks too good to pass up.

3 days ago

Great question! You can absolutely make this in a slow cooker — cook it on low for 8-10 hours, and follow all the same steps for skimming and straining, it turns out just as delicious! Perfect for set-it-and-forget-it meal prep on work days.

yesterday

Solid, no-fuss meat broth recipe. I used it to make gravy for our Thanksgiving (yes, I test recipes early!) and it came out rich and silky, way better than using canned broth. Easy to follow even for a beginner cook like me.

30 minutes ago

My kids loved it! I was worried the flavor would be too plain for them but they kept asking for more mugs of warm broth after playing outside in the cold. I added a tiny pinch of salt to their mugs and it was perfect.

5 minutes ago

Oh serving it in mugs as a warm post-playtime drink is such a good idea! My kids are always frozen after soccer practice, I’m totally stealing that for next week.

yesterday

Wait, how long does this keep in the fridge? I made a big batch yesterday and want to make sure I use it before it goes bad. Also, do I leave the fat cap on or scrape it off before storing?

2 hours ago

It keeps for 4-5 days in the fridge for sure! I leave the fat cap on while storing because it seals the broth and keeps it fresher longer, then scrape it off right before I use it.

30 minutes ago

Great question! @MealPrepMom is exactly right — the fat cap acts as a natural seal to keep the broth fresh, so you can leave it on during storage. You can also freeze it for up to 3 months if you don’t plan to use it all within 5 days!

1 week ago

Game changer for my weekly ramen nights! I’ve been using instant dashi forever but this meat broth adds such a deep, savory flavor that makes my homemade ramen taste like it came from our local ramen shop. So worth the 4 hour simmer.

2 days ago

I messed up the first batch because I forgot to skim the scum off the top in the first hour, oops! The second batch I followed the directions to a T and it came out crystal clear and so flavorful. Don’t skip the skimming step, y’all!

yesterday

We’ve all been there! Skimming that initial foam and scum is such a small step but it makes such a big difference in the final clarity and flavor, so glad your second batch turned out perfectly!

just now

Made this when I was feeling under the weather last week and it was better than any canned soup I’ve ever had when I’m sick. Warm, savory, so comforting. I added a little squeeze of lemon and some black pepper to my bowl and it hit just right.

2 hours ago

Can I use this broth as a base for pot roast? I’m making pot roast for my in-laws this weekend and want it to be extra special, but I’ve only ever used this broth for soup before.

30 minutes ago

I did that last month for my pot roast and it was insane! So much more flavor than using water or canned broth, my mother in law asked for my recipe she loved it so much. You’re gonna kill it!

5 minutes ago

This broth works beautifully for pot roast! The deep, rich flavor infuses the meat and veggies so well as it braises, your in-laws are going to be so impressed. Pro tip: add a splash of red wine to the braising liquid for an extra layer of depth!