
Meat Lovers / Meat Feast Pizza
intro
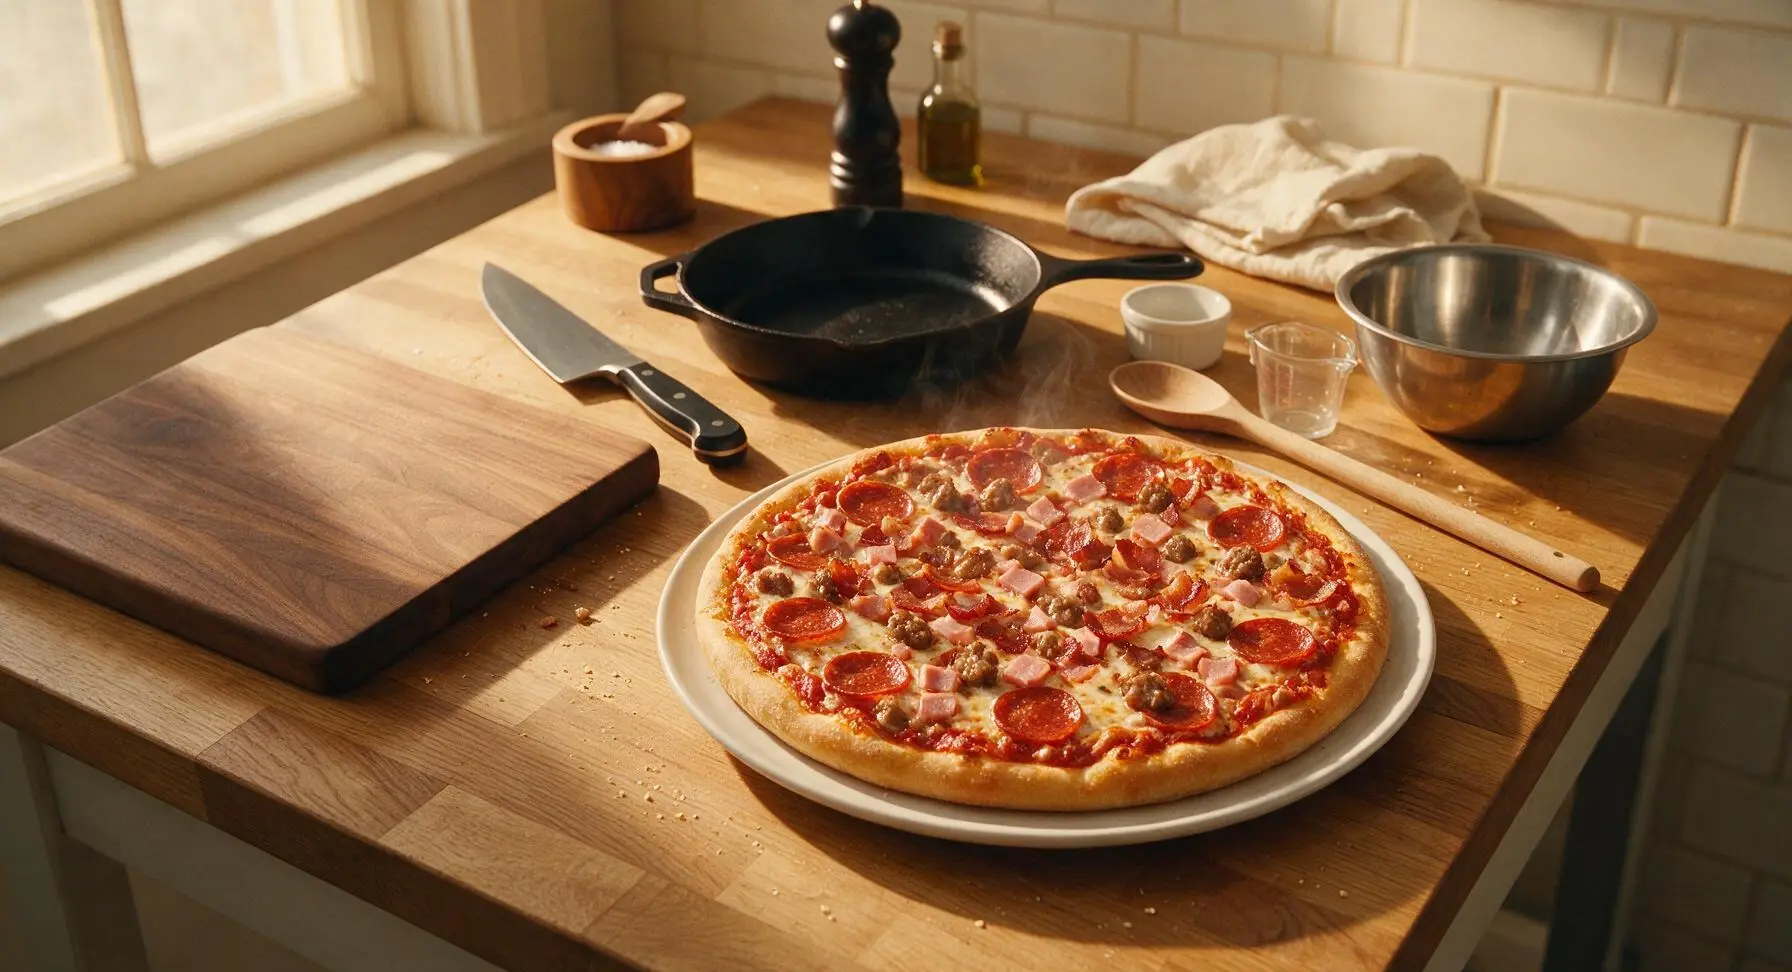
Loaded with crispy pepperoni, savory sausage, smoky bacon, and ham over melted mozzarella and tangy tomato sauce, this hearty meat feast pizza is the ultimate shareable game night comfort food.
Ingredients
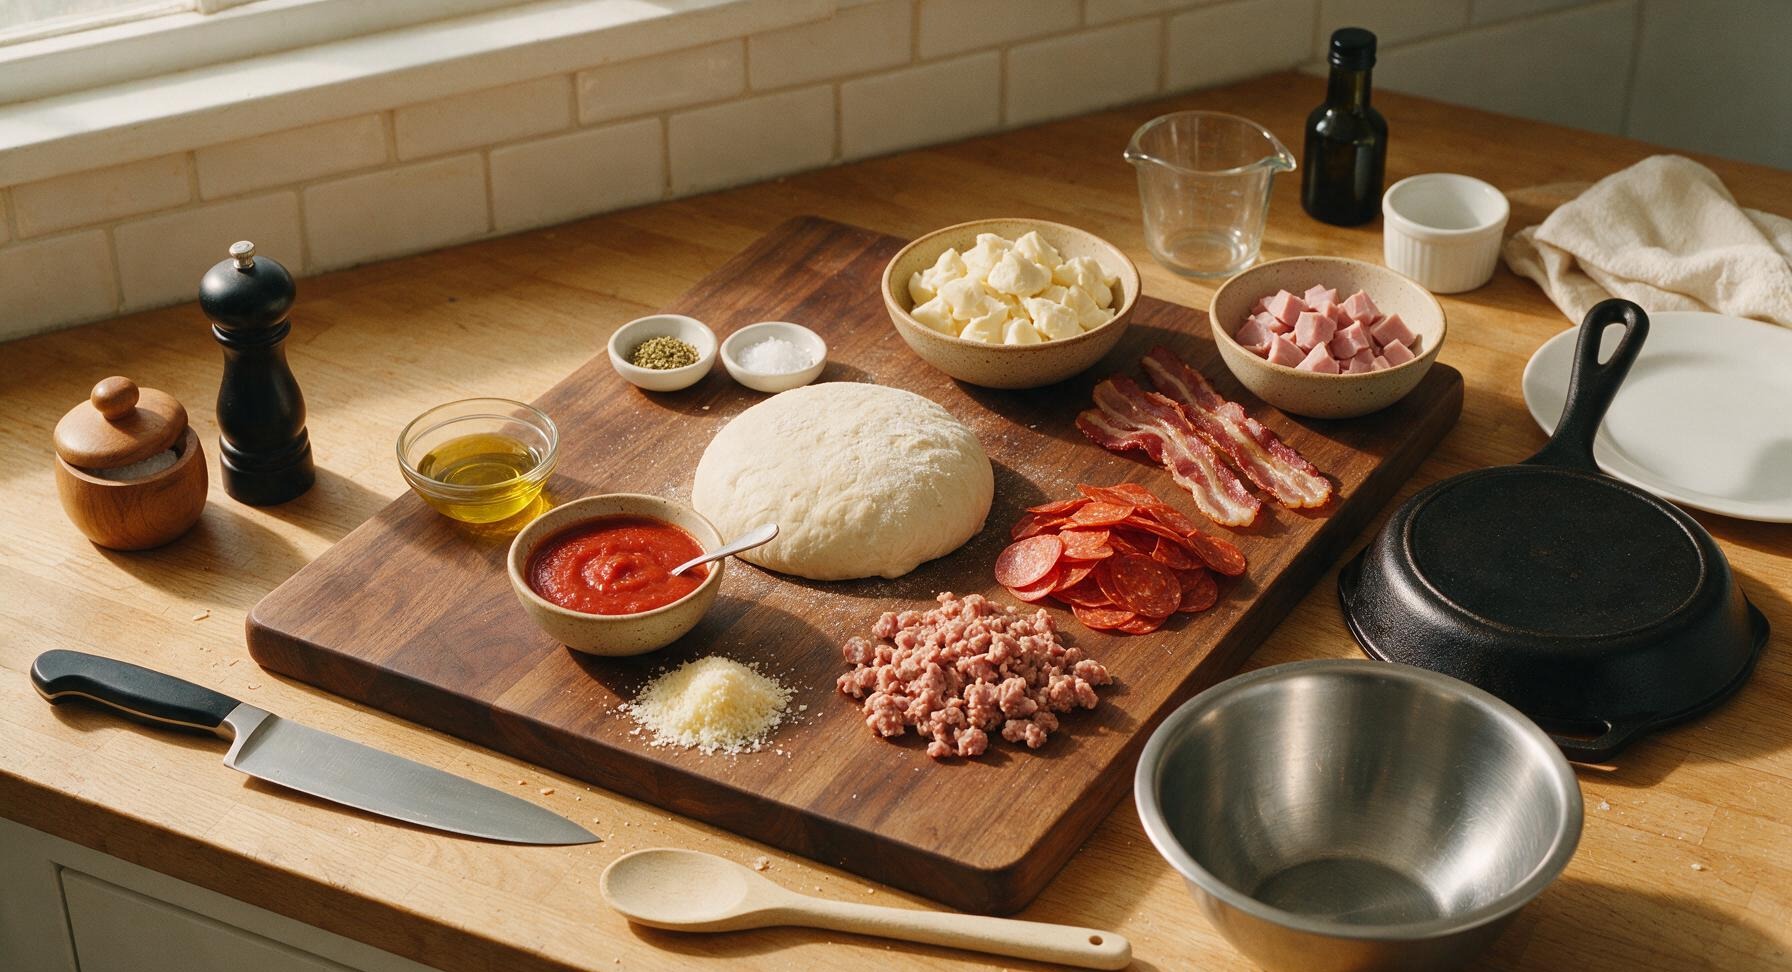
Steps
Preheat Oven and Stone
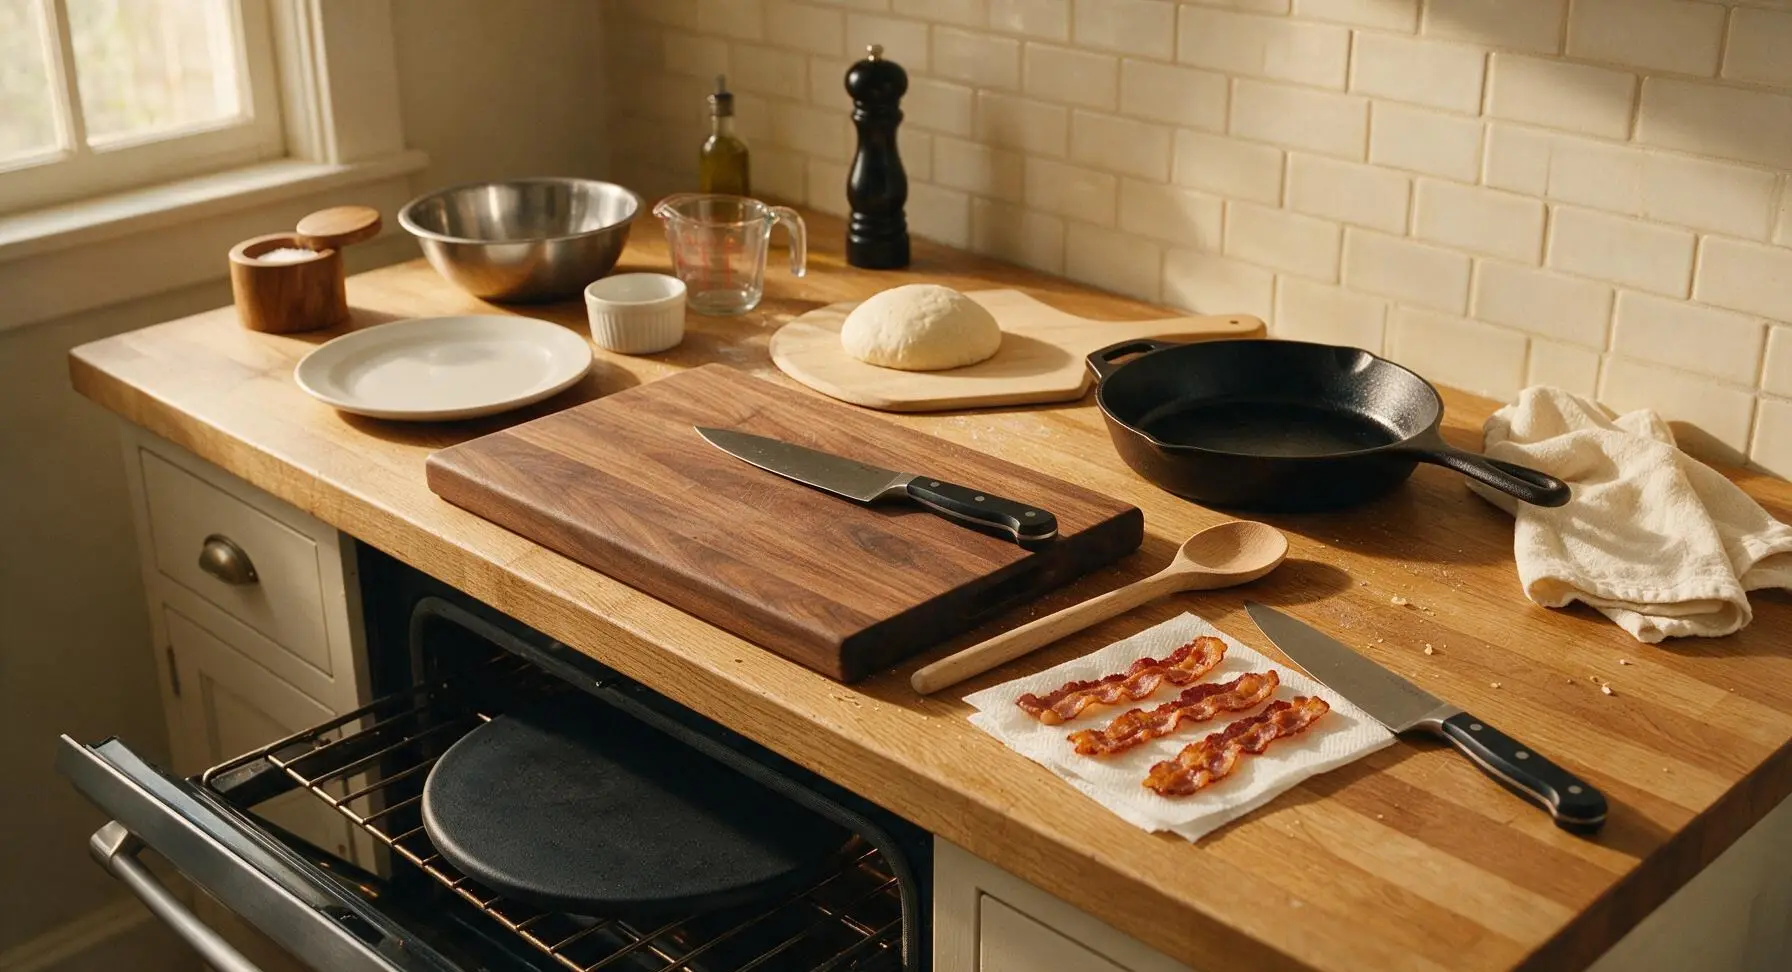
Place the 12-inch matte black carbon steel pizza stone on the middle rack of your oven, then preheat the oven to 260C (500F) for a full 30 minutes to ensure the stone is fully heated—this is critical for a crispy, non-soggy crust. While the oven preheats, let your rested pizza dough sit at room temperature for 20 minutes to make stretching easier. Cook the 3 thick-cut bacon strips in a small pan over medium heat for 5 minutes until crisp, transfer to a paper towel to drain, then chop into 1cm bits using the 8-inch chef knife and set aside.
Grate Cheeses, Portion Toppings
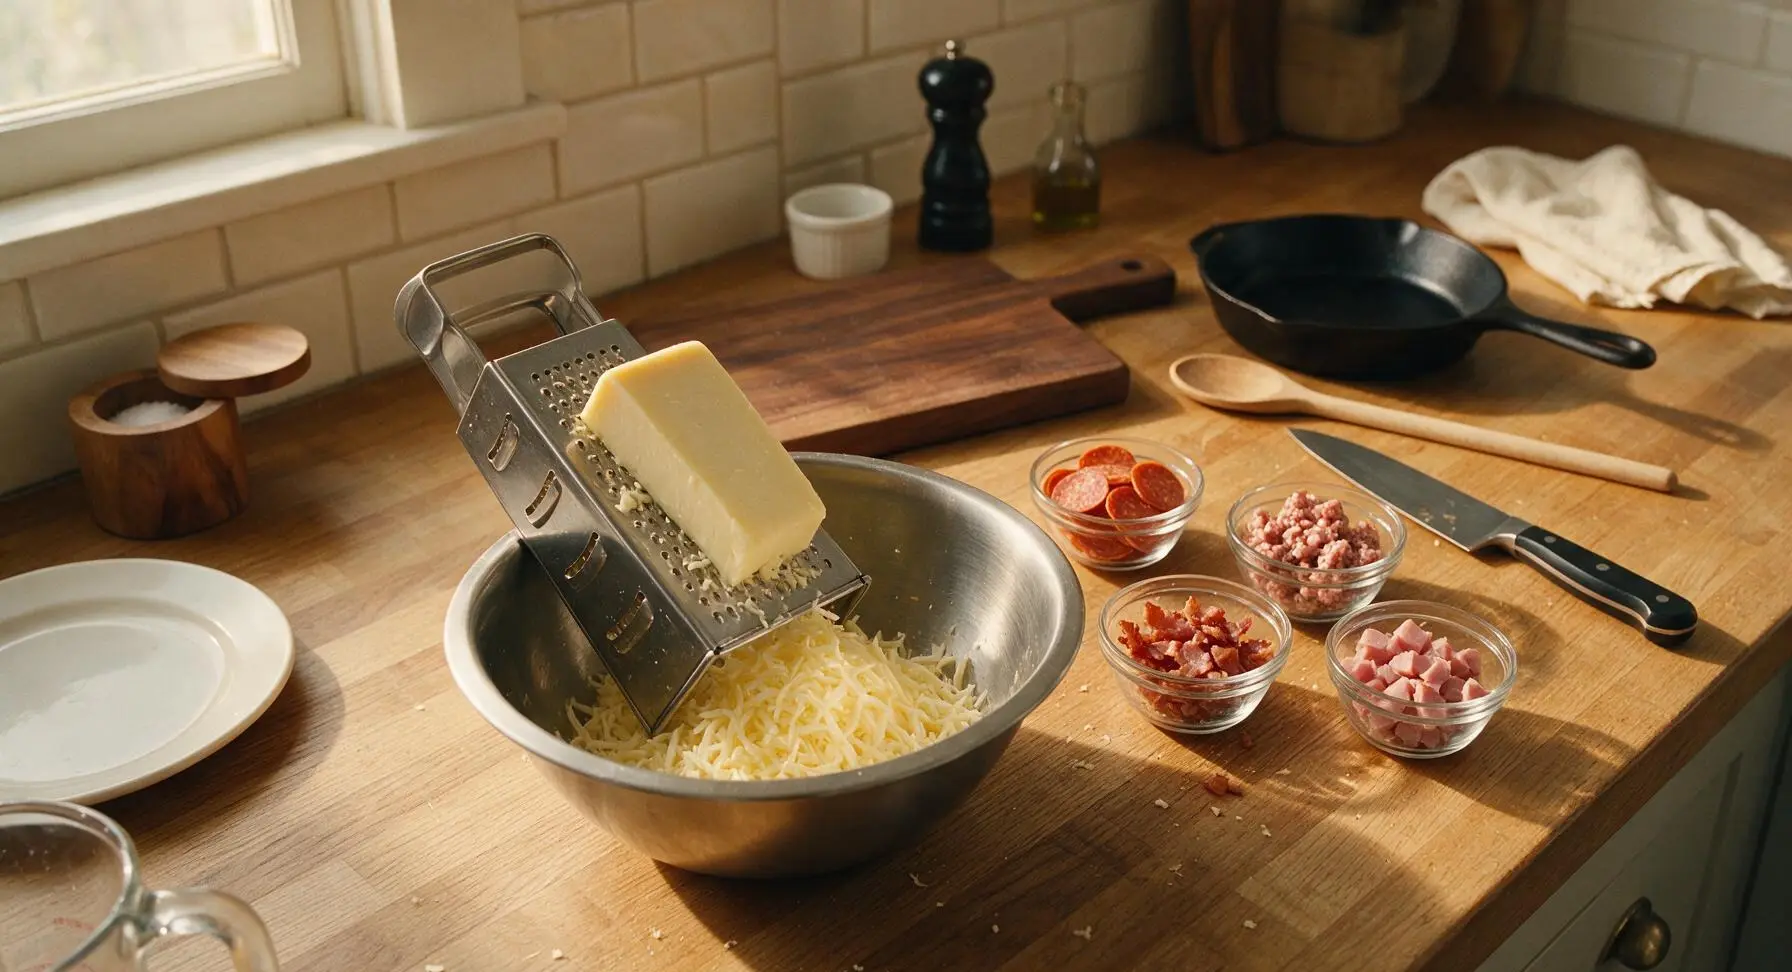
Use the stainless steel box grater to shred the low-moisture mozzarella into the medium stainless steel mixing bowl, then grate the parmesan into the same bowl and toss lightly to combine. Portion the sliced pepperoni, crumbled raw Italian sausage, chopped cooked bacon, and diced ham into the four small clear glass ramekins so toppings are ready to assemble quickly—slow assembly leads to soggy dough that sticks to the peel. Pat any excess moisture from the ham and pepperoni with a paper towel if they feel damp to the touch.
Stretch Pizza Dough Base
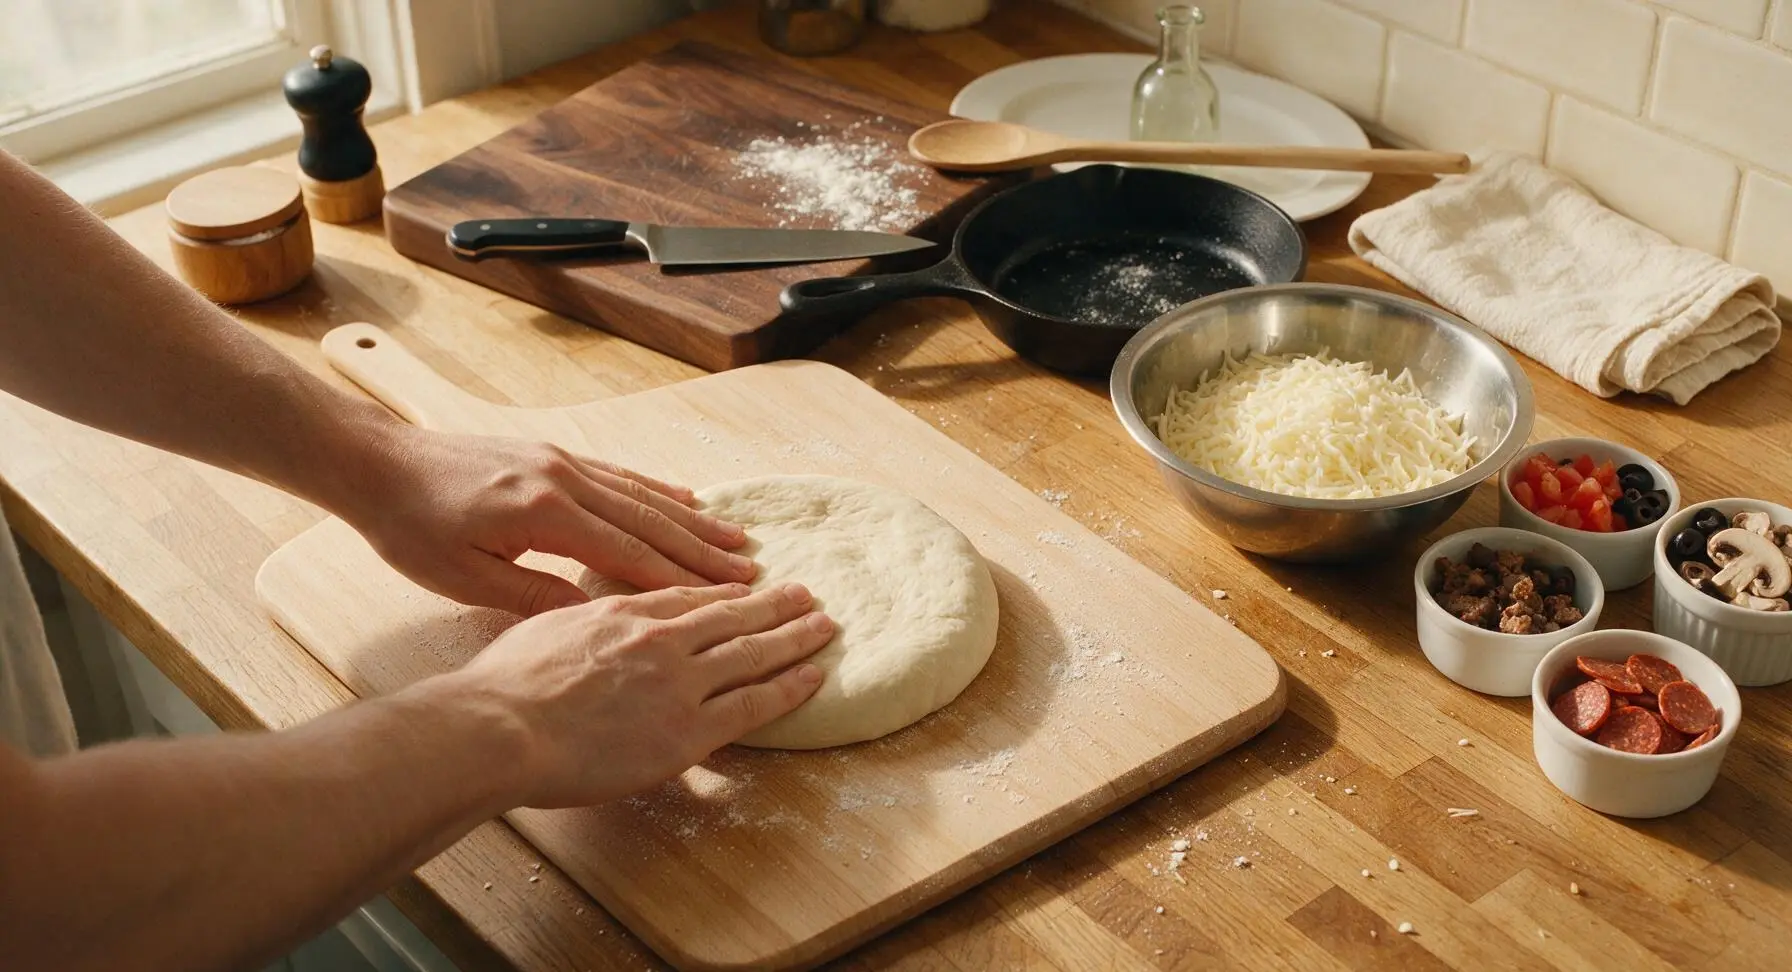
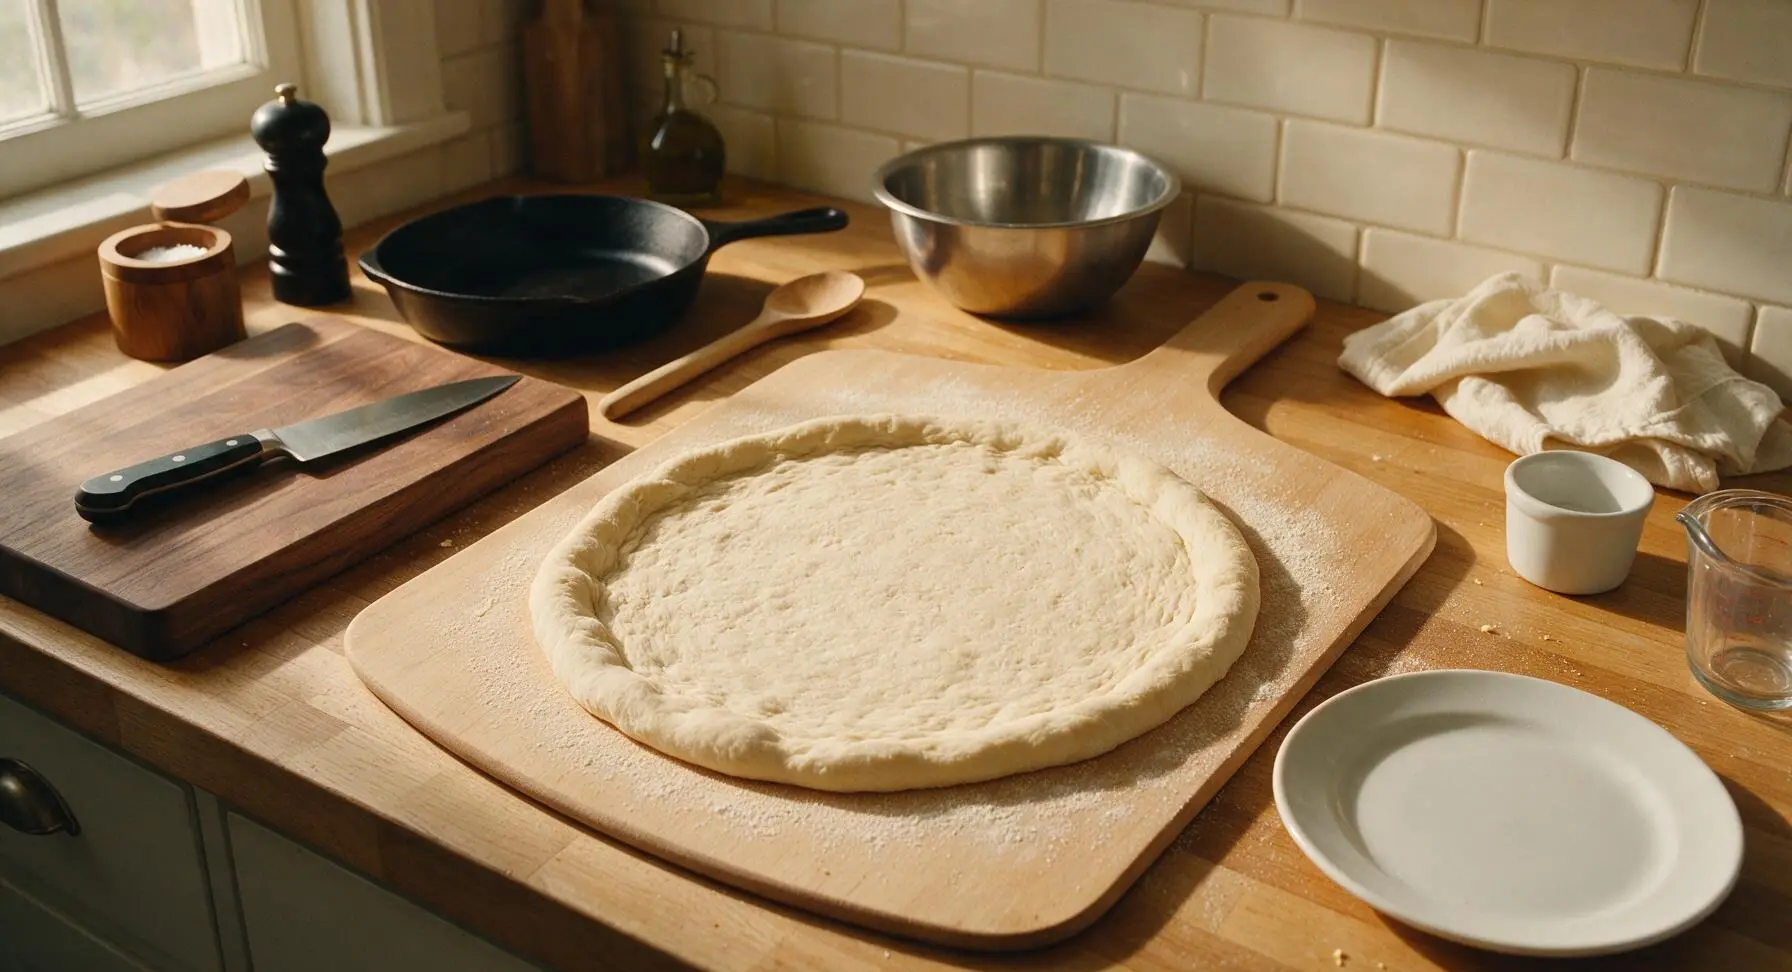
Lightly dust the surface of the beech wood pizza peel with a pinch of semolina or all-purpose flour (to prevent sticking as the pizza slides into the oven), then place the room-temperature dough ball in the center. Gently press the dough out from the center into a 30cm (12-inch) round, leaving a 1cm thicker border for the puffed crust. Do not use a rolling pin, as this will press out trapped air bubbles and lead to a dense, flat crust; lift and stretch the edges gently with your hands until the base is evenly thin, with no thin tears or holes.
Spread Sauce and Cheese
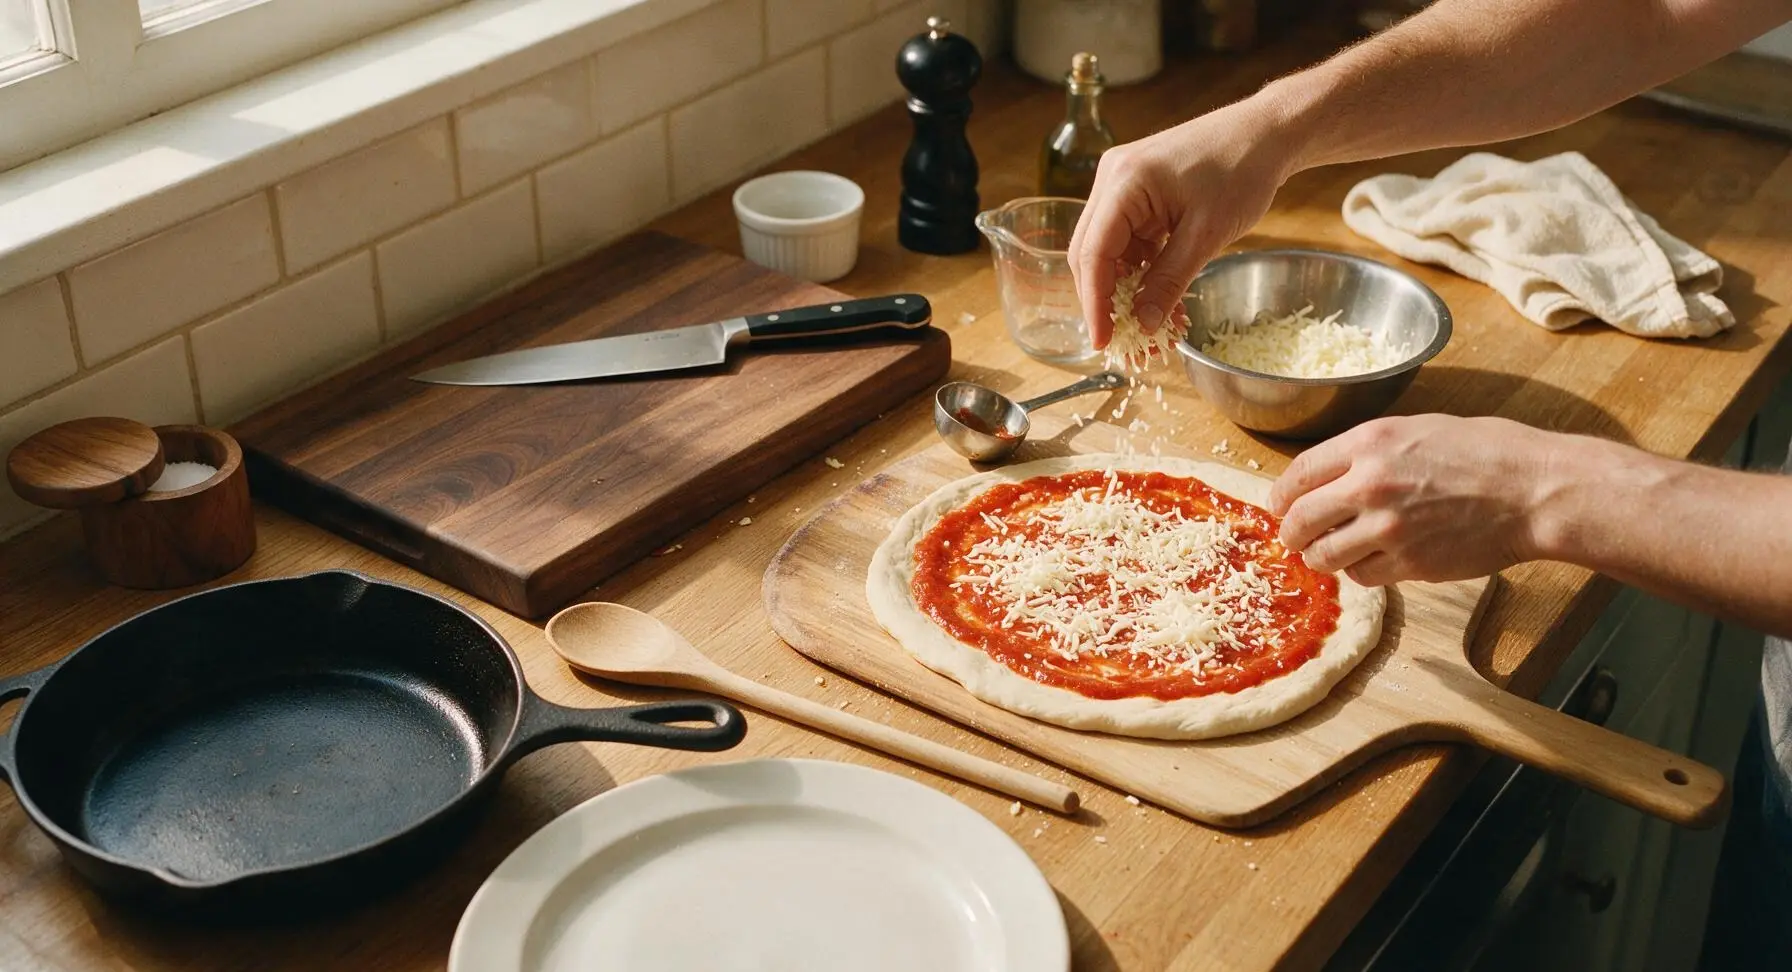
Use the small stainless steel sauce ladle to spoon the 120ml of pizza sauce (held in the clear glass measuring cup) onto the center of the stretched dough, spreading it in a thin even layer out to the edge of the crust border—do not over-sauce, as too much sauce will make the center soggy and prevent the crust from crisping. Sprinkle 3/4 of the shredded mozzarella and parmesan mixture evenly over the sauce, leaving the crust edge bare. Drizzle the 1 tsp of olive oil lightly over the cheese layer.
Layer Meat Toppings Evenly
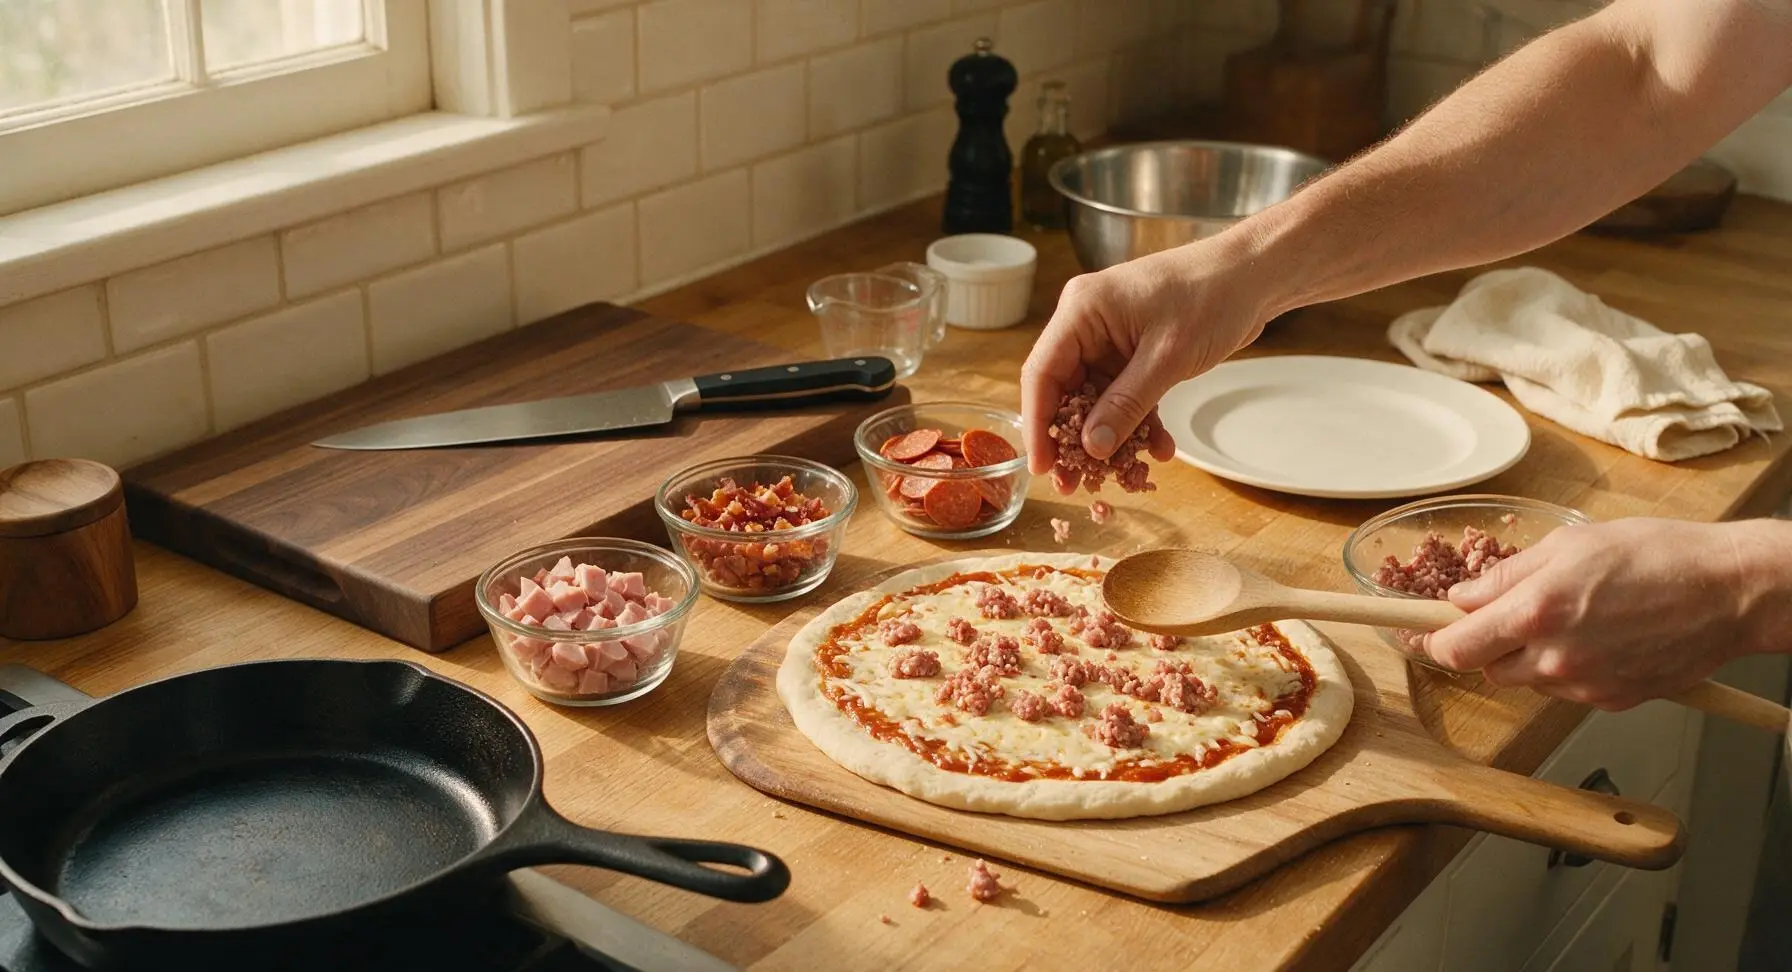
Evenly distribute the four meats across the cheese layer, starting with the crumbled raw Italian sausage (it will cook fully in the hot oven in minutes), followed by the diced ham, chopped crispy bacon, and finally the sliced pepperoni arranged in a slightly overlapping pattern so every bite has a bit of each meat. Do not pile toppings too high, as this will prevent even cooking and weigh down the crust. Sprinkle the remaining 1/4 of the cheese mixture lightly over the top of the meats to help hold toppings in place as the cheese melts.
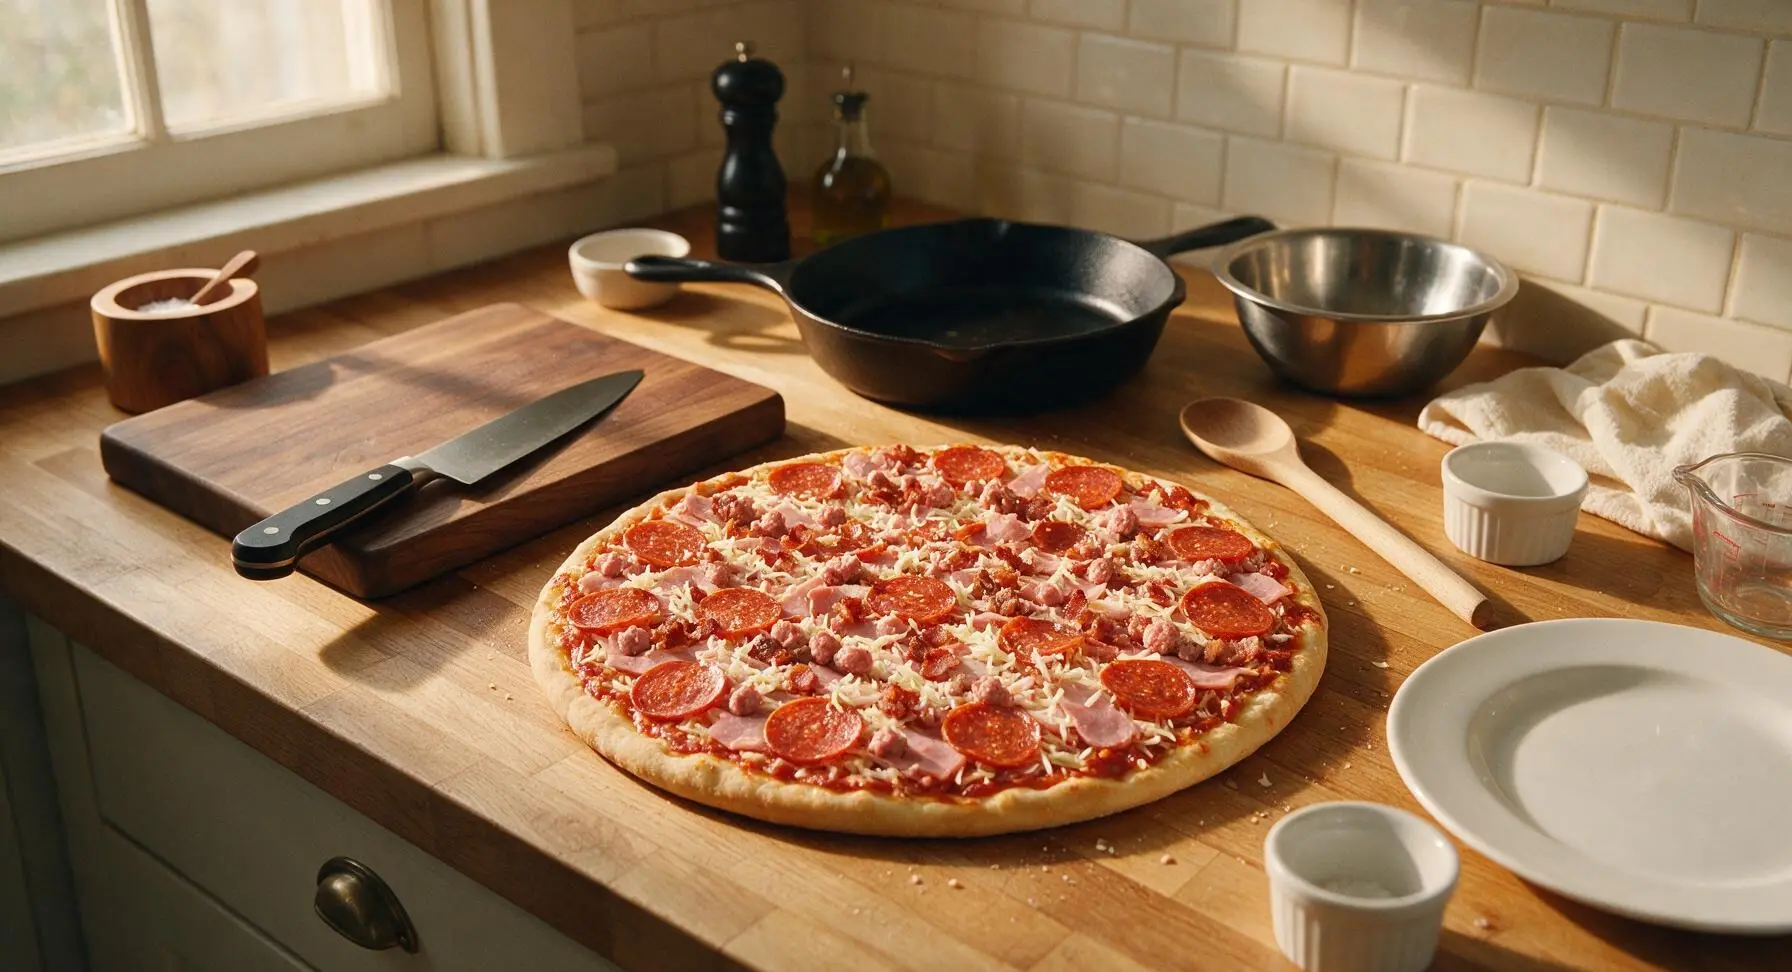
Bake Until Golden Crisp
Carefully jiggle the pizza peel to confirm the dough slides freely (add a pinch more flour under any stuck spots to prevent tearing), then slide the pizza directly onto the preheated pizza stone in the 260C (500F) oven. Bake for 10-12 minutes, until the crust is golden and slightly charred at the edges, the pepperoni is curled into crispy cups with glistening rendered fat, the cheese is fully melted and bubbly across the surface, and the sausage is cooked through to an internal temperature of 75C (165F).
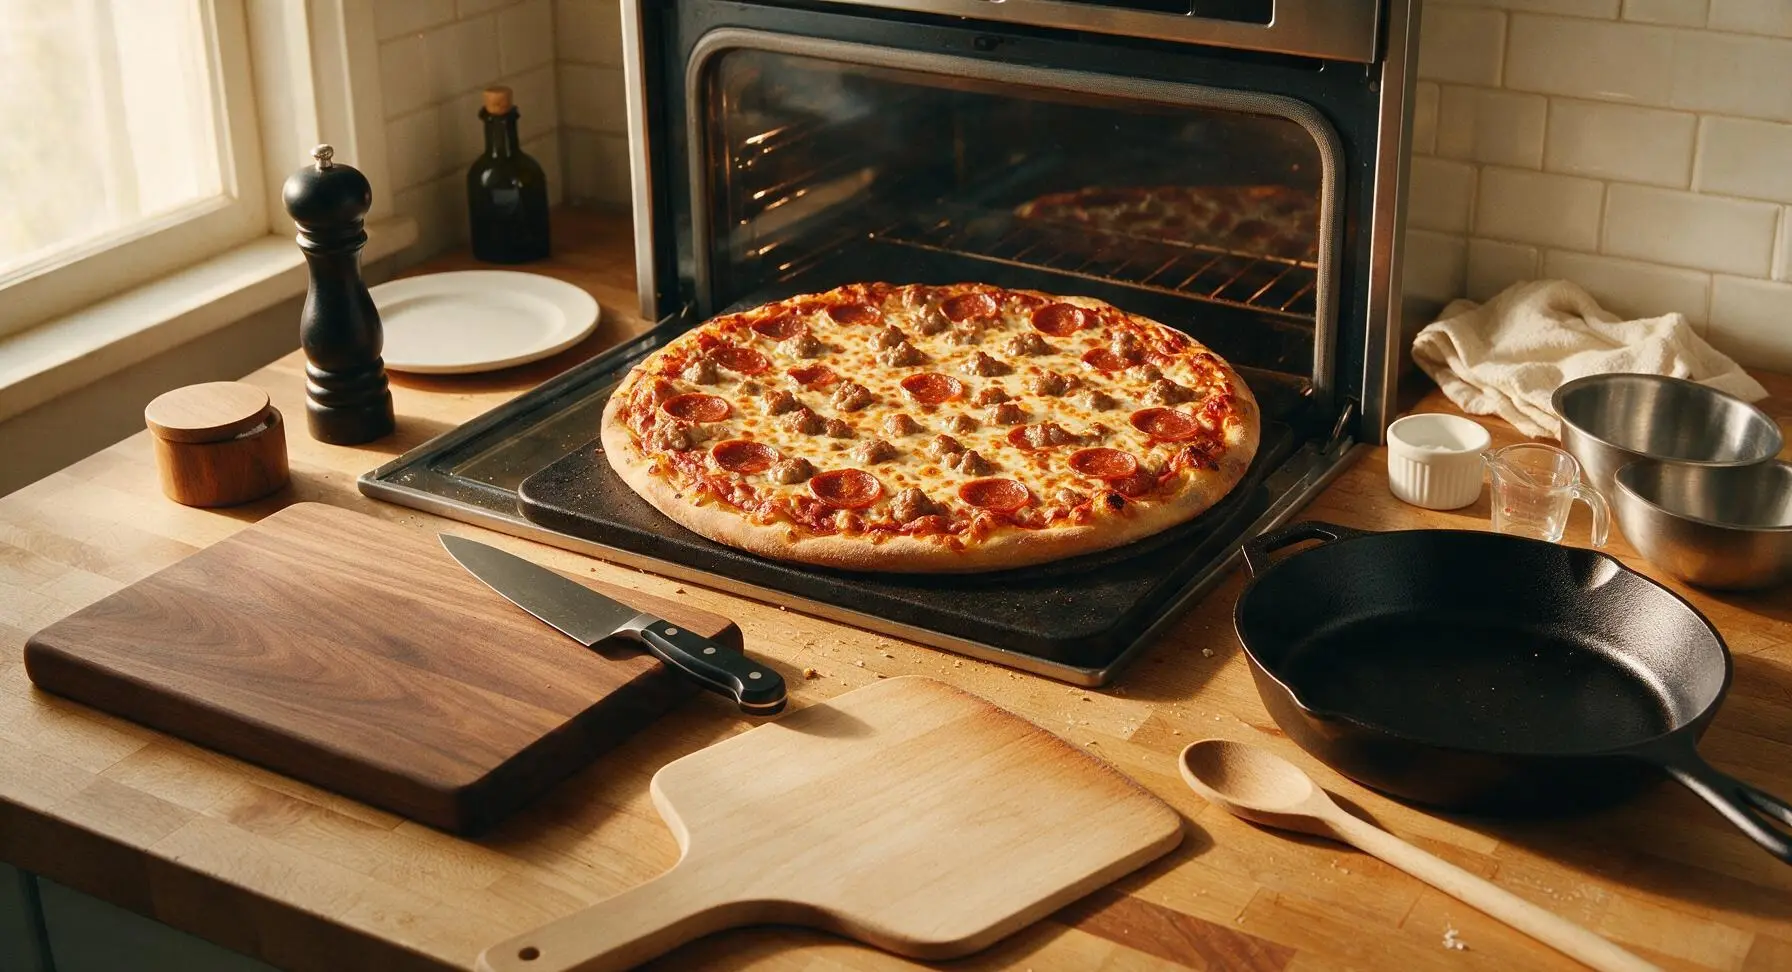
Rest, Slice, and Serve
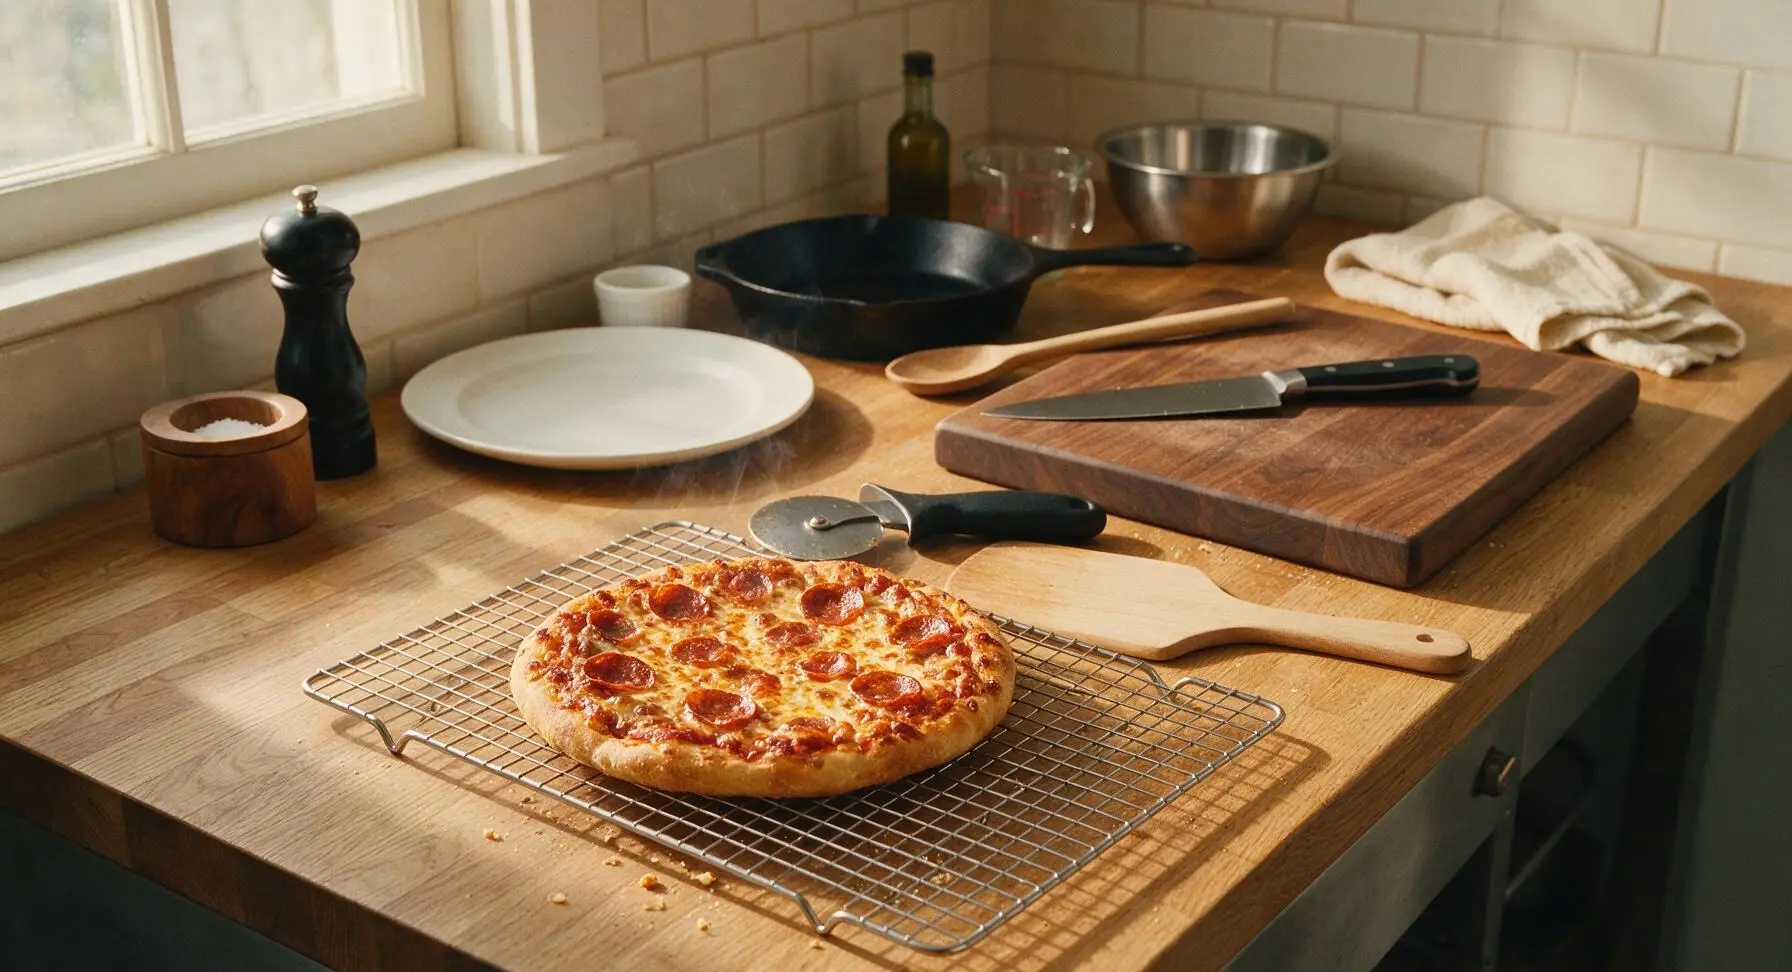
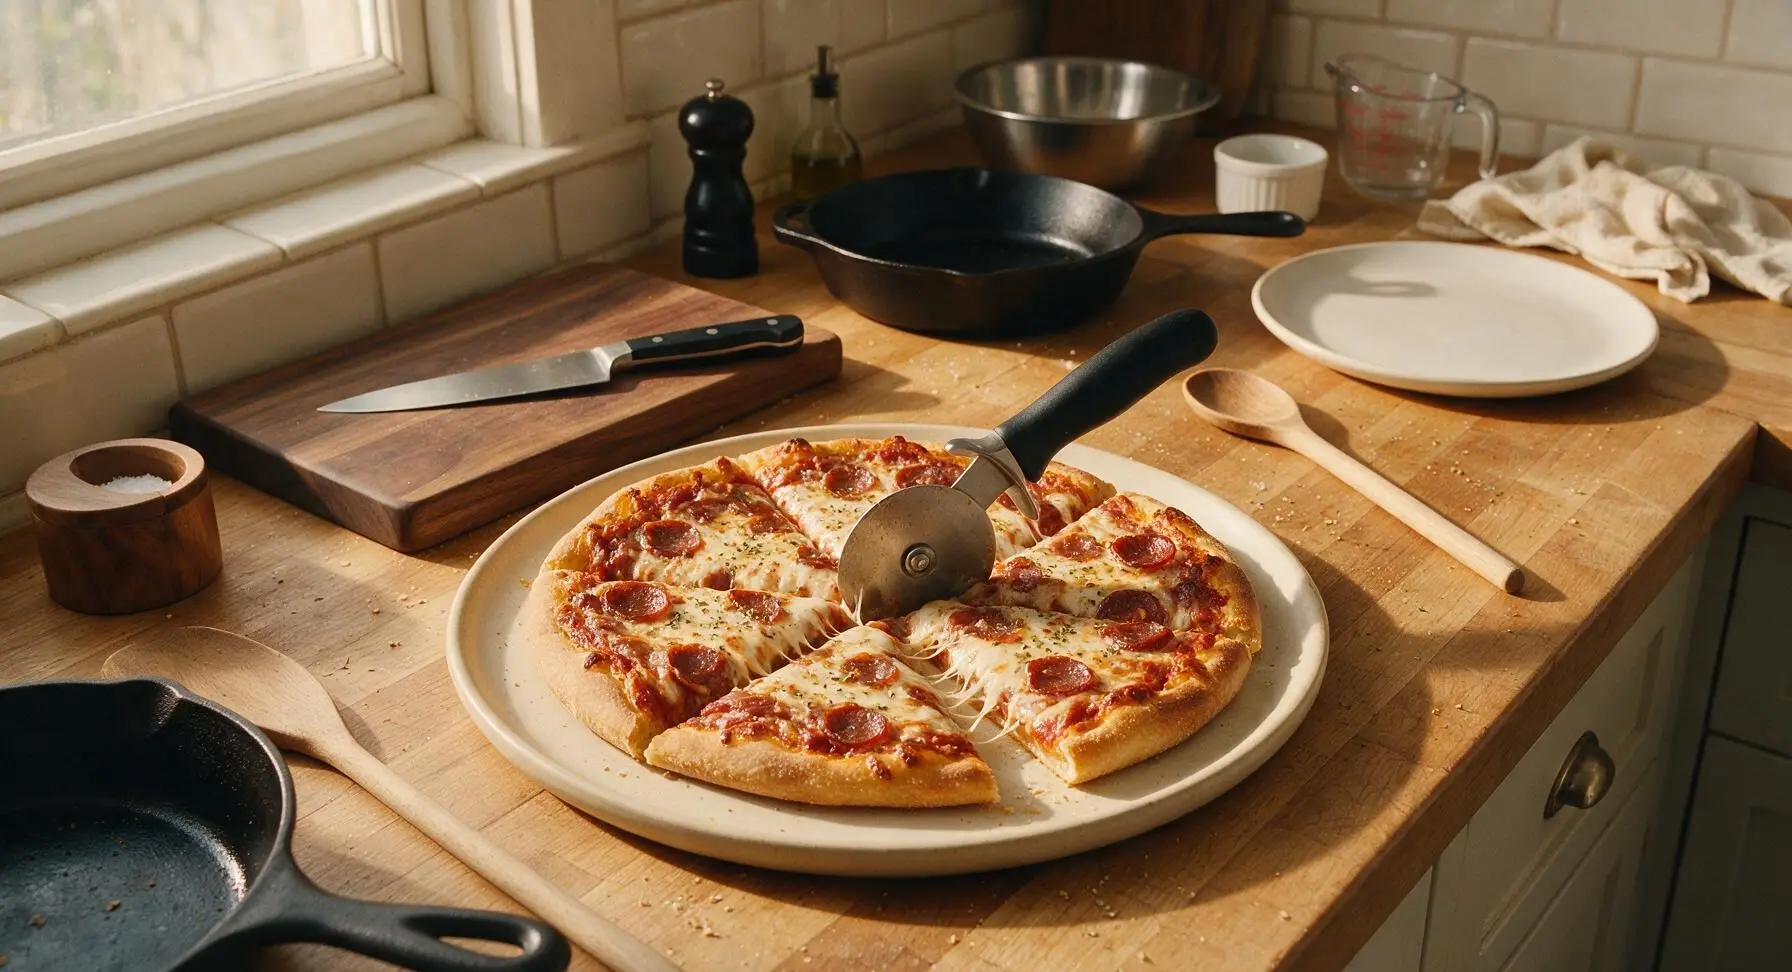
Use the beech wood pizza peel to carefully remove the hot pizza from the oven, transferring it to the chrome wire cooling rack on the counter for 3 minutes to set (this prevents the cheese from sliding off when slicing). Sprinkle the top with the 1/2 tsp dried oregano and pinch of coarse kosher salt, then transfer the pizza to the matte cream ceramic serving platter. Use the black-handled metal pizza cutter to slice into 8 even pieces, then serve immediately.
Tips
2.Pat all cured meat toppings (pepperoni, ham) dry with a paper towel before adding to the pizza: These meats often hold excess surface moisture from packaging that will release as they bake, leading to soggy spots on the cheese and crust if not removed first.
3.Avoid overloading the pizza with sauce or toppings: Even for a meat lovers pie, more than 1/2 cup of sauce or a thick pile of meats will weigh down the thin crust, prevent even heat flow, and result in a floppy, undercooked center instead of a crisp, sliceable pie.






OMG this meat lovers pizza was an absolute game changer for our weekend family cookout! I loaded it up with extra pepperoni, crumbled Italian sausage, and bits of crispy bacon like the recipe suggested, and every single person asked for seconds. Cook time was way faster than I expected for a homemade pizza too, 12 minutes in the oven and it was perfectly crispy, no soggy crust at all. 10/10 will be making this for every tailgate this fall.
Wait, has anyone tried swapping regular crust for a cauliflower crust with this recipe? I’m trying to cut back on refined carbs but I’m obsessed with meat lovers pizza and don’t want the toppings to make the crust soggy if I make the swap. The recipe itself looks incredible, I’m just trying to tweak it for my diet right now!
Made this for my three boys last night for our weekly family pizza night and they all DEVOURED it. Even my pickiest middle kid who turns his nose up at literally anything that isn’t chicken nuggets asked for a third slice. SO good, and the 12 minute cook time meant I didn’t have to wait around forever for dinner to be ready after a long day of work and school drop offs/pick ups. Will be adding this to our regular dinner rotation for sure!
Took this to my friend’s football watch party over the weekend and it was the first dish gone off the snack table! I added a little sprinkle of hot honey on top after it came out of the oven, and the sweet-savory combo with all the salty meats was chef’s kiss. Only thing I will say is the difficulty felt a little higher than medium for me because I messed up stretching the dough the first time, but that’s 100% user error lmao.
Full transparency, I’m usually a veggie pizza guy, but my girlfriend has been begging for a meat lovers for date night so I gave this recipe a shot. Holy cow, I get the hype now. The mix of different meats adds so much depth of flavor, it doesn’t just taste like a salty overload like some takeout meat lovers pizzas do. Only issue I had was my sausage didn’t cook all the way through in the 12 minutes, did I cut the chunks too big?
I prepped a bunch of these on Sunday for quick weeknight lunches and they’re holding up perfectly! I par-baked the crusts, added the toppings, wrapped them tight in foil, and then just pop them in the oven for 10 minutes when I’m ready to eat. Way better than spending $15 on takeout pizza for lunch every day, and the meat topping combo is so satisfying I don’t get that 2pm work slump. Highly recommend for anyone who meal preps!
Bro, I made this in my tiny dorm oven last night and my whole floor smelled like pizza for hours, half my hall knocked on my door asking for a slice lmao. Used pre-made store bought dough because I don’t have the space or supplies to make dough from scratch, and it still slapped. 12 minute cook time is perfect for when I’m cramming for exams and don’t have time to make a whole complicated meal. Only thing is I wish I bought more cheese, I skimped a little and it was less cheesy than I wanted.
My granddaughter taught me how to find recipes online and this is the third one I’ve tried! My whole bridge club came over for lunch on Wednesday and I served this meat feast pizza, and every single lady asked for the recipe. I did add a little extra oregano like I always do with my Italian dishes, and it turned out just lovely. The cook time was so quick I didn’t even have to rush to get it on the table between hands of cards.
Wait, is there a reason the recipe calls for cooking it at such a high temp for only 12 minutes? I usually cook my pizzas at 425 for 20 minutes, so I was skeptical, but I followed the directions exactly and wow — the crust was perfectly crispy on the bottom, the cheese was melted and bubbly with those little browned spots, and all the meats were cooked to perfection. Total convert to the high temp quick cook method, no more soggy middle for me!
This was so easy to throw together on a random Tuesday night after soccer practice! I kept frozen pre-cooked sausage crumbles, pepperoni, and diced ham in the freezer so I didn’t even have to run to the grocery store. 12 minutes in the oven and we had hot, filling pizza on the table before 7pm. My husband said it’s better than the fancy takeout pizza we get downtown that costs $25 a pie. Win win!
Made three of these for our Super Bowl party back in February and people are still talking about it! I loaded one up with extra bacon, one with spicy pepperoni, and one with ham and Canadian bacon, so there was a little something for every meat lover. Only knock is I wish the recipe gave a note about how long to preheat a pizza stone, because I didn’t preheat mine long enough the first pizza and the crust stuck a little.
First time making homemade pizza for my husband since we got married and I was so nervous it would flop, but this recipe was so straightforward! We had so much fun sprinkling on all the different meat toppings together, and it turned out way better than I expected. He told me it’s the best thing I’ve ever cooked, which is saying something because I make a mean lasagna lol. Do you guys have a recipe for a garlic butter dip to go with the crust?
I’ve tried so many homemade meat lovers pizza recipes that end up being too greasy, with oil pooling all over the top of the cheese, but this one was perfect! The tip to pat the cooked sausage and pepperoni with a paper towel before adding them to the pizza cut down on so much excess grease, no soggy slices, no grease dripping down your wrist when you pick up a piece. My kids went crazy for it, and I didn’t feel like I needed a nap after eating two slices. 10/10.
Made this as a post-hike reward for me and my trail group last weekend after we finished a 10 mile loop, and it was the perfect hearty, filling meal after being out on the trail all morning. I pre-made the dough at home, packed all the toppings in a cooler, and cooked it on my camp pizza stone over the campfire in about the same 12 minute cook time! Everyone was shocked how good camp pizza could be. Will definitely be adding this to our regular backcountry menu.
I’ve been working on perfecting my homemade pizza for months now, and this meat lovers recipe is easily in my top 3. The balance of salty, savory, crispy, and chewy is exactly what I’ve been trying to nail. I used a mix of spicy soppressata, regular pepperoni, crispy bacon, and fennel sausage for the toppings, and the flavor was out of this world. Don’t sleep on adding a little sprinkle of red pepper flakes on top right before serving, it adds the perfect little kick.
Brought this to my neighborhood potluck last weekend and I swear I left with an empty pan and three people asking me to bring it to the next block party. I cut it into little square slices so it was easy to grab as an appetizer, and even the people who say they ‘don’t like red sauce’ were grabbing slices. So easy to scale up for a crowd too, I just made two big sheet pan versions instead of round pizzas and it worked perfectly.