
Mediterranean Grilled Cheese
intro
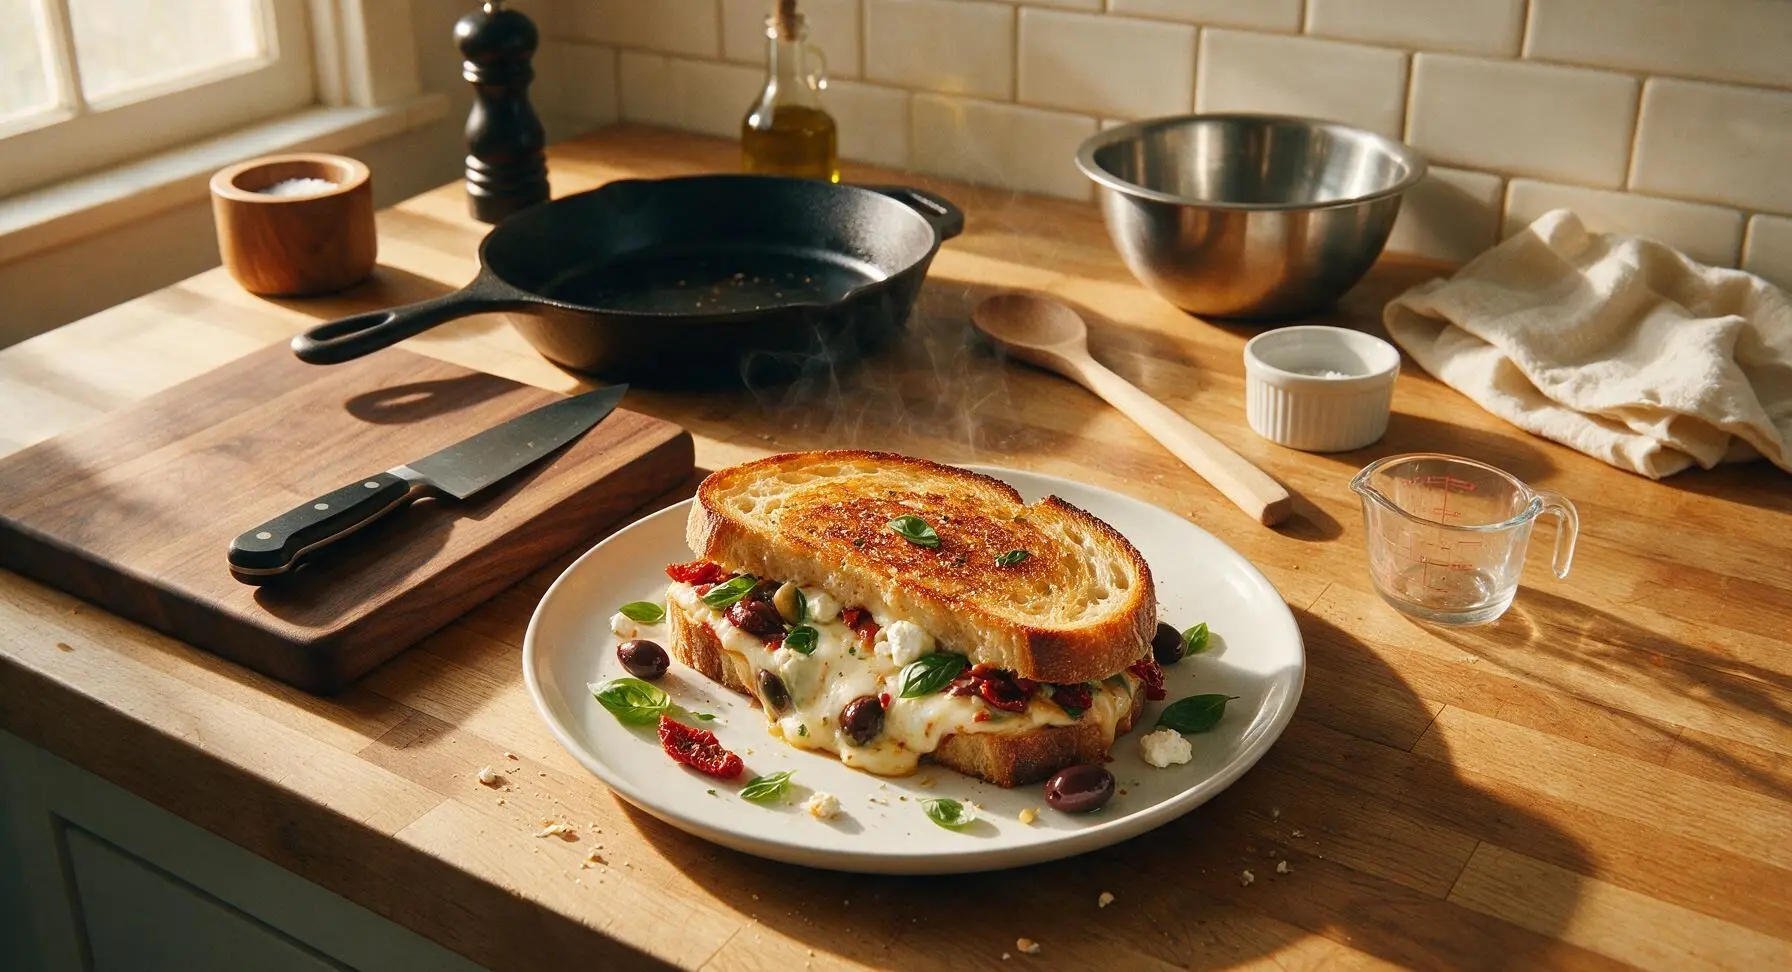
Crisp golden sourdough oozing with melty mozzarella and briny feta, studded with sun-dried tomatoes, olives, and fresh basil—this bright twist on grilled cheese brings sunny Mediterranean flavors to classic comfort food.
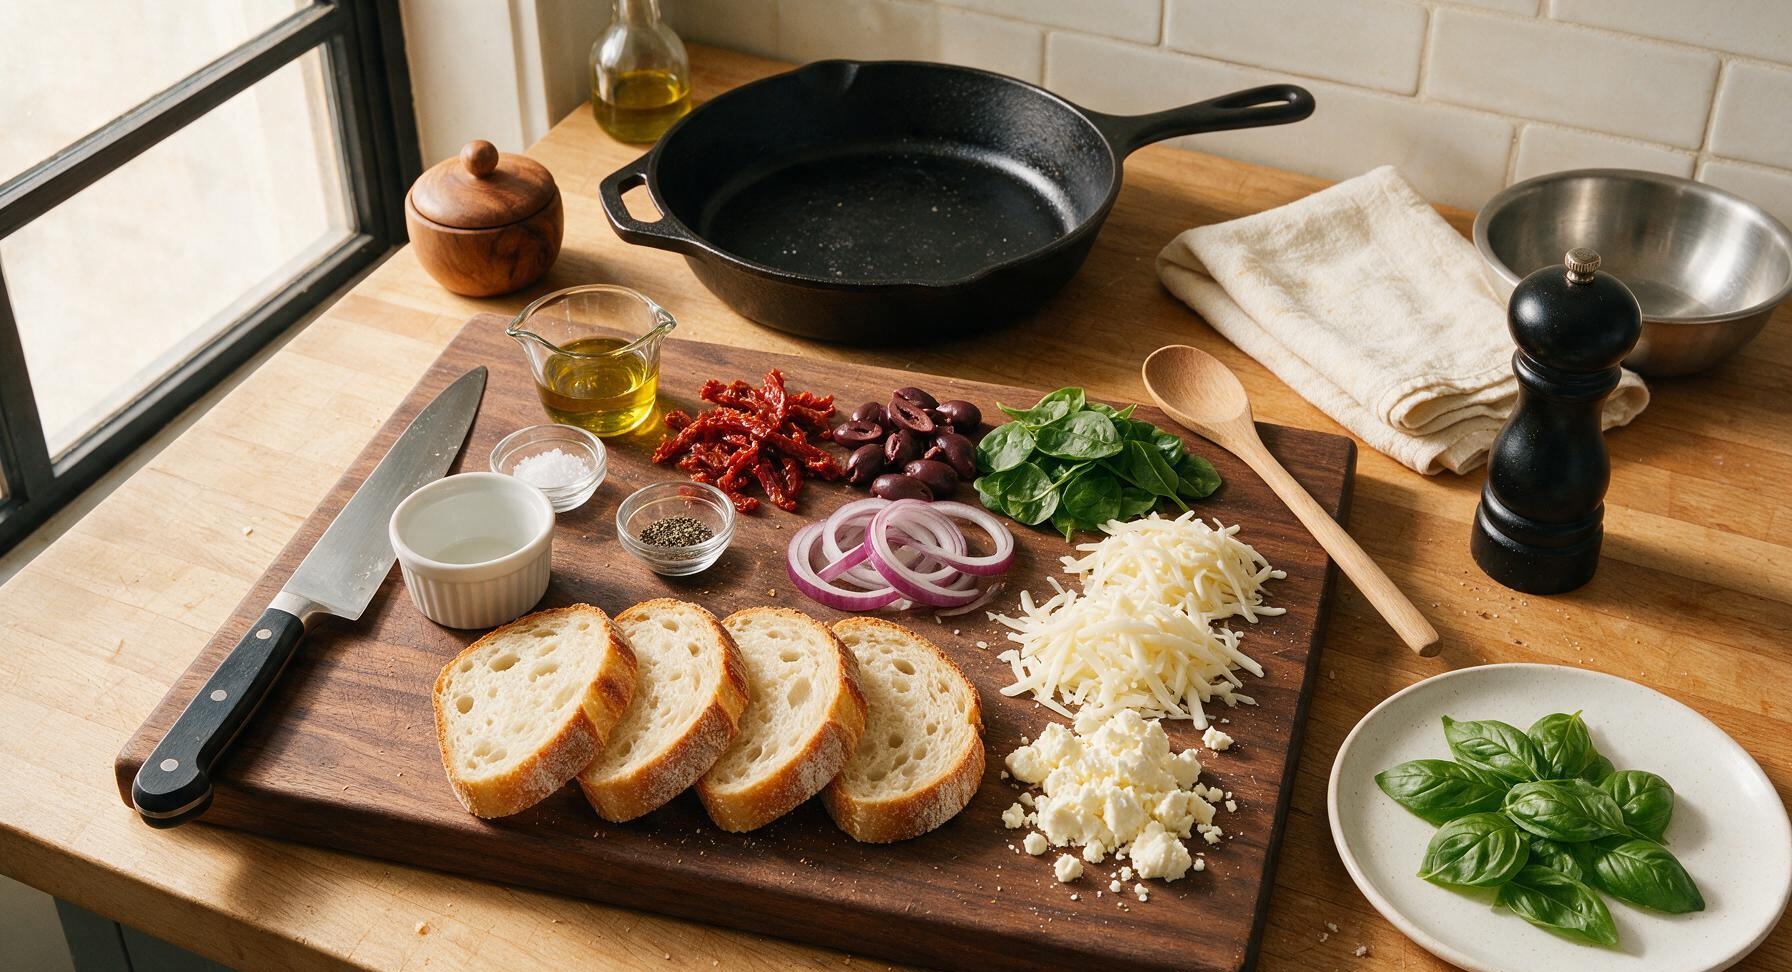
Ingredients
Steps
Prep Sandwich Fillings
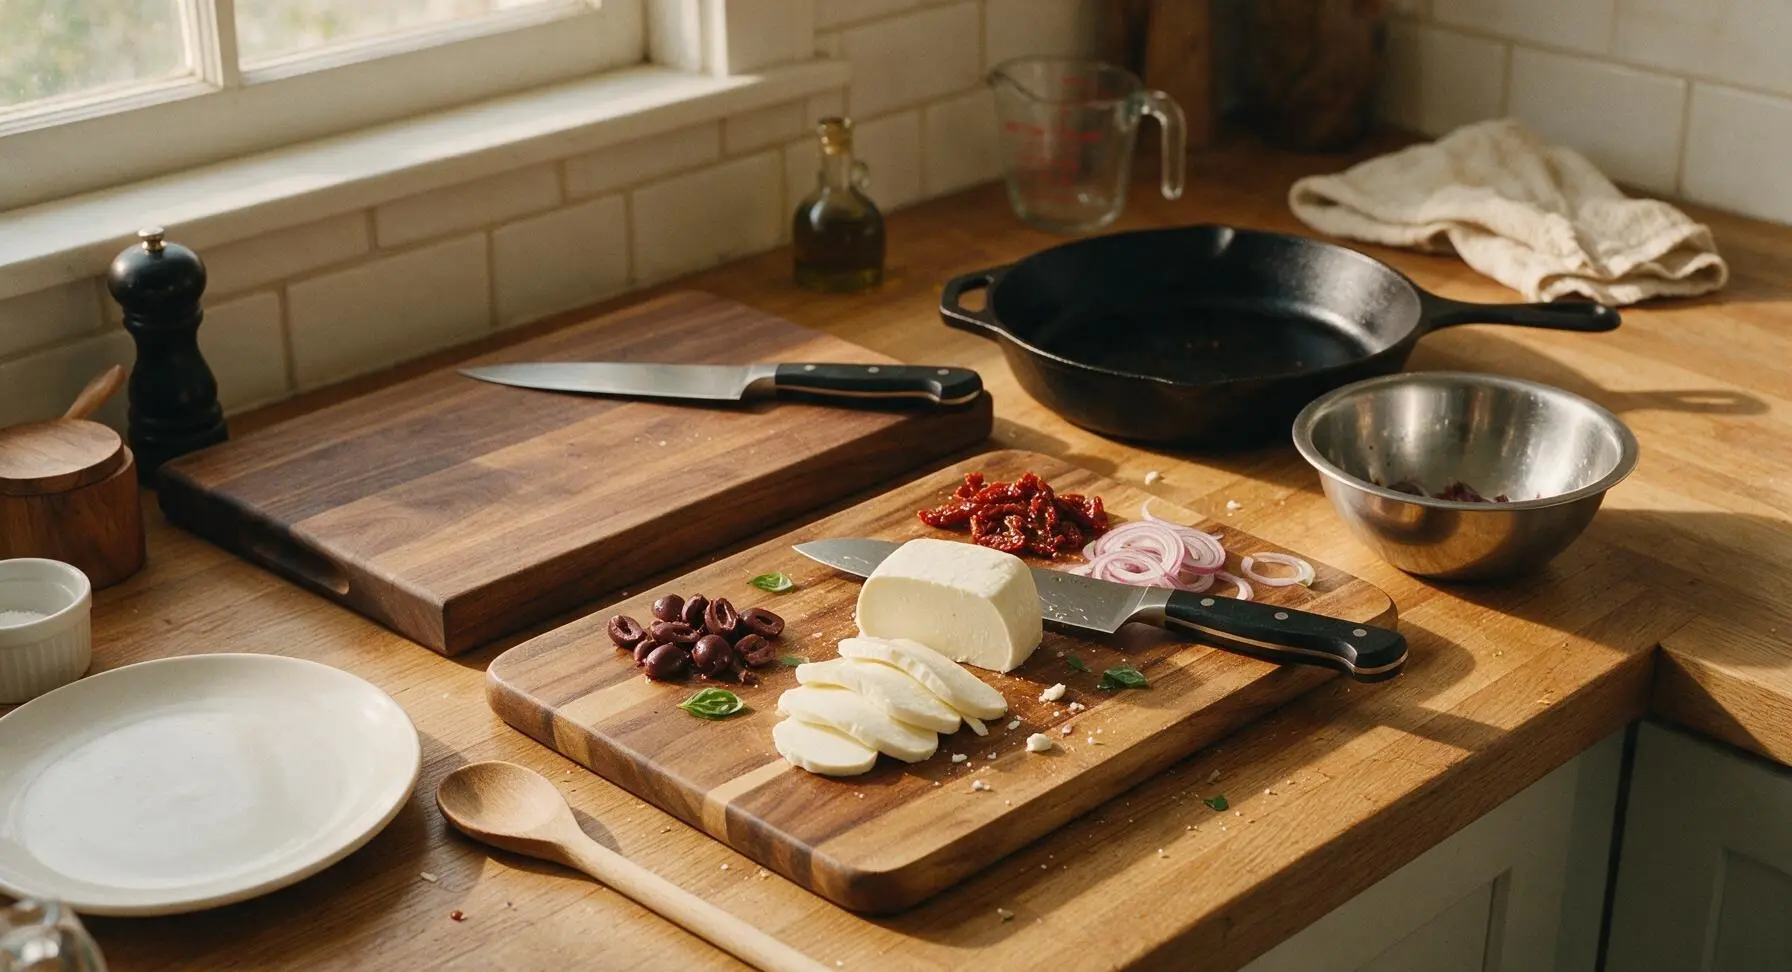
Set the acacia wood cutting board in the center work zone. Use the 7-inch santoku knife to thinly slice the low-moisture mozzarella into 1/8-inch thick slices, drain and thinly slice the oil-packed sun-dried tomatoes, slice pitted kalamata olives into thin rounds, and separate red onion slices into thin rings. Pat mozzarella slices dry with a corner of the terracotta linen towel to remove excess surface moisture, which prevents soggy bread during cooking. Place all prepped fillings into the small stainless steel prep bowl, setting aside whole basil leaves and baby spinach for layering.
Layer Sandwich Fillings
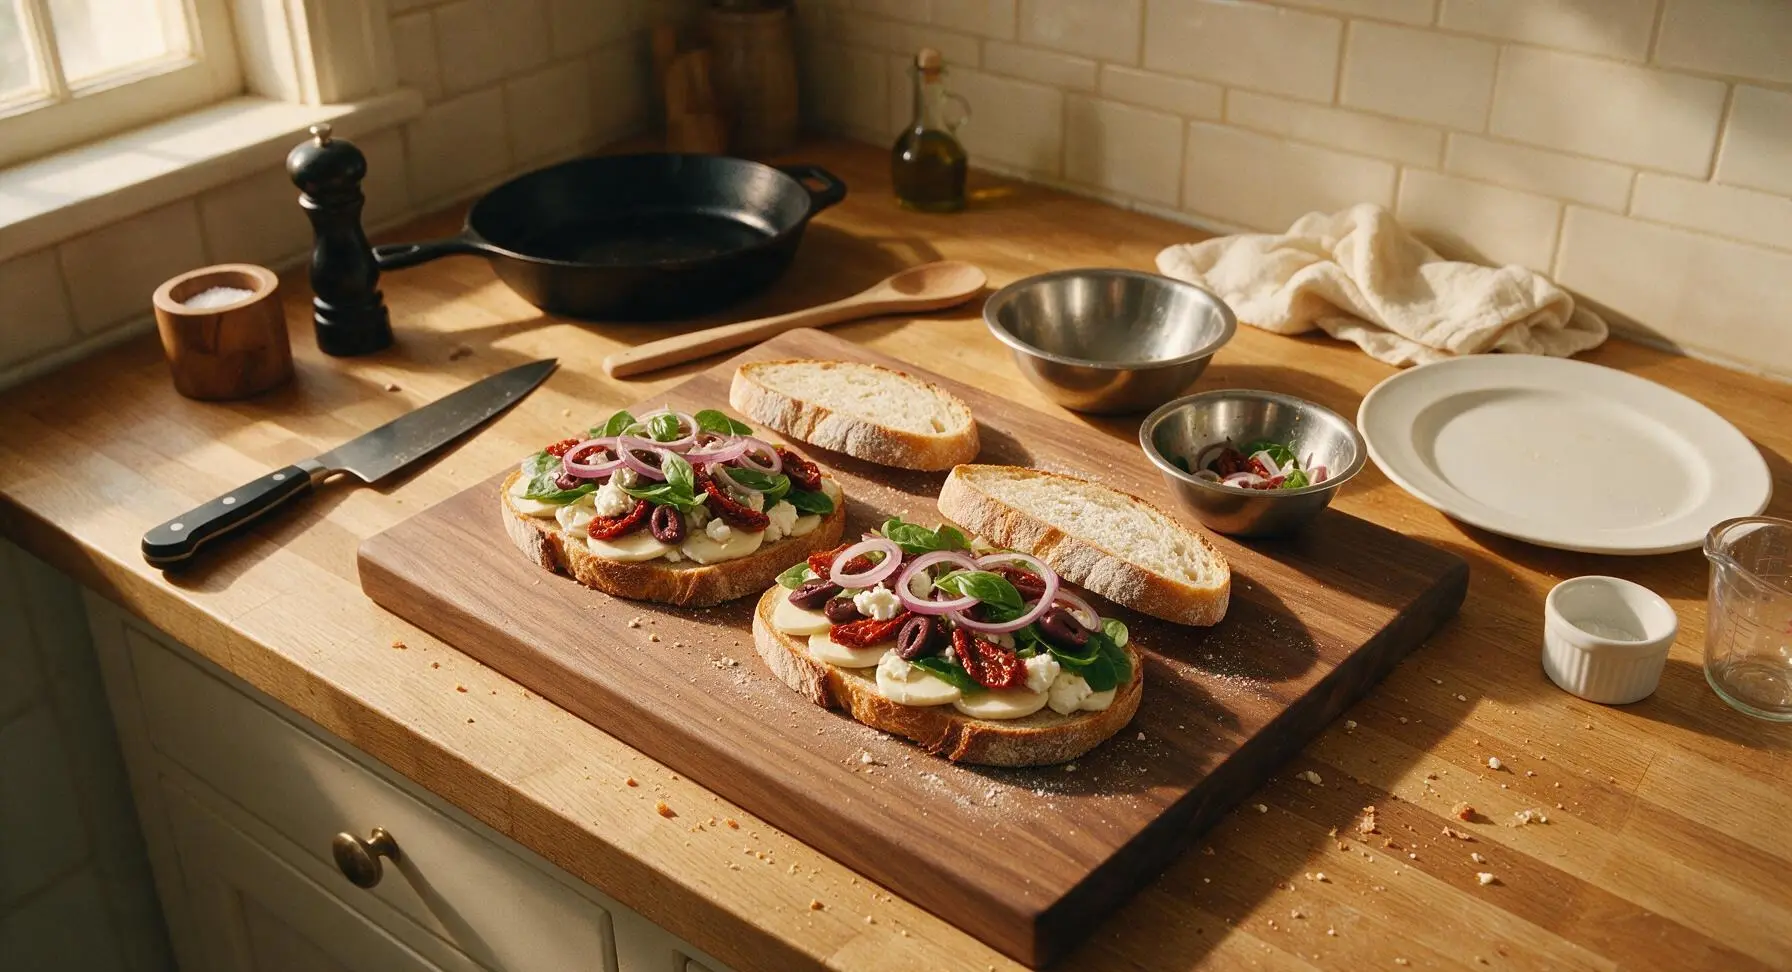
Lay two slices of sourdough bread flat on the cutting board. Divide sliced mozzarella evenly between the two bread slices, pressing it gently against the bread to create a moisture barrier that keeps the crust crisp. Top mozzarella with crumbled feta, sliced sun-dried tomatoes, kalamata olives, red onion rings, a small handful of baby spinach, and 4 fresh basil leaves per sandwich. Season lightly with half the total flaky salt and a pinch of black pepper, then top each sandwich with the remaining two sourdough slices, pressing down gently to compact layers so fillings do not fall out during cooking.
Oil Outer Bread Surfaces
Use the natural bristle pastry brush to coat the outer top surface of each assembled sandwich with half the extra-virgin olive oil, spreading it evenly all the way to the crust edges. Lightly season the oiled surfaces with the remaining flaky salt. The even oil coating creates a uniformly golden, crisp crust instead of unevenly browned or burnt patches. Place the 10-inch matte black carbon steel skillet on the front right section of the counter, preheating over medium-low heat (325°F / 160°C), and set the thin flexible metal spatula next to the skillet for cooking. Position the matte cream ceramic lunch plate at the front center of the counter to hold cooked sandwiches.
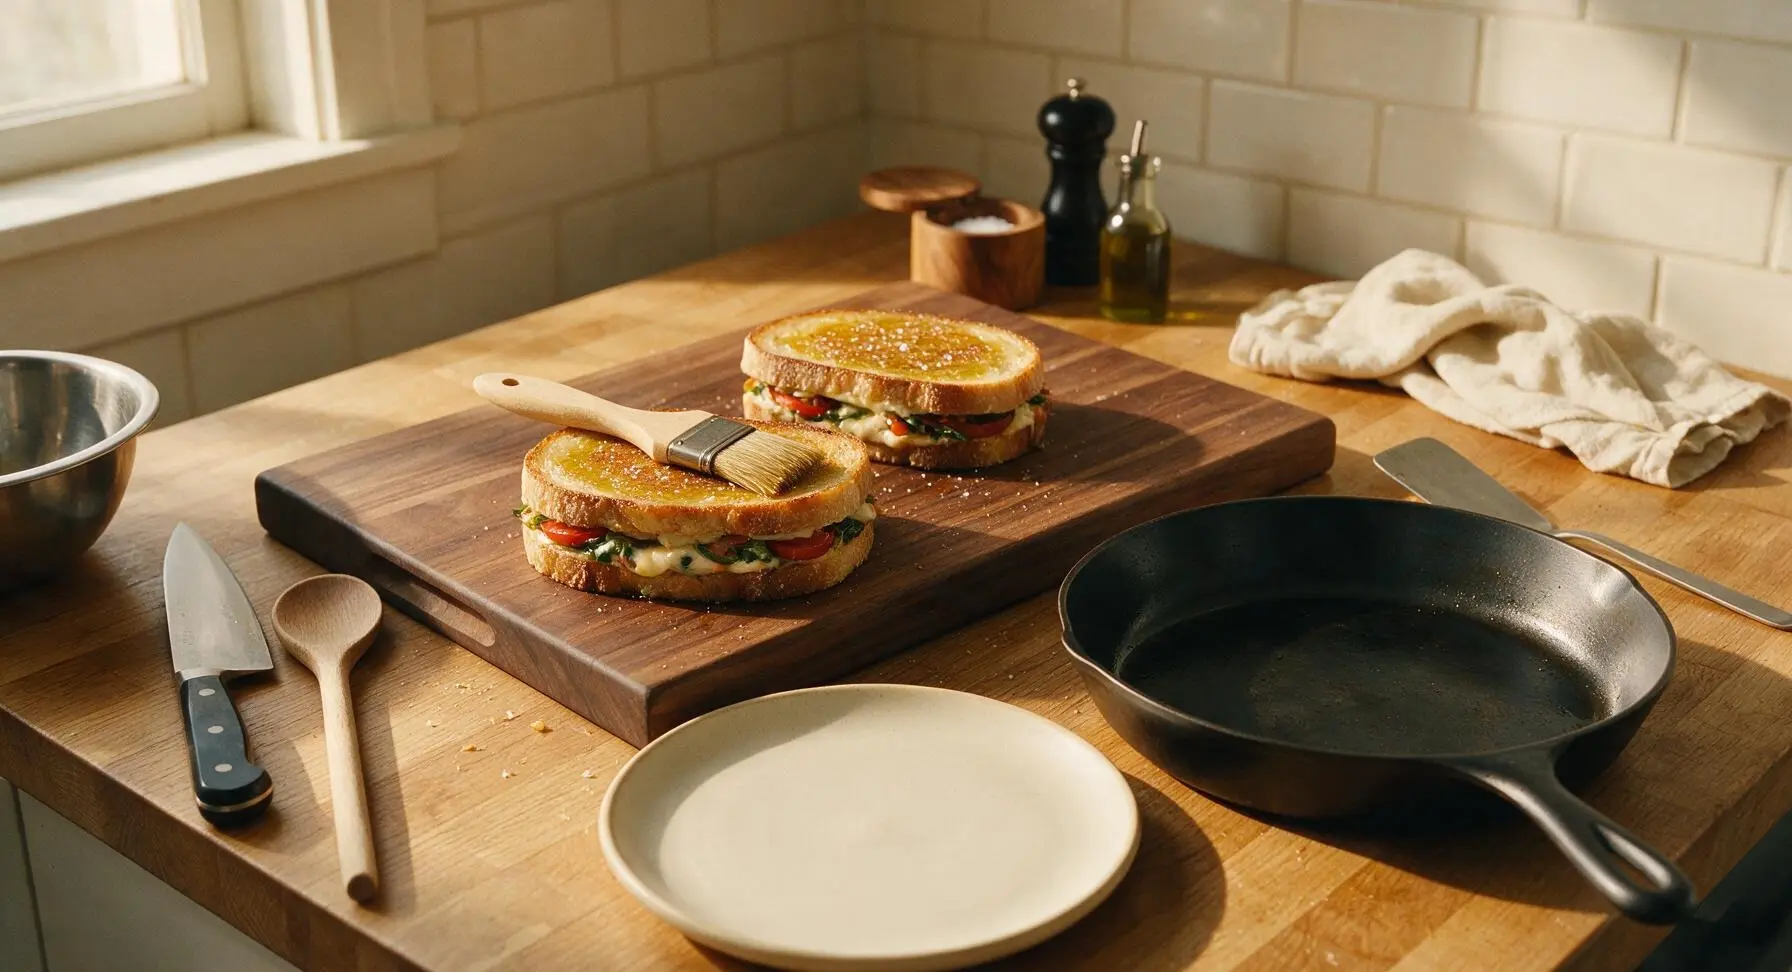
Toast First Sandwich Side
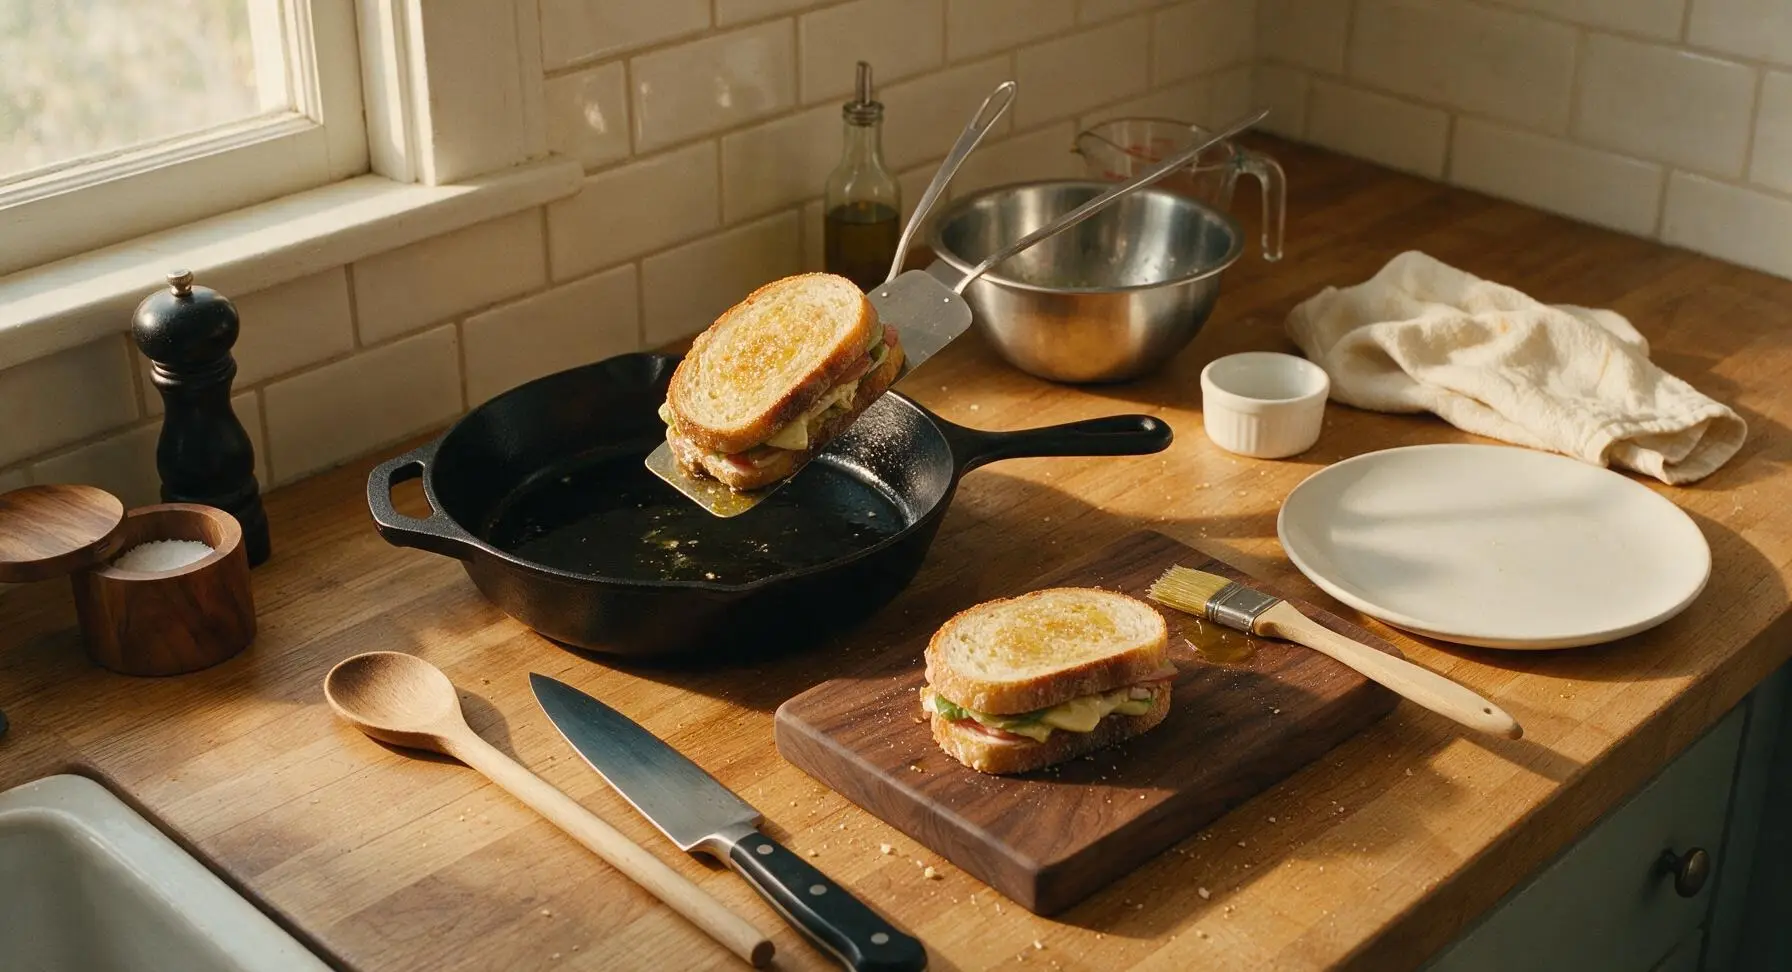
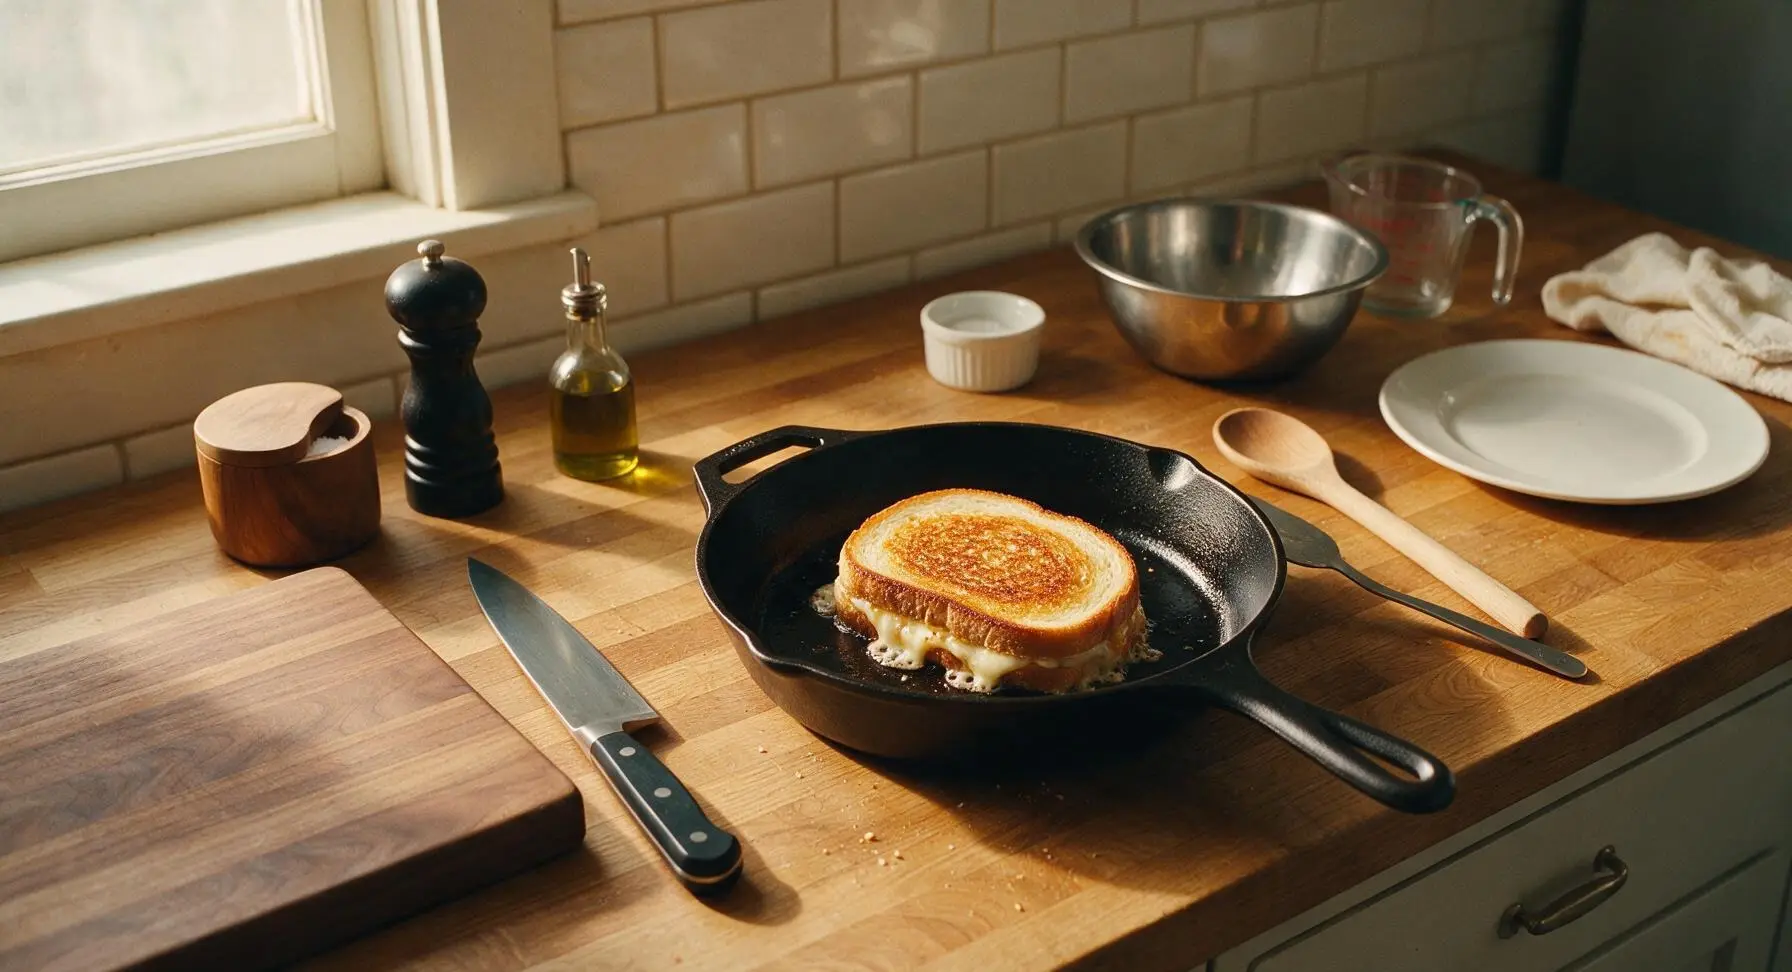
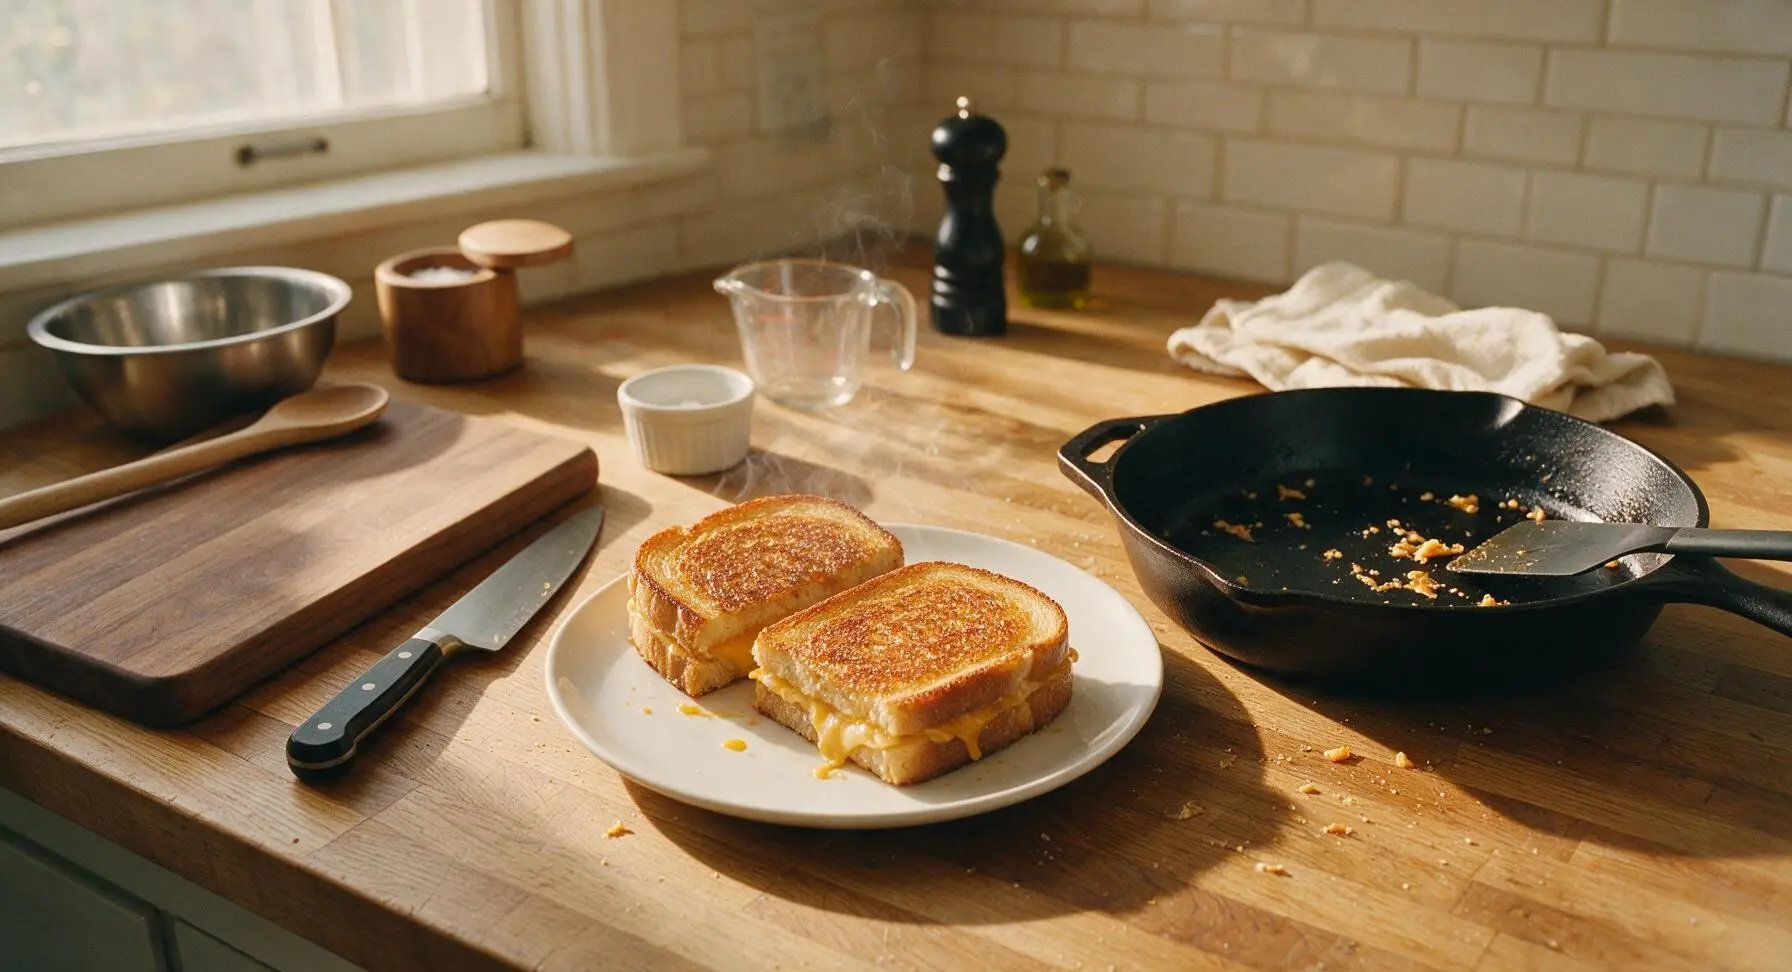
Use the thin metal spatula to carefully lift one oiled sandwich and place it oil-side down in the preheated skillet. Brush the now-exposed top bread surface with the remaining olive oil. Cook for 3 to 4 minutes, resisting the urge to press down on the sandwich with the spatula (which squeezes out melted cheese and fillings). The first side is done when the crust is deep golden brown and crisp, and cheese along the sandwich edges starts to bubble and melt slightly.
Flip to Toast Second Side
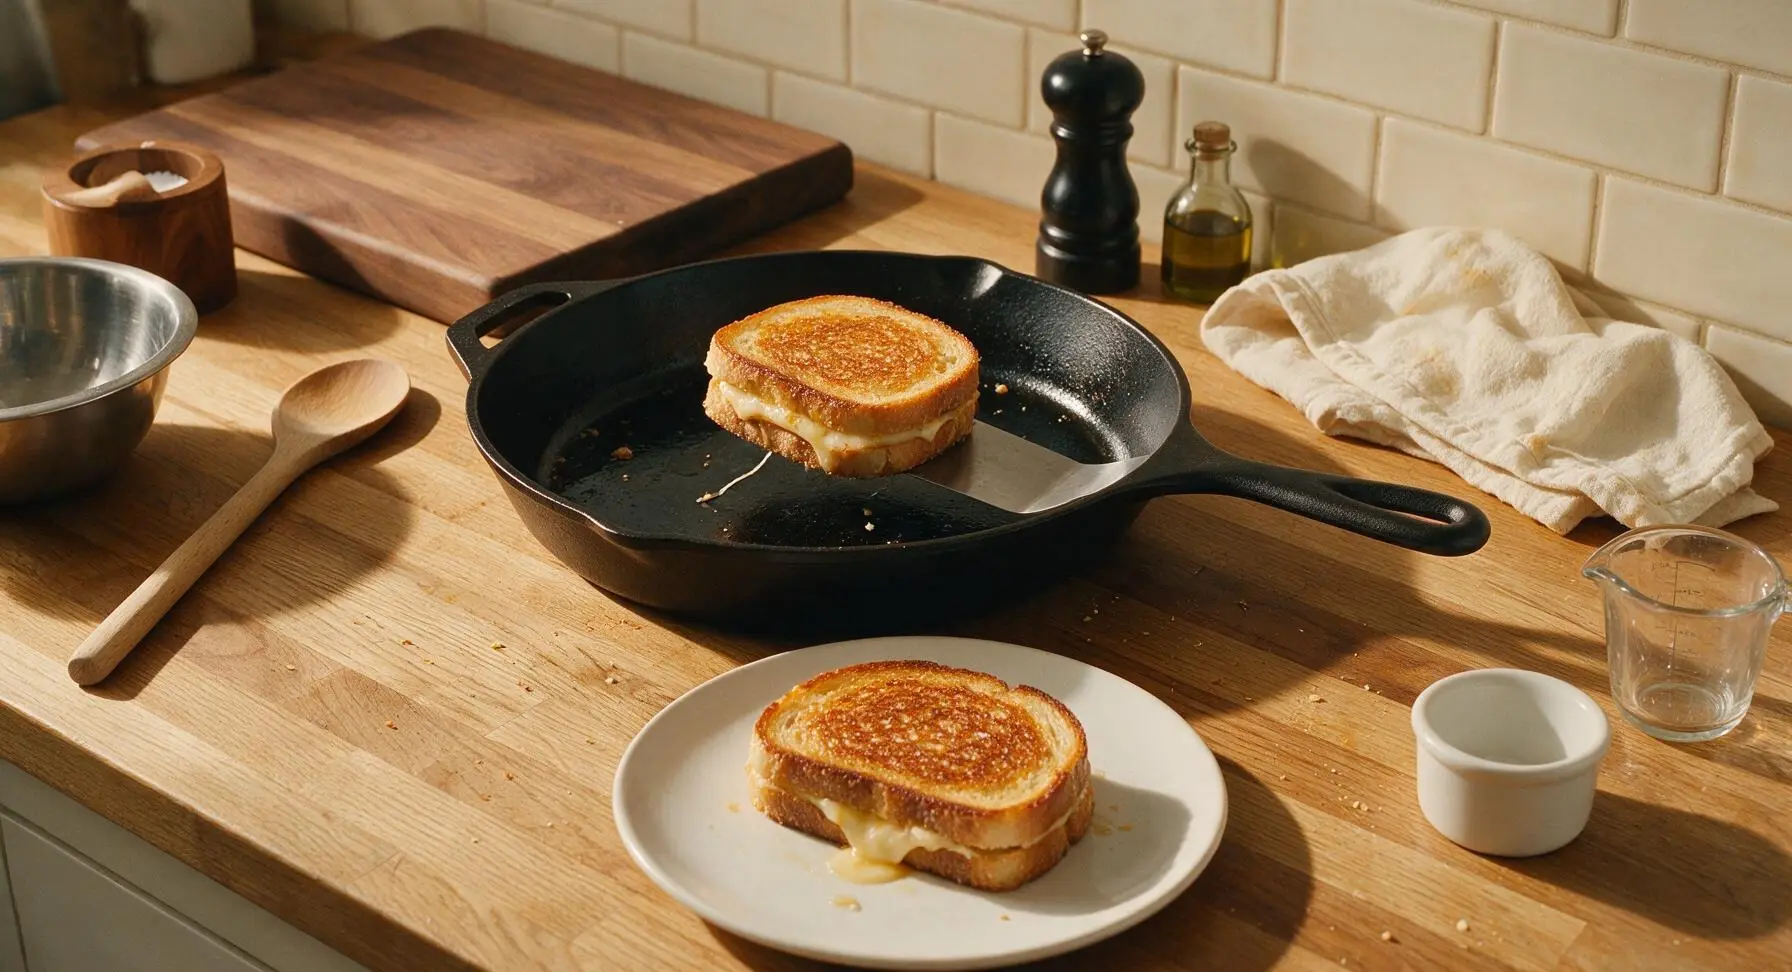
Slide the metal spatula fully under the sandwich to support the entire bottom surface, preventing fillings from sliding out, then flip the sandwich gently in one smooth motion. Cook for an additional 3 to 4 minutes, adjusting heat to low if the crust browns too quickly, until the second side is equally golden and crisp, and cheese in the center is fully melted (visible as gentle oozing from the sandwich edges). Transfer the first cooked sandwich to the waiting cream ceramic plate, then repeat the cooking process with the second sandwich.
Rest Cooked Sandwiches
Once both sandwiches are fully cooked and transferred to the cream ceramic plate, let them rest for 1 full minute at room temperature. This short rest allows melted cheese to set slightly so it does not gush out when cut, and lets trapped steam escape so the crust stays crisp instead of softening immediately.
Cut and Plate Sandwiches
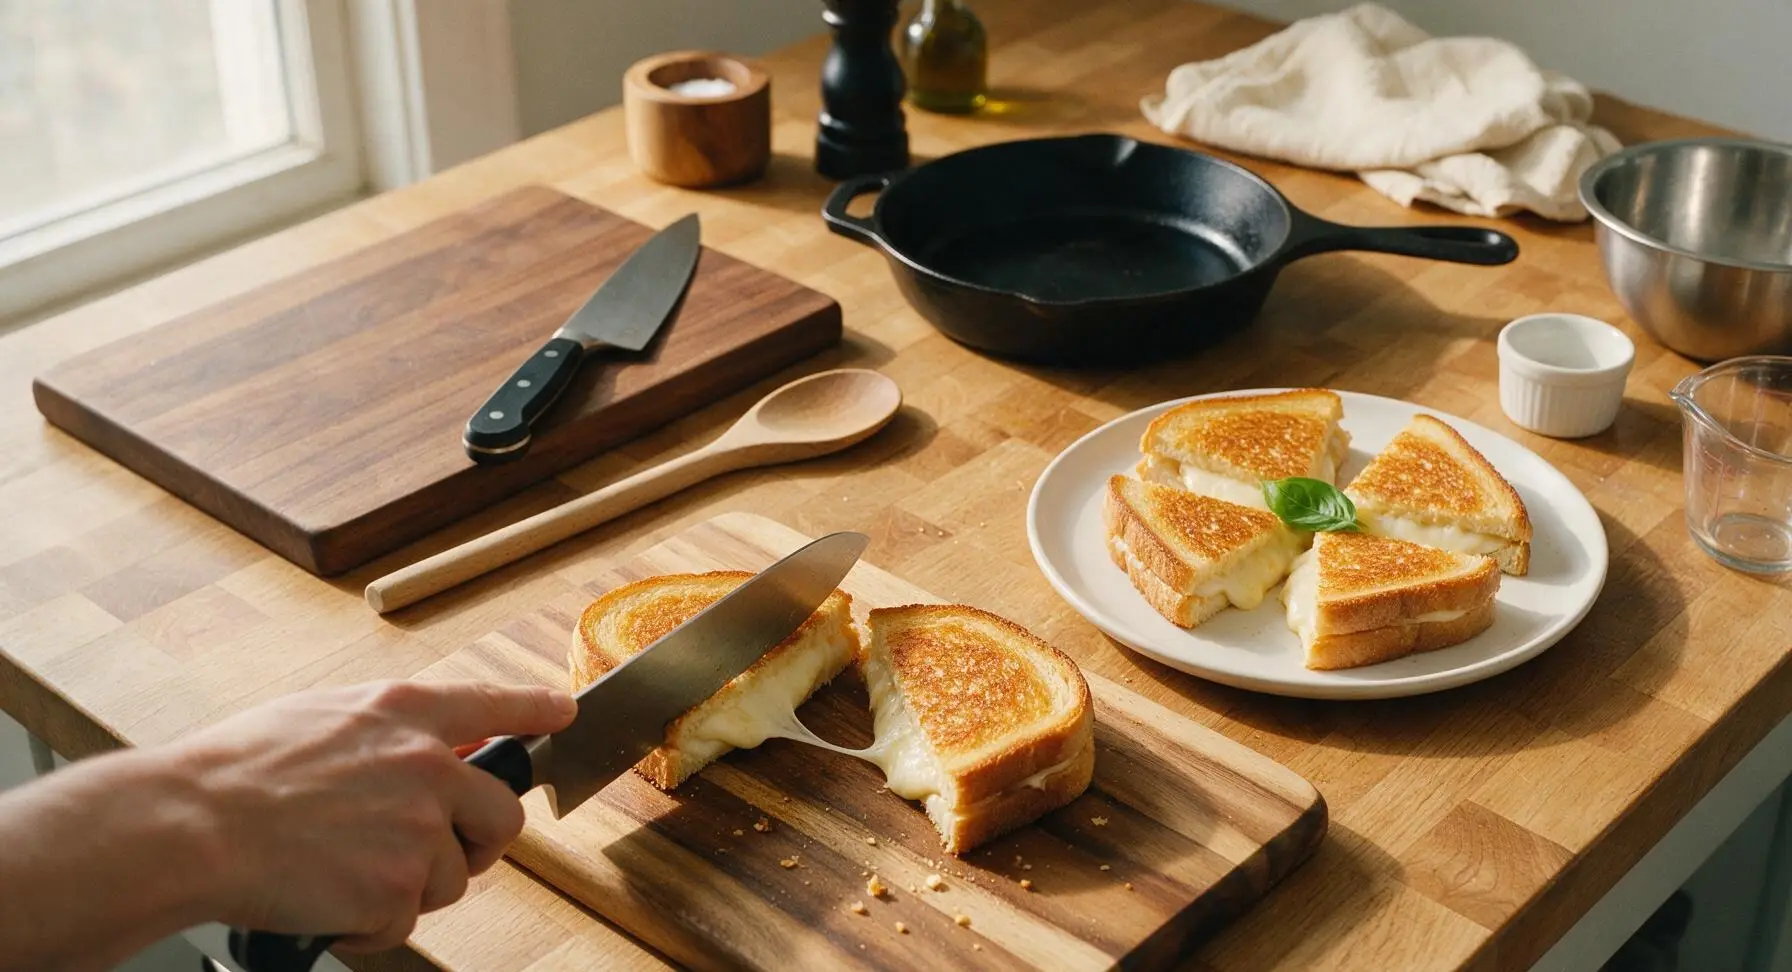
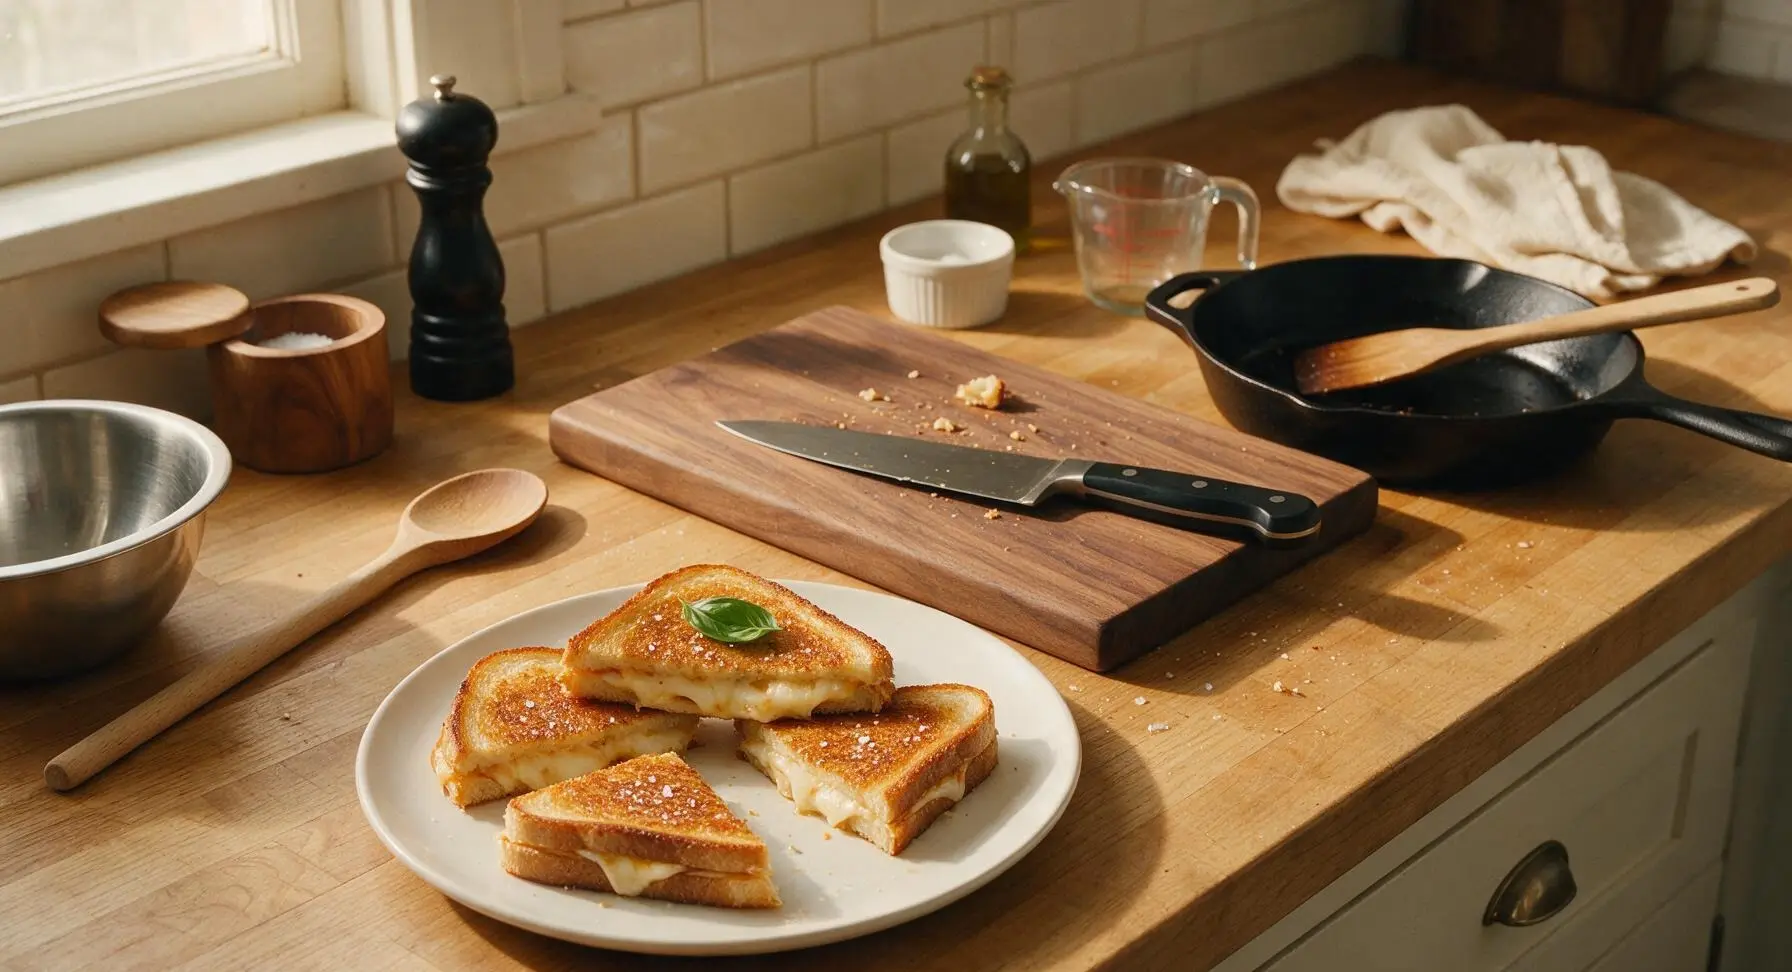
Transfer rested sandwiches back to the acacia wood cutting board. Use the 7-inch santoku knife to cut each sandwich diagonally into two equal triangular halves. Arrange the four triangles cut-side up on the cream ceramic plate, garnish with a single fresh basil leaf, and serve immediately.
Tips
2.Cook over steady medium-low heat (325°F / 160°C): high heat will char the bread crust before the cheese in the center of the sandwich has time to fully melt, leading to a burnt exterior and cold, un-melted filling.
3.Avoid pressing down on the sandwich with the spatula while cooking: pressing squeezes melted cheese and flavorful filling out of the bread edges onto the pan, resulting in a dry sandwich with less cheese and a messy pan.






OMG this Mediterranean grilled cheese is a total game changer!!! I swapped regular mozz for fresh mozz and added a sprinkle of oregano, and my kids devoured every single bite at dinner last night. 8 minute cook time is perfect for chaotic weeknights when I don’t feel like slaving over the stove. SO good, will be making this on repeat for school lunches too!
I brought these to my neighborhood potluck last weekend and people were begging me for the recipe! The mix of feta, spinach, and sun-dried tomatoes is such a nice upgrade from regular grilled cheese. Super easy to pull off even when I’m juggling a million things, I’ll absolutely be adding this to my weekly meal prep rotation.
Really solid quick lunch option! I made mine on my cast iron grill pan so I got those nice charred lines, and added a little drizzle of hot honey on top for a sweet kick. Only knock is I wish I’d added more olives, I love that briny kick. Will definitely make again.
Wait, can I make these ahead and freeze them for quick meals? I do meal prep every Sunday and love having grab-and-go options for my early work days. The flavor combo sounds right up my alley, I’m just not sure how well grilled cheese freezes.
Made this for a quick date night in with my partner last night and we were both blown away! We paired it with a side of tomato basil soup and it was the perfect cozy meal. Who knew adding a little kalamata olives and tzatziki dip on the side would make grilled cheese feel fancy? 10/10, no notes.
Super easy recipe even for a total cooking newbie like me! I live in a dorm with just a tiny panini press and this came out perfectly in like 8 minutes just like the recipe says. Way better than the sad dining hall grilled cheese, I’ve already made it three times this week.
I made this with gluten-free sourdough and dairy-free feta for my dietary needs, and it turned out absolutely delicious! I was worried the dairy-free cheese wouldn’t melt right, but cooking it low and slow for the full 8 minutes got it perfectly gooey. Such a great versatile recipe.