
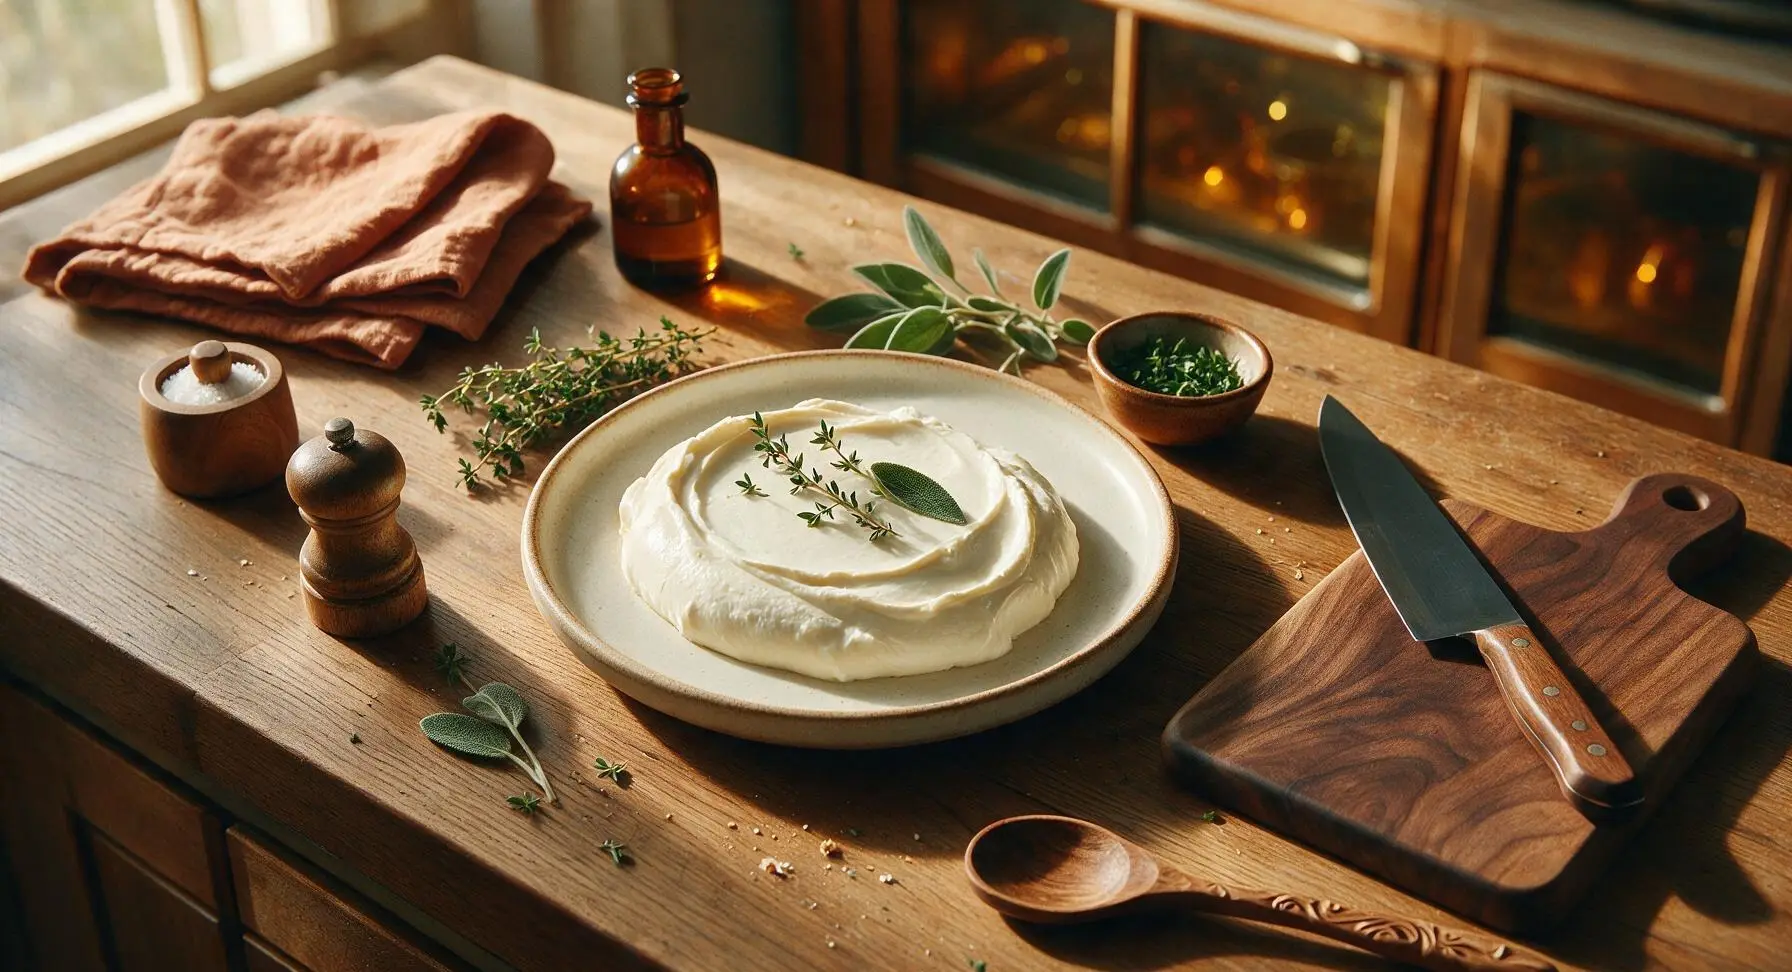
mesophilic culture

title 1
mesophilic culture
⏱️ cook time 24 hours (passive incubation)
🍽️ servings 32
⚡ Difficulty easy

intro

Homemade mesophilic culture is a tangy, reliable starter for soft cheeses, sour cream, and cottage cheese, perfect for elevating all your home dairy and baking projects.

Ingredients
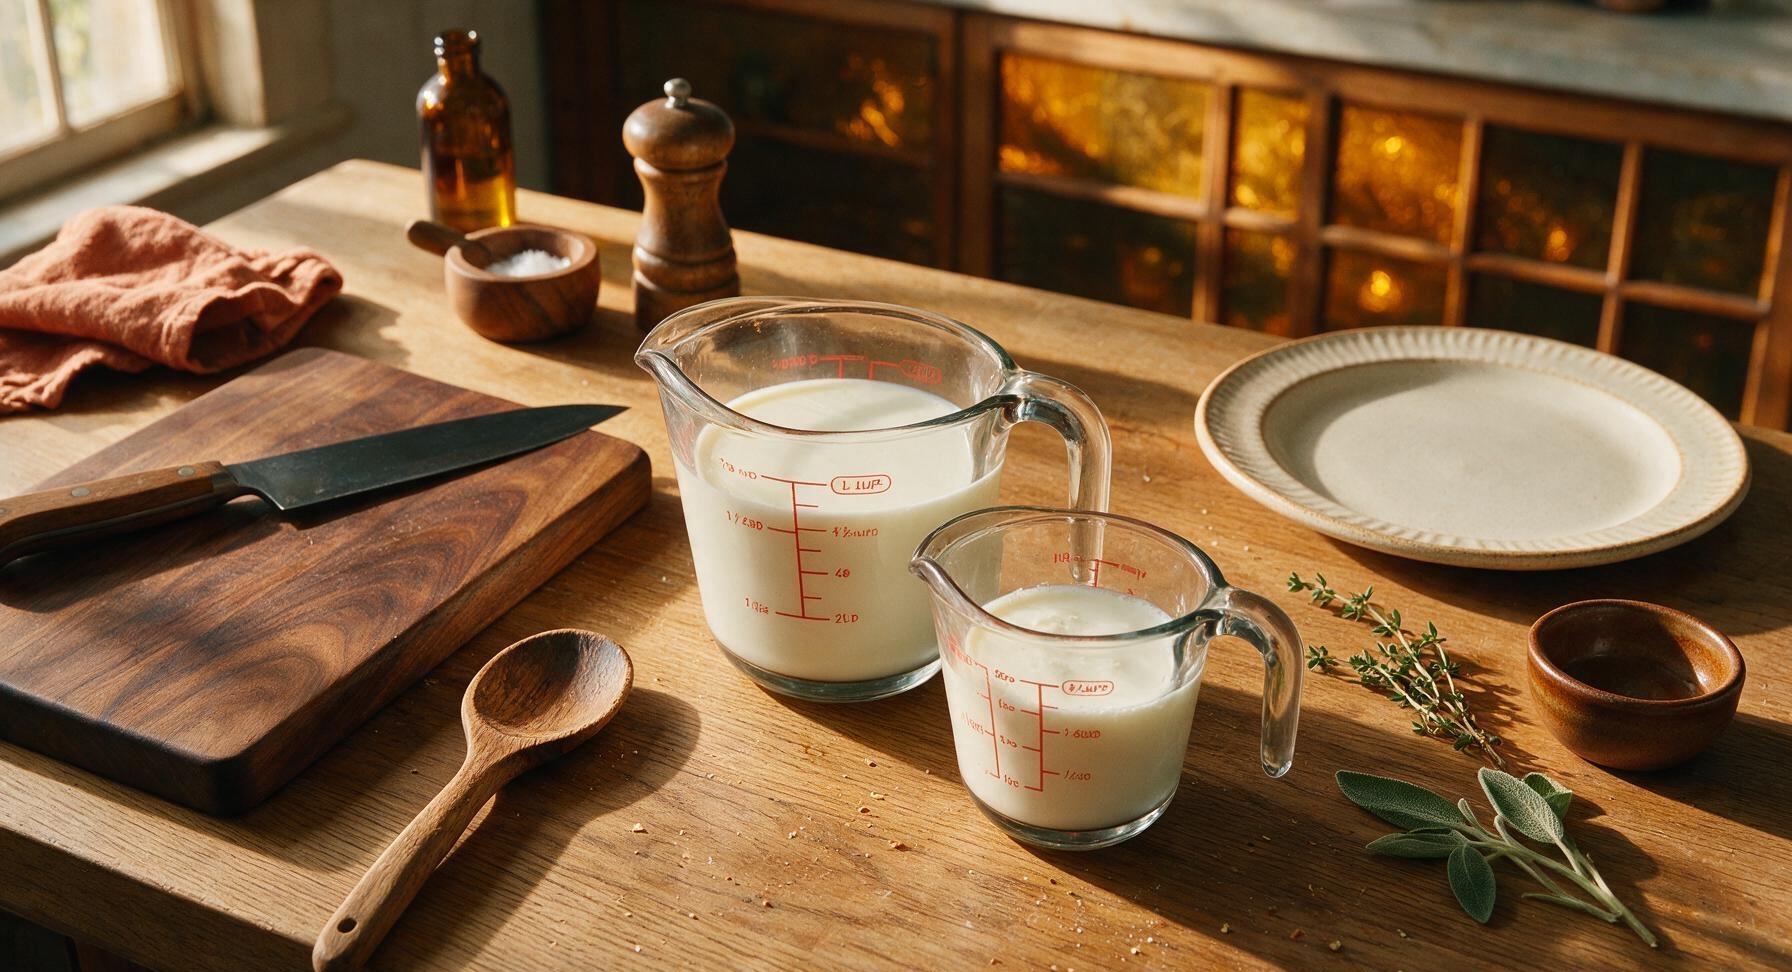
Whole pasteurized milk (not ultra-pasteurized, non-homogenized preferred) 2 cups (480ml)
Plain live-culture buttermilk (no additives, active mesophilic strains) 1/4 cup (60ml)

Steps

1

Sterilize Work Tools

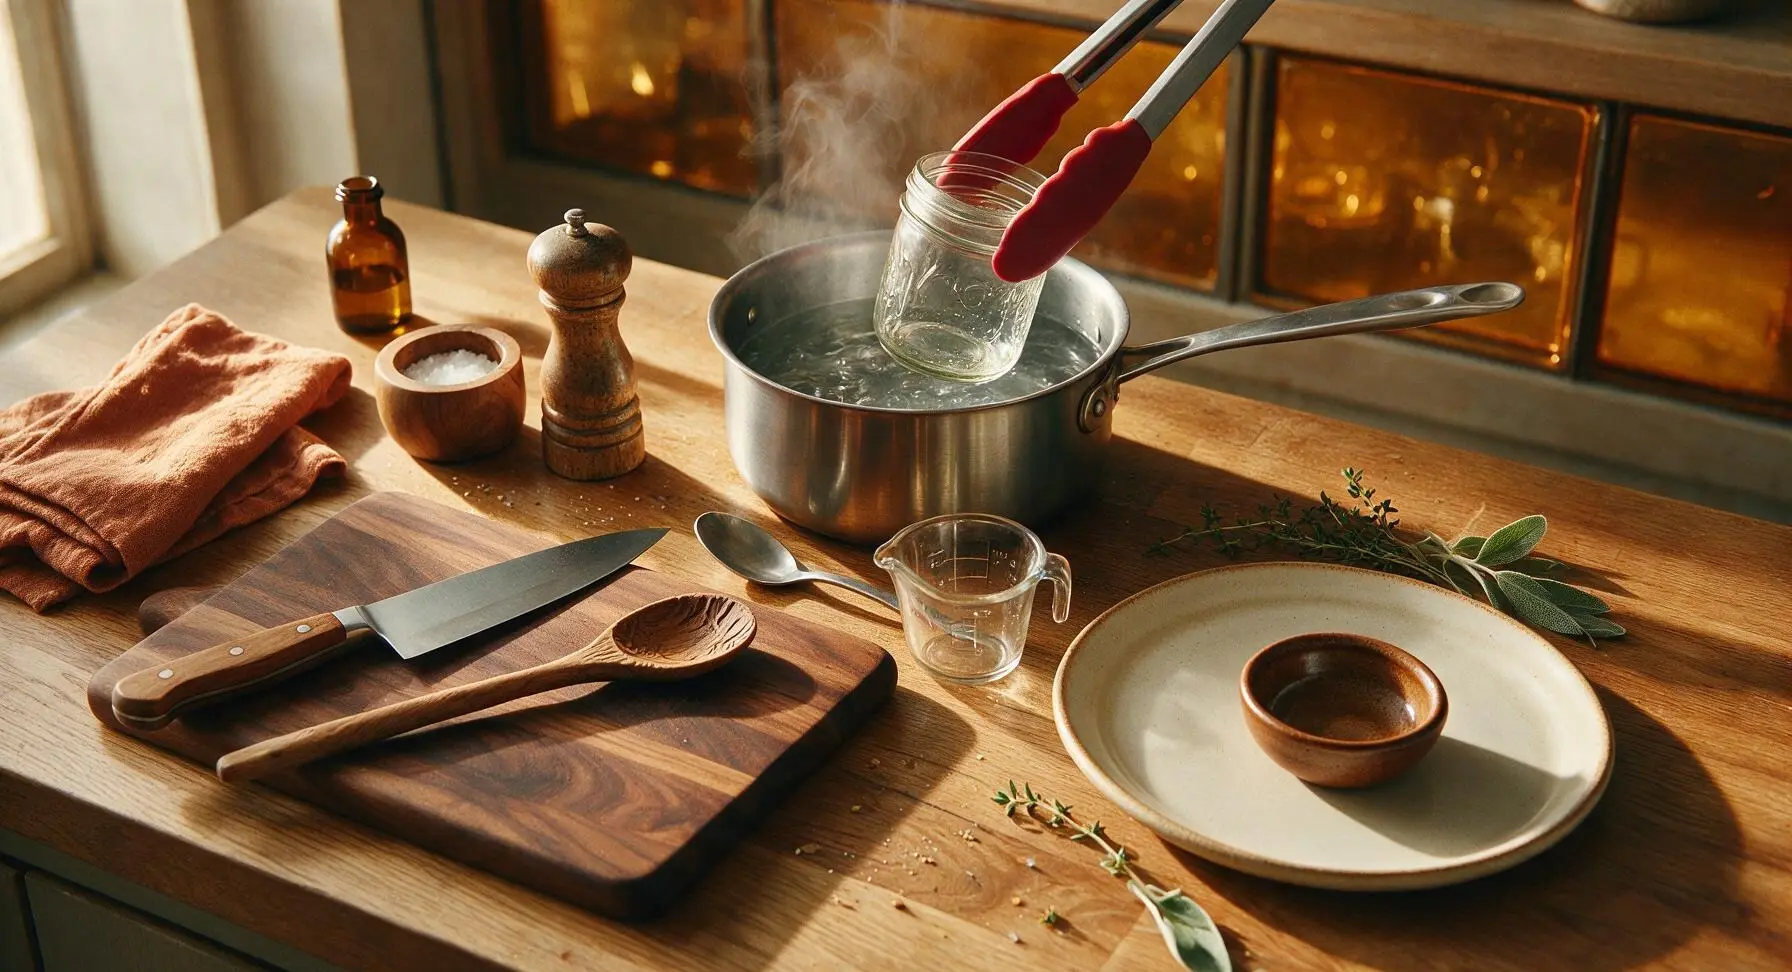
First, wash the mason jar, lid, stirring spoon, and measuring cup in hot soapy water, then submerge them in the saucepan of boiling water for 10 minutes to kill all unwanted bacteria. Use the silicone jar tongs to remove items from boiling water, and set them on the clean counter to air dry completely—do not wipe with a towel, as this can introduce contaminants. Ensure no water droplets remain inside the jar before proceeding.
Step 1
step1:Sterilize Work Tools
2

Heat Milk Gently

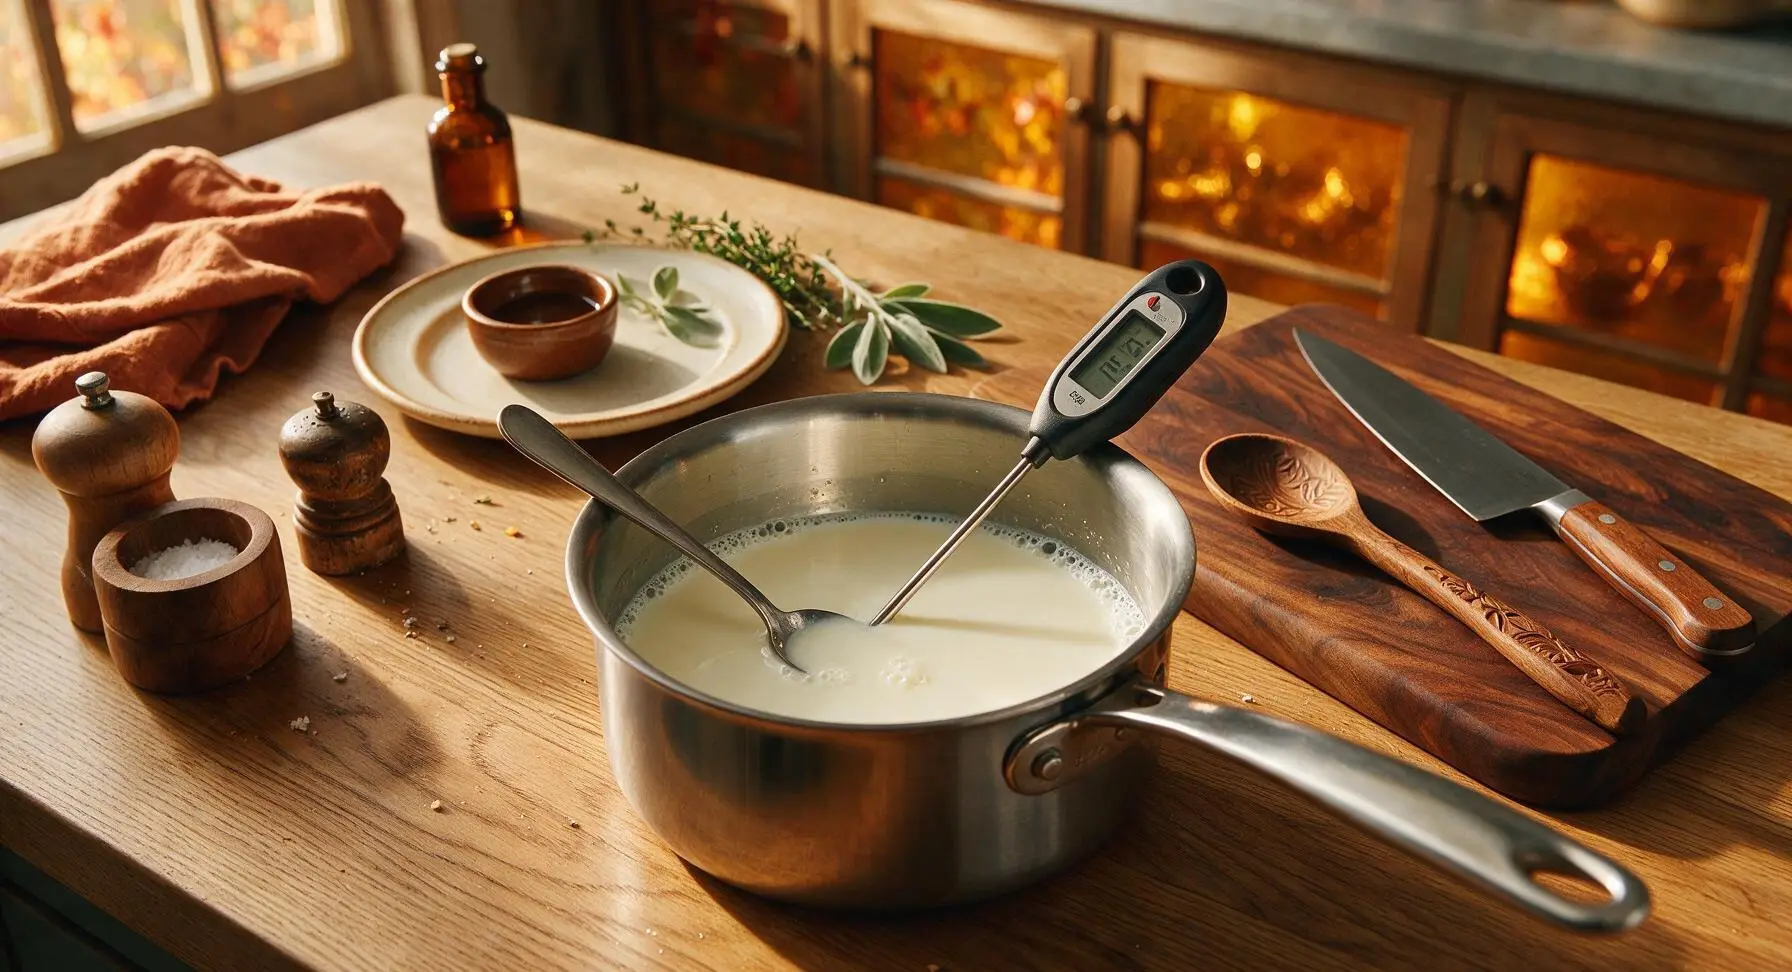
Pour the 2 cups of whole milk into the clean, dry stainless steel saucepan. Place over medium-low heat, stirring slowly with the stainless steel spoon to prevent scorching on the bottom. Heat the milk until it reaches exactly 160°F (71°C), checking frequently with the instant-read thermometer. Hold this temperature for 30 seconds to kill any competing wild bacteria that could ruin the culture.
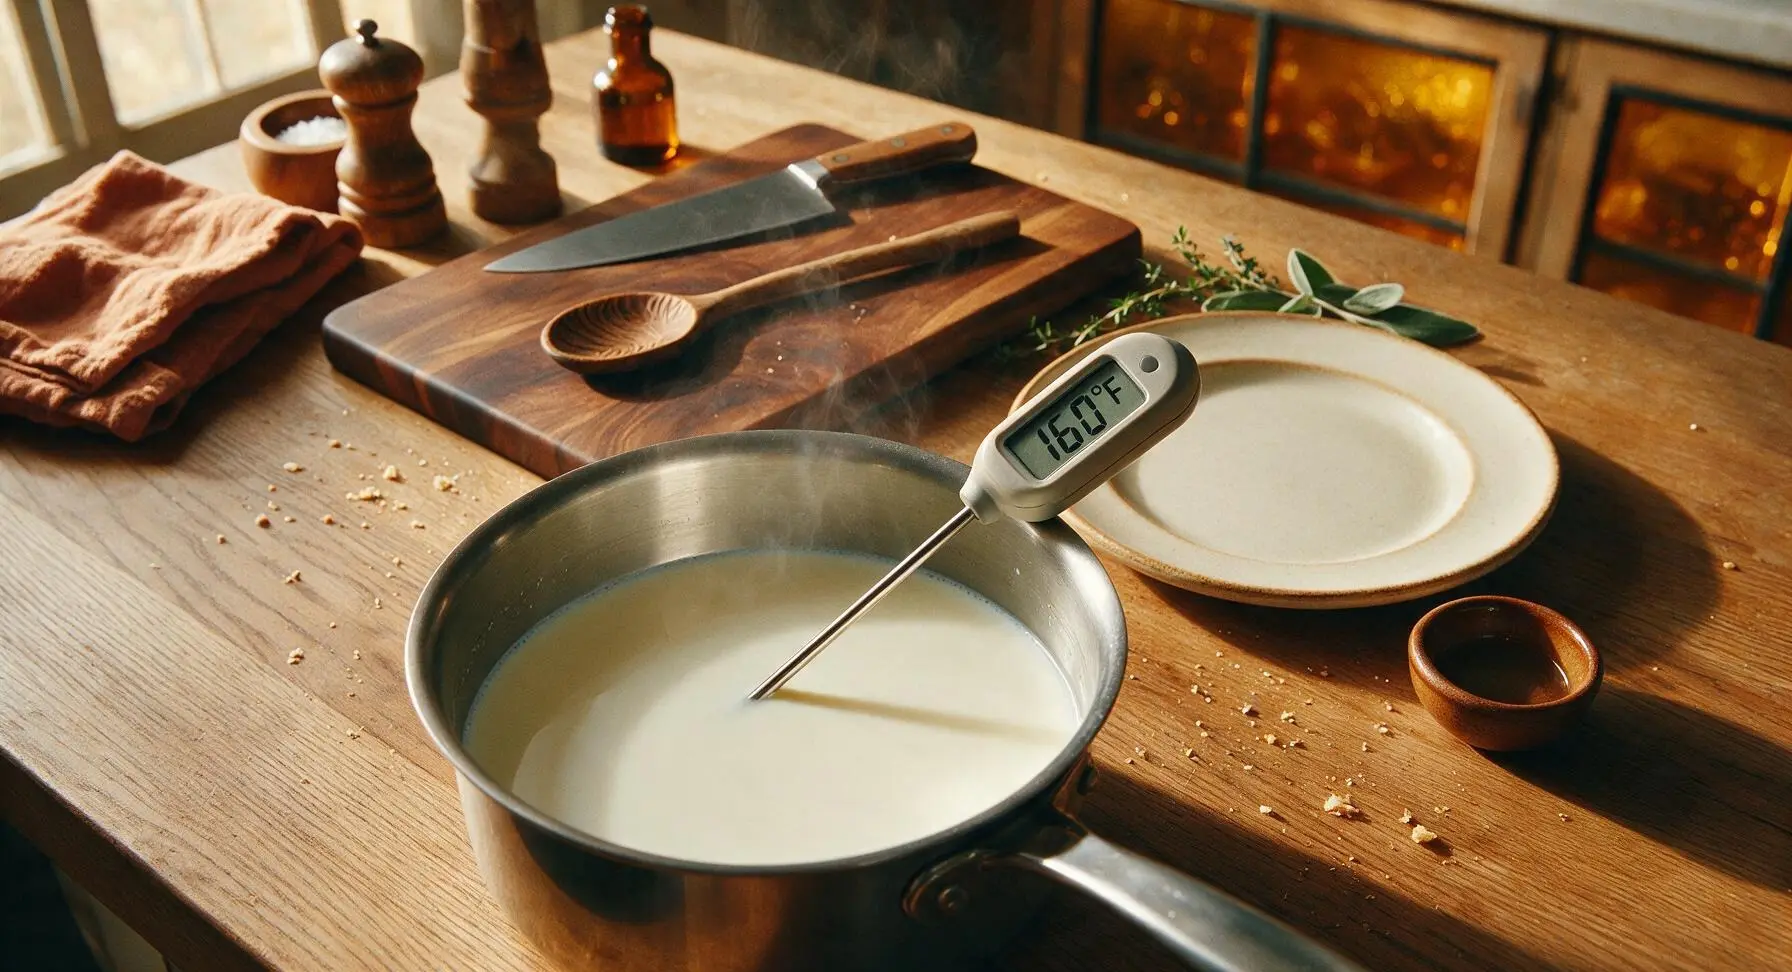
Step 2
step2:Heat Milk Gently
Step 2
step2:Heat Milk Gently
3

Cool Milk Properly

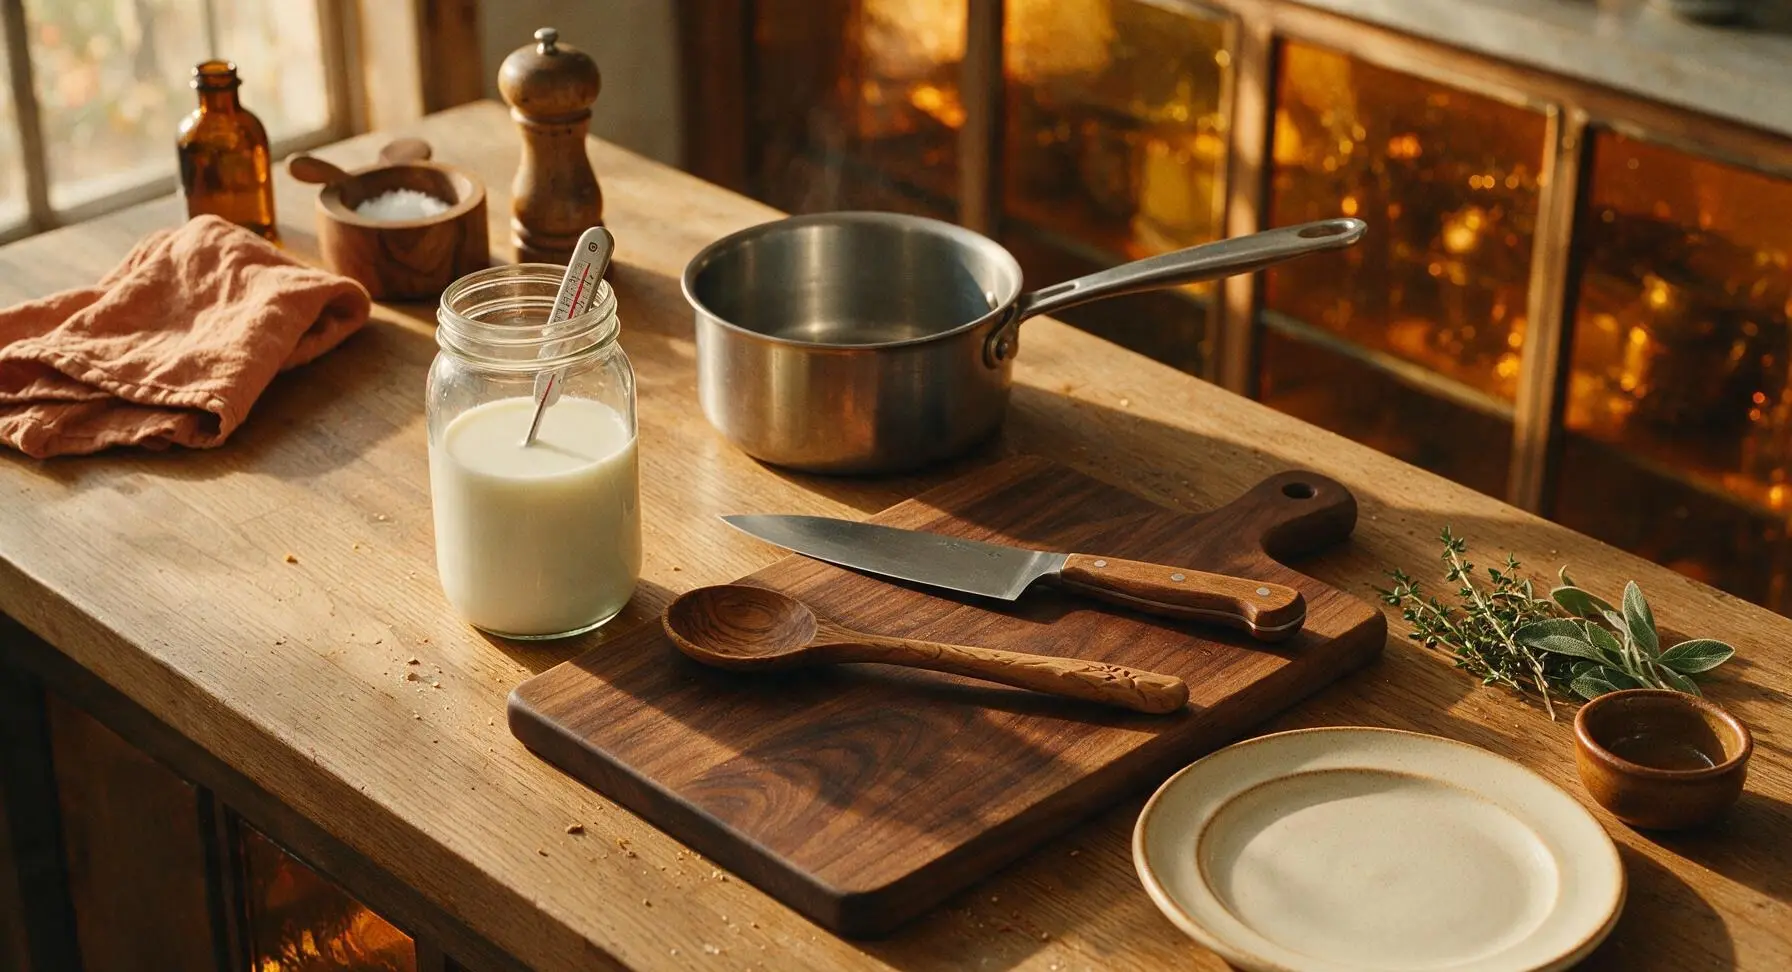
Remove the saucepan from heat, and pour the heated milk into the sterilized wide-mouth mason jar. Let the milk cool undisturbed until it reaches exactly 72°F (22°C), checking temperature periodically with the clean thermometer. This is the ideal temperature for mesophilic bacteria to thrive; temperatures above 80°F will kill the starter cultures, while temperatures below 68°F will slow fermentation too much.
Step 3
step3:Cool Milk Properly
4

Add Buttermilk Starter

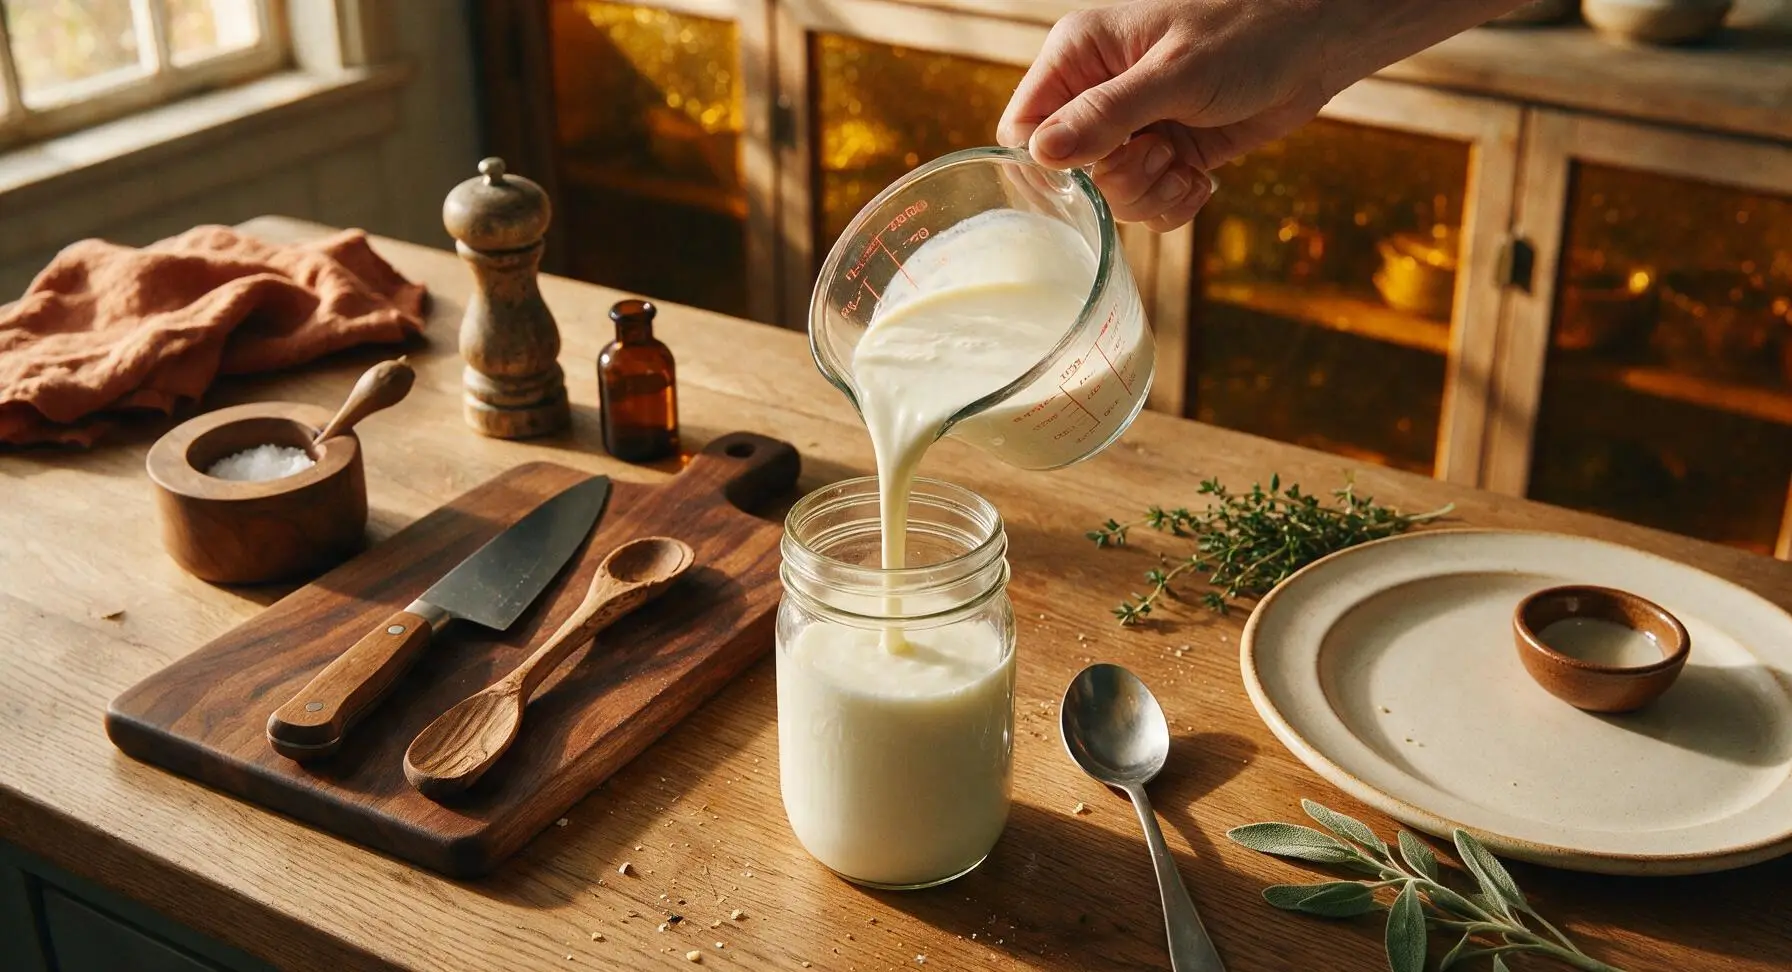
Measure 1/4 cup of the live-culture buttermilk into the sterilized glass measuring cup. Pour the buttermilk into the cooled milk in the mason jar, and stir gently but thoroughly with the sterilized stainless steel spoon for 15 seconds to evenly distribute the live bacteria throughout the milk. Do not stir vigorously, as this can introduce unwanted air bubbles.
Step 4
step4:Add Buttermilk Starter
5

Cover Jar Loosely

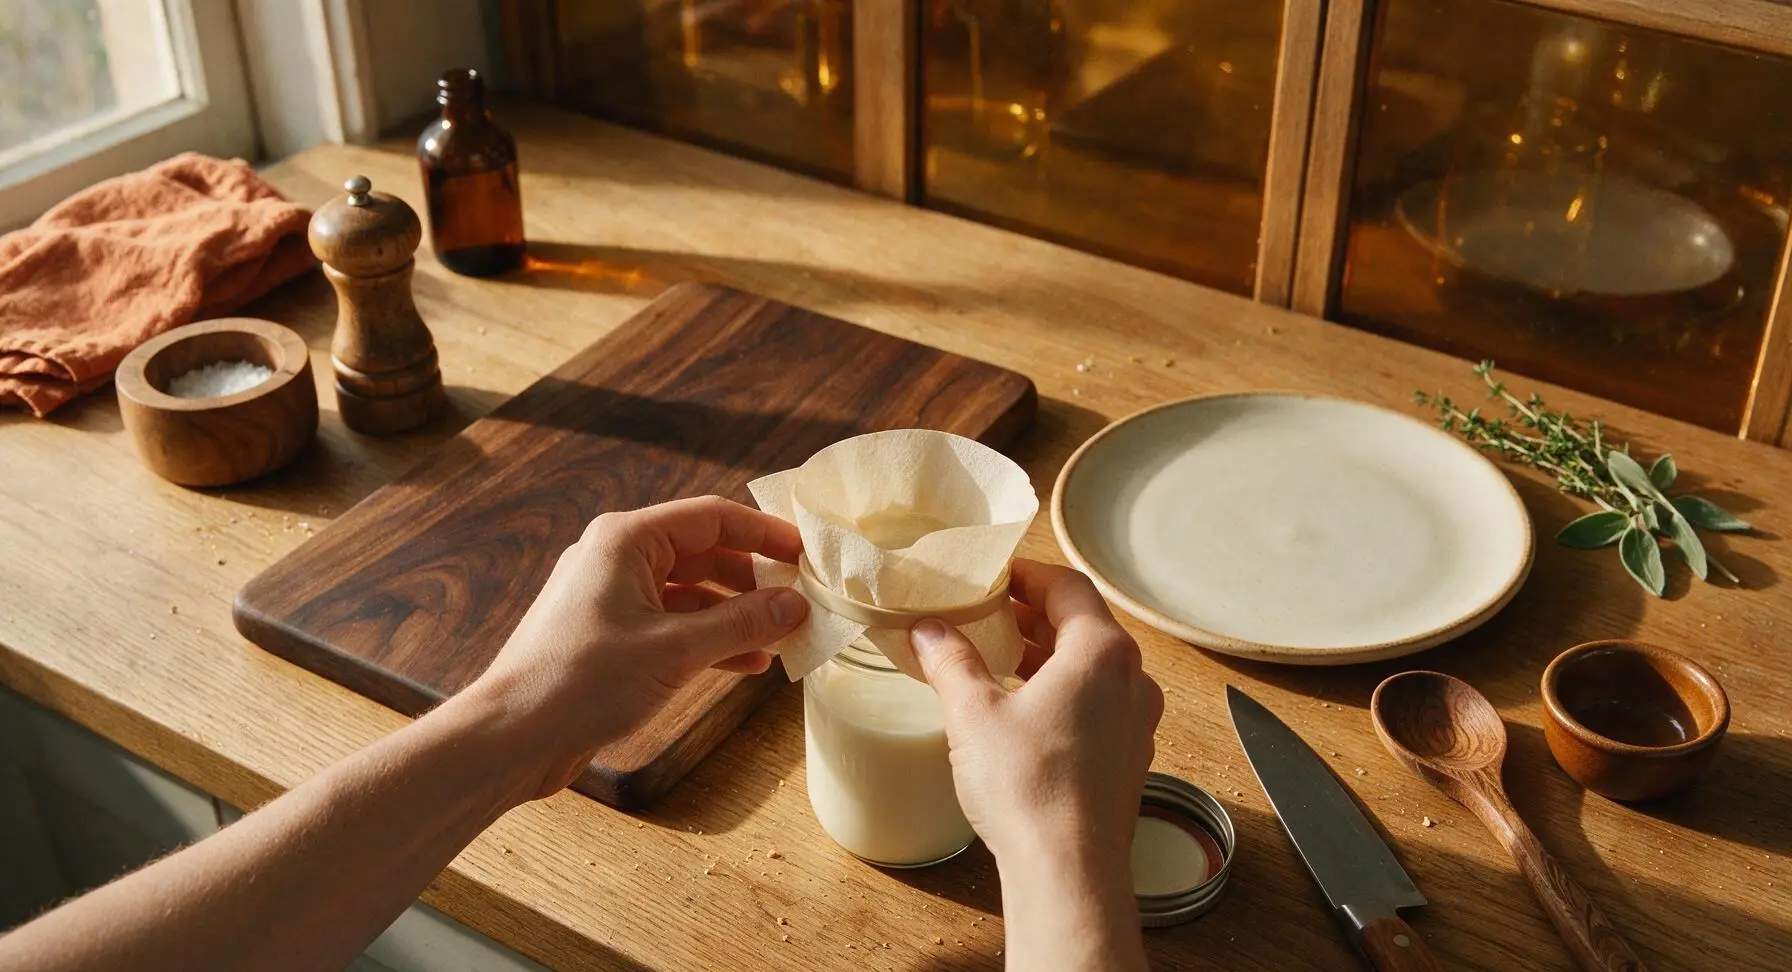
Place two layers of the unbleached paper coffee filters over the mouth of the mason jar, and secure them tightly with the beige rubber band. Do not use the solid metal lid for incubation, as the culture needs small amounts of airflow to ferment properly, and a sealed lid can build up excess pressure or trap unwanted condensation that drips into the curd.
Step 5
step5:Cover Jar Loosely
6

Incubate Undisturbed

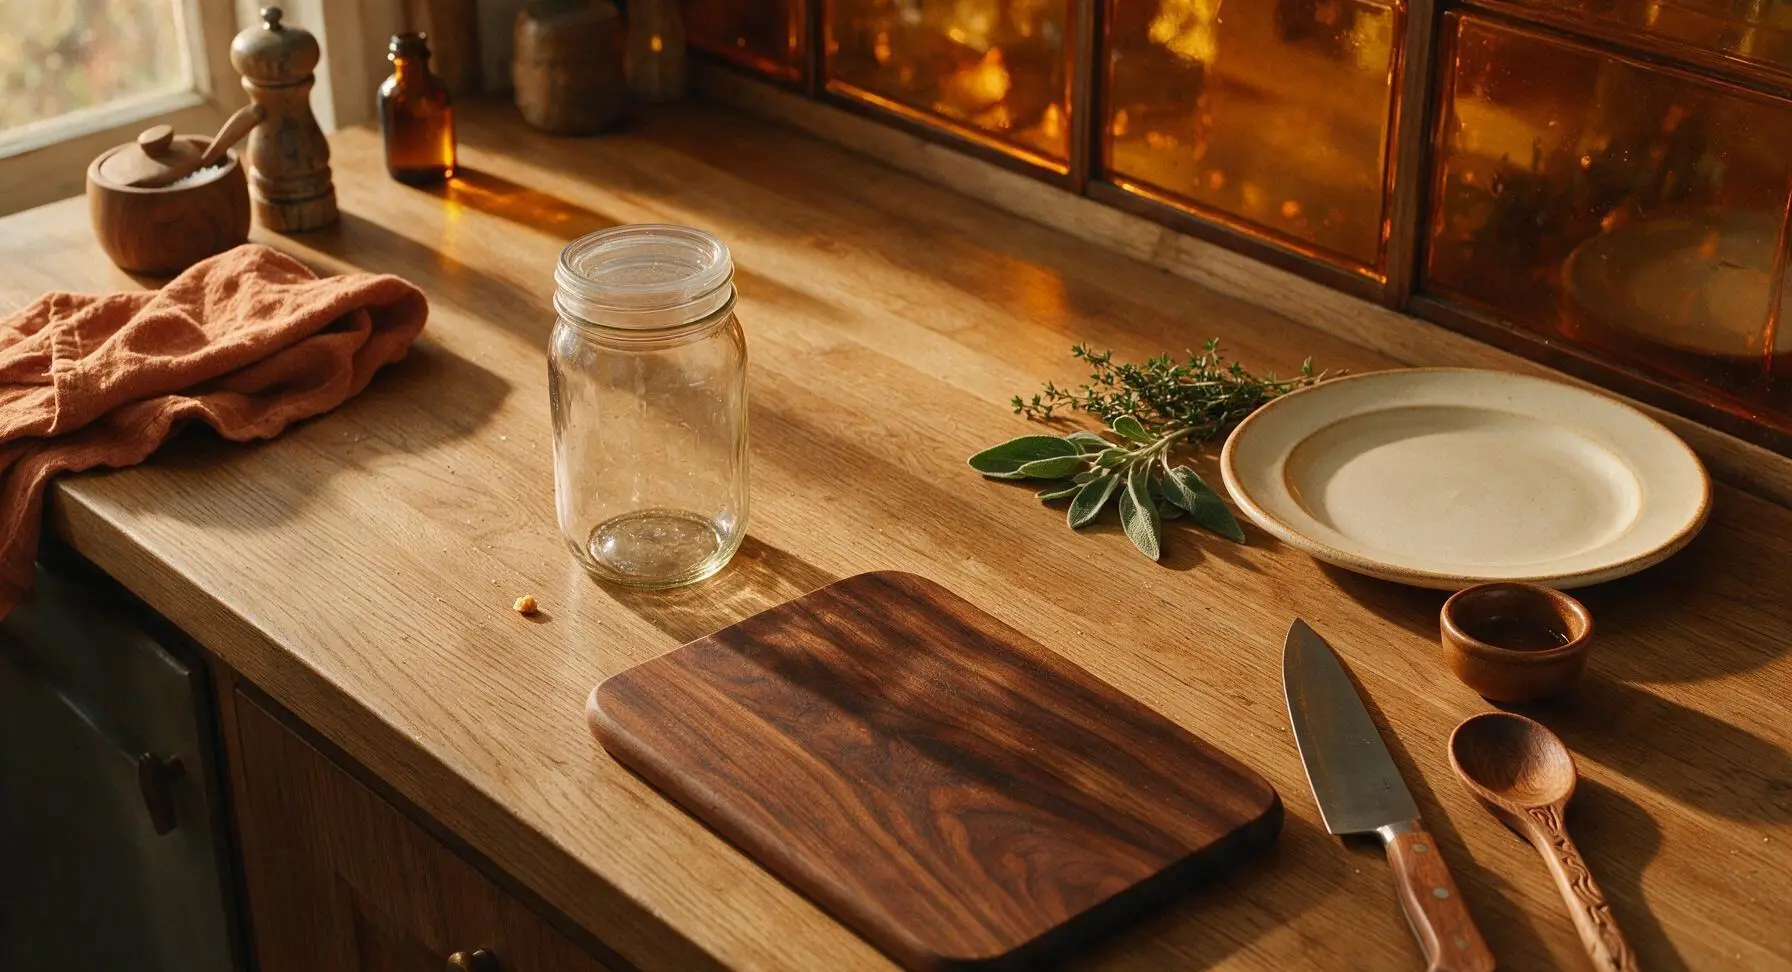
Place the covered jar in a quiet, draft-free spot where it will hold a consistent 70-74°F (21-23°C) for 24 hours. Do not move, jostle, or stir the jar during incubation, as this can break the forming curd. Ideal spots include a closed kitchen cabinet away from appliances, or a small cooler with a bottle of warm water to regulate temperature if your room is cool.
Step 6
step6:Incubate Undisturbed
7

Check Curd Set

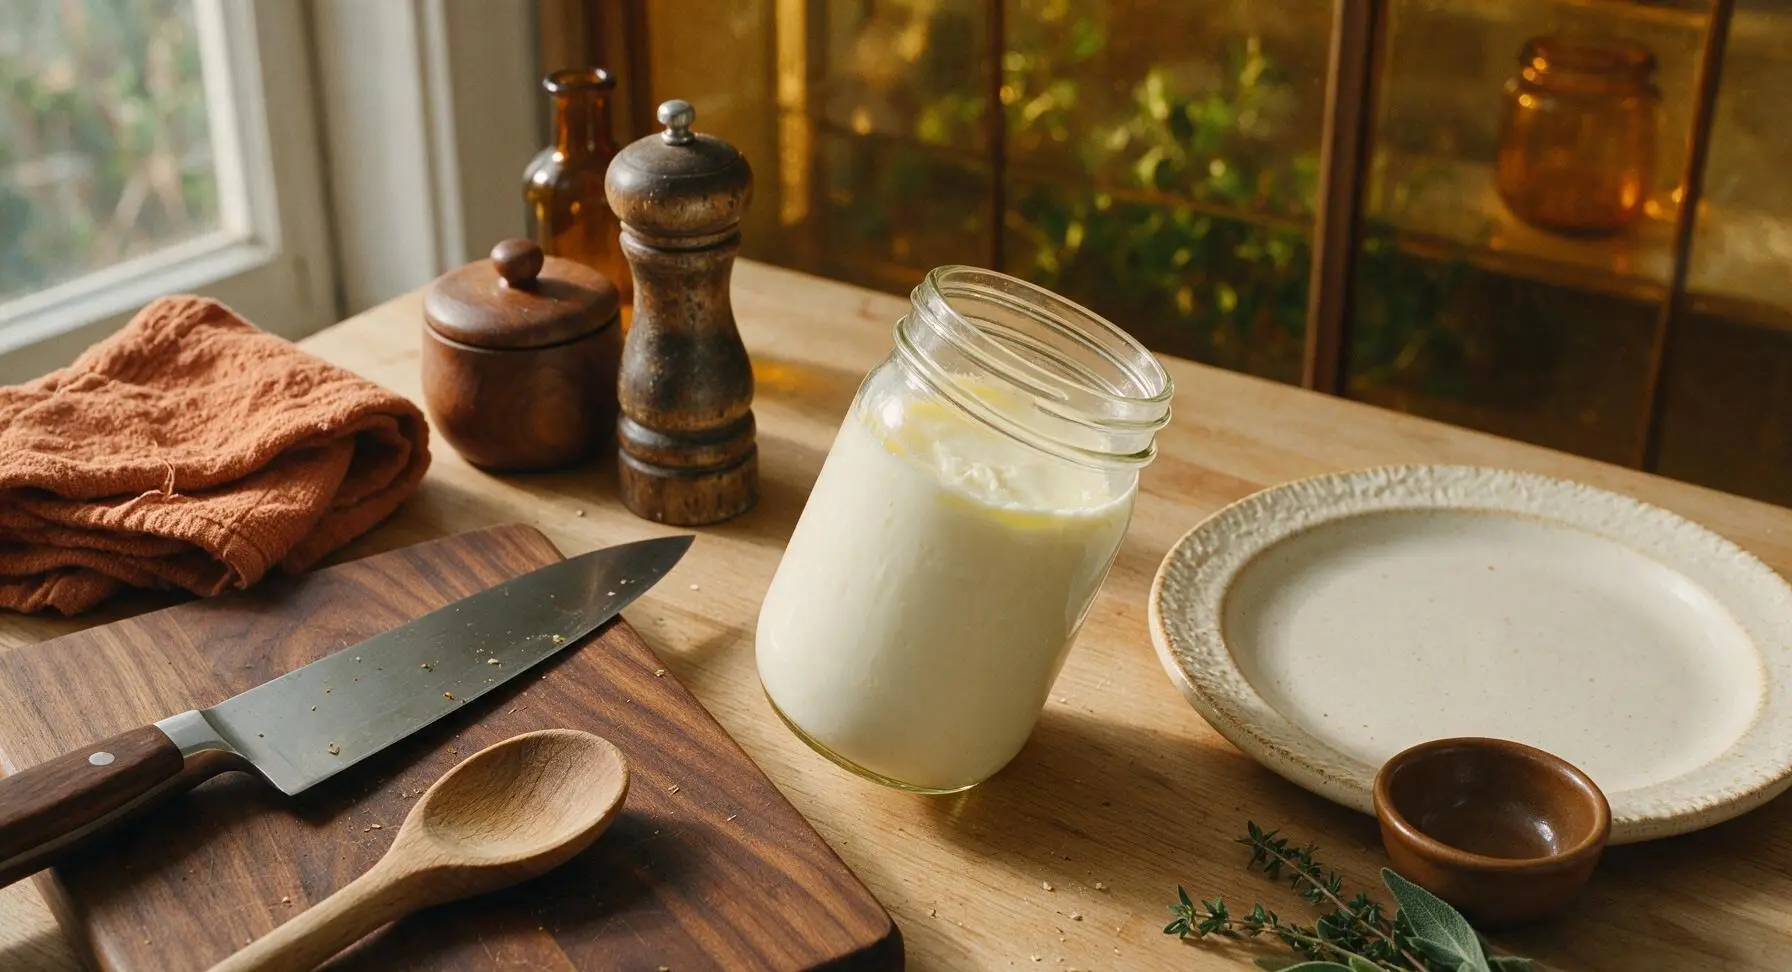
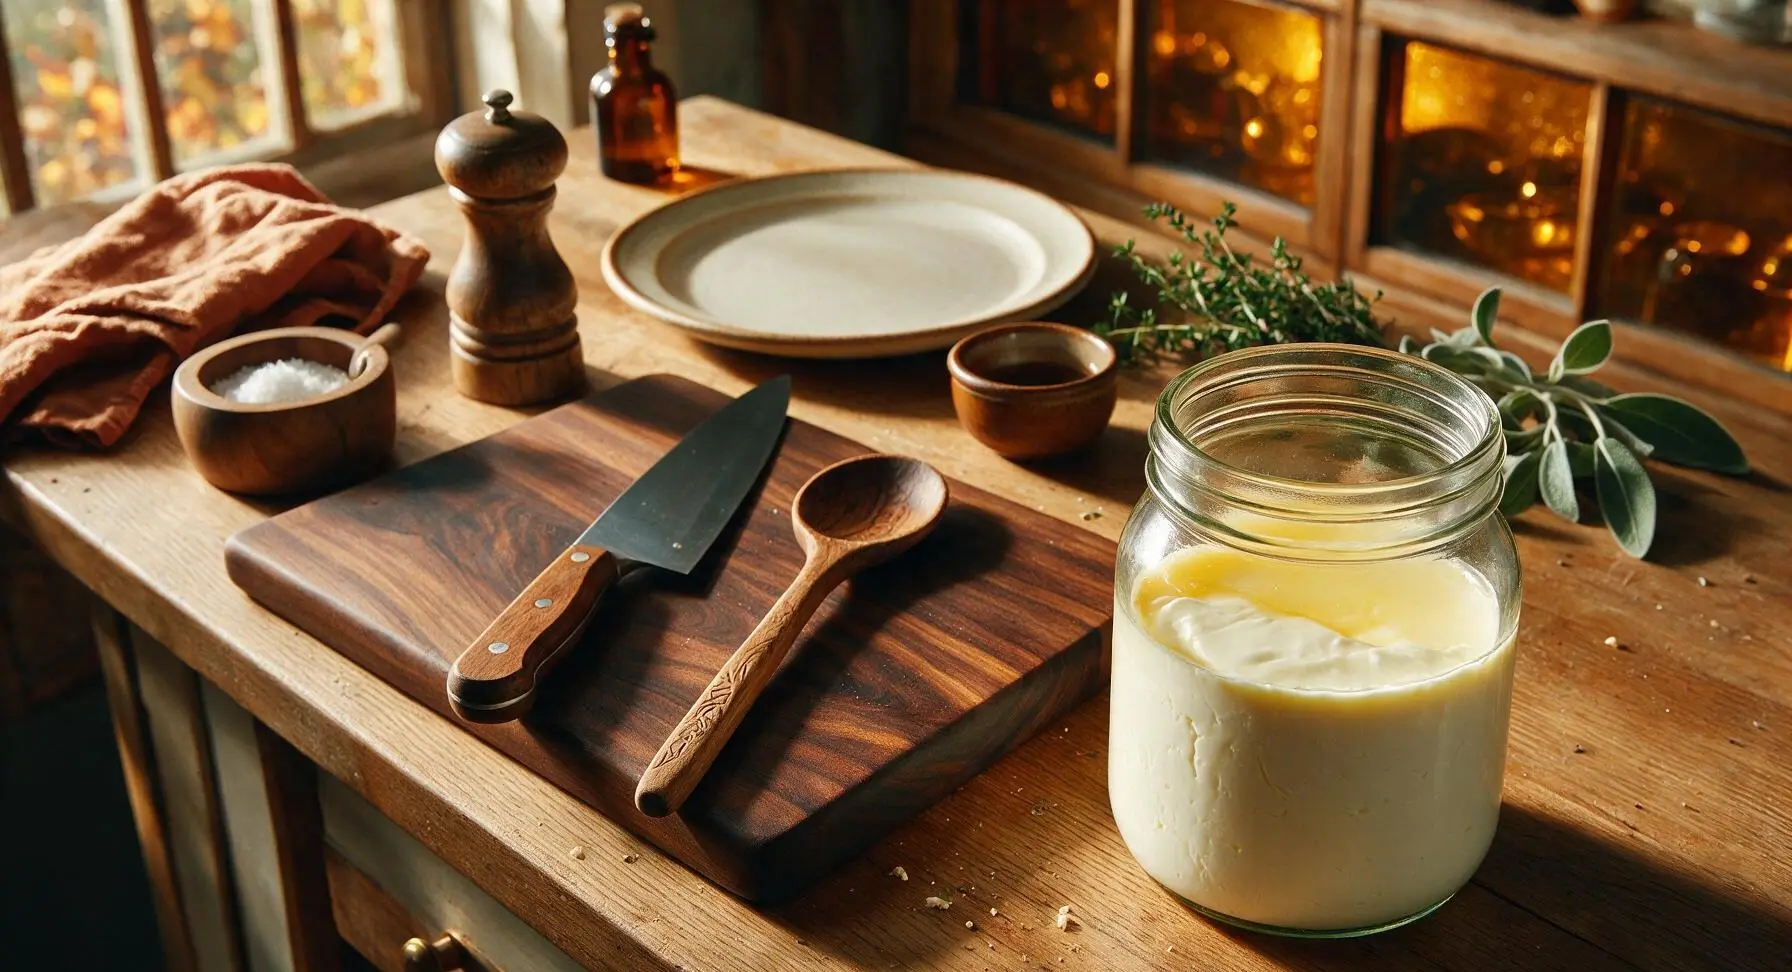
After 24 hours, gently tilt the jar to check the culture consistency. A properly set mesophilic culture will have a thick, jiggly, custard-like consistency, with a thin layer of clear pale yellow whey pooling at the top of the curd. It will smell clean, tangy, and slightly sour, similar to plain yogurt or buttermilk, with no off odors, pink discoloration, or fuzzy mold (discard immediately if any of these appear).
Step 7
step7:Check Curd Set
Step 7
step7:Check Curd Set
8

Chill Before Use

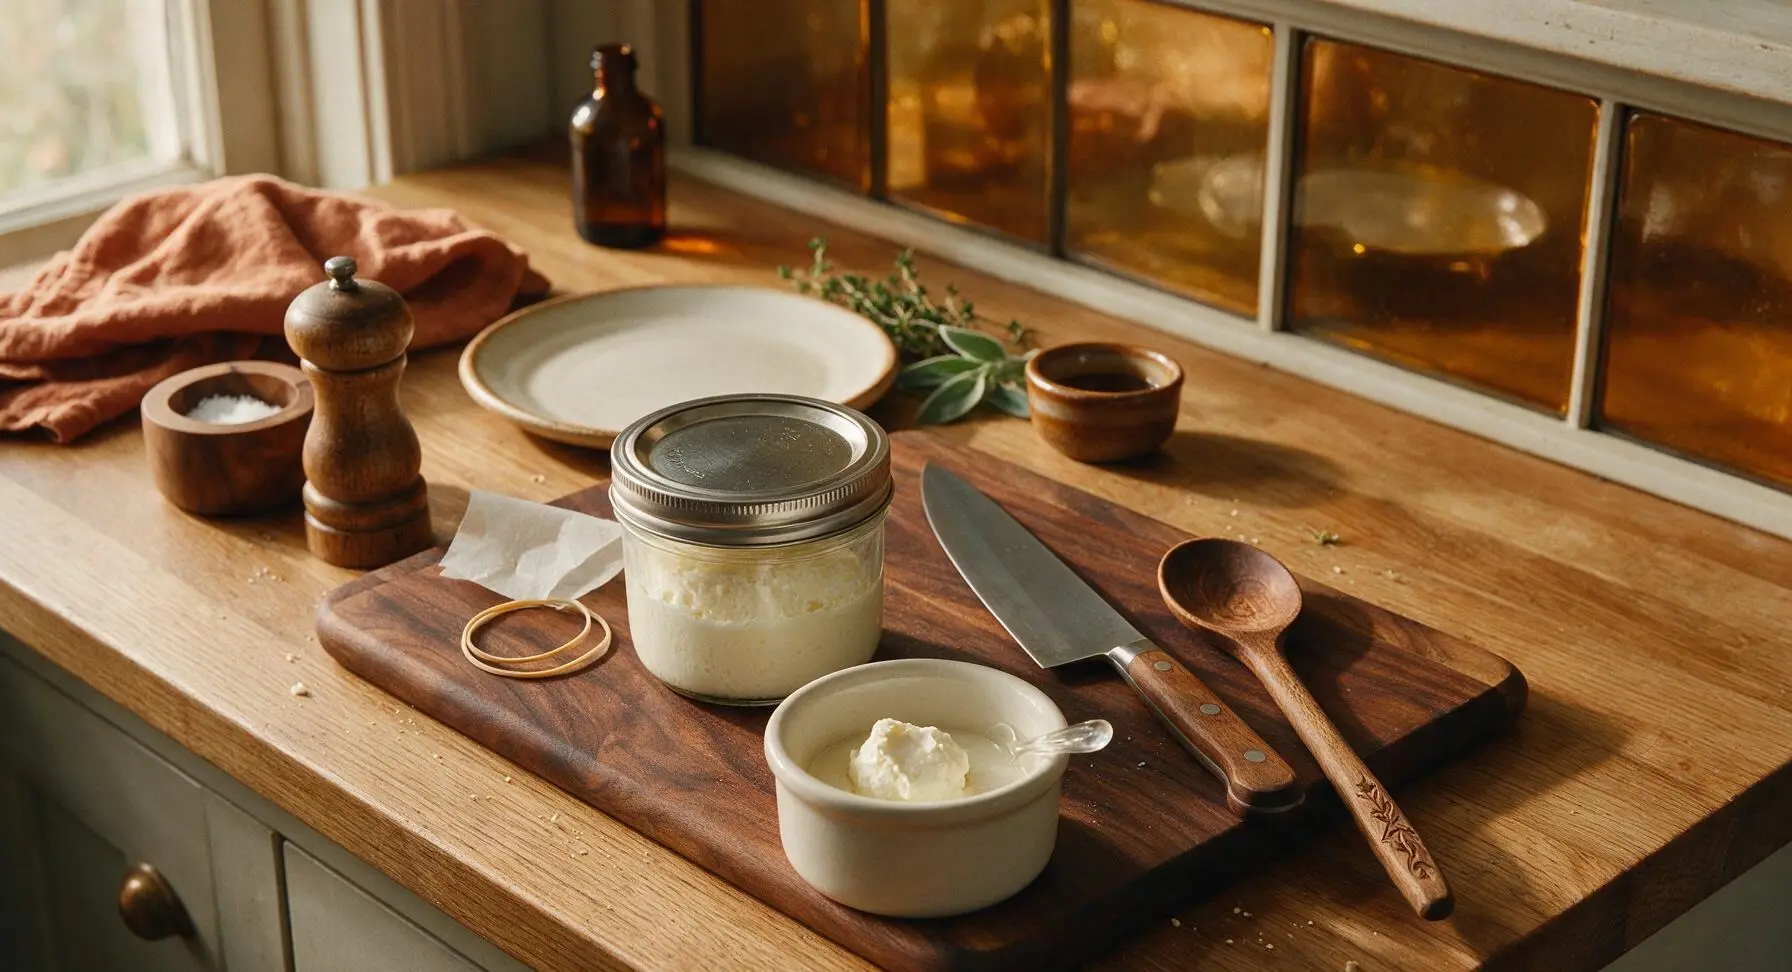
Remove the paper filter cover, and screw on the sterilized stainless steel mason jar lid tightly. Place the jar in the refrigerator for at least 4 hours to halt fermentation and chill the culture completely. Once chilled, the culture will thicken slightly more, and is ready to use for cheesemaking, sour cream, or cultured butter. Store refrigerated for up to 2 weeks, or propagate a new batch by using 1/4 cup of the finished culture to inoculate fresh milk every 7-10 days.
Step 8
step8:Chill Before Use

Tips

1.Never use ultra-pasteurized (UHT) milk for making mesophilic culture, as the high-heat processing denatures milk proteins and removes the nutrients mesophilic bacteria need to grow, resulting in a thin, weak culture that will not set into a proper curd.
2.If your home is cooler than 68°F during incubation, wrap the mason jar in a folded linen towel and place it inside a small insulated cooler with a sealed jar of 90°F water to hold a steady 72°F temperature; fluctuating temperatures cause bitter off-flavors or prevent curd formation entirely.
3.Always reserve 1/4 cup of your finished mesophilic culture before using the rest for recipes, so you can propagate a new fresh batch without buying store-bought buttermilk again; properly maintained with regular re-culturing every 7-10 days, a mother culture can last for 6+ months.


✨ You May Also Like

Desserts & Baking
🍜 Italy

Creamy, coffee-kissed classic Northern Italian no-bake dessert, with layers of rum-spiked mascarpone cream, soft ladyfingers, and a rich cocoa dusting.

⏱️ 4 hours 3Desserts & Baking ★ 4.7
Desserts & Baking
🍜 France

Flaky, shatteringly crisp, buttery French croissants with golden exteriors and soft, airy layered interiors, perfect for pairing with coffee for a special morning treat.

⏱️ 12 hours Desserts & Baking ★ 4.5
Desserts & Baking
🍜 United States

Warm, spiced baked apples topped with a fluffy golden biscuit crust, this cozy dessert pairs perfectly with vanilla ice cream for cool-weather comfort.

⏱️ 55 minuteDesserts & Baking ★ 4.6
Desserts & Baking
🍜 United States

A star-spangled classic American blueberry pie with buttery flaky crust and bright sweet-tart filling, perfect for summer patriotic gatherings.

⏱️ 1 hour 25Desserts & Baking ★ 4.7
Desserts & Baking
🍜 United States

A beloved no-bake regional Maine candy with a chewy coconut-potato center coated in rich dark chocolate, a New England holiday staple since the 1870s.

⏱️ 2 hours 3Desserts & Baking ★ 4.8
Desserts & Baking
🍜 France

Luxuriously creamy, floral frozen custard made with aromatic Tahitian vanilla beans, boasting a smooth, rich texture that melts slowly on the tongue.

⏱️ 3 hours 3Desserts & Baking ★ 4.5

mesophilic culture:Frequently Asked Questions

1.Why can’t I use ultra-pasteurized milk to make this mesophilic culture? ▾
Ultra-pasteurized (UHT/UP) milk is heated to 280°F+ to extend shelf life, which denatures milk proteins and eliminates native beneficial bacteria that help your starter establish reliably. It will not set properly, often produces weak, inactive culture, and can cause odd, flat flavors in finished cheese. Stick to standard low-temperature pasteurized whole milk for best results.
2.Is non-homogenized milk required, or will regular homogenized whole milk work? ▾
Non-homogenized milk is preferred because its intact fat and protein structure supports more robust, balanced bacteria growth, but standard homogenized whole pasteurized milk works perfectly if that’s all you can find. Just skip any milk with added preservatives or fortified vitamin blends that can inhibit active mesophilic strains from multiplying properly.
3.How do I confirm my store-bought buttermilk has active mesophilic strains for this starter? ▾
Check the ingredient label closely: it should list only cultured milk and live active cultures, with no thickeners, preservatives, flavorings, or added sweeteners. Avoid products labeled as cultured buttermilk blend, and pick refrigerated (not shelf-stable) buttermilk with a far-out expiration date to ensure strains are alive and active.
4.What temperature do I need to hold the milk and buttermilk mix at for proper culture growth? ▾
Mesophilic strains thrive at 70–77°F, which is roughly comfortable room temperature in most American home kitchens. Don’t let the mix drop below 65°F, which slows bacteria growth too much, or climb above 85°F, which can kill delicate active cultures and lead to un-set starter or odd, off-flavors.
5.How long does it take for the mesophilic culture to fully set and be ready to use? ▾
At the ideal 70–77°F temperature range, your culture will take 18–24 hours to fully set. It’s ready when it pulls cleanly away from the jar sides when tilted, has a thick, yogurt-like consistency, and smells bright, tangy, and slightly sour, with no mold, fizz, or rancid, putrid odors.
6.Can I use a previous batch of homemade culture to start a new batch instead of store-bought buttermilk? ▾
Absolutely! You can reculture from a healthy, active homemade batch for 5–7 generations before strain balance shifts and the culture weakens. Just reserve 2 tablespoons of fresh, fully set culture per quart of new milk, and follow the same incubation steps you would with store-bought buttermilk for consistent results.
7.How should I store finished mesophilic culture to keep it active as long as possible? ▾
Once your culture is fully set, seal it in an airtight glass jar and store it in the coldest part of your refrigerator (usually the back of the lower shelf) at 34–38°F. It will stay active and usable for up to 2 weeks; discard it early if you spot mold, slimy texture, or off, yeasty odors.
8.Why did my culture turn out runny and fail to thicken after 24 hours? ▾
Runny, un-set culture usually stems from one of three common issues: inactive buttermilk with dead cultures, preservative-laced or ultra-pasteurized milk that inhibited growth, or incubation temperatures that were too cold or too hot for mesophilic strains. If it smells fresh and tangy but thin, it’s still usable, just less potent for cheese making.
9.What recipes can I use this homemade mesophilic culture for? ▾
This tangy, mild culture is perfect for all mesophilic home cheese projects, including soft chèvre, cream cheese, cottage cheese, feta, sour cream, and cultured butter. It also works beautifully as a tangy add-in for no-knead breads, homemade ranch dressing, or fermented pickle brines to add bright, lactic depth of flavor.
10.Is it safe to make this mesophilic culture at home without specialized lab equipment? ▾
It is completely safe as long as you follow basic food safety practices: sterilize all jars and utensils in boiling water first, use fresh, properly refrigerated milk and buttermilk, hold the culture at the correct temperature during incubation, and discard any batch with fuzzy mold, gassy fizz, or rancid, unpleasant odors.
11.How much of this homemade culture do I use compared to freeze-dried commercial mesophilic starter? ▾
Homemade mesophilic culture is less concentrated than freeze-dried commercial starter, so use roughly ¼ cup of fresh homemade culture per gallon of milk for most soft cheese recipes. If your culture is a little thinner than the ideal yogurt-like consistency, add an extra 2 tablespoons to ensure you have enough active bacteria to set the cheese properly.
12.There’s thin, pale yellow liquid on top of my set culture—did it go bad? ▾
That pale yellow liquid is whey, and it’s totally normal, not a sign of spoilage! It separates naturally as the culture sets and lactic acid builds up. You can either stir it right back into the culture before use or storage, or pour it off to use in smoothies, bread baking, or fermented veggie brines, as long as the culture smells bright and tangy with no off odors.

Comments (14)

2 days ago

OMG this was SO easy! I’ve been intimidated to make my own cheese culture for months because I thought I needed fancy lab equipment, but this worked perfectly with stuff I already had in my kitchen. Used it to make cheddar for our family potluck last weekend and everyone was begging for the recipe. Total game changer!

yesterday

Wait did you have any issues with off smells during incubation? I tried a different recipe once and it went rancid so I’m nervous to try again!

yesterday

Great question! As long as you’re using sanitized equipment and keeping the temp steady between 70-75°F, you shouldn’t get any off odors. A slightly tangy, yogurt-like smell is totally normal though!

3 days ago

This worked really well overall! I only knocked off a star because I misread the incubation temp at first and had it a little too warm, so the first batch was a dud. Second try was perfect though, I’ve already used it to make homemade cream cheese for my kids’ morning bagels. They go crazy for it!

1 week ago

As someone who’s been dabbling in home fermentation for years, I can’t believe I never tried making my own mesophilic culture before. This is way cheaper than buying those freeze-dried packets from the homebrew shop, and it works just as well if not better. Used it for a batch of colby jack that’s currently aging in my cheese fridge!

5 days ago

So glad to hear that! Many home fermenters are surprised how simple it is to maintain their own culture long-term, too—just refresh it every few weeks and you’ll never need to buy packets again.

5 days ago

Tried this last minute when I realized I forgot to order culture for my goat cheese project, and I was shocked how well it turned out! The cheese came out creamy, perfectly tangy, way better than the store-bought culture I used last time. 10/10 will be my go-to from now on.

3 days ago

Wait did you use raw milk or pasteurized for the culture? I have a couple dairy goats and I’m curious if fresh raw milk works here!

3 days ago

Great question! Raw milk works wonderfully as long as it comes from healthy, tested animals, but we recommend avoiding ultra-pasteurized milk of any kind because it won’t culture properly.

yesterday

Used this culture to make queso fresco for our weekly taco night and HOLY COW it was so good. My wife thought I bought it from the fancy Mexican grocery store downtown until I told her I made it from scratch. Super easy to follow instructions, zero fancy tools needed. Will be making this on repeat!

2 weeks ago

I do big weekly meal prep sessions and having this homemade culture on hand has been a total game changer for quick cheese batches to add to salads, snack plates, and breakfast wraps. It incubates while I’m doing other prep so it doesn’t take any extra active time, which is perfect for my busy schedule.

1 week ago

Love that you’re fitting this into meal prep! Stored in a clean, sealed jar in the fridge, the culture will stay active for up to 2 weeks, or you can freeze it for up to 3 months for longer storage.

30 minutes ago

Just pulled my first batch out of incubation and it looks perfect! I’m planning to use it to make a big batch of pimento cheese for our neighborhood block party next weekend, I know everyone is gonna lose their minds over how good homemade is. Fingers crossed it turns out as great as everyone says!

5 minutes ago

Pimento cheese made with homemade culture is next level! I did this for a tailgate last fall and people were literally scraping the bowl clean. You’re gonna be the hit of the block party!

3 days ago

I wanted to love this, but my first batch didn’t set up right? I followed the instructions exactly, let it sit for 24 hours, but it was still really runny, no thick tangy culture like the photos show. Not sure what I did wrong, maybe my kitchen was too cold?

2 days ago

I had this happen my first try too! Turns out my apartment was like 62 degrees that week because we had the AC cranked, I put it on a seedling heat mat set to 72 for the next batch and it worked perfectly.

2 days ago

Alex is exactly right! Temperature is the most common culprit for runny culture. If your space is cooler than 70°F, try using a heating pad (set to low, wrapped in a towel) or a dedicated yogurt maker to keep it steady during incubation, and your next batch should set perfectly.

1 week ago

My grandma used to make her own cheese culture all the time when she was growing up on a dairy farm, and I’ve been trying to recreate her recipes for years. This is the first one that tastes exactly like I remember! Made a batch of her classic farmhouse cheddar last week and it brought back so many childhood memories. Thank you so much for sharing this!

2 days ago

Y’all, I did the math and making this culture at home costs literally pennies compared to buying the pre-made packets online. I make a lot of cheese for my side hustle selling at local farmers markets, and this is gonna save me so much money long term. Can’t believe I didn’t switch to this sooner!

yesterday

Wait do you find that the homemade culture gives consistent results batch to batch? I sell cheese too and I’ve been nervous to stray from store-bought culture because I don’t want to mess up a whole batch I’m planning to sell.

5 days ago

This is a lifesaver for our family! My son has a bunch of weird preservative allergies, and every store-bought cheese culture I can find has weird additives that set off his reactions. This uses just two simple ingredients, no weird stuff, and I can make it fresh at home whenever we need it. We made homemade mozzarella for pizza night last Friday and he ate three slices without any reaction, I almost cried.

3 days ago

This makes us so happy to hear! Having full control over the ingredients going into your food is one of the best parts of homemade staples like this, and we’re thrilled it worked out for your family pizza night!

just now

Pretty good for a tiny college apartment kitchen! I don’t have any fancy gear so I just wrapped the jar in a hoodie and stuck it in my closet (the warmest spot in my place) to incubate, and it mostly worked. It’s a little thinner than I expected but it still made great cottage cheese for my meal prep this week. Would recommend for broke college kids trying to make fancy cheese on a budget!

2 weeks ago

I’m already obsessed with my sourdough starter, so adding a mesophilic cheese culture to my little fermentation station felt like a no brainer. This was so easy to start, I’ve already refreshed it twice and made three batches of cheese with it. It’s like a little pet that gives you cheese, what more could you ask for?

1 week ago

Wait how similar is maintaining this to a sourdough starter? I already have three starters on my counter, I can probably handle another one if it’s low lift!

1 week ago

Great question! It’s even lower maintenance than a sourdough starter—you only need to refresh it every 2 weeks if you’re storing it in the fridge, and the feeding process is super simple, just add fresh milk and let it sit at room temp for 12 hours.

5 minutes ago

Full time RVer here, so I make almost everything from scratch in my tiny kitchen since I have limited storage for pre-packaged stuff. This culture is perfect because it takes barely any space, doesn’t require any fancy equipment, and I can make it whenever I need it instead of storing a bunch of freeze dried packets in my tiny pantry. Made a batch of monterey jack on my camp stove last week and it turned out chef’s kiss.

just now

Oh this is perfect! I live in a converted van and I’ve been dying to make my own cheese but I thought I needed too much gear. Definitely trying this next time I’m parked for a couple days!



