
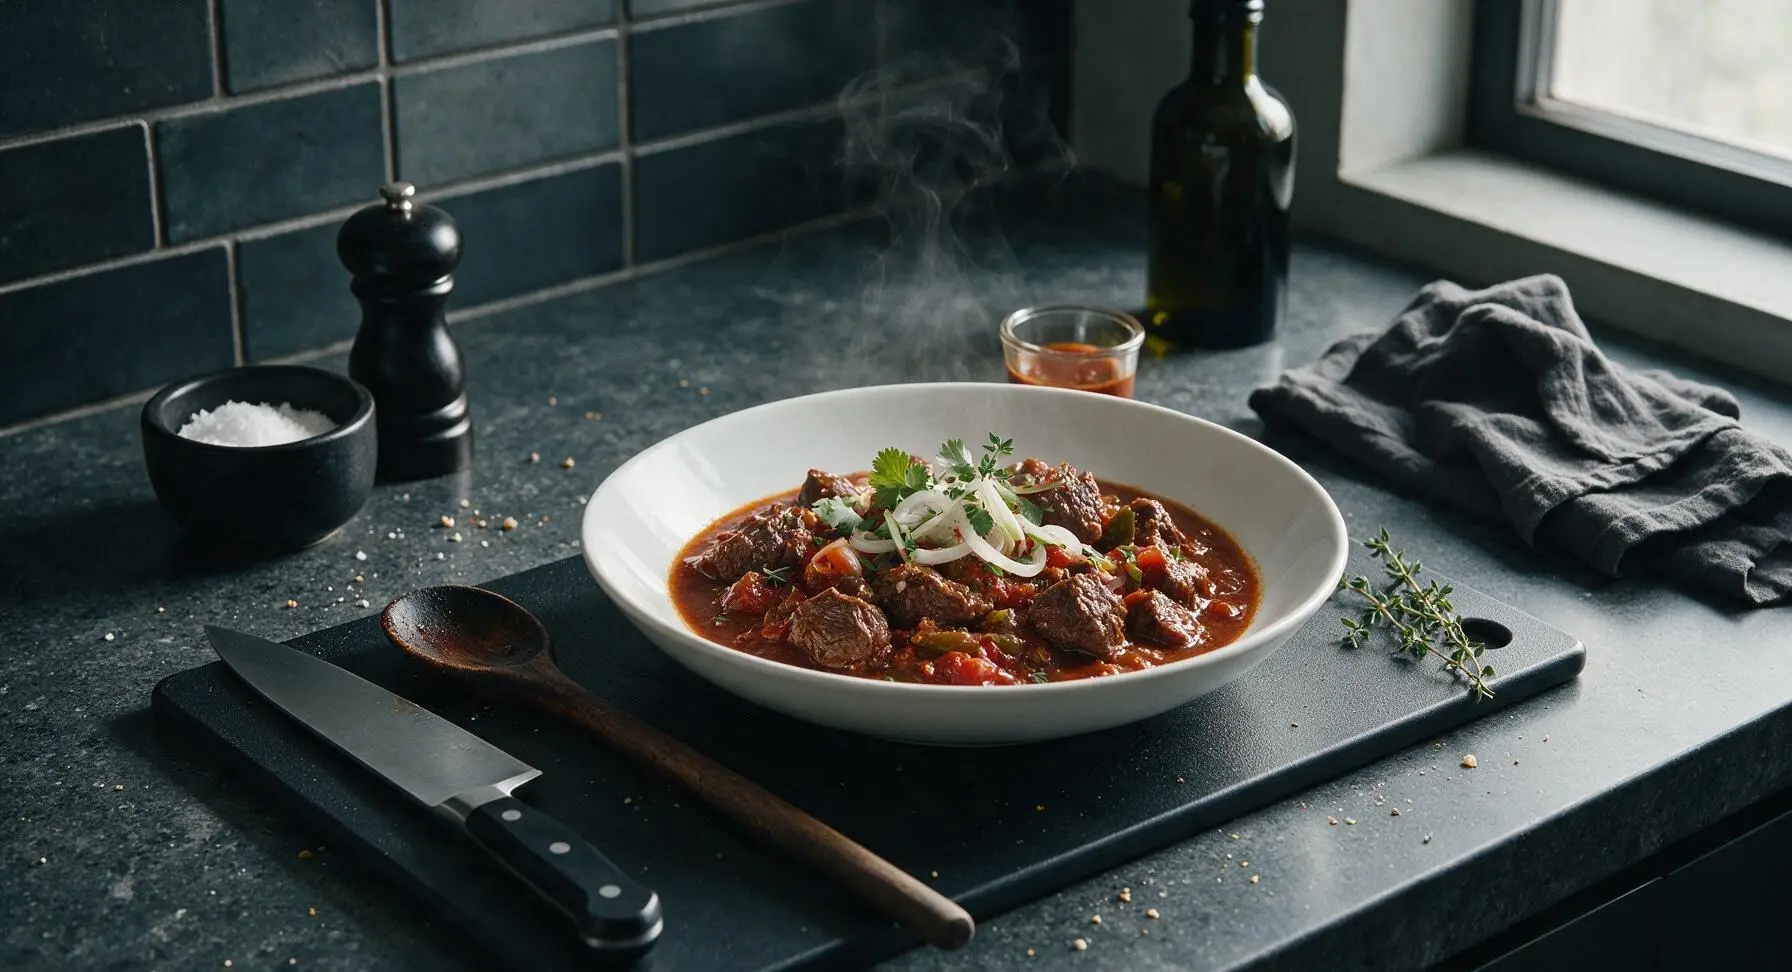
mexican beef

title 1
mexican beef
⏱️ cook time 1 hour 30 minutes
🍽️ servings 4
⚡ Difficulty medium

intro

Tender slow-braised Northern Mexican beef simmered with warm spices, ripe tomatoes, and mild chiles, perfect for stuffing tortillas or pairing with rice for cozy family meals.

Ingredients
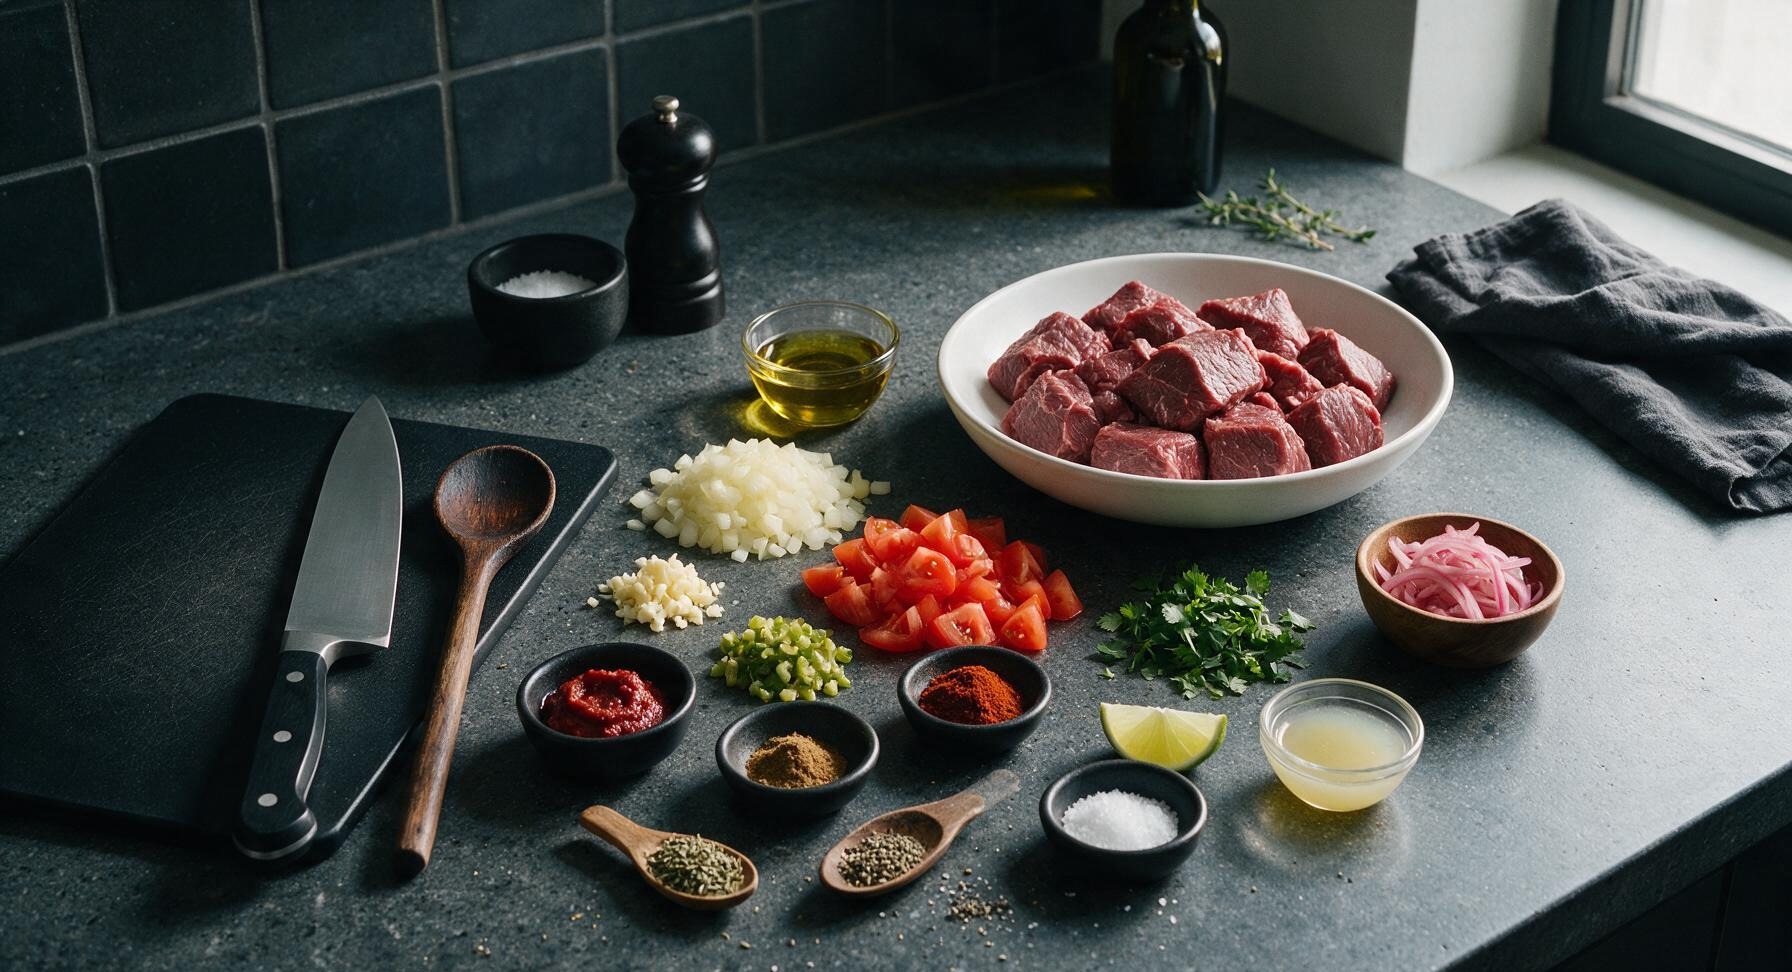
Beef chuck roast 700g, trimmed and cut into 4cm cubes
Vegetable oil 2 tbsp
Yellow onion 1 medium (150g), diced
Garlic 3 cloves (10g), minced
Roma tomatoes 2 medium (200g), cored and chopped
Jalapeño pepper 1 (15g), seeded and finely diced
Tomato paste 2 tbsp (30g)
Ground cumin 1 tsp
Dried Mexican oregano 1 tsp
Smoked paprika 1/2 tsp
Kosher salt 1 tsp, divided
Black pepper 1/4 tsp
Low-sodium beef broth 1 cup (240ml)
Fresh lime juice 1 tbsp (15ml)
Fresh cilantro 1/4 cup (10g), chopped, for garnish
Pickled red onions 1/4 cup (30g), for garnish

Steps

1

Cut and season beef

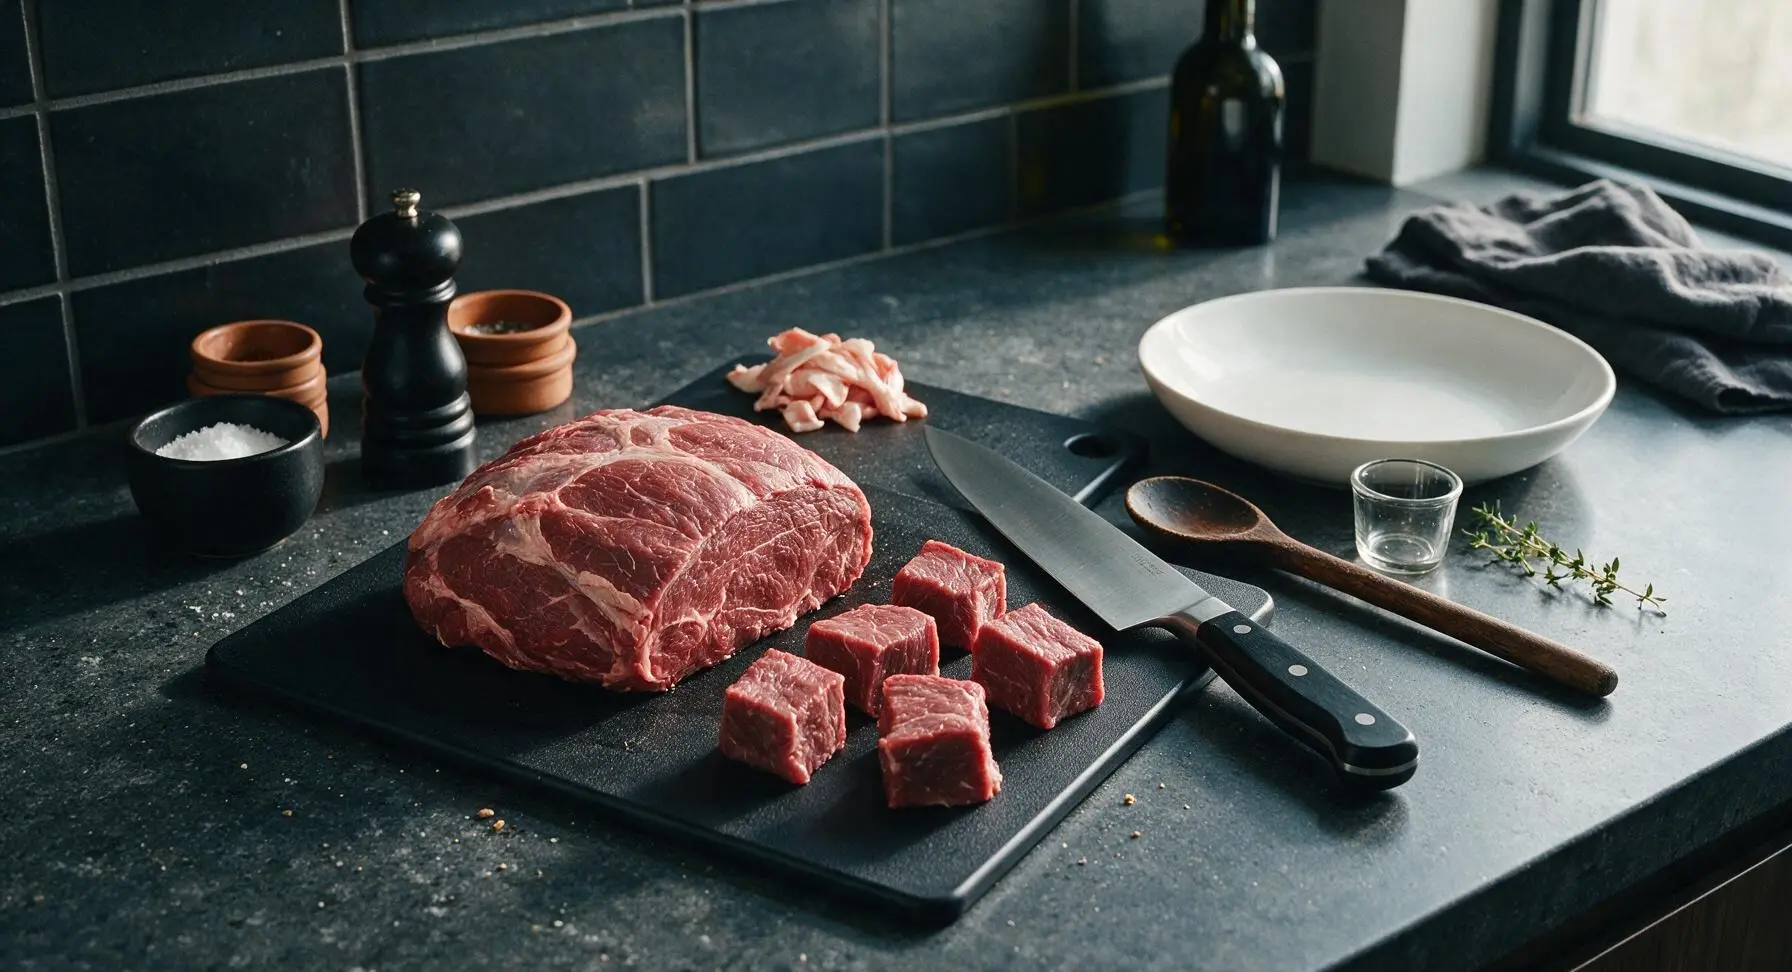
Place the 700g beef chuck roast on the mesquite cutting board. Using the chef knife, trim any large hard pieces of silver skin or excess external fat, then cut the beef into uniform 4cm cubes. Pat the cubes completely dry on all sides with paper towel, then toss with 1/2 tsp kosher salt and 1/4 tsp black pepper. Drying the beef thoroughly ensures a deep, golden sear instead of steaming.
Step 1
step1:Cut and season beef
2

Sear beef until golden

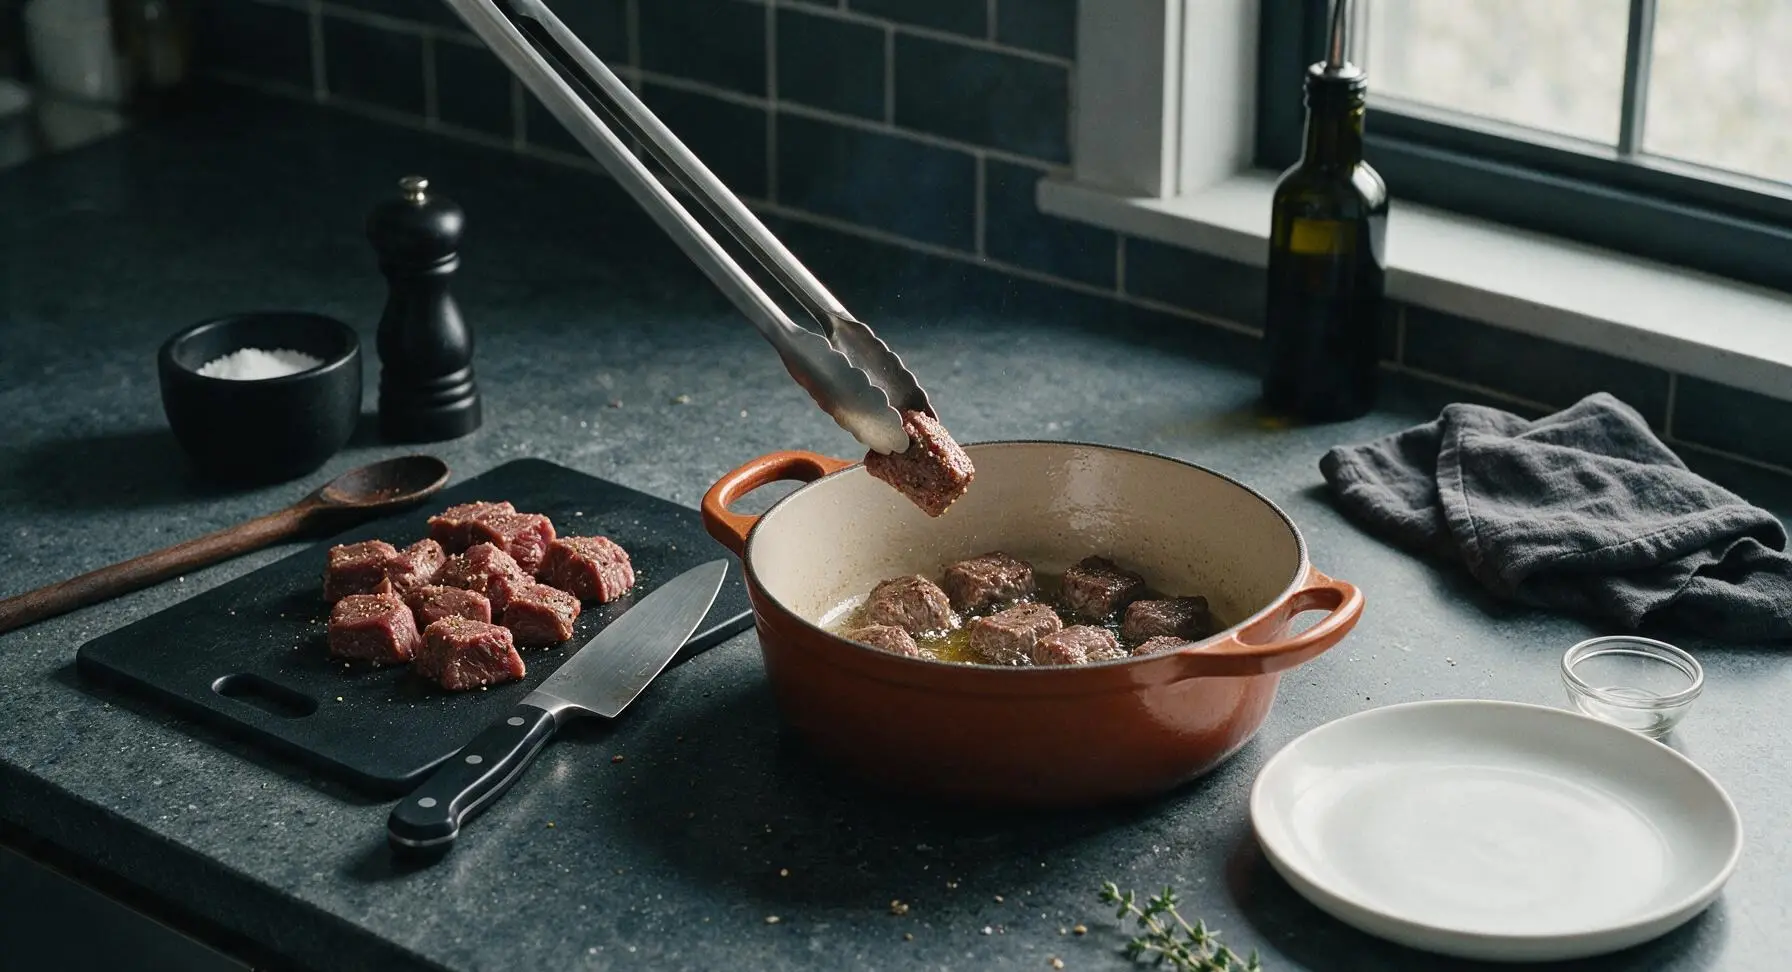
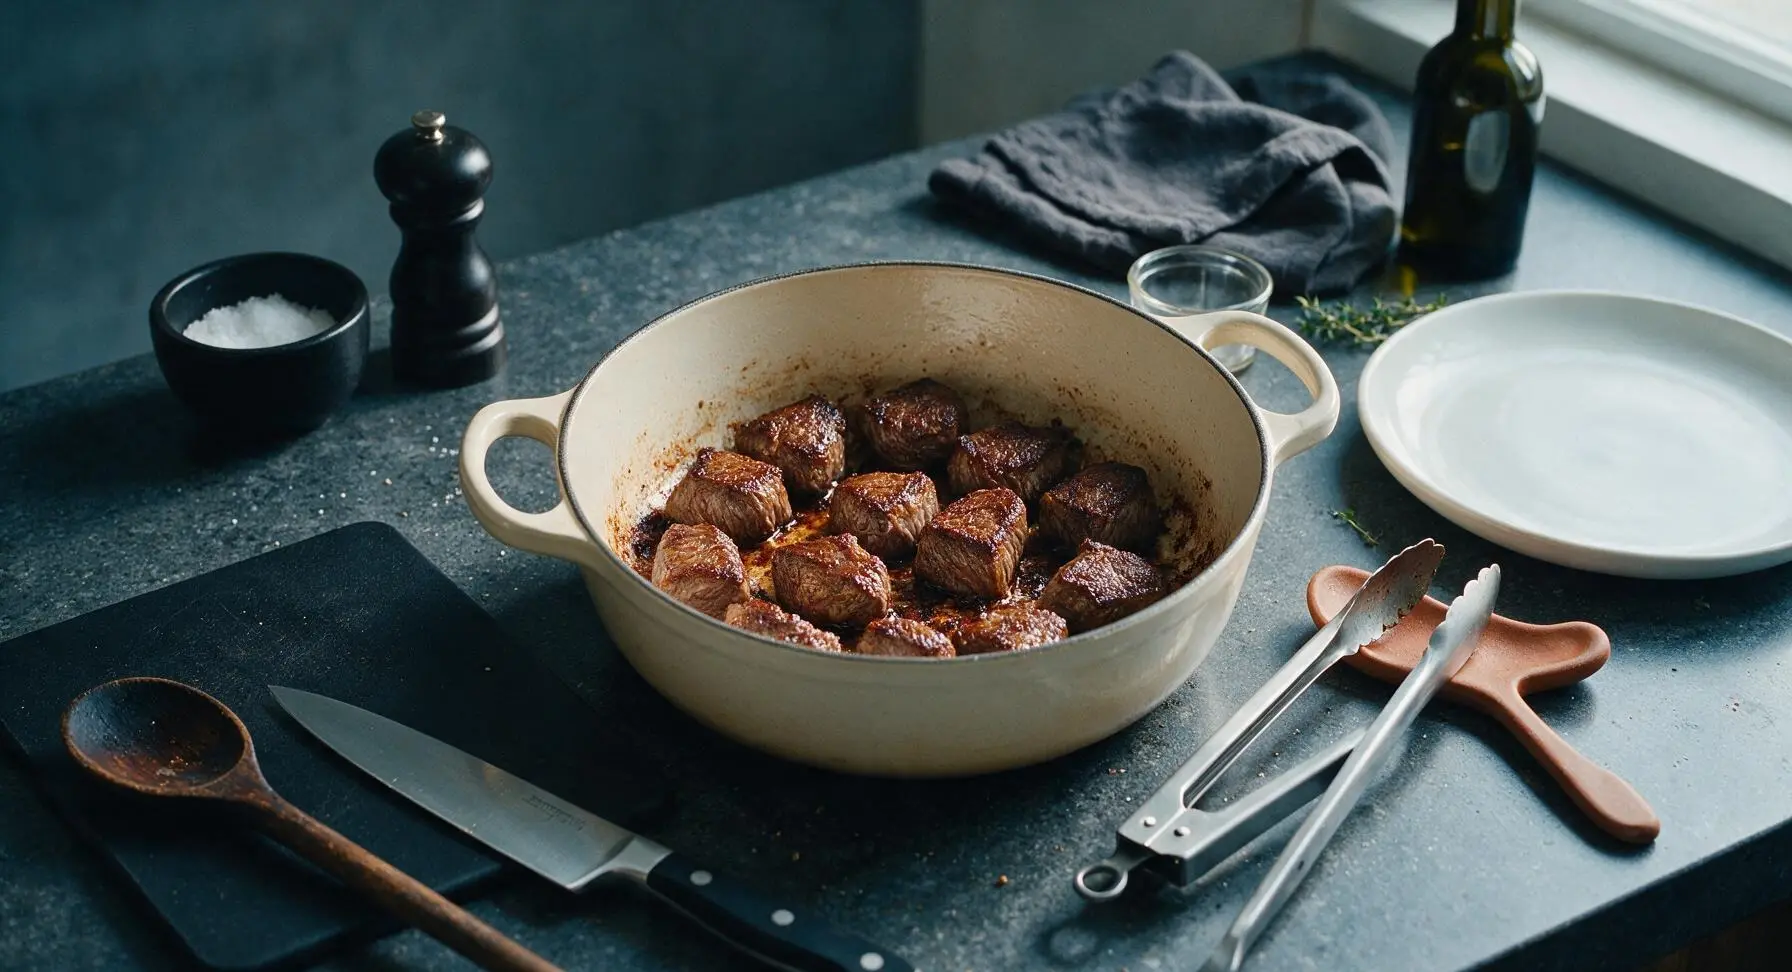
Heat 2 tbsp vegetable oil in the terracotta Dutch oven over medium-high heat until the oil shimmers (approximately 180C/350F). Working in 2 batches to avoid crowding the pan, add the seasoned beef cubes in a single layer, searing for 3-4 minutes per side until deep golden brown on all surfaces. Transfer seared beef to a clean plate and set aside. Do not scrape the browned bits (fond) from the bottom of the pan—this caramelized residue adds deep, savory flavor to the final sauce.
Step 2
step2:Sear beef until golden
Step 2
step2:Sear beef until golden
3

Sauté onion and chiles

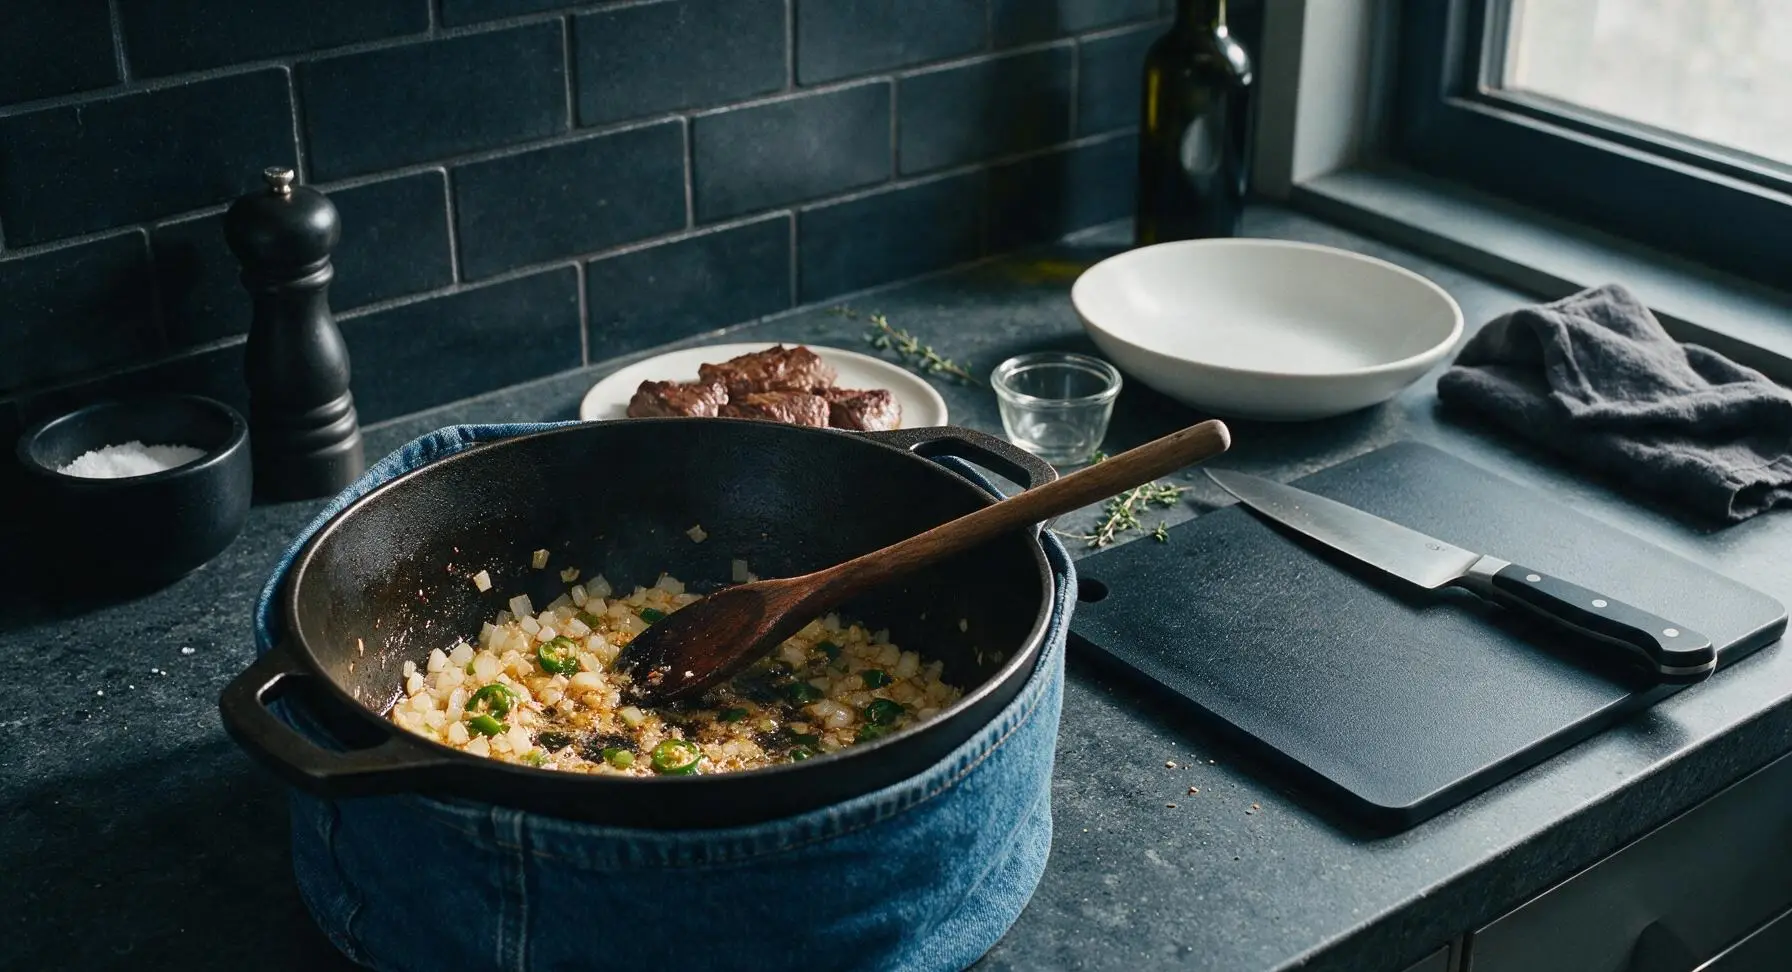
Reduce heat under the Dutch oven to medium. Add the diced yellow onion and seeded diced jalapeño to the rendered beef fat in the pan, sautéing for 5 minutes until soft and translucent, scraping up the browned fond from the pan bottom as you stir with the wooden mesquite spoon. Add the minced garlic and cook for 30 seconds more until fragrant, taking care not to burn the garlic, as it will turn bitter quickly.
Step 3
step3:Sauté onion and chiles
4

Toast spices and paste

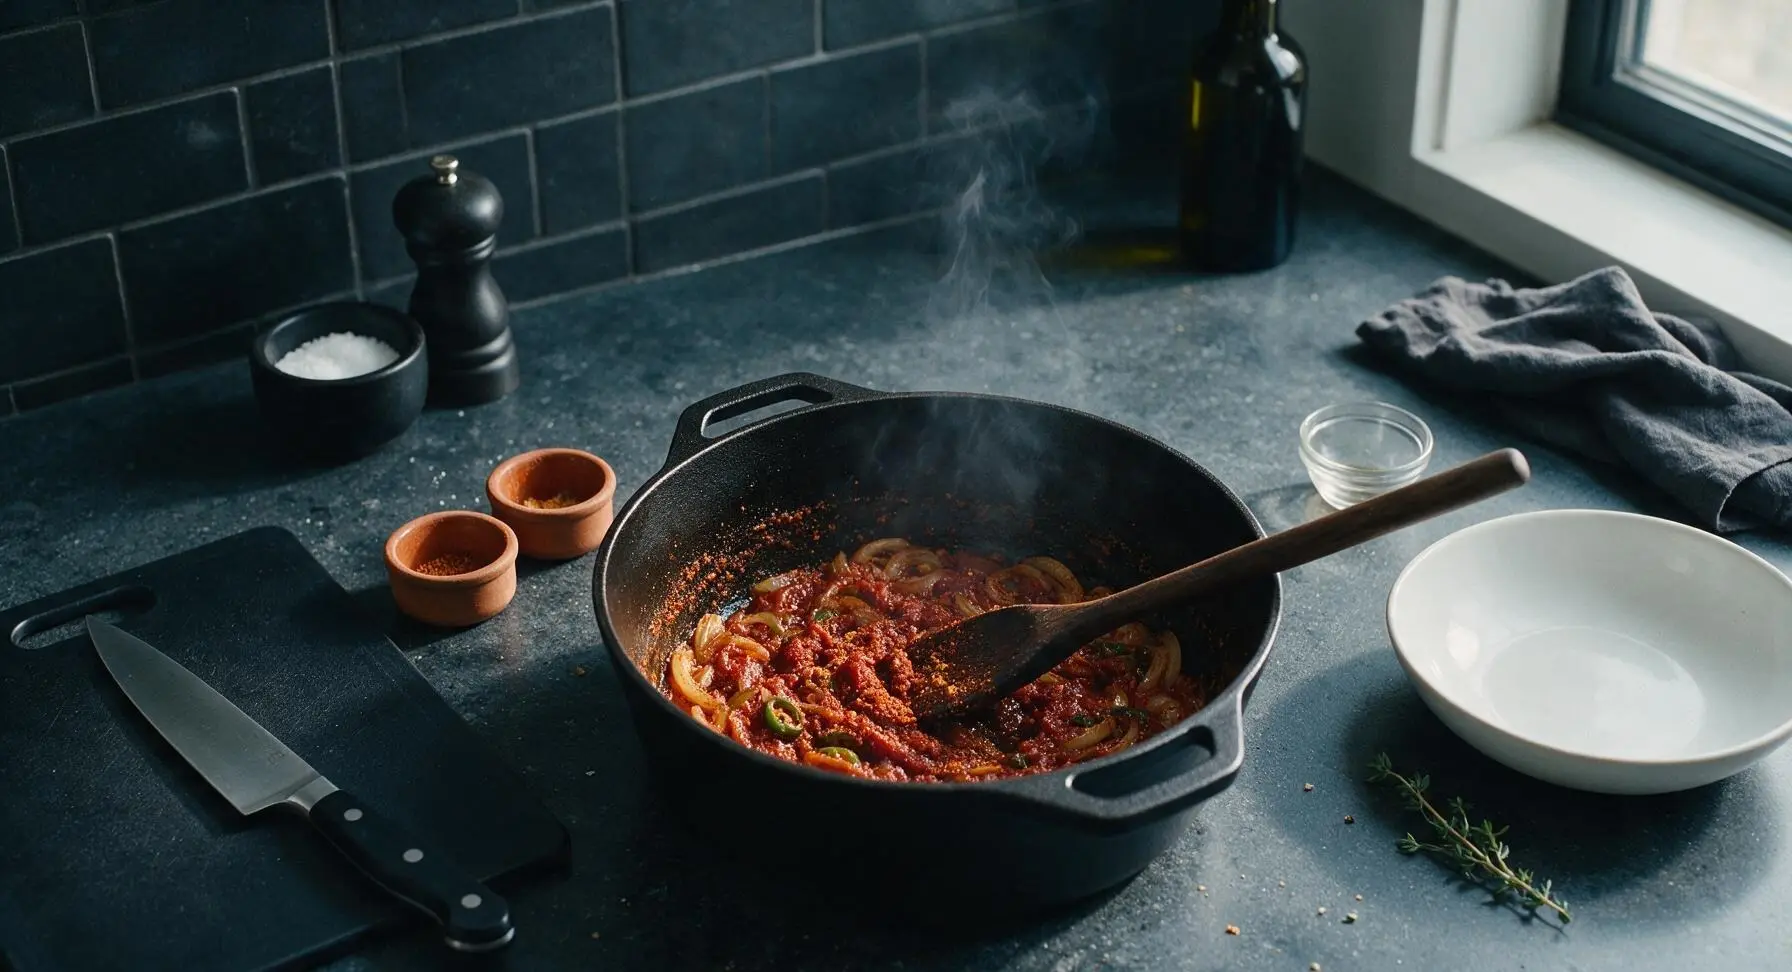
Add the 2 tbsp tomato paste, 1 tsp ground cumin, 1 tsp dried Mexican oregano, and 1/2 tsp smoked paprika to the pan with the softened aromatics. Stir constantly with the wooden spoon for 1-2 minutes until the tomato paste darkens to a deep rust color and the spices release a warm, earthy aroma. Toasting the spices before adding liquid amplifies their flavor significantly, rather than leaving them tasting flat and raw.
Step 4
step4:Toast spices and paste
5

Slow braise the beef

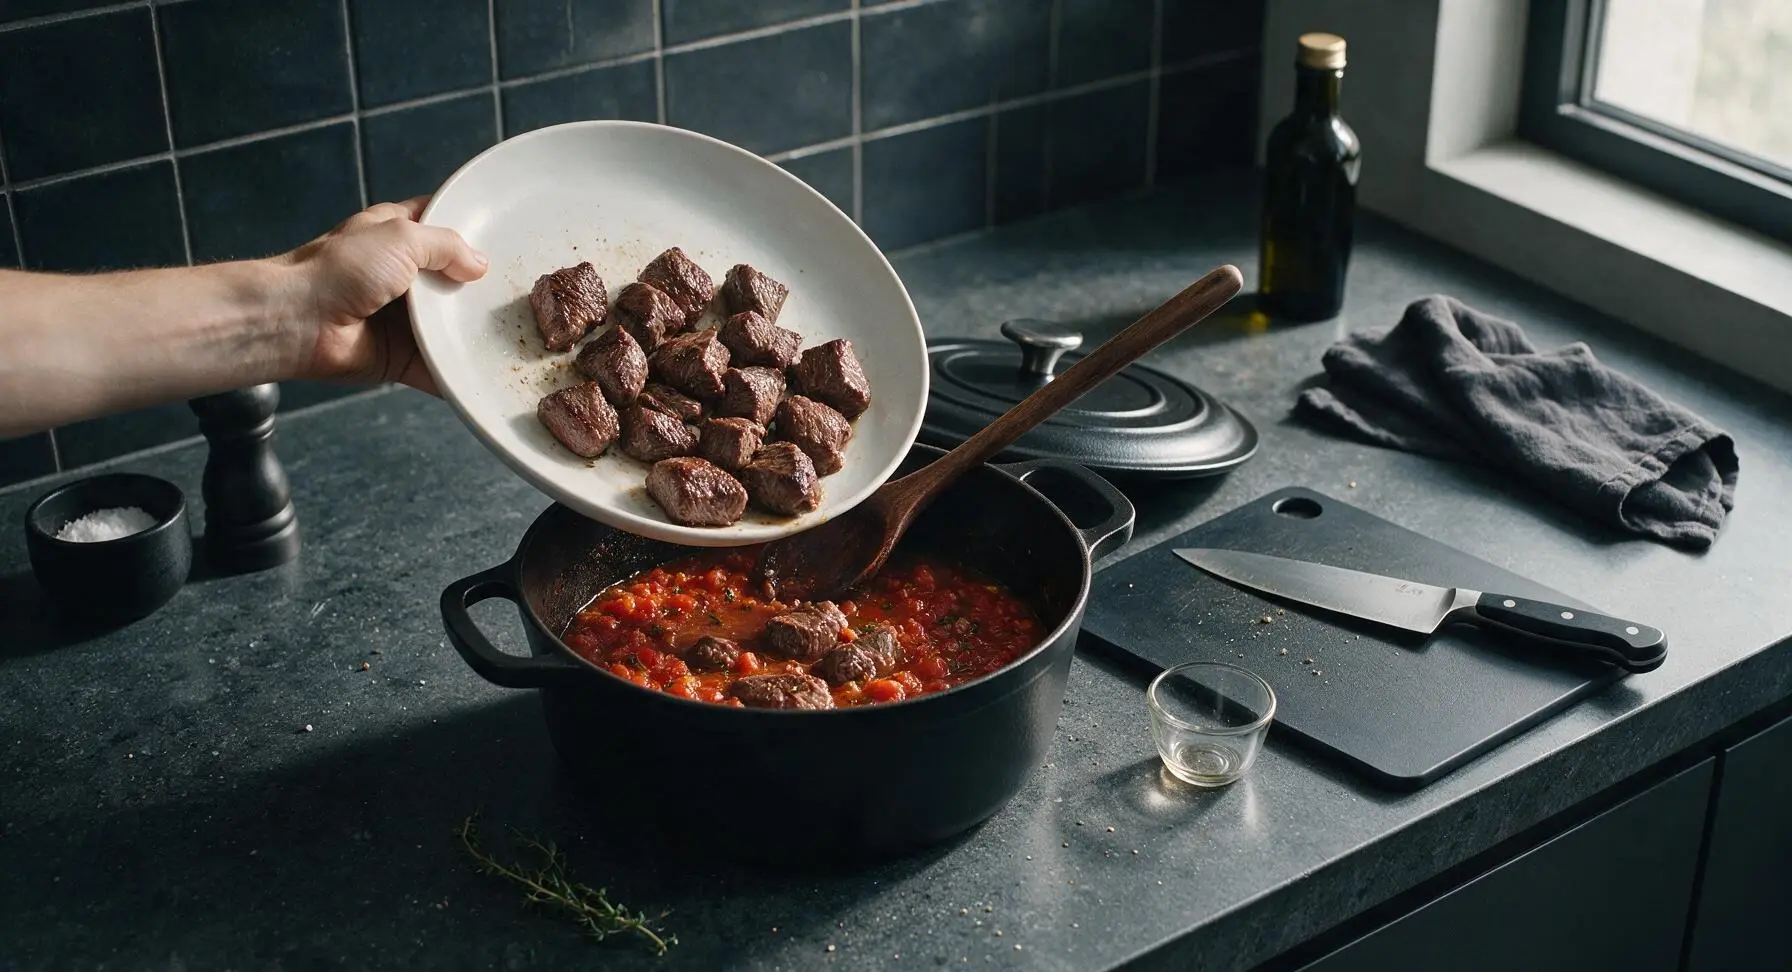
Pour 1 cup low-sodium beef broth into the pan, stirring to lift any remaining fond from the bottom. Add the chopped Roma tomatoes, then return the seared beef cubes and any collected resting juices back to the Dutch oven. Stir to combine, then bring the liquid to a gentle simmer. Reduce heat to low, cover the Dutch oven with its lid, and cook for 1 hour 15 minutes, stirring occasionally, until the beef is fork-tender and pulls apart easily with light pressure. The sauce should be thick enough to coat the back of a spoon; if too thin, simmer uncovered for the last 10 minutes to reduce.
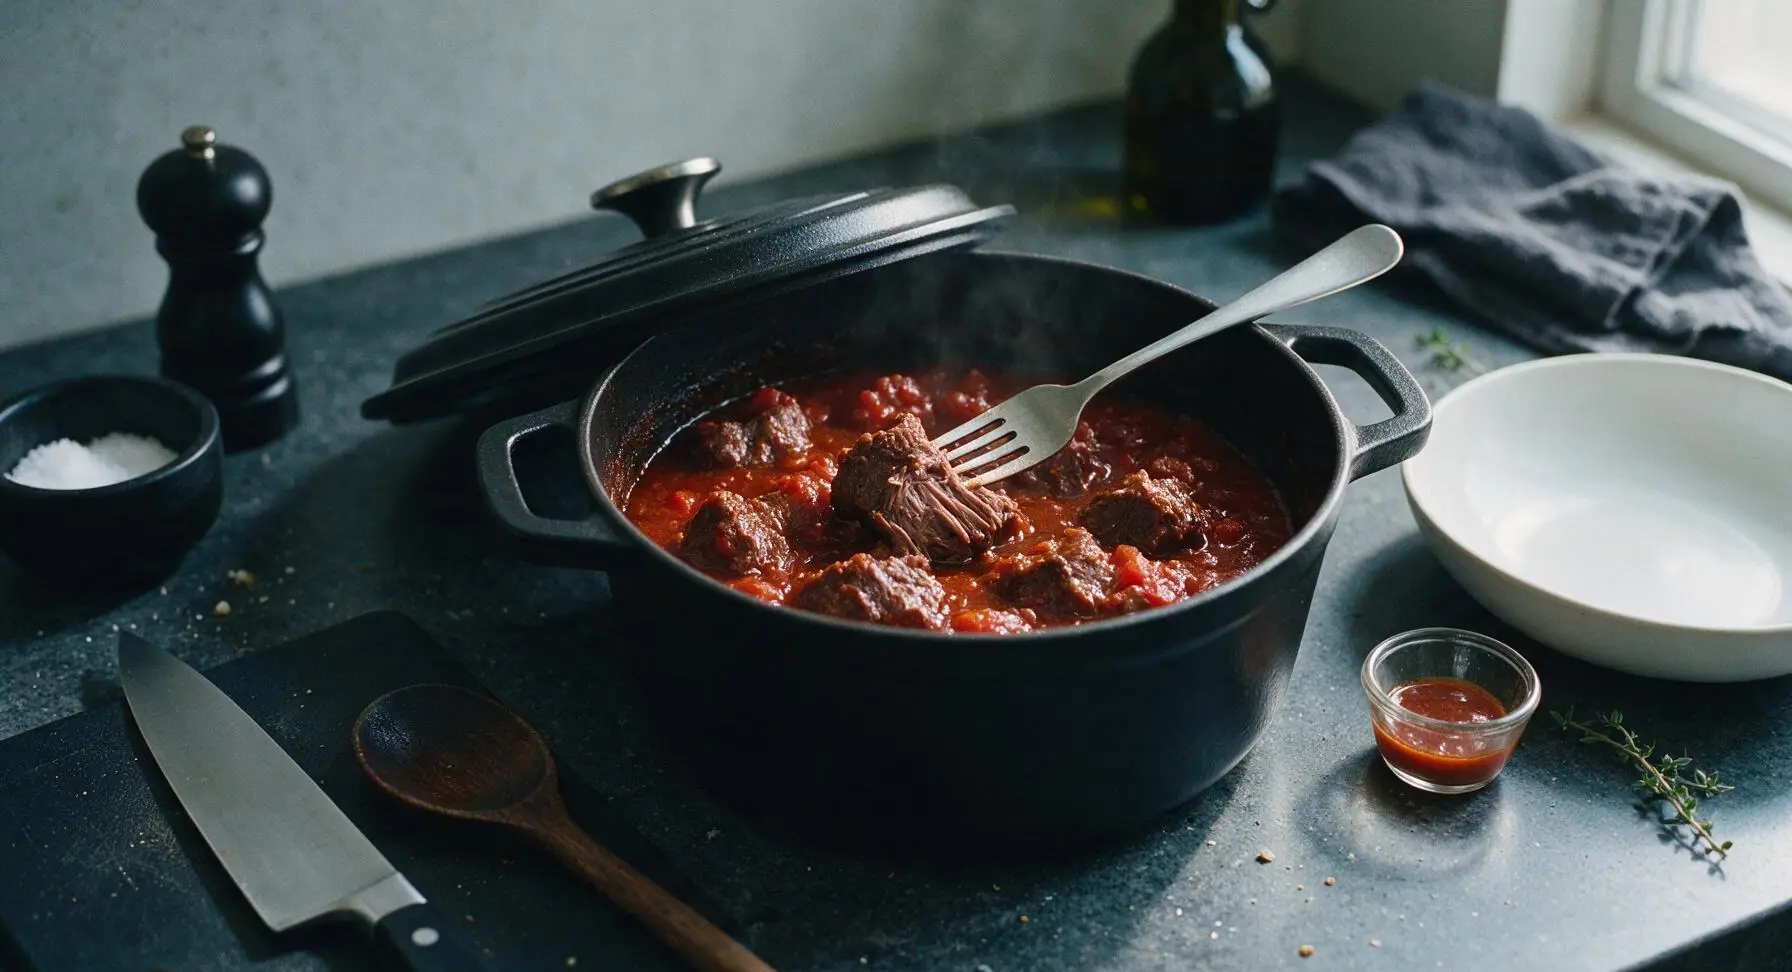
Step 5
step5:Slow braise the beef
Step 5
step5:Slow braise the beef
6

Finish with lime juice

Remove the Dutch oven from heat. Stir in 1 tbsp fresh lime juice and the remaining 1/2 tsp kosher salt, tasting the sauce to adjust salt or acid as needed. The bright lime juice cuts through the rich beef fat and elevates the warm spice flavors for a more balanced taste.
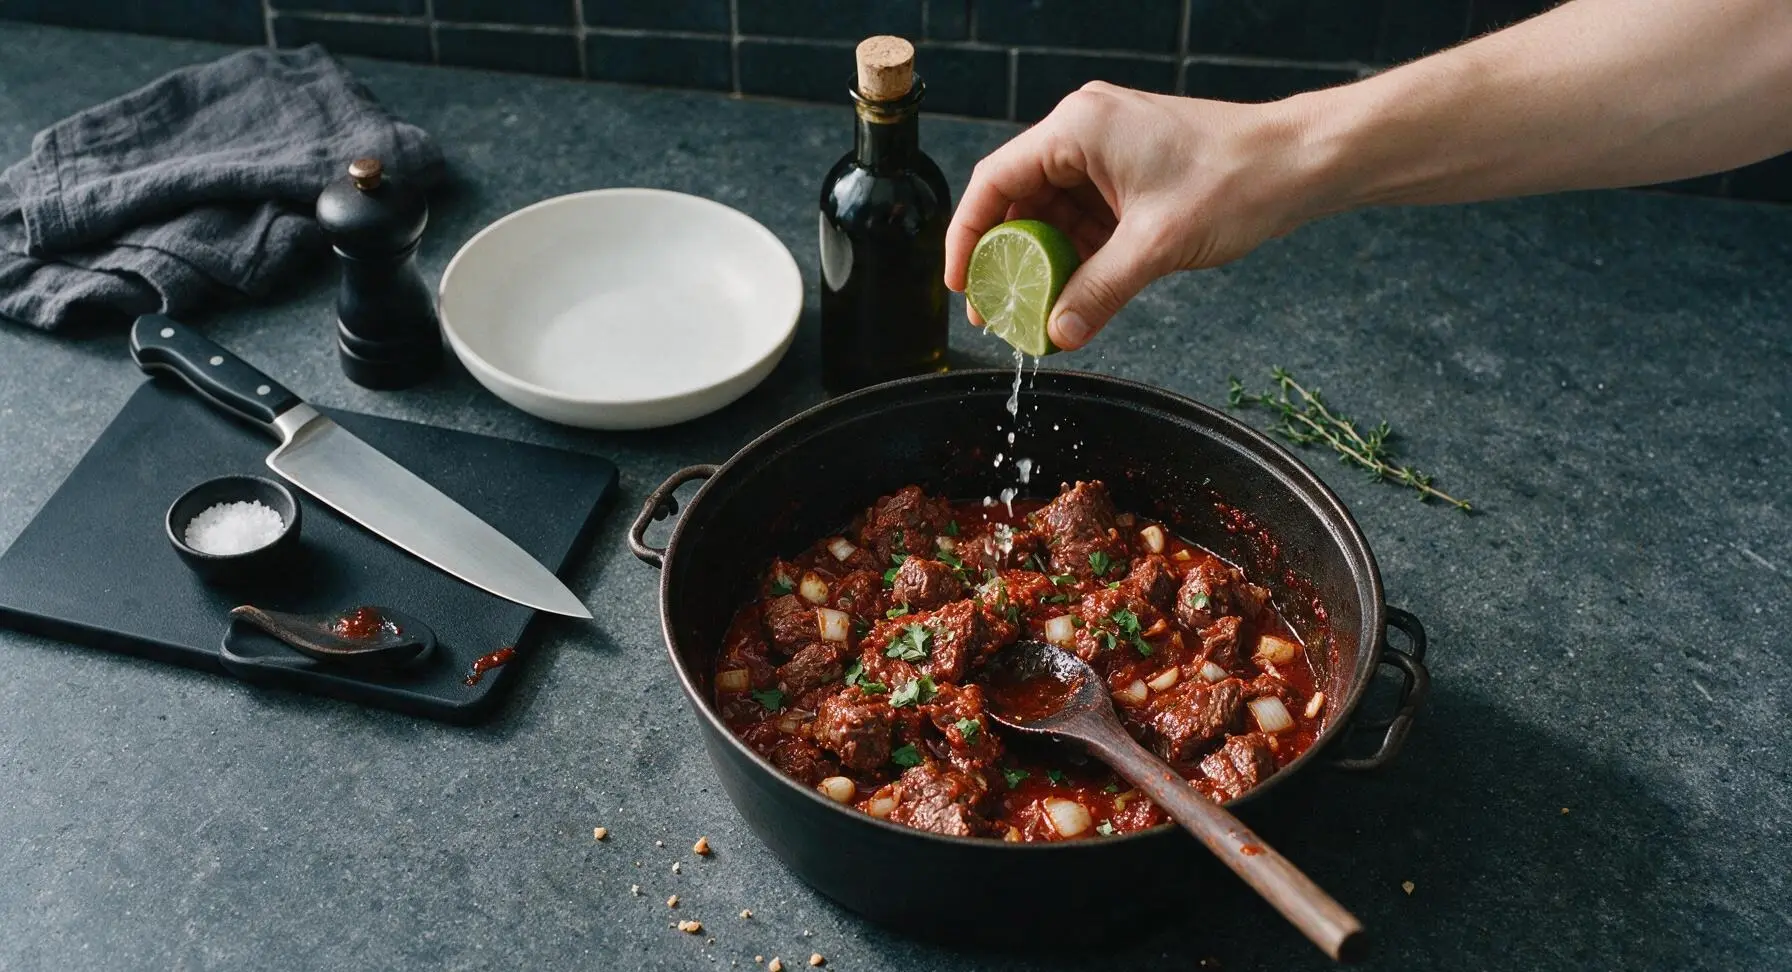
Step 6
step6:Finish with lime juice
7

Plate and garnish

Scoop a generous portion of the braised beef and sauce onto the 27cm terracotta dinner plate. Garnish with a sprinkle of chopped fresh cilantro and a scattering of thin pickled red onion slices. Serve immediately, with warm corn tortillas or steamed white rice on the side if desired.
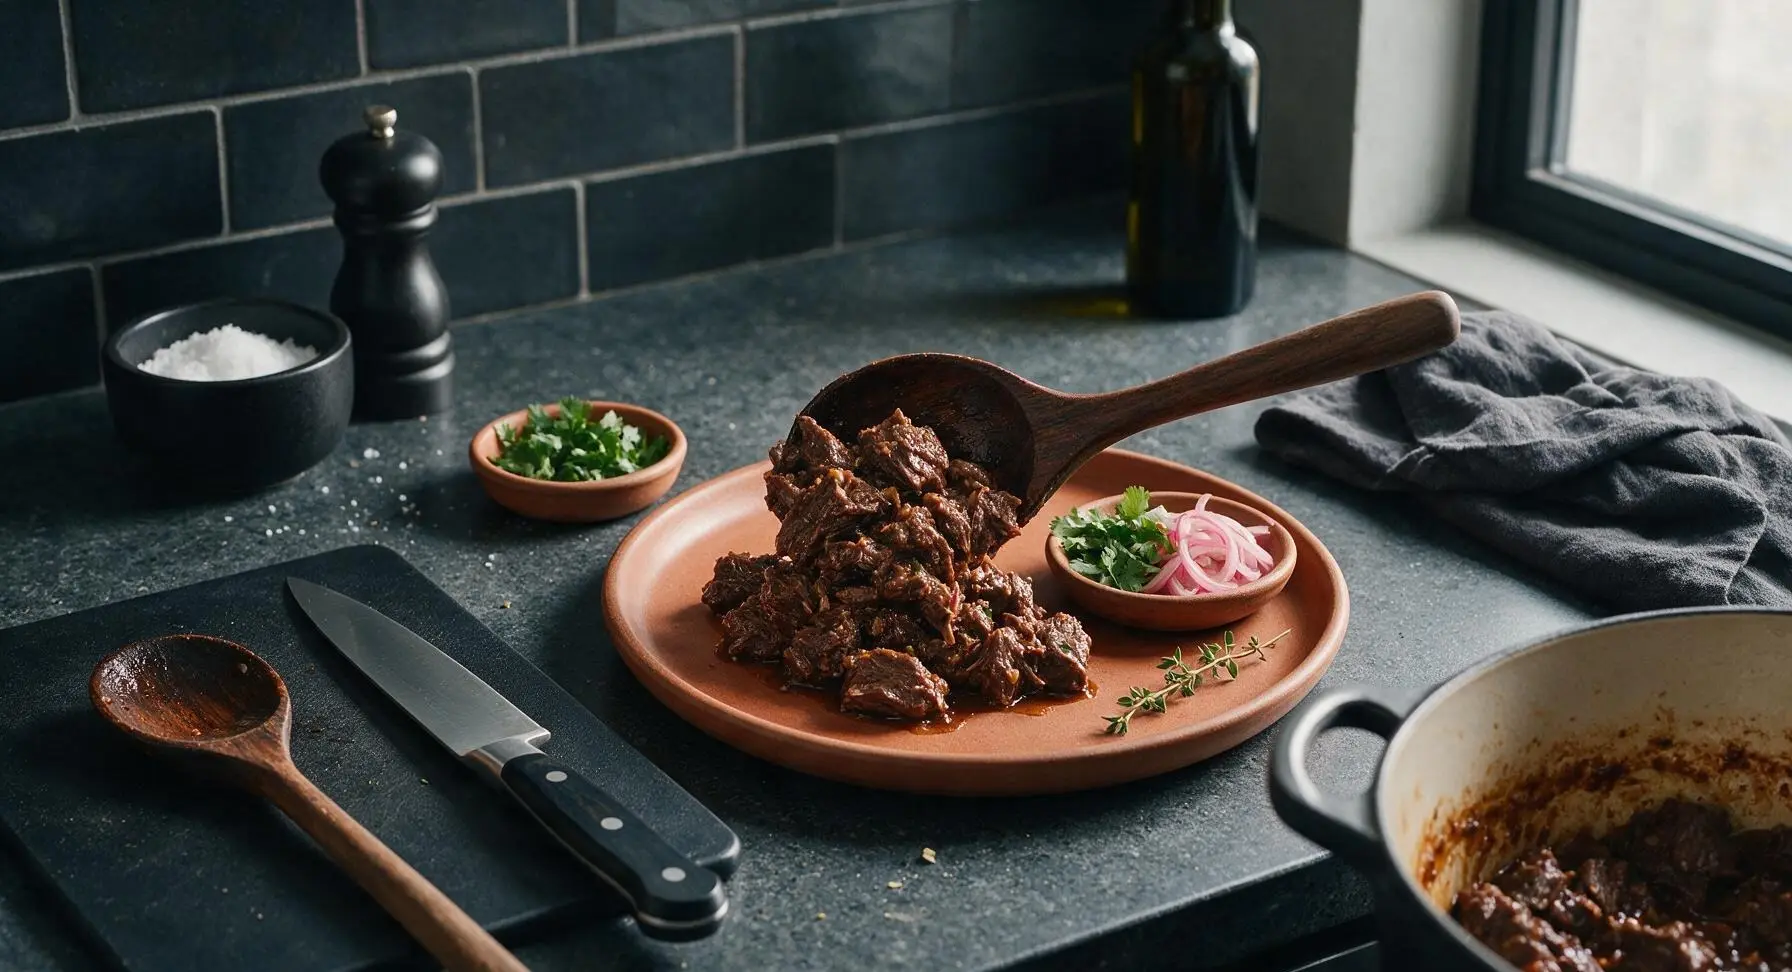
Step 7
step7:Plate and garnish

Tips

1.Always pat beef completely dry with paper towels before searing: excess surface moisture will cause the meat to steam instead of developing the deep golden Maillard reaction crust that builds rich, savory flavor in the braise.
2.Avoid crowding the pan when searing beef: if cubes are packed too tightly, they will steam rather than sear. Working in two small batches ensures every piece gets an even, crispy crust without overcrowding.
3.For the most tender, evenly cooked beef, you can braise the dish in a 160C/325F oven instead of on the stovetop: the consistent, surround heat eliminates stovetop hot spots that can cause sauce to burn on the pan bottom, and requires less frequent stirring.


✨ You May Also Like

Main Course
🍜 United Kingdom

A showstopping classic of tender seared beef, savory mushroom duxelles, and crisp prosciutto wrapped in flaky golden puff pastry, baked to juicy perfection.

⏱️ 2 hours 1Main Course ★ 4.7
Main Course
🍜 India

Tender charred marinated chicken simmered in a rich, spiced creamy tomato sauce, this iconic Anglo-Indian curry pairs perfectly with basmati rice or warm naan.

⏱️ 50 minuteMain Course ★ 4.6
Main Course
🍜 Thailand

Classic tangy, sweet, and savory Thai stir-fried rice noodles with shrimp, tofu, and crunchy garnishes, balancing all five core Thai flavor profiles.

⏱️ 30 minuteMain Course ★ 4.5
Main Course
🍜 United Kingdom

Crispy golden beer-battered cod and fluffy double-fried chips, served with tangy tartar sauce and malt vinegar: the timeless, beloved British pub comfort classic.

⏱️ 45 minuteMain Course ★ 4.7
Main Course
🍜 Mexico

Smoky, chile-marinated pork tacos with caramelized pineapple, fresh cilantro, and lime: a beloved classic Mexican street food perfect for casual summer gatherings.

⏱️ 1 hour 45Main Course ★ 4.8
Main Course
🍜 United States

Crunchy Fritos corn chips layered with savory beef chili and melted cheddar, topped with cool, zesty fixings for a beloved, cozy Tex-Mex comfort food.

⏱️ 35 minuteMain Course ★ 4.8

mexican beef:Frequently Asked Questions

1.What cut of beef is ideal for this slow-braised Mexican beef recipe? ▾
Beef chuck roast is the perfect pick for this dish—its generous marbling and tough connective tissue break down completely during slow braising, creating that signature melt-in-your-mouth, juicy texture without turning stringy or dry. Skip lean cuts like sirloin or round; they’ll turn tough and bland even with long, slow cooking, no matter how much braising liquid you use.
2.Can I make this recipe in a slow cooker instead of braising it in the oven? ▾
Absolutely! Sear the beef and sauté your yellow onion, garlic, and roma tomatoes on the stovetop first to build deep, roasty flavor, then transfer everything to your slow cooker. Cook on low for 7 to 8 hours, or high for 3.5 to 4 hours, until the beef shreds easily with a fork with zero tough resistance.
3.Why do I need to sear the beef before braising it? ▾
Searing the beef in hot vegetable oil over medium-high heat creates a deep, caramelized crust on the exterior from the Maillard reaction, which adds layers of rich, savory, nutty flavor you simply can’t get from slow cooking alone. It also builds a flavorful base for your aromatics, so the final dish tastes robust rather than flat or boiled.
4.Can I use canned tomatoes instead of fresh Roma tomatoes for this recipe? ▾
Fresh ripe Roma tomatoes are ideal for their bright, sweet, low-moisture flesh, but high-quality canned fire-roasted diced tomatoes work as a great substitute if Romas are out of season. Just skip canned varieties with added Italian seasonings like oregano or basil, which will clash with the warm Northern Mexican spice profile of the dish.
5.How do I know when the beef is done braising and ready to serve? ▾
The beef is fully done when you can insert a fork into the thickest part of the roast and twist it easily, with no tough, springy resistance, and the meat pulls apart into tender shreds with almost no effort. If you hit firm spots when you test it, pop the lid back on and let it braise another 20 to 30 minutes before checking again.
6.What’s the best way to shred this braised beef once it’s done cooking? ▾
The easiest, least messy method is to transfer the cooked roast to a large cutting board, then use two forks to pull the meat apart against the grain into bite-sized shreds. If you prefer ultra-fine shreds for taco stuffing, you can use a stand mixer with the paddle attachment on low speed for 30 to 45 seconds for even results.
7.Can I prep this dish ahead of time for busy weeknight meals? ▾
This braised beef actually tastes even better made 1 to 2 days ahead! Let the cooked beef and braising liquid cool completely, then store it in an airtight container in the fridge. The flavors will meld and deepen as it chills, and you can reheat it gently on the stovetop, skimming excess solidified fat off the top if you prefer.
8.What are the best ways to serve this slow-braised Mexican beef? ▾
This tender, savory beef is incredibly versatile! Pile it into warm corn or flour tortillas for tacos, burritos, or quesadillas, serve it over cilantro-lime rice with a side of black beans for a cozy plated meal, or top it with sour cream, pickled red onions, and fresh cilantro for a simple, family-friendly dinner.
9.My beef turned out tough after braising—what went wrong? ▾
Tough braised beef almost always comes down to two common issues: either you used a too-lean cut that doesn’t have enough marbling to break down, or you didn’t cook it long enough at a low enough temperature. Stick with chuck roast, keep your braise at a steady 300 to 325°F in the oven, and give connective tissue time to melt into silky gelatin.
10.Do I need to add a lot of extra braising liquid when cooking this in the oven? ▾
You won’t need excessive amounts of liquid, because your covered braising vessel traps steam as it cooks, and the Roma tomatoes and yellow onion will release lots of their own moisture as they simmer. You only need enough liquid to come about halfway up the roast—too much will dilute the rich, concentrated spice and tomato flavor.
11.Can I freeze leftover slow-braised Mexican beef for later use? ▾
Absolutely! Let the beef cool completely in its braising liquid, then portion it into freezer-safe airtight bags or containers, squeezing out as much excess air as possible to prevent freezer burn. It will keep well for up to 3 months in the freezer; thaw it overnight in the fridge before reheating gently on the stovetop for quick meals.
12.I don’t eat spicy food—can I adjust the chile level to make this mild? ▾
This recipe is designed to be family-friendly and mild right out of the gate, using mild, fruity chiles that add warm depth without harsh heat. If you’re extra sensitive to spice, simply seed and devein your chiles completely before adding them to the braise, and skip optional spicy add-ins like cayenne to keep flavor warm but heat-free.
13.Why does the recipe call for yellow onion instead of white or red onion? ▾
Yellow onion is the best pick here because it has a balanced, sweet, savory flavor that mellows beautifully during long, slow braising, without the sharp, harsh bite raw white onion can have or the overly bright, sweet profile of red onion. It caramelizes slightly as it cooks, tying the tomatoes, garlic, and warm spices together perfectly.
14.Should I remove all the fat from the braising liquid before serving? ▾
You don’t have to remove all the fat—a small amount adds rich, luxurious flavor and keeps the shredded beef from tasting dry. If you prefer a lighter final dish, skim a few spoonfuls of excess rendered fat off the top once cooking is done, or chill the dish overnight and scrape off solidified fat from the surface before reheating.

Comments (6)

3 days ago

Made this for our neighborhood potluck over the weekend and people were hovering around the serving table asking for the recipe before I even set out the toppings! The beef shreds so perfectly after braising, and it works for tacos, burrito bowls, even loaded nachos. 10/10, will be making this monthly for meal prep too, it reheats like a dream.

5 minutes ago

I’m giving 4 stars for now because I’m so excited to make this, but I had a quick question! The recipe says 90 minutes cook time? I thought braised beef usually takes way longer in the oven, and I don’t want to end up with tough beef for my family dinner tonight. Has anyone tested this cook time on a regular Dutch oven, no fancy equipment?

just now

Hi Lizbeth! Great question — the 90 minute cook time is tested for a standard 5-7 quart Dutch oven set to 325°F, and the chuck roast cut into 2-inch chunks braises down perfectly tender in that window as long as you keep the lid tightly sealed to trap steam. No fancy equipment needed! If your chunks are a bit larger, you can add 10-15 minutes until the meat shreds easily with a fork. Hope your family dinner is a hit!

2 days ago

Game changer alert! I made a big batch of this Sunday, portioned it out with rice and roasted veggies for the work week, and every single bite has been incredible. The flavor gets even better the next day, fr. I used a little less chipotle because I’m a baby when it comes to heat, but it still had that perfect warm, savory kick.

yesterday

Oh good call on noting the heat level! I love super spicy food so I’m gonna throw in an extra chipotle in adobo when I make this tomorrow for my partner and I. Thanks for the tip!

1 week ago

My kids loved this!!! I was worried the spice level would be too much for my 6 and 8 year old, so I cut the chili powder by half and served it with sour cream and avocado on the side, and they both ate two full tacos. Only issue is my Dutch oven is a little small, so I had to brown the beef in batches — does that impact the final flavor at all?

5 days ago

I had to brown in batches too last time I made it! I don’t think it hurt the flavor at all, just make sure you scrape up all the browned bits from the bottom of the pot when you add the broth, that’s where all the good flavor is.

3 days ago

Great question, and @ColoradoCookKate is exactly right! Browning in batches is totally fine, and actually helps you get a better sear on the beef instead of crowding the pan (which makes it steam instead of brown). Just be sure to deglaze the pan well after searing to capture all those delicious fond bits, and your braise will turn out perfect. So glad your kids enjoyed it!

yesterday

OMG, this beef is SO good! I made it for my husband’s birthday dinner last night, served it with homemade tortillas, pickled red onions, and lime wedges, and he said it’s better than the Mexican restaurant we go to for date night. Only note: I accidentally used regular beef broth instead of the low-sodium version the recipe mentions, so it was a touch saltier than I would have liked, but still delicious. Will definitely be adding this to our regular rotation.

2 hours ago

Oh thanks for the heads up about the broth! I only have regular beef broth in my pantry right now, so I’ll skip adding extra salt at the searing step to balance it out. Can’t wait to make this for game night this weekend!

30 minutes ago

So happy the birthday dinner was a hit! Great call adjusting the salt if you’re using regular sodium beef broth — that’s exactly the workaround we recommend, since salt levels can vary a lot between broth brands. Hope it turns out amazing for your game night, @OhioEats123!

2 weeks ago

Was looking for a not-too-complicated weeknight recipe that felt special, and this totally delivered. 90 minutes total cook time is totally doable even on a busy work night, especially since most of that time is hands-off while the beef braises in the oven. I served it over cilantro lime rice for a quick burrito bowl, and my teen who hates everything went back for a second helping. No notes, 10/10.



