
mexican breakfast burrito

title 1
mexican breakfast burrito
⏱️ cook time 15 minutes
🍽️ servings 4
⚡ Difficulty easy

intro

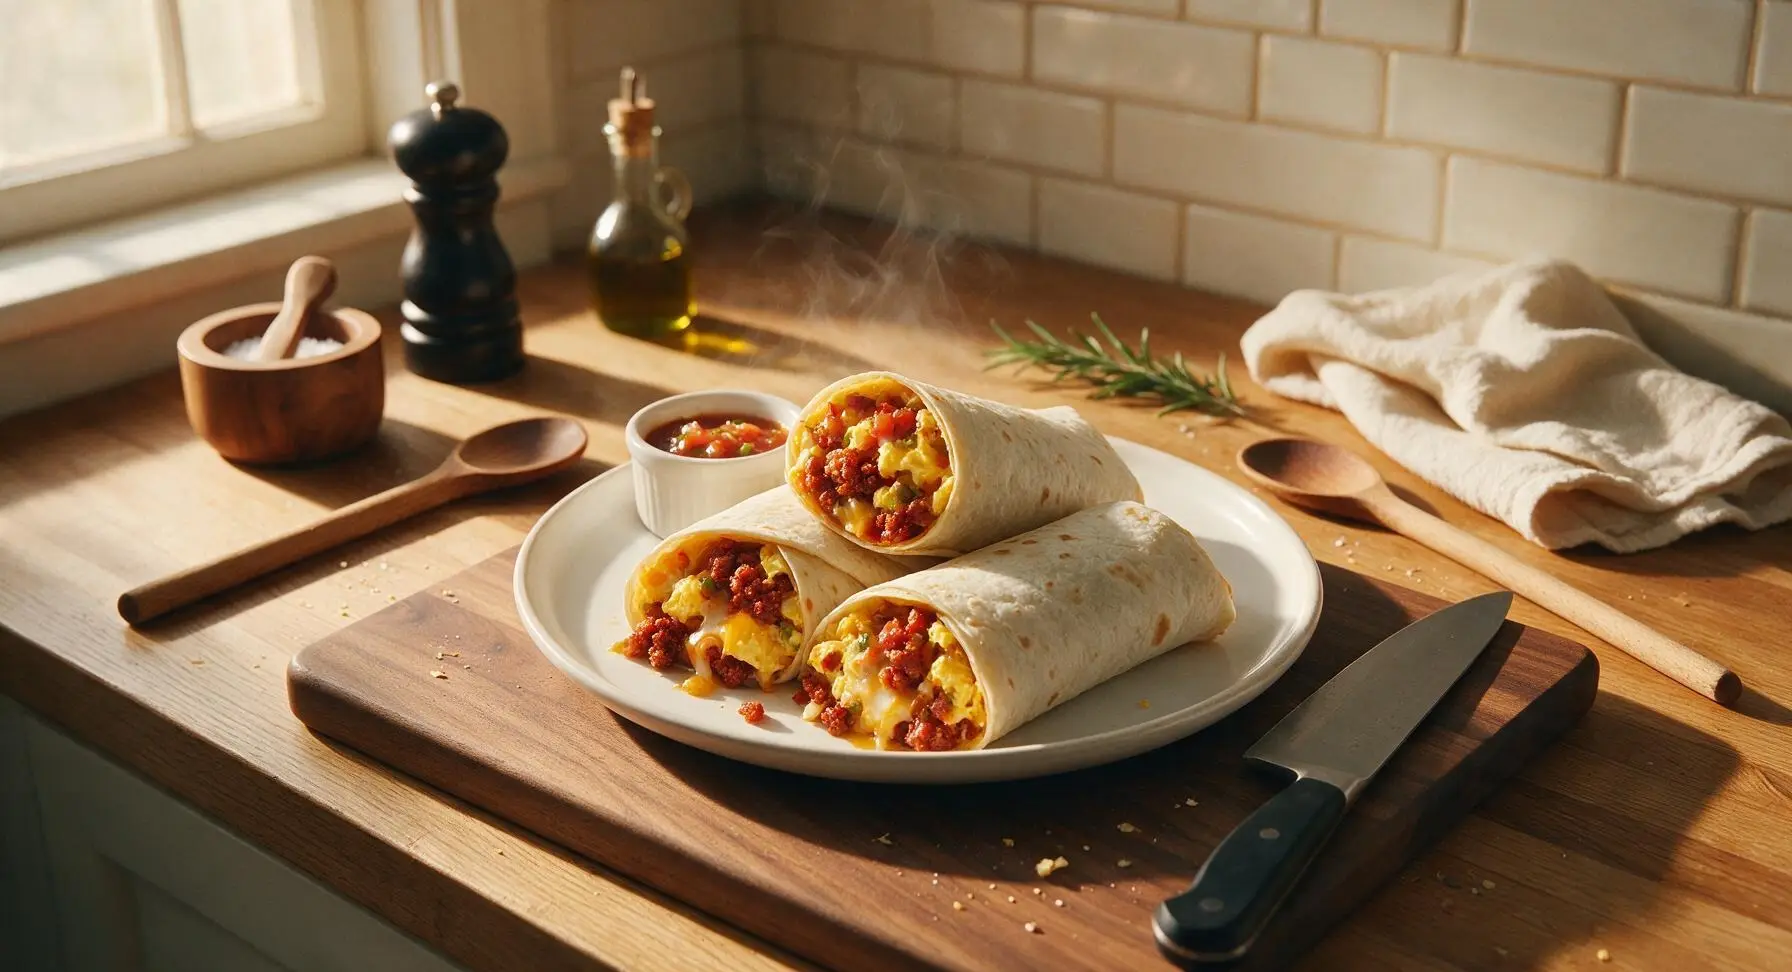
Hearty, portable Mexican breakfast burritos loaded with crispy chorizo, fluffy eggs, melted cheese, and zesty salsa, wrapped in a lightly crisp flour tortilla for a fast, satisfying meal.

Ingredients
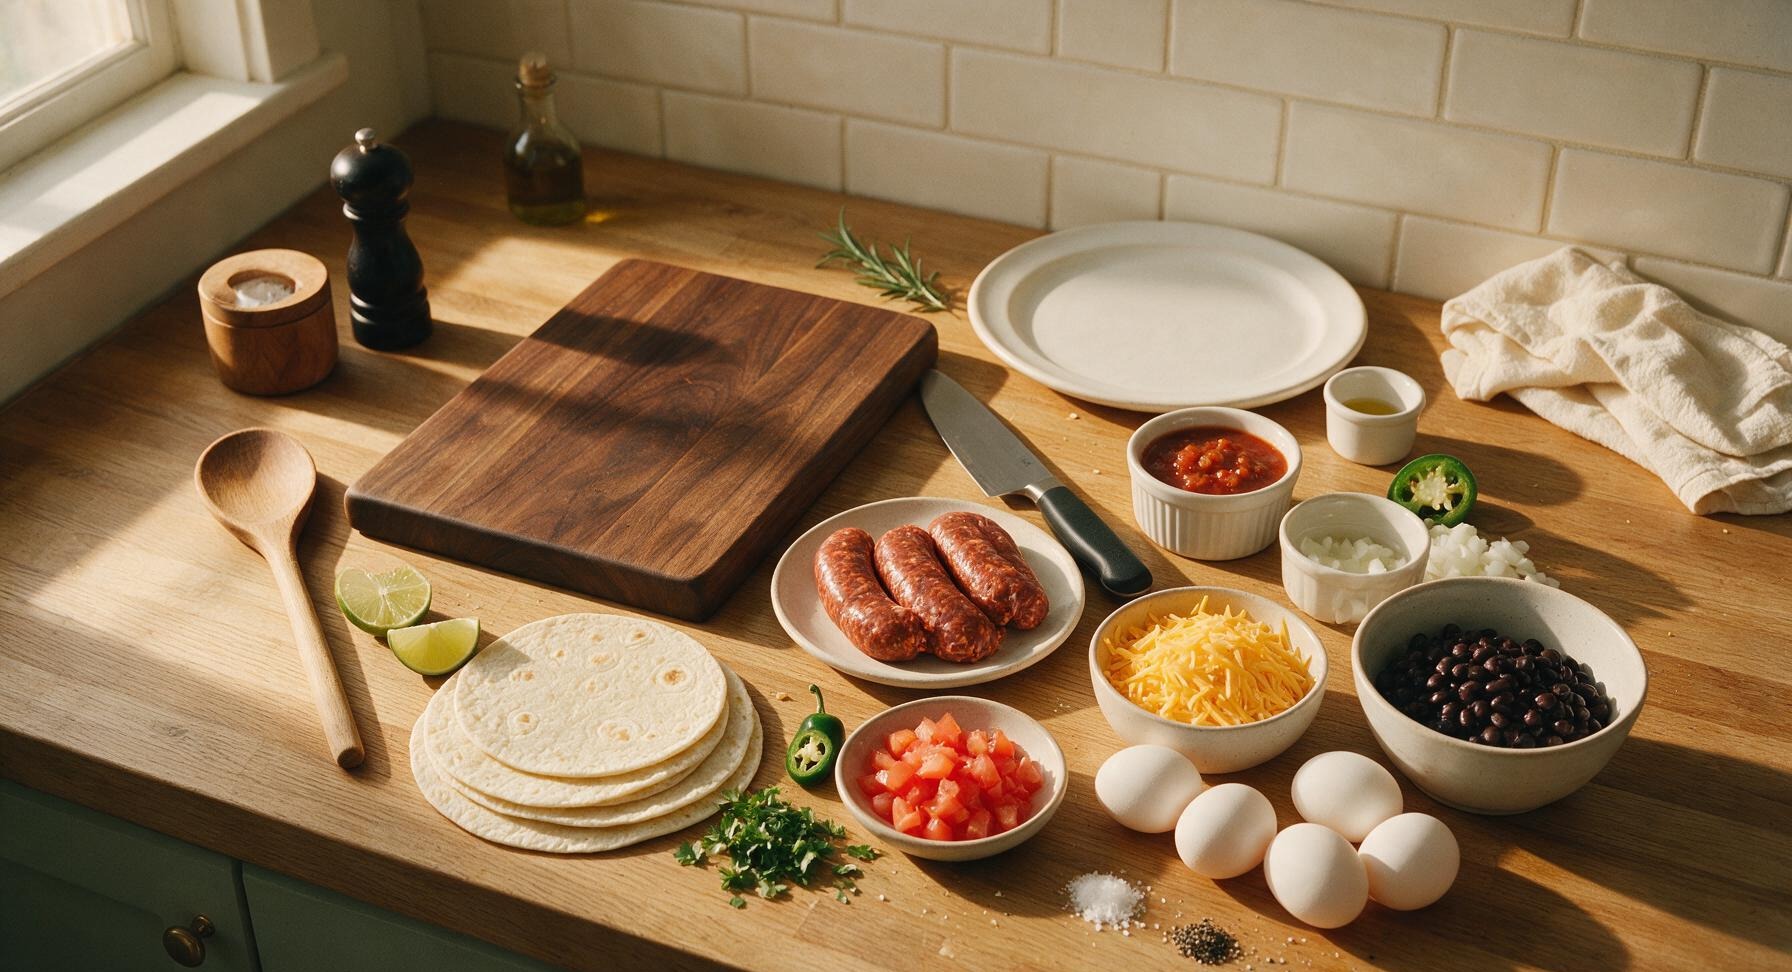
10-inch flour tortillas 4 each
Fresh Mexican chorizo (casings removed) 225g (8 oz)
Large eggs 6 each
Shredded sharp cheddar cheese 1 cup (110g)
Cooked black beans (drained, rinsed) 1/2 cup (85g)
White onion (finely diced) 1/3 cup (50g)
Jalapeño pepper (seeded, finely diced) 1 each
Roma tomato (seeded, diced) 1 each
Fresh cilantro (chopped) 1/4 cup (10g)
Fresh lime (cut into wedges) 1 each
Roasted red salsa 1/2 cup (120ml)
Kosher salt 1/2 tsp
Freshly ground black pepper 1/4 tsp
Neutral cooking oil 1 tsp

Steps

1

Dice fresh vegetables

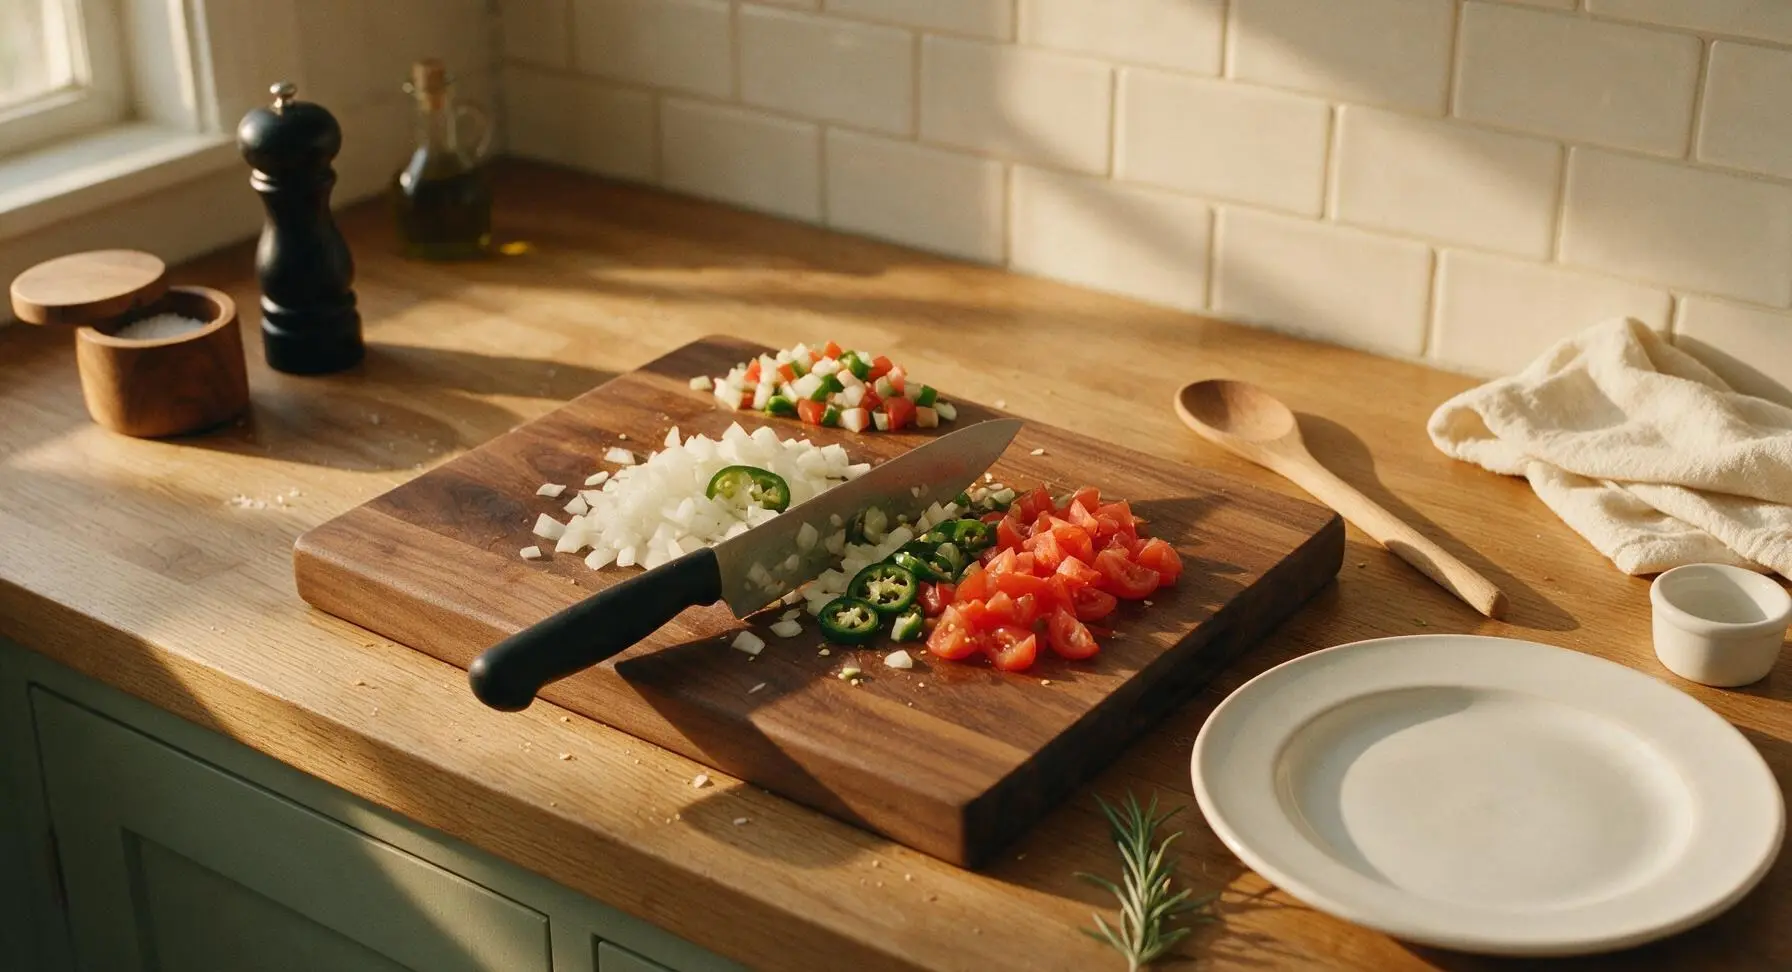
Place the white onion, jalapeño, and Roma tomato on the light maple cutting board. Using the 8-inch chef knife, finely dice the seeded jalapeño and onion into 5mm pieces, and seed and dice the tomato into 1cm pieces. Gather diced vegetables in a small pile on the edge of the board, then chop cilantro and add to the pile. This prep takes approximately 5 minutes, with uniform cuts to ensure even cooking.
Step 1
step1:Dice fresh vegetables
2

Crisp the chorizo

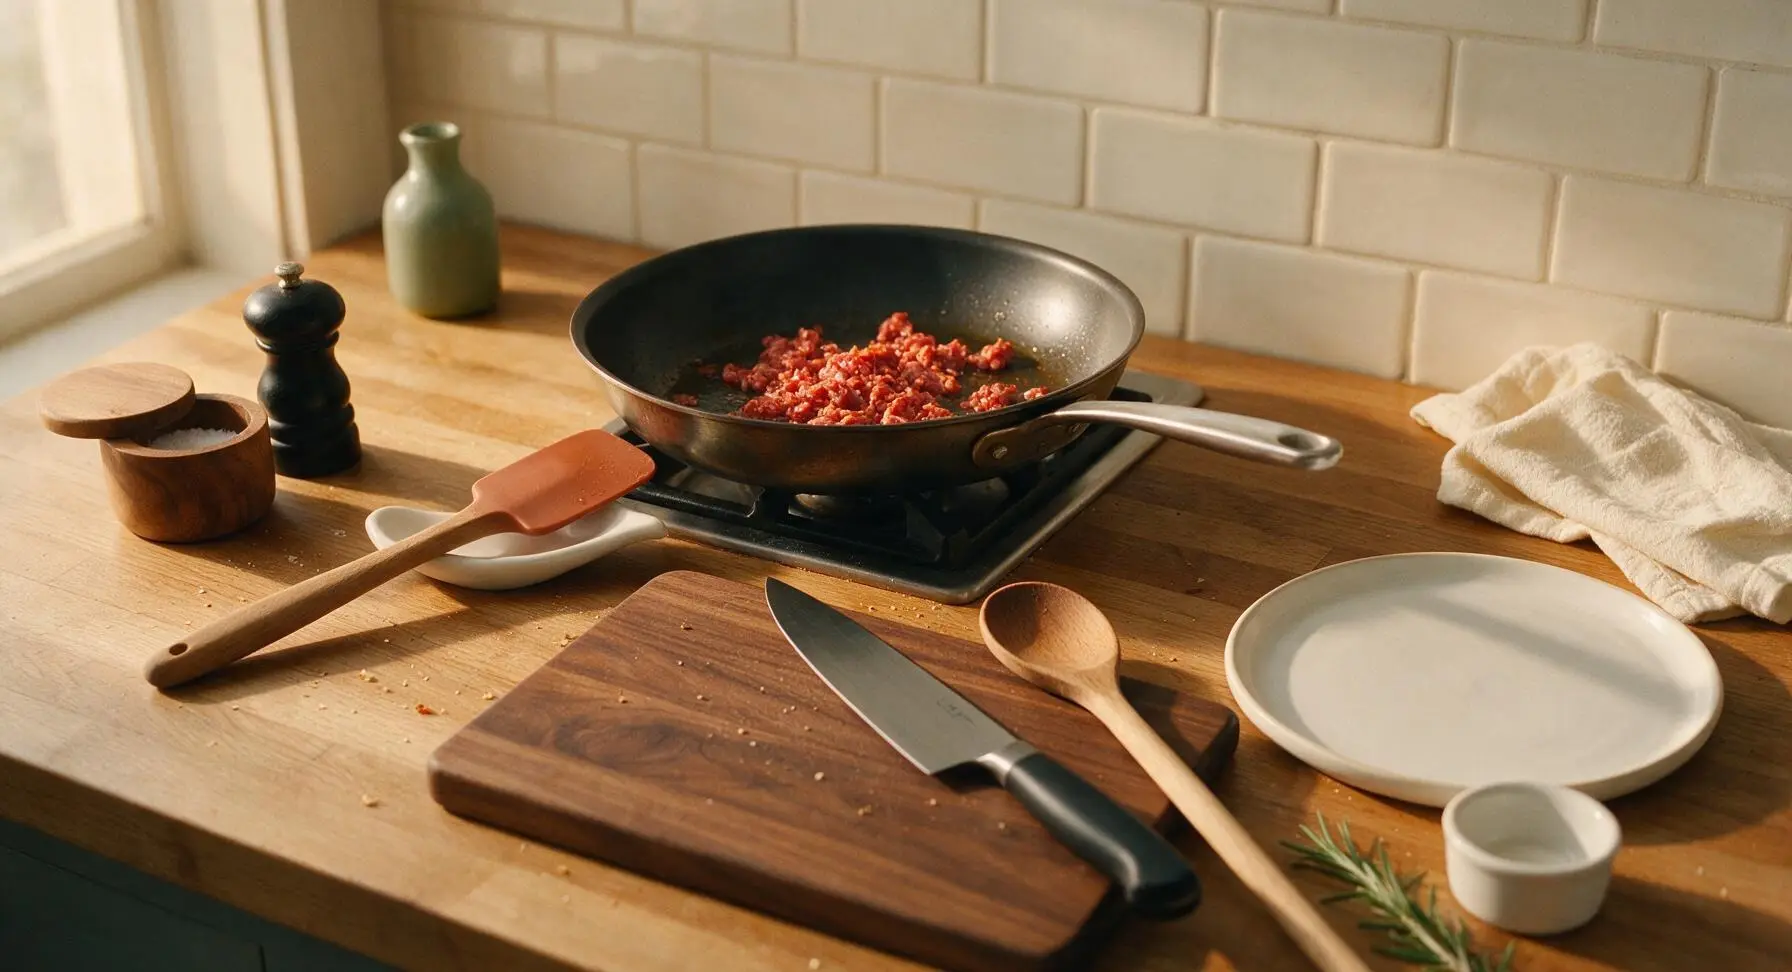
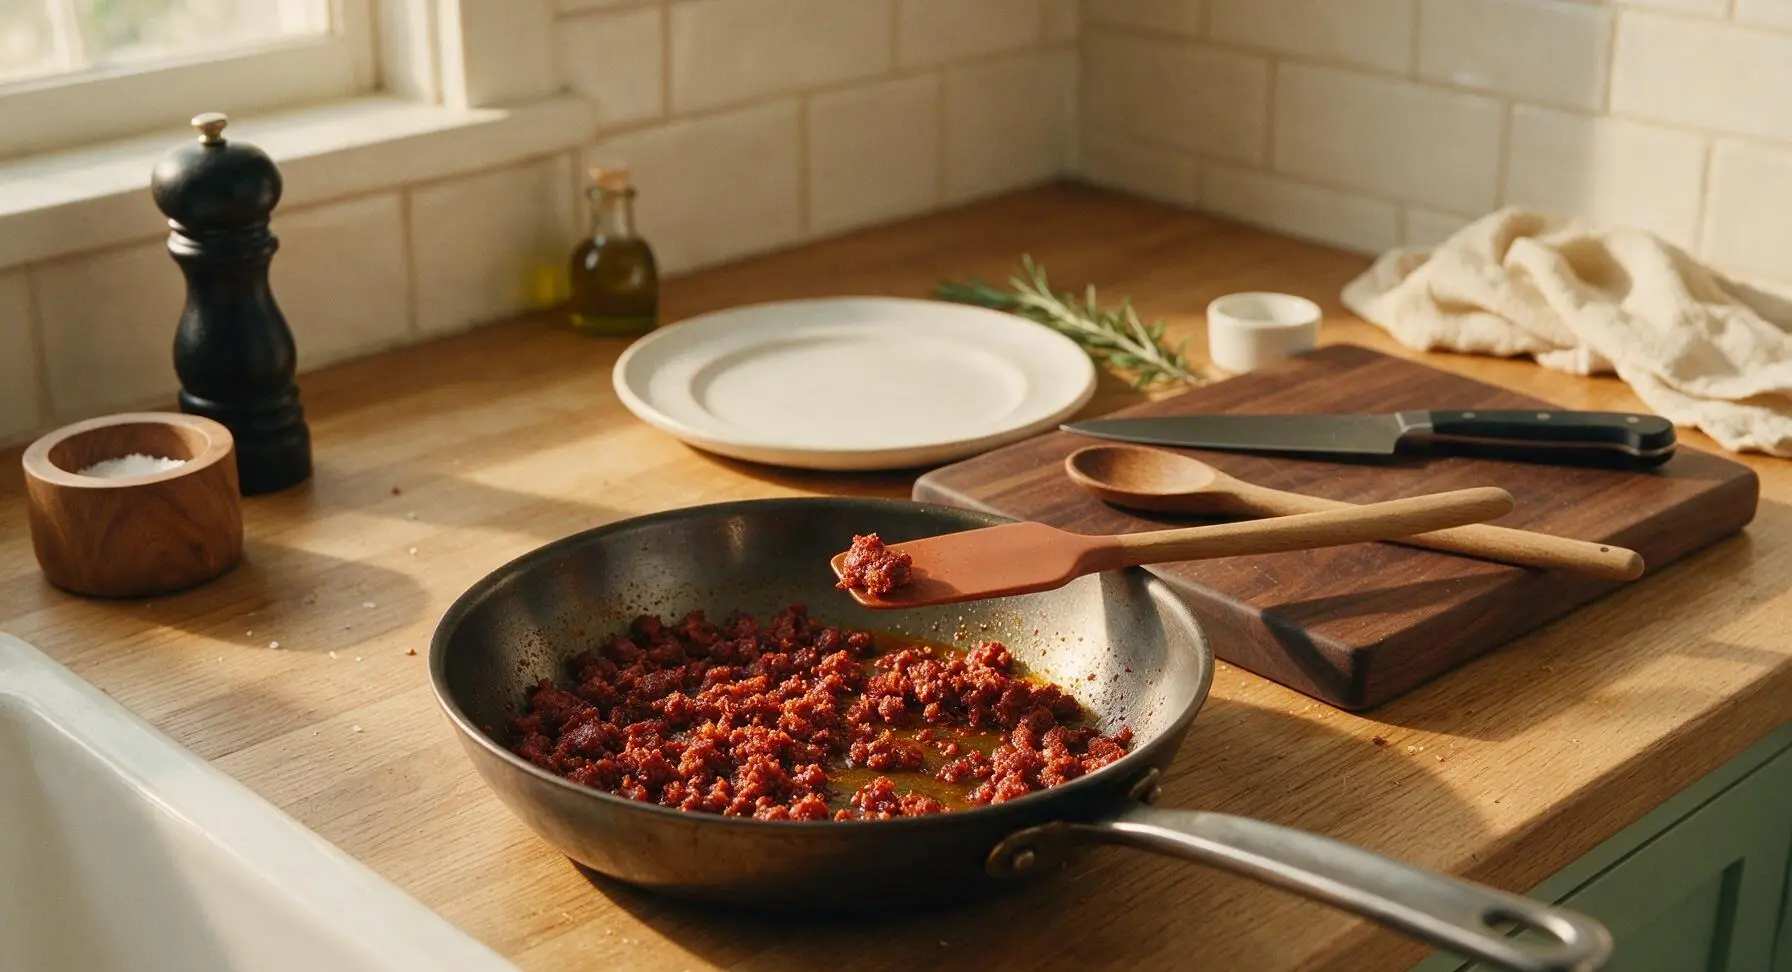
Heat the 25cm carbon steel non-stick skillet over medium heat (175C/350F). Add 1 tsp neutral cooking oil, then crumble the casing-removed chorizo into the pan. Cook for 6-7 minutes, breaking apart with the matte terracotta silicone spatula, until chorizo is deep reddish-brown, fully cooked, and crispy at the edges, with rendered fat pooling slightly in the pan. Transfer cooked chorizo to a small plate, leaving 1 tsp of rendered fat in the skillet for cooking vegetables.
Step 2
step2:Crisp the chorizo
Step 2
step2:Crisp the chorizo
3

Sauté diced aromatics

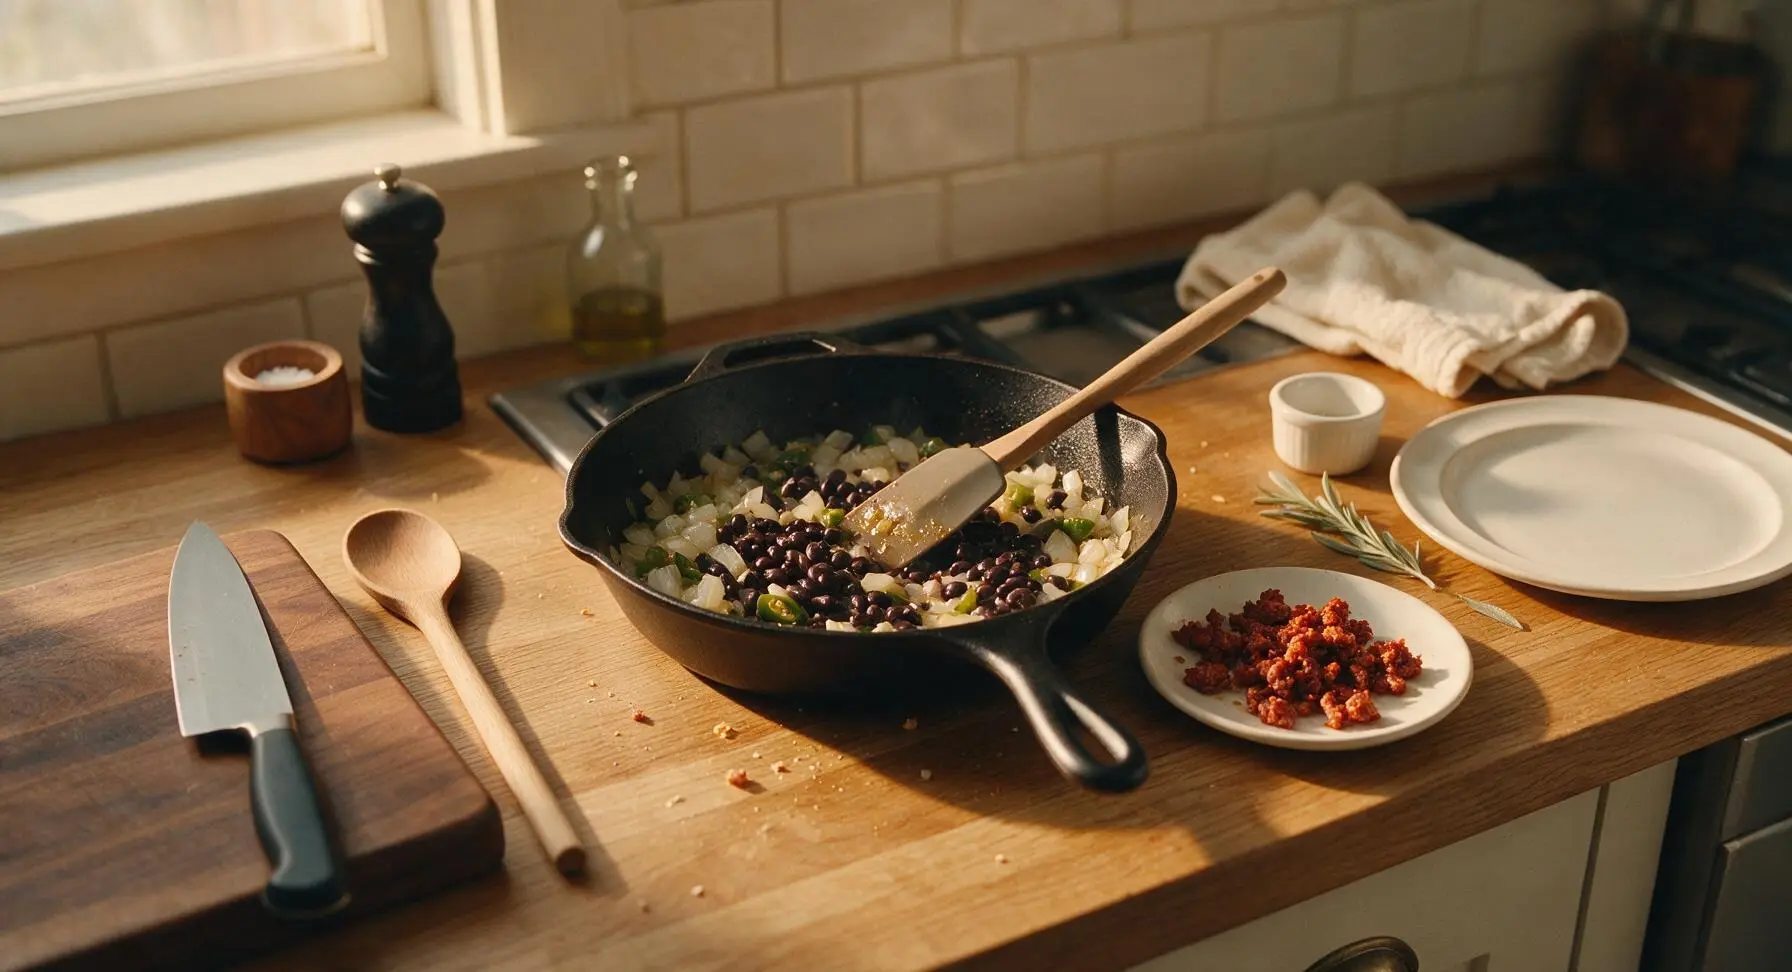
Return the skillet with reserved chorizo fat to medium heat. Add the diced onion and jalapeño, stirring with the silicone spatula for 3 minutes until soft and translucent, with no sharp raw bite. Add drained, rinsed black beans, stirring to warm through for 1 minute, then season with 1/4 tsp kosher salt. Do not brown the vegetables; they should be tender but retain a slight firmness.
Step 3
step3:Sauté diced aromatics
4

Scramble fluffy eggs

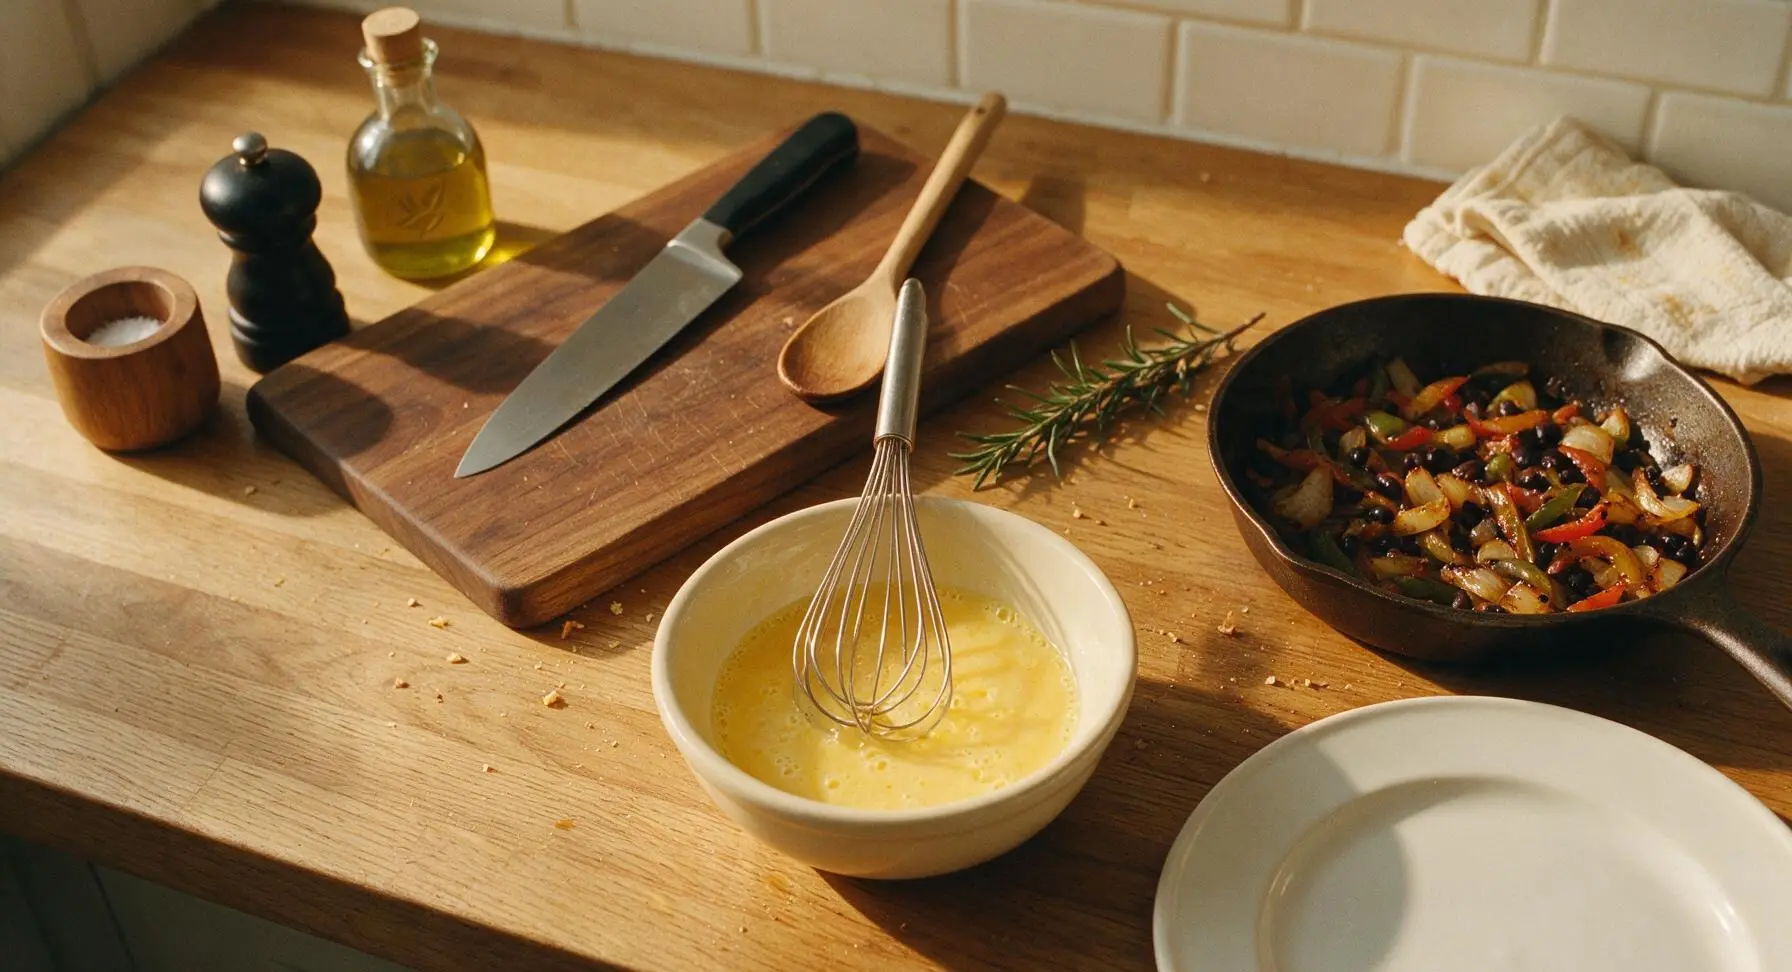
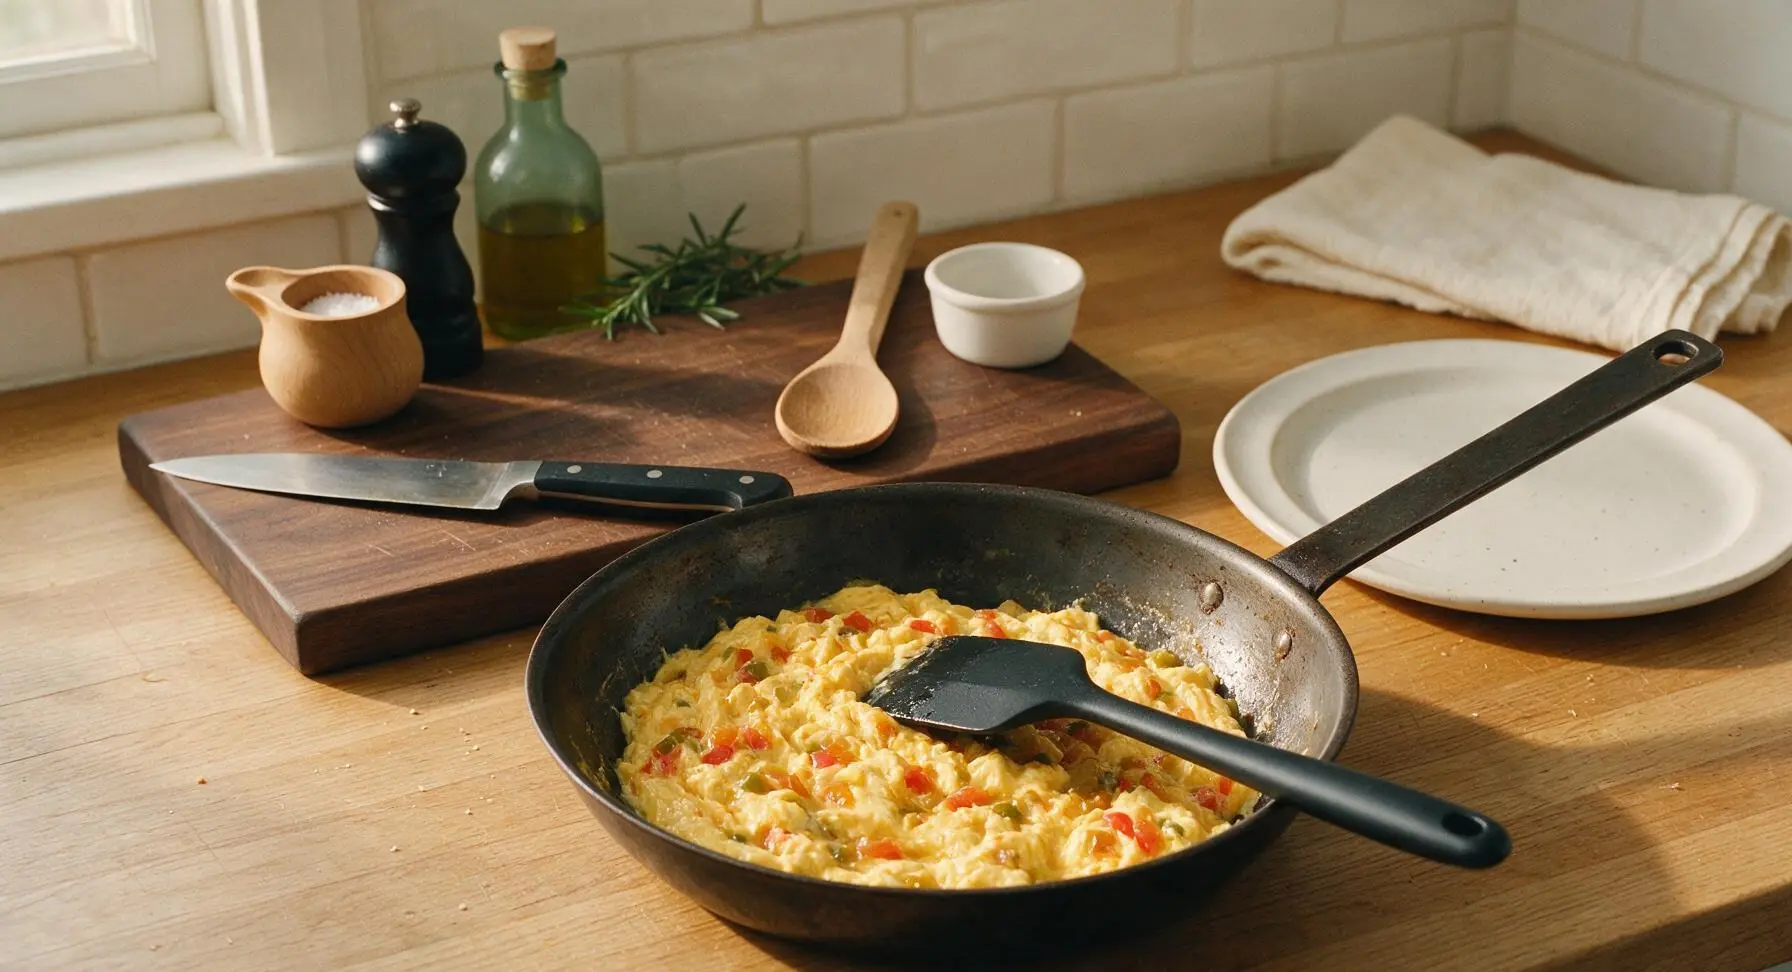
Crack 6 large eggs into a small ceramic bowl, add 1/4 tsp kosher salt and 1/4 tsp freshly ground black pepper, then whisk with the stainless steel wire whisk until yolks and whites are fully combined, with no streaks of white remaining. Pour the egg mixture into the skillet with sautéed vegetables and beans. Cook over medium-low heat (150C/300F), stirring gently with the silicone spatula for 2-3 minutes, until eggs form soft, fluffy curds and are just set (no runny liquid remaining, but not dry or rubbery). Fold reserved cooked chorizo back into the egg mixture, then turn off the burner heat.
Step 4
step4:Scramble fluffy eggs
Step 4
step4:Scramble fluffy eggs
5

Warm tortillas for filling

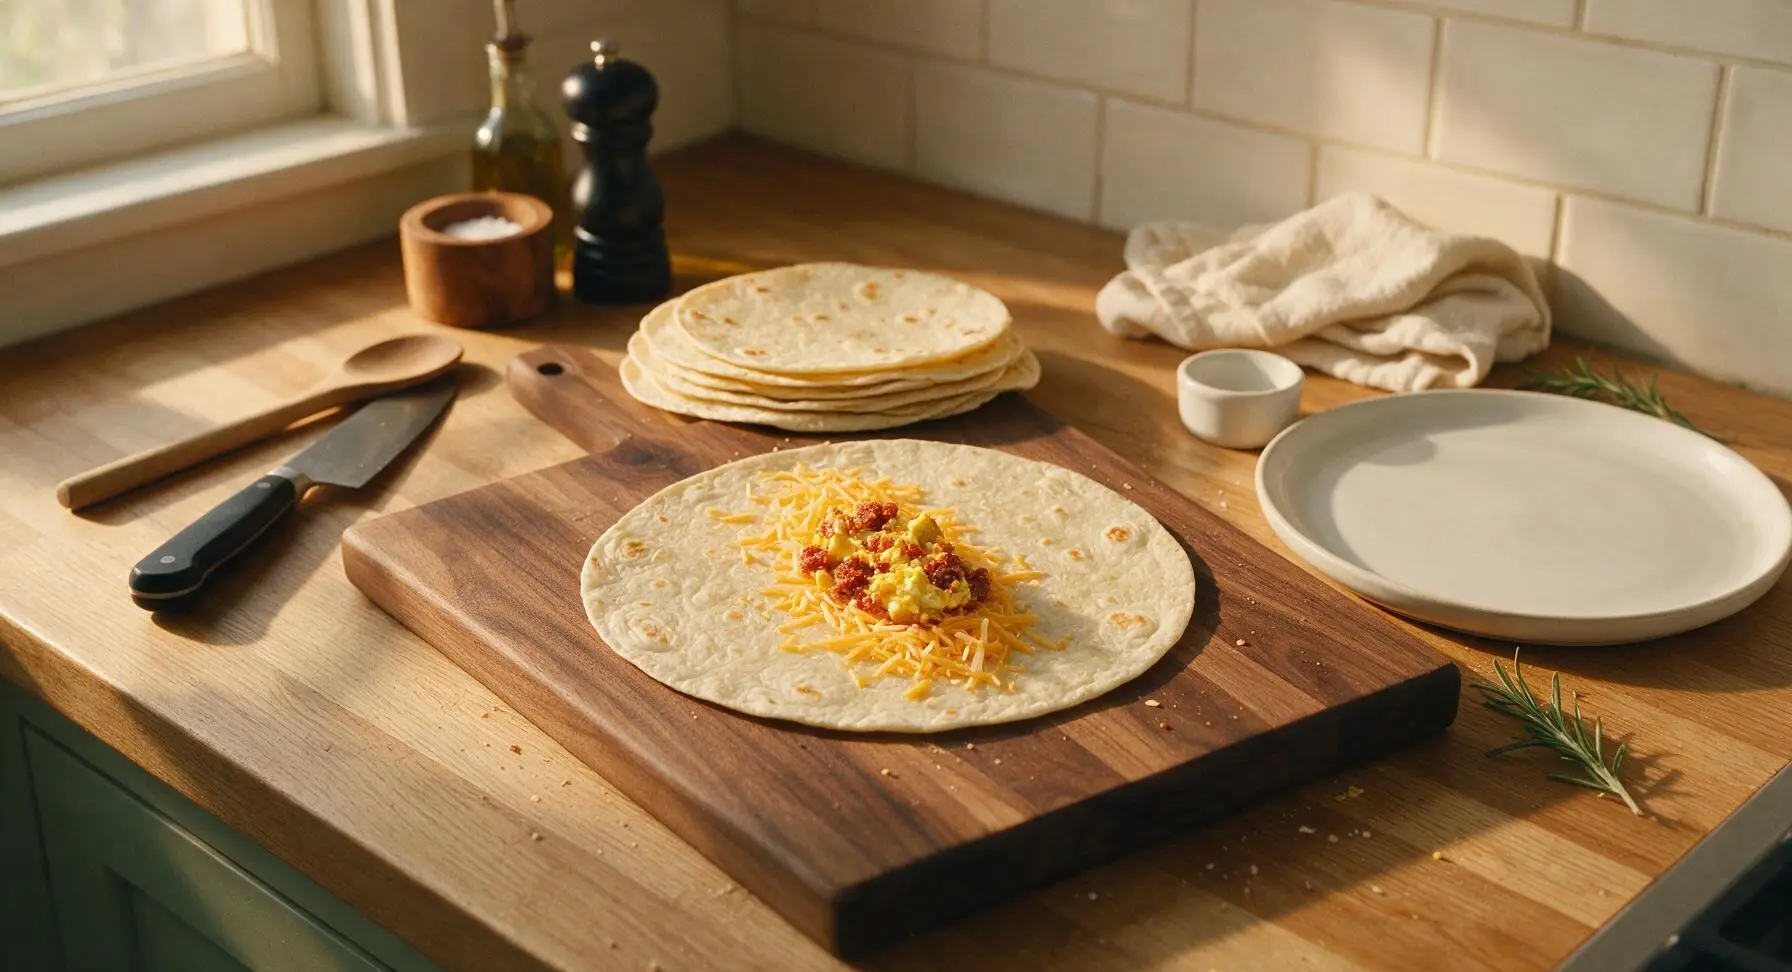
While eggs finish cooking, warm flour tortillas one at a time directly over a low stovetop flame (or in a dry clean skillet) for 10 seconds per side, until soft and pliable with faint golden char spots. Lay each warm tortilla flat on the light maple cutting board. Sprinkle 2 tbsp of shredded cheddar down the center of each tortilla, then top with 1/4 of the egg and chorizo mixture, 1 tbsp of diced tomato, and a pinch of chopped cilantro. Do not overfill tortillas, as this will cause burritos to burst when rolled.
Step 5
step5:Warm tortillas for filling
6

Roll burritos tightly

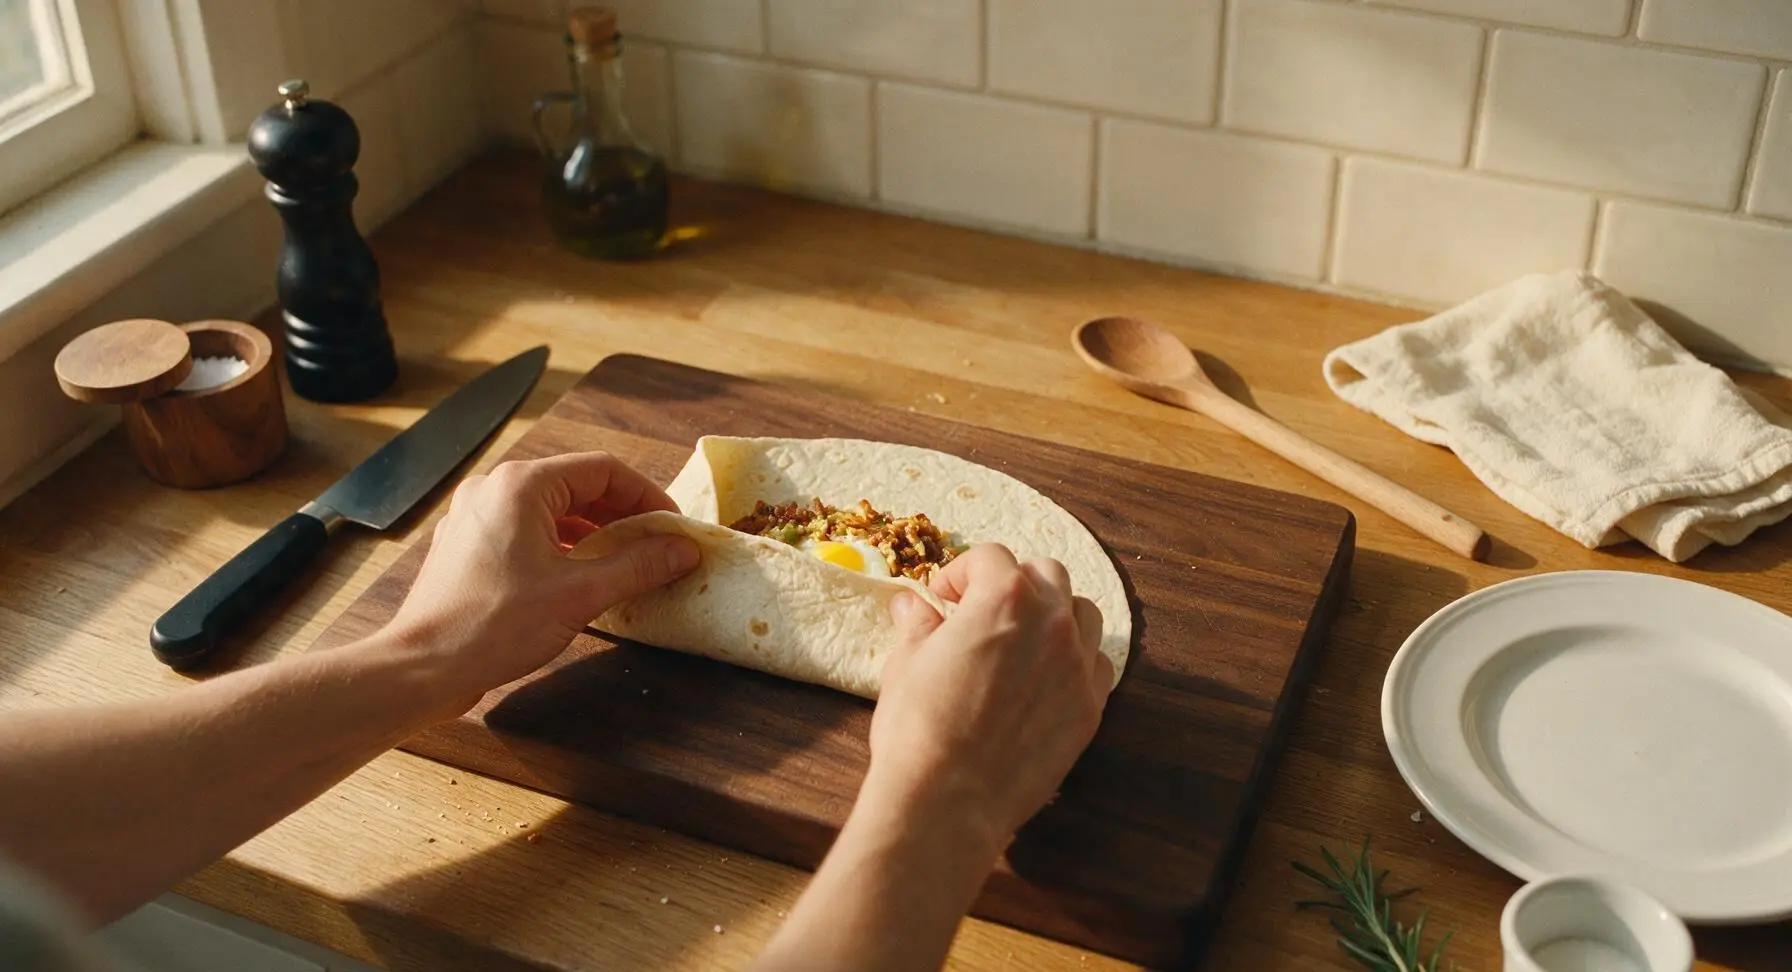
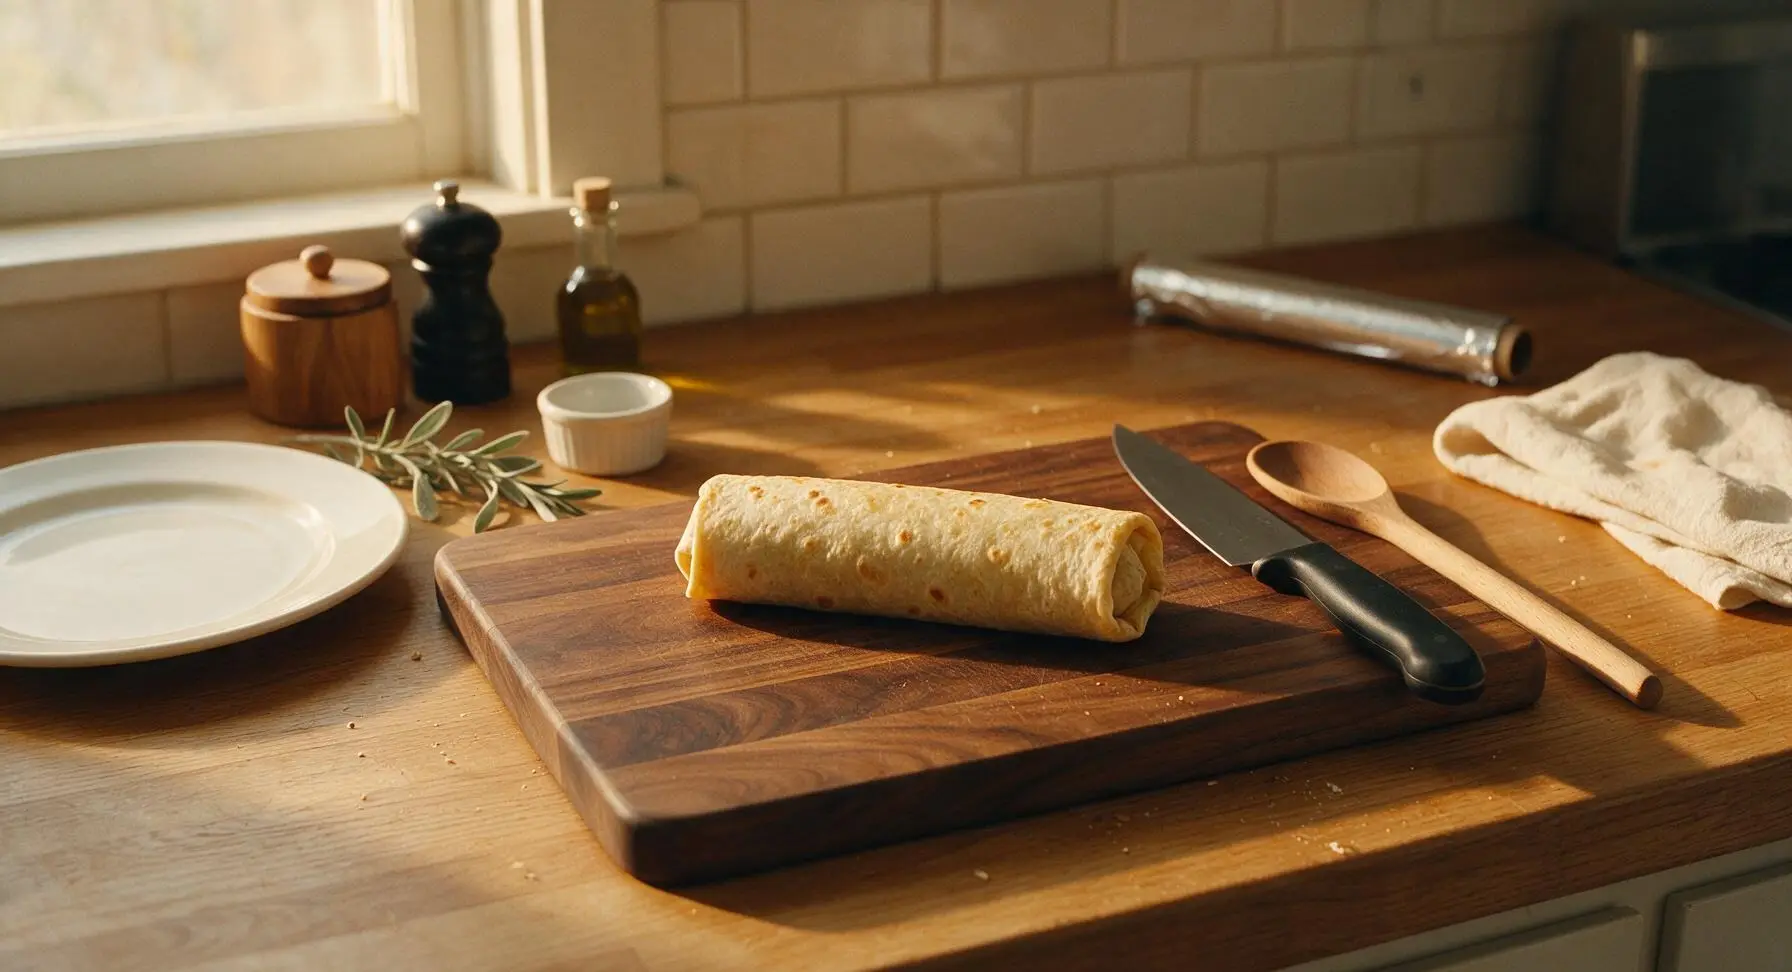
To roll each burrito: fold the left and right sides of the tortilla 2cm inward over the filling, then fold the bottom edge of the tortilla up and over the filling, tucking it tightly under the ingredients to seal, then roll firmly upward until fully closed. The finished rolled burrito should be a tight, even log, seam-side down, with no filling leaking from the ends. For storage, wrap each burrito tightly in aluminum foil to hold its shape.
Step 6
step6:Roll burritos tightly
Step 6
step6:Roll burritos tightly
7

Sear and plate burritos

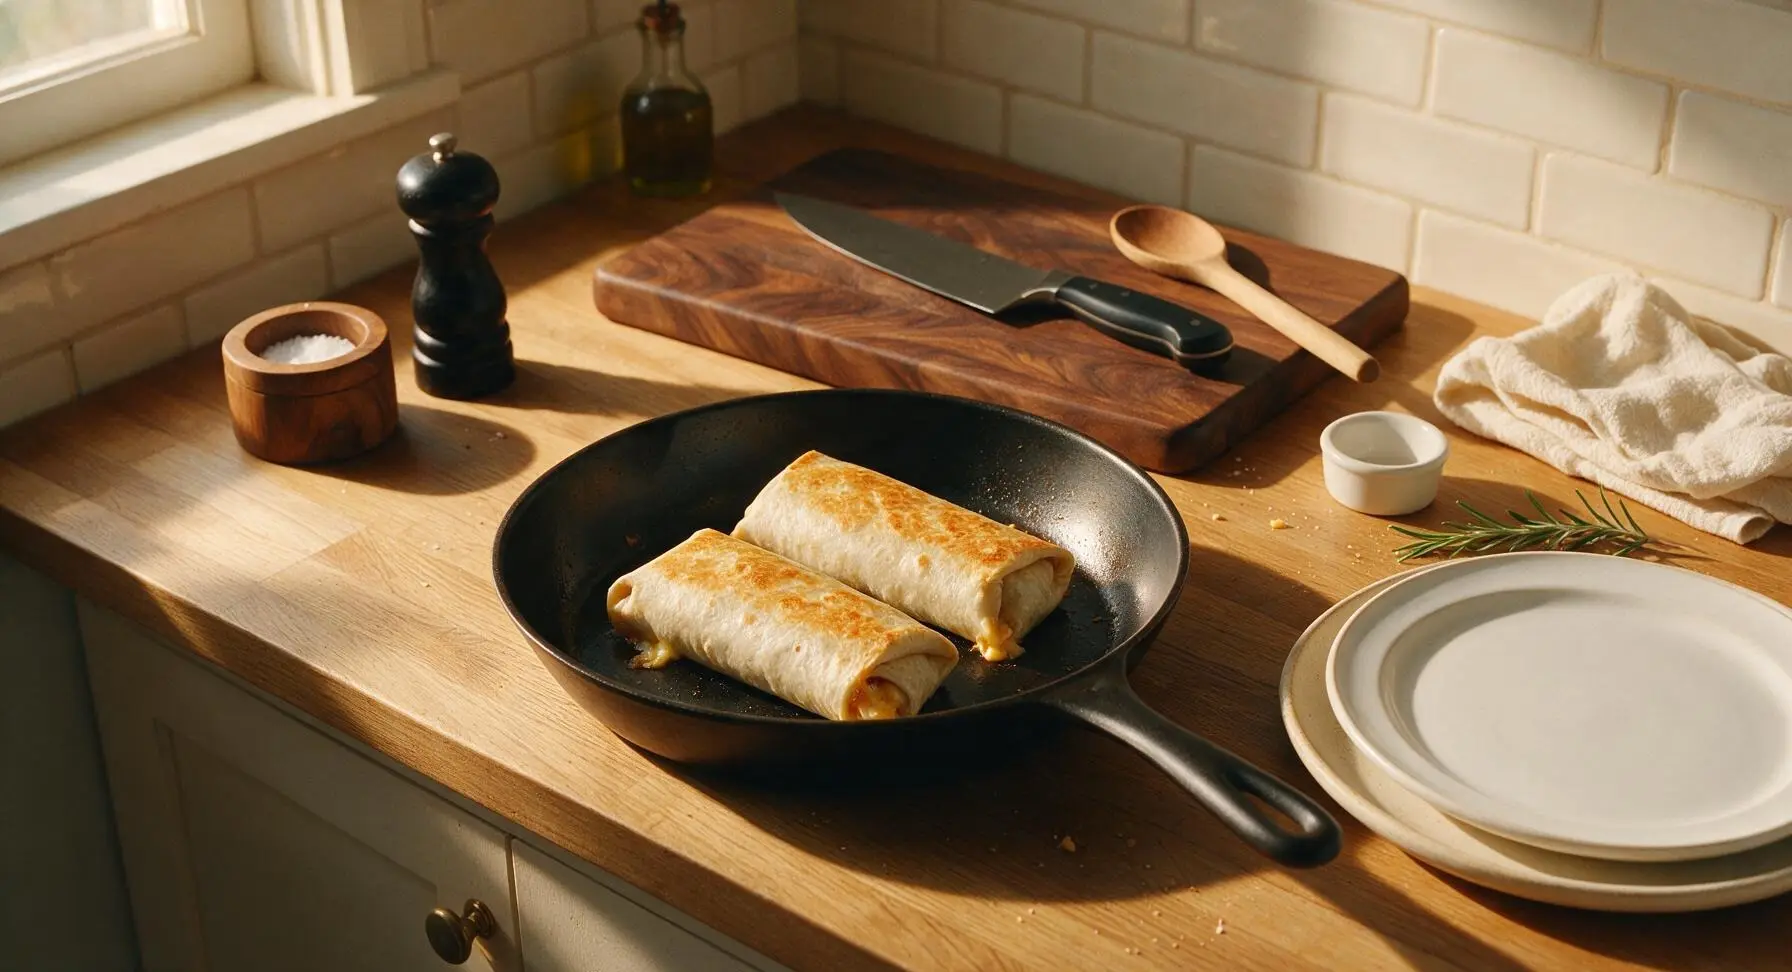
Return the skillet to medium heat (175C/350F). Place rolled burritos seam-side down in the dry skillet, cooking for 1 minute per side, turning gently with the silicone spatula, until tortillas are lightly crisp and golden with faint toasted spots, and the cheese inside is fully melted (small amounts of melted cheese will ooze from burrito ends when ready). Transfer seared burritos to the matte cream stoneware plates, slice in half on a sharp diagonal, and serve with lime wedges and roasted red salsa on the side.
Step 7
step7:Sear and plate burritos

Tips

1.Warm tortillas before filling: Cold tortillas crack and split easily when rolled, so 10 seconds of heat per side makes them pliable enough to fold tightly around filling without breaking, even when fully loaded.
2.Pull eggs off heat early: Residual heat from the skillet and warm filling will continue to cook eggs after the burner is turned off, so removing eggs when they are just soft-set prevents dry, rubbery texture in the finished burrito.
3.Resist overfilling: Adding more than 1/4 of the filling per tortilla will cause the burrito to burst during rolling and searing, leading to leaked filling and a soggy tortilla; stick to the measured amounts for a tight, neat wrap.


✨ You May Also Like

Breakfast
🍜 United States

Crisp-edged, fluffy lard griddle cakes are a nostalgic homestyle staple, with rich savoriness from rendered lard, perfect topped with maple syrup or savory gravy.

⏱️ 25 minuteBreakfast ★ 4.8
Breakfast
🍜 United States

Flaky, buttery homemade buttermilk biscuits smothered in creamy, peppery pork sausage gravy: a beloved, hearty Southern American comfort food classic.

⏱️ 35 minuteBreakfast ★ 4.8
Breakfast
🍜 United States

Golden, custardy brioche stuffed with sweet cream cheese and fresh berries, pan-fried to crisp perfection. An indulgent, cozy breakfast perfect for slow weekend mornings.

⏱️ 30 minuteBreakfast ★ 4.7
Breakfast
🍜 United States

Flaky, buttery Southern-style biscuits stuffed with savory salty country ham, a portable, satisfying classic perfect for casual on-the-go meals.

⏱️ 25 minuteBreakfast ★ 4.8
Breakfast
🍜 United States

Iconic puffy baked pancake popularized in Seattle, with crisp golden edges and soft custardy center, served warm with classic sweet toppings.

⏱️ 35 minuteBreakfast ★ 4.6
Breakfast
🍜 United States

Fluffy, golden pancakes studded with juicy peak-summer mixed berries, drizzled with maple syrup for a bright, comforting, crowd-pleasing family breakfast.

⏱️ 25 minuteBreakfast ★ 4.7

mexican breakfast burrito:Frequently Asked Questions

1.What’s the best way to keep my breakfast burritos from getting soggy? ▾
Great question! Sogginess almost always comes from excess moisture, so drain cooked chorizo well, rinse and pat black beans fully dry before adding, and go light on watery fresh salsa. Let fillings cool 2 to 3 minutes before wrapping, then crisp the assembled burrito in a dry pan for 1 minute per side to create a moisture barrier on the tortilla.
2.Can I substitute a different type of cheese for sharp cheddar? ▾
Absolutely! Sharp cheddar adds a nice tang that cuts through rich chorizo, but you can swap in pepper jack for extra heat, stretchy Oaxaca cheese for classic Mexican flavor, or crumbled queso fresco for a brighter, saltier finish. Stick to roughly ¼ cup of cheese per burrito so it melts evenly without oozing out during cooking.
3.How do I get light, fluffy eggs instead of rubbery ones for the filling? ▾
The trick is low, slow cooking! Whisk your large eggs with a tablespoon of whole milk or half-and-half first, then cook them in the same pan you used for chorizo (leave a tiny bit of rendered fat) over medium-low heat, stirring gently. Pull them off when just softly set—they’ll keep cooking a little from residual heat as you assemble.
4.Can I make these burritos ahead of time for weekly meal prep? ▾
Definitely! These are ideal for quick grab-and-go breakfasts. Let all cooked fillings cool fully before wrapping to avoid condensation buildup, then wrap each burrito tightly in parchment or foil, tuck into an airtight container, and refrigerate for up to 4 days. Reheat in a pan or microwave when you’re ready to eat.
5.Can I freeze these breakfast burritos for longer storage? ▾
You bet—they freeze beautifully for up to 3 months. Assemble with fully cooled fillings, and skip adding watery fresh toppings like raw pico de gallo before freezing. Wrap each burrito tightly in two layers of plastic wrap then foil, label with the date, and thaw overnight in the fridge before reheating for the best, non-soggy texture.
6.Do I have to use 10-inch flour tortillas, or can I use a smaller size? ▾
10-inch flour tortillas are ideal because they hold all the hearty fillings without tearing when you wrap, but you can use 8-inch tortillas if that’s what you have on hand. Just scale back the filling amount by about 2 tablespoons per burrito to avoid overstuffing, which causes splits and oozing while you crisp the finished wrap.
7.What’s the best way to get that lightly crisp tortilla the recipe describes? ▾
It’s super simple! After you wrap your filled burrito tightly (tuck the ends in first to lock fillings in), place it seam-side down in a dry, preheated cast iron or nonstick pan over medium heat. Cook for 1 to 2 minutes per side, until the tortilla has golden, slightly crisp spots and the cheese inside is fully melted. No extra oil needed!
8.Is there a good vegetarian swap for the fresh Mexican chorizo? ▾
Absolutely! You can swap the fresh pork chorizo for plant-based soyrizo, which has the same zesty, spicy seasoning and crumbly texture when cooked. For a whole-food swap, use seasoned crumbled tempeh sautéed with smoked paprika, cumin, garlic powder, and a pinch of red pepper flakes to match chorizo’s bold, savory profile.
9.Can I use canned black beans, or do I need to cook dried beans from scratch? ▾
Canned black beans work perfectly here, and they’re the time-saving pick most home cooks use! Just make sure to fully drain them and give them a good rinse under cold water to wash off the starchy, salty canning liquid, then pat them lightly with a paper towel to cut down on excess moisture that would make your burrito soggy.
10.How do I properly wrap a burrito so fillings don’t fall out when I eat it? ▾
Start by layering your fillings in a tight line down the center of the tortilla, leaving a 2-inch border at the top and bottom. Fold the two short ends in over the filling first, then tuck the long side closest to you tightly over the fillings, squeeze gently to compact everything, and roll firmly away from you until sealed.
11.Can I add extra mix-ins like potatoes or veggies to these burritos? ▾
Of course! This recipe is super customizable. Diced, crispy roasted hash browns, sautéed bell peppers and onions, pickled jalapeños, or even a small dollop of guacamole all make delicious additions. Just make sure any cooked veggies are drained of excess moisture and you don’t overstuff the tortilla, so it wraps tightly without tearing.
12.What’s the difference between Mexican chorizo and Spanish chorizo—can I use either? ▾
Great catch—they’re not interchangeable here! Fresh Mexican chorizo is a raw, crumbly, highly seasoned ground pork sausage that needs full cooking, which is what this recipe calls for. Spanish chorizo is a cured, firm, slicable sausage similar to salami, so it won’t give you the same crispy, crumbly texture or rich rendered fat.
13.How do I reheat leftover breakfast burritos without them getting mushy? ▾
For the best texture, reheat unwrapped burritos in a dry skillet over medium-low heat for 3 to 4 minutes per side, flipping occasionally, until heated all the way through. If you’re short on time, wrap the burrito in a damp paper towel and microwave for 60 to 90 seconds, then crisp it in the pan for 1 minute per side to bring back crunch.
14.How spicy will these burritos be if I use regular store-bought Mexican chorizo? ▾
Most store-bought fresh Mexican chorizo is mildly spicy, with warm, smoky heat that’s not overwhelming for most eaters. If you’re sensitive to spice, look for mild chorizo labeled “low heat,” or cut the chorizo with extra plain ground pork to mellow the spice level, and skip spicy salsa or jalapeño toppings.
15.Do I need to warm the tortillas before assembling the burritos? ▾
It’s a small step that makes a huge difference! Cold tortillas are stiff and prone to cracking or tearing when you wrap them. Warm each tortilla for 10 seconds per side in a dry hot pan, or wrap a stack in damp paper towels and microwave for 30 seconds right before assembling, so they’re soft, pliable, and easy to roll tightly.

Comments (3)

3 days ago

OMG this is such a game changer for my weekday meal prep! That 15 minute cook time is no joke — I whipped a whole batch up before running out to run errands last weekend, stuffed mine with extra chorizo and a dollop of salsa verde. My roommate stole half the batch before I even got them wrapped for the freezer lmao. SO good, I’m already planning to add these to my regular Sunday prep rotation!

2 days ago

Wait quick question — do these reheat well straight from the freezer? I’ve tried making homemade frozen breakfast burritos before and the tortilla always gets soggy no matter what I do.

yesterday

So stoked these are a meal prep win for you! Pro tip to avoid soggy tortillas: let your filling cool completely before wrapping, and tuck a little paper towel around each burrito when you reheat it in the microwave for 2 minutes. Works like a charm!

yesterday

My kids loved it!!! I’ve been scrambling to find quick school morning breakfasts that aren’t just sugary cereal or frozen waffles, and these were a total home run. I tossed in some diced red bell peppers and extra shredded cheddar, even my super picky 7 year old asked for seconds before he ran to catch the bus. We like things extra zesty in our house so I added a pinch more cumin and a splash of hot sauce to the egg mix, chef’s kiss.

2 hours ago

That makes us so happy to hear! Sneaking in extra bell peppers is such a great way to get veggies in without the kids noticing, and that hot sauce/cumin tweak sounds incredible. So glad your whole crew enjoyed them!

30 minutes ago

Super easy recipe, no random fancy ingredients required which is perfect because I’m absolutely garbage at complicated cooking. Threw this together right after my morning gym session when I was ravenous, paired it with a side of crispy hash browns and a drizzle of sour cream, and it totally hit the spot. Only reason it’s not a 5 is I overcooked the eggs a little (my bad, not the recipe’s fault) — will definitely be making these again on lazy hangover weekends too.



