
mexican egg casserole

title 1
mexican egg casserole
⏱️ cook time 40 minutes
🍽️ servings 6
⚡ Difficulty easy

intro

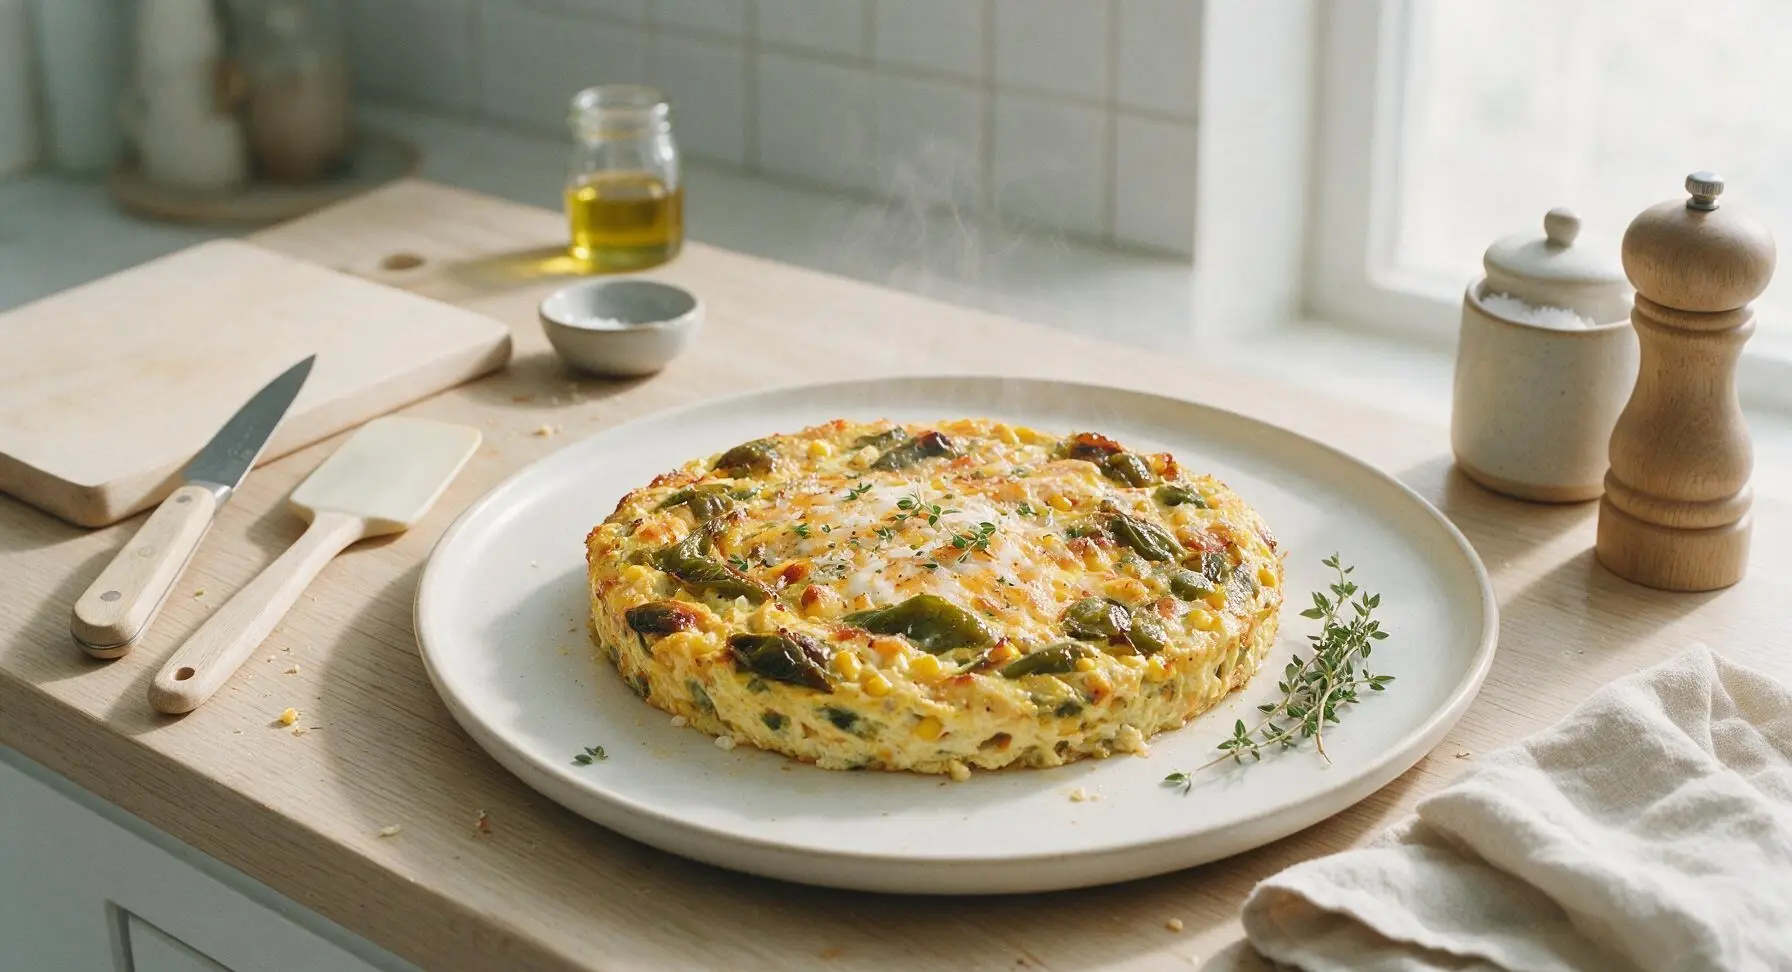
A fluffy, savory baked egg dish layered with roasted chiles, sweet corn, melted cheese, and warm Mexican spices, perfect for feeding a crowd with minimal fuss.

Ingredients
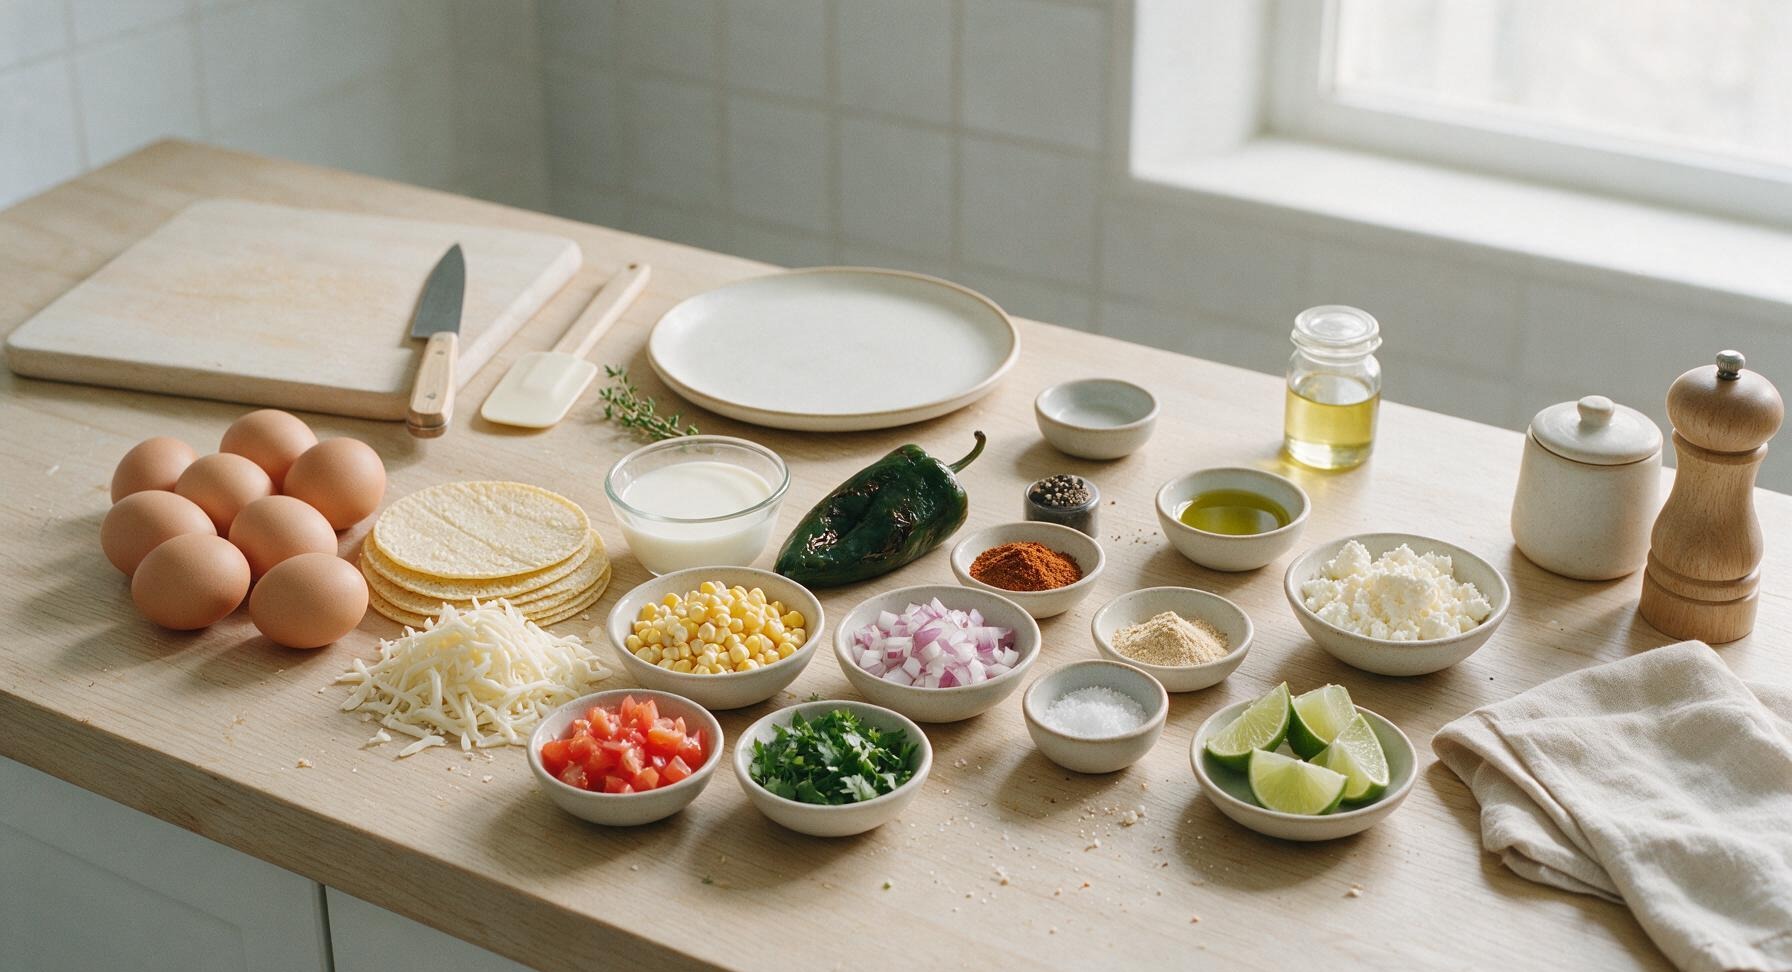
Large eggs 8 each
6-inch corn tortillas 4 each
Shredded Oaxaca cheese 1.5 cups (170g)
Whole milk 1 cup (240ml)
Roasted poblano pepper, diced 1 cup (150g)
Sweet corn kernels, thawed 1 cup (165g)
Diced red onion 1/2 cup (75g)
Roma tomato, seeded and diced 1 medium (120g)
Fresh cilantro, chopped 1/4 cup (10g)
Ground cumin 1 tsp
Mild chili powder 1 tsp
Garlic powder 1/2 tsp
Kosher salt 1 tsp
Freshly ground black pepper 1/4 tsp
Extra-virgin olive oil 1 tbsp
Crumbled cotija cheese 1/2 cup (65g)
Fresh lime, cut into wedges 1 each

Steps

1

Prep Baking Dish

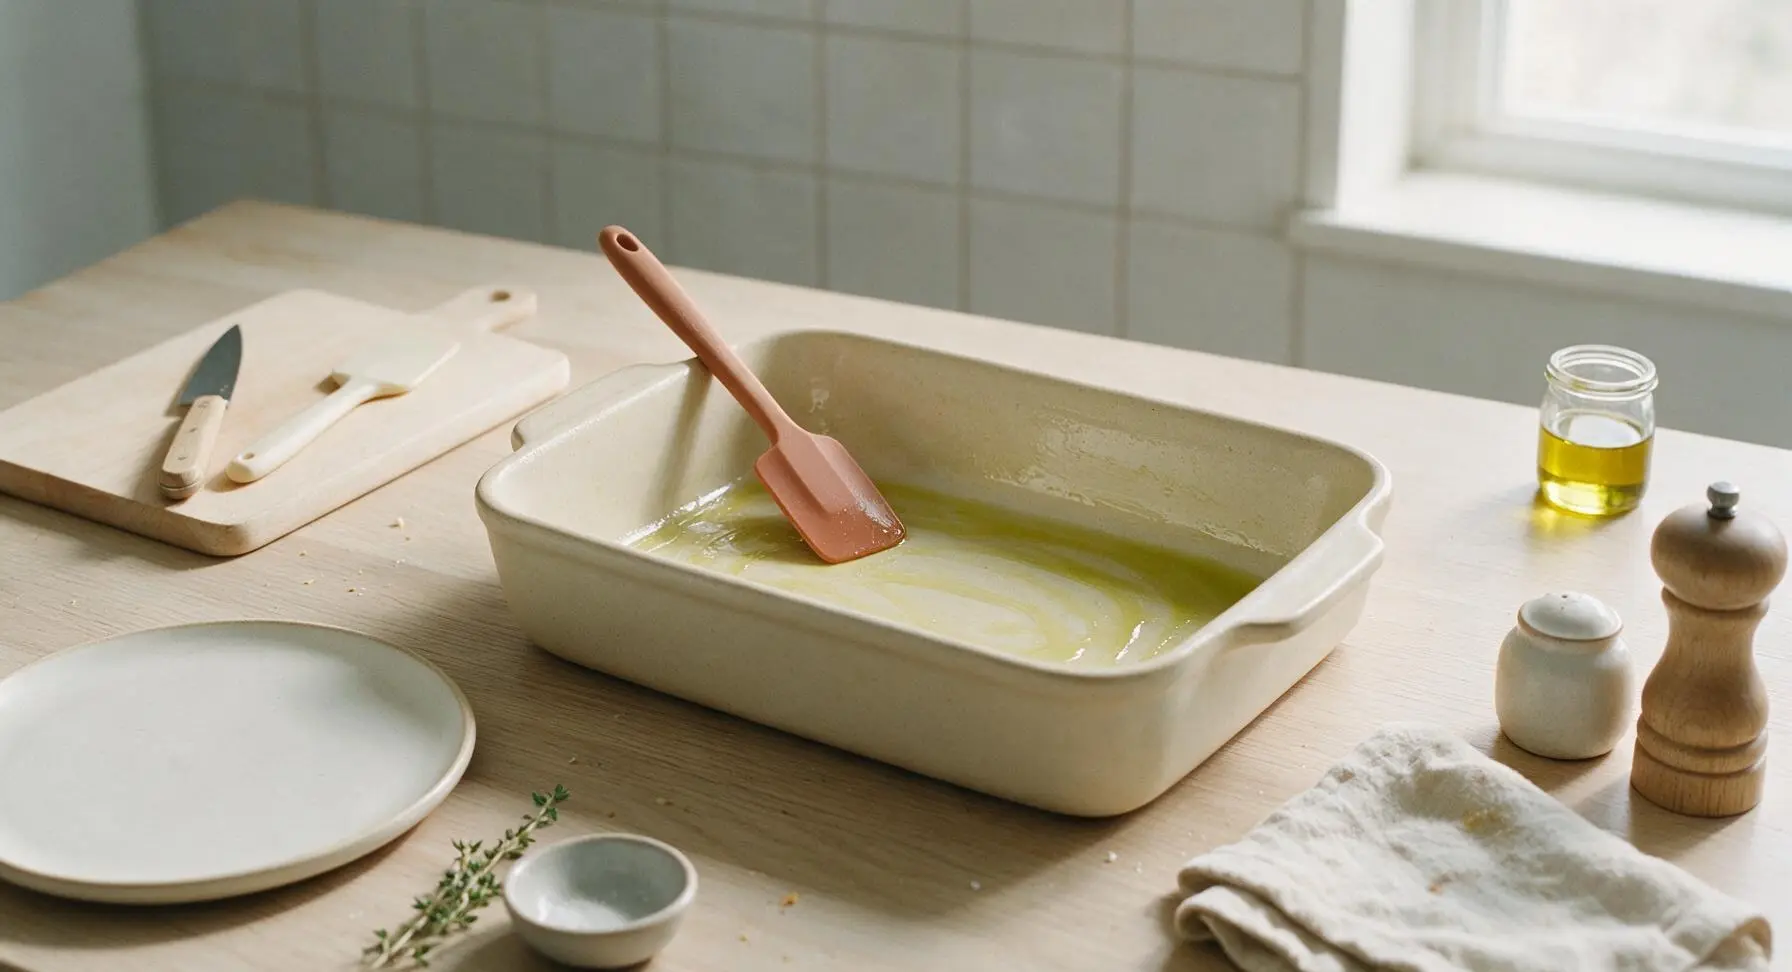
Preheat your oven to 375°F (190°C). Use the matte terracotta silicone spatula to spread 1 teaspoon of extra-virgin olive oil evenly across the interior of the 9x13 inch matte cream stoneware baking dish, coating the bottom and 1 inch up the sides fully to prevent sticking. Set the oiled dish in the center of the shooting area on the terrazzo counter while you prep remaining ingredients.
Step 1
step1:Prep Baking Dish
2

Toast Tortilla Pieces

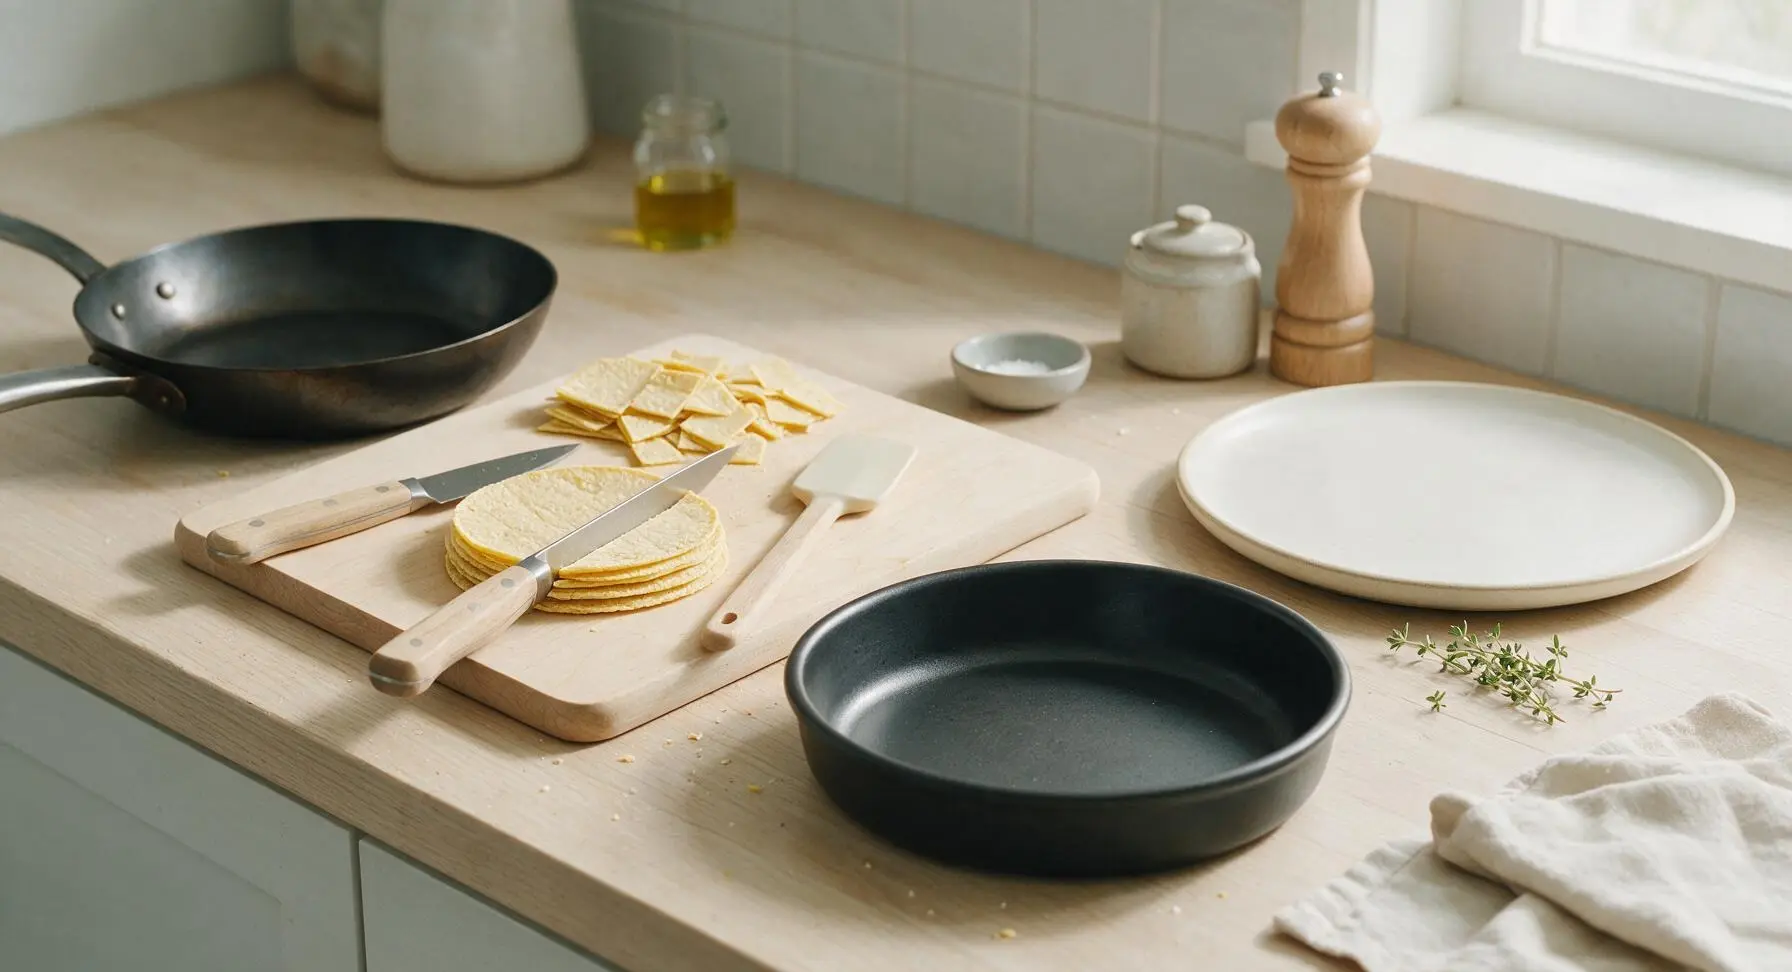
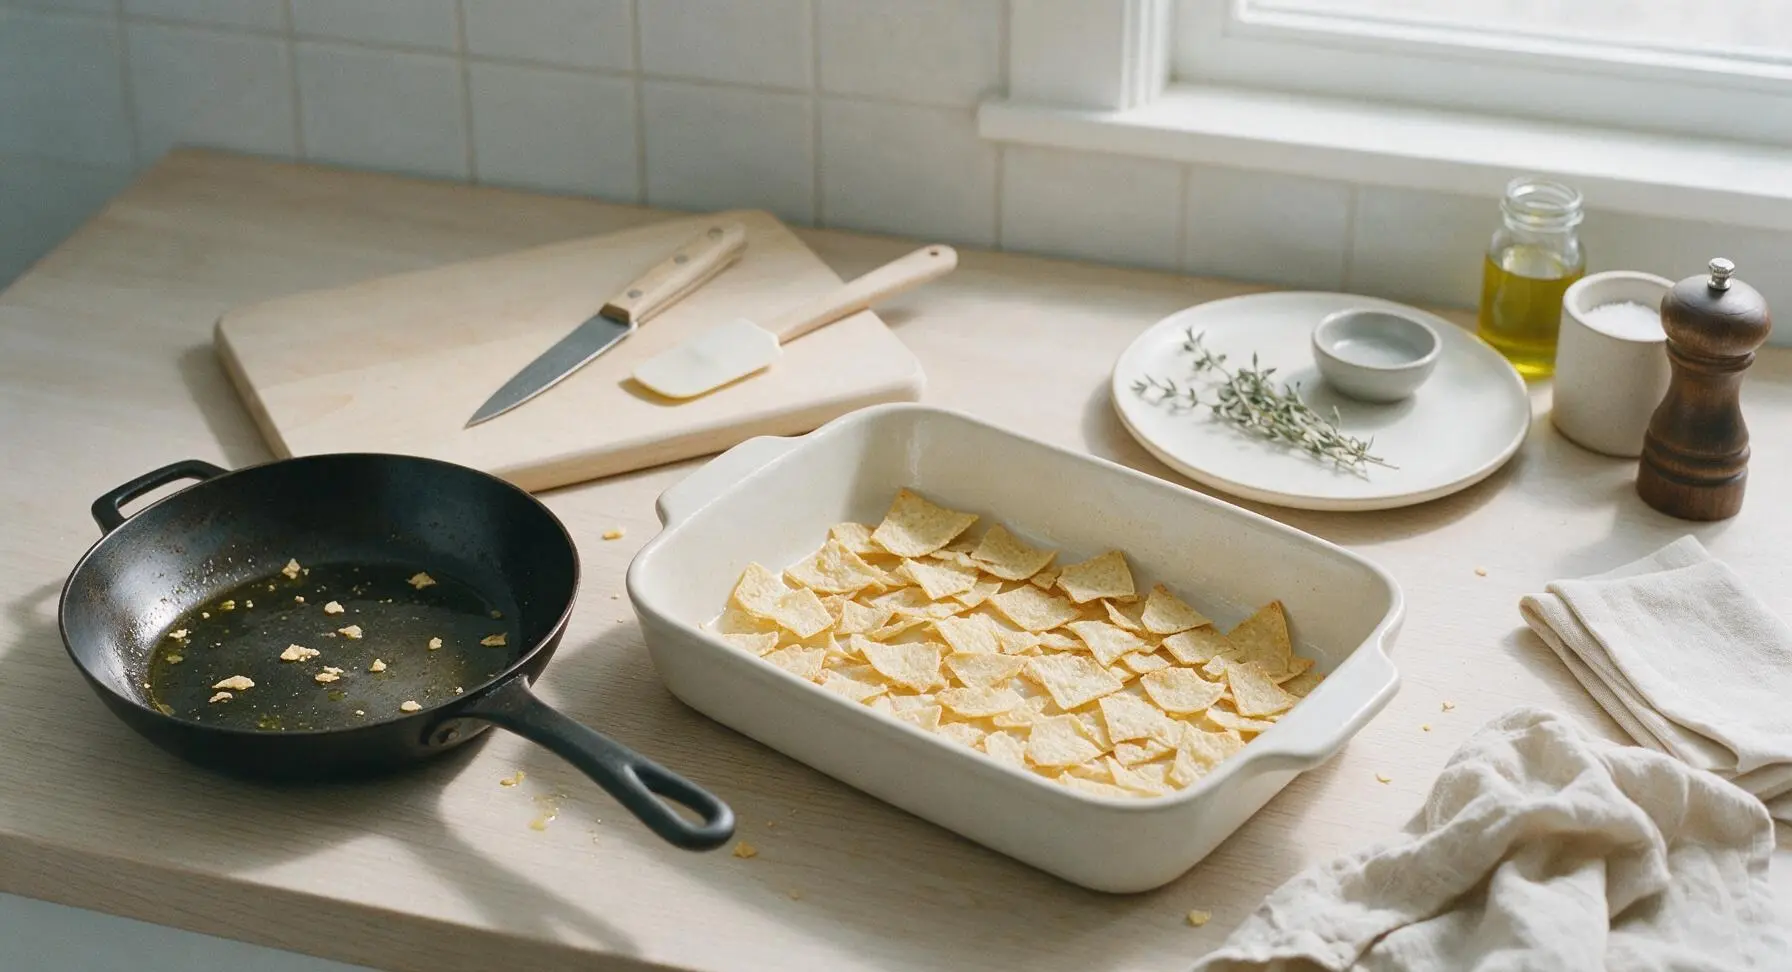
Stack the 4 corn tortillas on the light honey bamboo cutting board, and use the 8-inch chef knife to cut them into rough 1-inch squares. Heat the remaining 2 teaspoons of olive oil in the 20cm matte black carbon steel skillet over medium heat, add the cut tortilla pieces, and toast for 3-4 minutes, stirring occasionally, until they are lightly crisp around the edges and pale golden. Remove the skillet from heat, and spread the toasted tortilla pieces in an even, single layer across the bottom of the prepared oiled baking dish.
Step 2
step2:Toast Tortilla Pieces
Step 2
step2:Toast Tortilla Pieces
3

Layer Veggie Filling

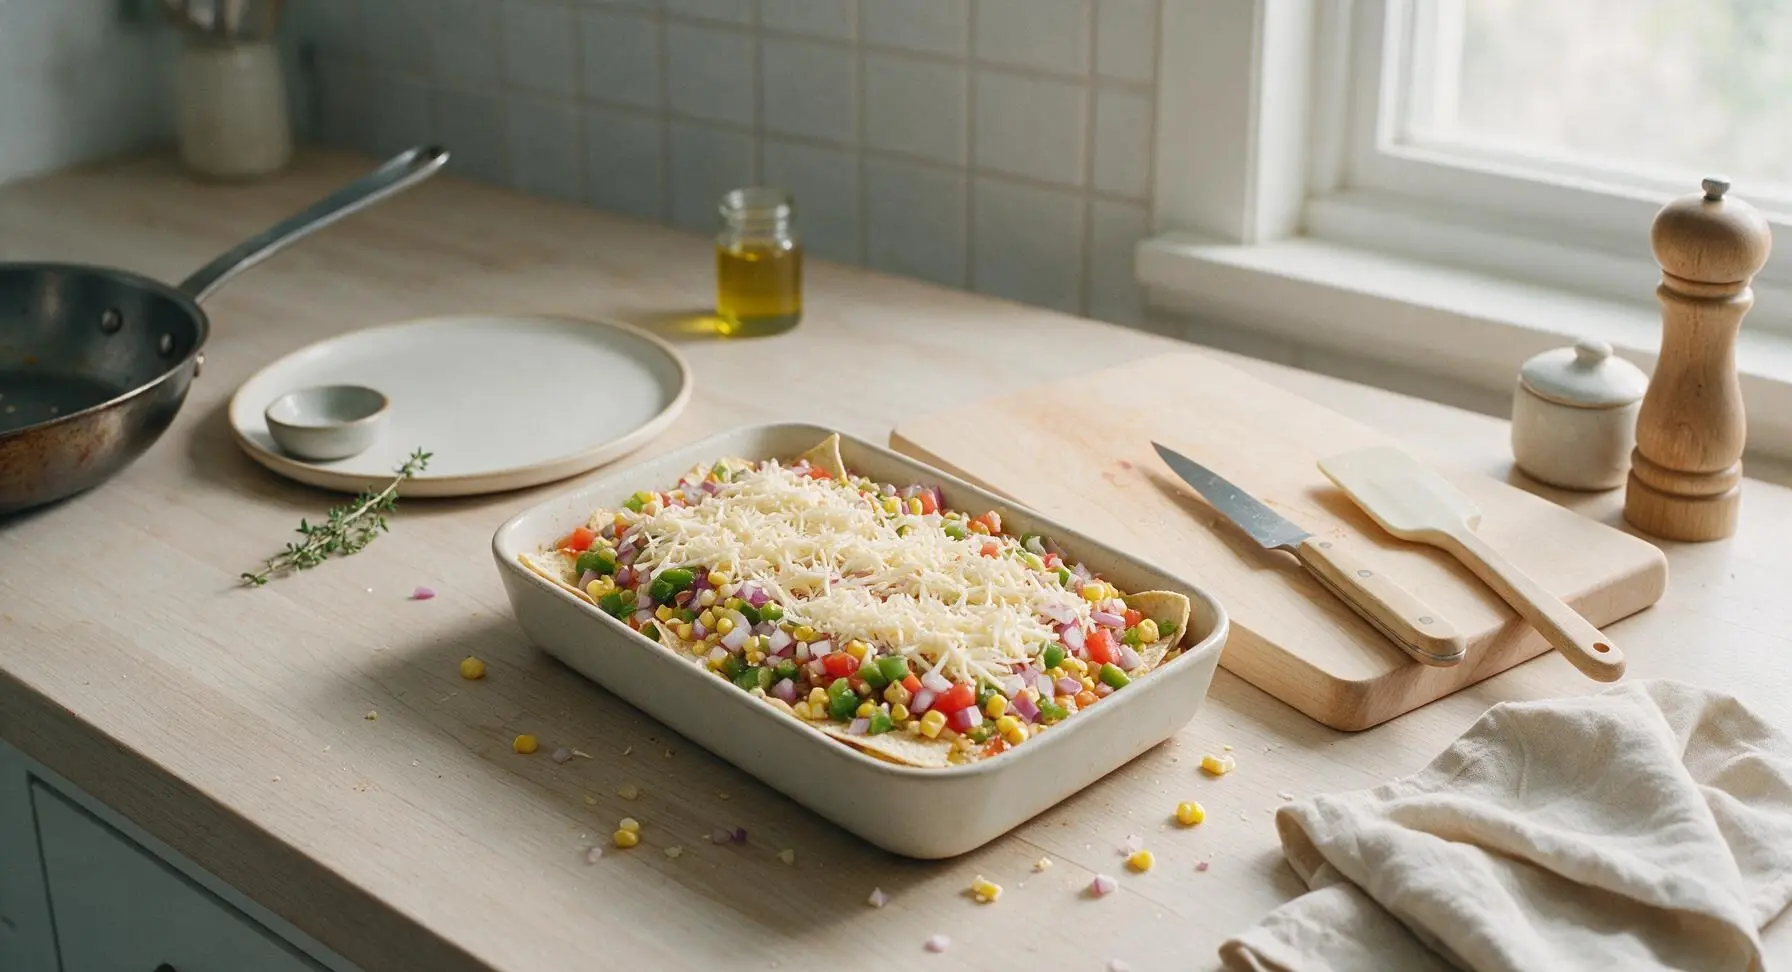
Evenly scatter the diced roasted poblano, thawed sweet corn, diced red onion, and seeded diced Roma tomato over the top of the toasted tortilla layer in the baking dish. Sprinkle 1 cup of the shredded Oaxaca cheese evenly over the vegetable layer, reserving the remaining 1/2 cup of cheese for the top of the casserole.
Step 3
step3:Layer Veggie Filling
4

Whisk Egg Custard

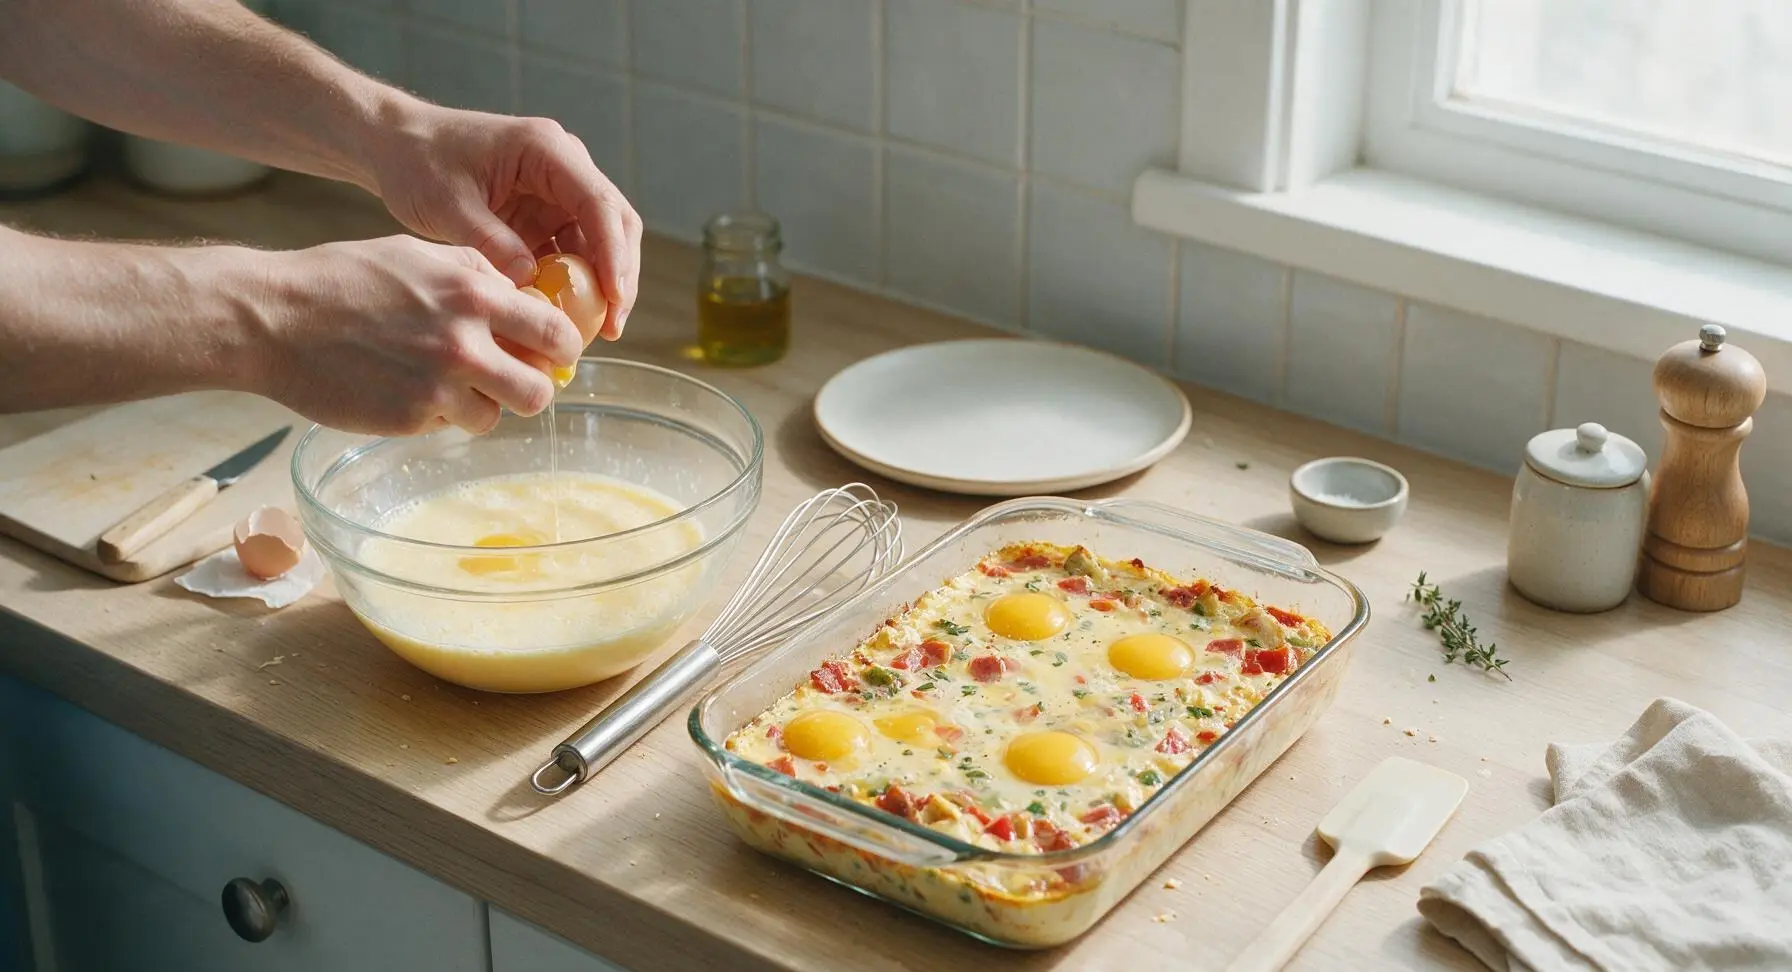
Crack all 8 large eggs into the large clear glass mixing bowl. Add the whole milk, ground cumin, mild chili powder, garlic powder, kosher salt, and freshly ground black pepper. Use the 25cm stainless steel wire whisk to beat the mixture for 45-60 seconds, until the eggs are fully combined with the milk and spices, no streaks of clear egg white remain, and the mixture is pale creamy yellow with a light froth on the surface.
Step 4
step4:Whisk Egg Custard
5

Pour Egg Over Layers

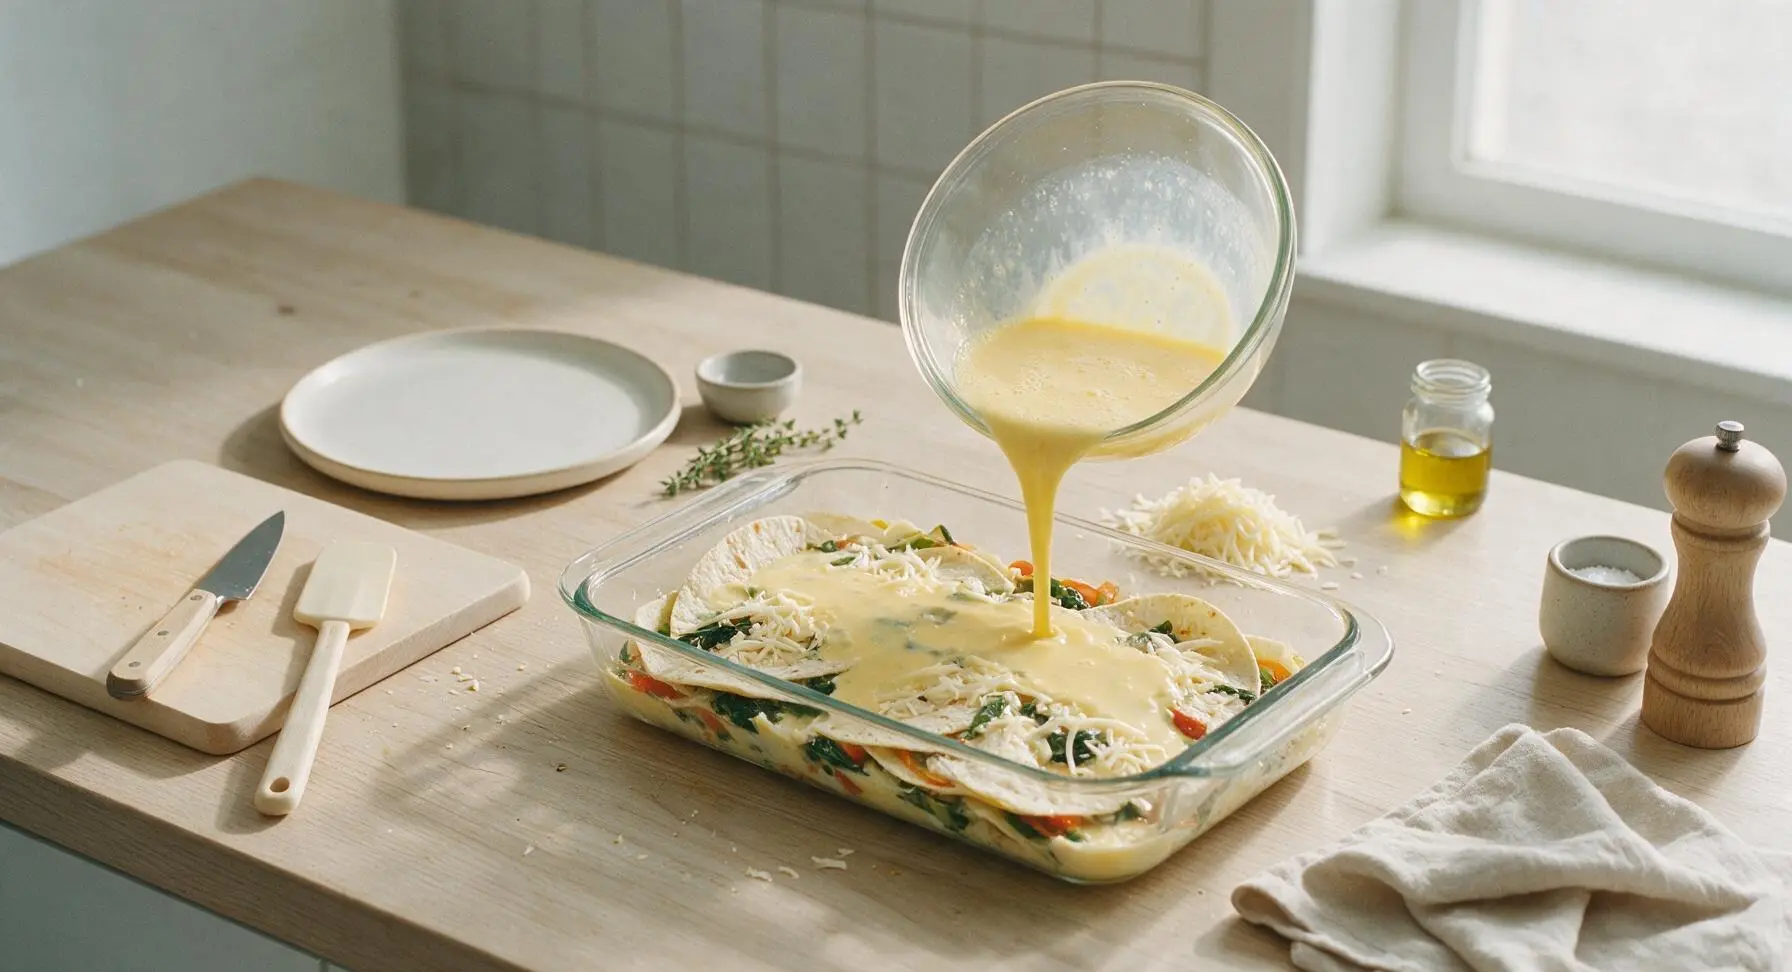
Slowly pour the whisked egg custard mixture evenly over the layered tortillas, vegetables, and cheese in the baking dish. Gently jiggle the dish 2-3 times to ensure the egg custard settles evenly through all layers, reaching all the way to the tortilla base. Sprinkle the reserved 1/2 cup of shredded Oaxaca cheese evenly across the top surface.
Step 5
step5:Pour Egg Over Layers
6

Bake Until Set

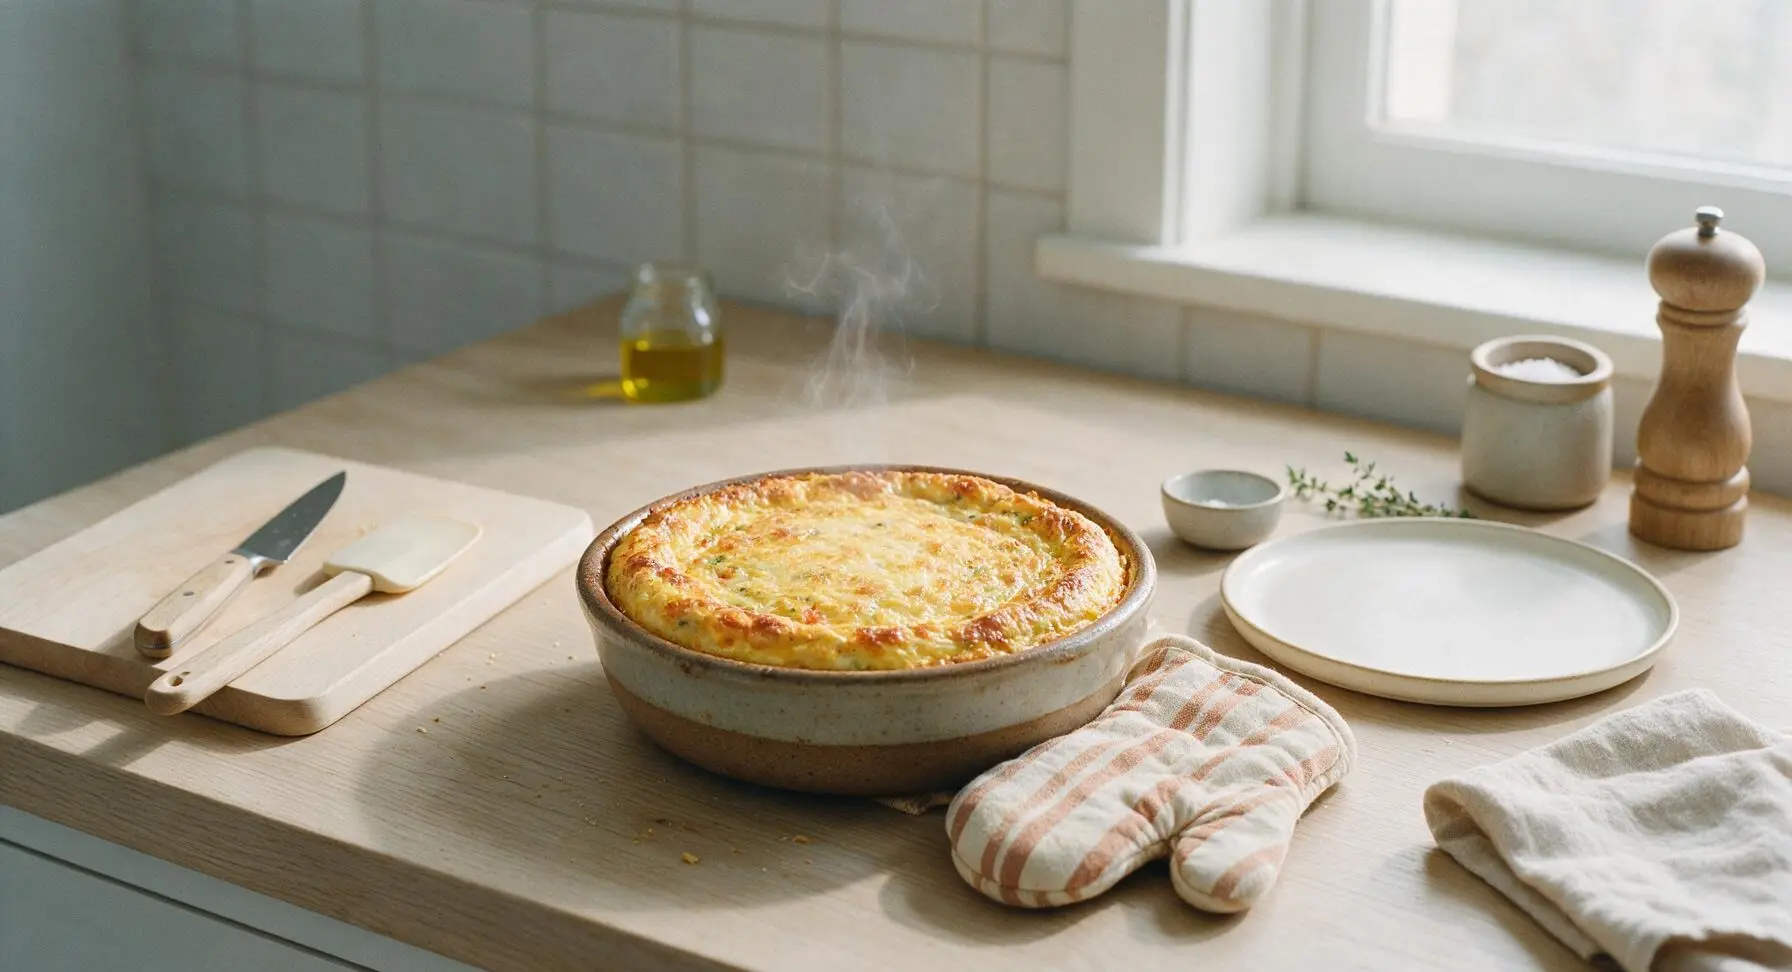
Carefully transfer the assembled baking dish to the preheated 375°F (190°C) oven. Bake for 38-42 minutes, until the top is puffed and light golden brown, the center is fully set (no liquid jiggling when you gently shake the dish), and a toothpick inserted into the center comes out clean with no runny egg attached. Remove from the oven and let the casserole rest for 10 minutes at room temperature before cutting.
Step 6
step6:Bake Until Set
7

Garnish and Plate

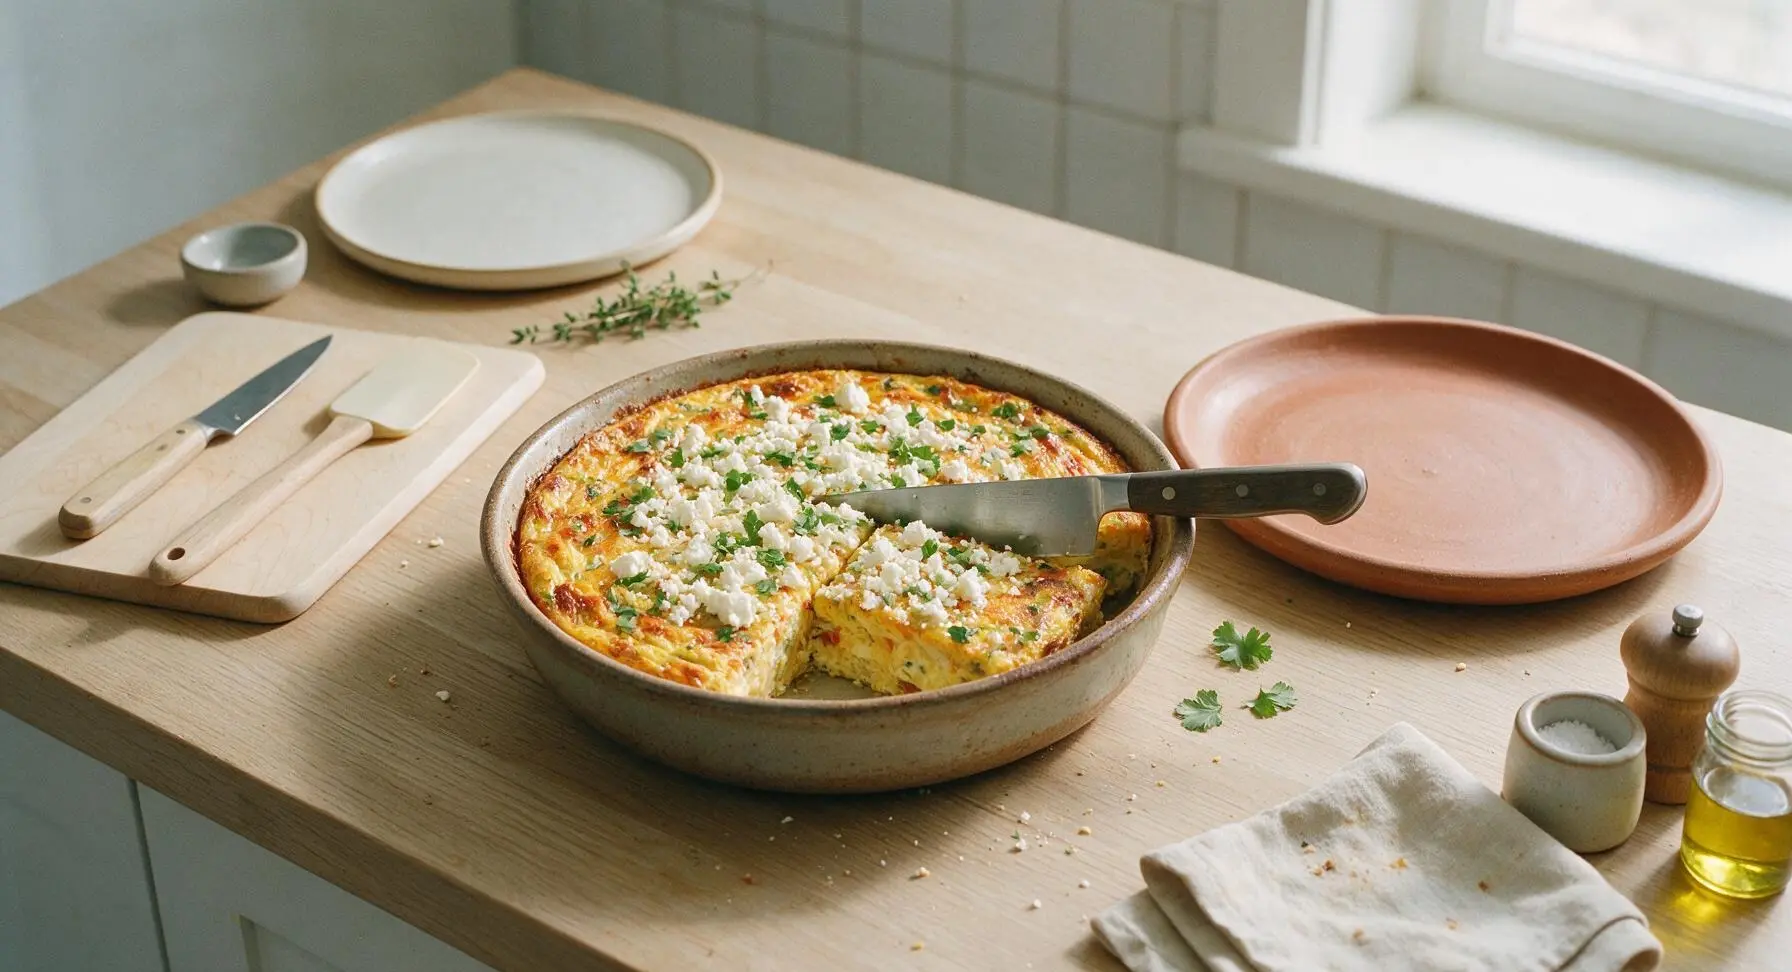
Sprinkle the crumbled cotija cheese and chopped fresh cilantro evenly over the warm, rested casserole top. Cut into 6 equal square portions using the chef knife, then arrange portions on the 30cm terracotta serving platter. Serve with lime wedges for squeezing over individual portions.
Step 7
step7:Garnish and Plate

Tips

1.Always let the casserole rest for 10 full minutes after removing it from the oven before cutting: this allows the egg custard to set fully, so clean square portions hold their shape instead of oozing or falling apart when served.
2.For a spicy variation, add 1 diced jalapeño (seeded and membranes removed for mild heat, seeds left in for extra spice) to the vegetable layer; the bright, fresh heat cuts through the rich cheese and creamy eggs for balanced flavor.
3.This casserole can be fully assembled (covered tightly with plastic wrap) and stored in the refrigerator for up to 24 hours before baking: add 5-7 minutes to the total bake time if cooking straight from the fridge, for a zero-prep brunch or potluck dish.


✨ You May Also Like

Breakfast
🍜 United States

Crisp-edged, fluffy lard griddle cakes are a nostalgic homestyle staple, with rich savoriness from rendered lard, perfect topped with maple syrup or savory gravy.

⏱️ 25 minuteBreakfast ★ 4.8
Breakfast
🍜 United States

Flaky, buttery homemade buttermilk biscuits smothered in creamy, peppery pork sausage gravy: a beloved, hearty Southern American comfort food classic.

⏱️ 35 minuteBreakfast ★ 4.8
Breakfast
🍜 United States

Golden, custardy brioche stuffed with sweet cream cheese and fresh berries, pan-fried to crisp perfection. An indulgent, cozy breakfast perfect for slow weekend mornings.

⏱️ 30 minuteBreakfast ★ 4.7
Breakfast
🍜 United States

Flaky, buttery Southern-style biscuits stuffed with savory salty country ham, a portable, satisfying classic perfect for casual on-the-go meals.

⏱️ 25 minuteBreakfast ★ 4.8
Breakfast
🍜 United States

Iconic puffy baked pancake popularized in Seattle, with crisp golden edges and soft custardy center, served warm with classic sweet toppings.

⏱️ 35 minuteBreakfast ★ 4.6
Breakfast
🍜 United States

Fluffy, golden pancakes studded with juicy peak-summer mixed berries, drizzled with maple syrup for a bright, comforting, crowd-pleasing family breakfast.

⏱️ 25 minuteBreakfast ★ 4.7

mexican egg casserole:Frequently Asked Questions

1.Can I make this Mexican Egg Casserole ahead of time for brunch? ▾
Absolutely! Assemble the full, unbaked casserole, cover tightly with plastic wrap, and refrigerate for up to 24 hours before baking. When you’re ready to cook, pull it out while your oven preheats, remove the wrap, and add 5-7 minutes to the bake time to account for the cold start—you won’t lose any fluff or flavor, making it perfect for low-fuss brunch hosting.
2.What’s a good substitute for Oaxaca cheese if I can’t find it at my grocery store? ▾
If you can’t track down Oaxaca cheese, use a 50/50 mix of low-moisture shredded mozzarella and shredded Monterey Jack for that same stretchy, mild, creamy melt. Skip crumbly cheeses like cotija as the main cheese layer—they won’t melt into the fluffy egg base properly, though you can sprinkle a little on top for a salty garnish if you like.
3.Do I have to roast the poblano peppers first, or can I use them raw? ▾
Roasting poblanos first is well worth the step for that deep, smoky, mild heat and soft texture that blends perfectly with eggs and cheese. Raw poblanos stay crisp, taste grassy, and release extra water that can make your casserole soggy. If you’re short on time, well-drained canned diced fire-roasted green chiles work as a quick swap.
4.Can I add meat to this casserole to make it more filling? ▾
Definitely! Cooked, drained, crumbled chorizo, browned ground breakfast sausage, or shredded leftover carnitas all work beautifully. Just make sure any meat you add is fully cooked and patted dry of excess grease before layering it in—extra oil will make the egg base greasy and prevent it from setting up light and fluffy. Stick to 1 to 1.5 cups total.
5.How do I keep the corn tortillas from getting soggy in the casserole? ▾
The easiest trick to avoid soggy tortillas is to quickly toast them first! Warm them in a dry skillet over medium heat for 30 seconds per side until they’re slightly crisp around the edges, then layer them in. This amplifies their toasty corn flavor and creates a barrier so they don’t absorb too much egg mixture while baking, keeping layers distinct instead of mushy.
6.What temperature and cook time gives a perfectly set, fluffy casserole? ▾
Bake your casserole at 375°F (190°C) for 35 to 40 minutes for the ideal fluffy set. It’s done when the edges are golden and bubbly, the center doesn’t jiggle like loose liquid when you nudge the pan, and a toothpick inserted in the middle comes out clean with just melted cheese flecks, no runny raw egg. Let it rest 5 minutes before slicing.
7.Can I adapt this recipe to be dairy-free? ▾
You can absolutely adapt this for dairy-free diets! Swap the whole milk for unsweetened plain oat milk, which has the closest creamy texture to cow’s milk for baked eggs, and use a shredded dairy-free melting cheese blend made for Mexican dishes. Stick to unsweetened, unflavored milk alternatives to avoid odd sweet notes that clash with smoky poblanos and warm spices.
8.What’s the best way to reheat leftover casserole without it getting rubbery? ▾
For the best texture, reheat individual slices in a toaster oven or regular oven at 325°F for 8 to 10 minutes, covered loosely with foil, until heated through. If you’re in a rush, you can microwave slices for 45 to 60 seconds, but know the tortilla layers will be softer. Leftovers keep well in an airtight fridge container for up to 4 days.
9.Can I use flour tortillas instead of corn tortillas? ▾
You can swap corn tortillas for 8-inch flour tortillas cut to fit your baking dish, but the texture and flavor will shift. Corn tortillas add that classic earthy Mexican flavor and hold their structure better for distinct layers, while flour tortillas turn softer and more bread-like. If you use flour, skip the toasting step since they absorb less liquid than corn.
10.How do I adjust this recipe for high-altitude cooking? ▾
At altitudes above 3,500 feet, eggs set faster and liquids evaporate quicker, so add 2 extra tablespoons of whole milk to the egg mixture, lower your oven temperature by 25°F, and add 5 to 10 minutes to the total bake time. Cover the top with foil for the first 20 minutes of baking to prevent the cheese from browning too fast before the center sets.
11.Can I use frozen sweet corn in this recipe, or do I need fresh? ▾
Absolutely, frozen sweet corn works perfectly—no need to thaw it first, just measure out 1 cup and toss it in with the diced roasted poblanos. If you want extra depth, sauté the frozen corn in a dry skillet for 3 to 4 minutes until it has a few golden charred spots before adding it, which amps up its sweet, toasty flavor.
12.Why does my egg casserole turn out watery every time I make it? ▾
Watery casserole almost always traces back to two culprits: undrained add-ins, or underbaking. Make sure your roasted poblanos (and any canned veggies you use) are patted fully dry of excess moisture before layering, and don’t pull the casserole out until the center is fully set with no loose jiggle. A 5-minute rest post-bake also lets moisture absorb back into the eggs.
13.What spices should I use to get that classic warm Mexican flavor? ▾
Stick to a simple, balanced spice blend to let the core ingredients shine: 1 teaspoon ground cumin, ½ teaspoon mild chili powder, ¼ teaspoon garlic powder, ¼ teaspoon smoked paprika, and a pinch of kosher salt and black pepper. Skip heavy, extra-spicy blends if serving kids or mild-preference guests, and leave hot sauce on the side for people who want more heat.
14.What size baking dish do I need for this recipe? ▾
This recipe works best in a 9x13-inch (3-quart) glass or ceramic baking dish, which delivers even, gentle heat for fluffy eggs and perfectly melted cheese. If you use a metal baking pan, check for doneness 5 minutes early, since metal conducts heat faster than glass or ceramic and can over-brown the edges before the center sets if you’re not careful.
15.Can I freeze this casserole for long-term meal prep? ▾
Yes! You can freeze either the fully baked, cooled casserole or the unbaked assembled casserole for up to 3 months. Wrap it tightly in two layers of plastic wrap and one layer of foil to prevent freezer burn. Thaw it fully in the fridge for 24 hours before baking or reheating, and add 10 minutes to cook time as needed to heat it all the way through.

Comments (14)

2 days ago

OMG this Mexican Egg Casserole was a total game changer for our Sunday brunch! I added a handful of pickled jalapeños on top for extra zing and my whole family went back for seconds. So easy to throw together too, I didn’t even have to run to the store for special ingredients!

yesterday

Love the pickled jalapeño hack, Sarah! That tangy kick pairs so perfectly with the creamy egg and cheese base—so glad your family enjoyed it!

1 week ago

My kids LOVED this! I’ve been struggling to find quick weekday breakfasts that aren’t just cereal or pop tarts, and this checks every box. I prepped it the night before, popped it in the oven when we woke up, and we all had a hot, filling breakfast before school drop off. Will be making this on repeat!

5 days ago

Wait prepping it the night before is such a smart call! Did you assemble everything completely and just keep it covered in the fridge until baking?

3 days ago

Great question! You can absolutely assemble the full casserole the night before, cover tightly with plastic wrap, and bake straight from the fridge—just add 5-7 minutes to the cook time to make sure the middle is fully set!

30 minutes ago

Pretty solid! I swapped the regular cheddar for pepper jack and threw in some leftover chorizo from taco night, turned out great. Only note is I wish it had a little more texture, maybe add some crushed tortilla chips on top next time? Still super easy for a weeknight dinner though.

yesterday

Brought this to my office potluck earlier this week and people were asking me for the recipe before I even set the dish down! It’s hearty, has just the right amount of spice, and holds up really well even when it’s not piping hot. 10/10, will absolutely be making this for every potluck from now on.

2 hours ago

Did you serve it with anything on the side? I’m making this for my neighborhood block party next weekend and trying to plan toppings!

2 weeks ago

SO good for meal prep! I cut this into 6 squares, wrapped them individually, and grabbed one on my way to work every morning this week. It reheats perfectly in the microwave in 90 seconds, no sogginess at all. Way better than the sad breakfast sandwiches I’ve been buying from the gas station.

1 week ago

How long do these keep in the fridge for? I want to make a batch for my post-gym breakfasts!

5 days ago

I kept mine for 5 days and it still tasted totally fresh! Just make sure you let it cool completely before wrapping it up so it doesn’t get condensation making it soggy.

5 days ago

This was tasty, but I found the cook time listed was a little short for my old oven! The middle was still runny after 40 minutes, so I had to leave it in for almost an extra 15 minutes before it set properly. Flavor was great though, my grandkids ate two pieces each.

3 days ago

So sorry about the cook time discrepancy, Ethel! Oven temperatures can vary so much between models, so it’s always a good idea to check for doneness by sticking a knife in the center—if it comes out clean, it’s ready to go! I’m glad your grandkids still loved the flavor.

just now

As someone who can barely boil water without burning it, this was so easy to make in my tiny dorm kitchen! I used a bag of frozen pepper and onion mix to save on chopping, and it turned out chef’s kiss. Total win for a cheap, filling meal that feeds me for days.

3 days ago

Made this for my partner’s birthday brunch and it was a hit! We topped individual slices with avocado, a dollop of sour cream, a sprinkle of cilantro, and a dash of hot sauce. It felt fancy but took barely any effort, which is exactly my vibe when I’m hosting.

2 days ago

Ugh cilantro tastes like soap to me, would it still be good if I skipped that and added more green onion instead?

yesterday

Absolutely! Cilantro is totally optional, and green onion makes a fantastic fresh swap. You could even add a squeeze of lime on top for a little extra brightness if you’d like!

2 hours ago

Really good base recipe! I added a can of drained black beans and some corn to make it a little heartier for dinner, and it was perfect. Next time I might add a little taco seasoning to the egg mix to amp up the Mexican flavor even more.

30 minutes ago

The taco seasoning addition is genius! I did that last time I made it and it leveled the whole thing up, highly recommend.

5 minutes ago

I made this vegetarian by skipping the meat add-ins my husband usually likes, and loaded it up with roasted zucchini, bell peppers, and mushrooms instead. It was so flavorful I didn’t even miss the meat! Even my meat-and-potatoes husband said it was a keeper.

1 week ago

Made this before my son’s early Saturday baseball game and it was the perfect fuel! It’s protein packed, so none of the kids crashed an hour into practice like they do when we bring donuts. All the other parents were asking for the recipe too.

5 days ago

Wait this is such a good idea for early game days! Do you think it would freeze well if I made a double batch?

3 days ago

I froze half of my last batch actually! Wrapped it tight in foil, popped it in the freezer for 2 weeks, thawed it in the fridge overnight and baked for 10 minutes to warm up. Tasted just as good as fresh!

yesterday

So happy this recipe is naturally gluten free! I’ve been searching for easy brunch dishes I can make when my whole family comes to visit, and half of us are GF. This doesn’t taste like a 'diet' or 'alternative' recipe at all, everyone loved it.

2 hours ago

That makes us so happy to hear, Gigi! We love that this recipe is easily adaptable for different dietary needs without sacrificing any flavor. Thanks for giving it a try!

3 days ago

I know this sounds weird but I drizzled a little ranch on top of my slice and it was insane. Don’t knock it till you try it! The creamy ranch pairs so well with the little bit of spice from the green chiles in the casserole. Game changer combo.

30 minutes ago

This was the first thing I’ve ever baked from scratch and it actually turned out perfect!! I was so nervous I’d mess it up, but the instructions were super straightforward and hard to mess up. My roommate said it’s the best thing I’ve ever made, win!

5 minutes ago

This makes our day, Lila! There’s no better feeling than nailing a recipe on your first try, especially when it gets a roommate seal of approval. Can’t wait to hear what you cook next!



