
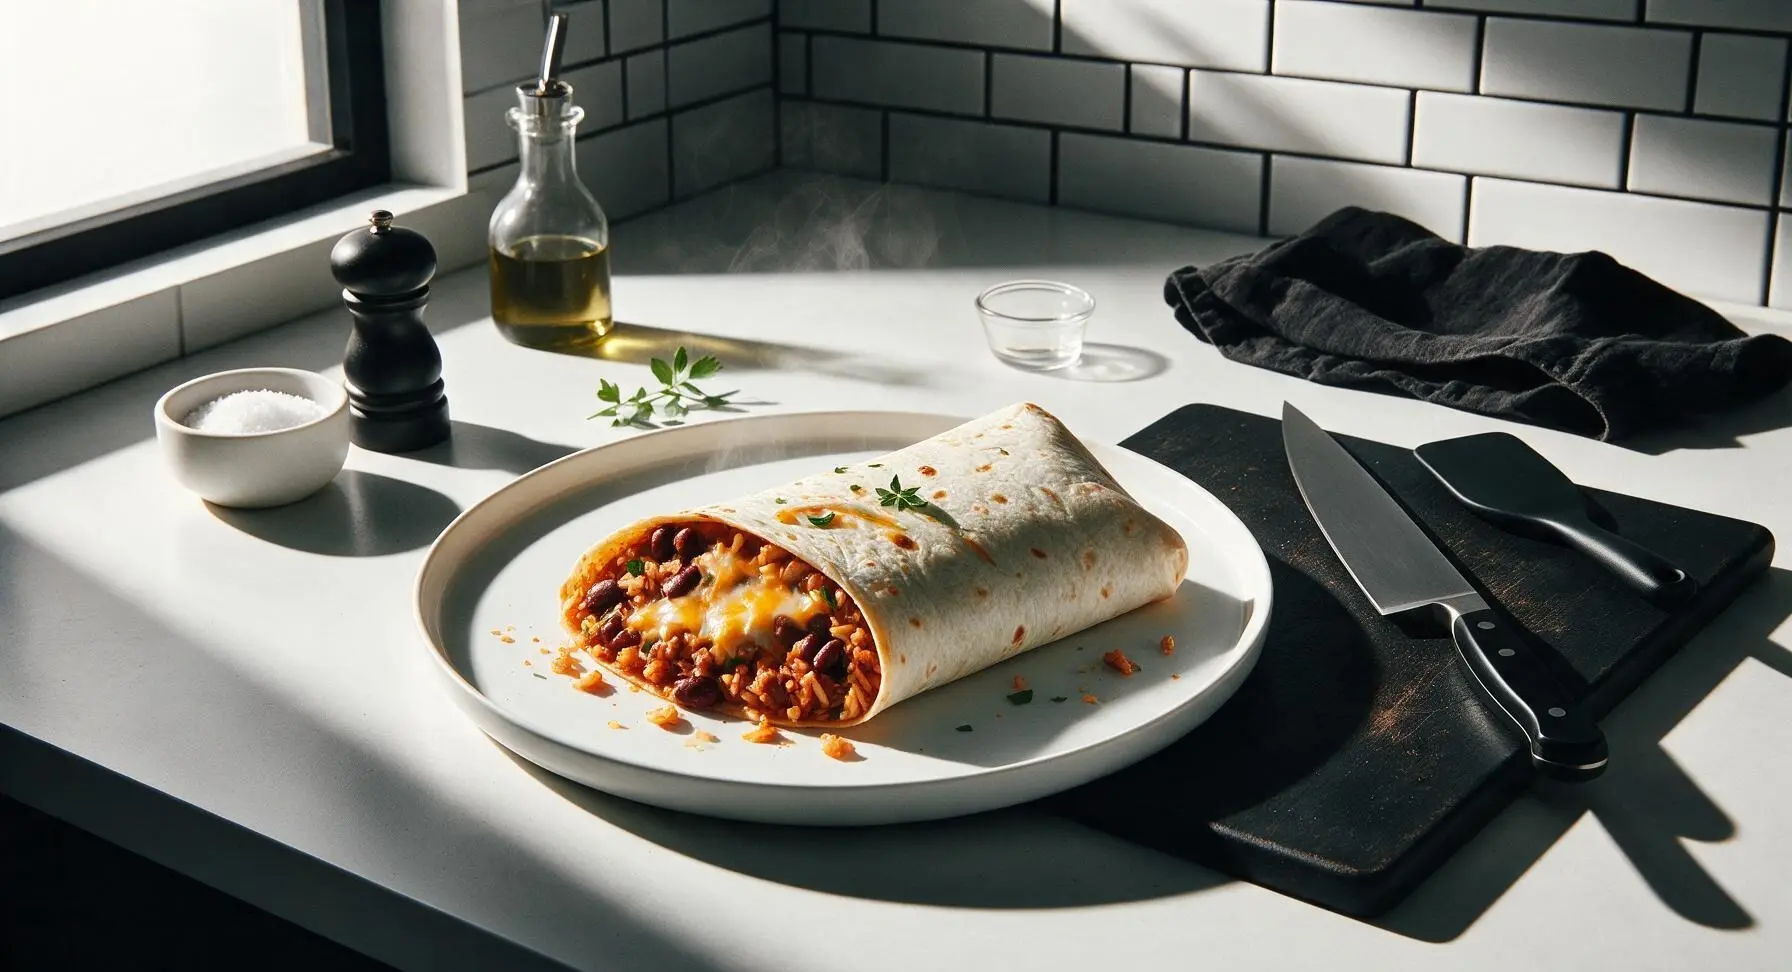
microwave burrito

title 1
microwave burrito
⏱️ cook time 3 minutes
🍽️ servings 2
⚡ Difficulty easy

intro

Warm, cheesy handheld Tex-Mex burritos ready in minutes, no stovetop required. Stuffed with spiced beans, rice, and melted cheese for a satisfying, fuss-free quick meal.

Ingredients
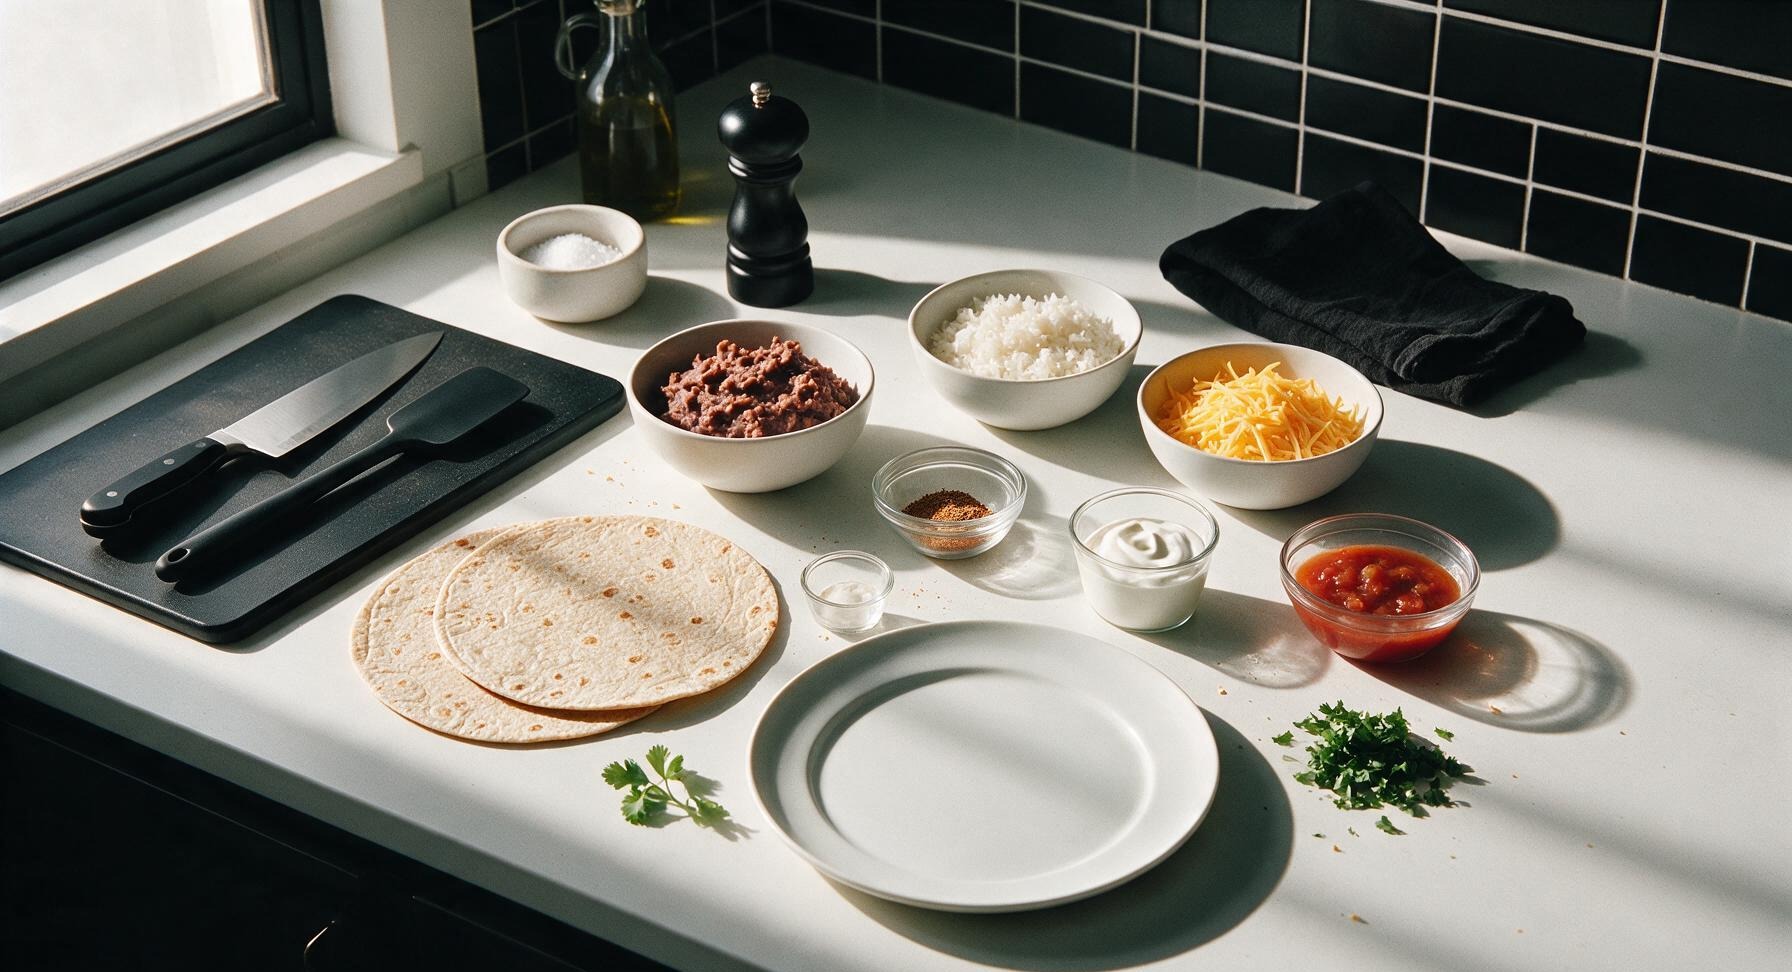
Large whole-wheat flour tortillas (10-inch/25cm) 2 each
Canned low-sodium refried beans 1 cup (240g)
Cooked white rice (leftover preferred) 1/2 cup (80g)
Shredded sharp cheddar cheese 1/2 cup (55g)
Taco seasoning mix 1 teaspoon (5g)
Sour cream 2 tablespoons (30g)
Mild red salsa 1/4 cup (60g)
Fresh cilantro 2 tablespoons (5g, chopped)

Steps

1

Mix Spiced Bean Filling

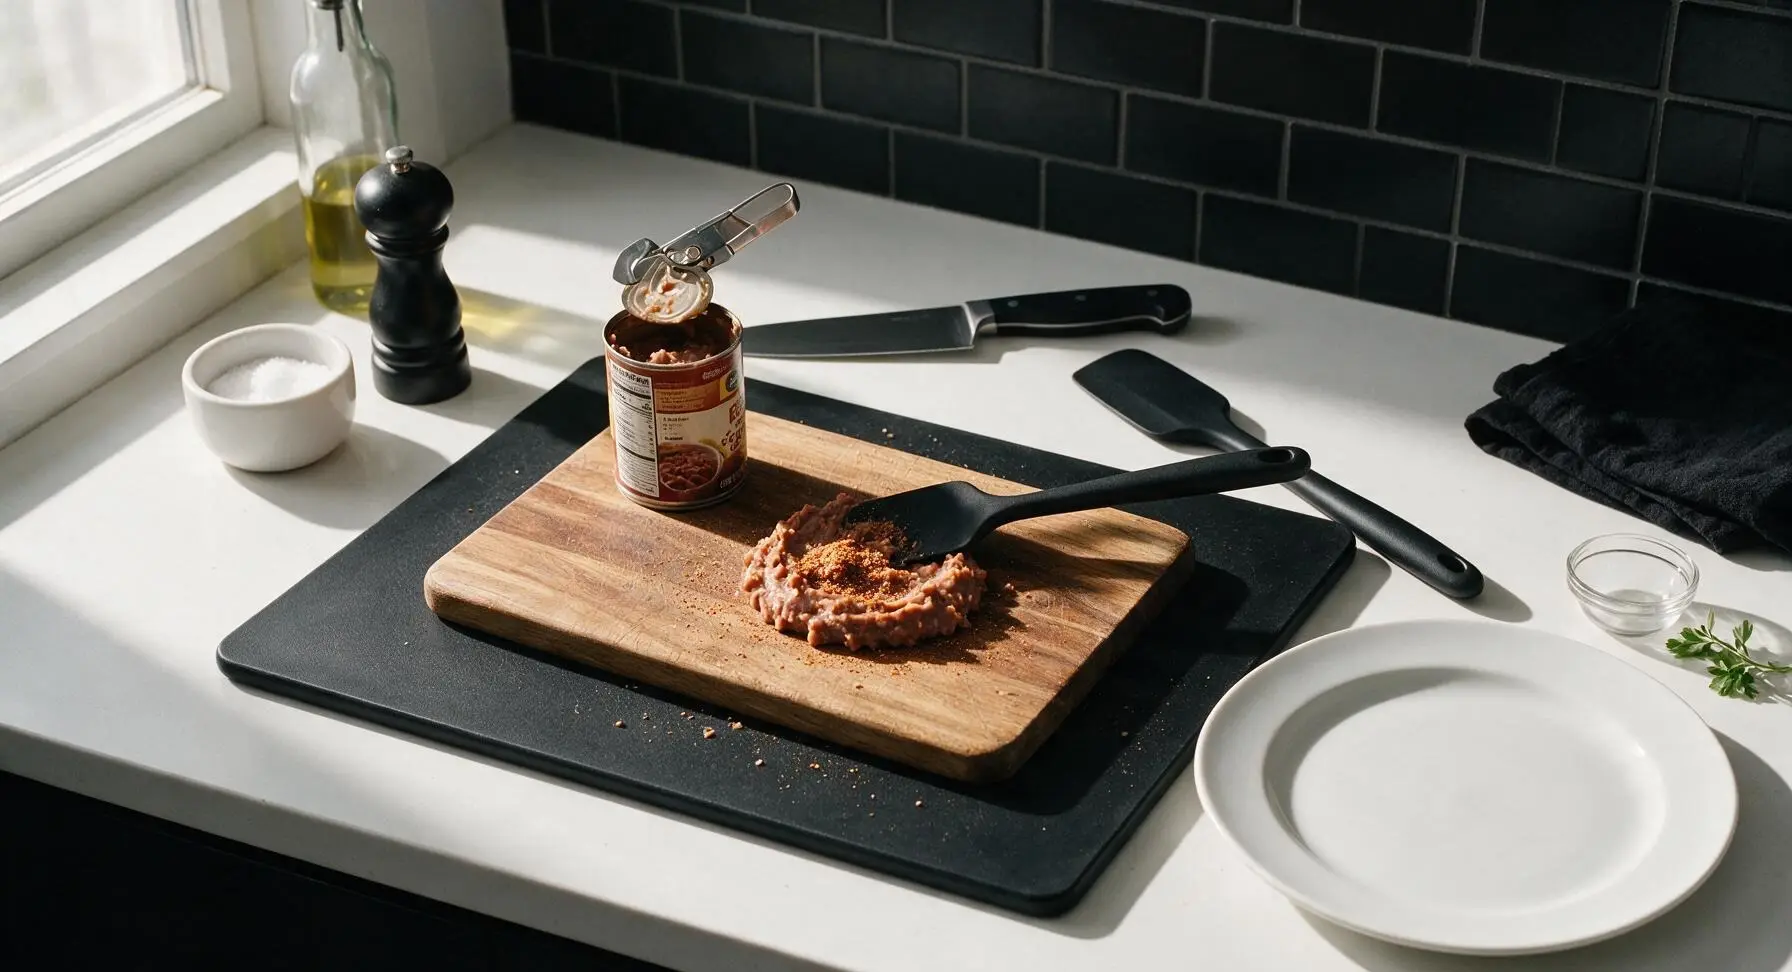
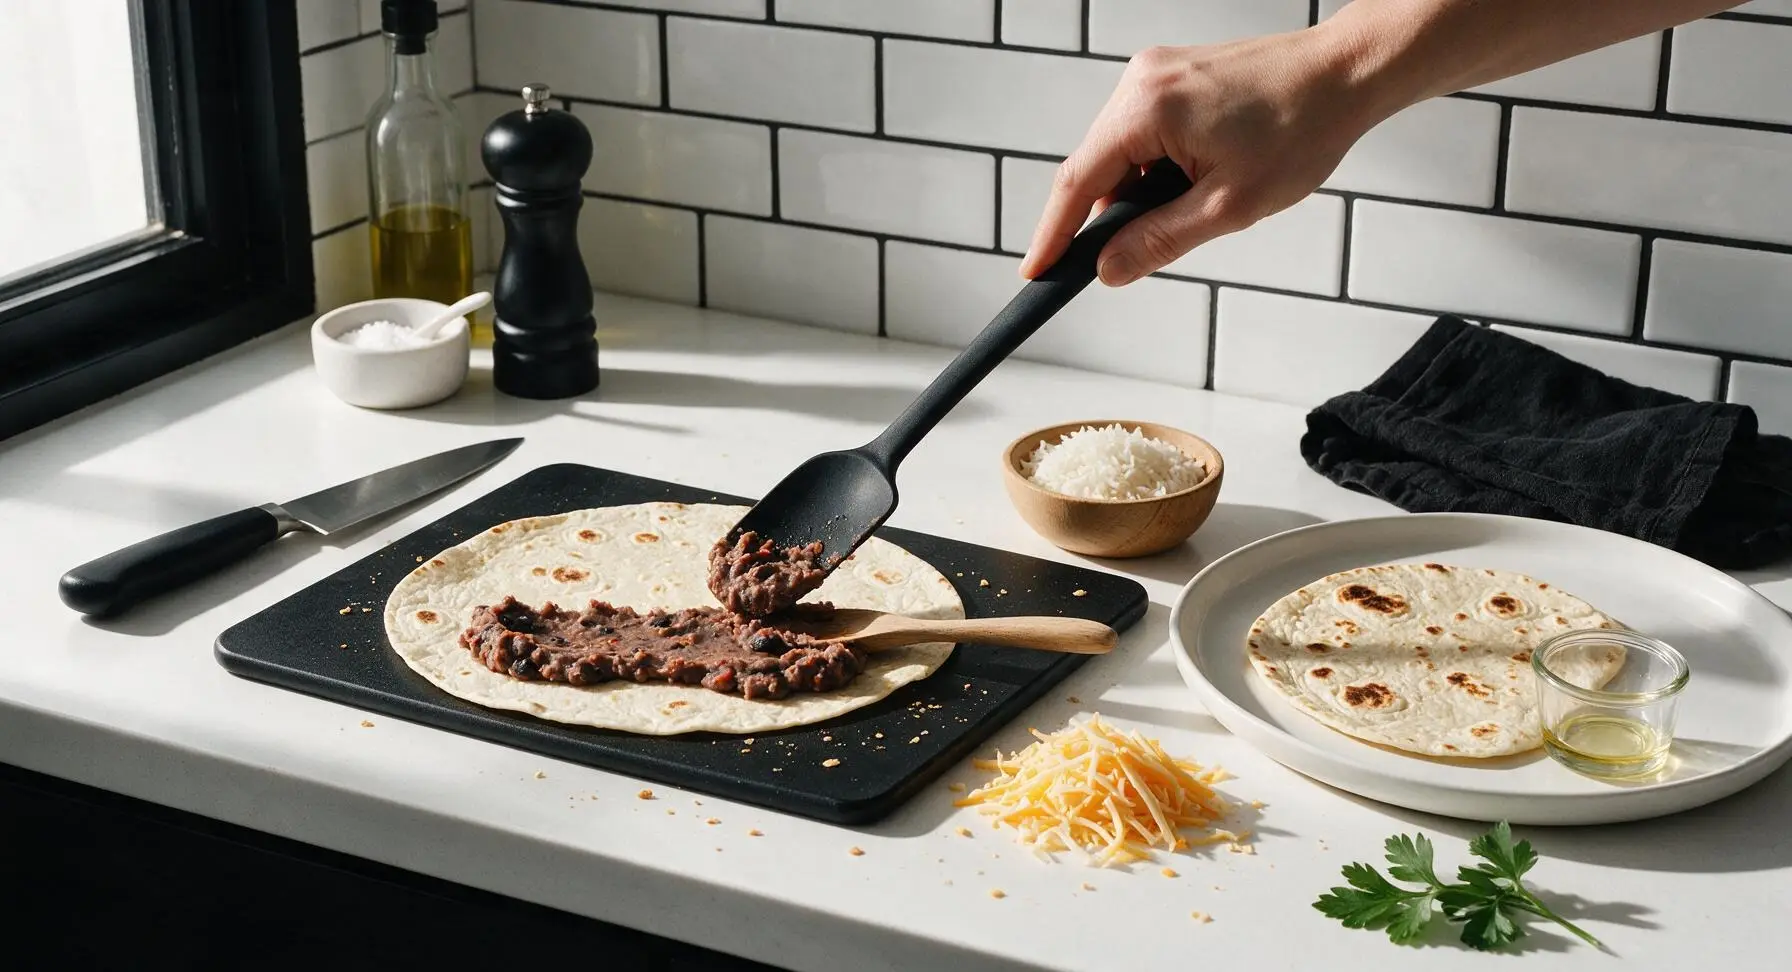
Open the can of refried beans using the stainless steel manual can opener. Scoop 1 cup of refried beans into the center of the bamboo cutting board, add 1 teaspoon of taco seasoning, and stir gently with the matte black silicone spatula until the seasoning is evenly distributed, creating a smooth, evenly spiced bean mixture. Drain any excess watery liquid from the bean can to avoid soggy burritos.
Step 1
step1:Mix Spiced Bean Filling
2

Warm Tortillas Briefly

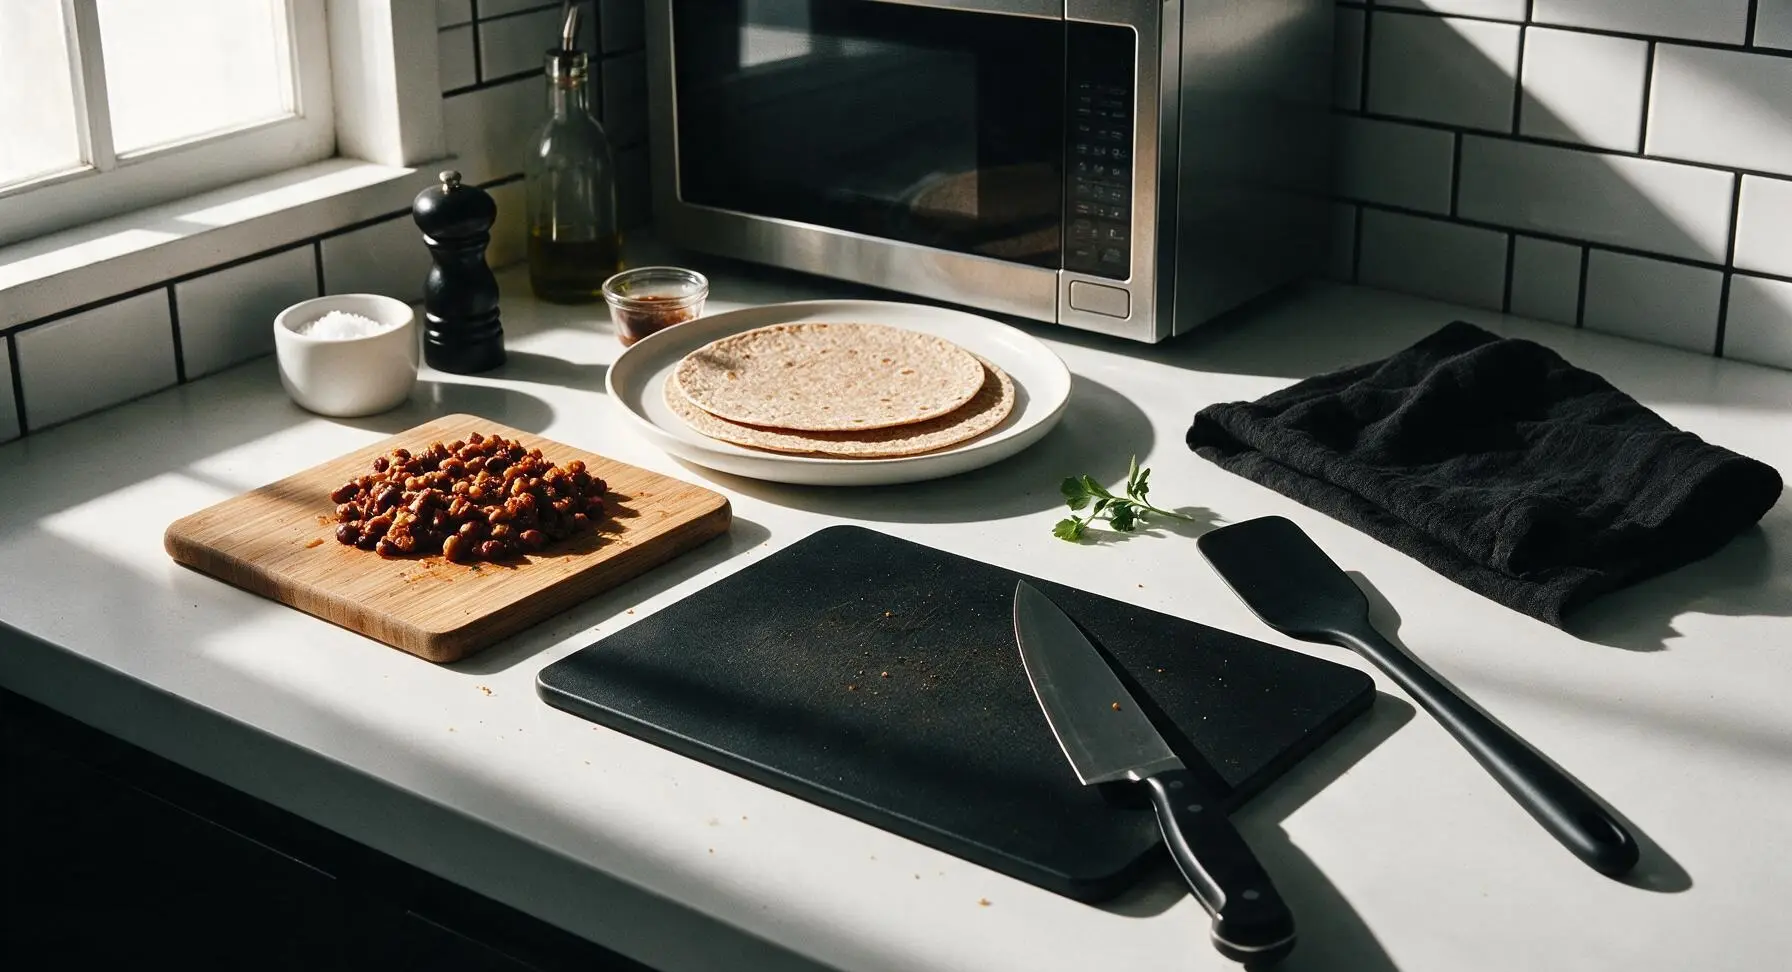
Stack the two 10-inch whole wheat tortillas on the matte off-white ceramic dinner plate, and microwave on high power for 15 seconds to soften them. This prevents cracking and tearing when you fold the burritos. The tortillas should feel pliable and slightly warm to the touch, not crispy or overheated.
Step 2
step2:Warm Tortillas Briefly
3

Layer Fillings Evenly

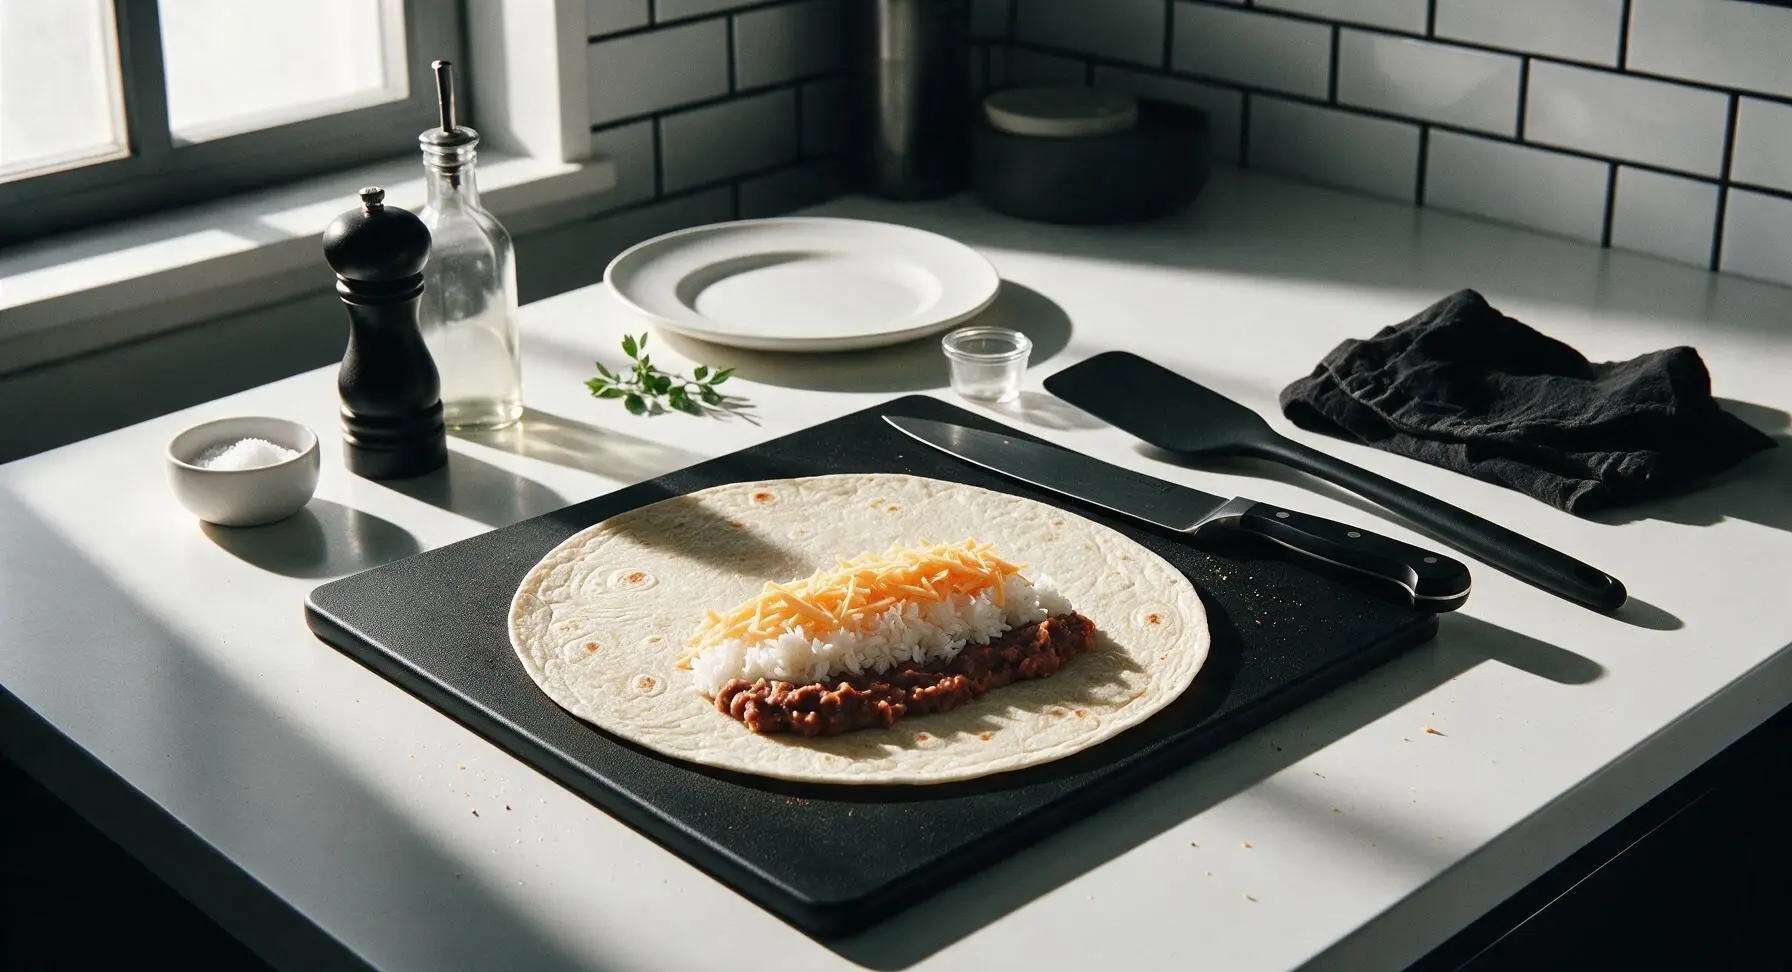
Lay one warmed tortilla flat on the bamboo cutting board. Spoon ½ cup of the spiced refried bean mixture in a horizontal line across the lower third of the tortilla, leaving a 2-inch border on the left and right edges. Top the beans with ¼ cup of cooked white rice, then ¼ cup of shredded cheddar cheese, distributing the fillings evenly so they do not spill out when folded. Repeat the layering process for the second tortilla.
Step 3
step3:Layer Fillings Evenly
Step 3
step3:Layer Fillings Evenly
4

Fold Burritos Tightly

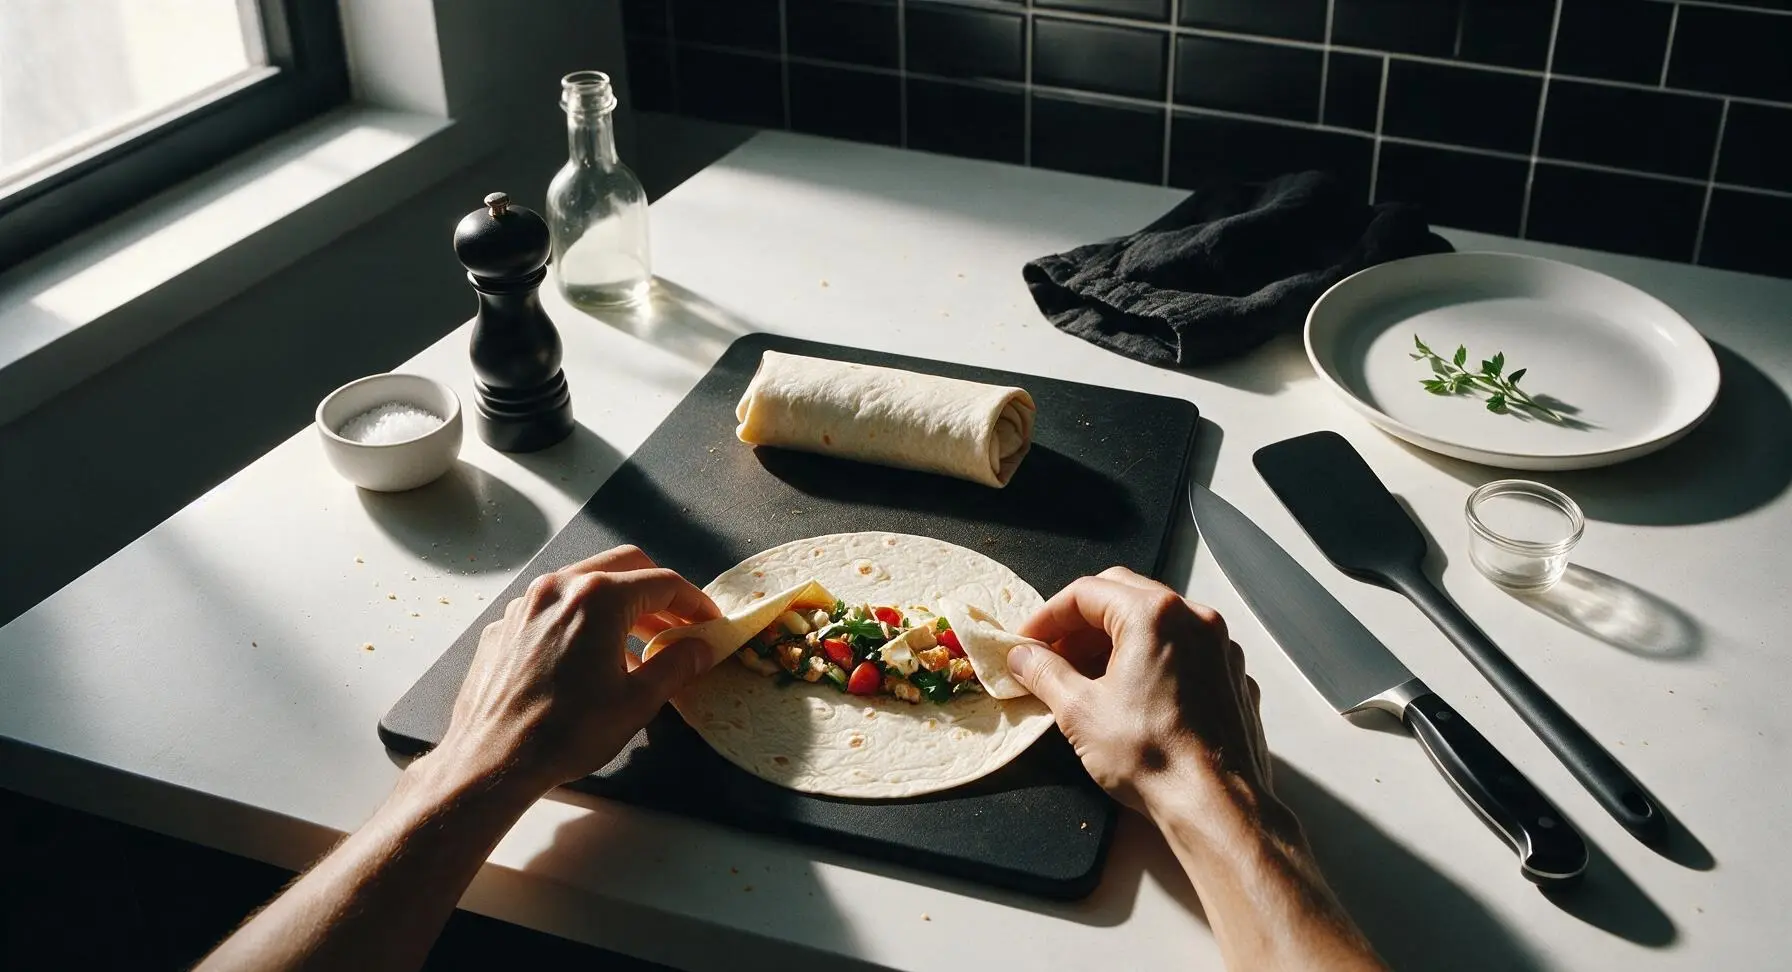
Fold the left and right edges of the tortilla in over the fillings (about 2 inches in from each side), then roll the tortilla up tightly from the bottom edge (the edge closest to you) upward to create a sealed cylinder. Keep the side edges tucked in as you roll to prevent filling from leaking out during microwaving. Repeat the folding process for the second filled tortilla. The finished burritos should be tight, with no filling peeking out from the seams.
Step 4
step4:Fold Burritos Tightly
5

Microwave to Melt Cheese

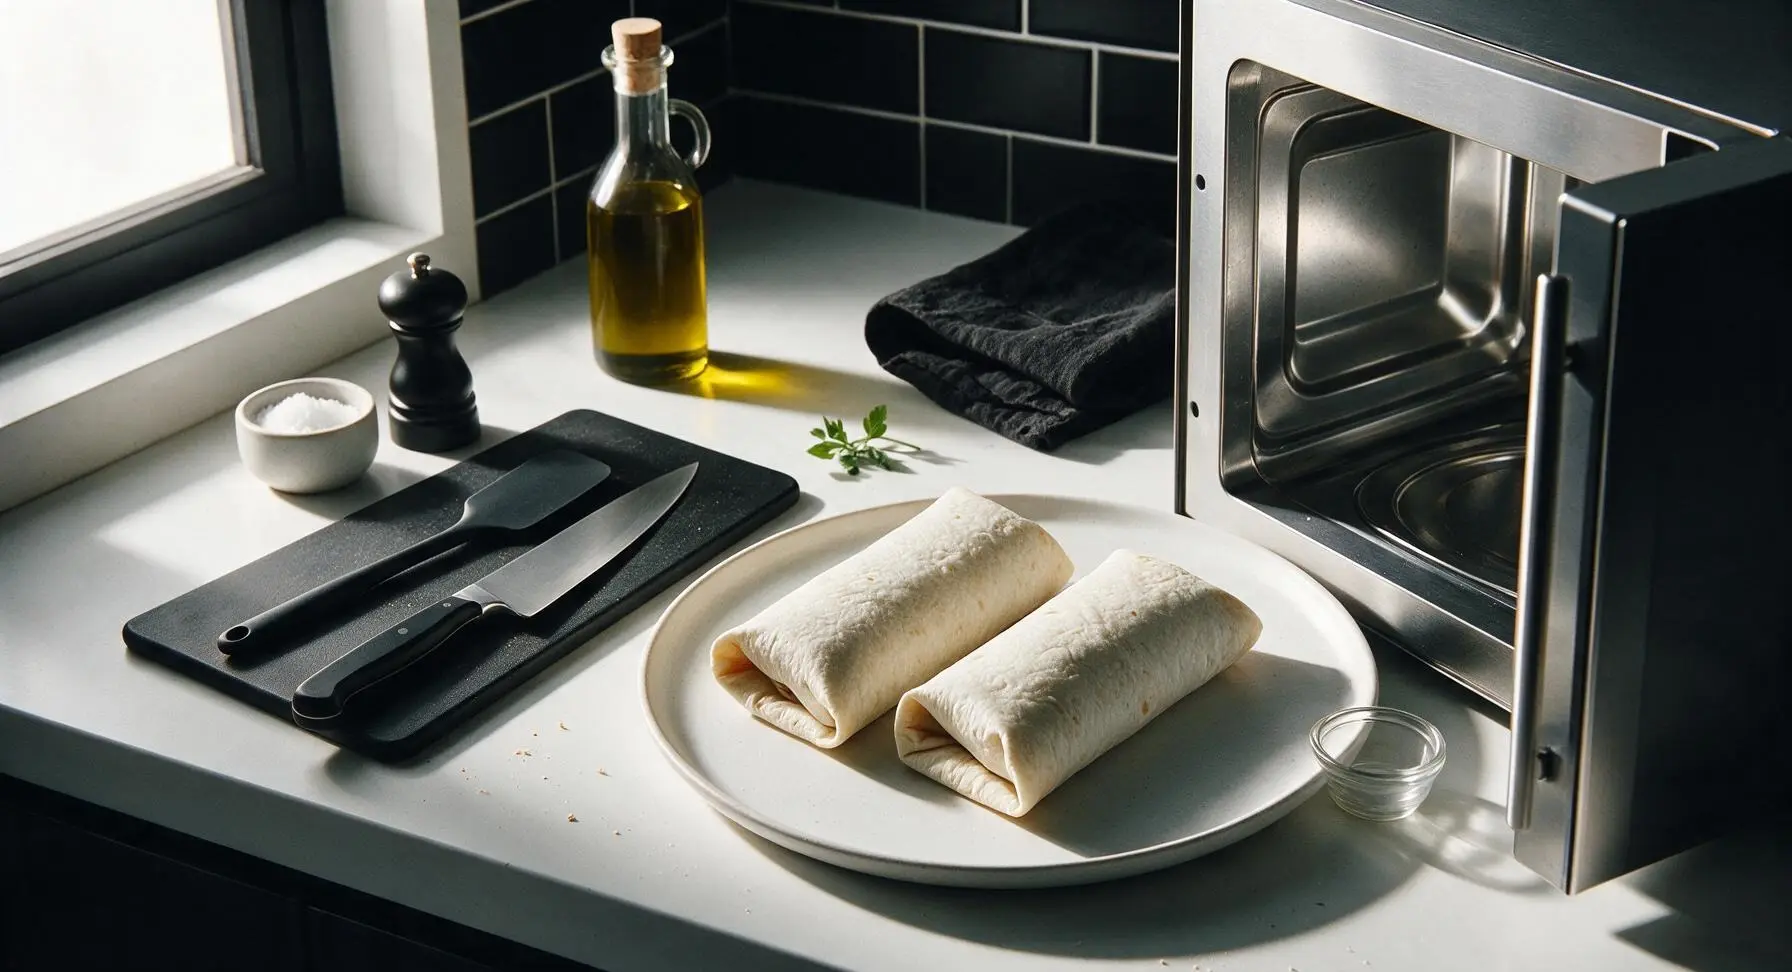
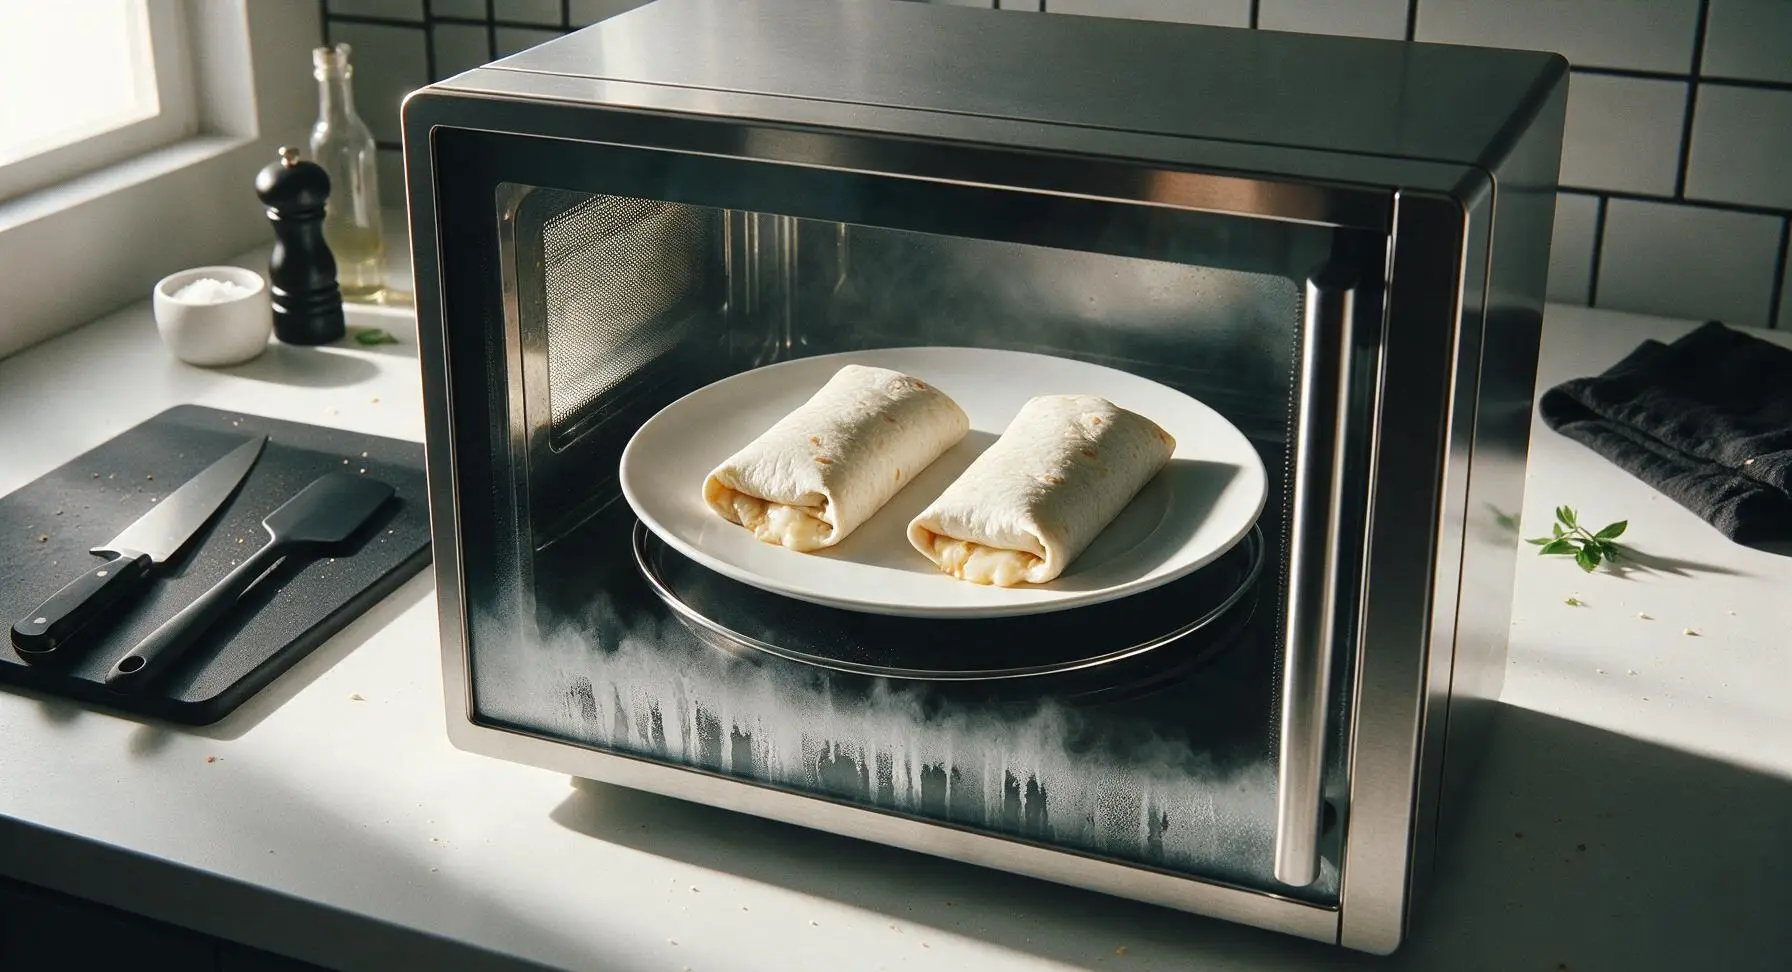
Place both folded burritos seam-side down on the matte off-white ceramic dinner plate, leaving 1 inch of space between them to allow even heating. Microwave on high power for 1 minute and 30 seconds, then rotate the burritos 180 degrees, and microwave for an additional 45 seconds. The total cook time is 2 minutes 15 seconds, enough to heat the filling through and fully melt the cheese without making the tortillas soggy. Add 30 seconds of cook time if using a 700-900W microwave.
Step 5
step5:Microwave to Melt Cheese
Step 5
step5:Microwave to Melt Cheese
6

Let Burritos Rest

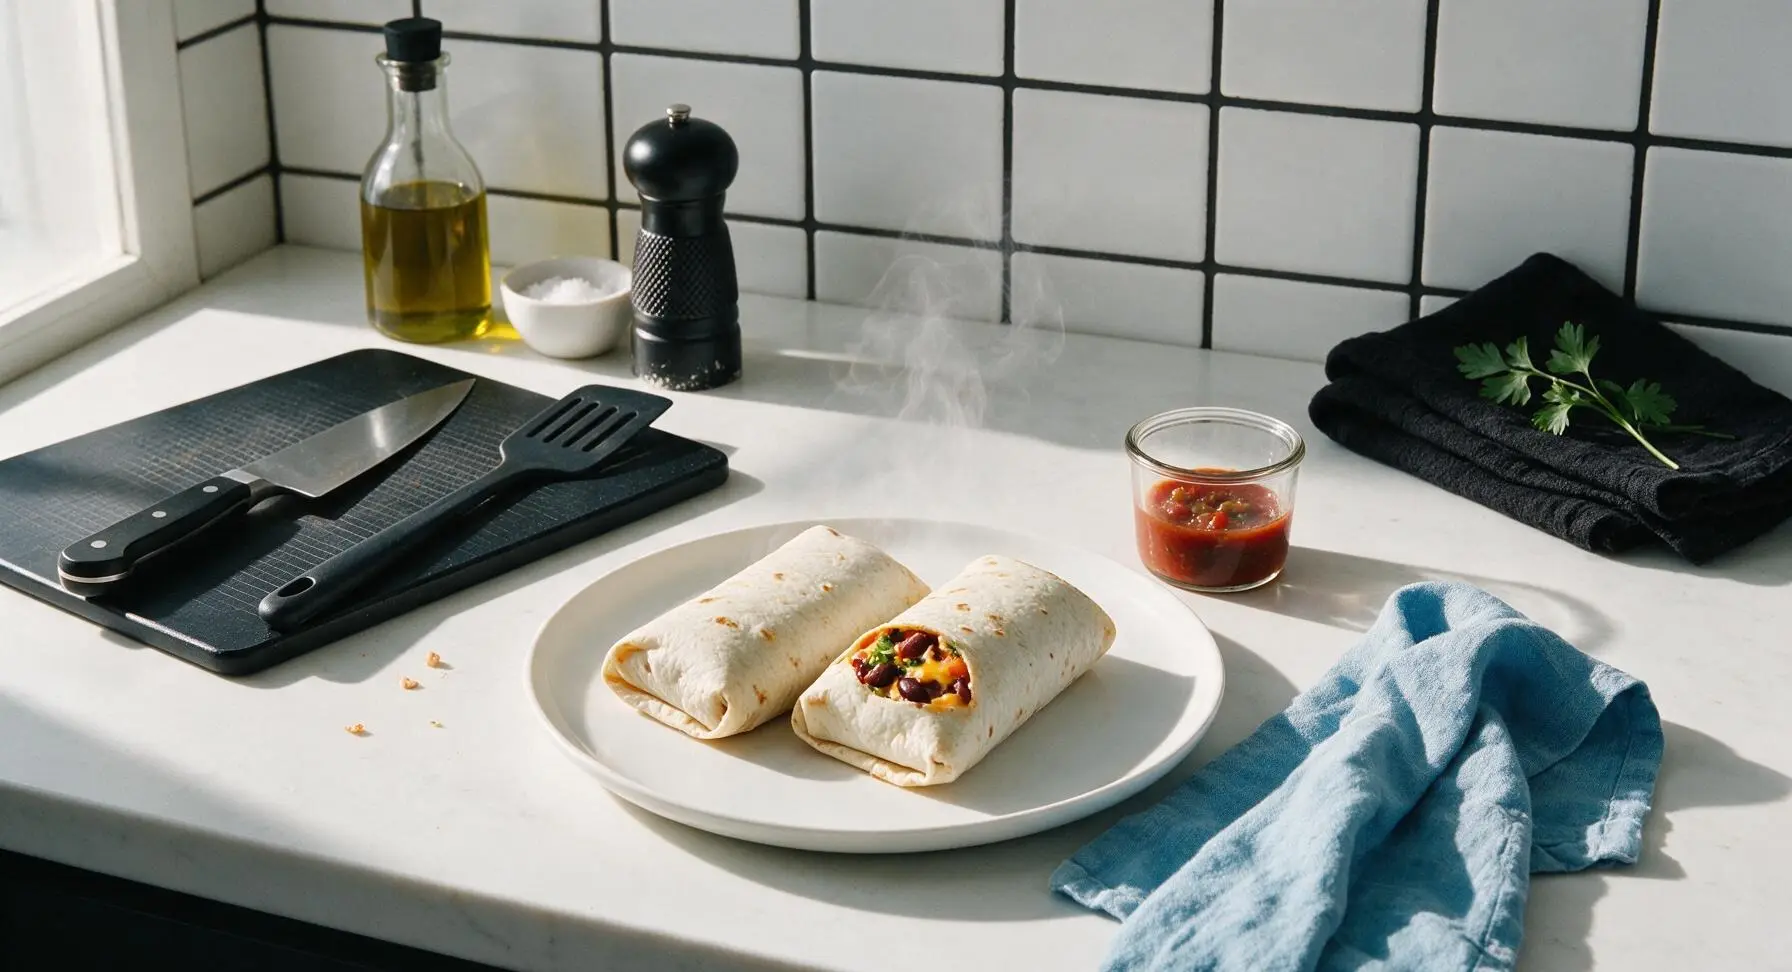
Carefully remove the plate of burritos from the microwave (the plate will be very hot, use the kitchen towel for grip if needed) and let them rest for 1 full minute on the counter. This allows the cheese to set slightly, the filling heat to distribute evenly, and prevents burnt mouths from overly hot spots in the filling. The tortillas will firm up slightly during resting, making them easier to hold without tearing.
Step 6
step6:Let Burritos Rest
7

Add Finishing Toppings

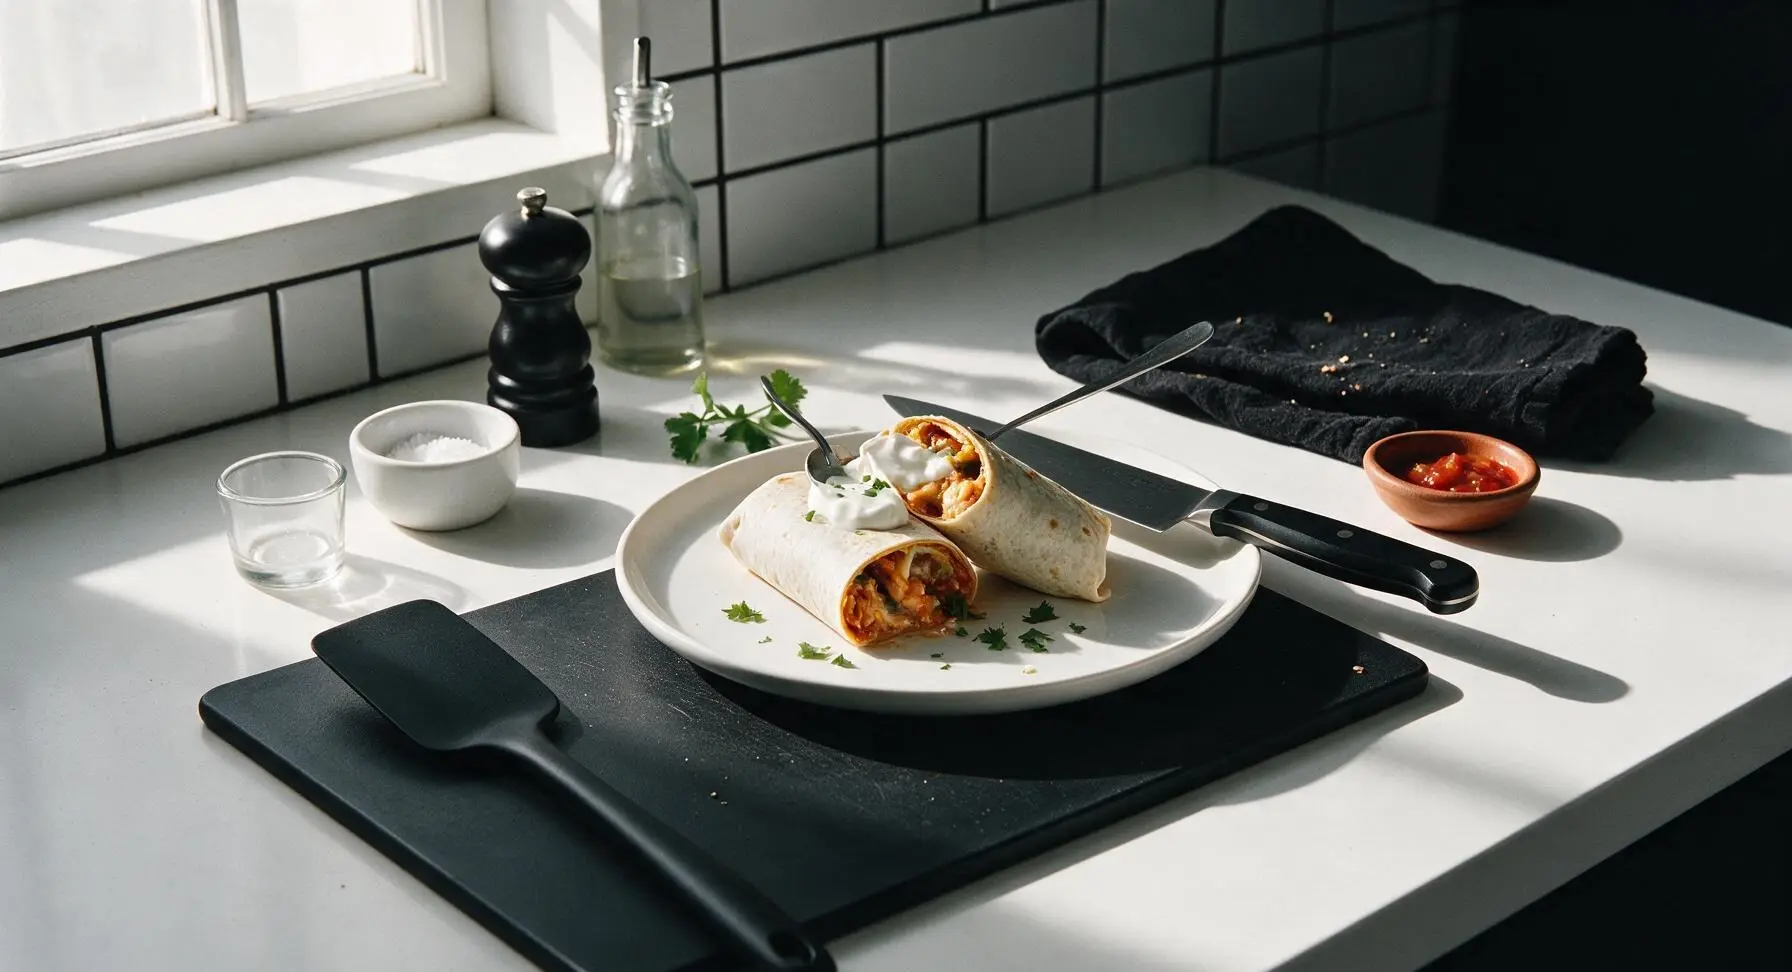
Use the chef's knife to slice each burrito in half at a slight diagonal, then top with 1 tablespoon of sour cream per burrito, a light drizzle of red salsa, and a sprinkle of fresh chopped cilantro. Spoon extra salsa into the small terracotta dish for dipping.
Step 7
step7:Add Finishing Toppings

Tips

1.Warm tortillas for 15 seconds before folding: Cold, room-temperature tortillas crack and split easily when rolled, leading to filling leaks and messy burritos during microwaving. The short warm-up makes them pliable enough to fold tightly without tearing.
2.Always place burritos seam-side down on the plate for microwaving: The weight of the hot filling presses the seam closed as the cheese melts, preventing burritos from unrolling and cheese from oozing out onto the plate during cooking.
3.Avoid over-microwaving: Heating for longer than 2.5 minutes total will dry out the bean filling, make tortilla edges tough and chewy, and can cause hot filling to bubble out and burst through the tortilla. Add cook time in 30-second increments if using a lower-wattage microwave instead of heating for long stretches upfront.


✨ You May Also Like

Main Course
🍜 United Kingdom

A showstopping classic of tender seared beef, savory mushroom duxelles, and crisp prosciutto wrapped in flaky golden puff pastry, baked to juicy perfection.

⏱️ 2 hours 1Main Course ★ 4.7
Main Course
🍜 India

Tender charred marinated chicken simmered in a rich, spiced creamy tomato sauce, this iconic Anglo-Indian curry pairs perfectly with basmati rice or warm naan.

⏱️ 50 minuteMain Course ★ 4.6
Main Course
🍜 Thailand

Classic tangy, sweet, and savory Thai stir-fried rice noodles with shrimp, tofu, and crunchy garnishes, balancing all five core Thai flavor profiles.

⏱️ 30 minuteMain Course ★ 4.5
Main Course
🍜 United Kingdom

Crispy golden beer-battered cod and fluffy double-fried chips, served with tangy tartar sauce and malt vinegar: the timeless, beloved British pub comfort classic.

⏱️ 45 minuteMain Course ★ 4.7
Main Course
🍜 Mexico

Smoky, chile-marinated pork tacos with caramelized pineapple, fresh cilantro, and lime: a beloved classic Mexican street food perfect for casual summer gatherings.

⏱️ 1 hour 45Main Course ★ 4.8
Main Course
🍜 United States

Crunchy Fritos corn chips layered with savory beef chili and melted cheddar, topped with cool, zesty fixings for a beloved, cozy Tex-Mex comfort food.

⏱️ 35 minuteMain Course ★ 4.8

microwave burrito:Frequently Asked Questions

1.Do I have to use leftover cooked rice, or can I use freshly made rice for this burrito? ▾
Leftover rice works best because it’s drier and won’t make your tortilla soggy, but fresh-cooked rice works too if you spread it on a plate to cool and dry out for 5 minutes first. Skip piping hot, extra-moist fresh rice, as it creates steam that turns the tortilla mushy during microwaving.
2.How do I keep my microwave burrito from ending up with a soggy tortilla? ▾
Wrap your assembled burrito loosely in a dry paper towel before microwaving to absorb excess steam, instead of sealing it tight in plastic wrap. Don’t overstuff it with wet fillings, and let it rest for 1 minute after microwaving so moisture distributes evenly instead of pooling against the tortilla.
3.Can I swap the 10-inch whole-wheat tortilla for a different type of tortilla? ▾
Absolutely! You can use regular white flour tortillas, gluten-free flour tortillas, or low-carb tortillas as long as they’re 10 inches wide, so they hold all fillings without tearing. Skip extra-thin corn tortillas here—they crack easily when folded and won’t stand up to moist fillings and microwave heat.
4.How long should I microwave the burrito to get fully melted cheese without a tough tortilla? ▾
For a standard 1000-watt microwave, cook the burrito on high for 1 minute, flip it over, then cook for 45 to 60 seconds more. Let it rest for 1 full minute after cooking to let residual heat melt cheese evenly, which prevents overcooking the tortilla into a tough, chewy texture.
5.Can I add extra protein like chicken or ground beef to this basic burrito? ▾
Definitely! Just make sure any added protein is fully cooked before stuffing it in the tortilla, since the microwave only warms fillings rather than cooking raw ingredients. Diced grilled chicken, taco-seasoned ground beef, or scrambled tofu work great—just pat off excess grease or moisture to avoid sogginess.
6.The recipe uses low-sodium refried beans—can I use regular canned refried beans instead? ▾
You absolutely can! The low-sodium option just lets you control salt levels better when you add taco seasoning, which already has plenty of salt in most store-bought blends. If you use regular refried beans, taste the filling before adding the full taco seasoning amount to avoid over-salting.
7.Can I assemble these burritos ahead of time and freeze them for quick future meals? ▾
Yes, these freeze beautifully! Assemble burritos (skip watery fresh add-ins like lettuce or salsa that turn mushy when frozen), wrap each tightly in plastic wrap then foil, and store for up to 3 months. To cook, remove plastic, wrap in a paper towel, and microwave for 2.5 to 3 minutes, flipping halfway.
8.Why does my burrito sometimes have cold spots in the middle even after microwaving? ▾
Cold spots happen when fillings are packed too tightly or layered unevenly, so microwave energy can’t reach the center. Spread beans, rice, and cheese in thin, even layers across the tortilla before rolling, and flip the burrito halfway through cooking. The 1-minute post-cook rest also helps eliminate lingering cold spots.
9.Can I use a different type of cheese instead of sharp cheddar for this recipe? ▾
Of course! Shredded pepper jack adds a nice spicy kick, Monterey Jack melts extra smooth, and a pre-mixed Mexican cheese blend delivers classic Tex-Mex flavor. Just use shredded cheese rather than thick slices, since shredded cheese melts faster and more evenly in the microwave so you won’t overcook the tortilla.
10.How do I roll the burrito so fillings don’t spill out while it’s microwaving? ▾
First, don’t overstuff the tortilla—stick to roughly ¼ cup of each filling, centered slightly below the middle of the tortilla. Fold the two short sides in over the fillings, then roll the bottom edge up tightly, tucking as you go to seal it. Place the burrito seam-side down on your microwave-safe plate to keep it sealed.
11.Is it okay to add fresh toppings like salsa or sour cream to these burritos? ▾
Definitely! Fresh, cold toppings are a great way to brighten up the warm burrito, but add them after microwaving rather than stuffing them inside. Sour cream, salsa, diced avocado, shredded lettuce, or a squeeze of lime all work perfectly—adding them post-cook keeps them crisp and cool instead of warm and mushy.

Comments (14)

3 days ago

OMG this is such a game changer for busy school mornings! I used to spend 20 minutes scrambling to make hot breakfasts before the bus comes, now I can throw these together in 3 minutes flat. My kids loved it, even my pickiest eater who turns his nose up at everything asked for a second one. I added a little extra shredded cheese and a dollop of sour cream on top, chef’s kiss!

2 days ago

Wait do these hold up well if you prep them a few days ahead? I’m looking for easy dorm meals since I don’t have a real kitchen, just a microwave.

yesterday

They absolutely do! Wrap them tight in plastic wrap or foil after assembling (skip the cold toppings like sour cream until after heating) and they’ll stay good in the fridge for up to 4 days for easy meal prep. Perfect for dorm life!

1 week ago

Solid quick recipe! I keep tortillas, canned refried beans, and pre-cooked taco meat in my work fridge for when I forget to pack lunch. 3 minutes cook time is perfect because my work break is only 10 minutes long. Only reason I’m not giving 5 stars is that the first time I made it, the tortilla got a little soggy on the bottom. Any tips to fix that?

5 days ago

I had that problem too! I started putting a paper towel under the burrito on the plate while microwaving, it soaks up the extra moisture so the tortilla stays nice and chewy instead of soggy.

3 days ago

Great tip from MidwestMama22! I also recommend microwaving in 1 minute increments and flipping the burrito halfway through to help heat evenly and cut down on sogginess. So glad this works for your work lunches!

5 days ago

SO good!!! I added a scoop of pickled jalapeños and a drizzle of hot sauce inside before microwaving, and it tasted just like the burritos I get from my favorite taco shop down the street but for a fraction of the price. Who knew microwave food could hit this hard?

3 days ago

Do you think this works with vegan refried beans and dairy free cheese? I’m trying to cut out dairy but miss quick burritos so bad.

2 days ago

It works perfectly with vegan swaps! I’ve tested it with dairy-free cheese and plant-based refried beans, and it heats up just the same. You could even add some sautéed peppers and onions for extra veggie punch.

2 weeks ago

I made a whole platter of these for our last neighborhood potluck, set them out with a little topping bar of salsa, guac, and sour cream, and they were gone in 10 minutes! Everyone kept asking me for the recipe, they couldn’t believe how quick they are to make. Total crowd pleaser.

1 week ago

Wait how do you keep them warm if you’re making a big batch for a party? I’m hosting game night next weekend and want to serve these!

5 days ago

If you’re making a big batch, you can wrap them in foil and keep them in a low temp (200°F) oven for up to 30 minutes after microwaving to stay warm for a crowd. They’re perfect for game nights, hope everyone loves them!

5 minutes ago

Literally saved my life during finals week. I have zero cooking skills, zero kitchen access beyond my dorm microwave, and a super tight grocery budget right now. These cost like $1 each to make and taste way better than the expensive frozen burritos from the campus convenience store.

just now

So happy this helps during such a busy time! Good luck with your finals, you’ve got this!

yesterday

Really easy to throw together after work when I don’t feel like cooking a whole meal. I used leftover rice from last night’s takeout, some black beans, and ground beef, hit it with a little taco seasoning, and it was chef’s kiss. My only note is that I wish I’d heated the filling a little first before rolling, so the middle wasn’t cold on my first try.

2 hours ago

Great call using leftover takeout rice, that’s one of my favorite hacks! The flip halfway through microwaving helps make sure the middle gets fully heated too, so you don’t end up with any cold spots next time.

30 minutes ago

Just made these for my teen son and his friends after their soccer practice, they demolished 8 of them in 5 minutes. They kept saying they were better than the fast food burritos we usually grab after games. Total win for this tired mom!

5 minutes ago

Stealing this for after my daughter’s volleyball practices next week! I’m so tired of spending $50 on fast food for the whole team after games, this is way cheaper.

5 days ago

First meal prep recipe I’ve ever tried that didn’t feel like a total chore! I made 5 of these on Sunday to take to work for lunch this week, and they’ve heated up perfectly every day. No more sad desk salads for me!

3 days ago

Welcome to the meal prep club! So stoked this was an easy win for you, there’s nothing better than a hot lunch ready in 3 minutes on a busy work day.

2 hours ago

Pro tip: add scrambled eggs and crispy breakfast sausage crumbles inside to make these a breakfast burrito! I made one for a late breakfast today and it was so filling, I didn’t even need a snack before lunch. 10/10, will be making this version every weekend.

30 minutes ago

Oh my gosh why didn’t I think of that?! I’m making these for our family camping trip next month, we bring a portable microwave so this will be perfect for quick camp breakfasts.

1 week ago

This recipe is so budget friendly! I added up the cost per burrito and it’s less than $1.25 each, which is way cheaper than any takeout or even frozen burrito option at the grocery store. I’ve been making them for my little brother who’s in college and can barely afford groceries, he says they’re his new go-to.

5 days ago

That makes my day to hear! Affordable, accessible meals are what we’re all about, so I’m so glad this works for you and your brother.

just now

Just made this at 2am after getting home from the bar, and I swear it’s the best thing I’ve ever eaten. 3 minutes, zero cleanup, hits every single late night craving spot. Why did I not know about this sooner?

2 days ago

Really good base recipe! I used a gluten free tortilla, added some corn and diced green chiles, and it turned out great. The only thing I’ll do differently next time is cover it with a damp paper towel while microwaving so my GF tortilla doesn’t get crispy around the edges.

yesterday

I burn toast. Like, regularly. I can’t cook anything to save my life. But even I managed to make this perfectly on the first try. No mess, no fancy ingredients, no complicated steps. Finally a recipe for people like me who can’t be bothered to turn on the stove.

2 weeks ago

I wrapped these up tight and brought them on my day hike last weekend, heated them up over my portable camp microwave (yes I’m that person who brings a microwave hiking, don’t judge) and they were the perfect warm post-hike snack. Way better than the cold granola bars I usually pack.



