
microwave sponge pudding

title 1
microwave sponge pudding
⏱️ cook time 3 minutes
🍽️ servings 4
⚡ Difficulty easy

intro

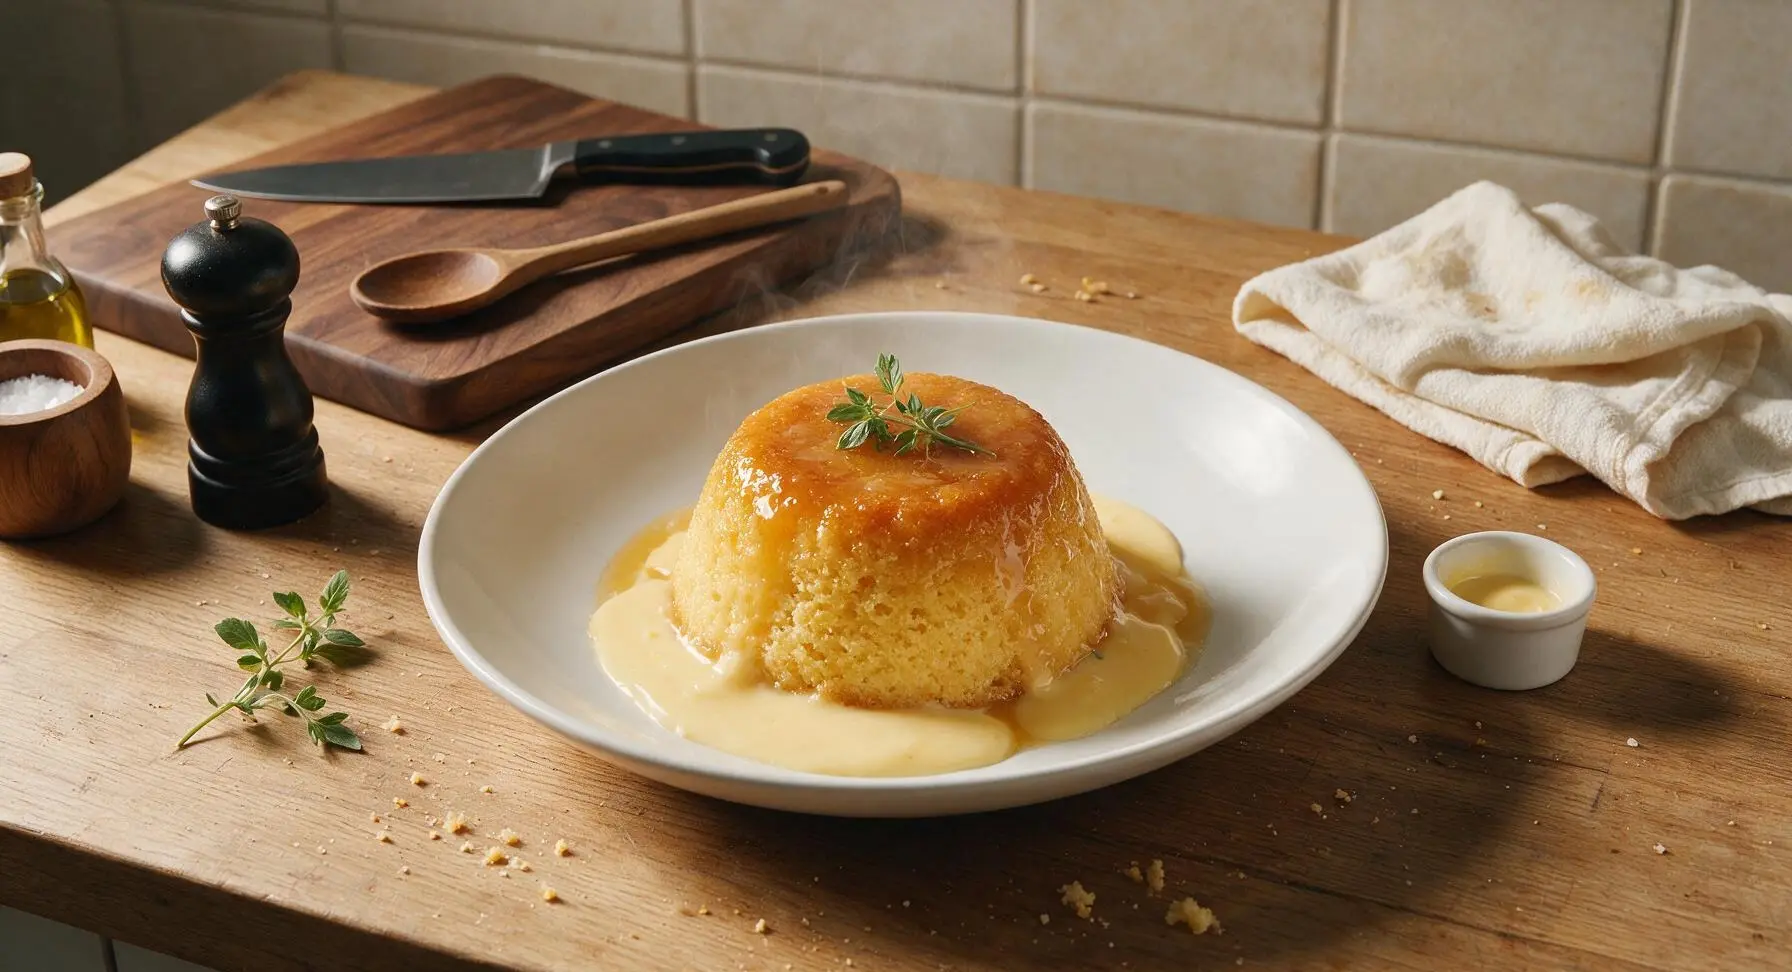
Fluffy, golden, syrup-drenched British sponge pudding ready in under 10 minutes in the microwave—no oven required, moist, tender, and perfect paired with warm vanilla custard.

Ingredients
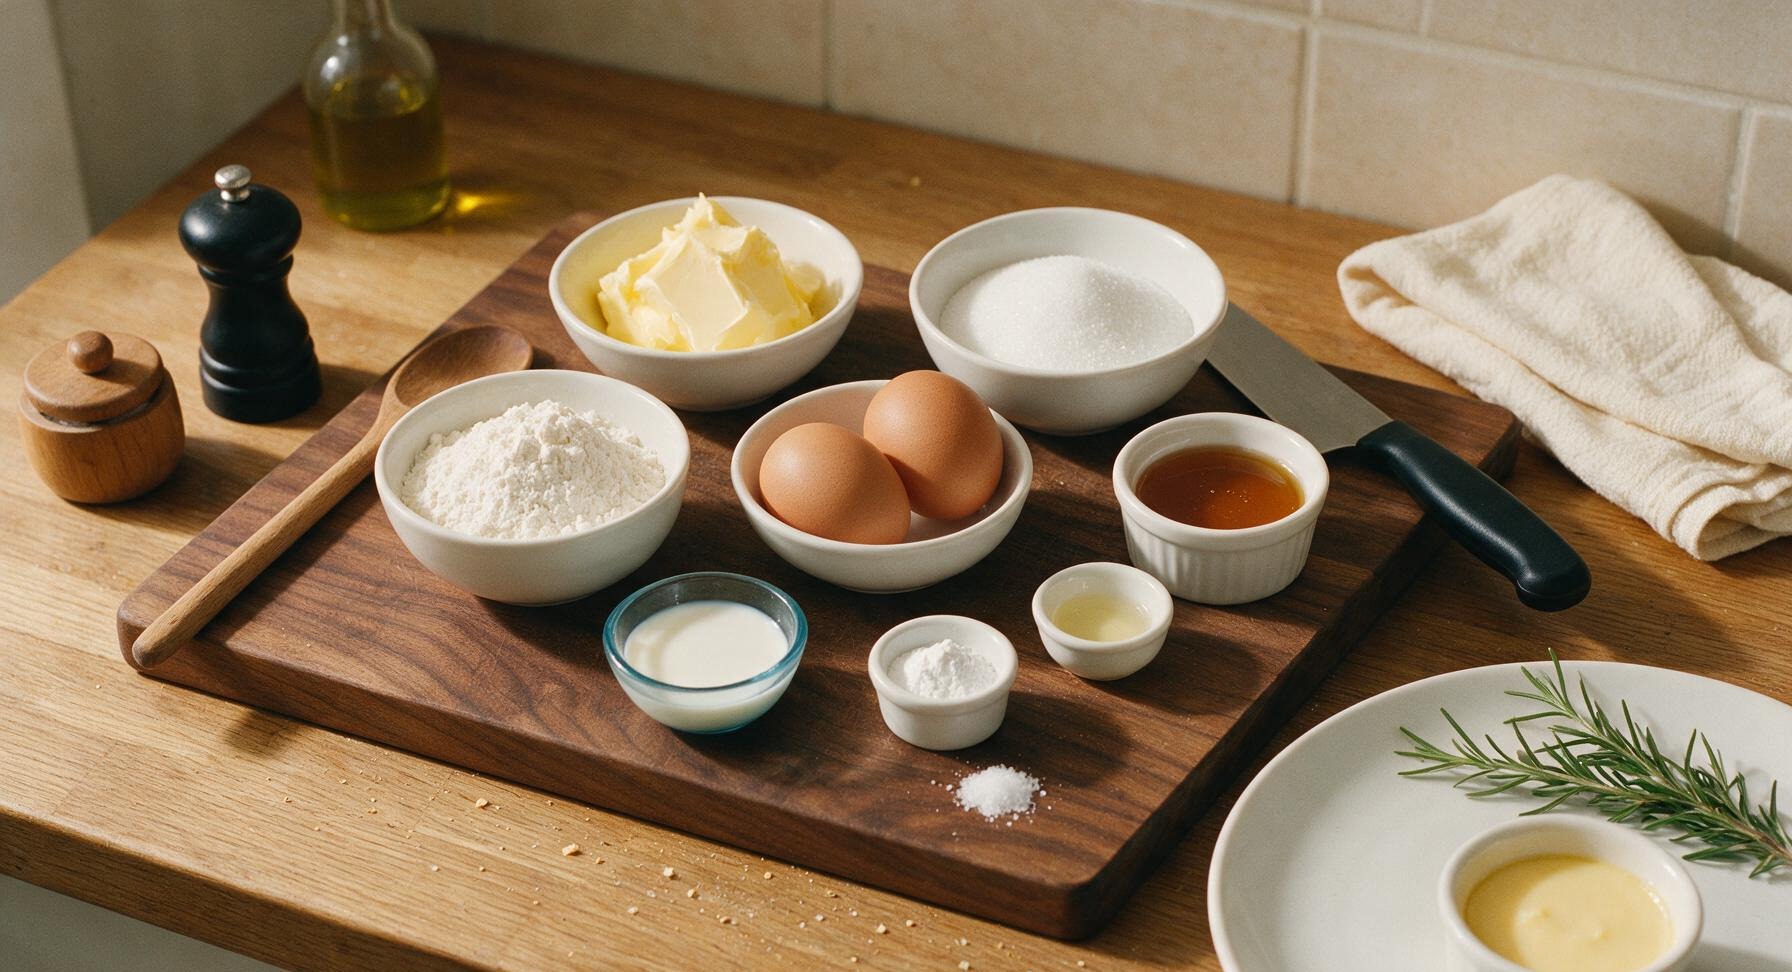
Unsalted butter (softened, plus extra for greasing) 100g
Caster sugar 100g
Large eggs 2
Self-raising flour 100g
Baking powder 1 tsp
Whole milk 2 tbsp
Vanilla extract 1 tsp
Fine table salt pinch
Golden syrup 4 tbsp
Warm vanilla custard (to serve) 200ml

Steps

1

Prep Pudding Basin

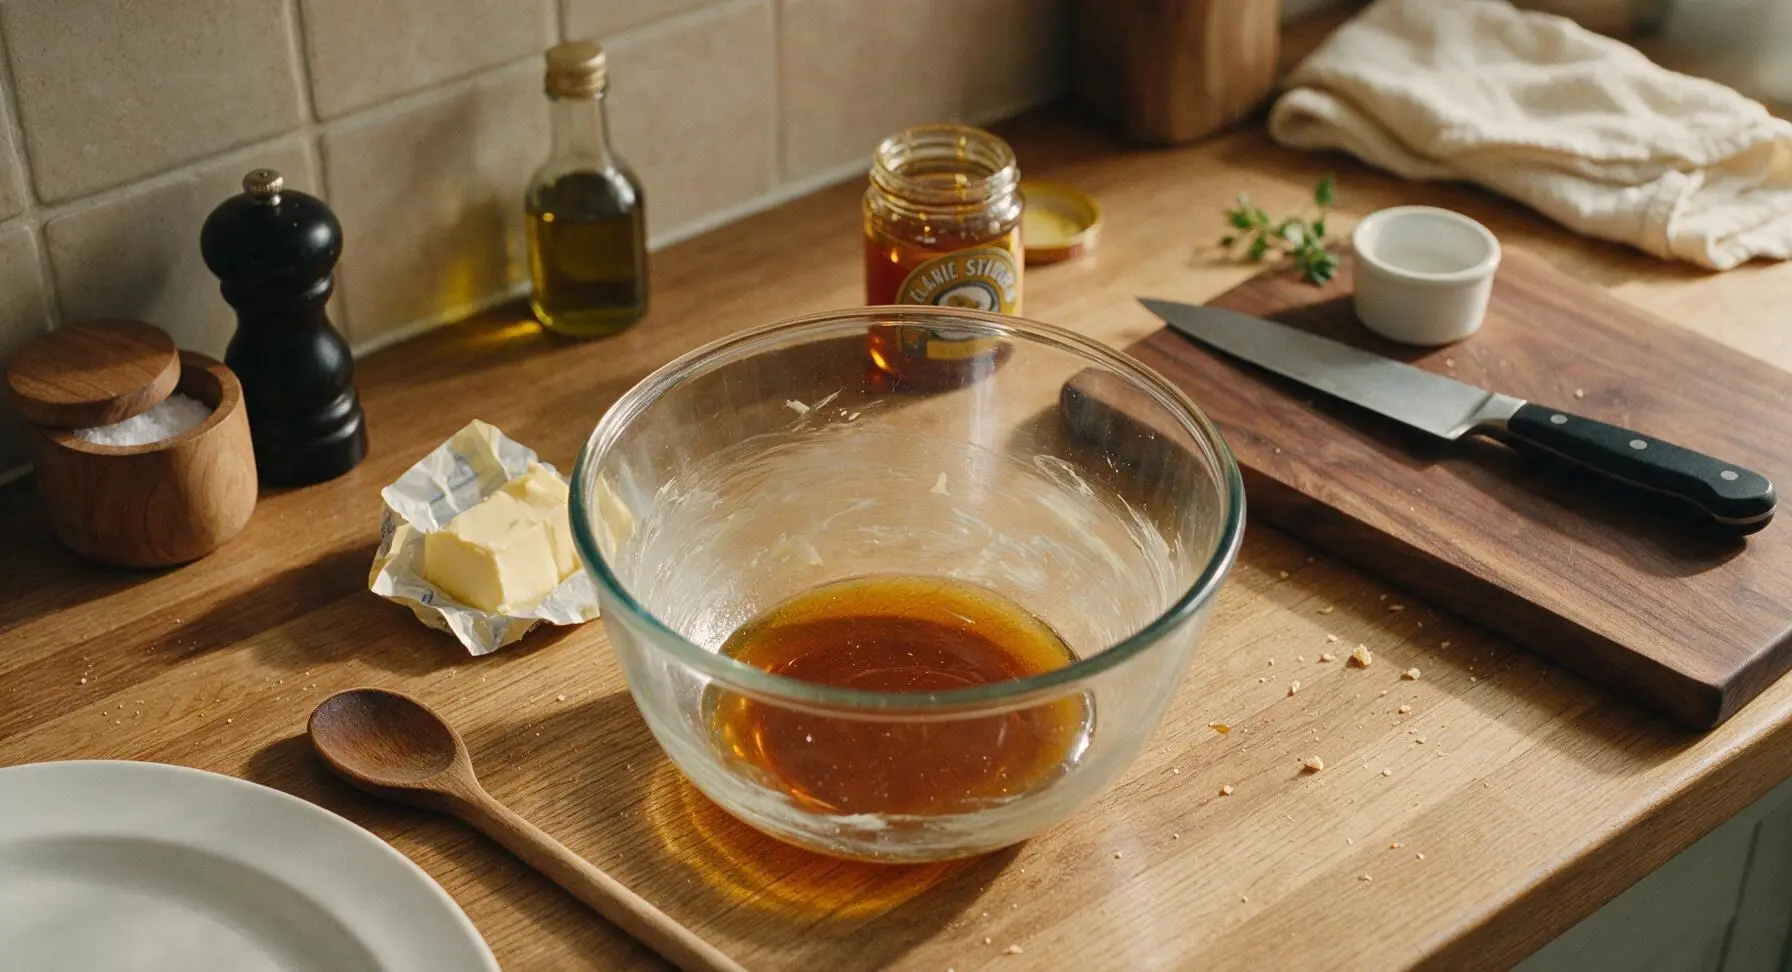
Use a small piece of leftover butter wrapper to lightly grease the entire inside of the 1L clear borosilicate glass pudding basin. Spoon 4 tablespoons of golden syrup directly into the bottom of the basin, spreading it gently to cover the base evenly—do not let syrup run up the sides. Set the basin on the center of the counter.
Step 1
step1:Prep Pudding Basin
2

Cream Butter and Sugar

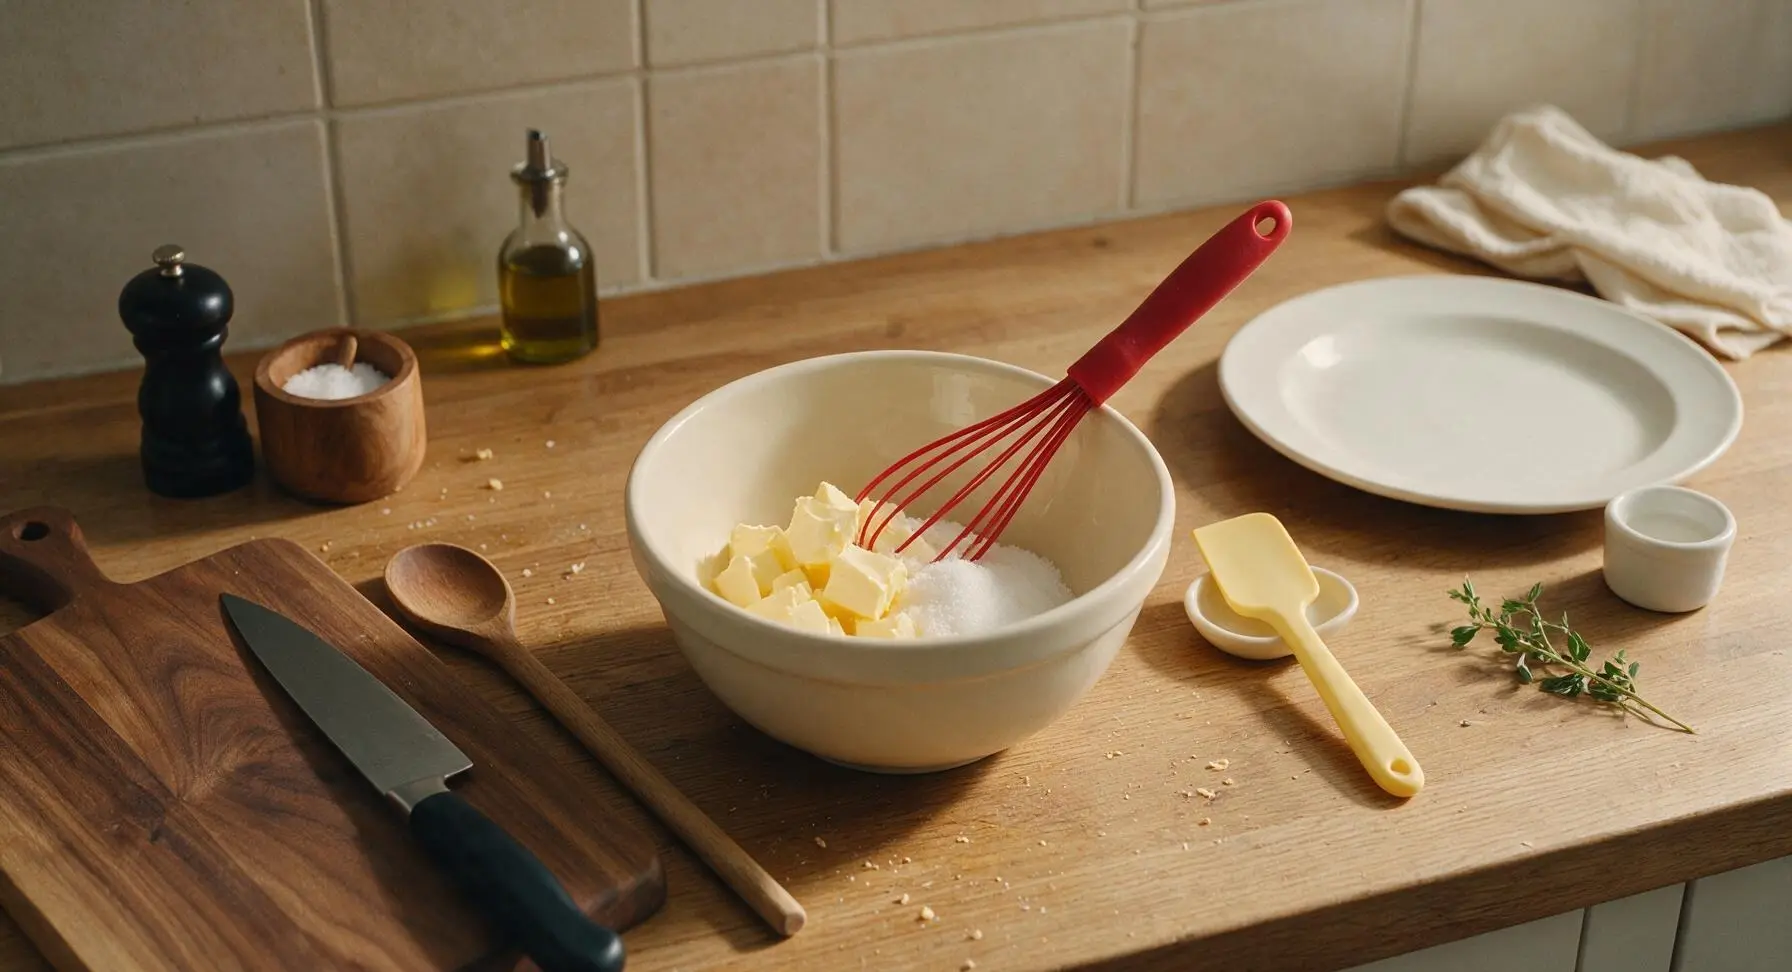
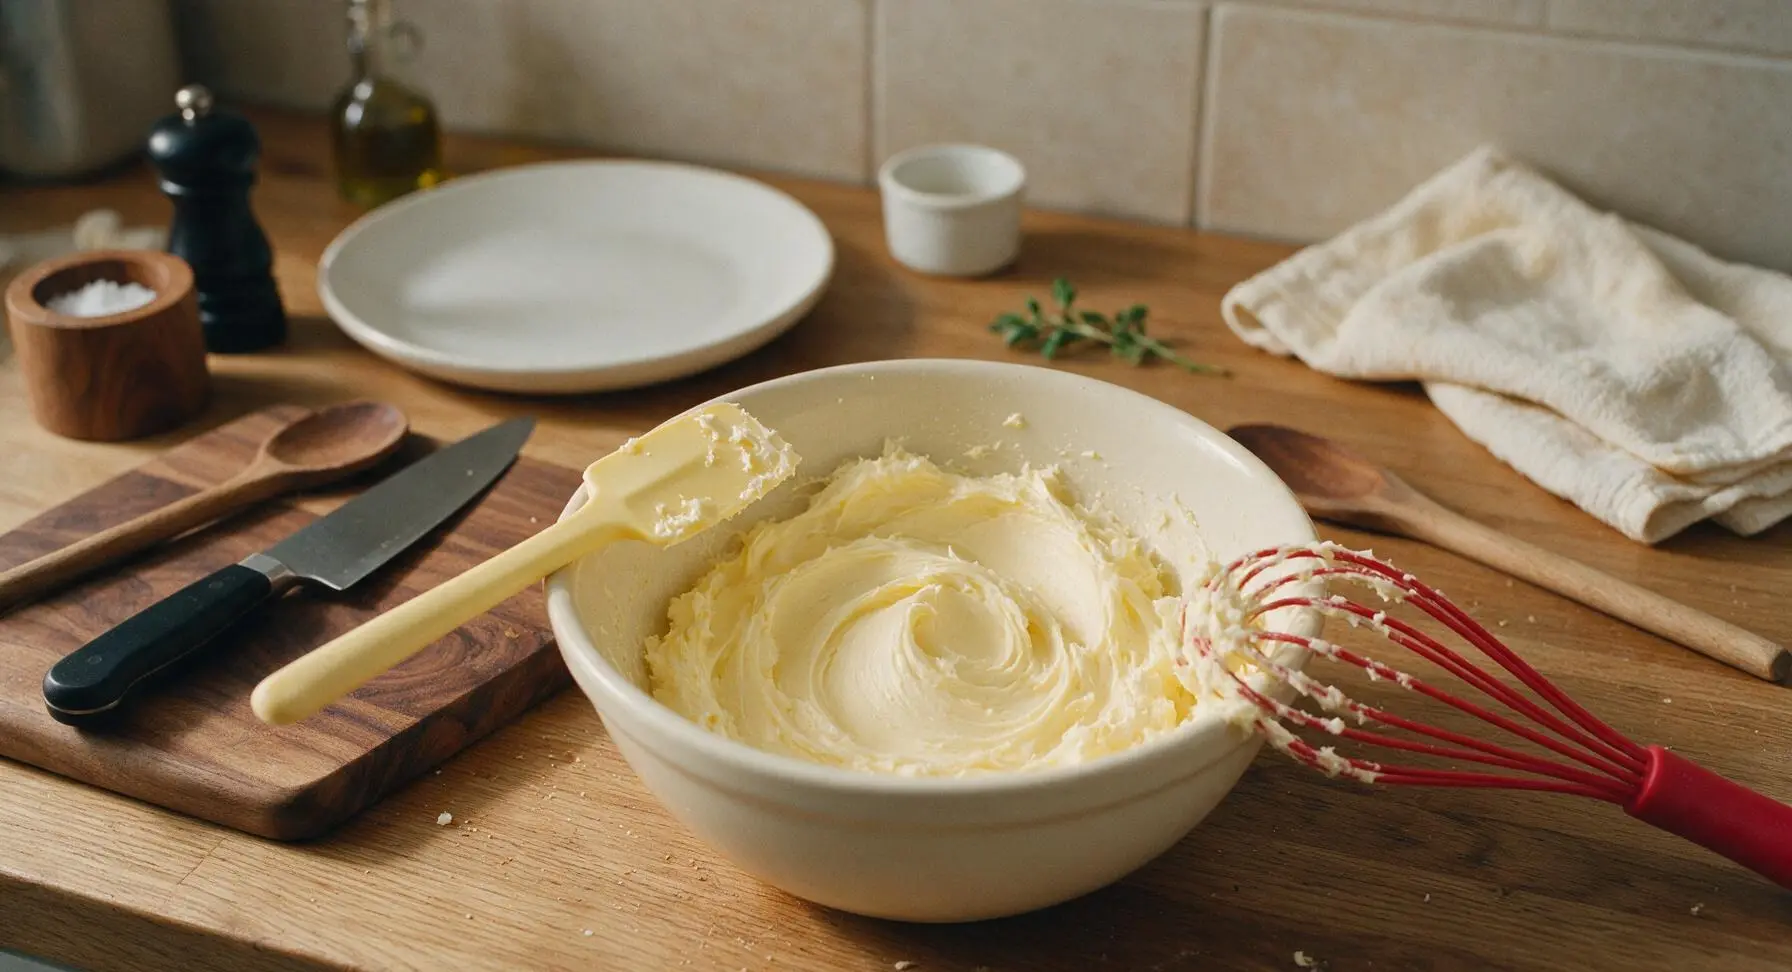
Place the 100g softened unsalted butter and 100g caster sugar into the matte cream ceramic mixing bowl. Use the red silicone whisk to beat the two together for 2 minutes until the mixture is pale, light, and fluffy, with no visible lumps of butter. Scrape down the sides of the bowl halfway through with the pale yellow silicone spatula to ensure even mixing.
Step 2
step2:Cream Butter and Sugar
Step 2
step2:Cream Butter and Sugar
3

Add Eggs Gradually

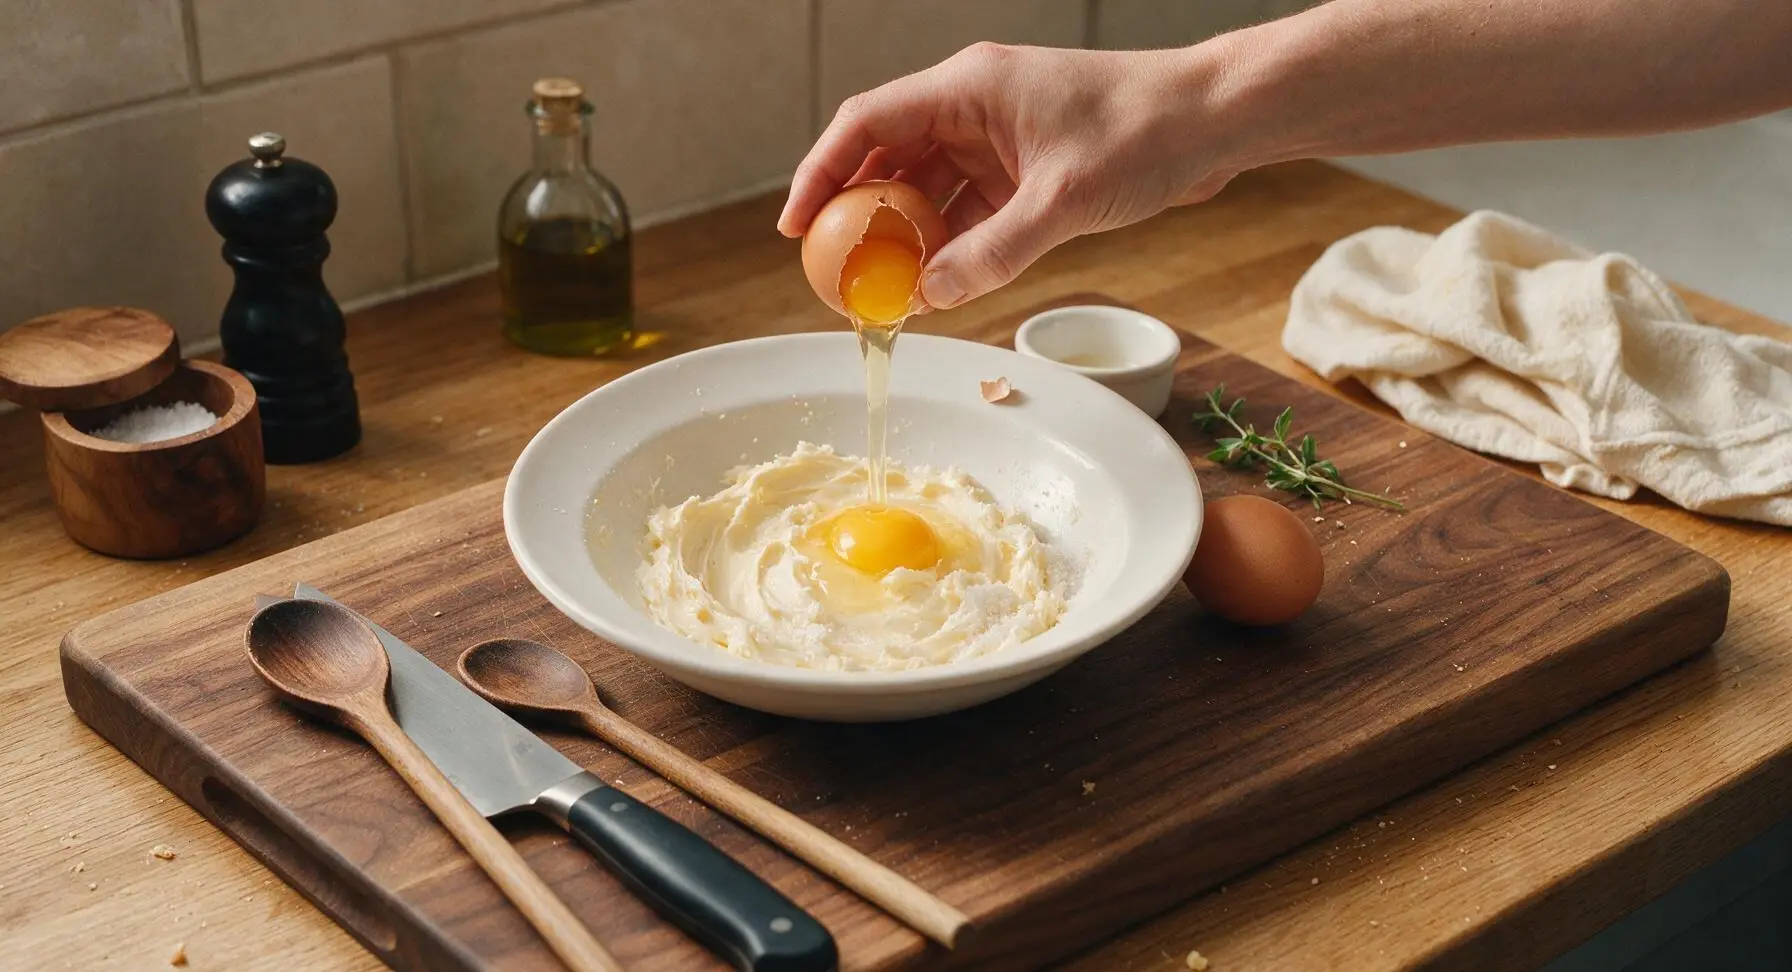
Crack one egg at a time into the creamed butter and sugar mixture, beating well with the silicone whisk for 30 seconds after each addition. If the mixture starts to curdle, add 1 teaspoon of the measured flour to bring it back together before adding the next egg. The final mixture should be smooth and fully combined after both eggs are added.
Step 3
step3:Add Eggs Gradually
4

Fold in Dry Ingredients

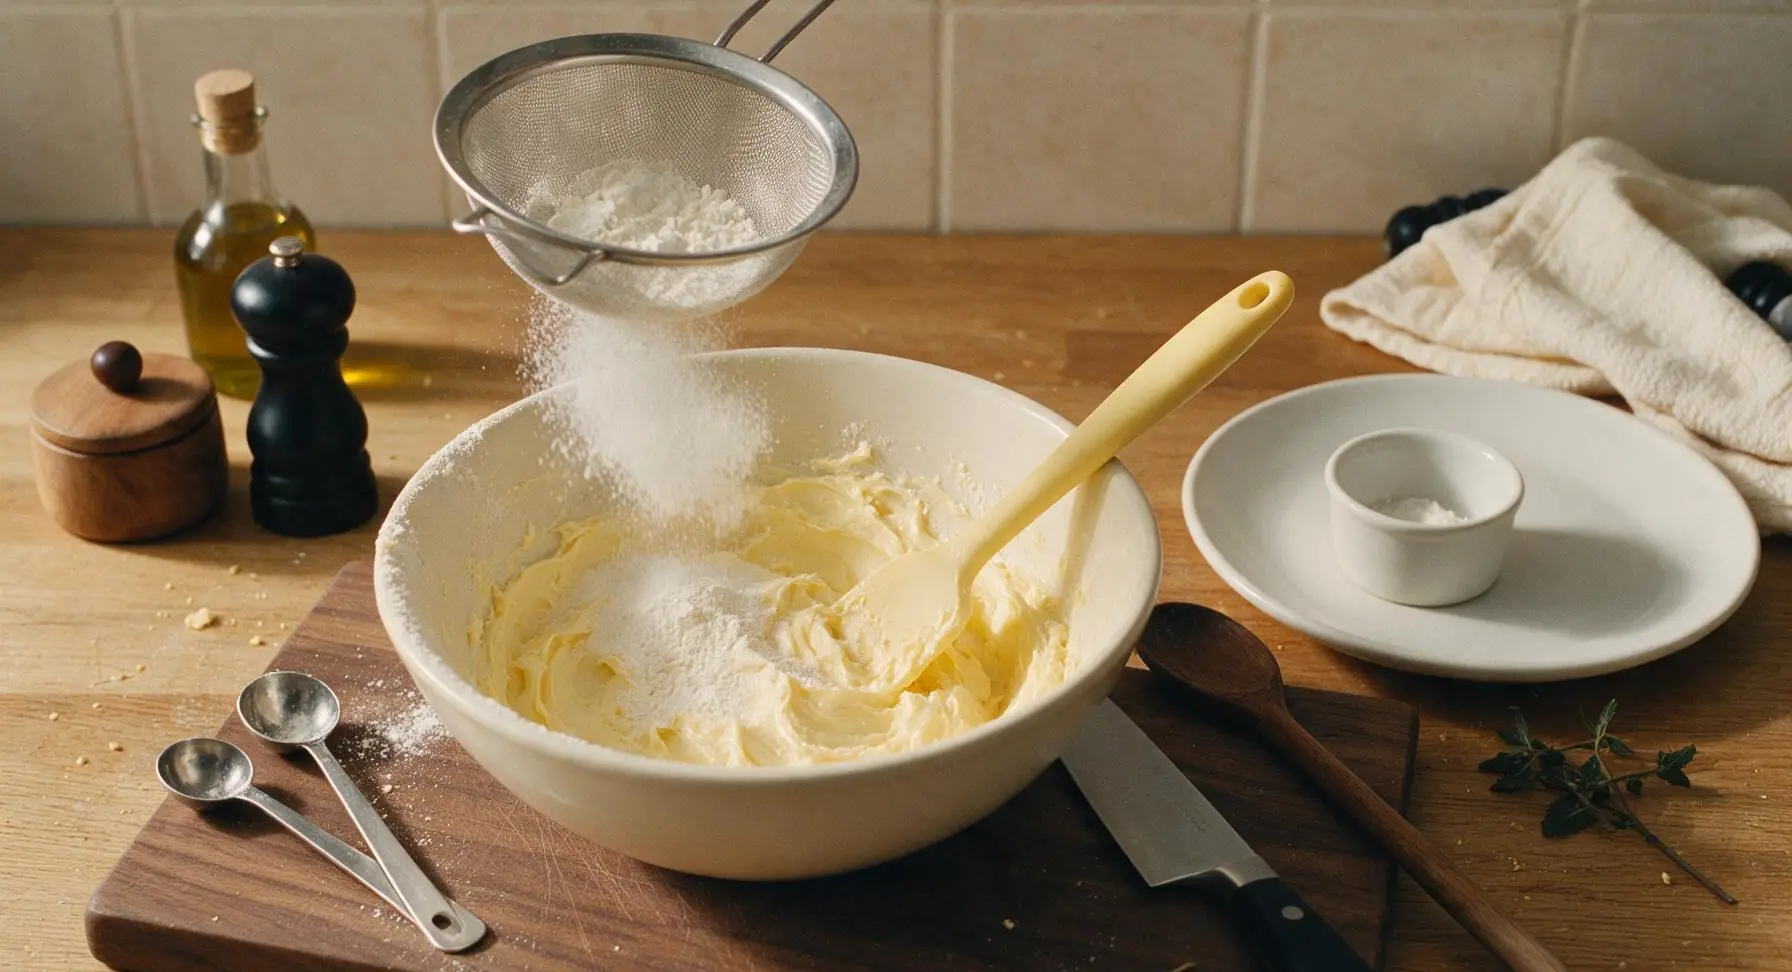
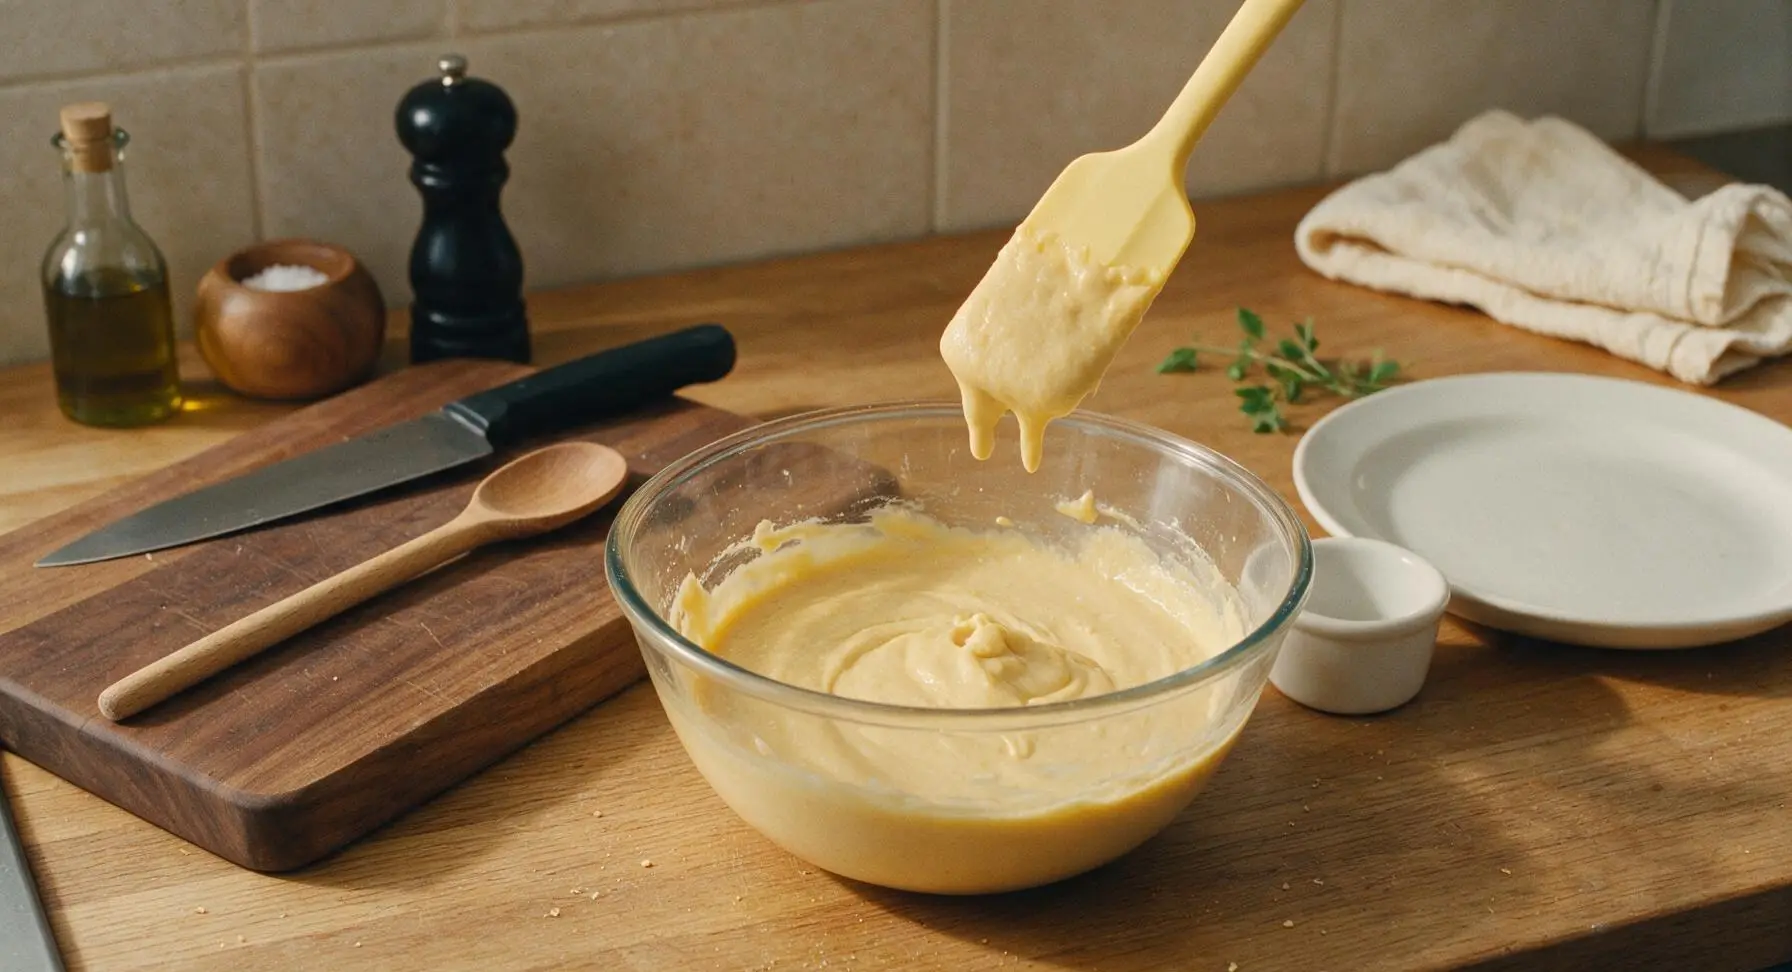
Sift the 100g self-raising flour, 1 teaspoon baking powder, and pinch of fine salt into the wet mixture using the fine mesh stainless steel sieve. Use the pale yellow silicone spatula to gently fold the dry ingredients into the batter, taking care not to overmix—stop as soon as no streaks of dry flour remain. Stir in the 1 teaspoon vanilla extract and 2 tablespoons whole milk to create a soft, dropping consistency batter that falls slowly off the spatula when lifted.
Step 4
step4:Fold in Dry Ingredients
Step 4
step4:Fold in Dry Ingredients
5

Fill Pudding Basin

Scoop all of the sponge batter carefully on top of the golden syrup in the glass pudding basin, using the spatula to scrape every last bit of batter from the mixing bowl. Smooth the top of the batter gently with the spatula to create an even surface, taking care not to disturb the layer of golden syrup at the bottom.
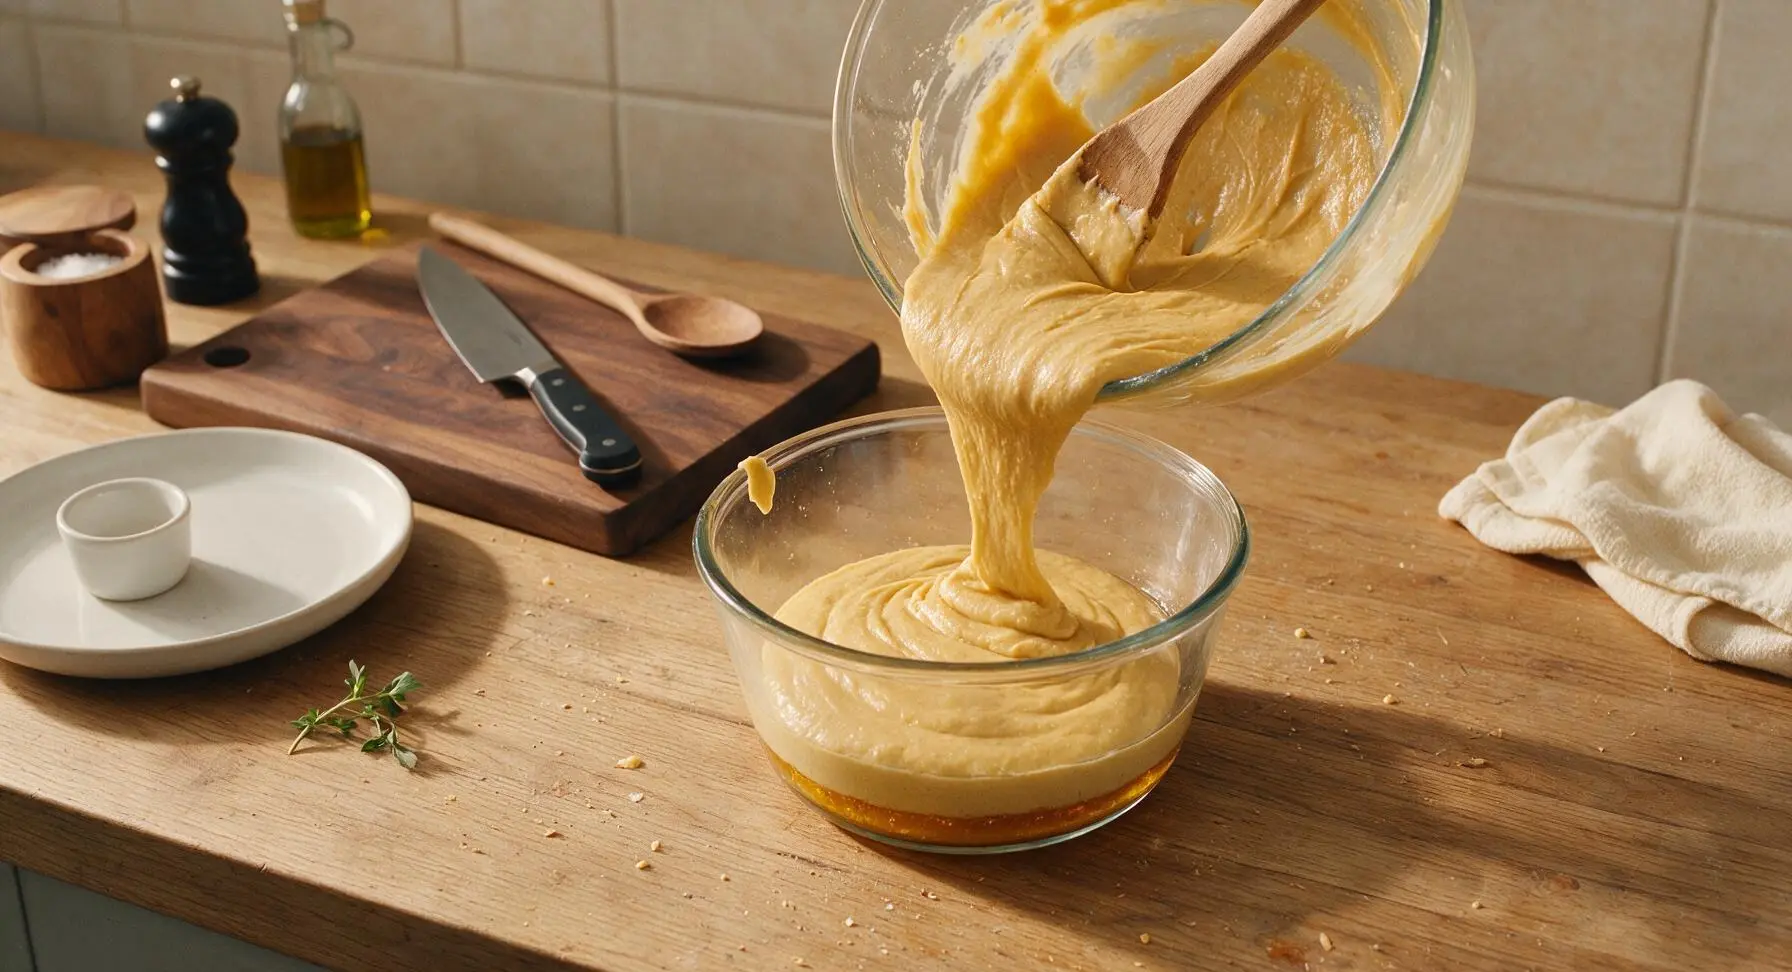
Step 5
step5:Fill Pudding Basin
6

Microwave the Pudding

Place the uncovered pudding basin directly onto the turntable of the 800W stainless steel microwave. Cook on full high power (800W) for exactly 3 minutes—if your microwave is higher wattage (1000W), reduce cooking time to 2 minutes 30 seconds to avoid toughness. The pudding is done when the top springs back immediately when lightly pressed, and a wooden toothpick inserted into the center comes out clean with no wet batter clinging to it. Let the pudding rest for 1 full minute inside the closed microwave after cooking finishes to set, before removing.
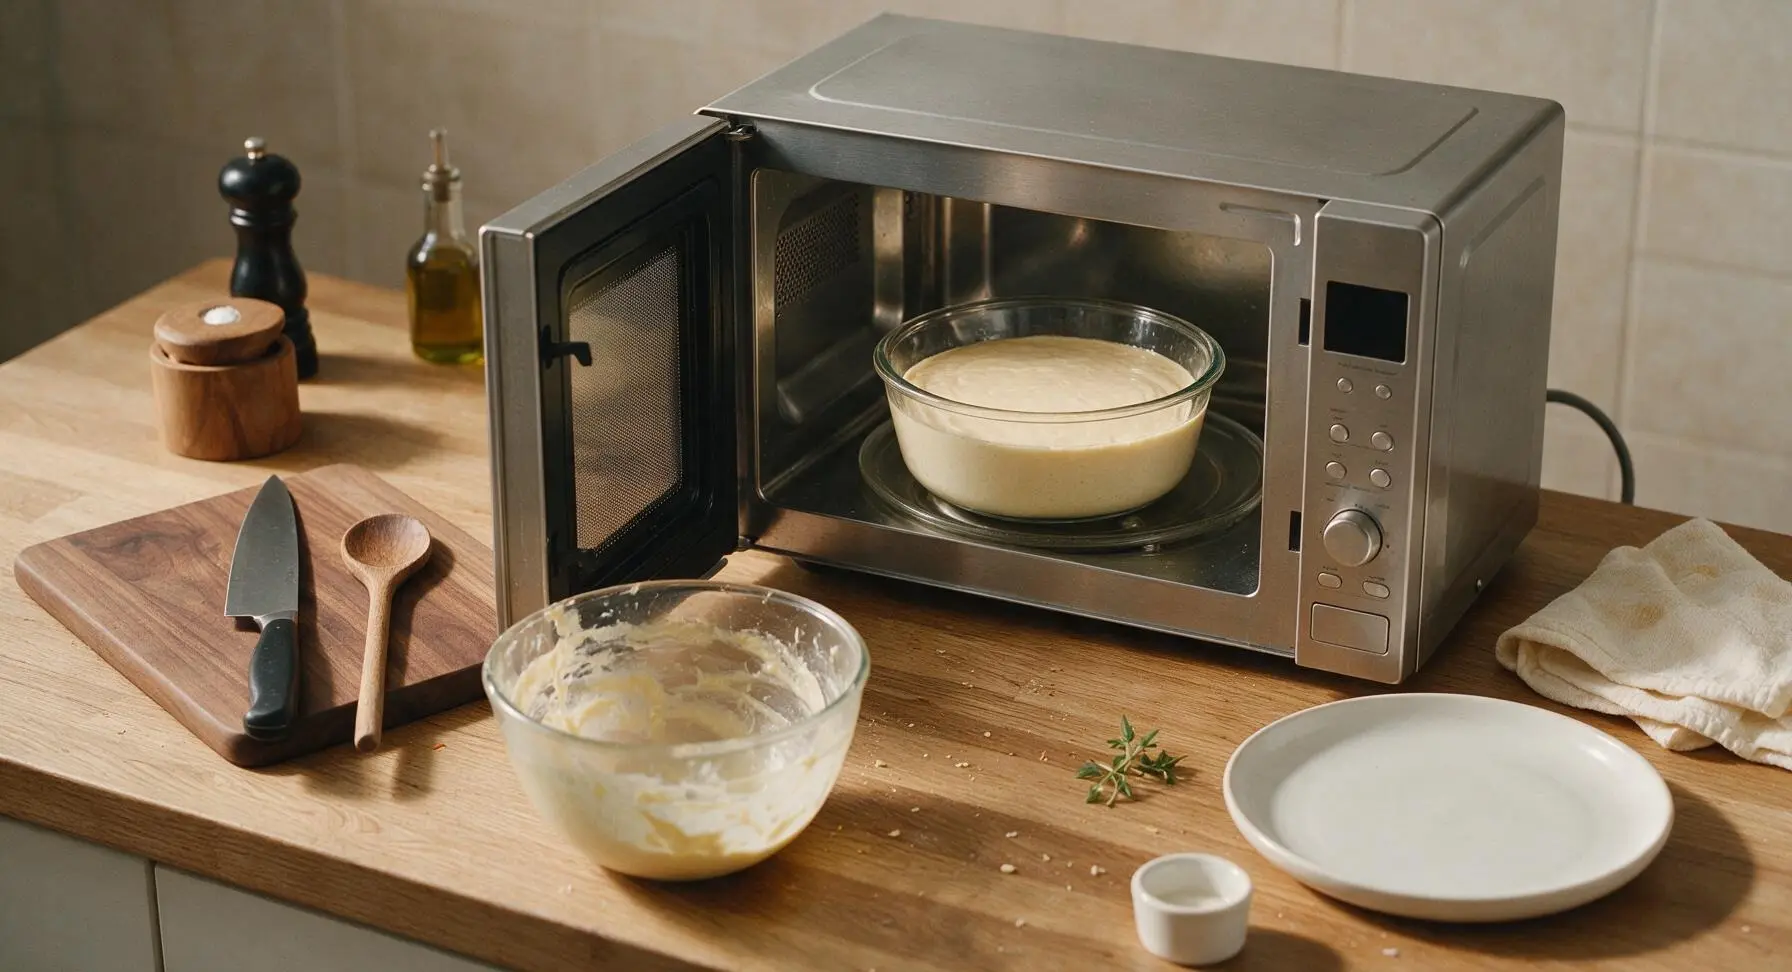
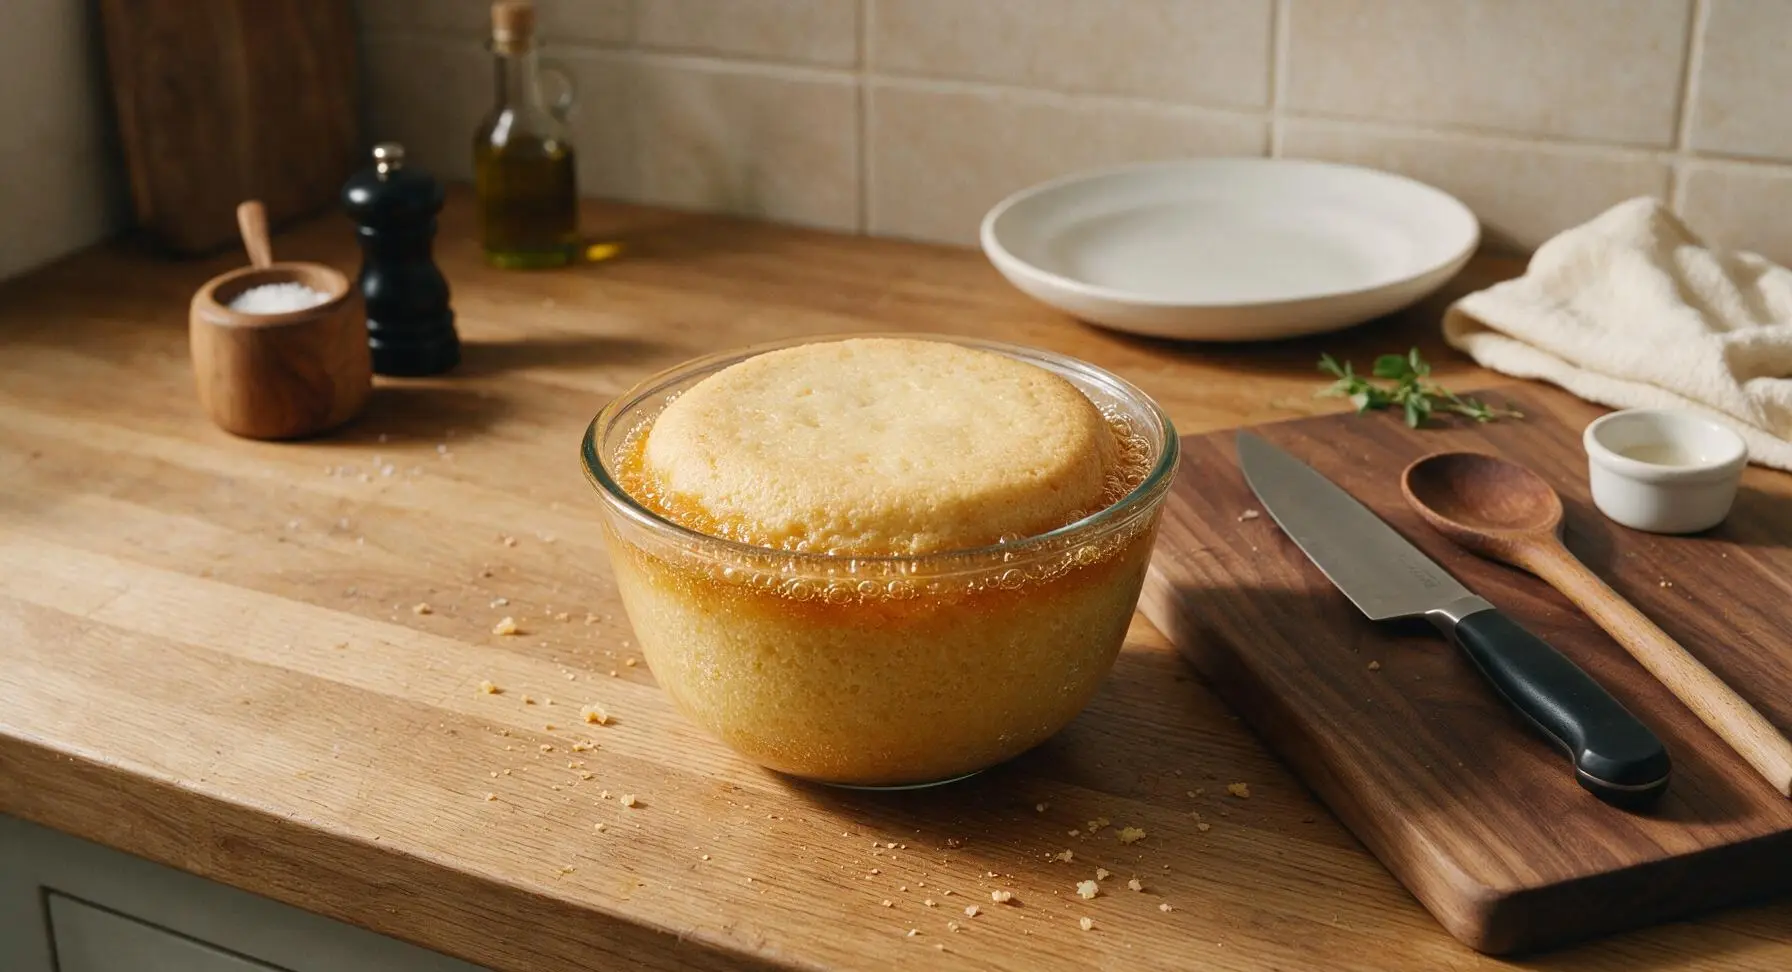
Step 6
step6:Microwave the Pudding
Step 6
step6:Microwave the Pudding
7

Turn Out and Serve

Run the tip of the pale yellow silicone spatula around the inner edge of the pudding basin to loosen the sponge from the glass. Place the top matte cream artisanal dessert plate upside down over the opening of the basin, then hold the plate and basin firmly together with both hands and flip them over in one quick, smooth motion. Let the pudding sit for 10 seconds to let the golden syrup drain down, then lift the basin gently straight up off the pudding to reveal the soft sponge, with syrup running down the sides. Serve immediately with warm vanilla custard poured over the top.
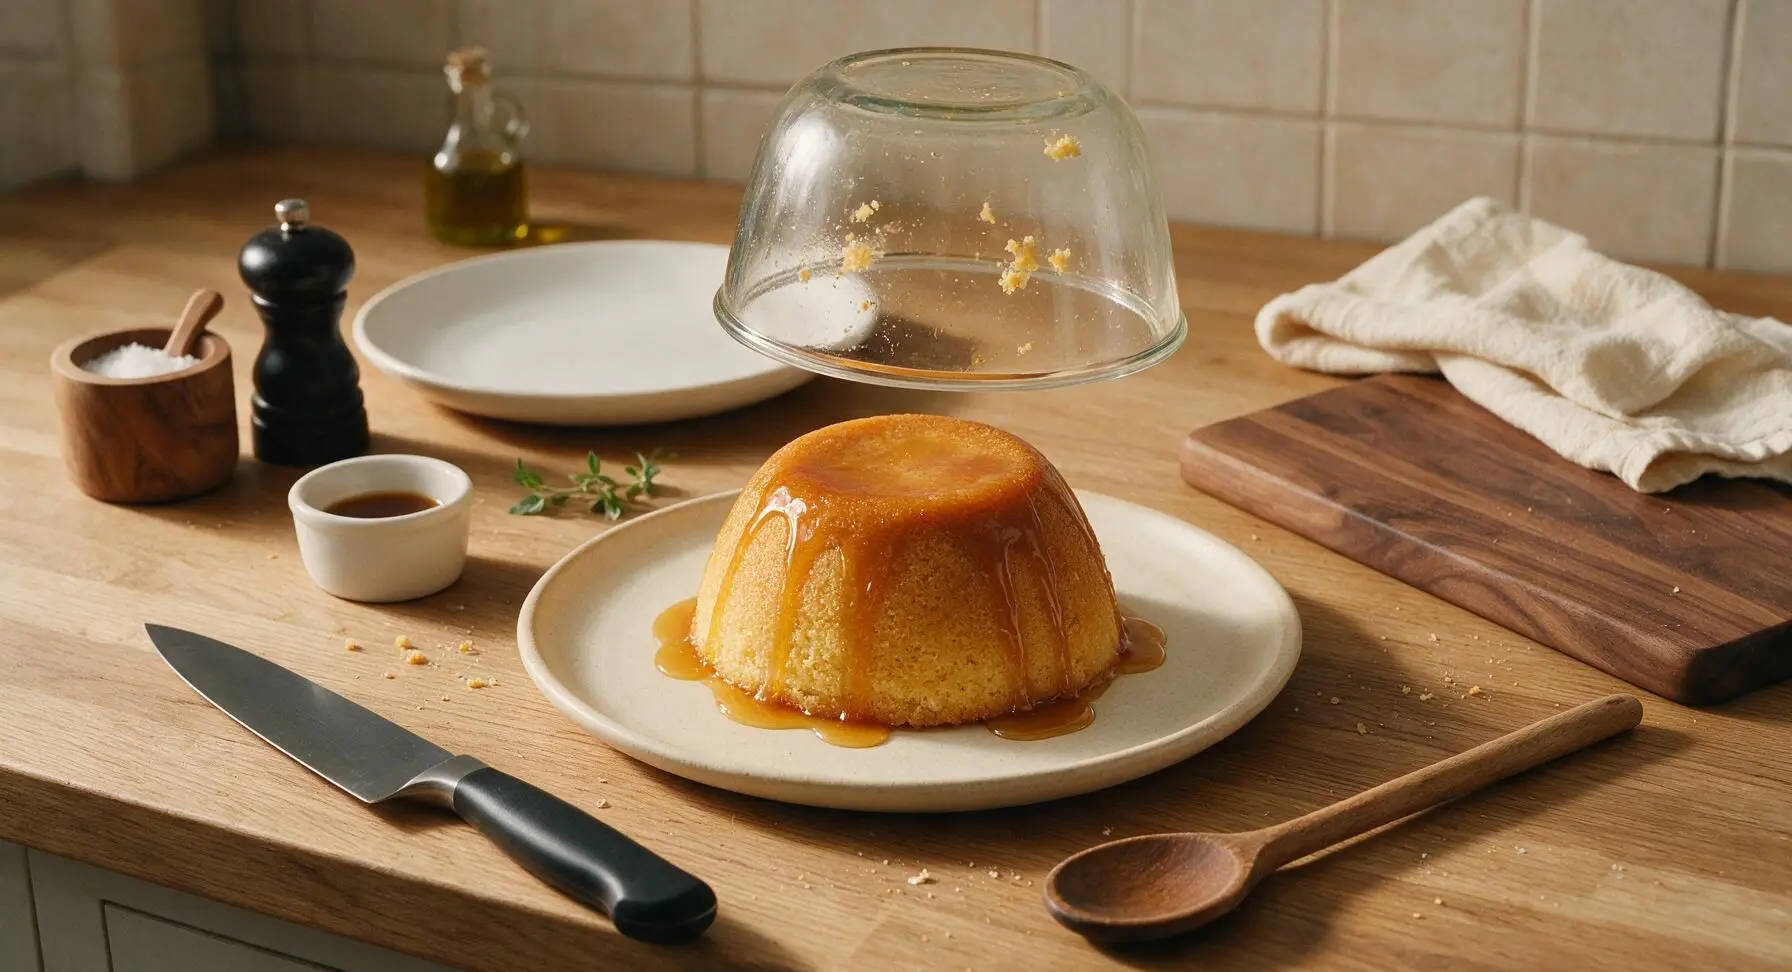
Step 7
step7:Turn Out and Serve

Tips

1.Avoid overmixing the batter once you add the flour: over-stirring develops gluten in the flour, which results in a tough, dense sponge rather than the light, fluffy texture classic to this pudding. Stop folding as soon as no dry flour streaks remain.
2.Do not overcook the pudding: microwaves heat food far faster than conventional ovens, and just 30 seconds of extra cook time can turn moist, tender sponge dry and rubbery. If your microwave runs hot, reduce initial cook time by 30 seconds, then add 10-second bursts until the top springs back when touched.
3.Use fully room-temperature softened butter (not melted, not cold) for creaming: cold butter will not trap air when beaten with sugar, and melted butter will create a greasy, dense crumb. Properly softened butter will indent easily when pressed with a finger, and creates the light batter needed for a tall, soft sponge.


✨ You May Also Like

Desserts & Baking
🍜 Italy

Creamy, coffee-kissed classic Northern Italian no-bake dessert, with layers of rum-spiked mascarpone cream, soft ladyfingers, and a rich cocoa dusting.

⏱️ 4 hours 3Desserts & Baking ★ 4.7
Desserts & Baking
🍜 France

Flaky, shatteringly crisp, buttery French croissants with golden exteriors and soft, airy layered interiors, perfect for pairing with coffee for a special morning treat.

⏱️ 12 hours Desserts & Baking ★ 4.5
Desserts & Baking
🍜 United States

Warm, spiced baked apples topped with a fluffy golden biscuit crust, this cozy dessert pairs perfectly with vanilla ice cream for cool-weather comfort.

⏱️ 55 minuteDesserts & Baking ★ 4.6
Desserts & Baking
🍜 United States

A star-spangled classic American blueberry pie with buttery flaky crust and bright sweet-tart filling, perfect for summer patriotic gatherings.

⏱️ 1 hour 25Desserts & Baking ★ 4.7
Desserts & Baking
🍜 United States

A beloved no-bake regional Maine candy with a chewy coconut-potato center coated in rich dark chocolate, a New England holiday staple since the 1870s.

⏱️ 2 hours 3Desserts & Baking ★ 4.8
Desserts & Baking
🍜 France

Luxuriously creamy, floral frozen custard made with aromatic Tahitian vanilla beans, boasting a smooth, rich texture that melts slowly on the tongue.

⏱️ 3 hours 3Desserts & Baking ★ 4.5

microwave sponge pudding:Frequently Asked Questions

1.How long does this microwave syrup sponge pudding take to make from start to finish? ▾
Total time clocks in right around 8 to 9 minutes, with no oven preheating required. You’ll spend 4 minutes prepping the batter, 3 to 4 minutes cooking in the microwave, and 1 minute resting before tipping it out. It’s the fastest way to get that classic, cozy sponge fix on a busy weeknight.
2.Can I use salted butter instead of unsalted for this recipe? ▾
Absolutely, just skip any small pinch of salt you might otherwise add to the batter. Salted butter works perfectly here, and the small amount of salt actually cuts through the sweet syrup and sugar to make the sponge flavor feel more balanced. Just make sure it’s fully softened to room temperature for the lightest batter.
3.Why does my sponge come out dense instead of light and fluffy? ▾
Dense sponge almost always traces back to three common missteps: overmixing the batter once you add the flour, using cold butter that won’t cream properly with the sugar, or skimping on the small amount of baking powder listed. Mix just until no dry flour remains to keep gluten development low for that tender, light crumb.
4.Do I have to use golden syrup for this pudding, or can I swap it for something else? ▾
Golden syrup gives that classic, buttery caramel note traditional to this pudding, but you can absolutely swap it if you don’t have it on hand. Light corn syrup, pure maple syrup, or even thick salted caramel sauce work as great stand-ins to pour in the bottom of your greased dish before adding batter.
5.What size microwave-safe dish should I use for this recipe? ▾
Reach for a 1.5-quart (6-cup) microwave-safe pudding basin or deep glass bowl for the best results. Make sure it has at least 1 inch of headspace above the batter line, as the sponge will rise significantly as it cooks. Grease it well with extra softened butter so the pudding slides out cleanly when inverted.
6.My pudding overflowed in the microwave—what did I do wrong? ▾
Overflow happens for two main reasons: your dish is too small with less than 1 inch of required headspace, or you cooked it on too high a power setting for too long. If you have a lower-wattage microwave (under 800W), you may need extra cook time, but pause every 30 seconds once it hits the 3-minute mark to check rise.
7.What wattage microwave is this recipe tested for? ▾
This base recipe is tested for a standard 1000W household microwave, the most common model in U.S. kitchens. If yours is 800W, add 30 to 60 seconds of cook time, checking doneness with a toothpick. If you have a high-powered 1200W model, reduce cook time by 30 seconds to avoid tough, rubbery sponge.
8.Can I make this pudding ahead of time? ▾
It’s best eaten fresh right after cooking for the softest, fluffiest texture, but you can prep the batter up to 2 hours ahead, stored covered in the fridge. Wait to pour the syrup into the bottom of your greased dish until right before cooking, to keep the butter coating from breaking down and syrup from seeping.
9.How do I know when the pudding is fully cooked? ▾
Stick a wooden toothpick or thin skewer straight into the center of the sponge, then pull it out. If it comes out clean with just a couple of moist, damp crumbs attached (not wet, runny batter), it’s done. The top will also spring back lightly when pressed with a finger, with no sticky raw batter spots.
10.Can I add mix-ins to the sponge batter? ▾
Absolutely! Stir in 2 tablespoons of lemon zest for a bright, zesty twist, 3 tablespoons of golden raisins or regular raisins for a fruity version, or a teaspoon of vanilla bean paste for extra warm, rich flavor. Just avoid adding too many heavy mix-ins, which can weigh down the light sponge and make it dense.
11.Do I need to cover the pudding while it cooks in the microwave? ▾
You don’t have to, but loosely covering the top with a microwave-safe paper towel or piece of parchment paper will catch any small splatters as the syrup bubbles, and help the top cook more evenly. Don’t seal it tightly with plastic wrap, as trapped steam can make the top of the sponge soggy.
12.I don’t have self-rising flour—can I make my own? ▾
Definitely! For every 1 cup of all-purpose flour, add 1 ½ teaspoons of baking powder and ¼ teaspoon of fine salt, then whisk really well to evenly distribute the leavening. Measure it properly by spooning it into your measuring cup and leveling it off, rather than scooping straight from the bag, which packs the flour too tightly.
13.Why does my pudding stick to the bowl when I try to tip it out? ▾
Sticking usually means you didn’t grease the bowl thoroughly enough with softened butter before adding the syrup and batter. For extra insurance, cut a small circle of parchment paper to set in the very bottom of the greased bowl before pouring in the syrup, which guarantees a clean release when inverted.
14.What’s the best thing to serve with this syrup sponge pudding? ▾
The classic pairing is warm, thick vanilla custard, poured generously over the top right before serving. If you don’t have custard, a dollop of freshly whipped cream, a scoop of vanilla bean ice cream, or even an extra drizzle of warm syrup works beautifully. A light sprinkle of flaky sea salt is a chef’s kiss upgrade too.
15.Can I make this recipe egg-free for dietary restrictions? ▾
You can swap the large eggs for ½ cup of unsweetened applesauce, divided evenly, or a commercial egg replacer mixed per package instructions. Keep in mind the crumb will be slightly more tender and less springy than the traditional version, but it will still be moist, sweet, and full of classic syrup sponge flavor.
16.Can I reheat leftover pudding? ▾
Yes, leftovers will keep covered in the fridge for up to 3 days. To reheat, place a single slice on a microwave-safe plate, cover with a damp paper towel, and heat in 20-second bursts until warm all the way through. Don’t reheat the whole pudding for longer than 1 minute total, as it can turn rubbery if overheated.
17.Is there a way to make this pudding less sweet? ▾
If you prefer a less cloying sweet dessert, cut the caster sugar in the sponge by 2 tablespoons, and use a lighter pour of syrup in the bottom of the bowl—about 3 tablespoons instead of the standard ¼ cup. Adding a teaspoon of lemon zest to the batter also brightens the flavor and makes sweetness feel less heavy.
18.Can I use regular granulated sugar instead of caster sugar? ▾
Yes, caster sugar is just superfine granulated sugar, so regular granulated sugar works if that’s what you have. The only difference is you’ll want to cream the butter and sugar for 30 seconds longer to make sure the sugar fully dissolves, so you don’t get a gritty crumb in the finished sponge. Skip powdered sugar here, as it makes the texture too dense.
19.Why does my sponge have a rubbery, tough texture? ▾
Rubbery sponge almost always comes from overcooking it in the microwave, or overmixing the batter which develops too much gluten. Microwaves cook incredibly fast, so start checking for doneness at the 3-minute mark, and stop cooking as soon as the toothpick test comes clean for the most tender crumb.
20.Can I make individual portions of this pudding instead of one large one? ▾
Absolutely! Divide the syrup and batter evenly between four 6-oz microwave-safe ramekins, greased well with butter. Cook them two at a time for 60 to 90 seconds each, checking doneness with a toothpick, since smaller portions cook much faster than a single large pudding. They’re perfect for quick weeknight desserts.

Comments (4)

2 days ago

OMG, 3 MINUTES in the microwave??? I was so skeptical but I had a random syrup craving after dinner last night and threw this together. Total game changer!!! It came out perfectly fluffy, the syrup oozed all over the plate just like the steamed version my grandma used to make that takes 2 whole hours. My husband even asked for seconds before I finished my first bite. Will be making this every week for quick weeknight treats!

yesterday

Wait did you use regular golden syrup or a maple syrup substitute? I only have maple on hand right now and don’t wanna run to the store lol

yesterday

Great question! Both work beautifully, though golden syrup gives that classic rich, treacly flavor we love. If you use maple, just add a tiny pinch of salt to cut the sharp, woody notes and it’ll turn out amazing!

3 days ago

Tried this last minute when my kid’s friends showed up after soccer practice and we had zero dessert prepped. SO good, all 4 of the teens demolished it in 10 minutes flat. I topped it with a dollop of canned whipped cream and no one believed it only took 3 minutes to cook. Super easy, no fancy ingredients, total win for busy parents.

2 days ago

That makes us so happy to hear! It’s the perfect last-minute crowd-pleaser for exactly those impromptu kid hangouts. Next time try a sprinkle of lemon zest on top for a little bright, zesty kick if you have it lying around!

1 week ago

Wait, has anyone tried making this with dairy-free butter and oat milk? I’m dairy free and dying for a good syrup sponge, but I’ve had so many quick microwave mug cake recipes turn rubbery when I swap in plant-based ingredients. Giving it 4 stars upfront because all the other reviews look chef’s kiss, just wanna make sure my swaps work before I waste ingredients!

5 days ago

I did! Used Earth Balance buttery sticks and plain unsweetened oat milk, even cooked it 20 seconds less than the recipe said to avoid rubbery texture, and it came out perfect! No weird chewy texture, just soft, fluffy, and loaded with syrup. You’re gonna love it

2 hours ago

Brought this to my office potluck yesterday (I made it in a bigger microwave-safe casserole dish instead of individual ramekins, doubled the recipe) and everyone was begging for the recipe. People thought I spent hours steaming it the traditional way! Total potluck hack, no oven required so I didn’t even heat up my apartment making it on a 90 degree day. 10/10



