
Middle Eastern Grilled Cheese

title 1
Middle Eastern Grilled Cheese
⏱️ cook time 8 minutes
🍽️ servings 2
⚡ Difficulty easy

intro

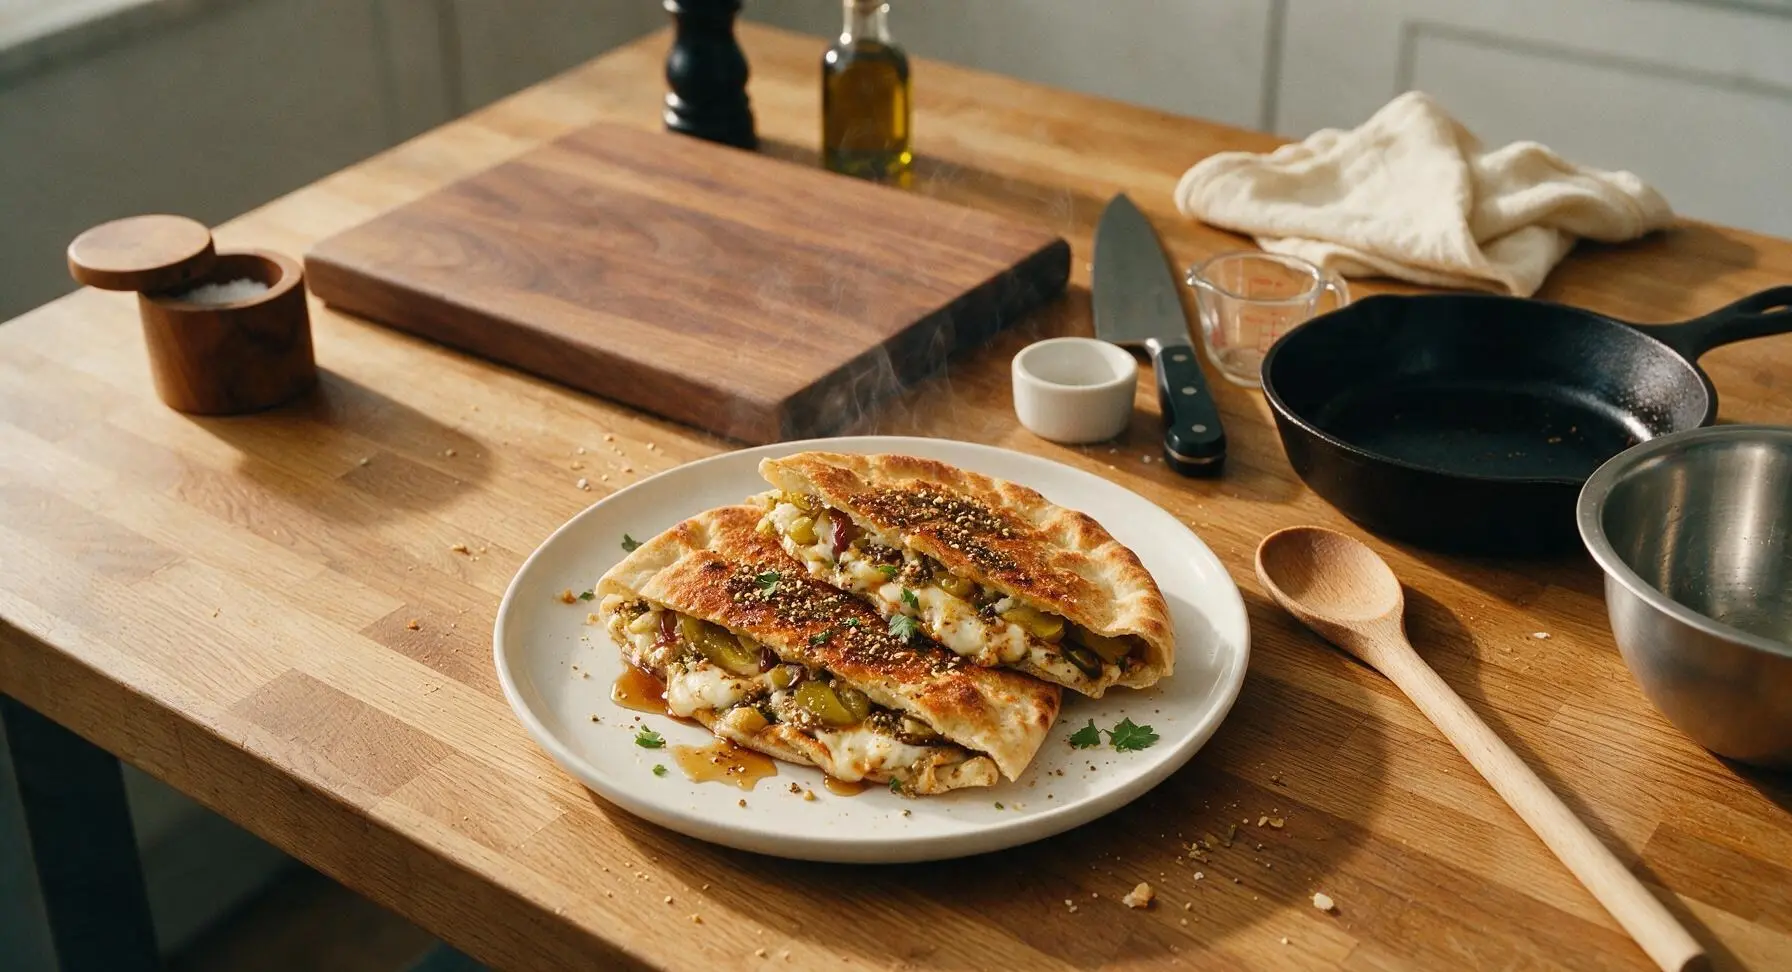
Crispy golden pita layered with briny melted cheeses, earthy za’atar, tangy pickles, and sweet date syrup: a bold, fast Middle Eastern twist on classic grilled cheese.

Ingredients
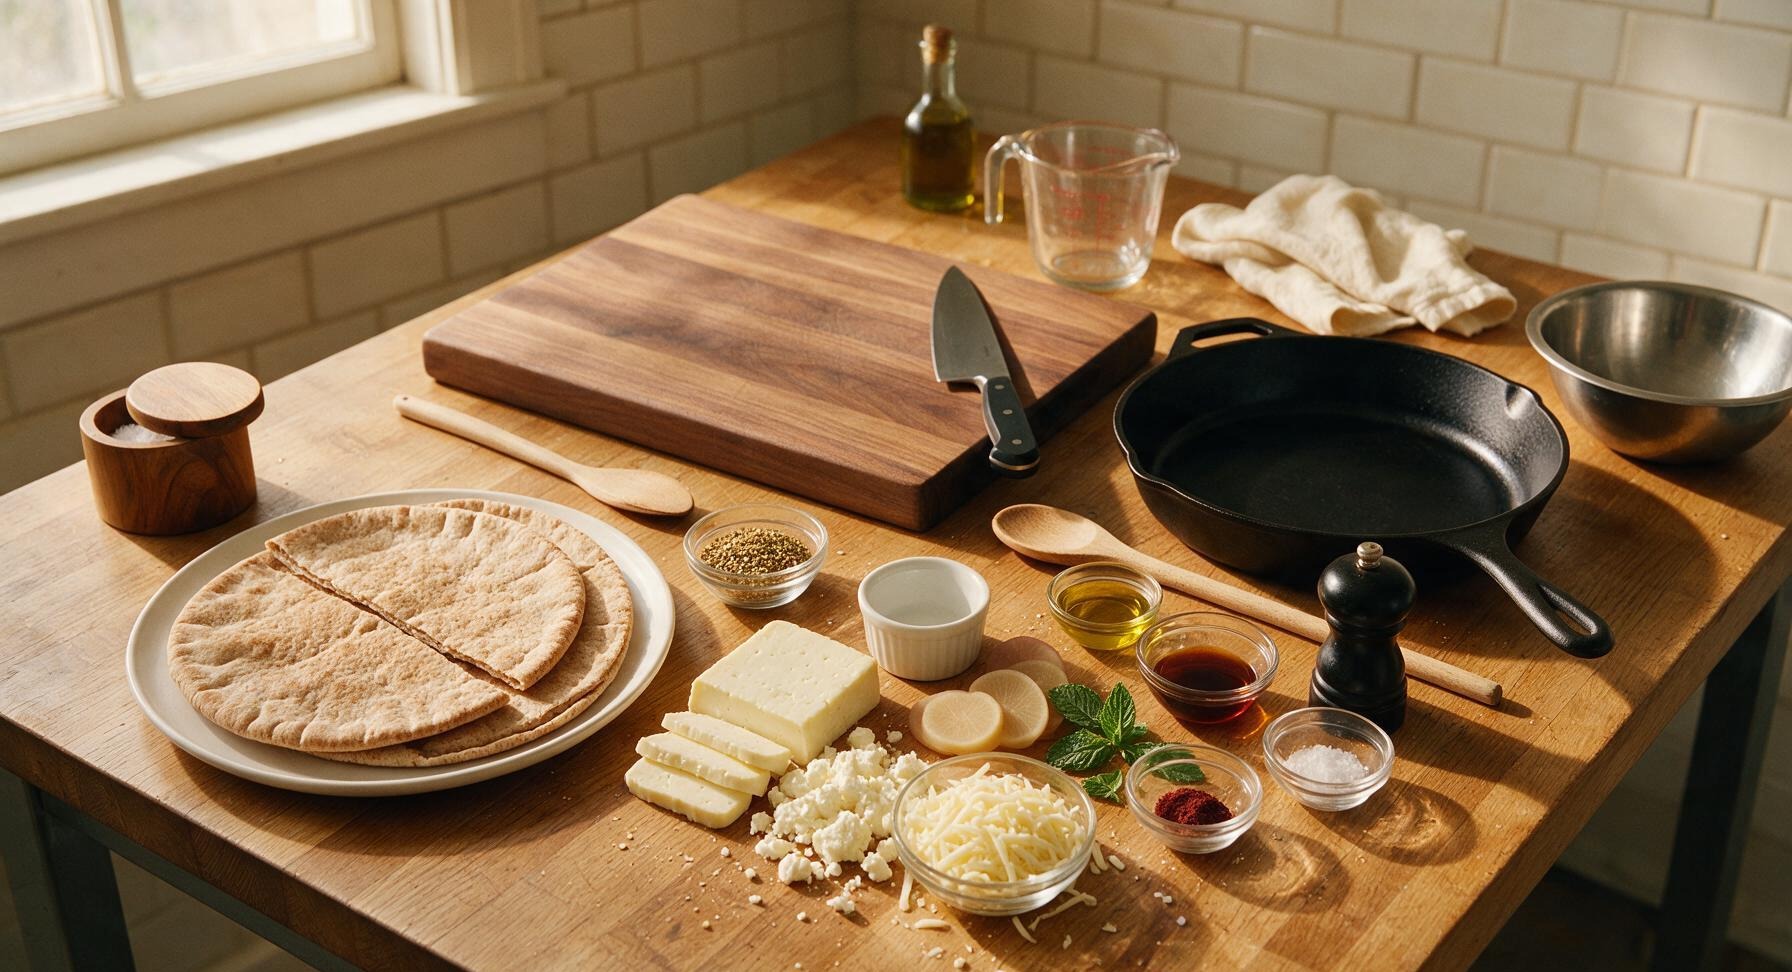
Whole wheat pita flatbreads 2 large (split along pocket seam to make 4 thin rounds)
Halloumi cheese 85g (3oz, sliced 1/4-inch thick)
Crumbled feta cheese 56g (2oz)
Low-moisture shredded mozzarella 56g (2oz)
Za'atar spice blend 1 tbsp
Extra virgin olive oil 1.5 tbsp
Middle Eastern pickled turnip slices 4 thin slices
Fresh mint leaves 8 leaves, plus extra for garnish
Date syrup 1 tbsp, plus extra for serving
Ground sumac 1/4 tsp
Flaky sea salt 1 pinch

Steps

1

Prep Cheese Fillings

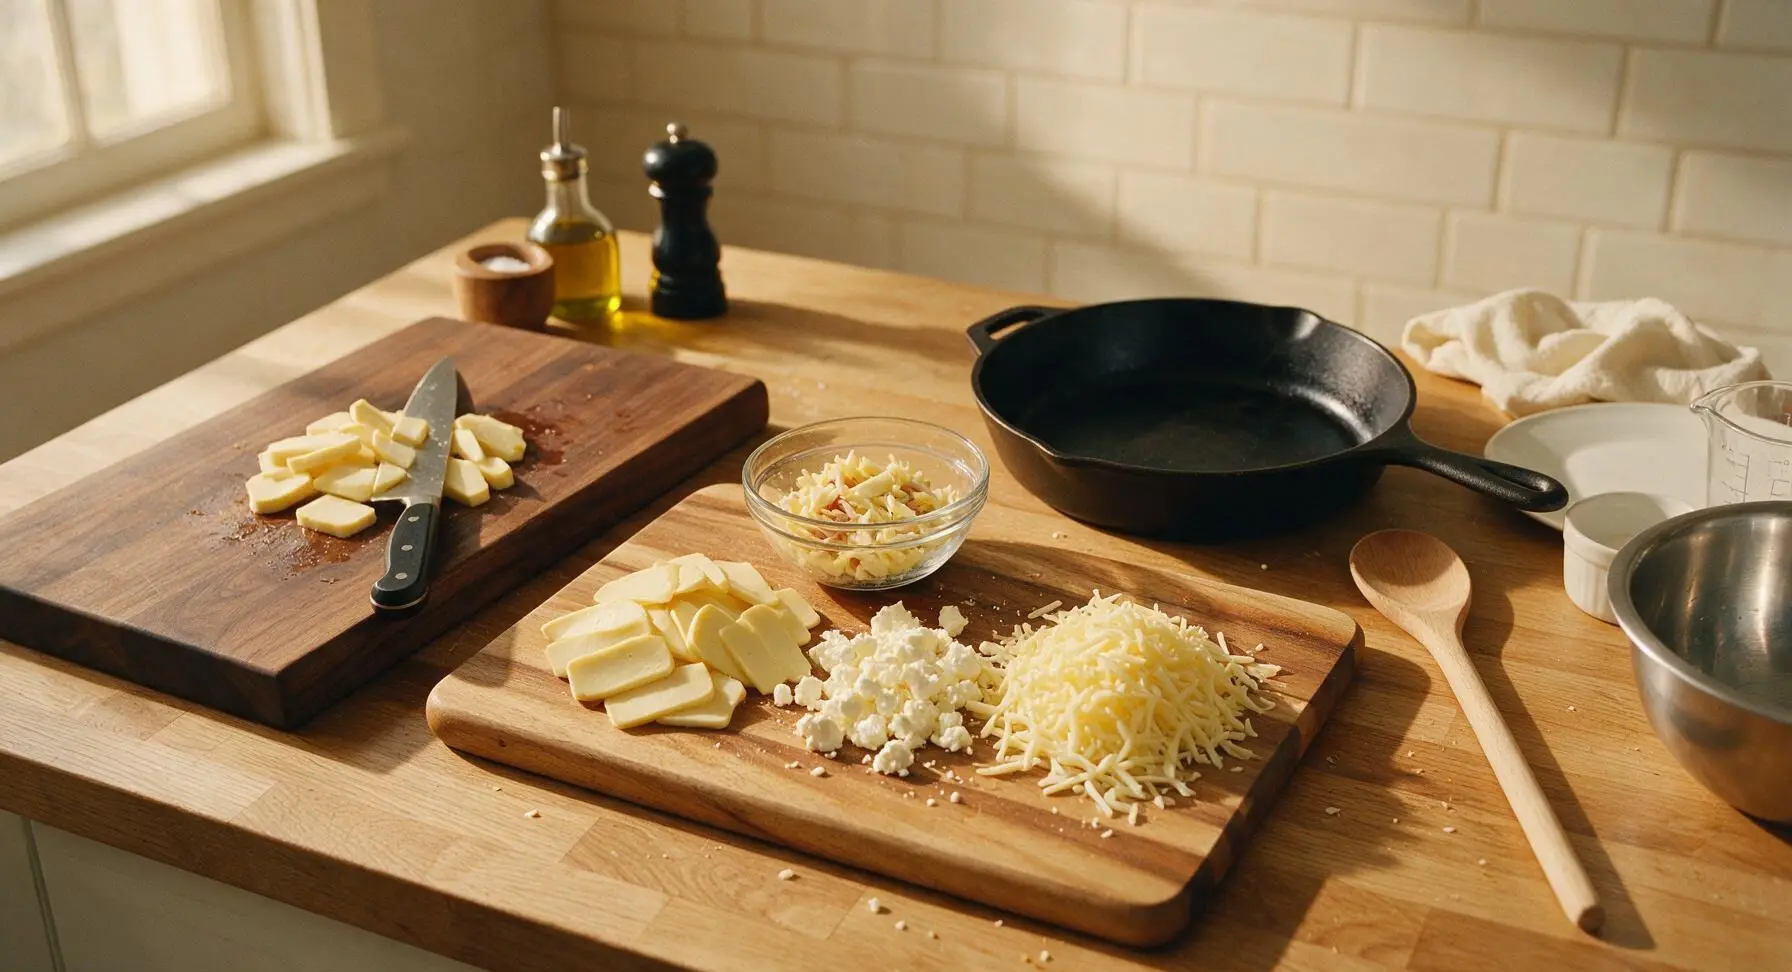
Place the acacia wood cutting board on the center of the counter. Using the chef knife, slice halloumi into uniform 1/4-inch thick slices, and crumble feta into small, even pieces. Combine halloumi slices, crumbled feta, and shredded mozzarella in one of the small clear glass prep bowls, tossing gently to mix. Set aside.
Step 1
step1:Prep Cheese Fillings
2

Mix Za'atar Oil Blend

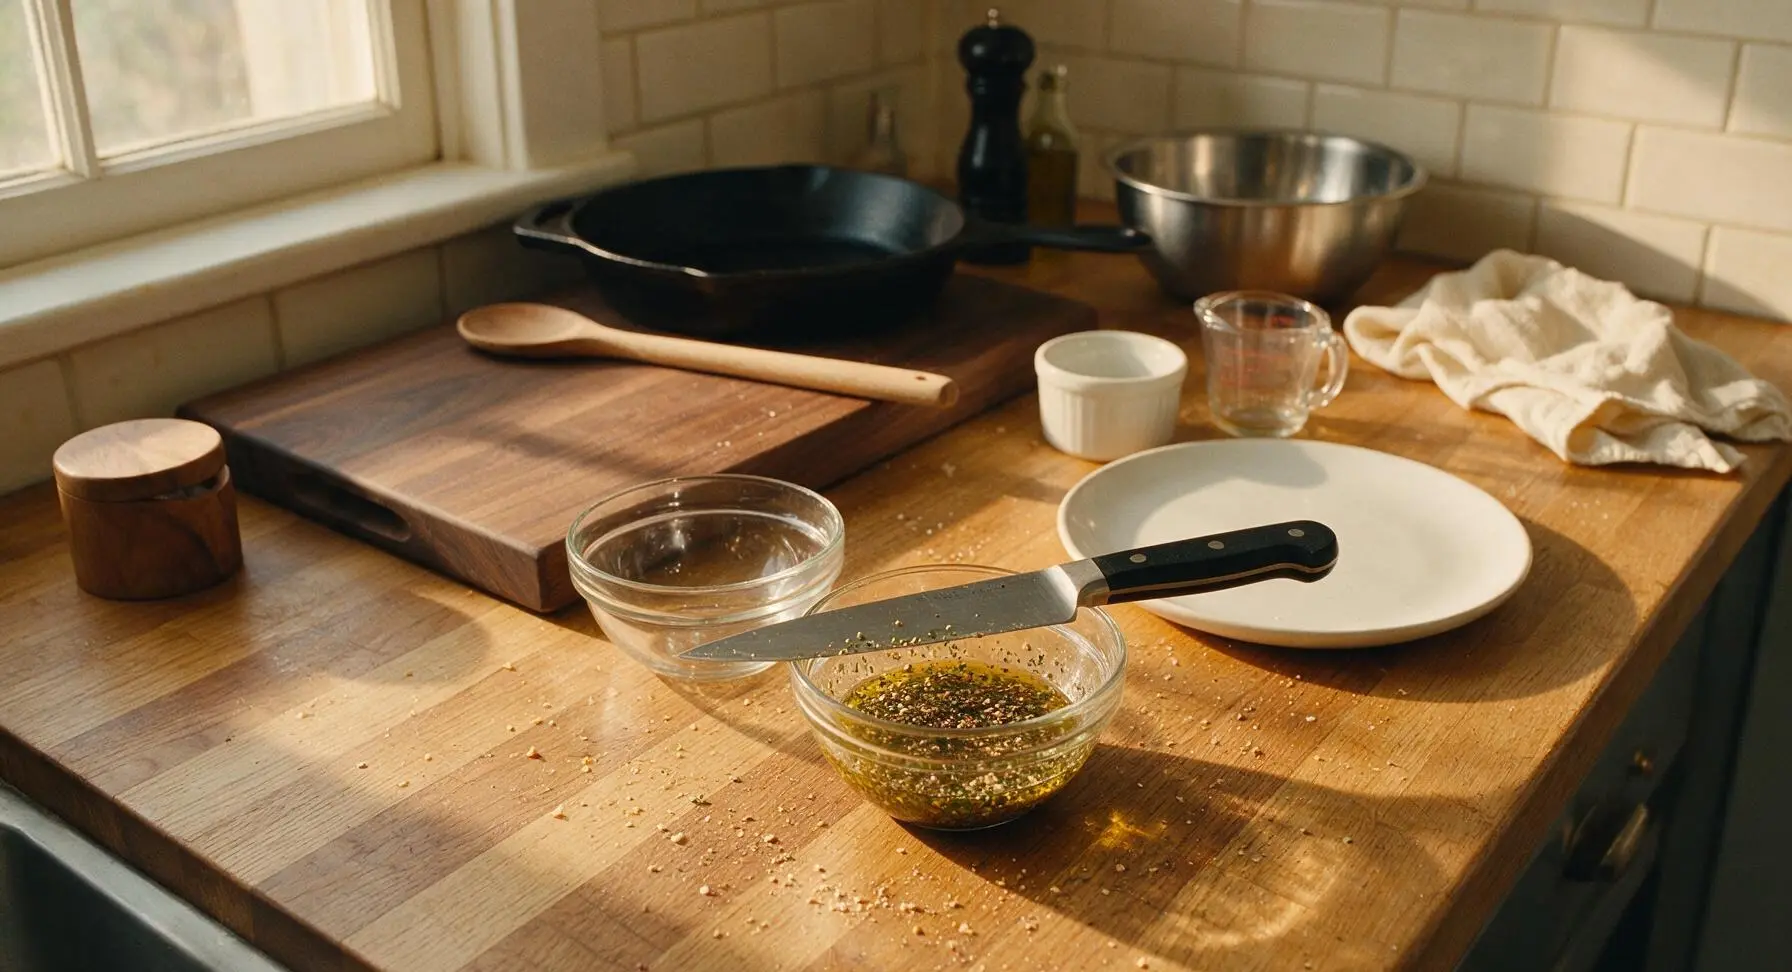
In a second small clear glass prep bowl, combine 1.5 tablespoons extra virgin olive oil, 1 tablespoon za'atar, and 1/4 teaspoon ground sumac. Stir with the tip of the chef knife until fully combined into a fragrant, herb-flecked oil. Set aside for brushing the bread.
Step 2
step2:Mix Za'atar Oil Blend
3

Assemble Sandwich Layers

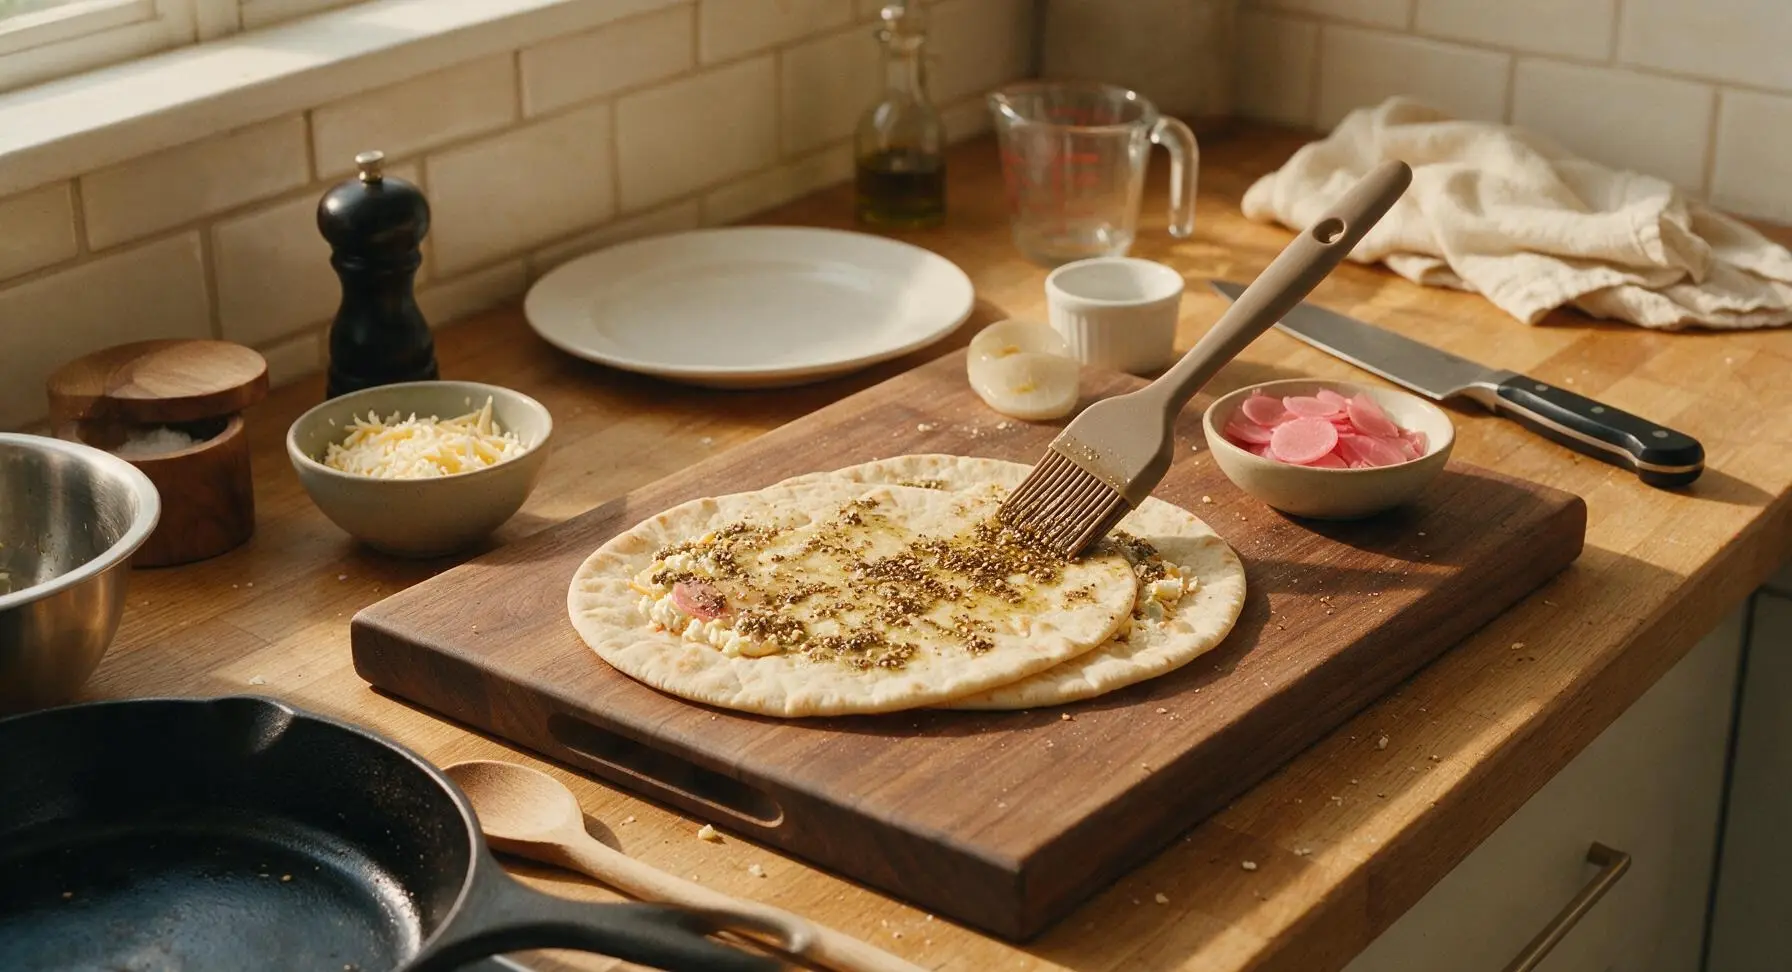
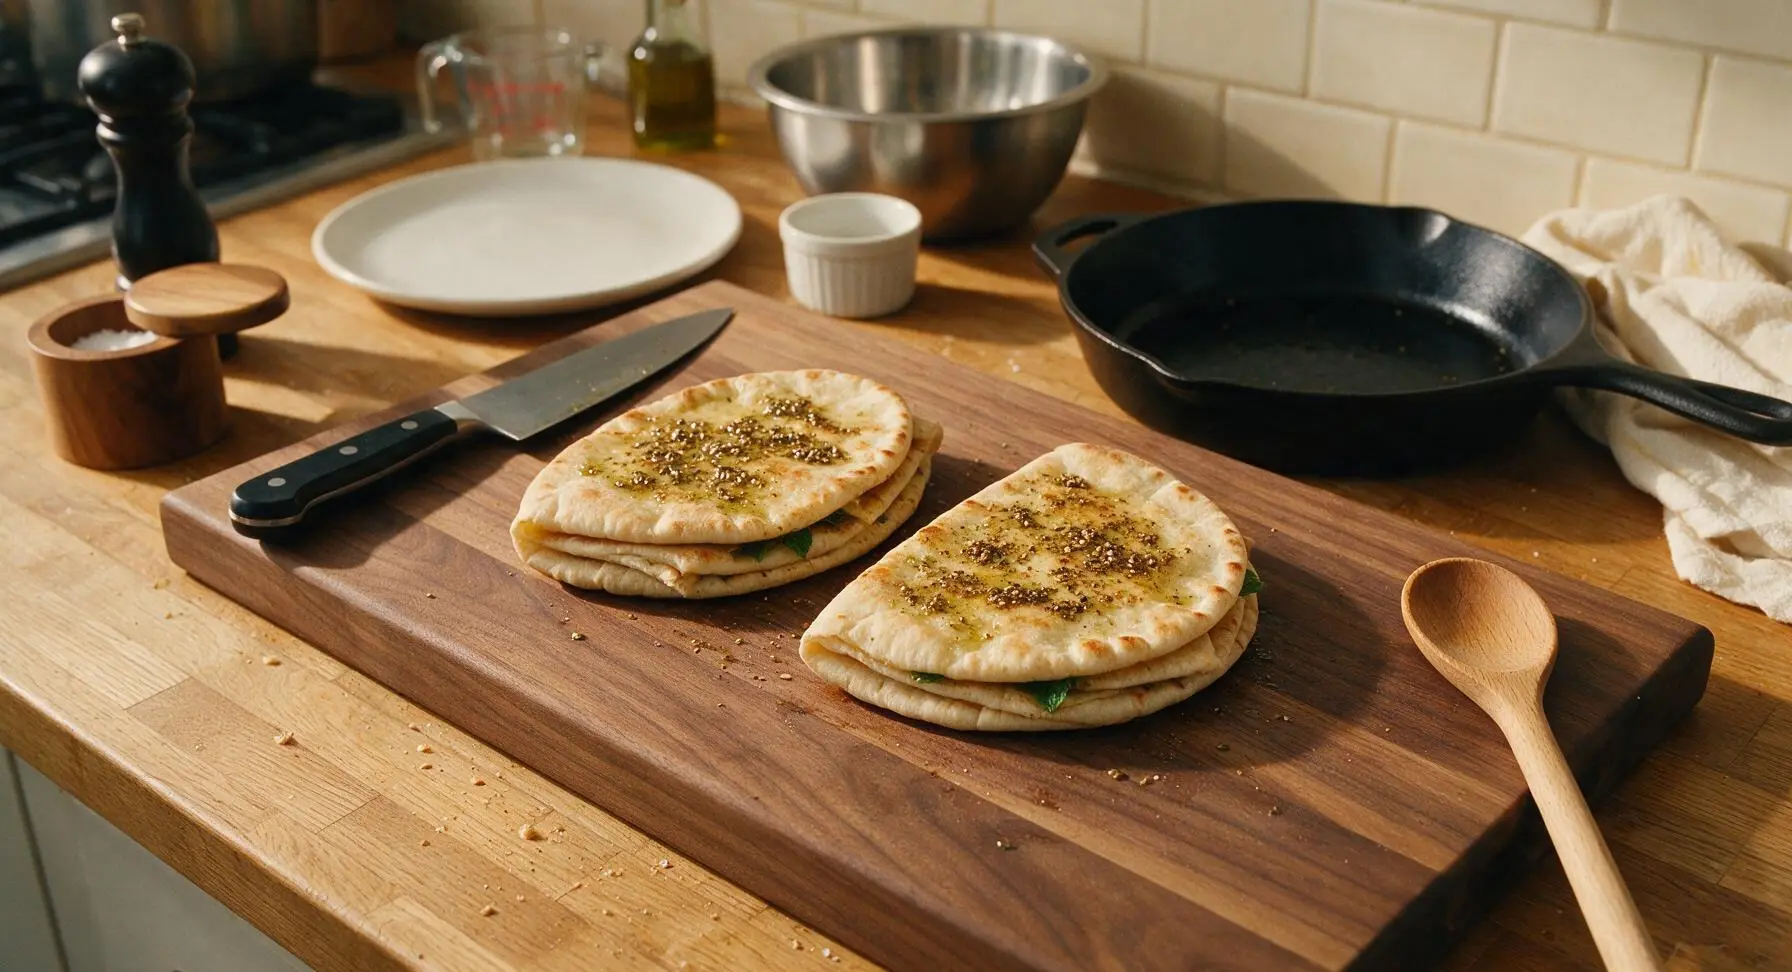
Lay two thin pita rounds (the outer bottom layers) flat on the cutting board. Brush the top surface of each lightly with the za'atar oil using the taupe silicone basting brush. Divide the mixed cheese filling evenly between the two rounds, spreading it to 1/2 inch from the edge. Top the cheese with 2 thin slices of pickled turnip and 4 fresh mint leaves per sandwich, then place the remaining two pita rounds on top to form closed sandwiches. Brush the top of each sandwich with a thin layer of za'atar oil.
Step 3
step3:Assemble Sandwich Layers
Step 3
step3:Assemble Sandwich Layers
4

Preheat Grill Pan

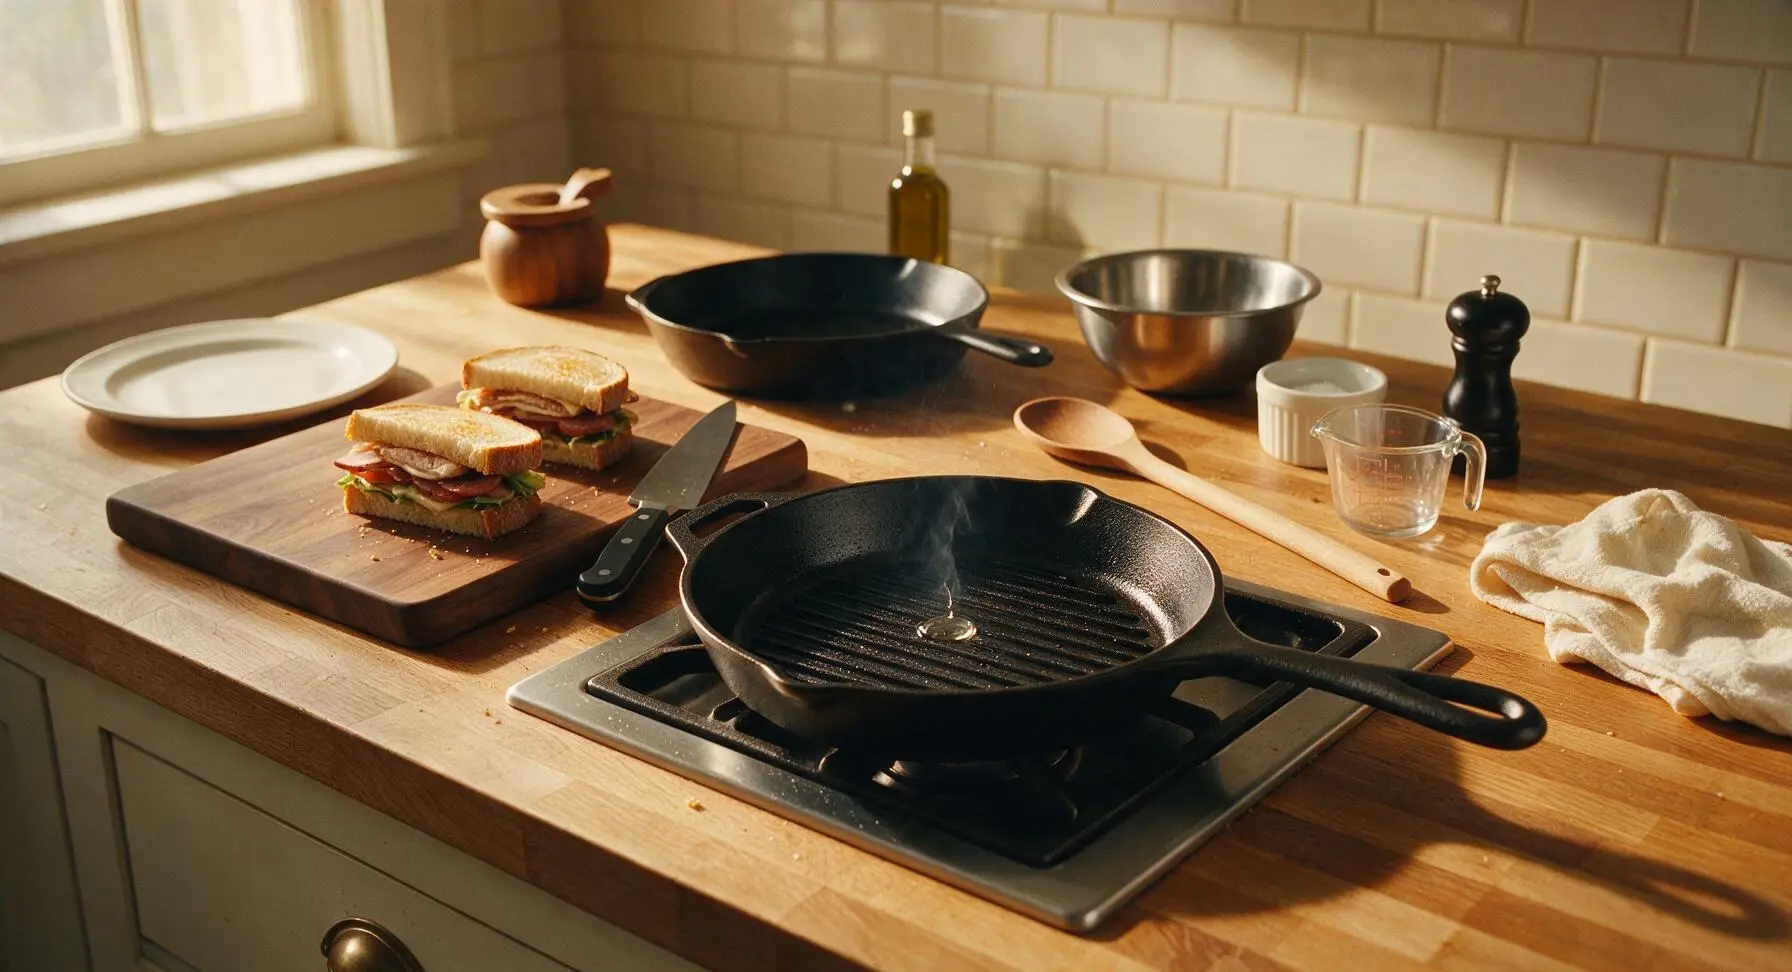
Place the 10-inch matte black cast iron grill pan on the central cook zone of the counter, preheating over medium heat for 3 minutes. Test the pan temperature by sprinkling a single drop of water: it should sizzle and dance across the surface immediately when the pan is ready. Do not add extra oil to the pan, as the sandwiches are already oiled on the outside.
Step 4
step4:Preheat Grill Pan
5

Grill First Sandwich Side

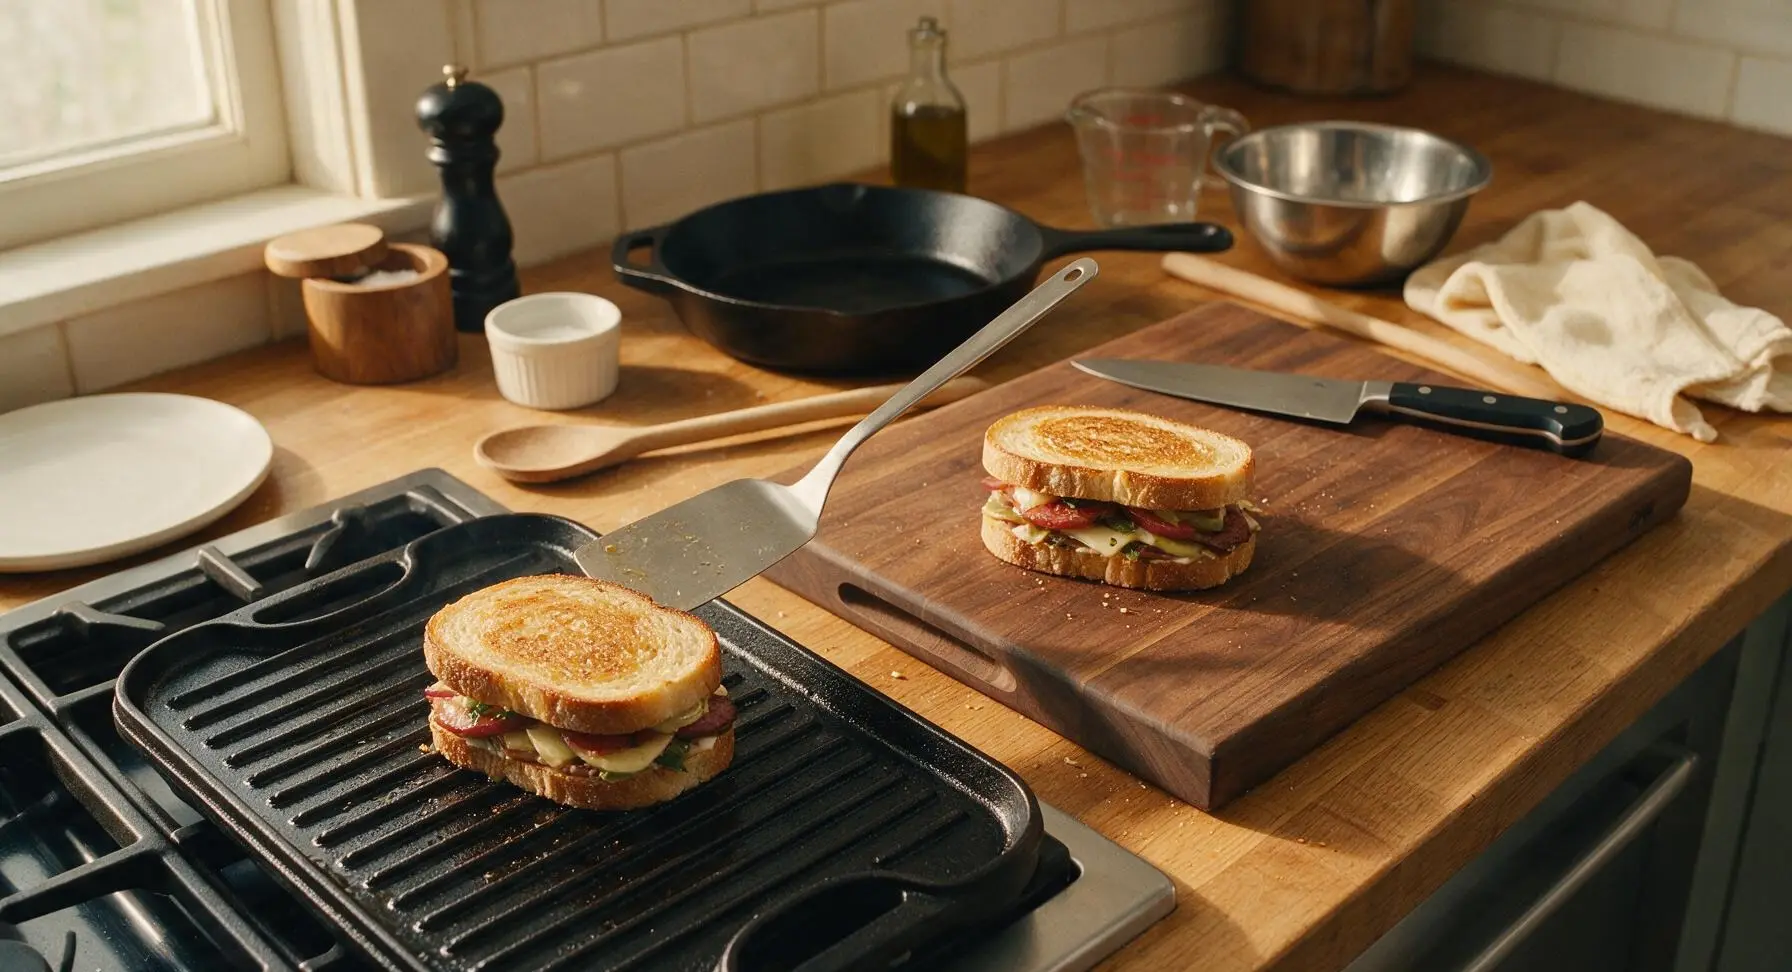
Carefully transfer both assembled sandwiches to the preheated grill pan using the thin metal spatula. Cook for 3 minutes over medium heat, without pressing down excessively, until the bottom pita is deep golden with distinct dark charred grill marks, and the cheese closest to the pan begins to melt. Adjust heat slightly down if the bread begins to burn before the cheese melts.
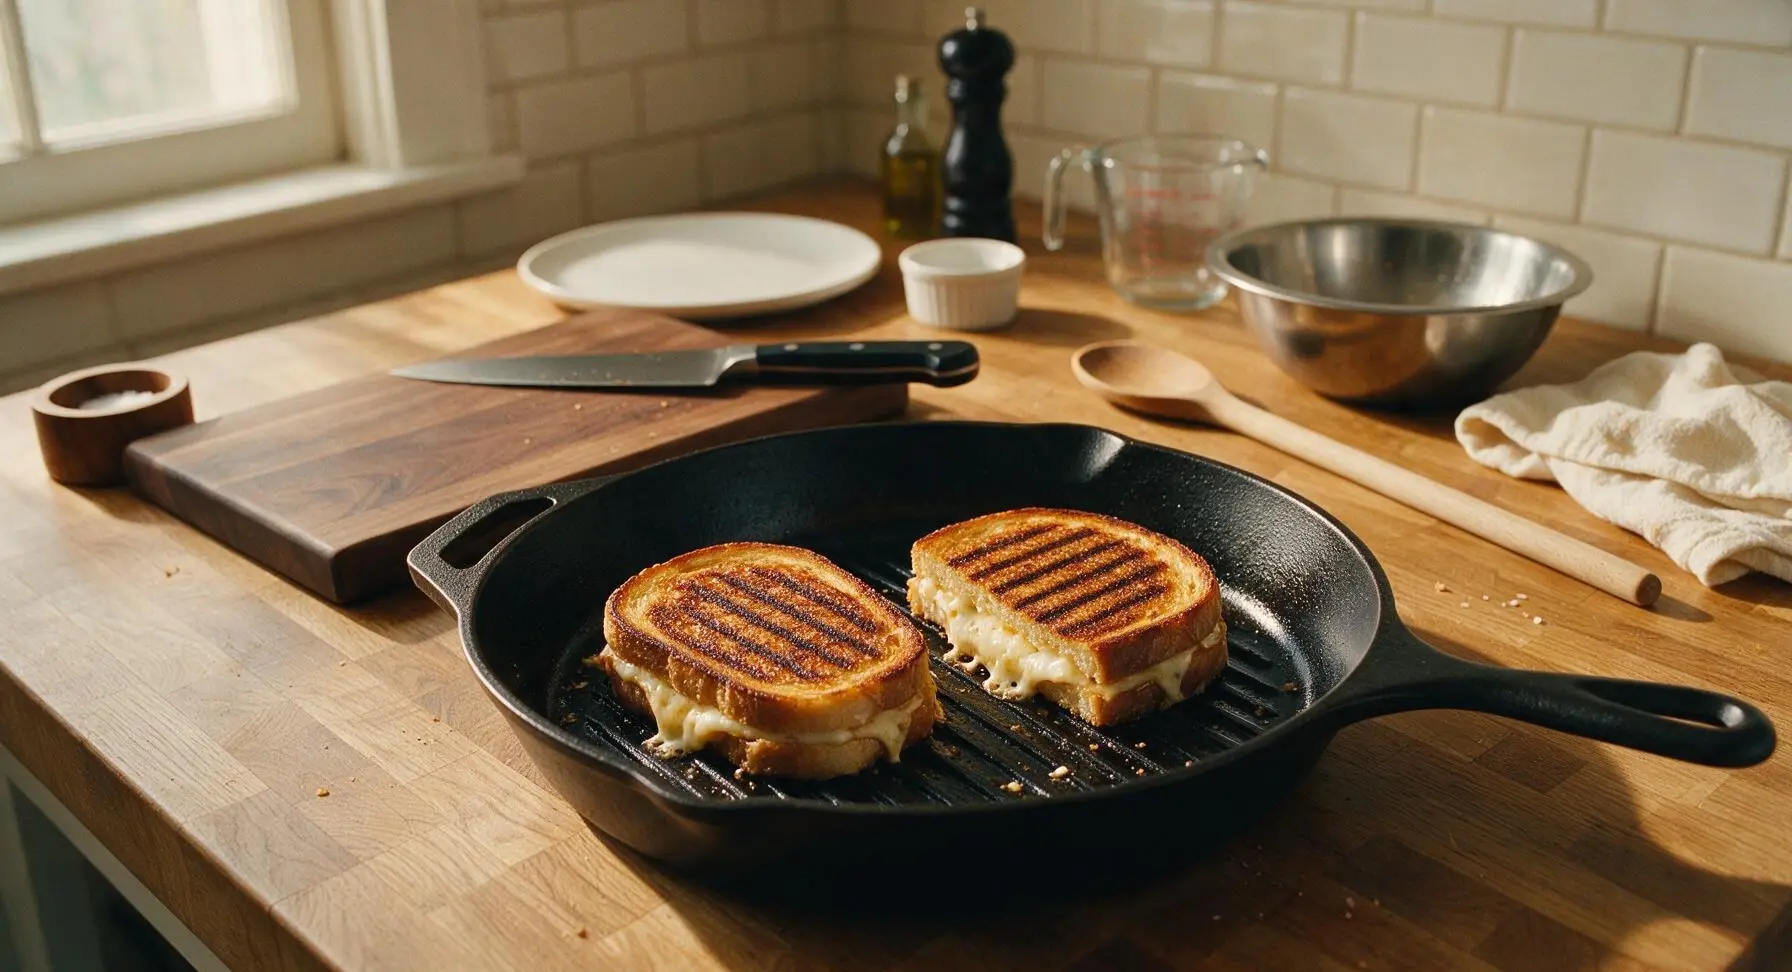
Step 5
step5:Grill First Sandwich Side
Step 5
step5:Grill First Sandwich Side
6

Flip and Cook Second Side

Slide the metal spatula under each sandwich, flipping them in one smooth motion, and cook the second side for 2-3 minutes, until equally golden with dark grill marks, and all cheese is fully melted and oozing slightly at the edges. Transfer the finished sandwiches to a clean corner of the cutting board once done.
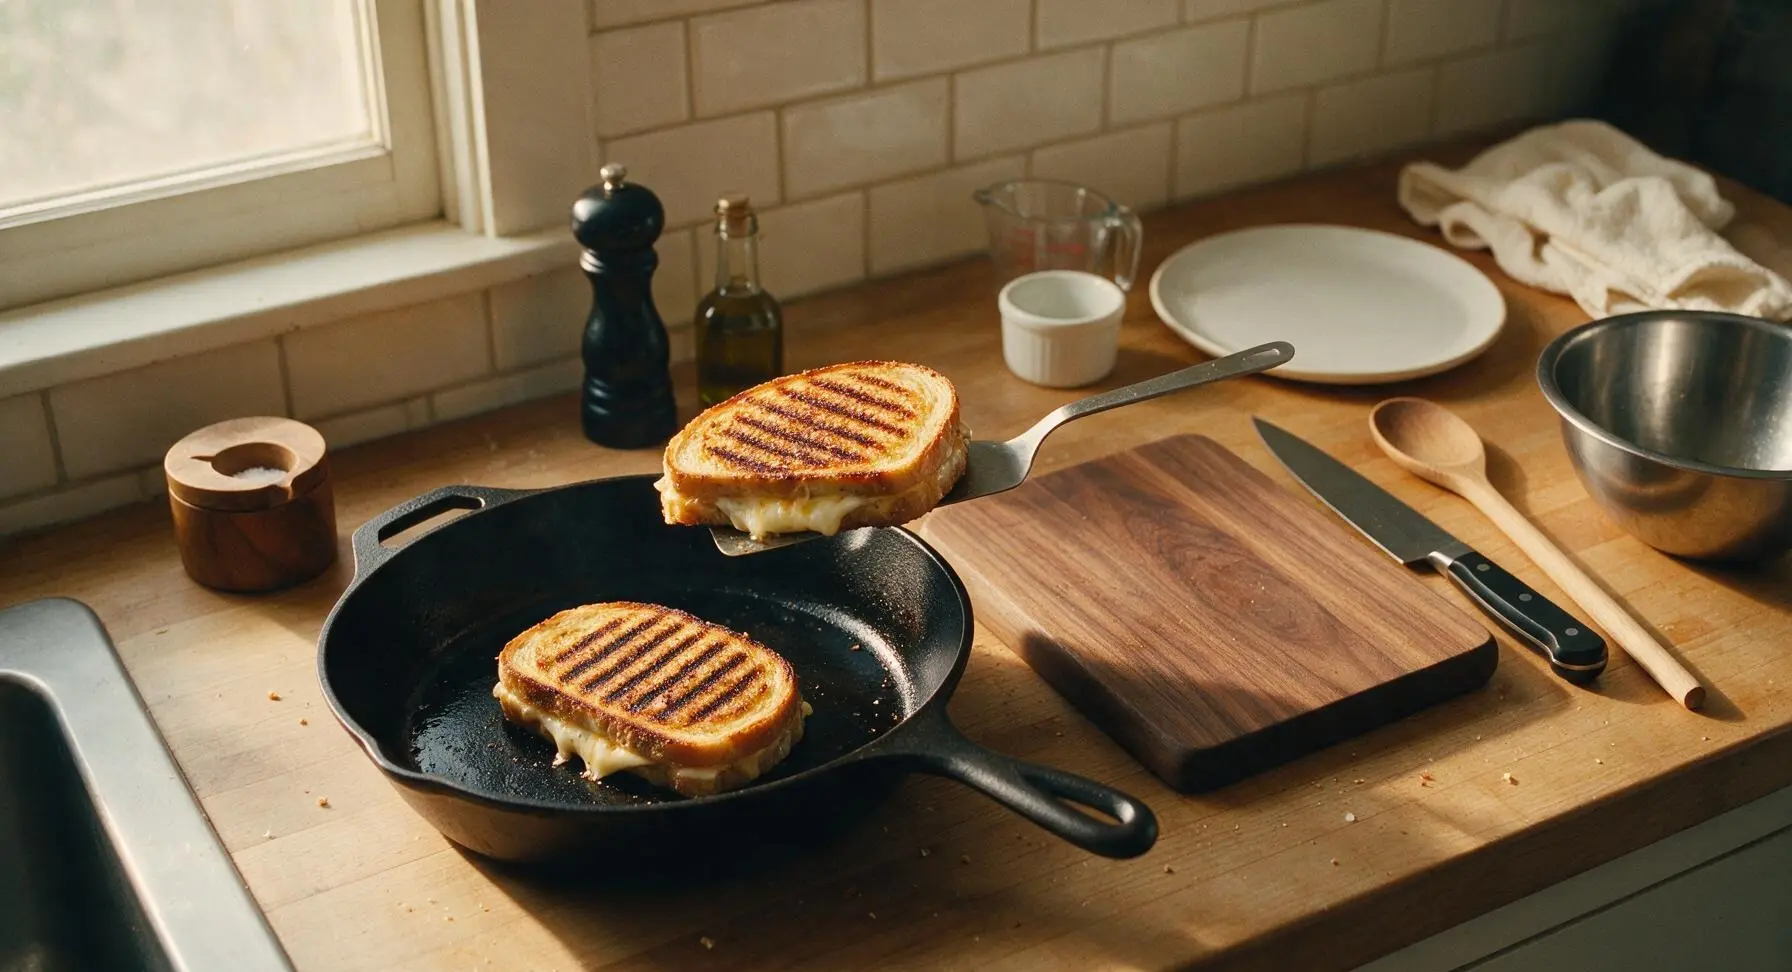
Step 6
step6:Flip and Cook Second Side
7

Cut and Plate Sandwiches

Once both sandwiches are cooked, transfer them to the center of the cutting board and cut each diagonally into two triangles using the chef knife. Arrange the triangles on the matte terracotta lunch plate, slightly overlapping. Drizzle lightly with date syrup, sprinkle with a pinch of flaky sea salt, and garnish with a few torn fresh mint leaves. Place the small clear ramekin of extra date syrup beside the plate for dipping.
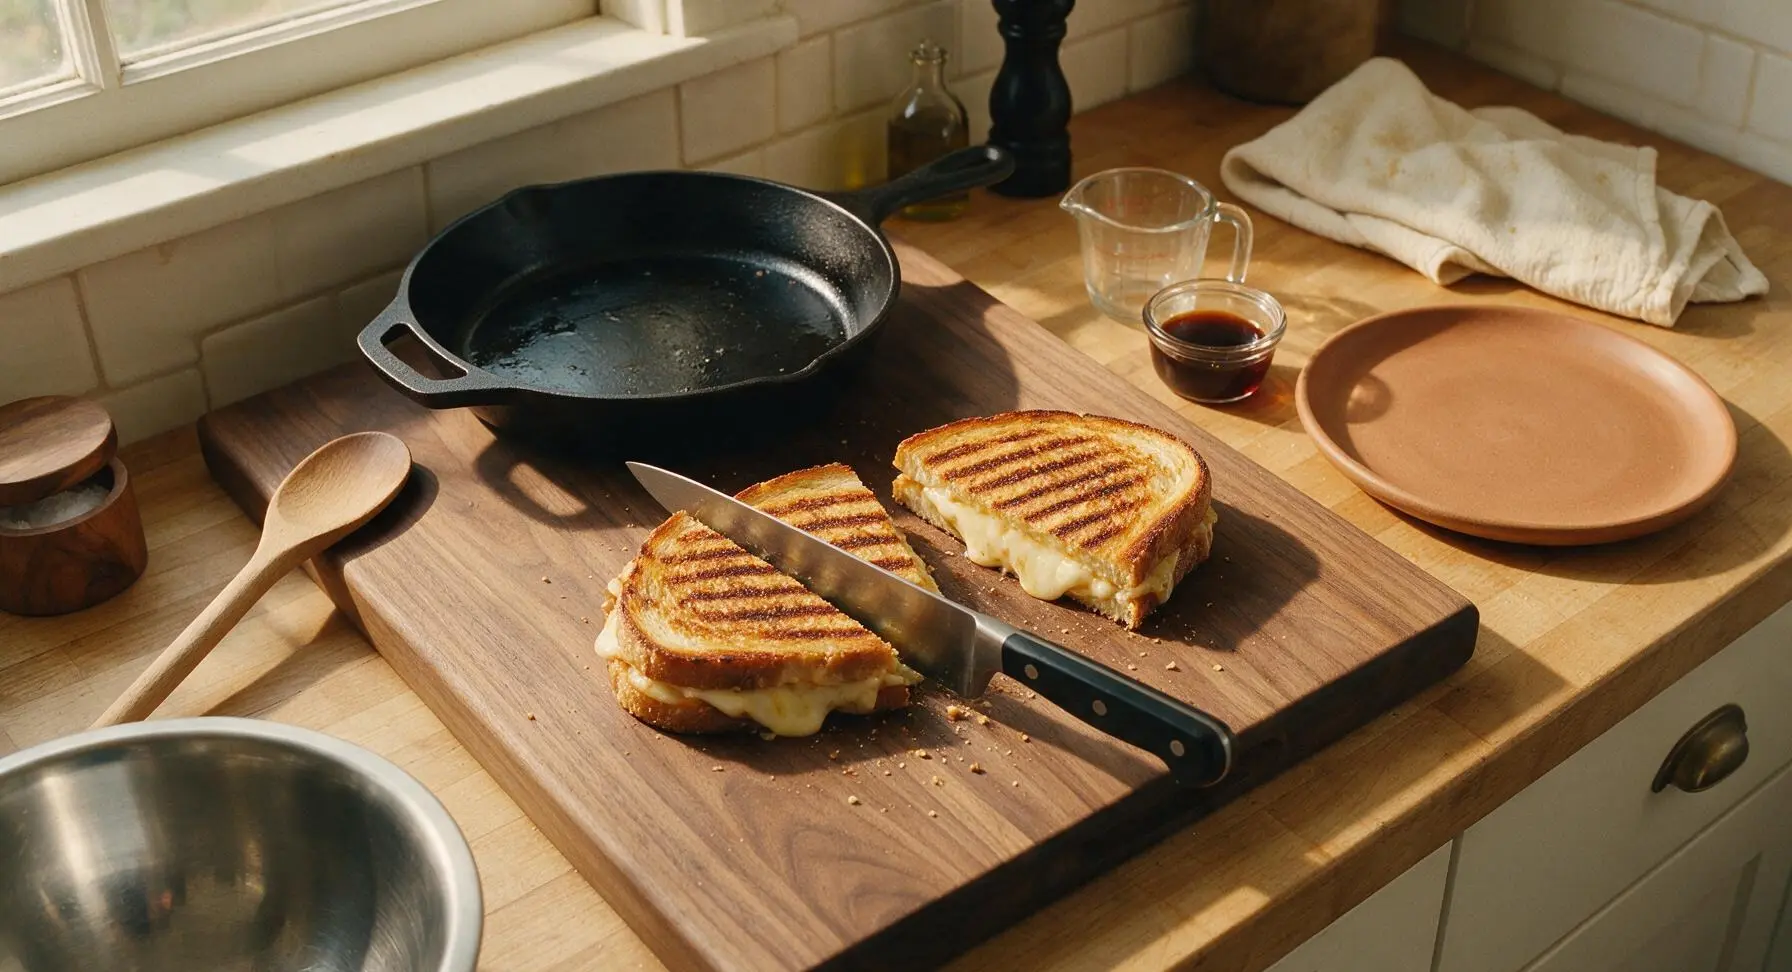
Step 7
step7:Cut and Plate Sandwiches

Tips

1.Avoid pressing down on the sandwiches with the spatula while grilling: this squeezes melted cheese out of the edges and compresses the pita, leading to a dry, flat sandwich instead of a crisp crust with gooey, intact filling.
2.Stick to low-moisture mozzarella for the filling: fresh mozzarella has a high water content that releases as it melts, making the pita soggy instead of crisp, while low-moisture mozzarella melts smoothly without adding excess moisture.
3.Let the cooked sandwiches rest for 1 full minute before cutting: this allows the melted cheese to set slightly, so it won’t all ooze out when sliced, and gives the pita crust time to firm up to the perfect crispy texture.


✨ You May Also Like

Lunch
🍜 United States

Creamy, salty, tangy nostalgic Midwestern sandwich pairing rich peanut butter with crisp briny dill pickles for a fast, satisfying no-cook meal.

⏱️ 5 minutesLunch ★ 4.6
Lunch
🍜 United States

Crispy, melty pressed sandwich layered with savory roast pork, ham, Swiss cheese, pickles, and tangy mustard: a beloved Cuban-American comfort classic.

⏱️ 25 minuteLunch ★ 4.9
Lunch
🍜 United States

Hearty, briny New Orleans pressed sandwich stacked with cured Italian meats, provolone, and zesty olive salad, served cold for bold, portable flavor.

⏱️ 1 hour 20Lunch ★ 4.7
Lunch
🍜 United States

A tangy, creamy Southern American staple, this no-cook cheesy sandwich is packed with sharp cheddar and sweet pimentos for a satisfying, portable bite.

⏱️ 1 hour 15Lunch ★ 4.8
Lunch
🍜 United States

Crispy Cajun-spiced fried shrimp piled on crusty French bread with tangy remoulade and fresh toppings, the iconic Louisiana street food sandwich.

⏱️ 35 minuteLunch ★ 4.4
Lunch
🍜 United States

Stacked, savory deli-style corned beef sandwich with melted Swiss, tangy mustard, and crisp griddled rye— a fast, hearty, satisfying classic.

⏱️ 15 minuteLunch ★ 4.9

Middle Eastern Grilled Cheese:Frequently Asked Questions

1.Do I have to use whole wheat pita for this recipe, or can I swap in regular white pita? ▾
You absolutely can swap in white pita if that's what you have on hand! Whole wheat adds a nutty, hearty base that pairs beautifully with za'atar and briny cheeses, but regular white pita works just as well for a softer, milder bite. Just pick pita sturdy enough to hold melted cheese without tearing when you flip it.
2.Why does this recipe call for three different cheeses instead of just one? ▾
Each cheese brings a specific, irreplaceable job to the sandwich! Salty, squeaky halloumi holds its shape and adds fun texture, crumbled feta delivers that signature briny Middle Eastern tang, and low-moisture mozzarella creates that perfect stretchy, melty glue that holds fillings together without making the pita soggy.
3.Can I make this grilled cheese if I don't have access to halloumi? ▾
You can swap halloumi for thick slices of paneer if you need a substitute, since it also holds its shape well when heated and has a mild, creamy bite. If paneer is hard to find, use extra-thick provolone slices, but note you'll lose that signature squeaky, firm texture halloumi is known for. Skip soft, high-moisture swaps that make pita soggy.
4.Do I need to cook the halloumi first before adding it to the pita? ▾
For the best texture, give halloumi slices a quick 30-second sear on each side in your pan before assembling the sandwich! This brings out its nutty, salty flavor and creates a slightly crispy outer layer, rather than letting it sit soft and rubbery inside the pita as the rest of the cheese melts. It only adds a minute of prep time.
5.How do I keep my pita from getting soggy when I make this grilled cheese? ▾
Stick to low-moisture mozzarella instead of fresh mozzarella, and pat your feta crumbles lightly with a paper towel to remove excess brine before adding them. Cook the sandwich over medium heat rather than high, so the pita toasts crisp before cheeses release too much moisture, and don't overstuff the pita pockets.
6.What's the best way to add za'atar so it doesn't fall out of the sandwich? ▾
Mix half of your za'atar directly into the shredded mozzarella and crumbled feta before stuffing the pita, so the spice sticks to the cheese as it melts. Sprinkle the remaining za'atar on the outer surface of the pita right after you take it off the heat, when the lightly oiled warm crust will hold spices in place.
7.Most grilled cheese recipes use sliced bread—why is pita the base here? ▾
Pita is the perfect base for this Middle Eastern twist because its built-in pocket holds crumbly feta and seared halloumi slices securely without fillings oozing out the sides as you cook. It also toasts up to an incredibly crispy, shattery golden crust that pairs far better with za'atar, pickles, and date syrup than standard sliced sandwich bread.
8.Can I cook this on an outdoor grill instead of a stovetop pan? ▾
Absolutely! This sandwich shines on an outdoor grill for extra smoky flavor. Just preheat your grill to medium, oil the grates well to prevent sticking, and cook the stuffed pita for 2 to 3 minutes per side, until the outside is lightly charred in spots and all the cheese is fully melted. Flip gently with a spatula to avoid tearing.
9.The recipe intro mentions pickles and date syrup—when do I add those? ▾
Add thin slices of briny pickled cucumbers (regular dill pickles work great if you don't have Middle Eastern pickles) inside the pita with the cheese before cooking, so they warm slightly and their tang cuts through rich cheese. Drizzle date syrup lightly over the filling right after cooking, so it doesn't burn on the hot pan.
10.Can I prep these grilled cheeses ahead of time for parties or quick weeknight meals? ▾
You can stuff the pitas with the cheese and za'atar mixture up to 24 hours ahead, wrap them tightly in plastic wrap, and store them in the fridge until you're ready to cook. Wait to add pickles and date syrup until right after cooking, though, to keep the pita from getting soggy from brine or sticky syrup before toasting.
11.Is there a dairy-free swap for the cheese blend that works well here? ▾
For a dairy-free version, swap the halloumi for thick-cut dairy-free halloumi (widely available at most major grocery stores now), use crumbled dairy-free feta, and pick low-moisture dairy-free mozzarella shreds made for melting. Avoid watery, soft dairy-free cheeses, as they will make the pita soggy and won't give you that satisfying melt.
12.How much za'atar should I use per sandwich so it doesn't overpower the other flavors? ▾
Aim for about 1 teaspoon of za'atar per standard-sized pita: half mixed into the cheese filling, half sprinkled on the warm outer crust after cooking. Za'atar is earthy and herby, not overly spicy, but using more than 1.5 teaspoons per sandwich can overpower the delicate brininess of the feta and halloumi and throw the flavor balance off.
13.My halloumi is really salty straight out of the package—do I need to prep it first? ▾
If your halloumi tastes extra briny straight out of the package, soak the slices in a bowl of cold water for 10 to 15 minutes before patting them dry and searing. This pulls out excess salt without diluting halloumi's signature firm, squeaky texture, so it won't clash with the naturally salty feta in the filling.
14.Can I add extra fillings to this grilled cheese, or should I stick to the core recipe? ▾
You can absolutely add small amounts of complementary fillings! Thin slices of roasted red pepper, a handful of wilted baby spinach, a sprinkle of sumac, or a thin spread of hummus all work beautifully. Just avoid overstuffing the pita, which can cause fillings to fall out and prevent the cheese from melting evenly as it cooks.
15.What stovetop heat setting gives perfectly crispy pita without burnt cheese or rubbery texture? ▾
Cook over medium heat, and add a thin layer of olive oil or softened butter to your pan before adding the stuffed pita. This lets the pita crisp up slowly over 3 to 4 minutes per side, giving the cheese time to fully melt all the way through without burning the pita crust or making the cheese turn rubbery from too-high heat.

Comments (5)

2 hours ago

OMG this is such a game changer! I was sick of regular plain grilled cheese for weeknight dinners, and the za'atar and halloumi twist? *Chef's kiss* My 7 and 9 year old devoured theirs in 5 minutes flat, even asked for seconds! Super easy to throw together after work too, only took me the 8 minutes the recipe said, no fancy prep needed. 10/10 will be adding this to our regular meal rotation!

30 minutes ago

Wait did you add the optional feta crumble the recipe mentions? I’m making this for a potluck this weekend and wondering if it’s worth adding!

5 minutes ago

So stoked your kids loved it, Mia! The feta crumble adds a great salty tang if you have it on hand, but it’s totally optional — it’ll be delicious either way for your potluck!

2 days ago

Really solid recipe! Cooked these up on the Blackstone for our family cookout last weekend, everyone was raving. Only thing I changed was adding a little drizzle of hot honey on mine, it paired so well with the tangy cheese. Only knock is I wish the recipe noted how quickly halloumi can get rubbery if you overcook it — I left one on a minute too long and it was a little chewy. Still SO good though, will make again.

yesterday

Great call on the hot honey, that’s such a tasty add! Thanks for the feedback about the halloumi note — I just updated the recipe to remind folks to keep a close eye on it during that 8 minute cook time so it stays nice and creamy!

1 week ago

Made a vegan version of this using dairy-free feta and halloumi and it turned out INCREDIBLE. Perfect quick lunch for meal prep, I made four of these on Sunday and they reheated so well in the toaster oven during the work week. 10/10, even my non-vegan roommate stole half of one and said it was better than regular grilled cheese. No notes!

5 days ago

Wait I had no idea grilled cheese could taste this good??? The sumac and pickled red onion add that perfect little zing that cuts through all the melty cheese, I’m obsessed. Made these for my partner last night for our lazy movie night and he said it’s the best thing I’ve made all month. So easy too, I didn’t even have to run to the store because I had most of the spices in my cabinet already!

3 days ago

Right?! I was skeptical about adding pickled red onions at first but they make the whole sandwich, don’t they? I put a little garlic aioli on the bread too and it was chef’s kiss

yesterday

Perfect quick meal between midterm study sessions! I don’t have a grill pan so I just made mine in a regular nonstick skillet and it came out perfect. I was worried the spices would be too much since I’m a total beginner cook, but the instructions were so straightforward even I couldn’t mess it up. Already sent the recipe to all my friends in the dorm, everyone is sick of dining hall food lol.

2 hours ago

Pro tip if you’re making these in a dorm: you can even make them in a mini waffle maker if you don’t have a skillet! I do that for my kids’ after school snacks sometimes and they love the crispy little ridges

just now

So glad this worked out for you even without a grill pan! That waffle maker hack from @ChicagoMealPrepMom is genius, I’ll have to add that as a tip to the recipe soon — thanks for sharing!



