
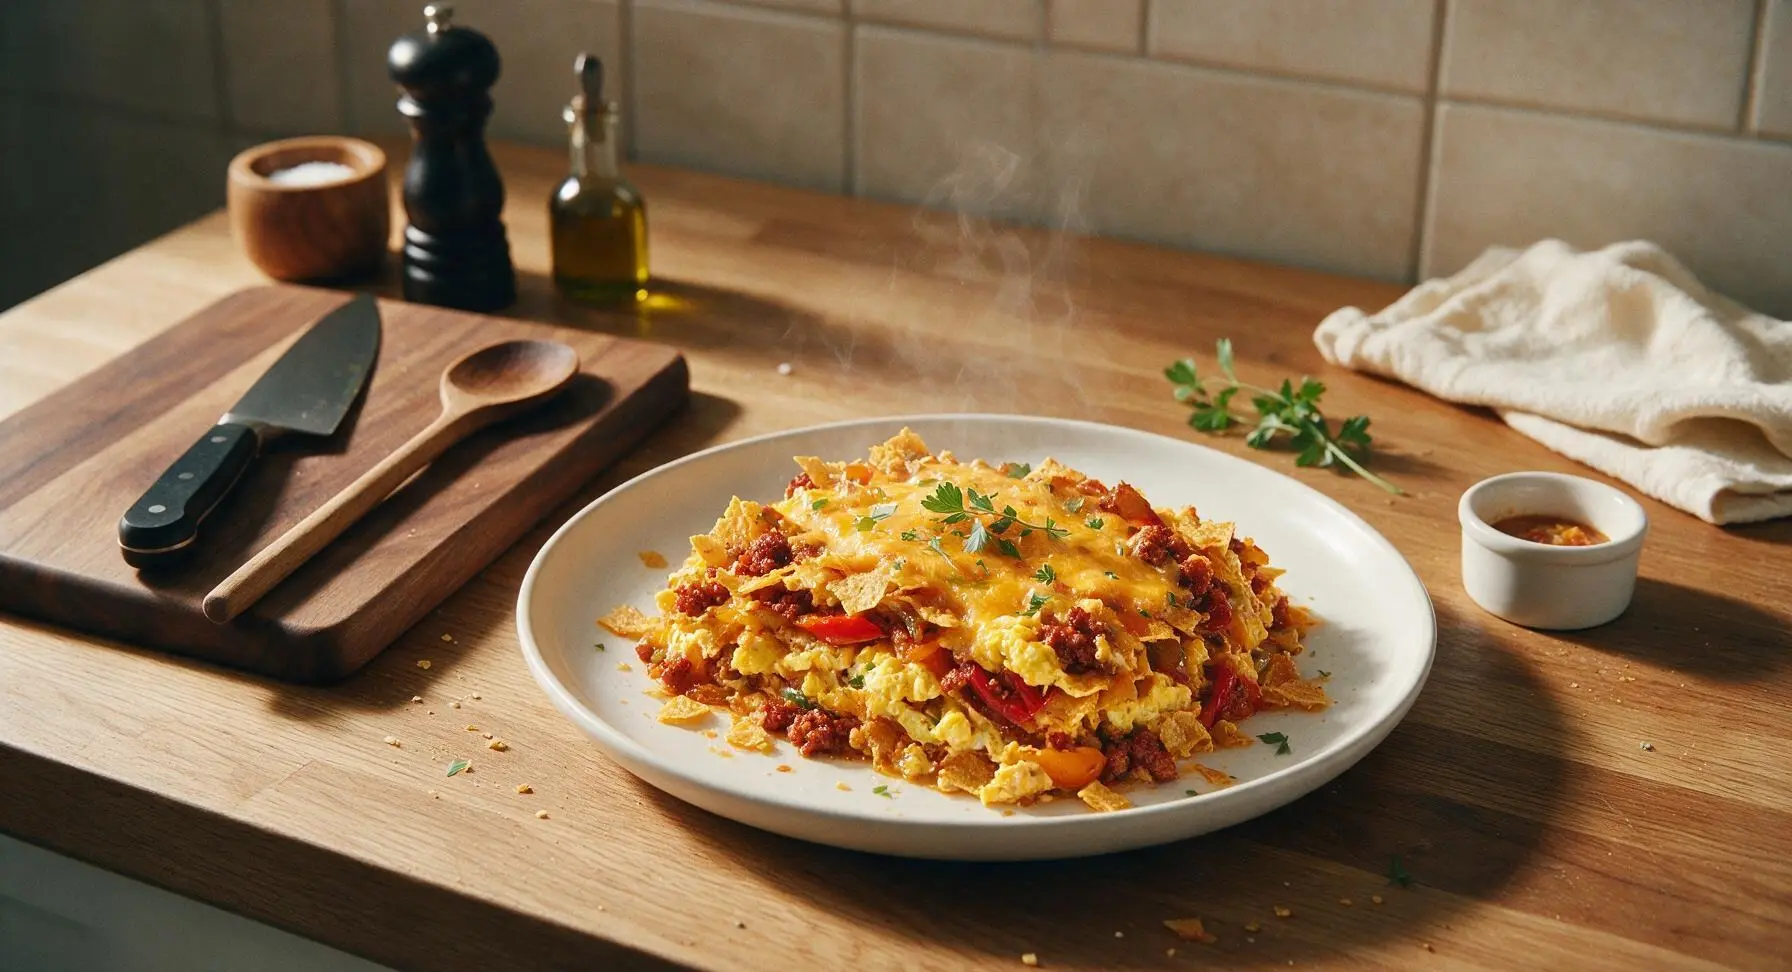
migas casserole

title 1
migas casserole
⏱️ cook time 40 minutes
🍽️ servings 6
⚡ Difficulty easy

intro

This hearty, cheesy Tex-Mex migas casserole layers crispy tortilla bits, fluffy eggs, spiced chorizo, and roasted peppers for a crowd-pleasing, make-ahead breakfast packed with bold, toasty flavor.

Ingredients
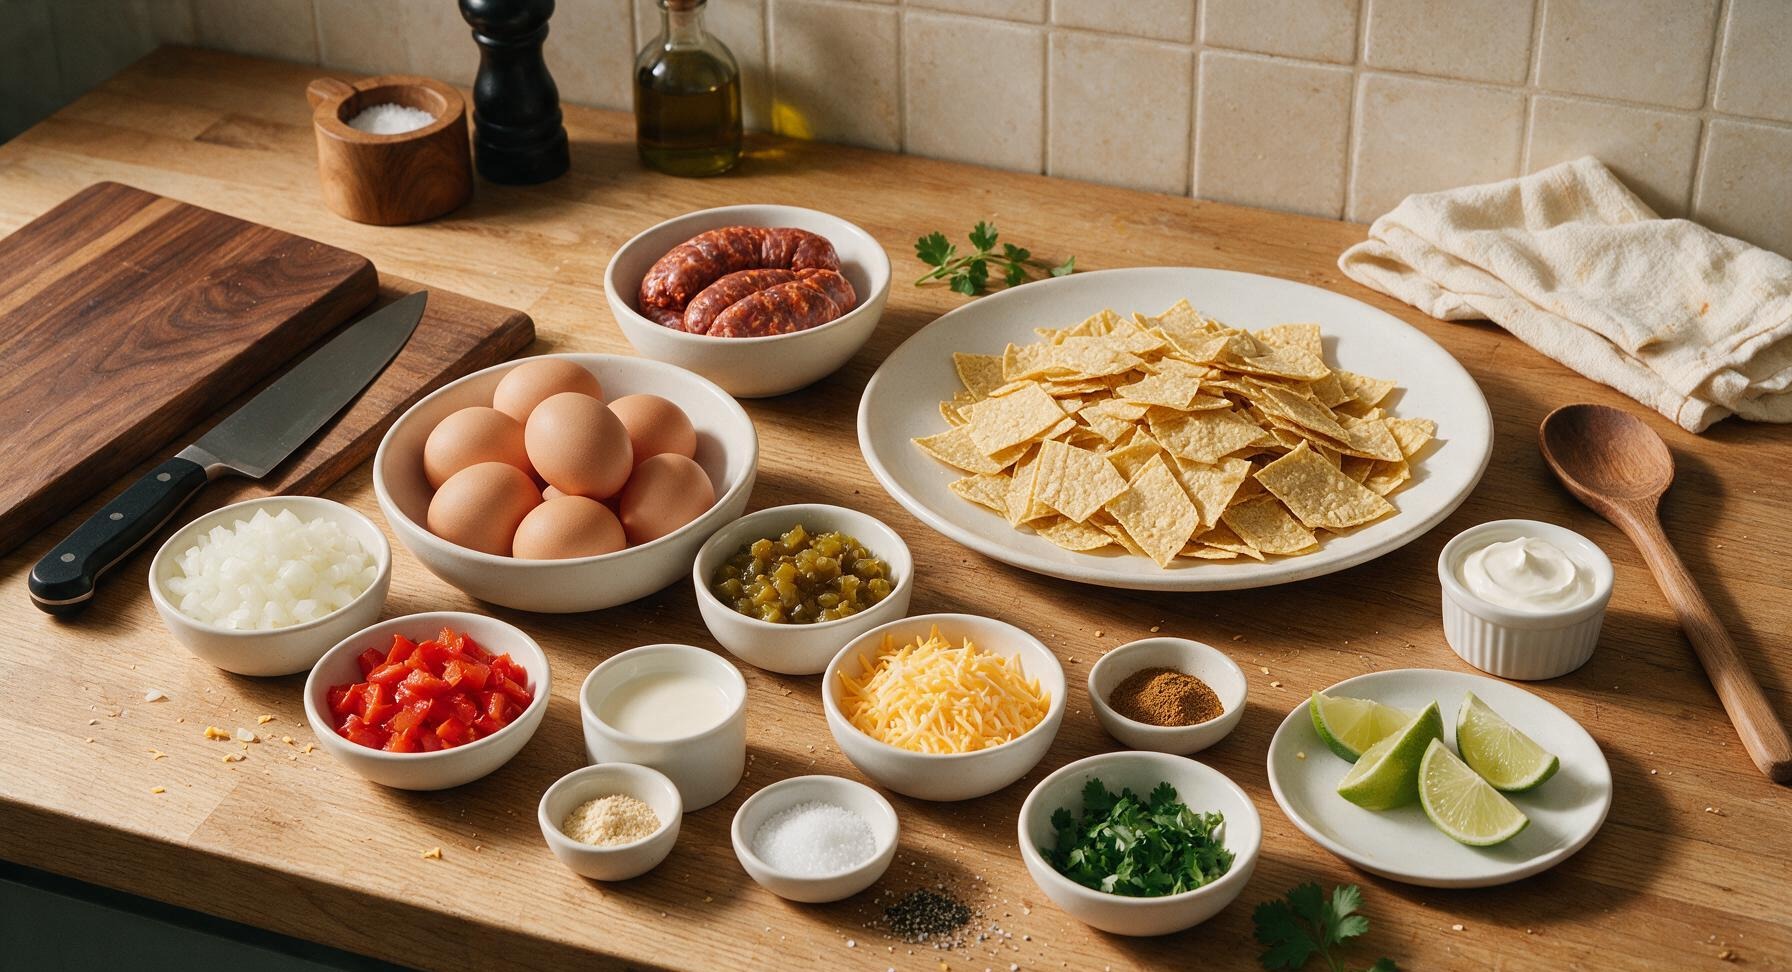
Stale corn tortillas, cut into 1-inch pieces 6 cups (approx 8 small tortillas)
Raw Mexican chorizo, casings removed 8 oz (225g)
Large eggs 8 each
Shredded sharp cheddar cheese 1 cup (113g), divided
Yellow onion, finely diced 1 small (120g)
Roasted red pepper, diced 1/2 cup (75g)
Canned diced green chiles, drained 4 oz (113g) can
Half-and-half 1/2 cup (120ml)
Ground cumin 1 tsp
Garlic powder 1 tsp
Kosher salt 1 tsp
Black pepper, freshly ground 1/2 tsp
Fresh cilantro, chopped 2 tbsp, plus extra for garnish
Medium lime, cut into wedges 1 each
Sour cream, for serving 1/2 cup (113g)

Steps

1

Toast Tortilla Base

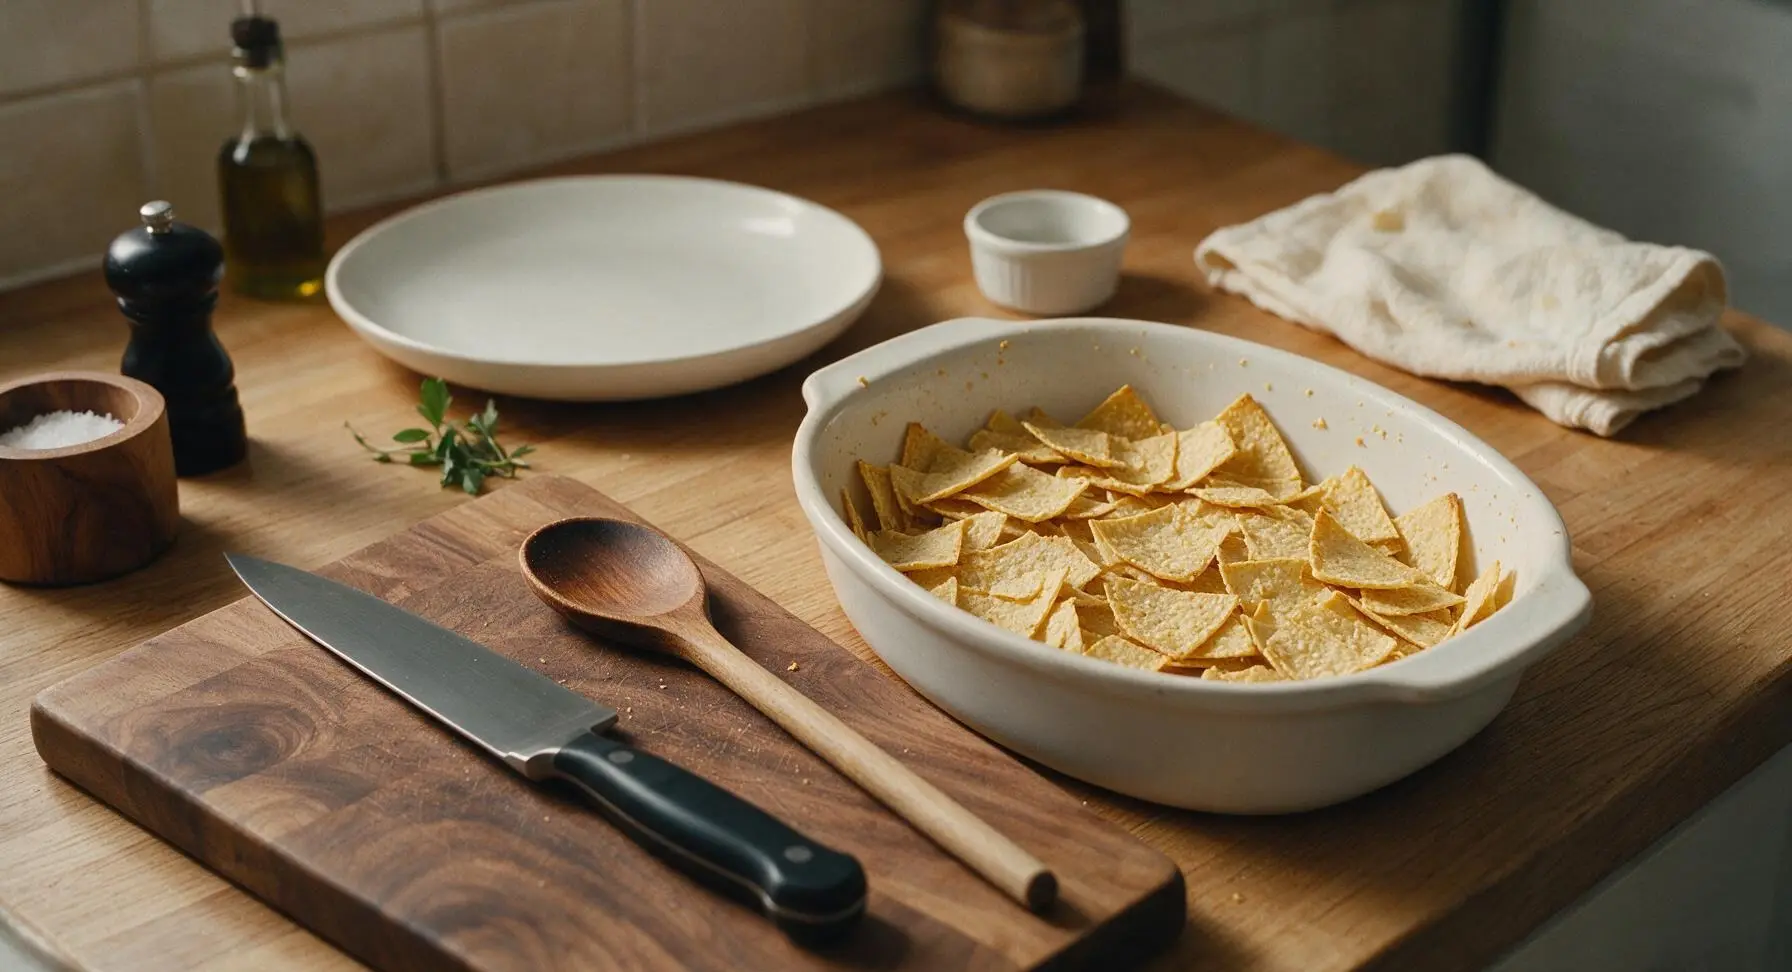
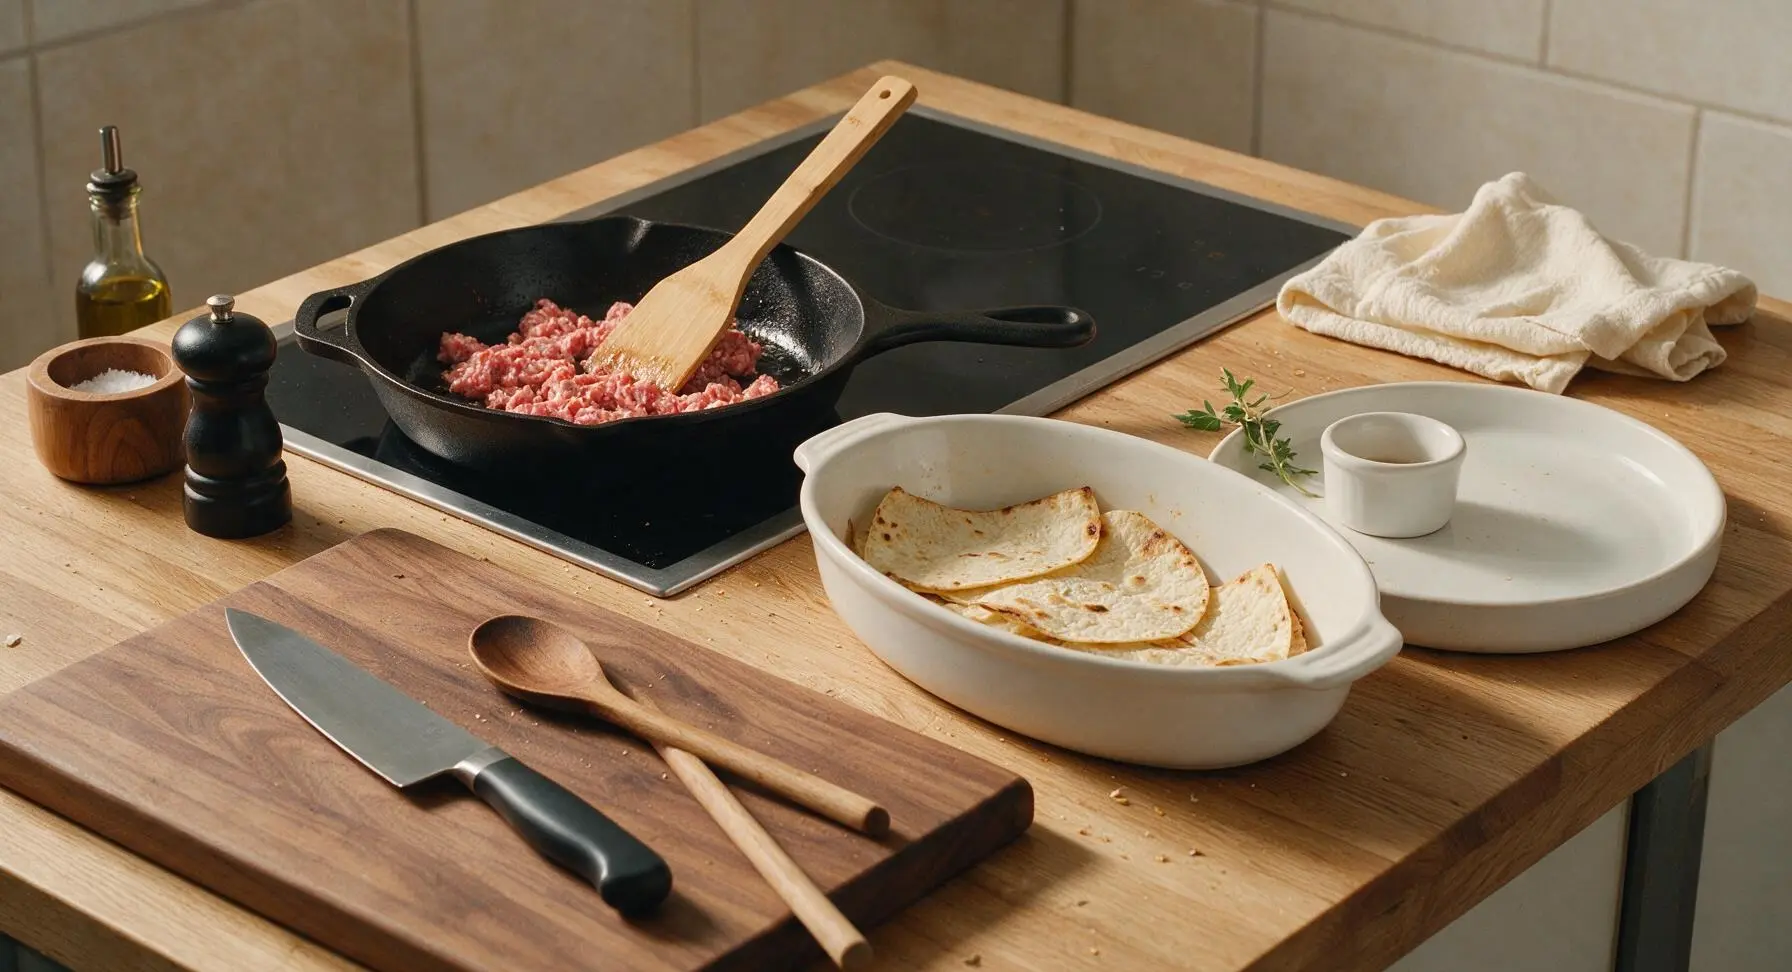
Preheat oven to 375°F (190°C). Spread 6 cups of 1-inch cut stale corn tortilla pieces in a single, even layer across the bottom of the matte white ceramic baking dish. Bake for 8 minutes until edges turn light golden and feel dry and crisp to the touch, then remove from oven and set the dish back in its fixed center-right counter position. Leave the oven heated for baking the full casserole.
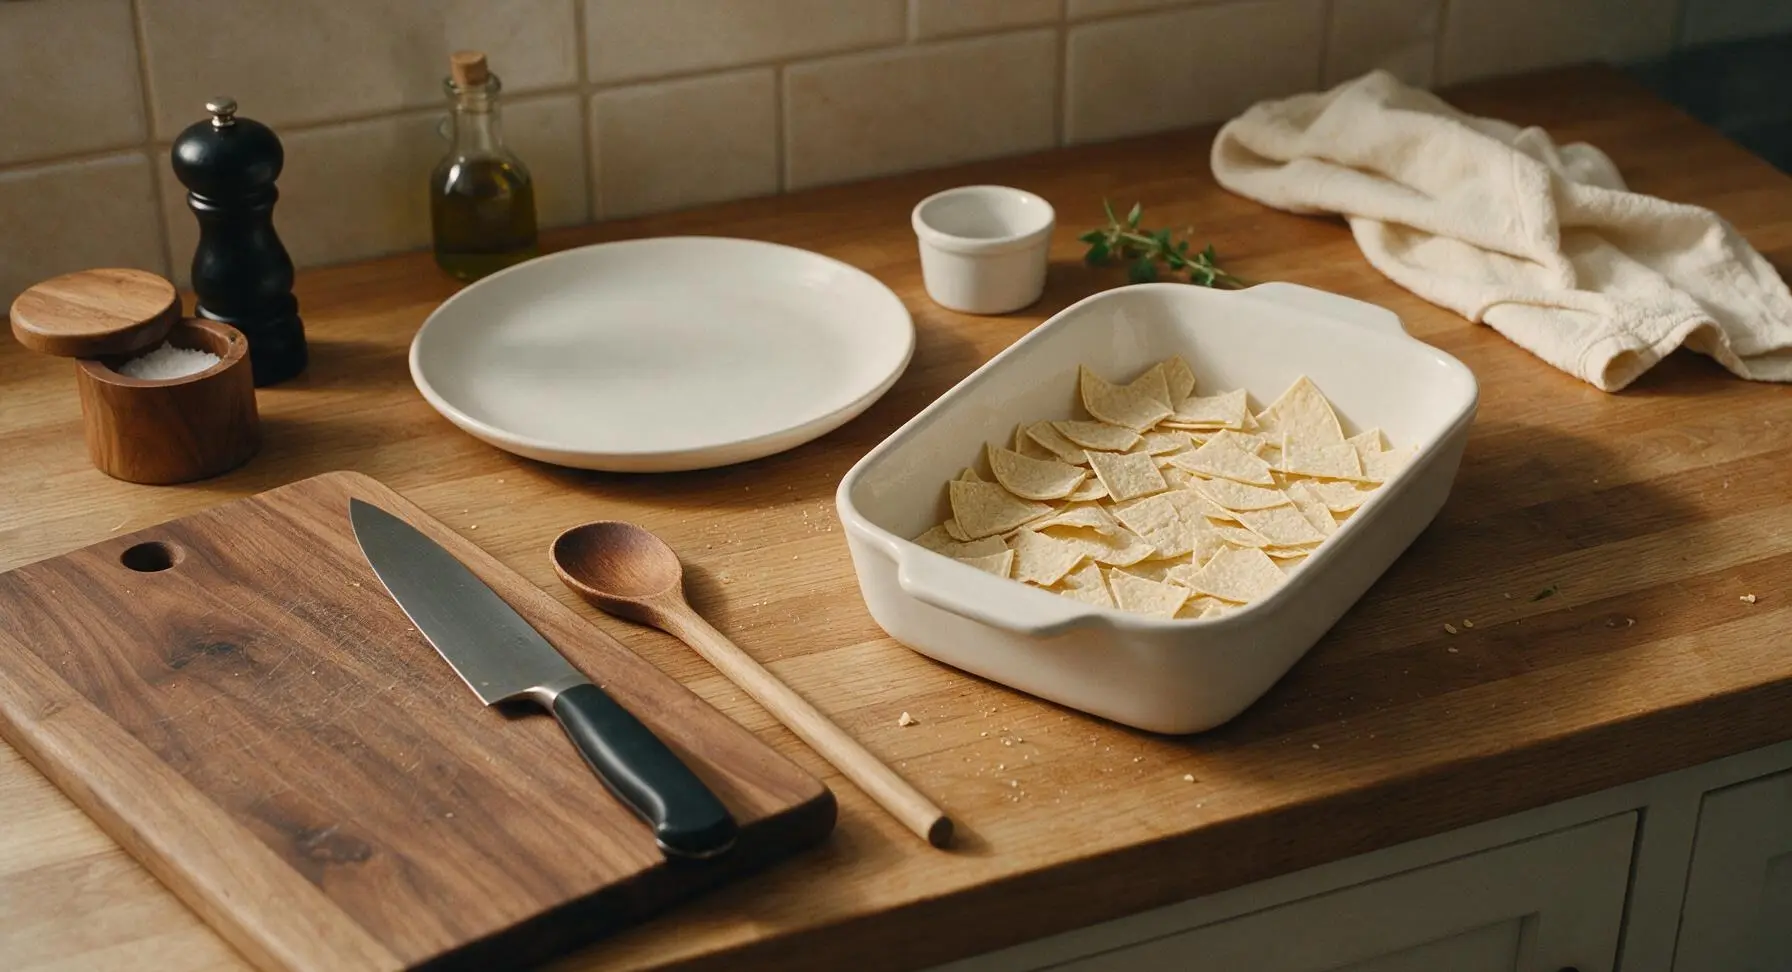
Step 1
step1:Toast Tortilla Base
Step 1
step1:Toast Tortilla Base
2

Brown Chorizo and Veggies

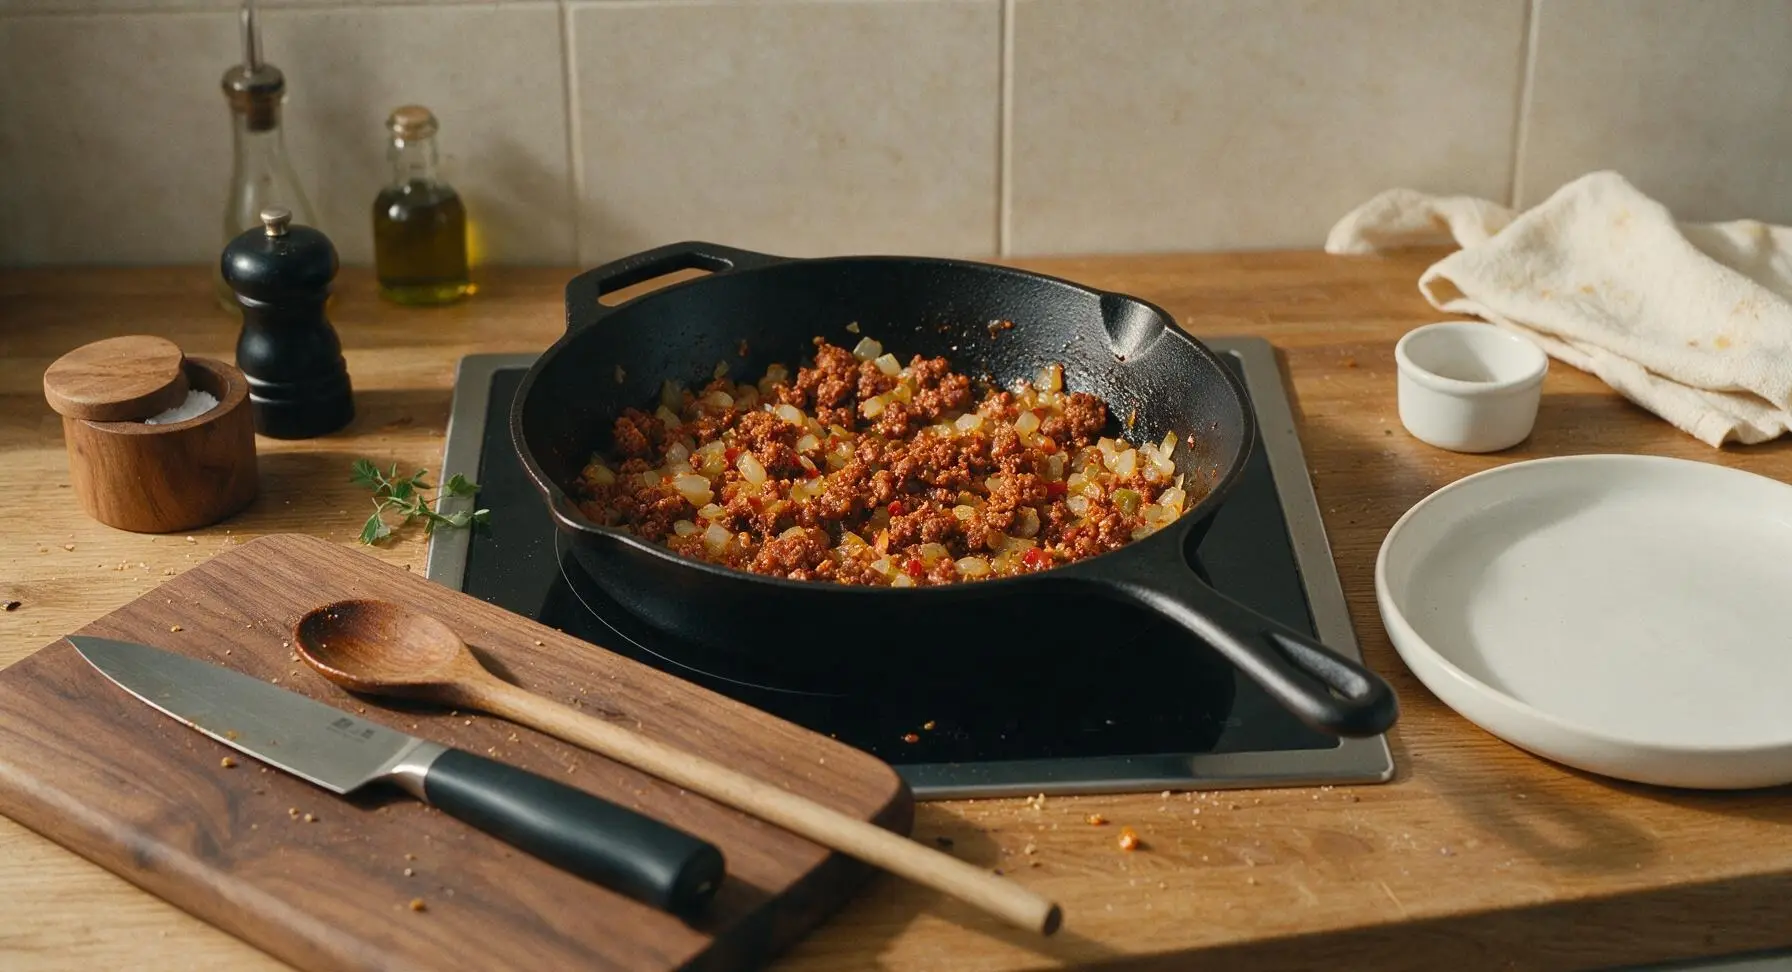
Set the matte black cast iron skillet to medium heat on the integrated induction cooktop. Remove 8oz chorizo from its casing, add to the skillet, and cook for 5 minutes, breaking it apart with the bamboo spatula until fully browned and crumbly. Add the diced small yellow onion to the skillet, cook for 3 more minutes until soft and translucent, then stir in 1/2 cup diced roasted red pepper and the drained 4oz can of green chiles, cooking 1 minute until fragrant. Remove the skillet from heat.
Step 2
step2:Brown Chorizo and Veggies
Step 2
step2:Brown Chorizo and Veggies
3

Layer Fillings in Dish

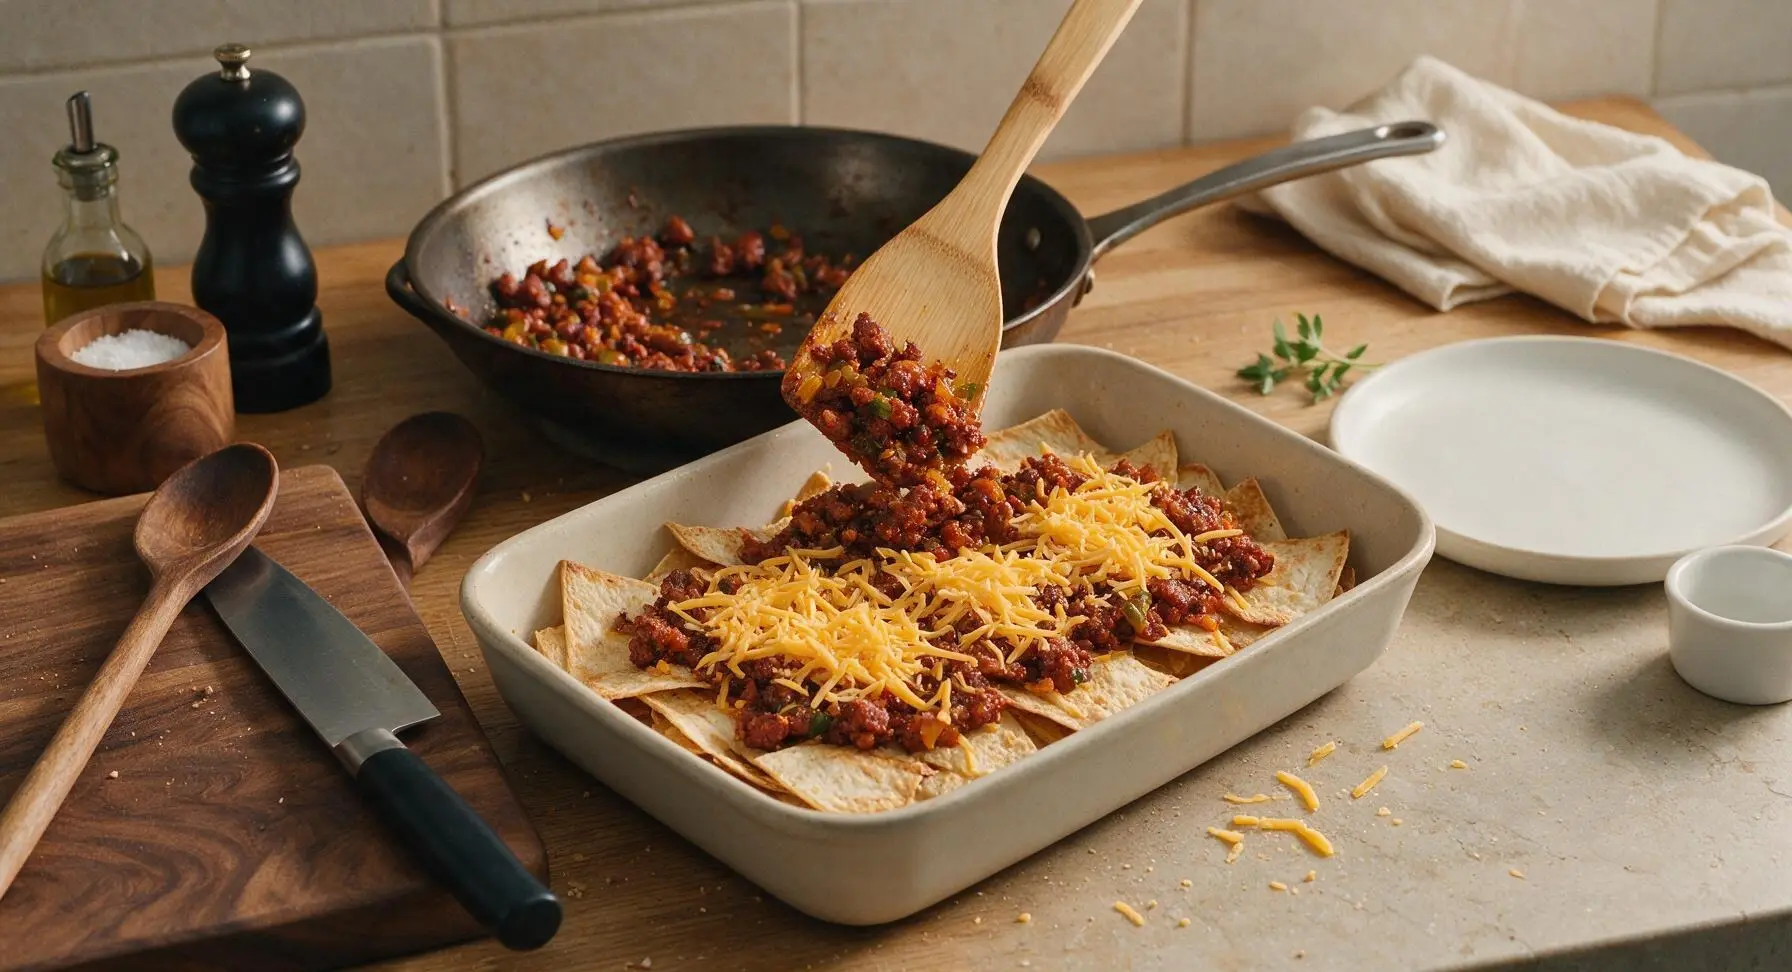
Spoon the cooked chorizo and vegetable mixture evenly over the top of the toasted tortilla pieces in the baking dish. Sprinkle half (1/2 cup) of the shredded sharp cheddar over the chorizo layer, spreading it in a loose even layer to encourage even melting between ingredients.
Step 3
step3:Layer Fillings in Dish
4

Whisk Egg Custard

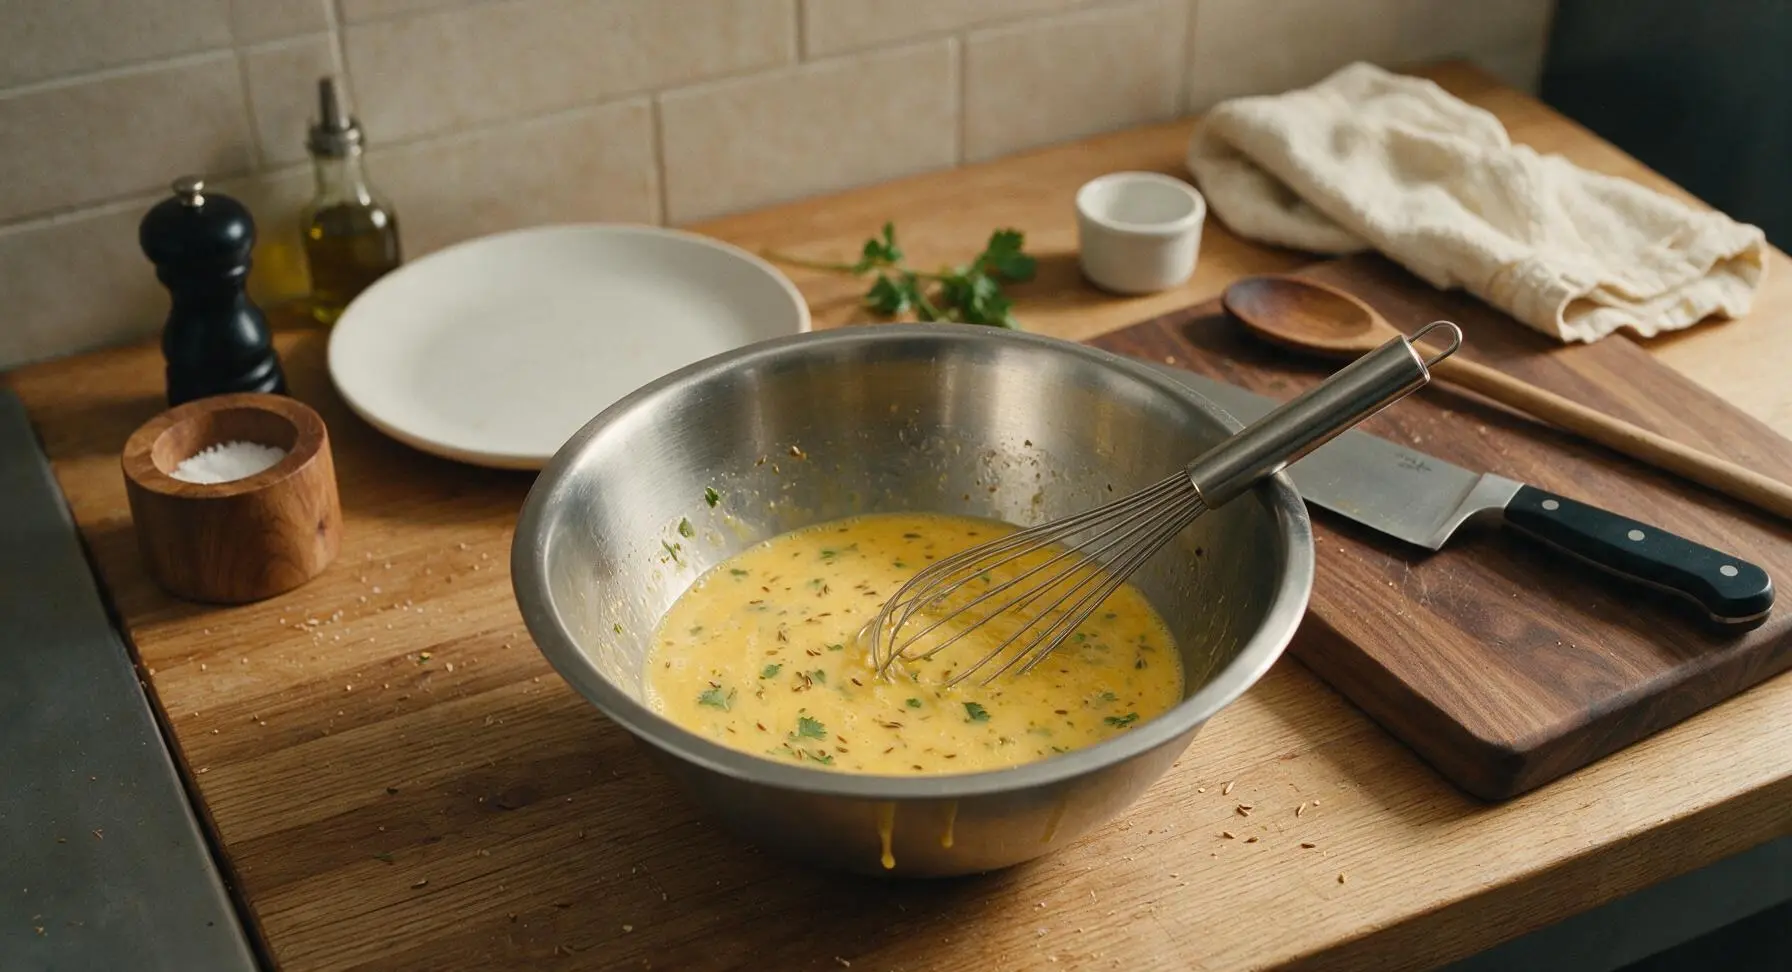
Crack 8 large eggs into the brushed stainless steel mixing bowl. Add 1/2 cup half-and-half, 1 tsp ground cumin, 1 tsp garlic powder, 1 tsp kosher salt, and 1/2 tsp freshly ground black pepper. Whisk with the stainless steel whisk for 45 seconds until the mixture is fully combined, pale uniform yellow, with no streaks of separate egg white remaining. Stir in 2 tbsp chopped fresh cilantro.
Step 4
step4:Whisk Egg Custard
5

Pour and Top Layers

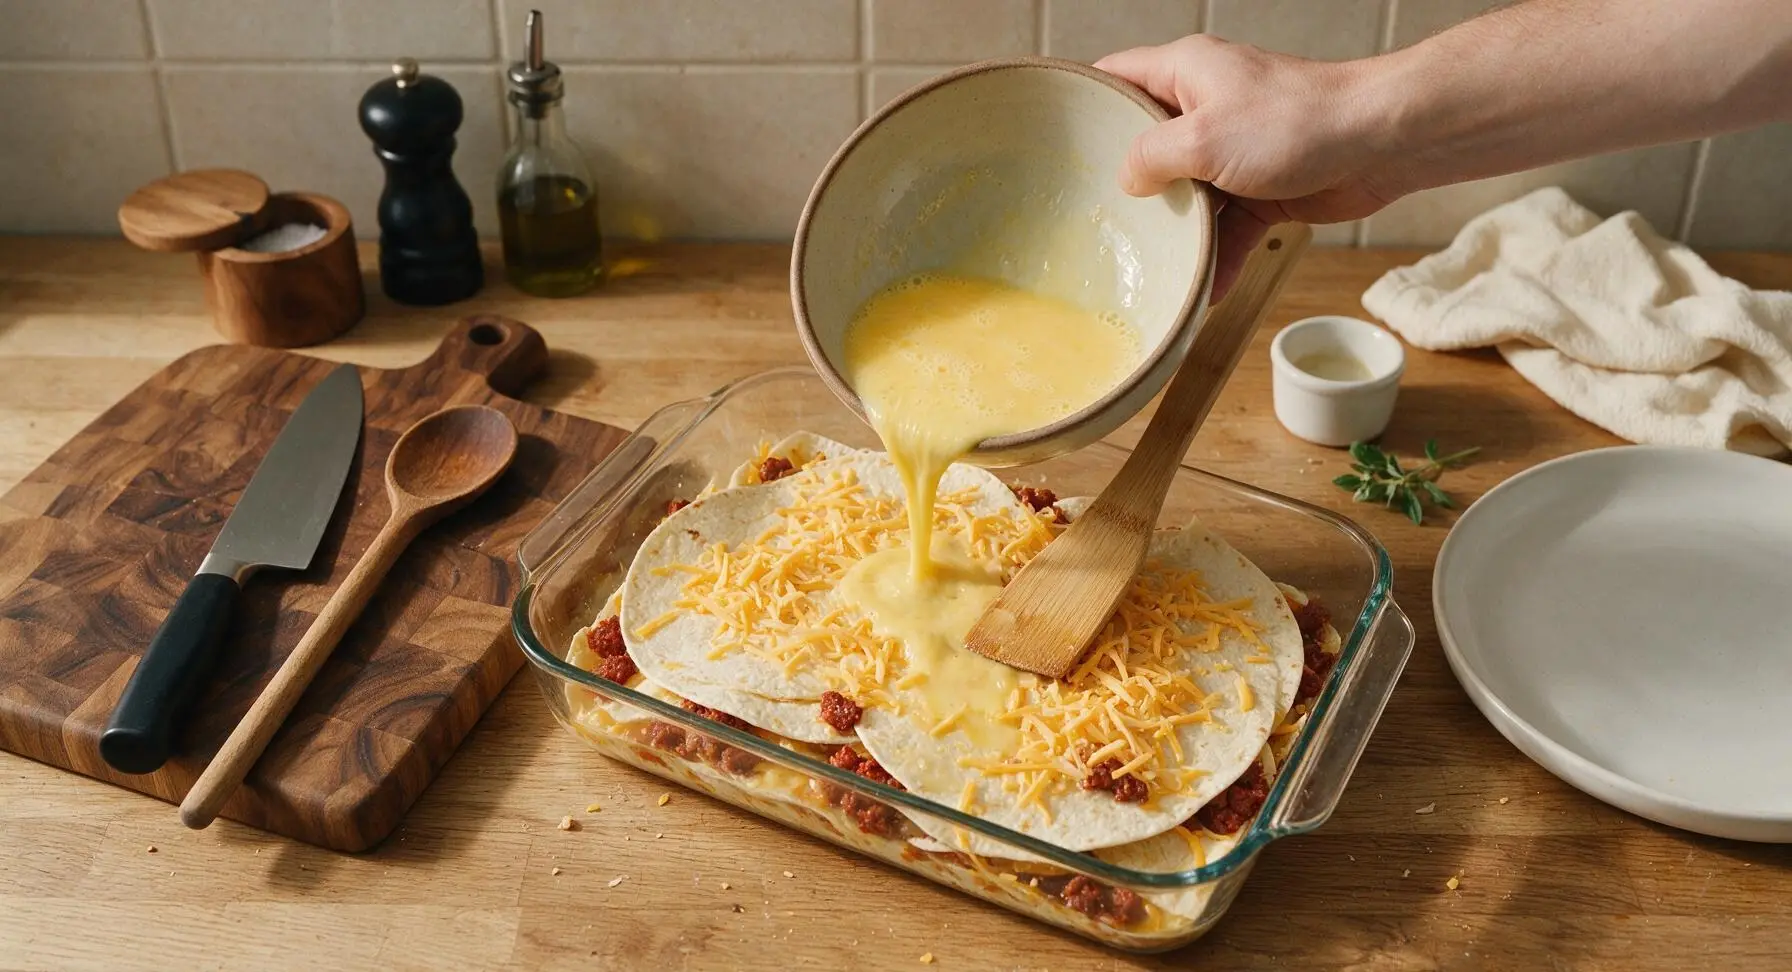
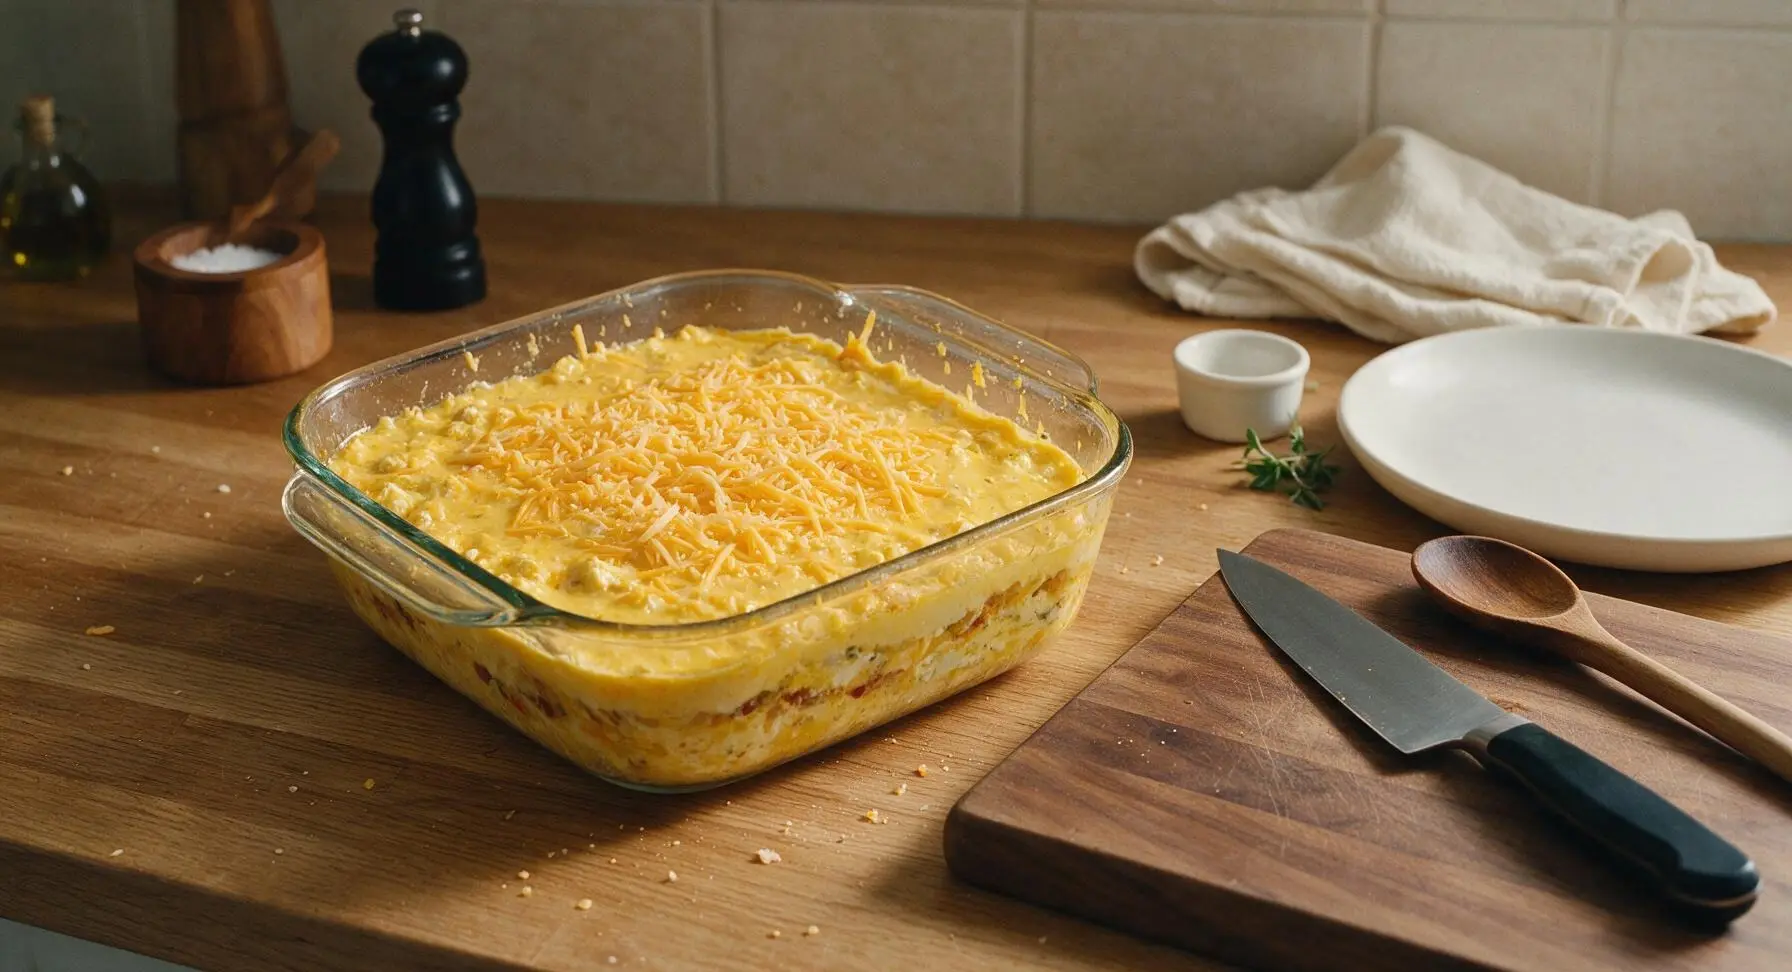
Slowly pour the whisked egg mixture evenly over the top of the chorizo, cheese, and tortilla layers in the baking dish. Press down gently on the top layers with the bamboo spatula to ensure all tortilla pieces are soaked in the egg mixture, so no dry bits remain after baking. Top with the remaining 1/2 cup shredded cheddar, spread evenly across the surface.
Step 5
step5:Pour and Top Layers
Step 5
step5:Pour and Top Layers
6

Bake Until Set

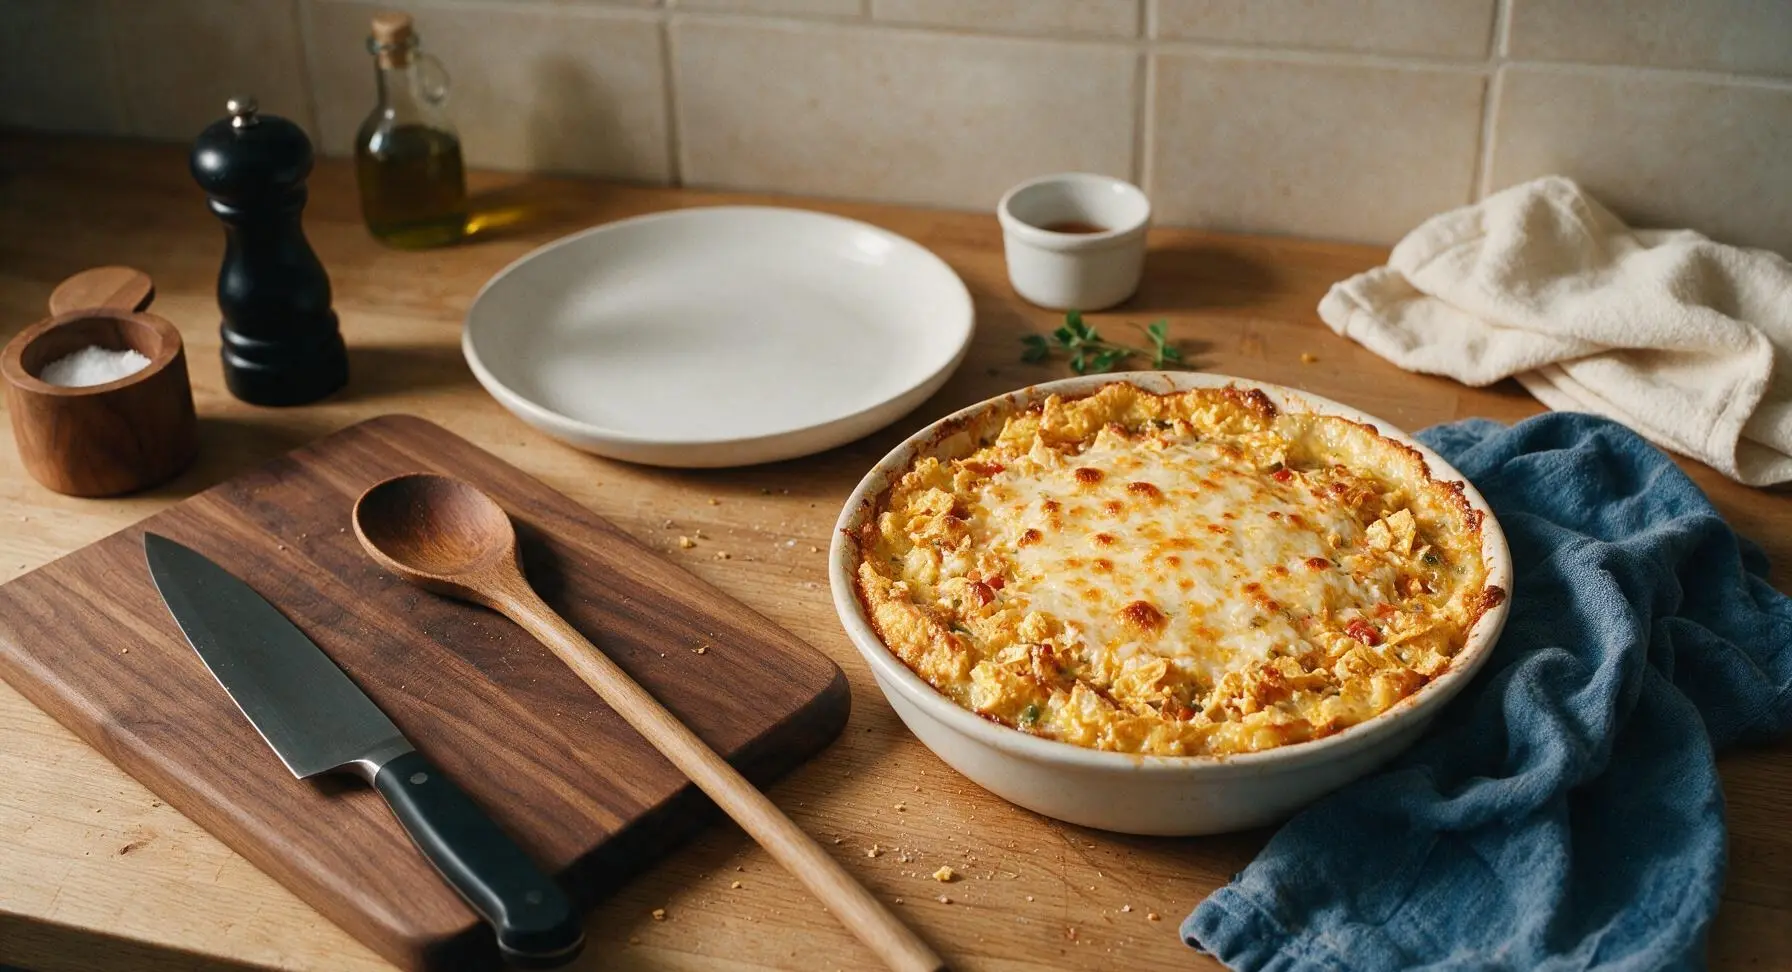
Carefully transfer the baking dish to the preheated 375°F (190°C) oven. Bake for 30-32 minutes, until the edges are bubbly and golden, the center is fully set (no liquid jiggling when you gently nudge the dish), and the cheese on top is melted and slightly browned in spots. Remove from the oven and let rest for 5 minutes before serving to allow the layers to set cleanly.
Step 6
step6:Bake Until Set
7

Plate and Garnish

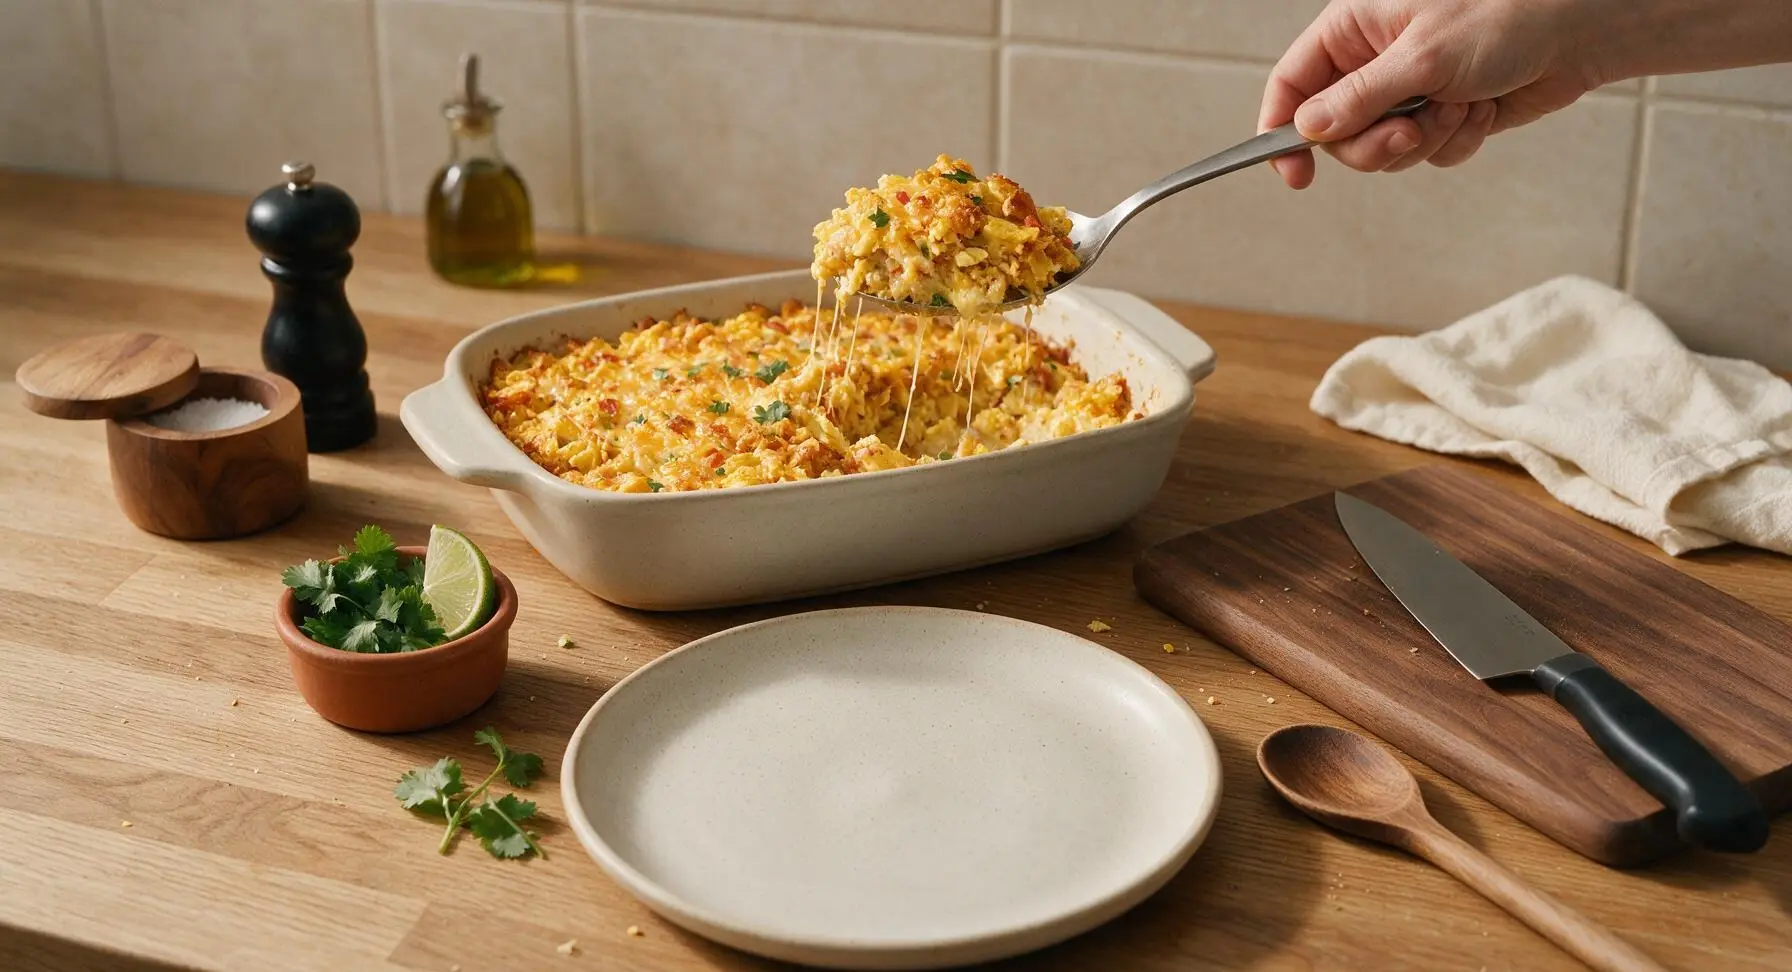
Use the stainless steel serving spoon to scoop a generous 1-cup portion of the rested casserole onto the matte off-white speckled stoneware dinner plate. Top with a 1-tbsp dollop of sour cream, a sprinkle of extra chopped cilantro from the terracotta ramekin, and place a lime wedge on the side for squeezing over top.
Step 7
step7:Plate and Garnish

Tips

1.Use 1-2 day old stale corn tortillas instead of fresh for the base: fresh tortillas hold excess moisture and will turn soggy when baked, while stale tortillas toast to a crisp, sturdy texture that holds up to the egg custard without getting mushy.
2.Let the casserole rest for a full 5 minutes after removing it from the oven: this allows the egg custard to set fully, so portions hold their clean shape instead of oozing liquid when scooped, making it much easier to serve neatly for a crowd.
3.For a make-ahead option, assemble the entire unbaked casserole the night before, cover tightly, and store in the refrigerator. Add 5-7 minutes to the bake time when cooking from cold to cut down on morning prep for brunch or potlucks without sacrificing flavor or texture.


✨ You May Also Like

Breakfast
🍜 United States

Crisp-edged, fluffy lard griddle cakes are a nostalgic homestyle staple, with rich savoriness from rendered lard, perfect topped with maple syrup or savory gravy.

⏱️ 25 minuteBreakfast ★ 4.8
Breakfast
🍜 United States

Flaky, buttery homemade buttermilk biscuits smothered in creamy, peppery pork sausage gravy: a beloved, hearty Southern American comfort food classic.

⏱️ 35 minuteBreakfast ★ 4.8
Breakfast
🍜 United States

Golden, custardy brioche stuffed with sweet cream cheese and fresh berries, pan-fried to crisp perfection. An indulgent, cozy breakfast perfect for slow weekend mornings.

⏱️ 30 minuteBreakfast ★ 4.7
Breakfast
🍜 United States

Flaky, buttery Southern-style biscuits stuffed with savory salty country ham, a portable, satisfying classic perfect for casual on-the-go meals.

⏱️ 25 minuteBreakfast ★ 4.8
Breakfast
🍜 United States

Iconic puffy baked pancake popularized in Seattle, with crisp golden edges and soft custardy center, served warm with classic sweet toppings.

⏱️ 35 minuteBreakfast ★ 4.6
Breakfast
🍜 United States

Fluffy, golden pancakes studded with juicy peak-summer mixed berries, drizzled with maple syrup for a bright, comforting, crowd-pleasing family breakfast.

⏱️ 25 minuteBreakfast ★ 4.7

migas casserole:Frequently Asked Questions

1.Can I prep this Tex-Mex Migas Casserole the night before to bake in the morning? ▾
Absolutely! Assemble cooled cooked chorizo, roasted peppers, sautéed onion, and crisped tortilla bits in your baking dish, pour whisked eggs over top, cover tightly, and refrigerate for up to 12 hours. Let it sit on the counter 15 minutes while the oven preheats, and add cheese during the last 10 minutes of baking to avoid sogginess.
2.I don’t have stale corn tortillas on hand—can I use fresh ones instead? ▾
You absolutely can, with one quick prep step. Cut fresh corn tortillas into 1-inch pieces, spread them in a single layer on a baking sheet, and toast at 350°F for 8–10 minutes until dry and lightly crisp at the edges. This mimics stale tortilla texture so they don’t turn mushy in the egg mix, keeping that signature toasty migas crunch.
3.What can I use as a substitute if I can’t find raw Mexican chorizo? ▾
If raw Mexican chorizo is hard to track down, swap it for an equal amount of spicy ground breakfast sausage mixed with 1 teaspoon smoked paprika, ½ teaspoon ground cumin, and a pinch of red pepper flakes to match that warm, zesty flavor. For a vegetarian swap, use seasoned crumbled soyrizo or spiced black beans.
4.Why did my migas casserole turn out soggy, and how do I prevent that next time? ▾
Sogginess almost always comes from two common missteps: under-crisped tortillas or excess moisture from add-ins. Make sure tortilla pieces are fully toasted before layering, and drain all excess grease from cooked chorizo and any liquid from roasted peppers before assembling. Hold off on adding cheese until the last 10 minutes of baking to cut down on trapped moisture.
5.Can I freeze leftover Tex-Mex Migas Casserole for quick weekday breakfasts? ▾
Yes, this casserole freezes beautifully for up to 3 months. Let the fully baked casserole cool completely, cut it into individual portions, wrap each tightly in plastic wrap and foil, and stow in a freezer-safe bag. Reheat portions in a 325°F oven for 15–20 minutes, or in the microwave for 2–3 minutes, until heated all the way through.
6.What fun mix-ins or toppings pair well with this casserole? ▾
This recipe is super customizable! Fold in diced roasted green chiles, rinsed black beans, or sweet corn to the egg mixture for extra heartiness. When serving, top slices with fresh pico de gallo, sliced avocado, a dollop of sour cream, chopped cilantro, or a squeeze of fresh lime to brighten the rich, cheesy, spiced flavors.
7.How do I tell when the casserole is fully baked and ready to serve? ▾
Your casserole is done when the edges are golden and bubbly, the center is fully set with no jiggly liquid when you gently nudge the dish, and a food thermometer inserted into the middle reads 160°F—the safe internal temperature for cooked eggs. Let it rest 5 minutes out of the oven so it slices cleanly instead of falling apart.

Comments (13)

2 days ago

OMG this was such a game changer for our busy weeknight dinners! I was scrambling (pun intended) for something to use up the stale corn tortillas in my pantry, and this 40 minute casserole was perfect. My kids devoured two servings each and asked when we’re making it again. SO good, even my picky 7 year old ate the bell peppers in it!

yesterday

Same! I had half a bag of tortilla chips left from taco night and crushed those up instead of fresh tortillas, worked like a charm. My teen said it tastes better than the migas we get at our local taco shop!

yesterday

Love that you used leftover tortilla chips — that’s such a smart hack to cut down on prep! So stoked your family loved it :)

1 week ago

Meal prep win! I made this on Sunday, cut it into 6 slices, and grabbed a portion every morning for breakfast this week. It reheats like an absolute dream in the microwave, no soggy texture at all. Super easy to throw together too, I didn’t even have to run to the grocery store because I had all the staples on hand.

5 days ago

So glad it works for meal prep! Pro tip: add a dollop of salsa right before reheating for an extra flavor kick if you have it handy.

2 weeks ago

Brought this to my office potluck last week and people were hounding me for the recipe before we even hit the lunch hour! I topped it with a little cotija and fresh cilantro right before serving, and it was gone in 10 minutes flat. Easy to transport, no fancy ingredients, total crowd pleaser.

3 days ago

Really solid recipe! I thought it was a little mild for my taste so I added a can of diced green chiles and a teaspoon of cumin, which kicked it up perfectly. My only note is that my edges got a little crispier than I preferred at the 35 minute mark, so I’d check it a few minutes early next time.

2 days ago

Oh the green chile add is chef’s kiss! I did that too plus a handful of pickled jalapeños on top, such a good zing. I agree about checking early, my oven runs hot so I pulled mine at 32 minutes and it was perfect.

2 days ago

Great call on the green chiles and cumin — that’s a delicious custom tweak! Oven temps do vary a lot, so I’ll add a note to start checking for doneness around the 30 minute mark for folks with hotter ovens. Thanks for the feedback!

5 days ago

As someone who can barely boil water without burning it, I was shocked how easy this was to make! I didn’t have a fancy casserole dish so I used a regular baking pan, and it still turned out amazing. Way cheaper than getting takeout breakfast every weekend, and my roommates are obsessed.

3 days ago

Same boat! I made this in my tiny dorm oven last weekend and even used pre-shredded cheese to make it even easier. 10/10, will be making this every Sunday now.

yesterday

So happy this is naturally gluten free as long as you use corn tortillas! I’ve been looking for a hearty brunch dish I can serve when my gluten intolerant sister visits, and this checks every box. I served it with avocado slices and a side of sour cream, and she went back for thirds. No weird specialty ingredients needed!

1 week ago

Hosted a girls’ brunch last Saturday and served this alongside mimosas, and everyone was raving! I love that you can prep the entire thing the night before, pop it in the oven when guests arrive, and not be stuck in the kitchen while everyone else is hanging out. Total host hack.

5 days ago

The overnight prep trick is my go-to for brunch too! No stress, all flavor — so glad it made your girls’ day special.

2 hours ago

I think I messed this up? I used flour tortillas instead of corn because that’s all I had, and it came out a little gummy. The flavor was good, but the texture was off. Has anyone else tried this with flour tortillas?

30 minutes ago

Oh honey, corn tortillas are non-negotiable for that classic migas texture! Flour gets too soft and mushy when it soaks up the egg mixture. Try it again with corn, I promise it’s a night and day difference.

5 minutes ago

Totally agree with Tina! Corn tortillas hold up so much better to the egg and cheese mixture and give that signature slightly crispy, chewy migas texture. If you only have flour on hand next time, try toasting the tortilla pieces in a pan first before adding them to the casserole to cut down on sogginess!

3 days ago

Usually I’m the guy manning the grill for every family meal, but I wanted to switch it up for Father’s Day brunch and gave this a shot. Let me tell you, my wife and kids were shocked I made something that wasn’t burnt burgers! Added a little crumbled chorizo to the mix and it was chef’s kiss. 10/10, even my father-in-law asked for the recipe.

2 days ago

Made this for my vegetarian roommates and swapped the regular cheese for a dairy free cheddar so our lactose intolerant friend could eat it too, and it still came out so tasty! I loaded it up with extra sautéed onions, spinach, and mushrooms for more veggie power. Will definitely be adding this to our regular rotation.

yesterday

The dairy free cheese swap works so well here! I’ve made it with vegan egg substitute too and it’s just as good, perfect for when my vegan cousin comes to town.

just now

I’ve made migas on the stovetop a hundred times but never thought to bake it as a casserole — game changer! No standing over the stove stirring for 20 minutes, just pop it in the oven and make coffee while it cooks. The edges get all crispy and cheesy, which is my favorite part. Why didn’t I think of this sooner?

5 days ago

This recipe is so budget friendly! I used eggs that were on sale, day old tortillas from the discount rack, and shredded cheese I had in the freezer, and the whole thing cost me less than $5 to make for 6 servings. Perfect for when rent is due and you don’t have a ton of grocery money left but still want something that tastes amazing.

3 days ago

Love that you made it work on a budget! Day old tortillas are actually ideal for this recipe because they hold their texture even better than fresh ones — total win win.

1 week ago

Wait a second, I topped my leftover slice with a drizzle of hot honey last night and it changed my life. The sweet and spicy combo with the cheesy eggs and crispy tortillas? Unreal. If you haven’t tried that add-on, do it immediately, you won’t regret it.

5 days ago

OH MY GOODNESS that sounds insane. I have a bottle of hot honey in my pantry right now, I’m making this casserole this weekend just to try that combo. Thank you for the genius tip!

3 days ago

That hot honey hack is incredible! I tested that last month after a reader suggested it and now I serve it with a little hot honey on the side every time I make this for brunch. Such a perfect flavor combo.



