
mini waffle iron
intro
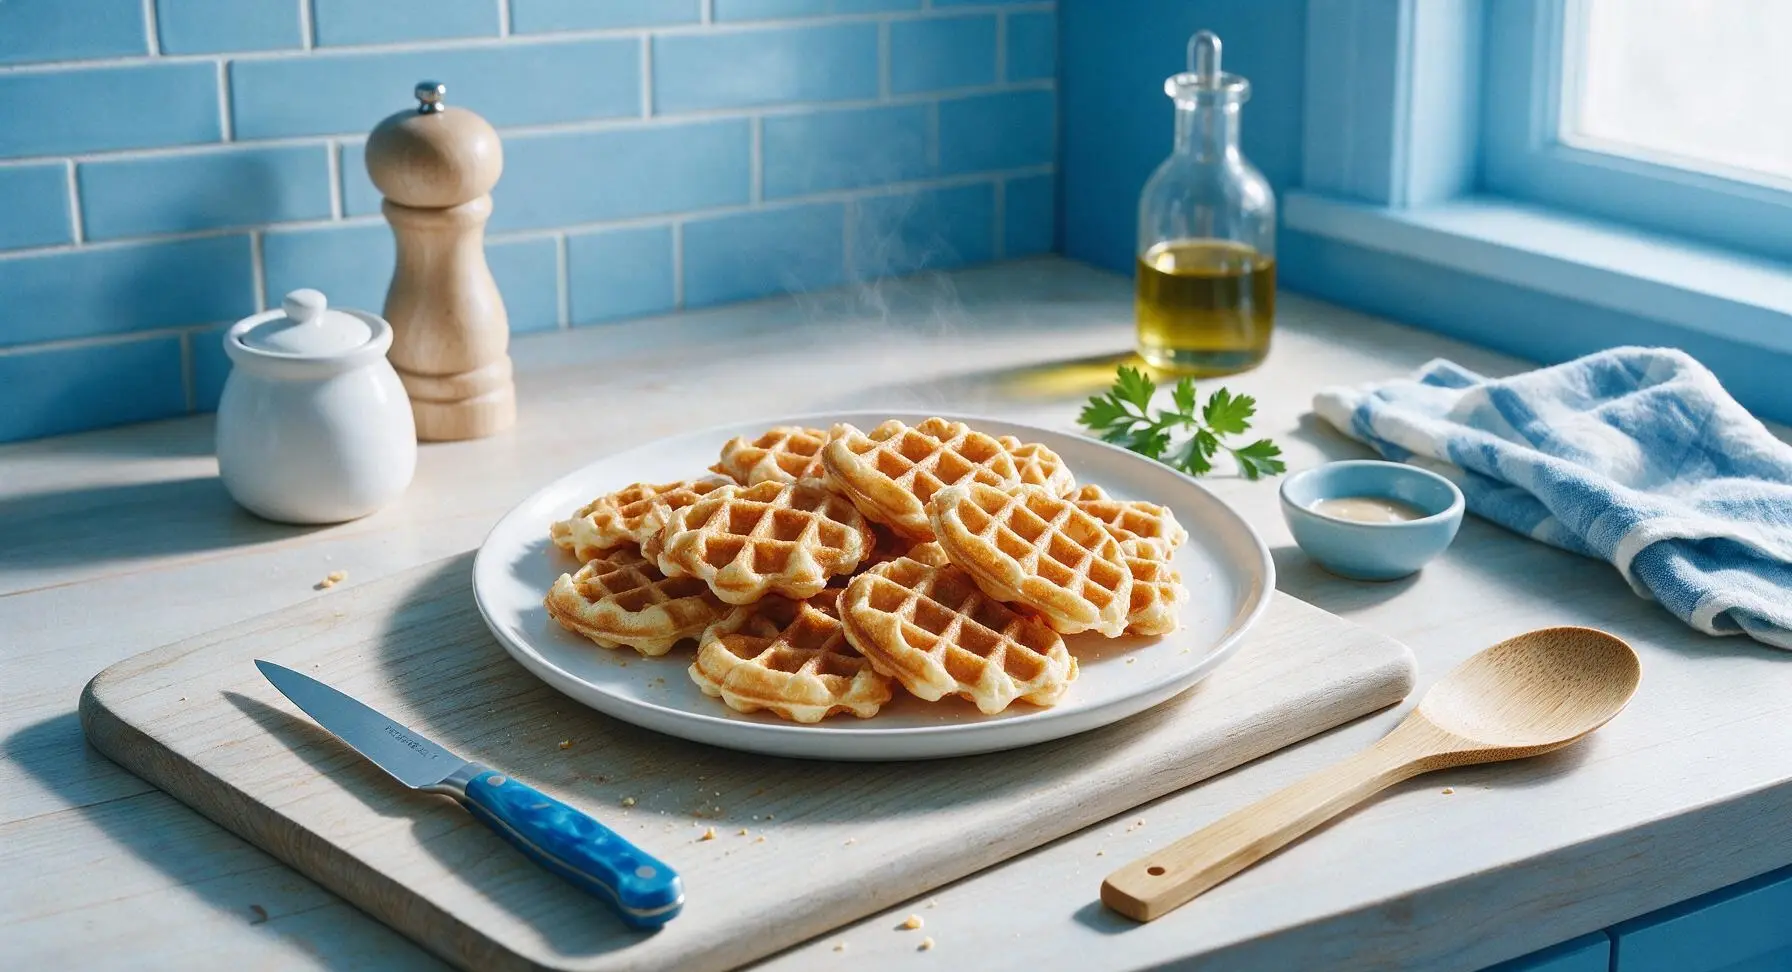
Crisp-edged, fluffy-centered mini buttermilk waffles, golden and lightly sweet, ready in 20 minutes for quick weeknight breakfast-for-dinner or cozy weekend bites.
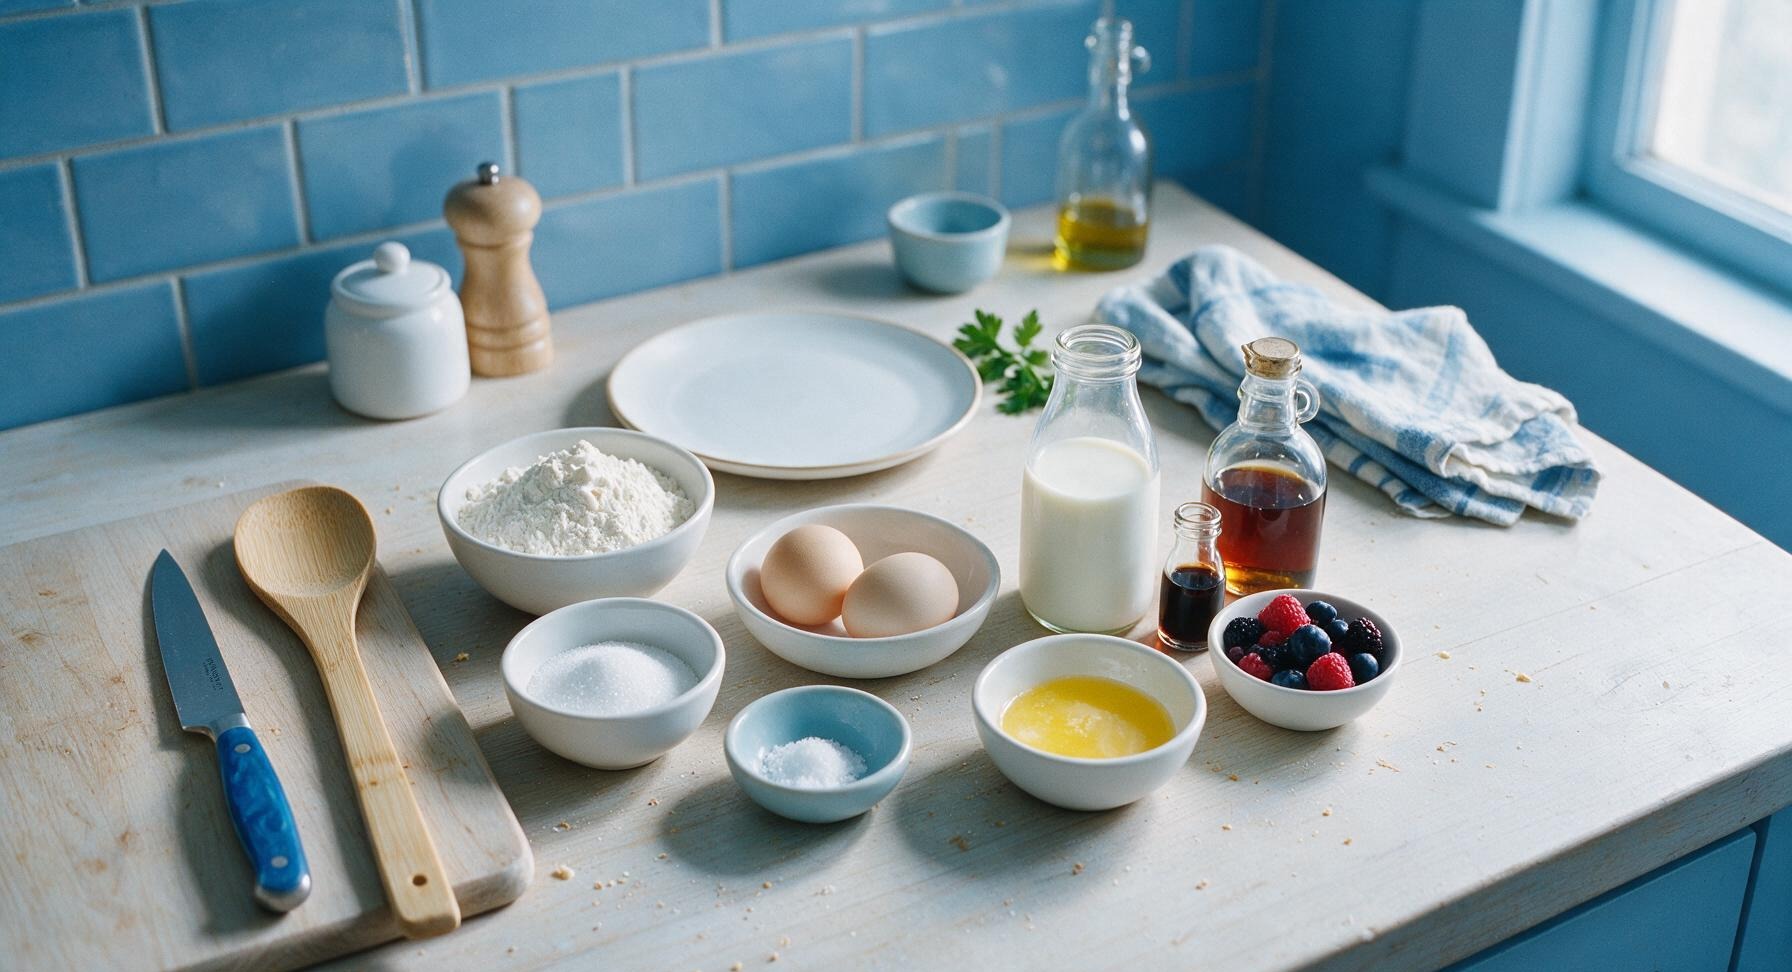
Ingredients
Steps
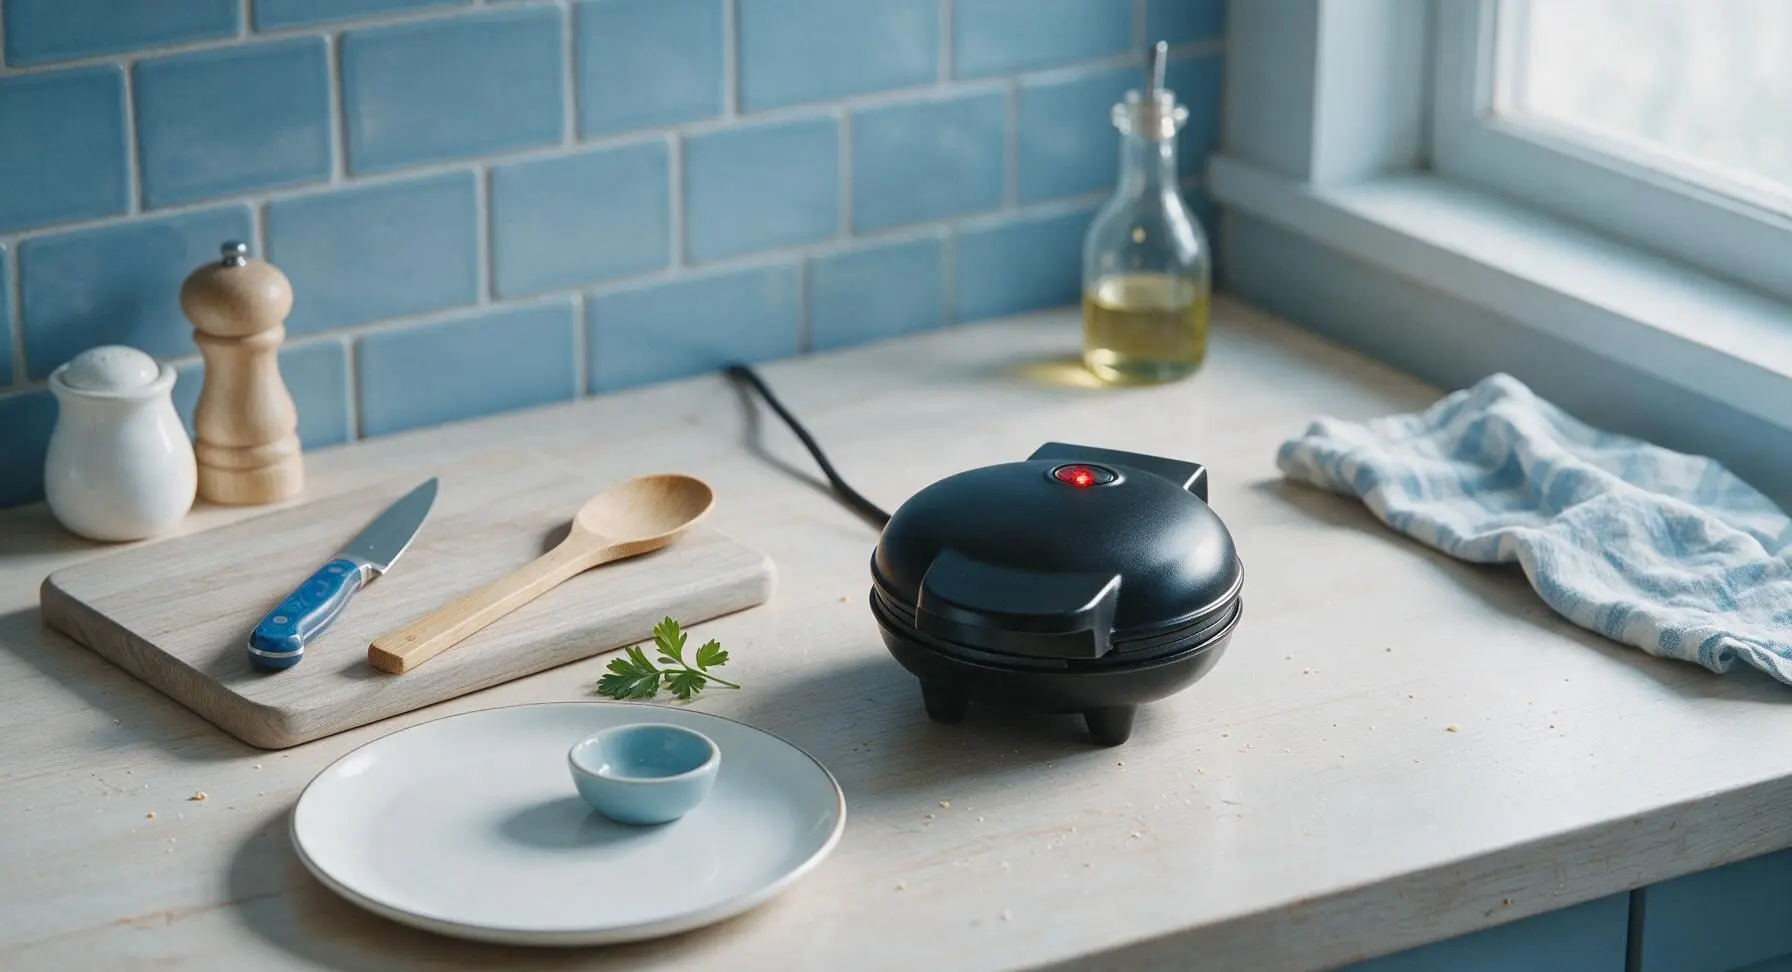
Preheat Waffle Iron
Plug in the matte black mini waffle iron, close the lid, and preheat to its medium setting (approximately 375°F/190°C) for 3-4 minutes, until the green ready indicator light turns on. High-quality non-stick irons do not require greasing; add only a thin swipe of butter if your iron has a history of sticking.
Combine Dry Ingredients
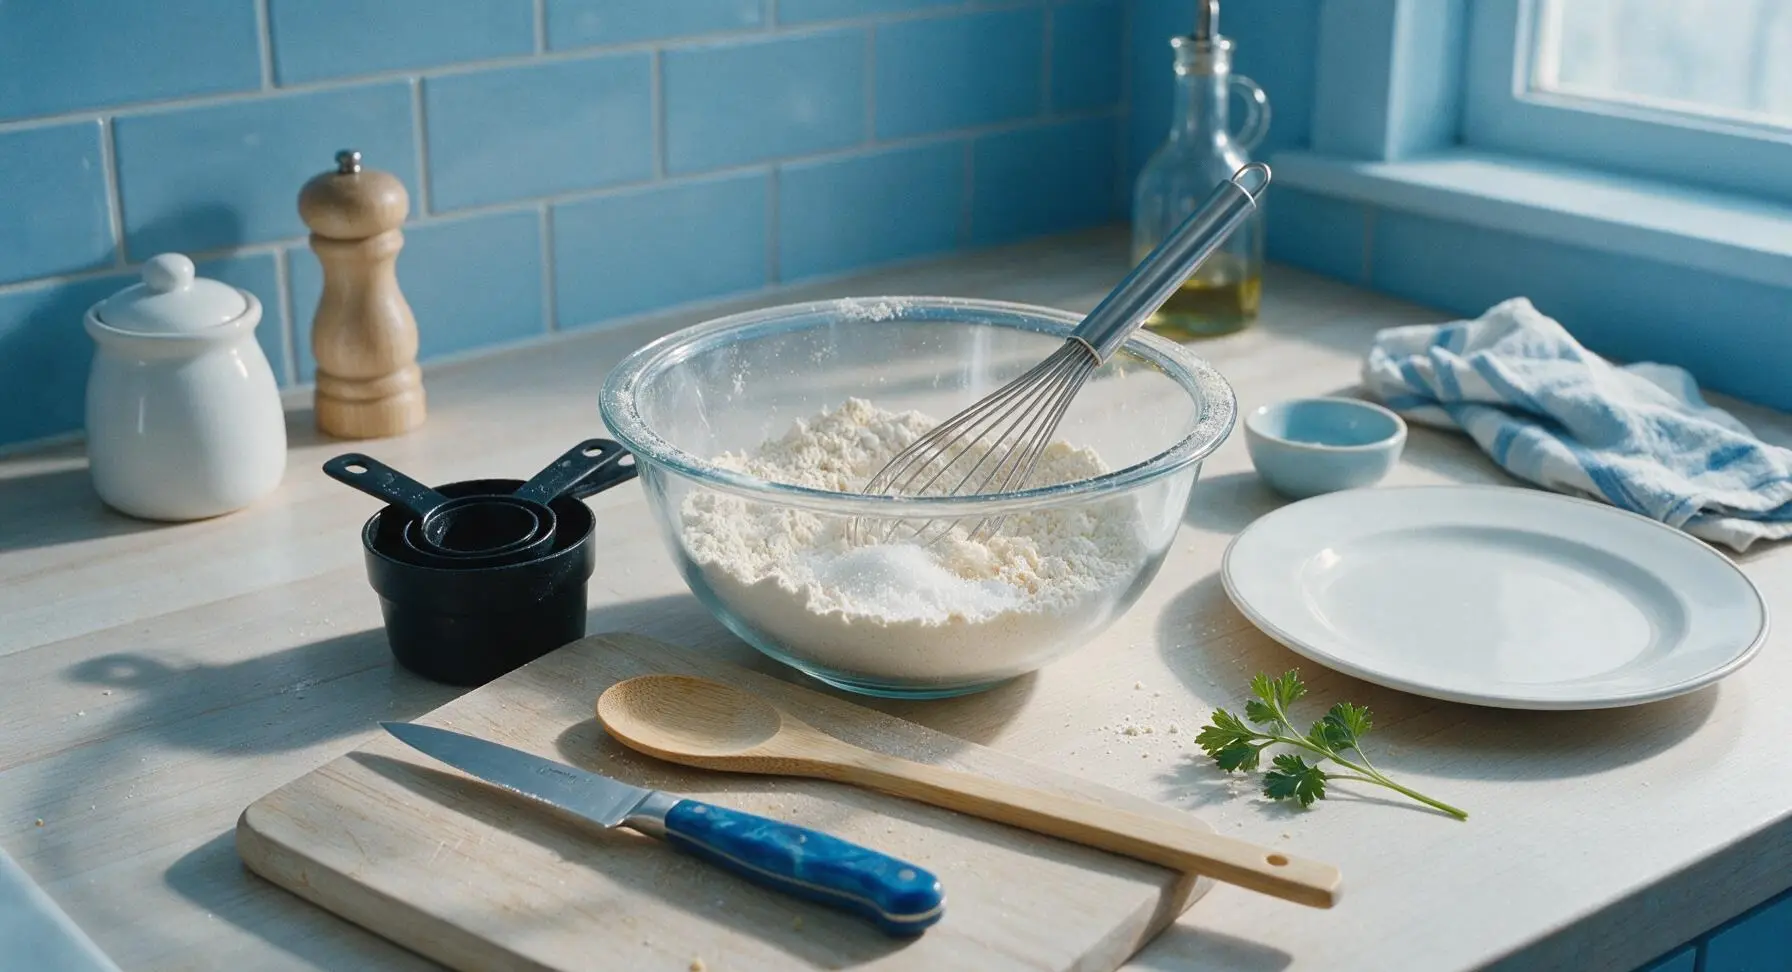
Add the all-purpose flour, granulated sugar, baking powder, and fine sea salt to the clear glass mixing bowl. Use the stainless steel wire whisk to stir for 30 seconds, until all dry ingredients are evenly distributed with no visible clumps of baking powder.
Mix In Wet Ingredients
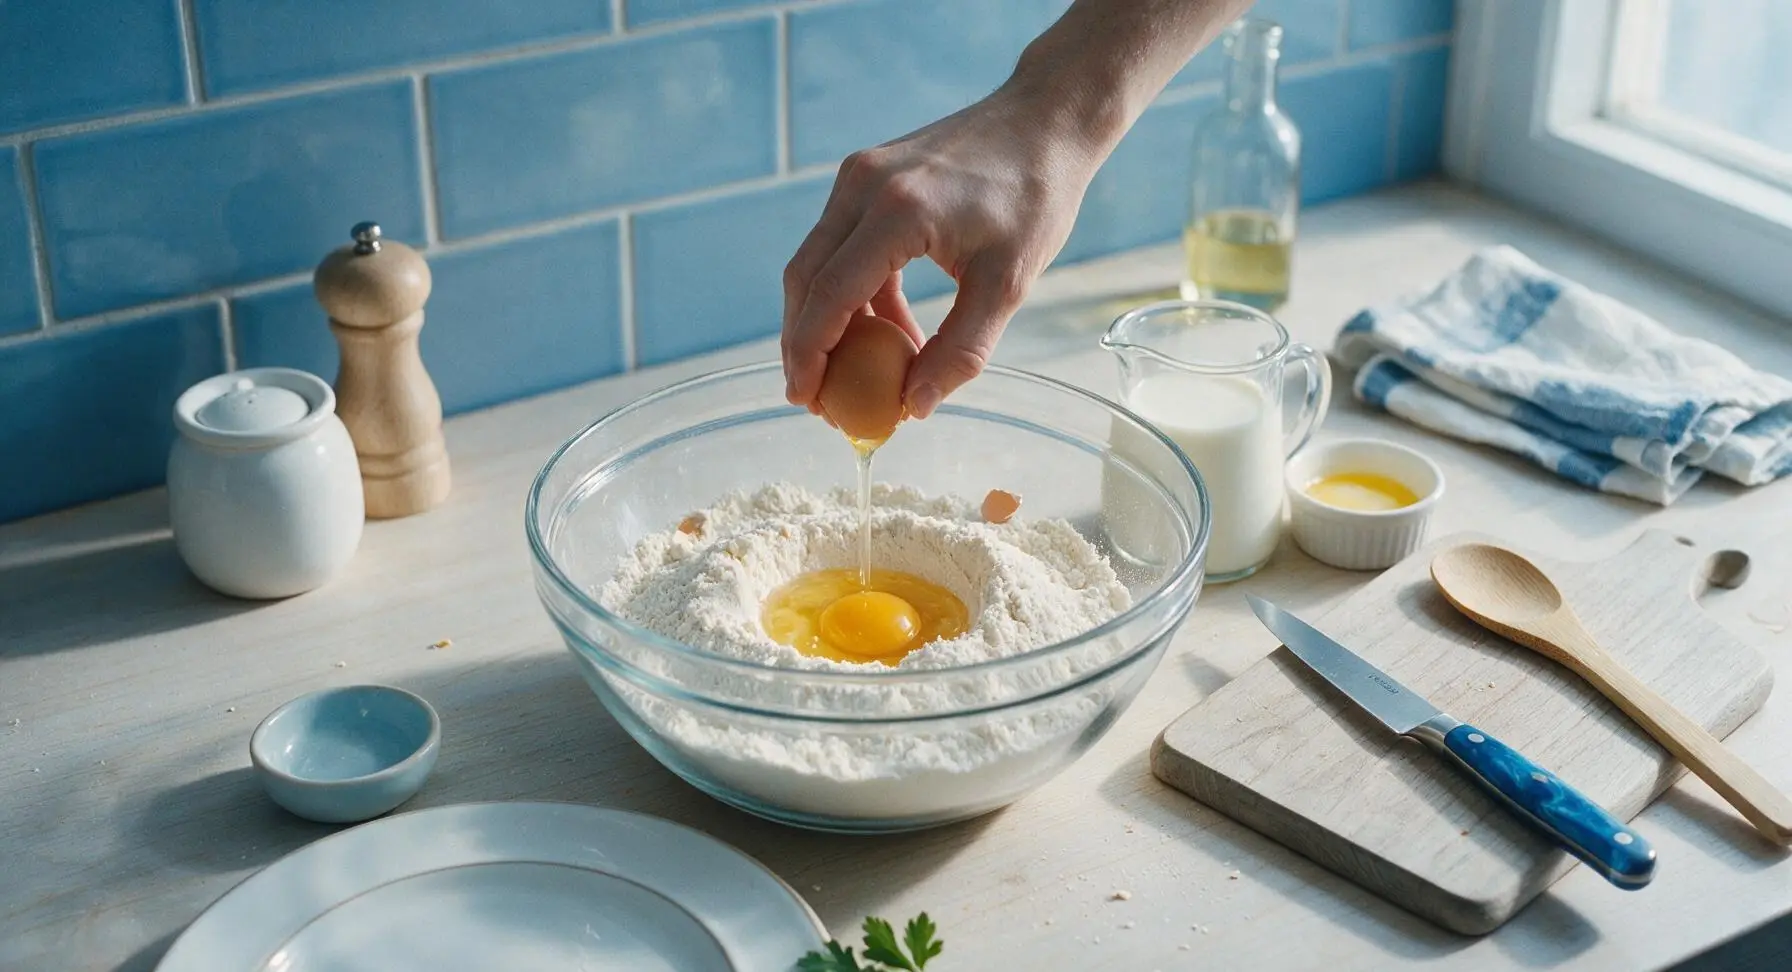
Make a small well in the center of the dry ingredient mixture. Crack the 2 large eggs into the well, then pour in the whole buttermilk, cooled melted butter, and vanilla extract. Whisk slowly at first to draw dry ingredients into the wet center, preventing flour from flying out of the bowl.
Rest The Batter
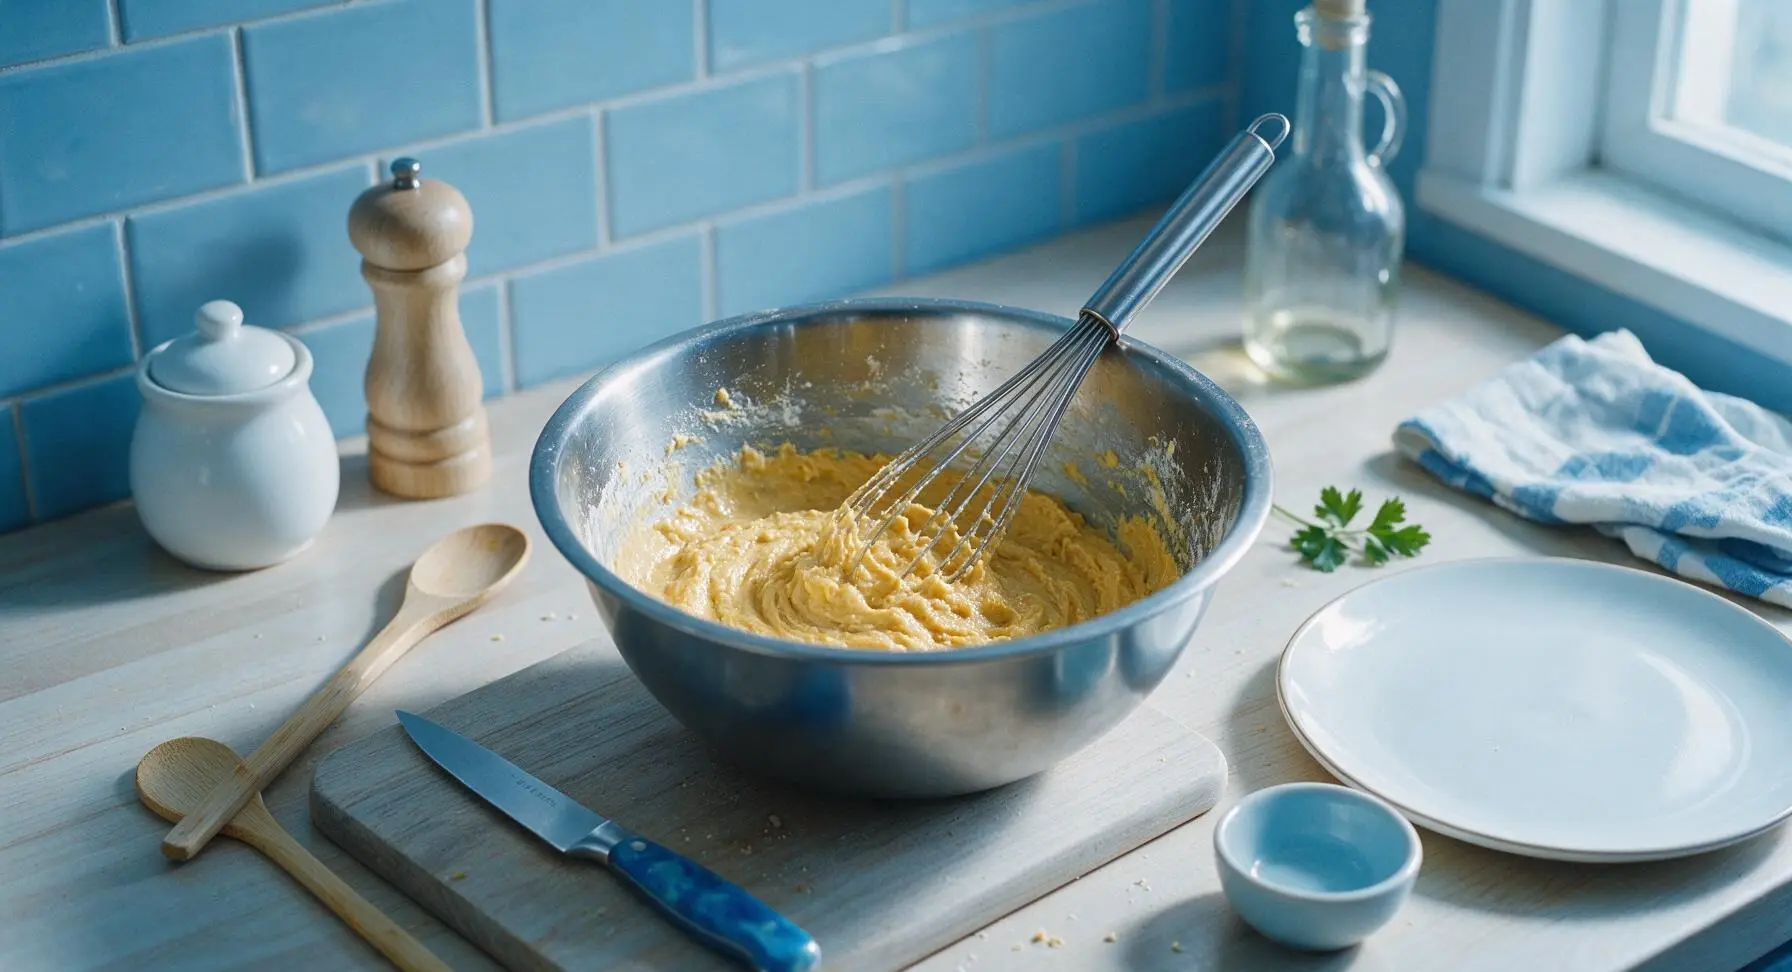
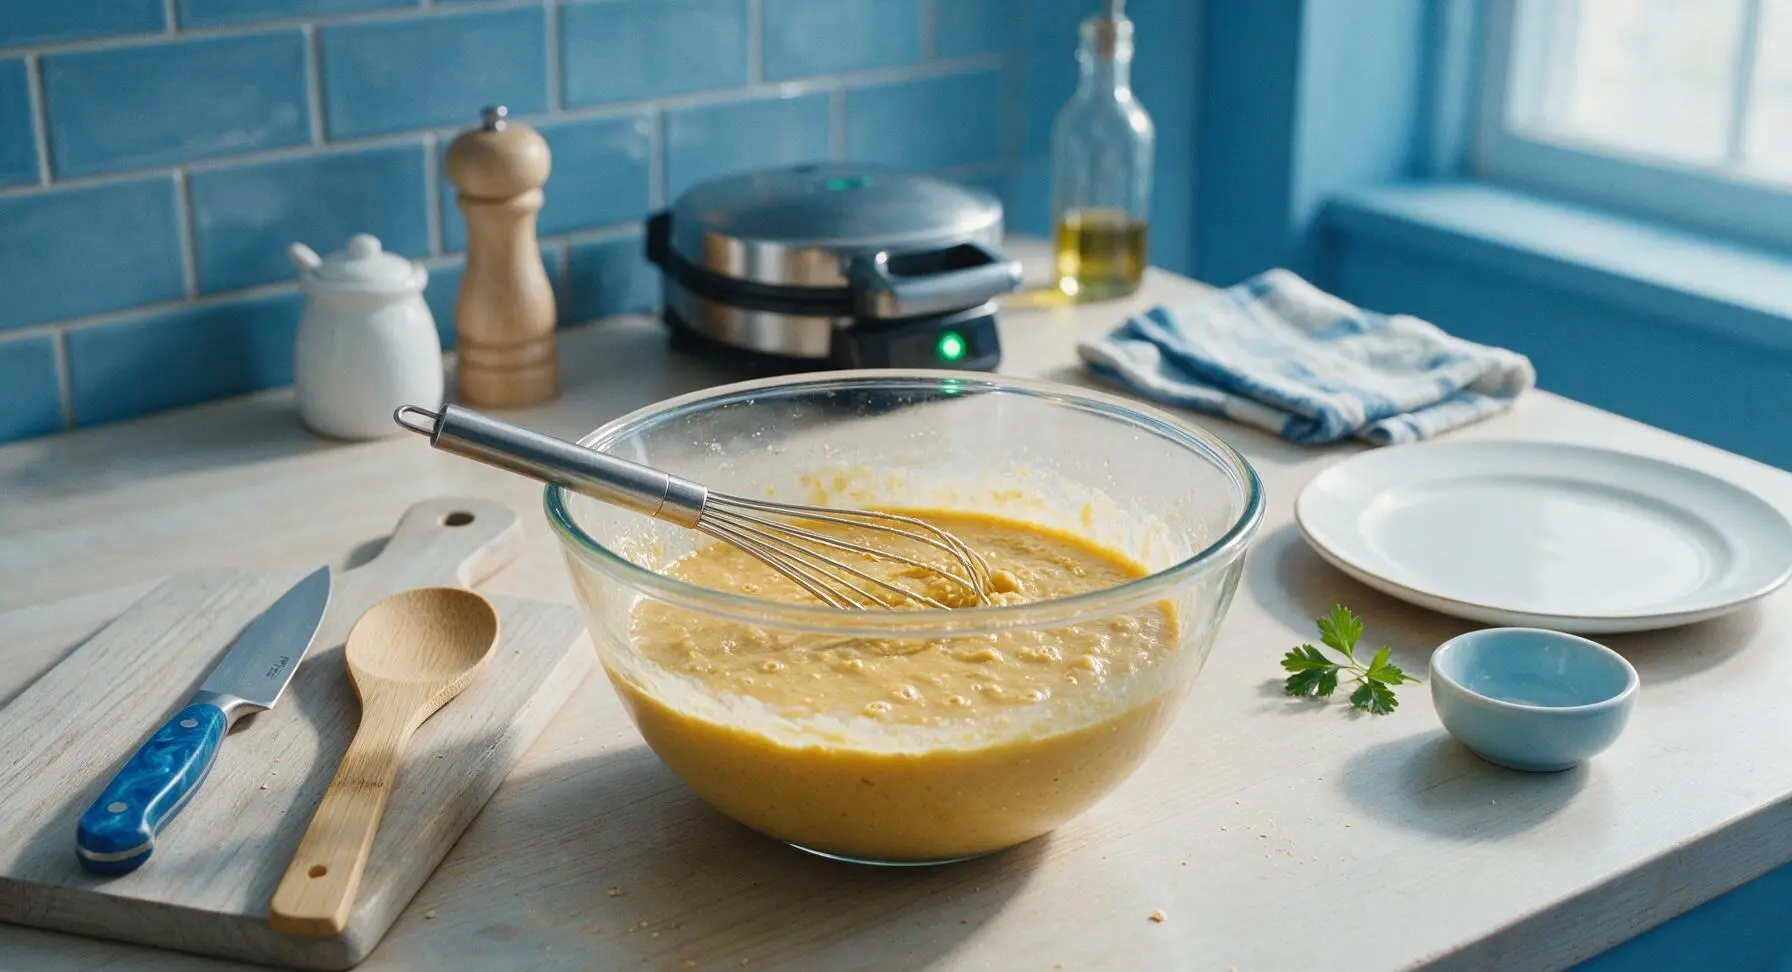
Stop whisking as soon as no large dry flour streaks remain. The batter will be thick and dotted with small, pea-sized lumps—do not overmix, as overdeveloped gluten will create tough, dense waffles. Let the batter rest for 5 minutes at room temperature to allow the baking powder to activate; tiny bubbles will appear across the surface when it is ready to cook.
Portion Batter Onto Iron
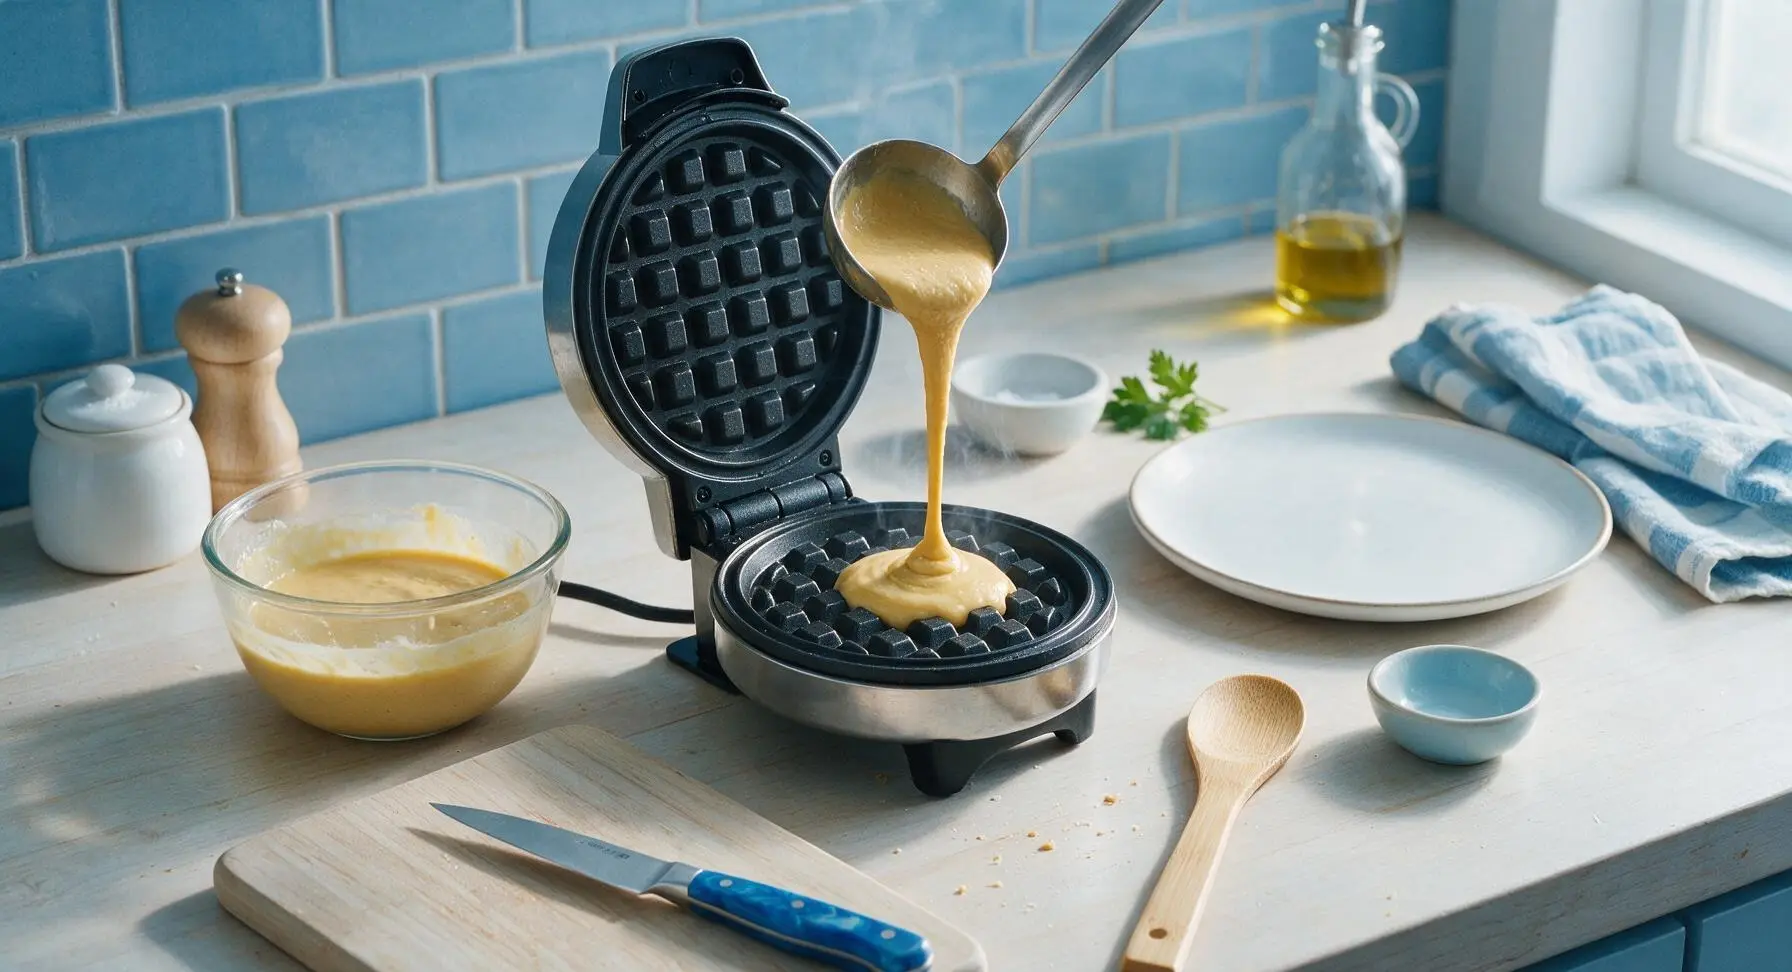
Open the lid of the fully preheated waffle iron. Use the small stainless steel ladle to pour exactly 3 tablespoons of batter directly onto the center of the lower cooking plate. Do not spread the batter manually, as it will spread evenly across the plate when the lid is closed. Lower the lid gently without pressing down firmly; pressing will squeeze batter out the edges and create thin, tough waffles.
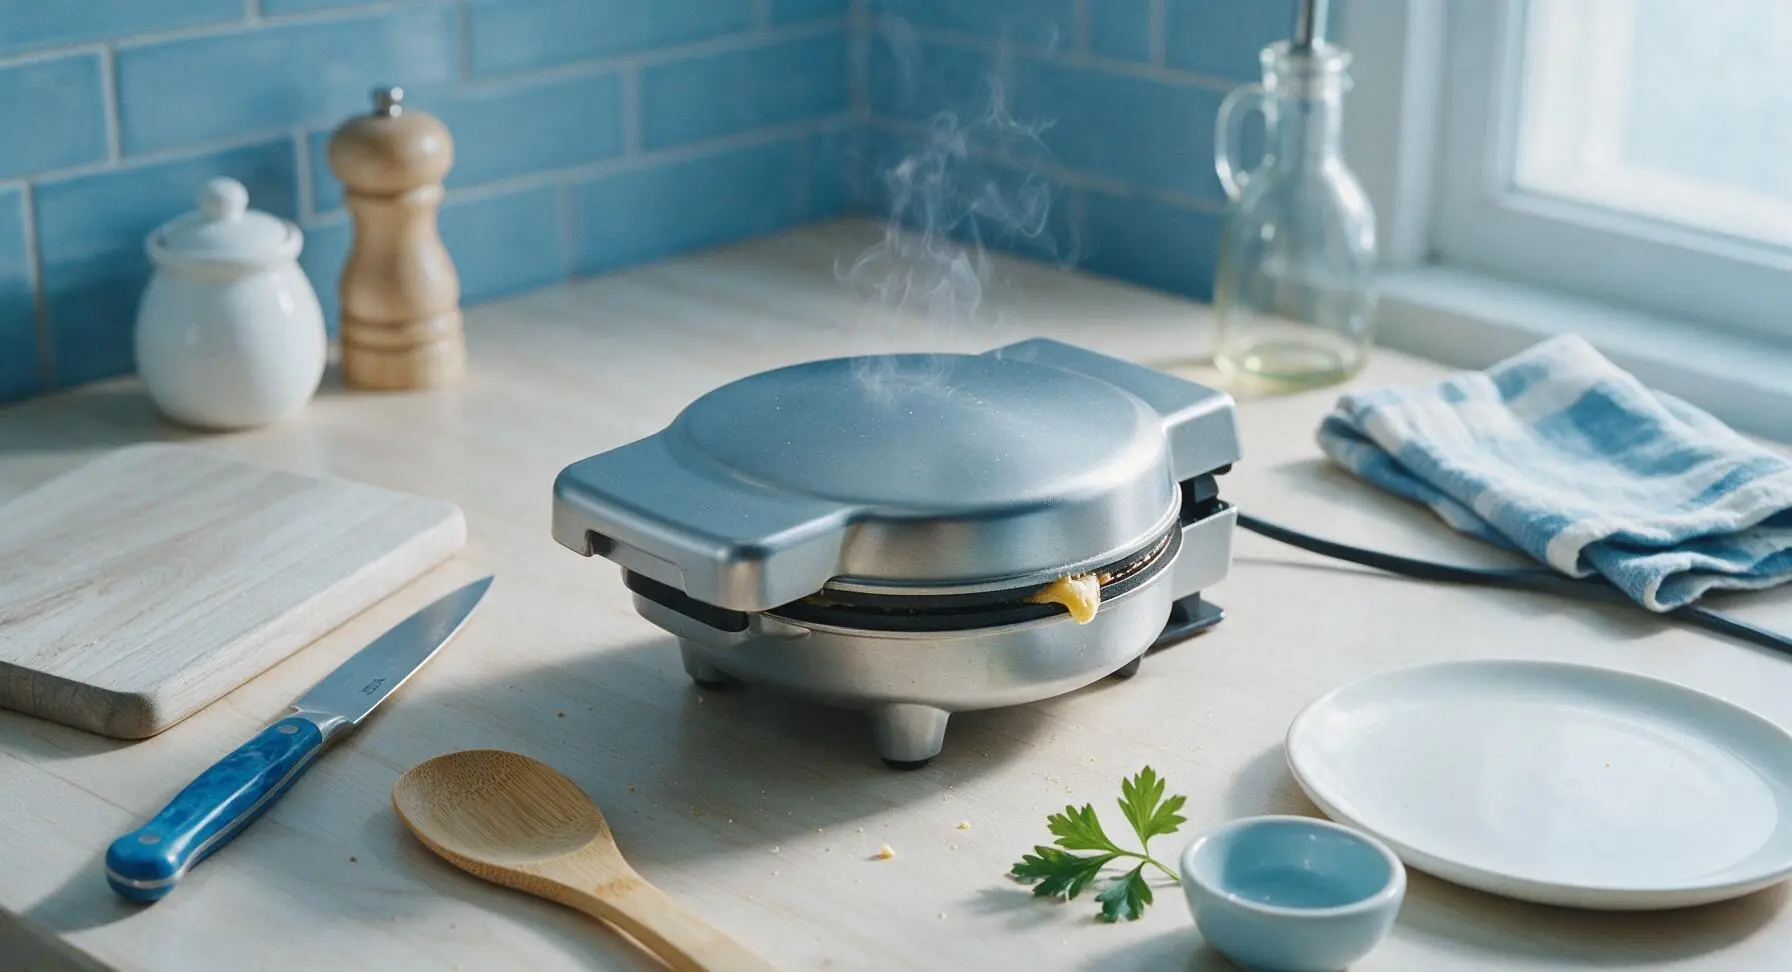
Cook Waffles Until Crisp
Cook each waffle for 2.5 to 3 minutes, until steam stops escaping from the iron edges and the waffle is deep golden brown. Resist the urge to open the lid before the 2-minute mark, as early peeking can cause the partially set waffle to split and stick to the plates.
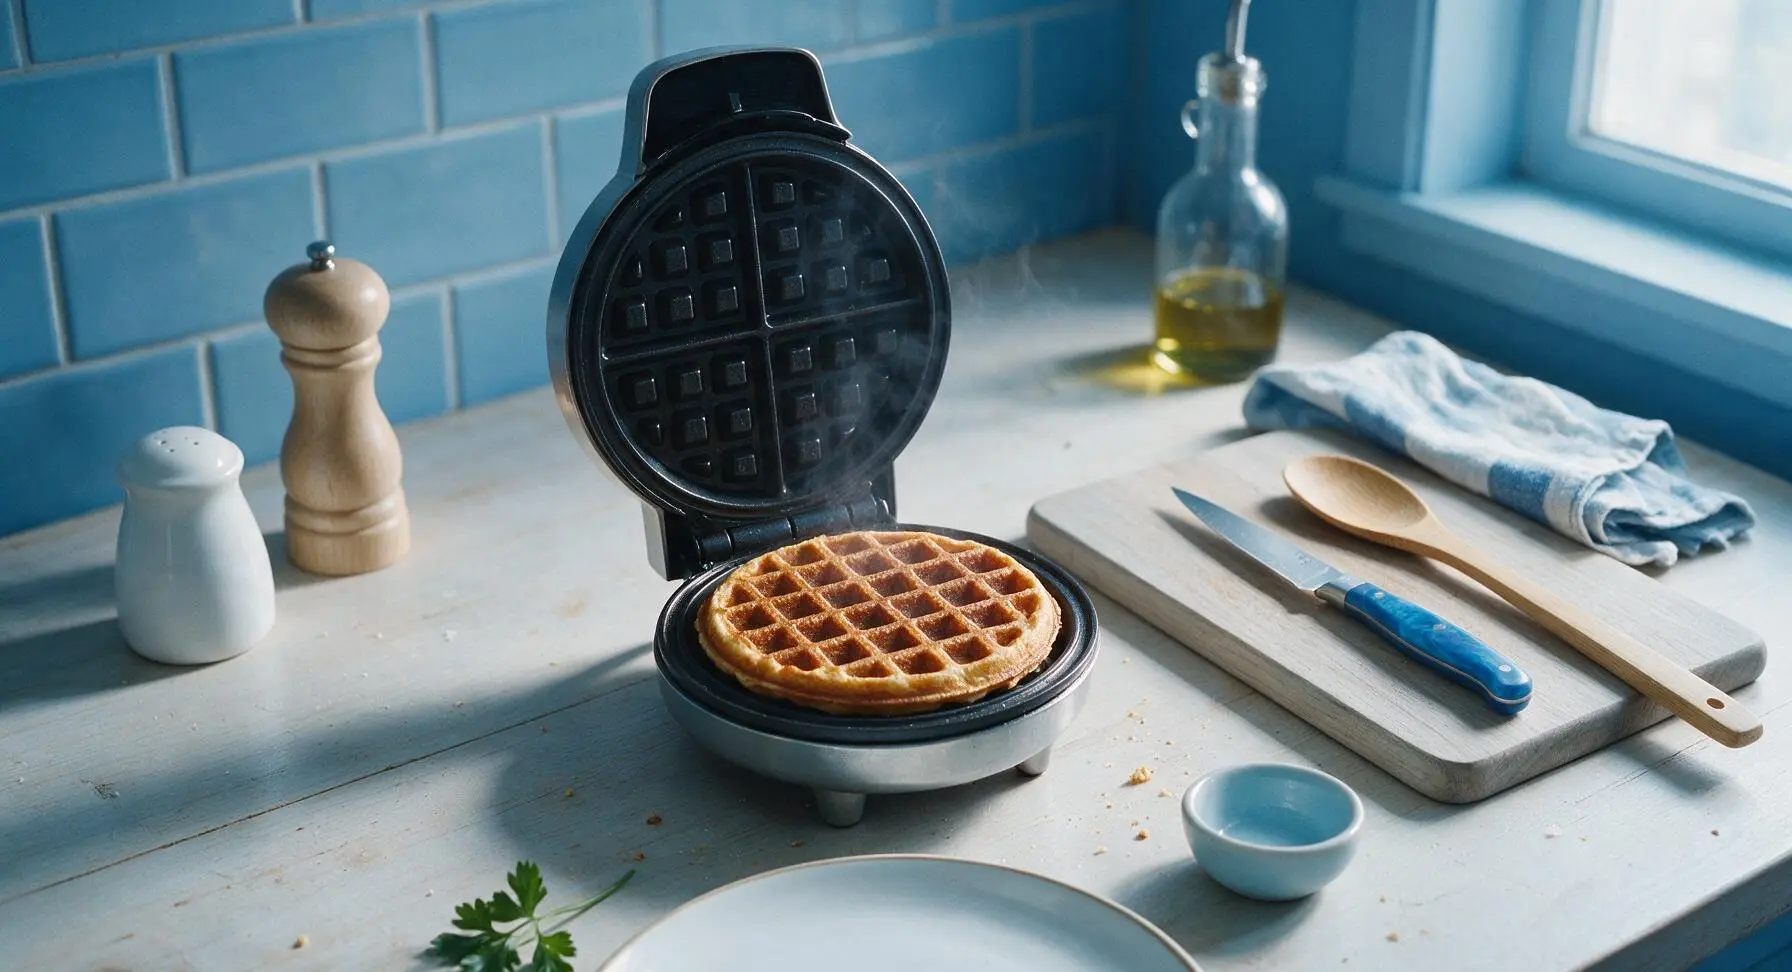
Transfer Cooked Waffles
Use the flexible tip of the light gray silicone spatula to gently lift the cooked waffle from the plate, and transfer it to the matte cream ceramic serving plate. Repeat the cooking process with all remaining batter, stacking waffles loosely on the plate—tight stacking traps steam and softens crisp edges.
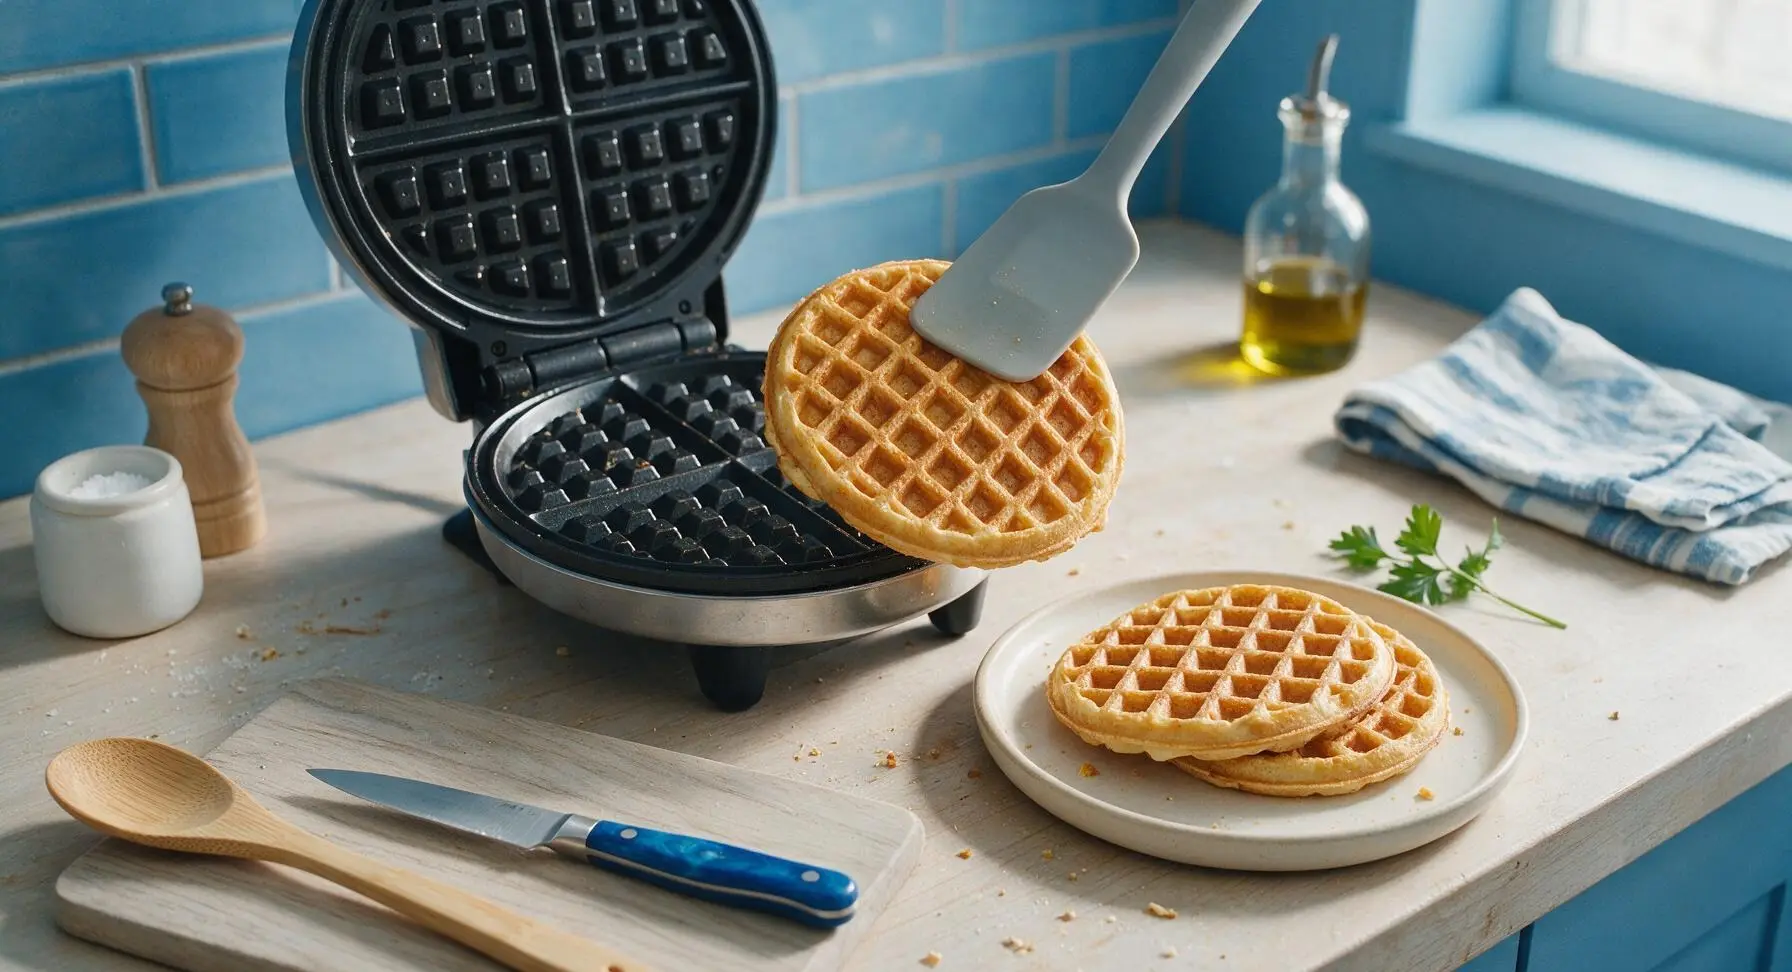
Garnish And Serve
Once all waffles are cooked (approximately 12 total mini waffles), top the loose stack with a small pat of butter, a light drizzle of maple syrup, and the fresh mixed berries. Serve immediately while waffles are hot and edges are crisp.

Tips
2.If you don’t have buttermilk, make a quick substitute by adding 1.75 tablespoons of white vinegar or lemon juice to a measuring cup, then topping with whole milk to reach 1.75 cups. Let it sit 5 minutes until curdled before using for the same tangy, tender crumb.
3.Fold in 2 tablespoons of mini chocolate chips, crumbled cooked bacon, or ground cinnamon right after the batter rests for custom flavor variations. Avoid adding mix-ins earlier, as over-stirring will develop gluten and make waffles tough.






OMG these are SO good! I pulled out my tiny mini waffle iron I got on a random Target run last month and had no clue what to make with it until I found this recipe. My kids devoured half the batch before I even got the syrup on the table! Crispy on the outside, fluffy inside, perfect little dipper size for their tiny hands. 10/10 will be making these every Sunday brunch from now on.
Total game changer! I made these for my neighborhood potluck brunch last weekend and set out a little topping bar with Nutella, whipped cream, fresh berries, and maple syrup, and people were asking me for the recipe before they even finished their first waffle. So easy to whip up, the 10 minute cook time is no joke — I knocked out the whole batch while my husband was setting up the patio tables. Only note is I added a tiny dash of cinnamon to the batter and it was chef’s kiss.
Crazy how simple this is and how much better it tastes than the frozen mini waffles I’ve been buying for years. I meal prepped a big batch on Sunday and have been eating them for breakfast all week with a little peanut butter and banana slices on top. They stay crispy way better than any store-bought version I’ve tried, even after reheating. Only knock is the yield is a little smaller than I expected for meal prep, so next time I’ll double the batch! I definitely ate more than I planned to while cooking anyway, so that’s on me. No more sad desk breakfasts for me!
First time ever using a mini waffle iron and first time making waffles from scratch, and these came out perfect! I was so worried I’d mess up the batter consistency or burn them, but the instructions were super straightforward. They got that perfect crispy edge I always chase at diner waffles, no soggy middles at all. Can’t wait to experiment with adding chocolate chips next batch!