
Miso Brined Catfish
intro
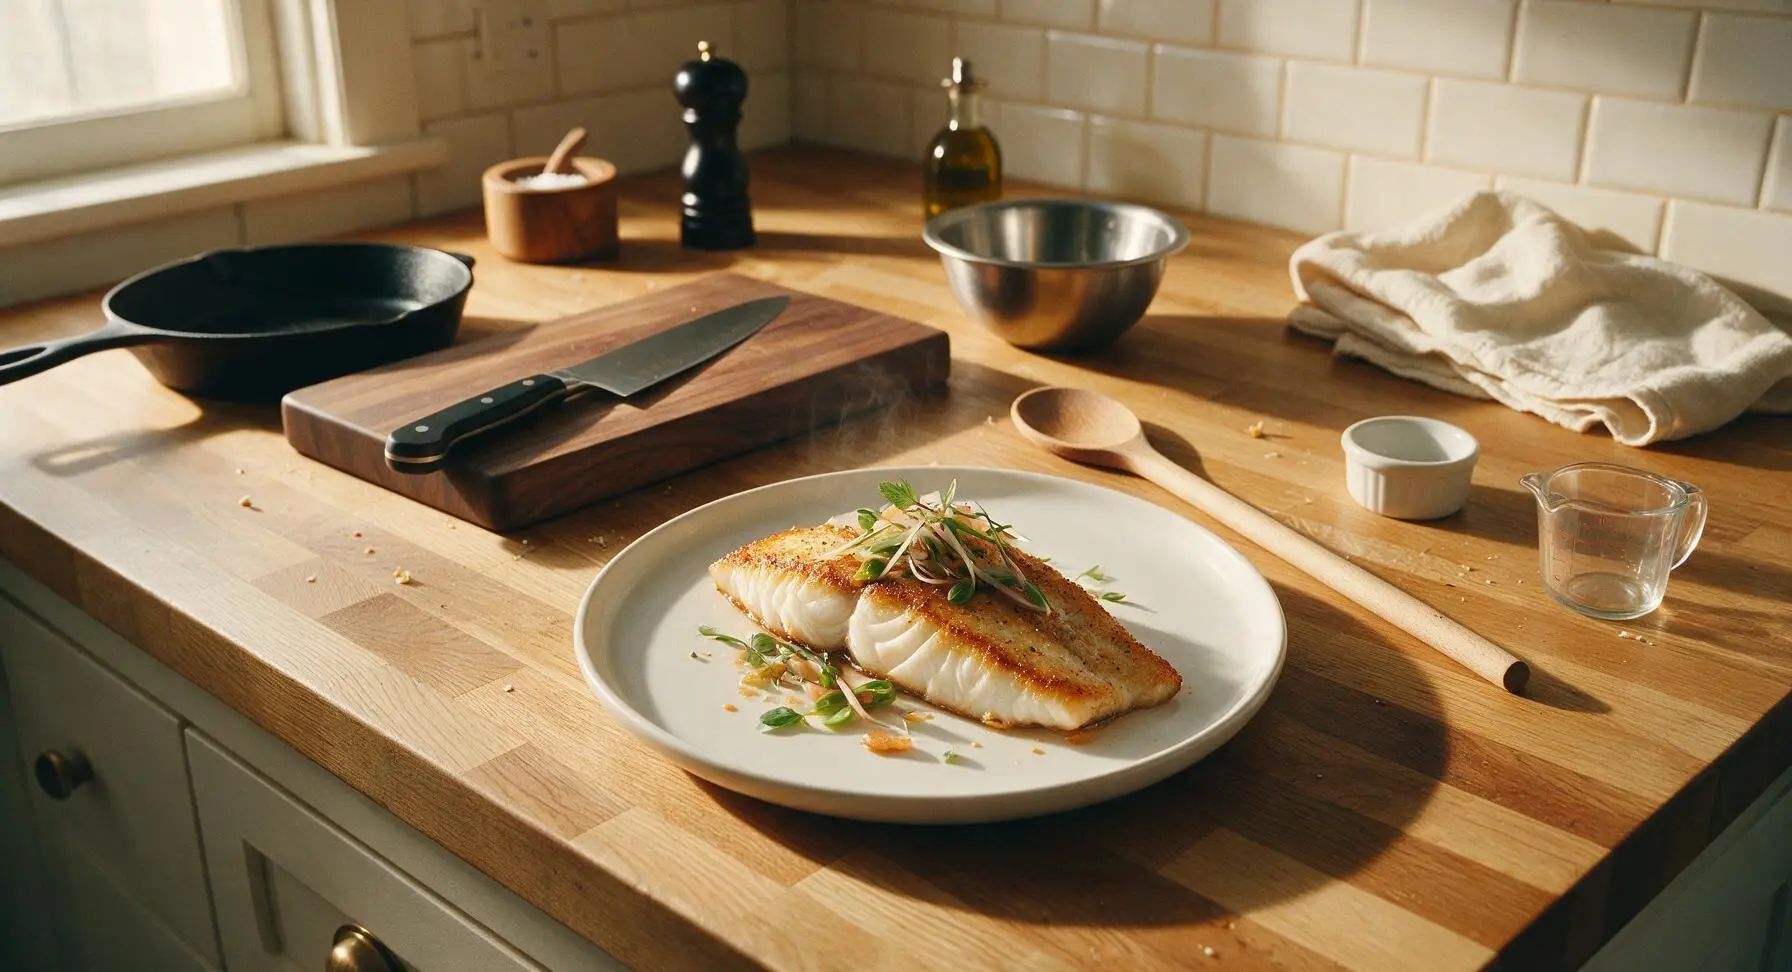
Umami-packed white miso brine turns mild, flaky catfish tender and flavorful, with a crisp golden sear, for a cozy, approachable fusion meal the whole family will love.
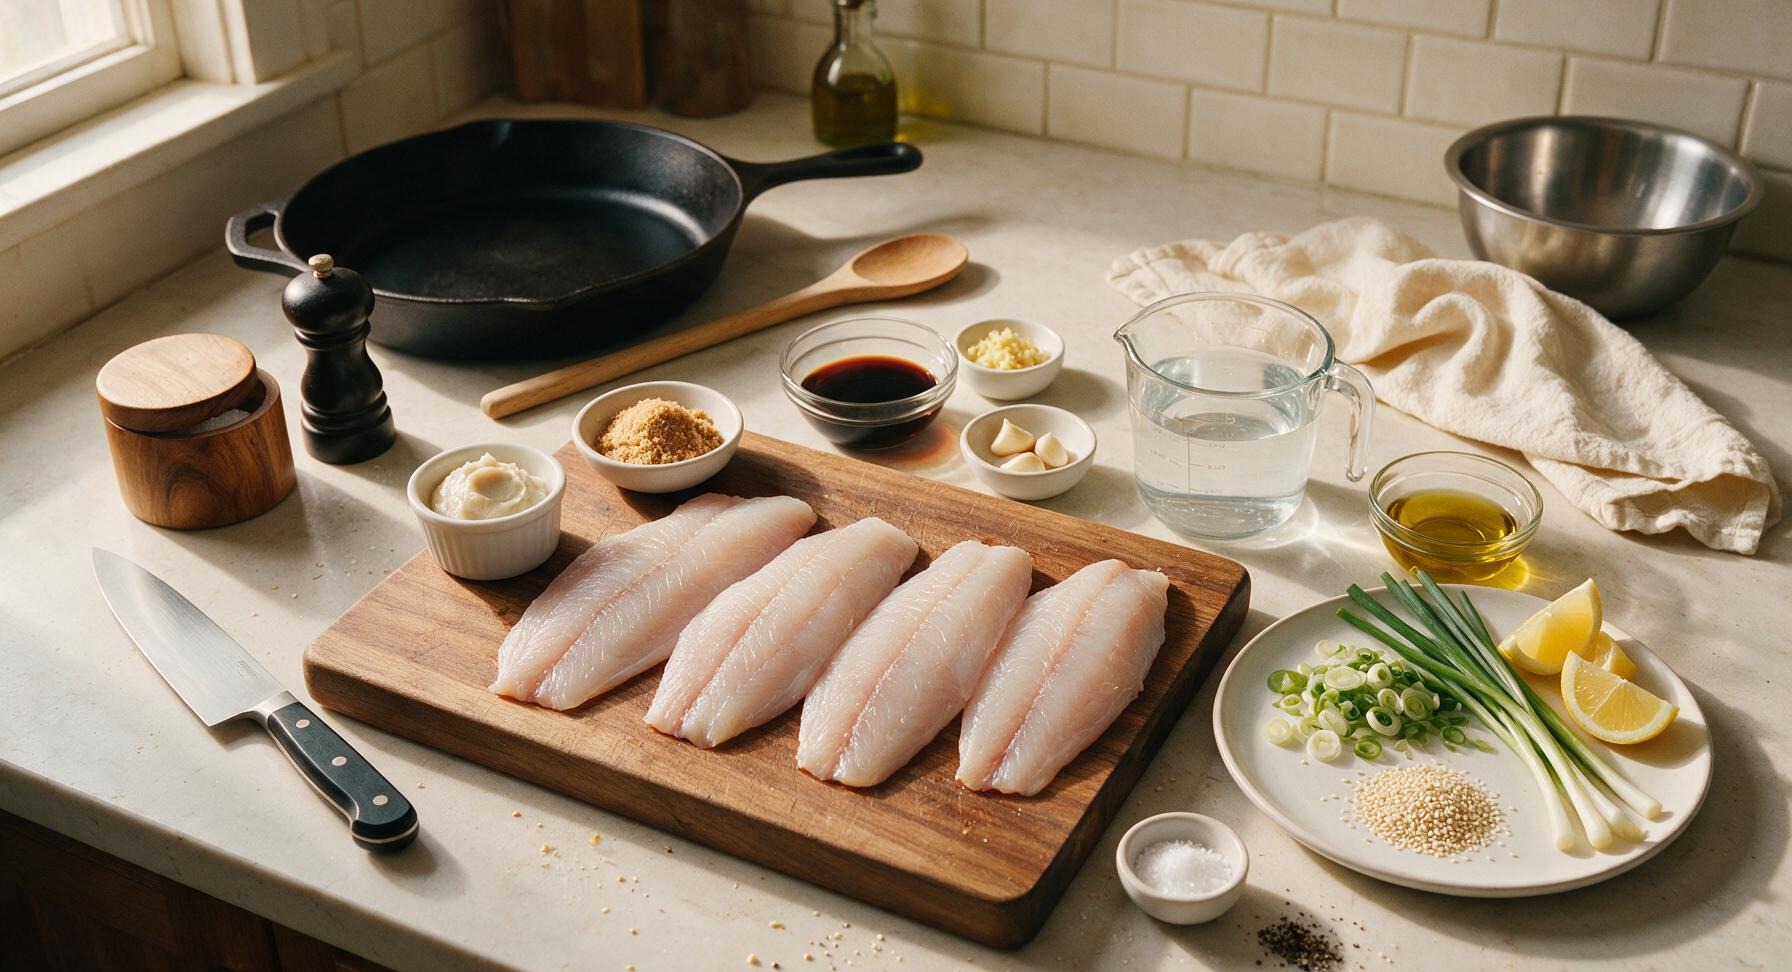
Ingredients
Steps
Whisk Miso Brine Base
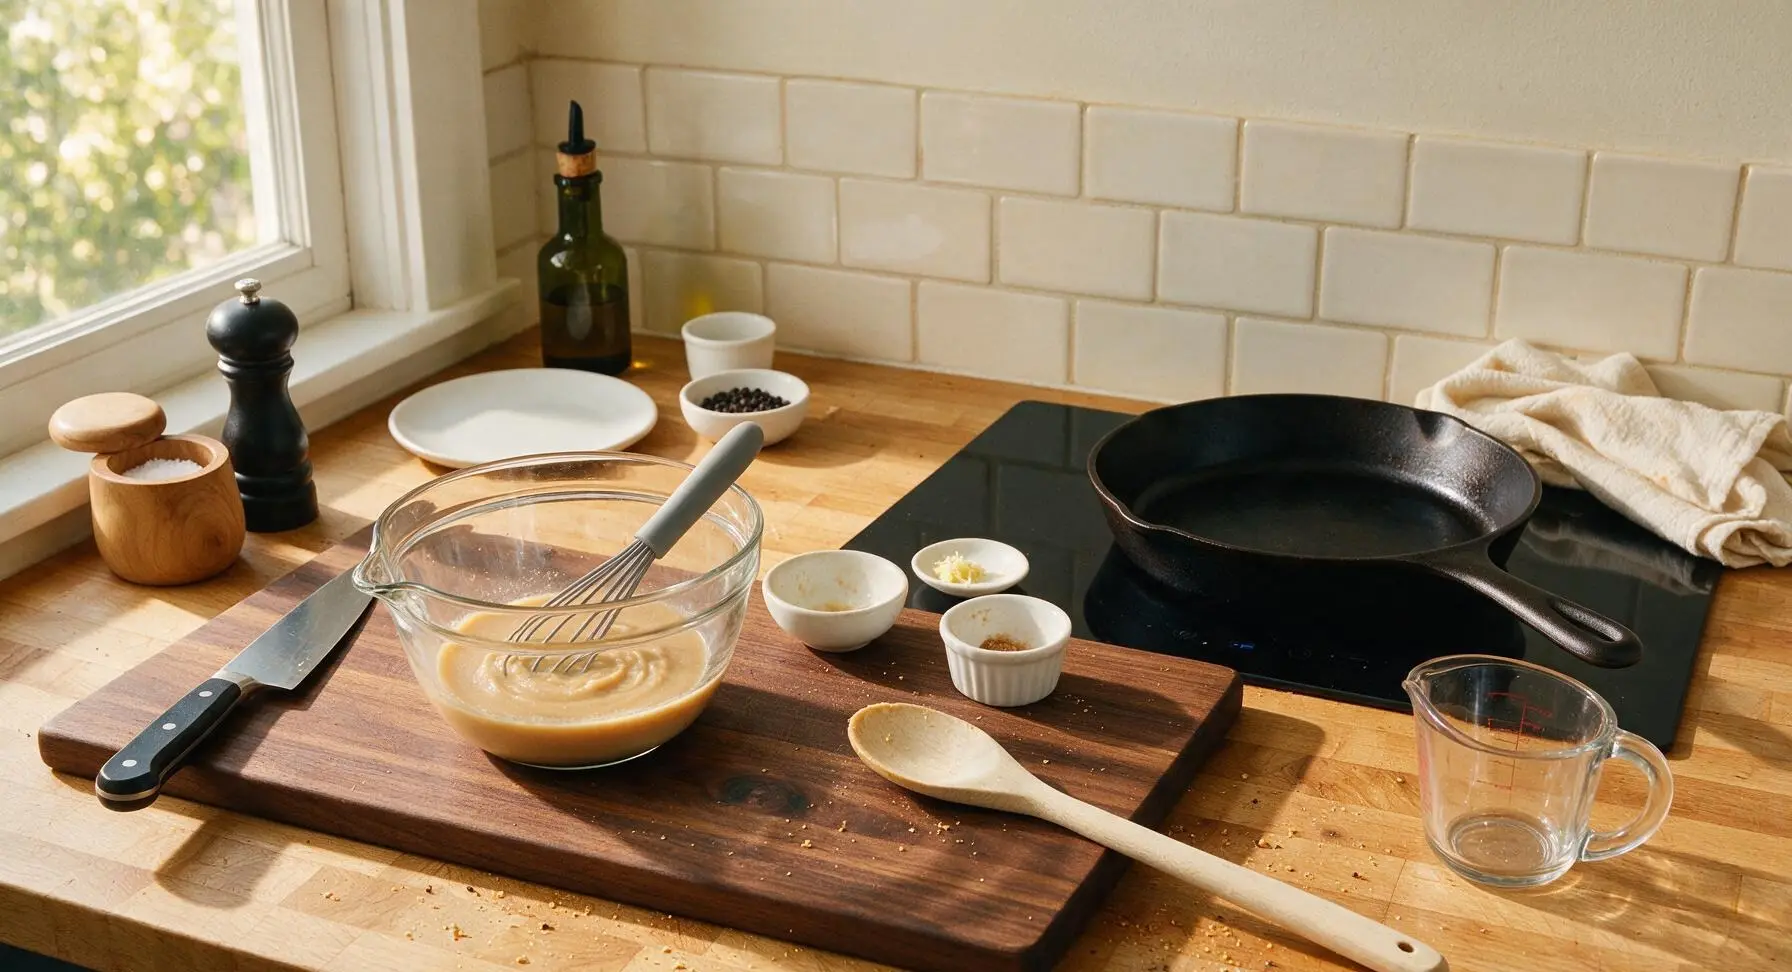
Set the clear glass mixing bowl on the left side of the light maple cutting board. Add 3 tablespoons shiro white miso, 1 tablespoon light brown sugar, 2 tablespoons low-sodium soy sauce, 1 tablespoon grated fresh ginger, and 2 crushed garlic cloves to the bowl. Use the matte gray silicone whisk to stir the mixture for 1 minute until it forms a completely smooth, lump-free pale tan paste, with no clumps of undissolved miso remaining at the bottom of the bowl.
Dilute Brine with Water
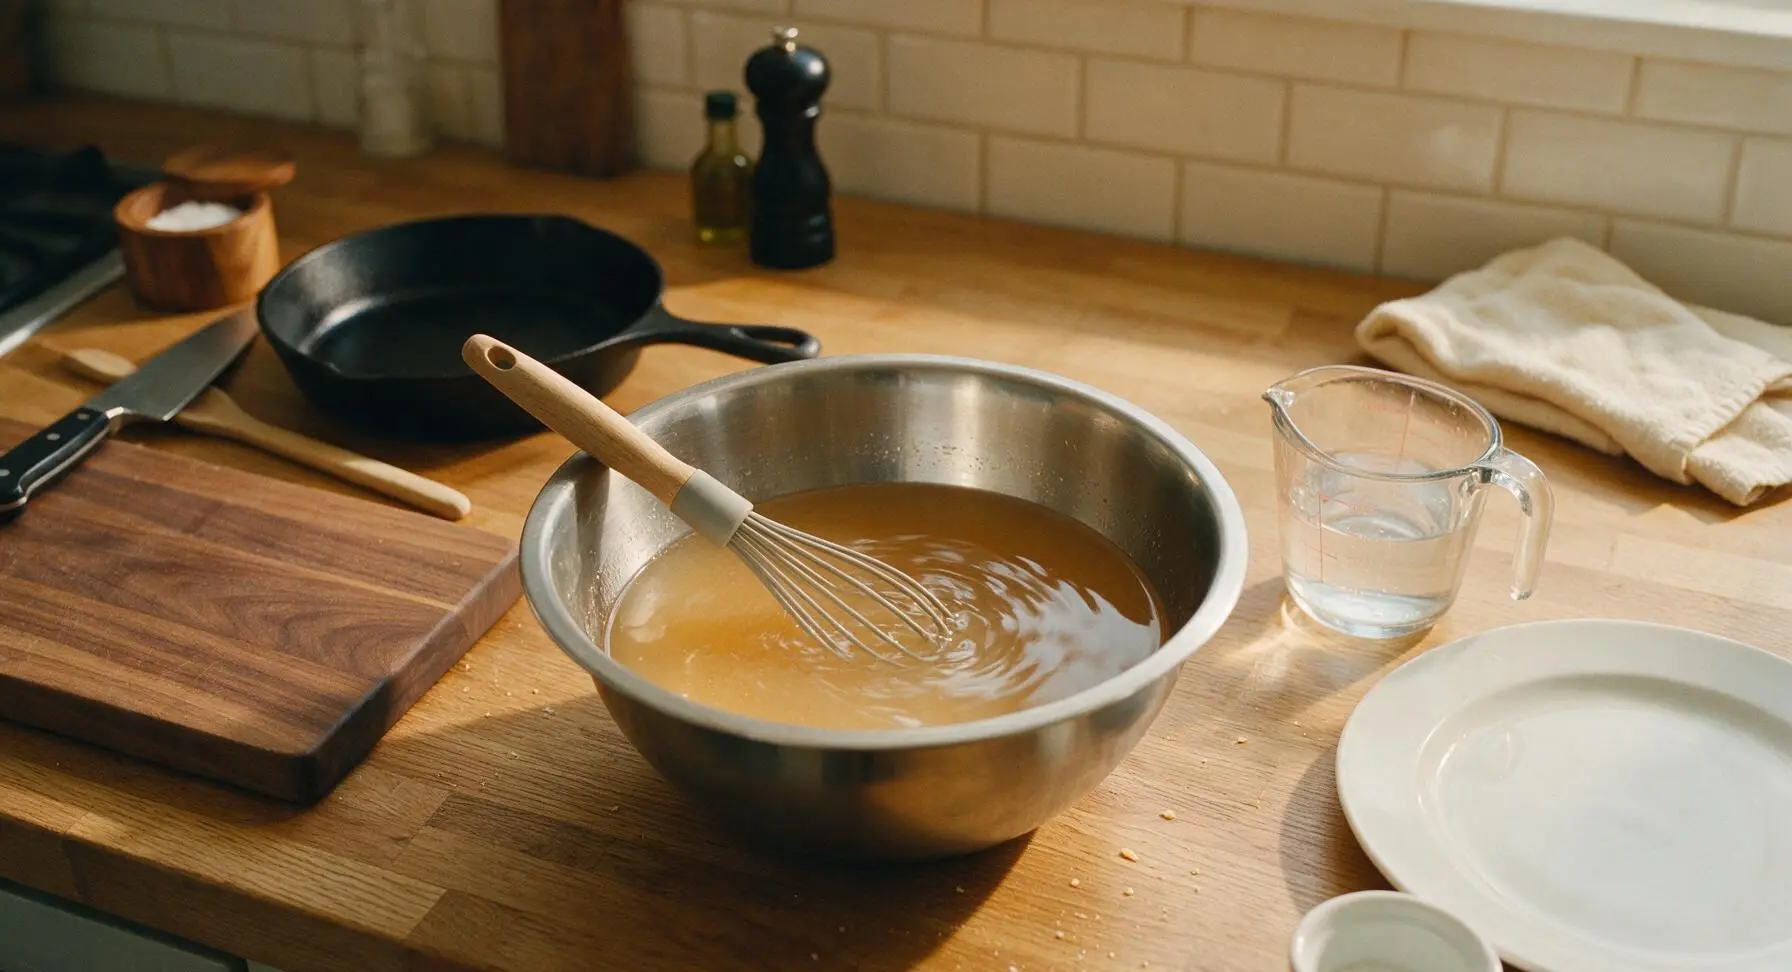
Slowly pour 4 cups of cold filtered water from the clear glass measuring cup into the miso paste, whisking constantly as you pour to fully incorporate the paste into the water. The finished brine will be a pale, cloudy amber color, completely smooth with no concentrated miso sludge at the bowl bottom. Stir in 1/2 teaspoon kosher salt and 1/4 teaspoon freshly ground black pepper.
Pat Catfish Dry
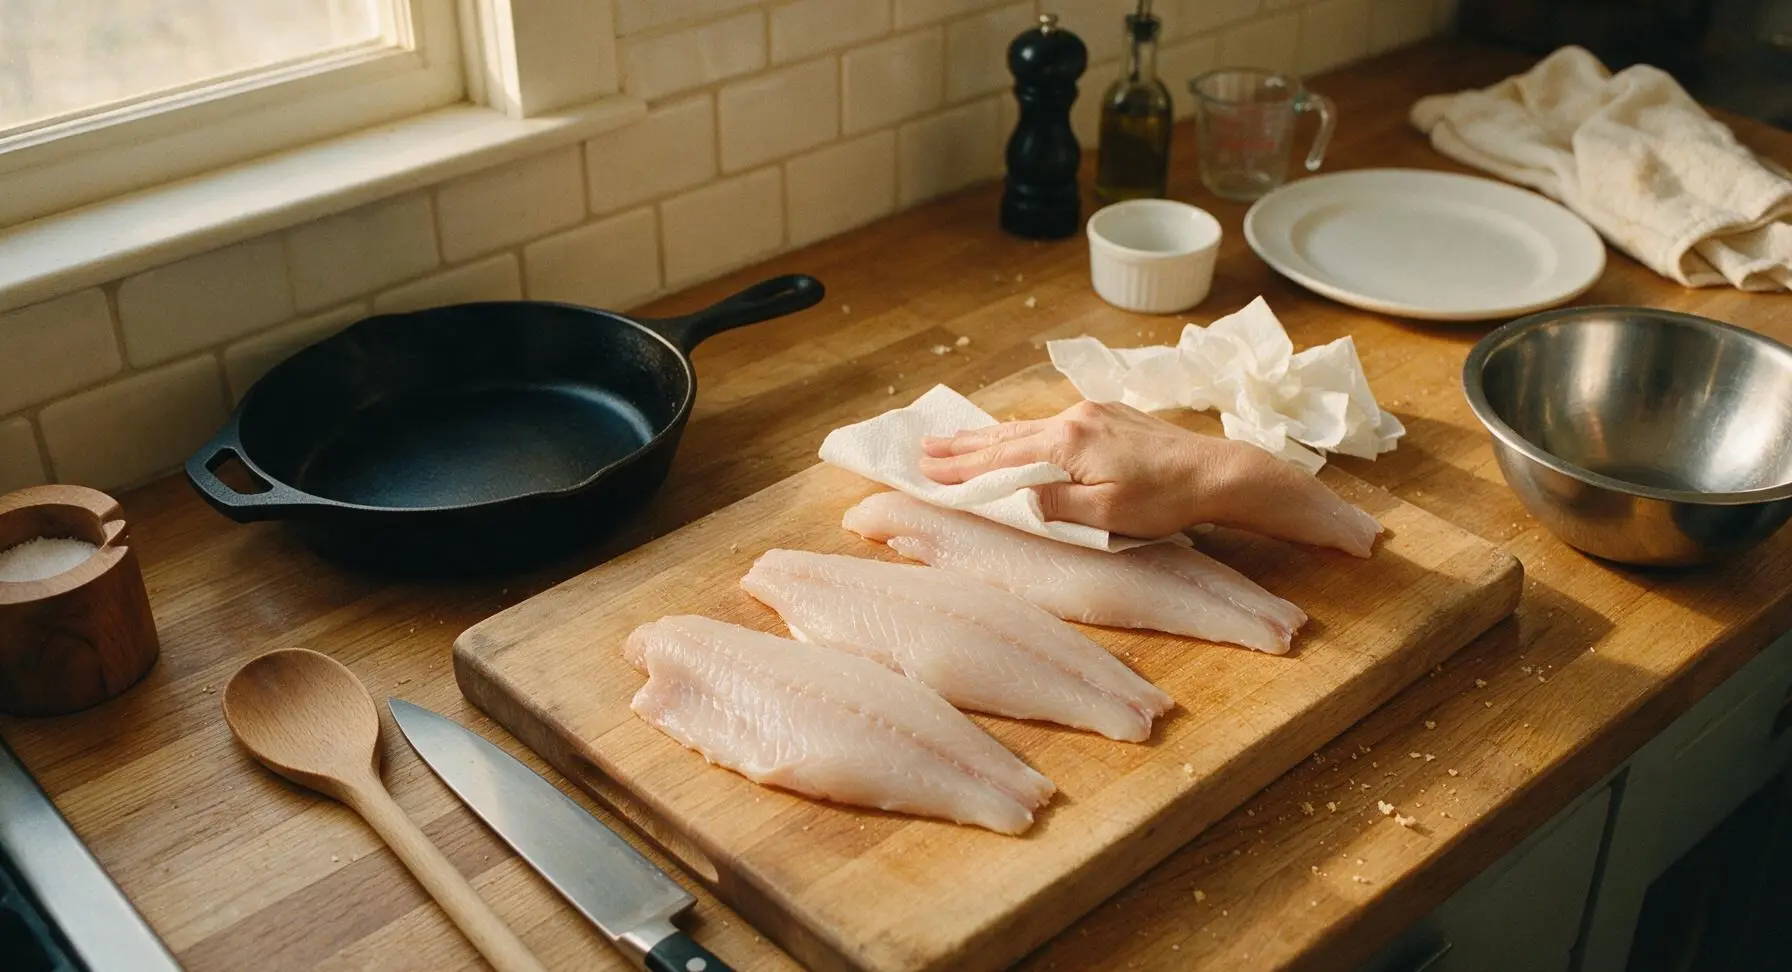
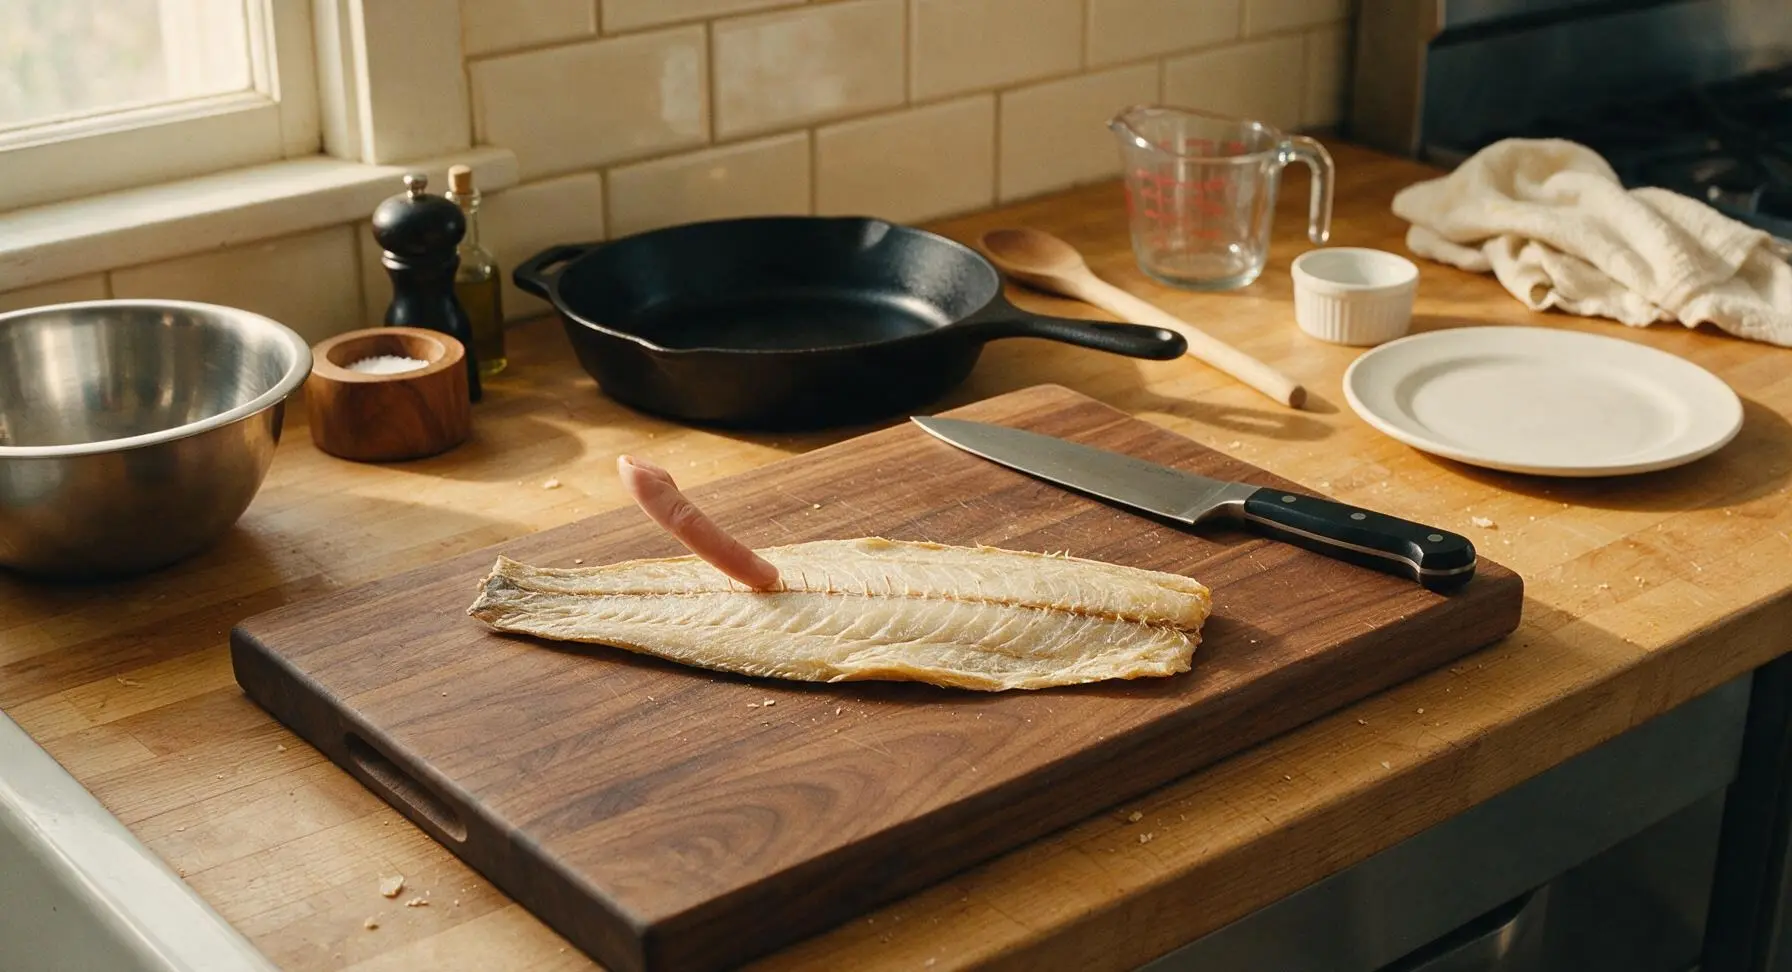
Remove catfish fillets from packaging and arrange them in a single row across the center of the maple cutting board. Use sheets of paper towel from the countertop roll to firmly pat every surface of the fillets completely dry, removing all excess surface moisture. Run a finger along the length of each fillet to check for tiny remaining pin bones, pulling any found bones out with your fingertips. Lightly season both sides of the dried fillets with the remaining 1/2 teaspoon kosher salt and 1/4 teaspoon black pepper.
Brine Catfish Fillets
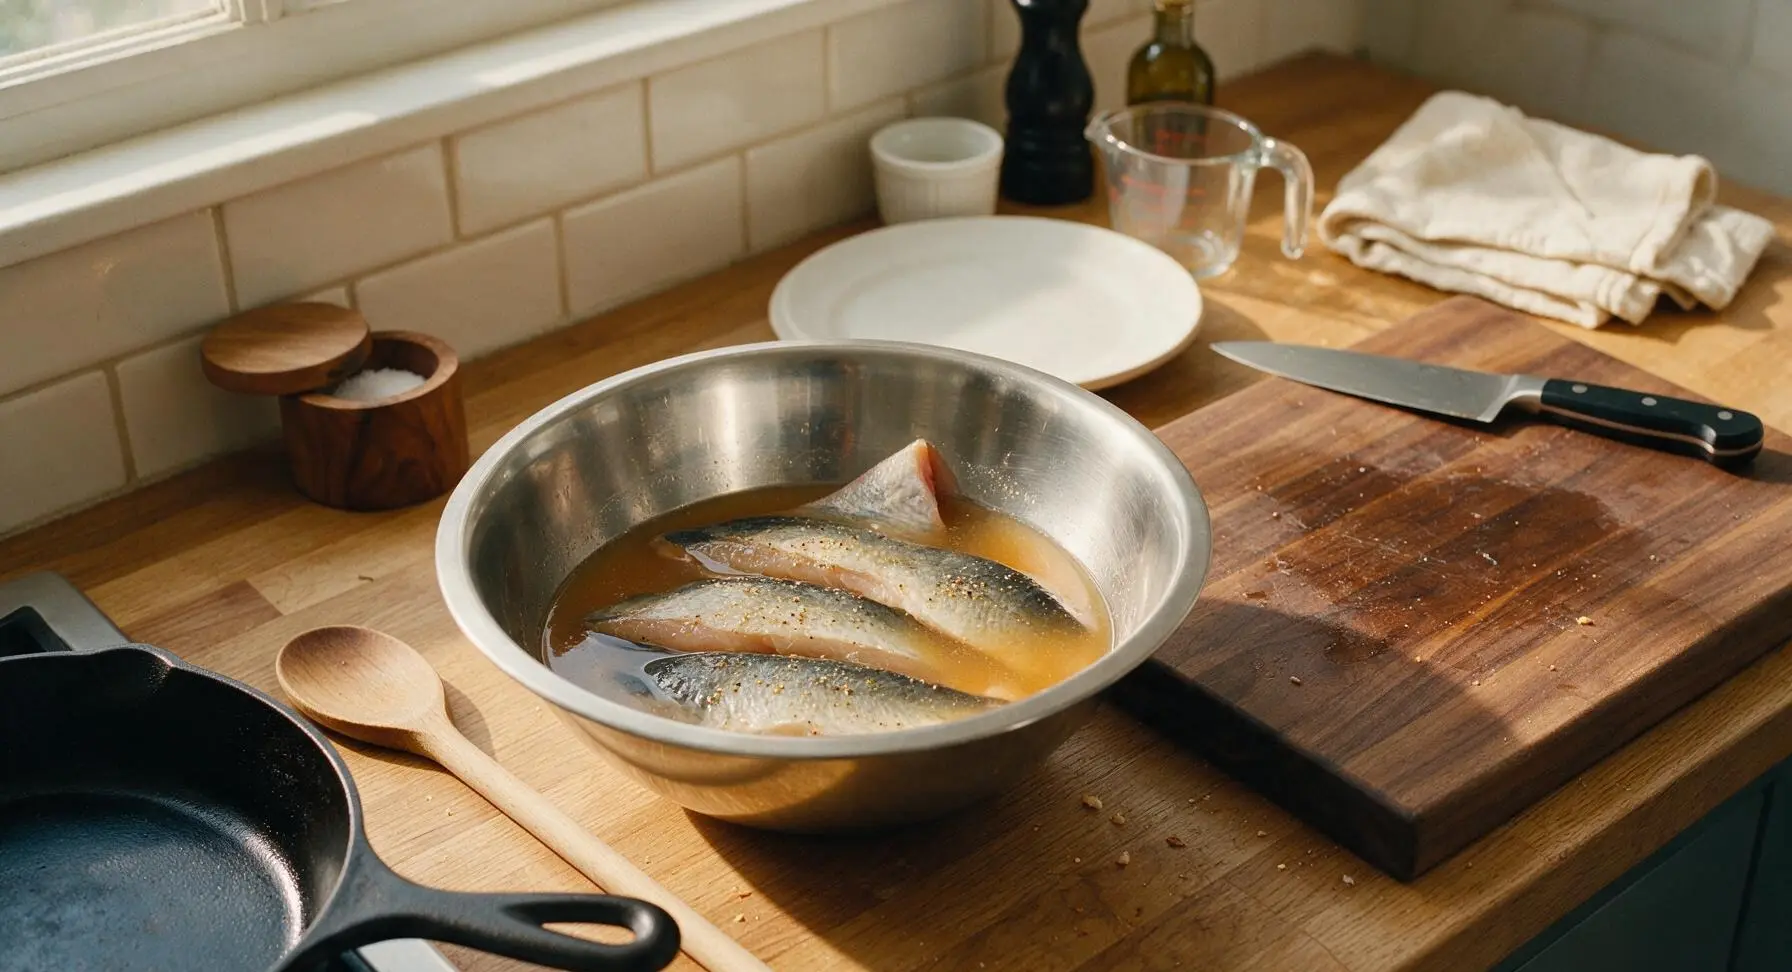
Gently lower all dried, seasoned catfish fillets into the miso brine, pressing down to ensure every fillet is fully submerged (place a small lightweight plate on top if any fillets float to the surface). Cover the bowl loosely with plastic wrap and transfer to the refrigerator to brine for exactly 2 hours. Do not brine longer than 3 hours, as the porous catfish flesh will absorb too much salt from the miso.
Remove and Dry Fillets
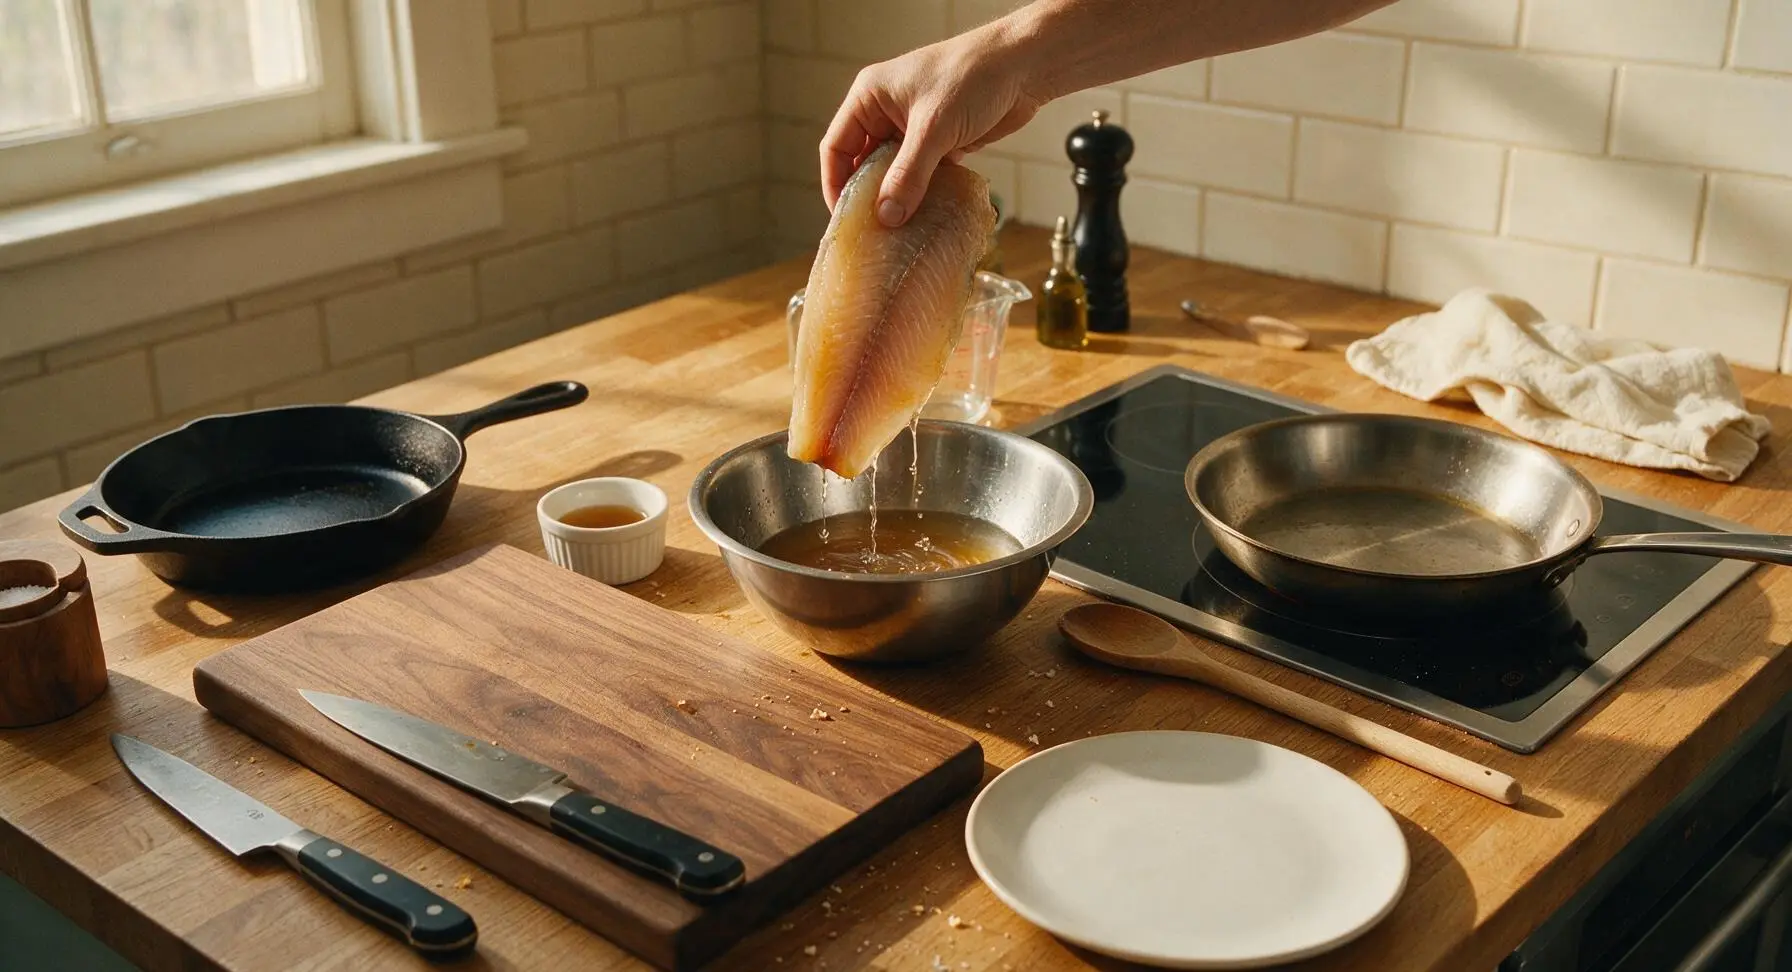
After 2 hours of brining, pull the mixing bowl from the refrigerator. Lift fillets out of the brine one at a time, letting excess brine drip back into the bowl for 10 seconds per fillet. Place fillets back on the clean maple cutting board, then pat very dry with fresh paper towels—an extremely dry surface is critical for a crisp, non-stick sear. Pour 2 tablespoons of the brine into the small white ceramic ramekin to reserve for drizzling, then discard all remaining brine.
Heat Skillet and Oil
Turn the induction burner under the carbon steel skillet to medium-high heat (375°F / 190°C). Add 2 tablespoons toasted sesame oil to the skillet, and heat for 2 minutes until the oil shimmers across the pan surface and sends up thin, wispy tendrils of smoke. Do not let the oil heat to a heavy smoke, as it will turn bitter and ruin the fish flavor.
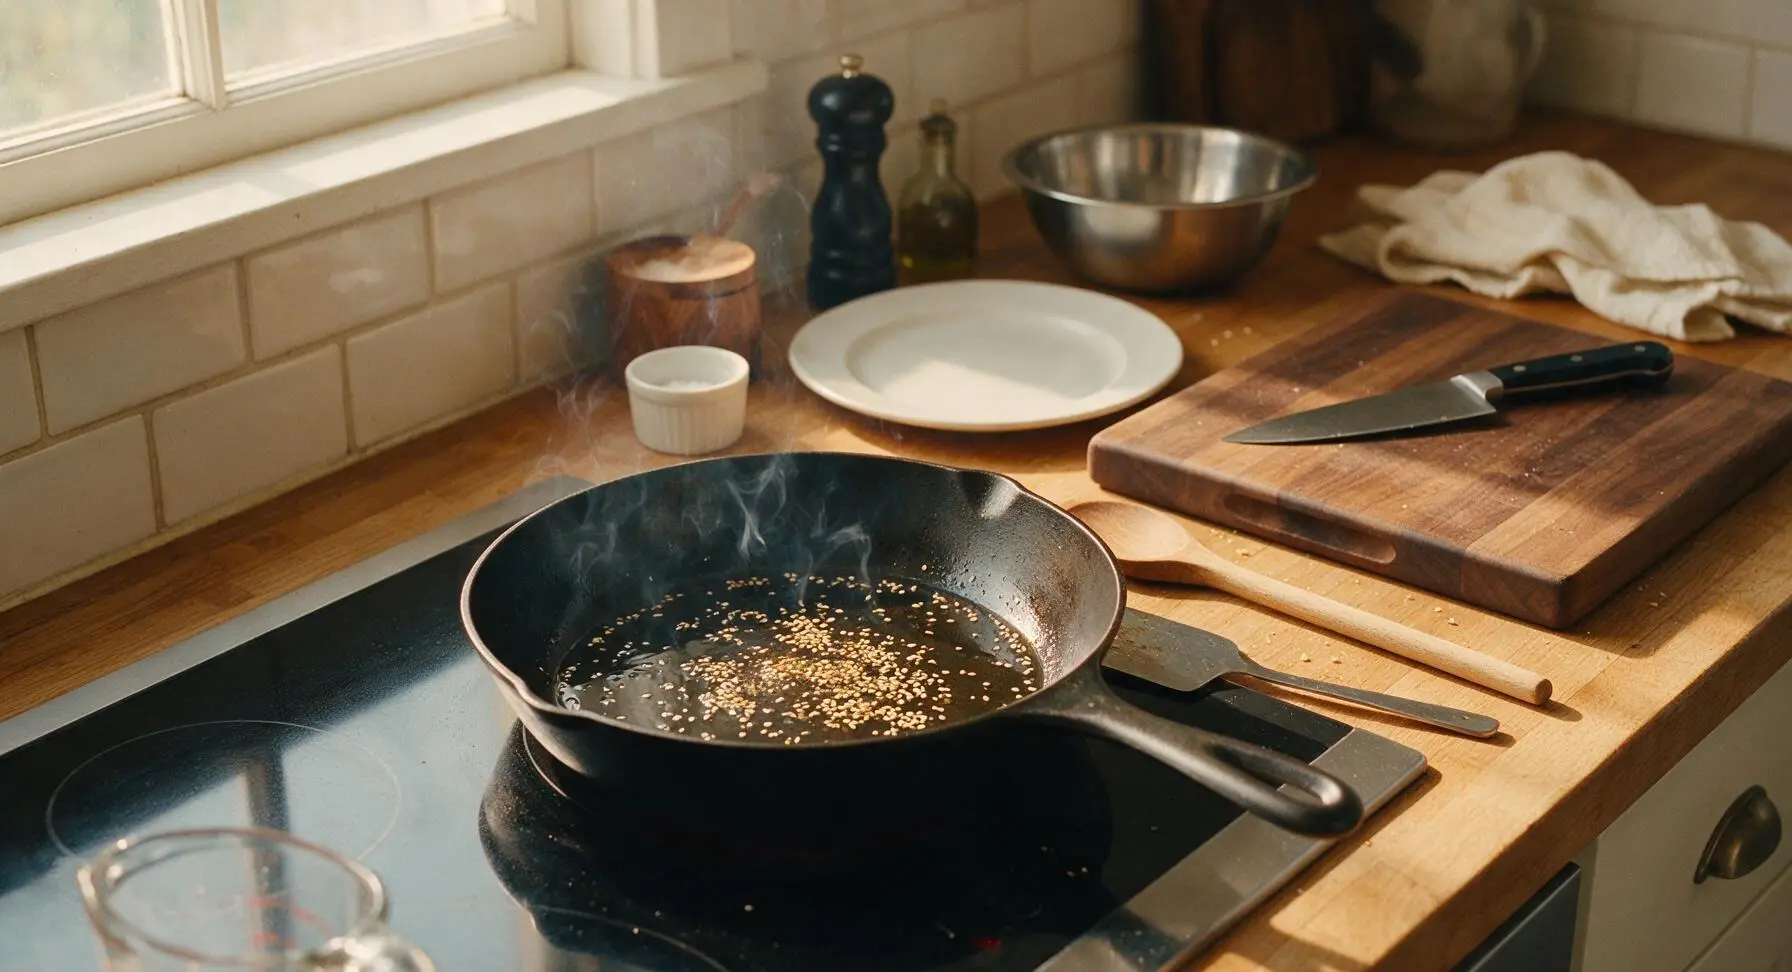
Sear Fillets Until Crisp
Carefully lay dried brined fillets into the hot skillet in a single layer, working in two batches if needed to leave 2cm of space between each fillet (overcrowding causes steaming instead of crisp searing). Sear undisturbed for 4 minutes on the first side, until a deep golden-brown crisp crust forms. Use the thin metal spatula to gently flip each fillet, then sear for an additional 3-4 minutes on the second side, until the instant-read thermometer inserted into the thickest part reads 145°F (63°C) and the flesh flakes easily with a fork.
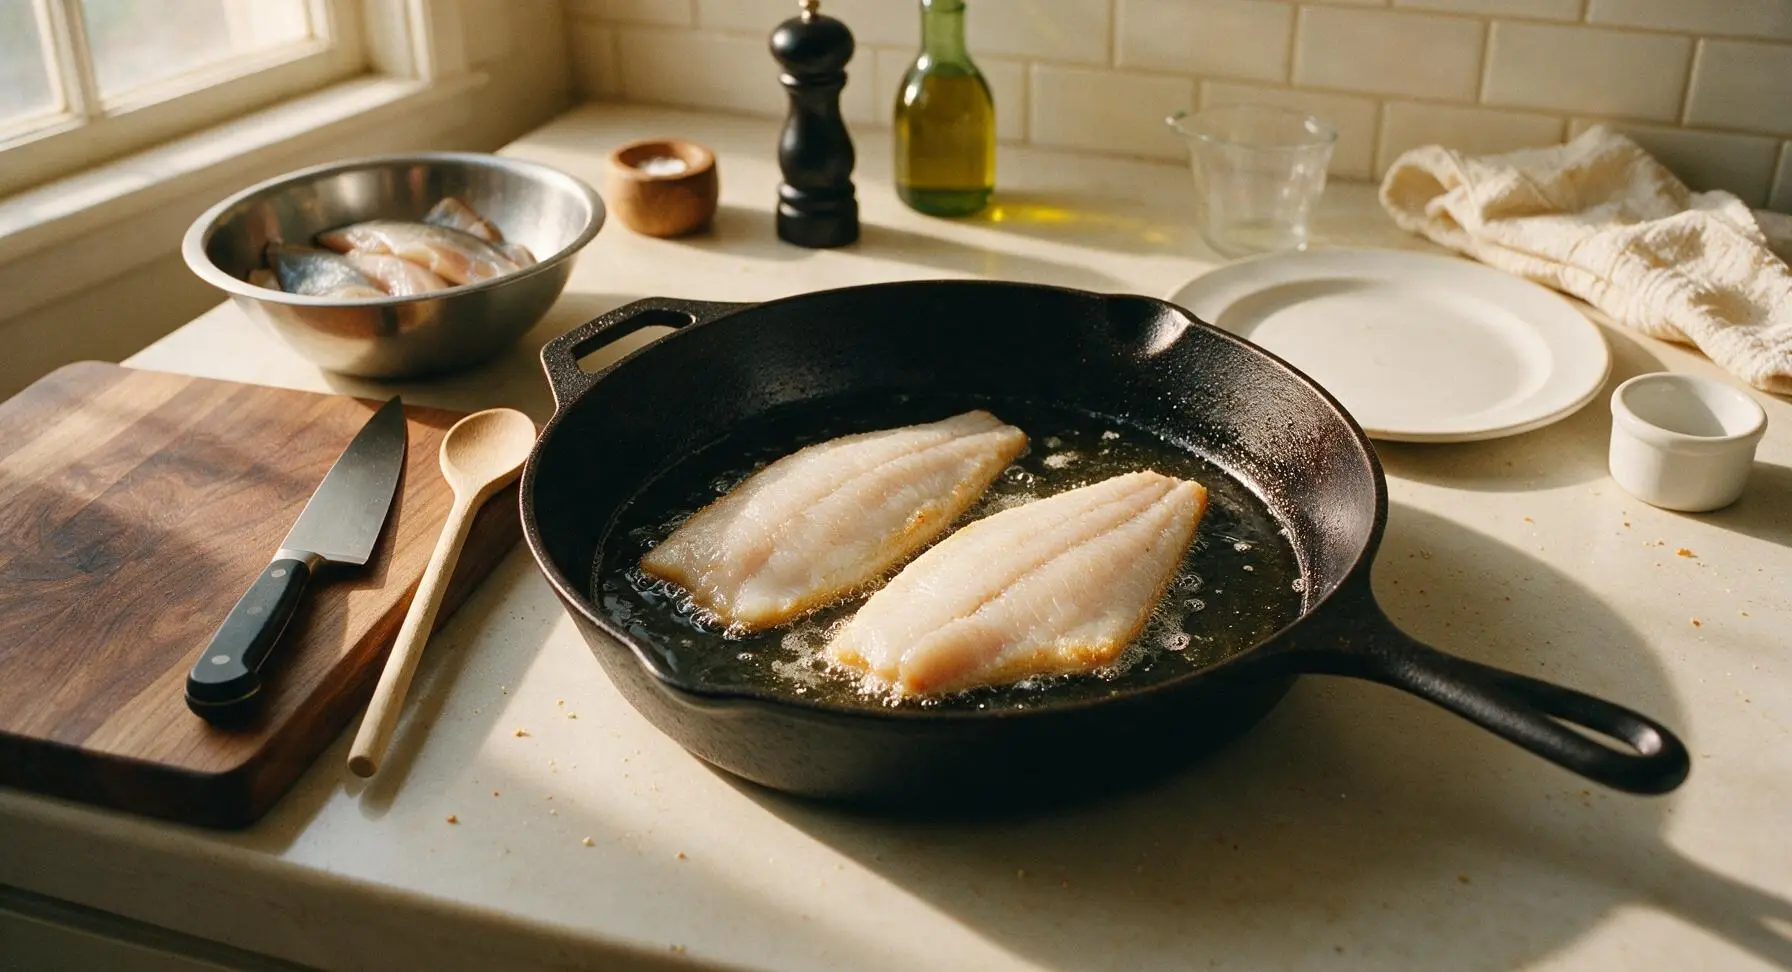
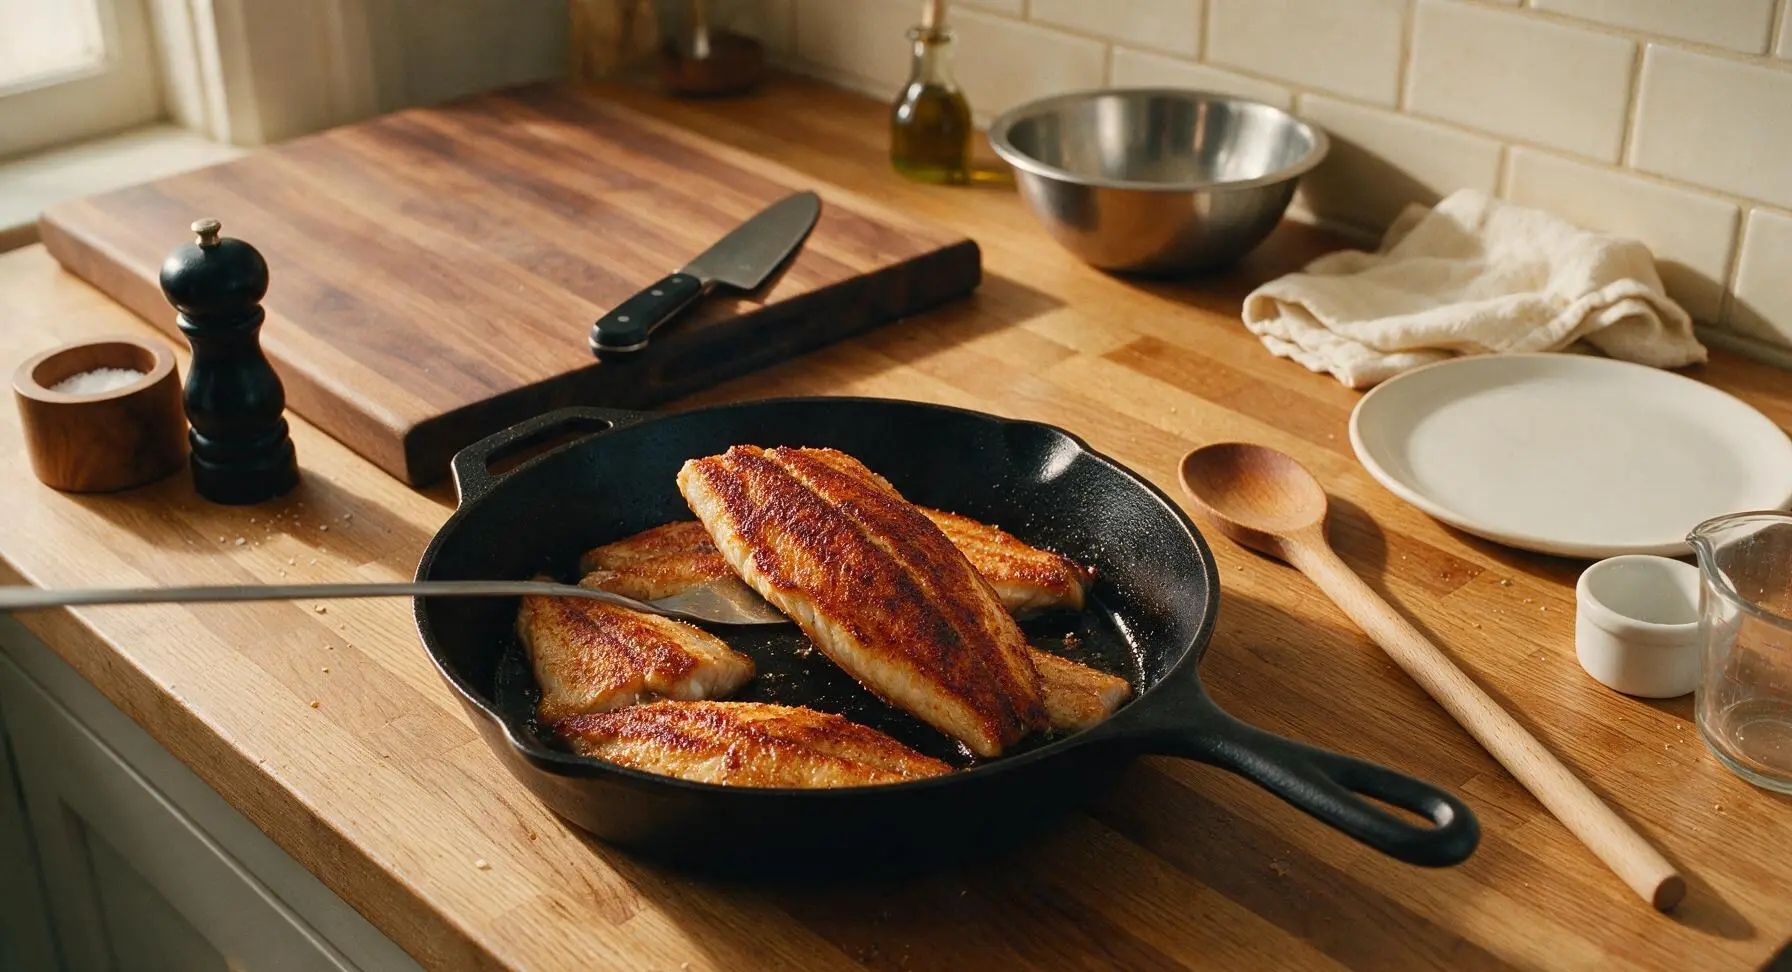
Plate and Garnish
Transfer seared fillets to the slate gray dinner plates, letting them rest for 2 minutes to allow internal juices to redistribute. Drizzle each fillet with 1/2 teaspoon of the reserved miso brine, then top with thinly sliced scallion greens, a light pinch of toasted white sesame seeds, and a lemon wedge on the side. Serve immediately while hot.
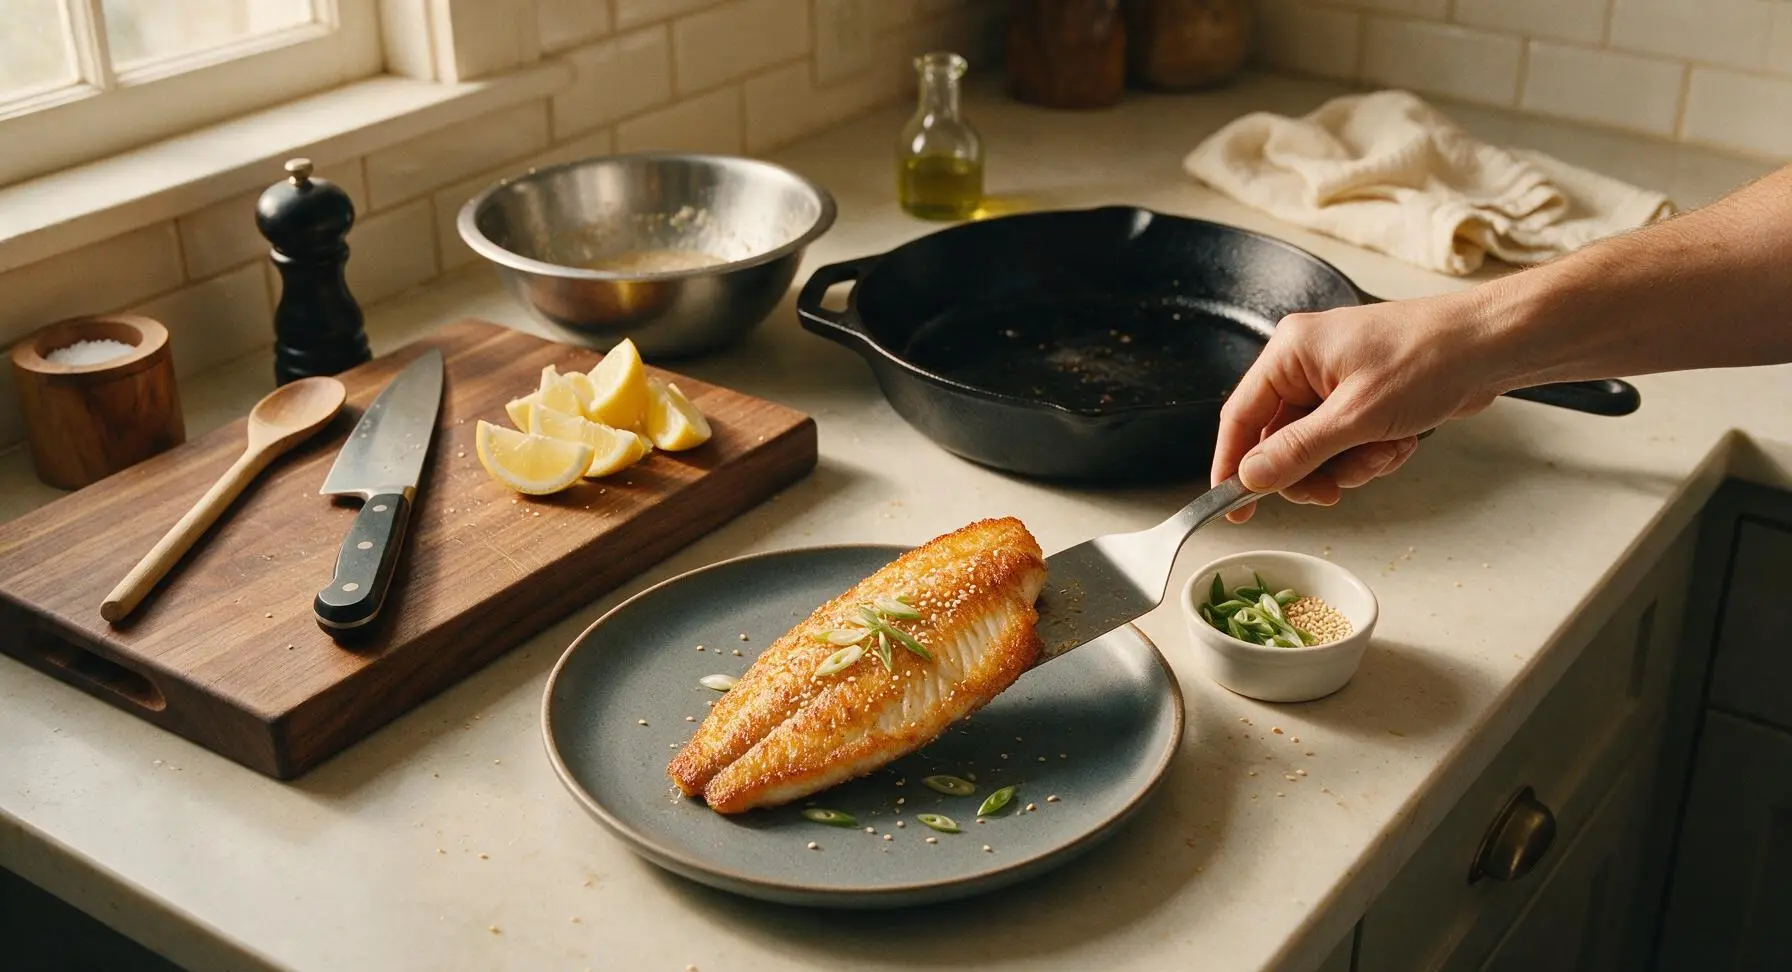
Tips
2.Never skip the second drying step after removing fillets from the brine: any leftover surface moisture will cause hot oil to splatter dangerously and prevent a crisp, golden crust from forming, resulting in soggy, steamed-tasting fish.
3.Resist the urge to move or prod the fillets during the first 4 minutes of searing: leaving the fish undisturbed allows the crust to fully form and adhere to the fish, so it won’t stick to the pan or tear when you flip it.






OMG this miso brined catfish is a total game changer for our weekly Friday fish fry! I was worried the miso would be too strong for my picky 8 year old but he devoured two fillets and asked for seconds. 14 minute cook time? Perfect for busy school nights, no slaving over the stove forever. SO good, will be making this on repeat.
Tried this last night for my roommate’s potluck and everyone was begging for the recipe! I’ve always thought catfish was only for fried Southern-style preparations, but the miso brine gives it such a deep umami kick without being overpowering. Super easy too, I’m definitely not a skilled cook and pulled it off no problem.
Quick question — can I brine the catfish ahead of time for meal prep? I usually do all my Sunday prep for the week and want to make sure the brine doesn’t make the fish too salty if I leave it in too long. Also, does this reheat well in the air fryer?
Wow, I was able to make this with stuff I already had in my pantry minus the miso, which I grabbed for like $3 at the grocery store. Total cost per serving was under $5, way cheaper than getting takeout sushi or fried fish from the spot down the street. Cooked it in my cheap apartment toaster oven and it still turned out chef’s kiss.
I’ve been cooking catfish for over 50 years and I’ll admit I was skeptical about a miso brine. Thought it was some new fangled fancy thing that wouldn’t live up to my old cornmeal fried recipe. Boy was I wrong! My grandkids ate every bite, even the one who swears he hates fish. I added a little squeeze of lemon on top and it was perfect.
Wait, has anyone tried this with a little spicy kick? I’m thinking of adding a teaspoon of gochugaru to the brine next time I make it, or maybe topping it with some chili crisp. Curious if that would mess with the miso flavor balance?
Made this for my wife for our first at-home date night after we got back from our honeymoon, and she said it’s better than the miso black cod we had at that fancy sushi spot on our trip. Wild that this is so easy and only takes 14 minutes to cook! I overcooked it by a minute our first try but it was still juicy, that brine is magic.
I don’t even eat fish that often but my partner is obsessed with catfish so I gave this a go. I was shocked how much I loved it! The miso cuts through any of that muddy fish taste catfish can sometimes have, and the flesh was so tender. I served it with roasted broccoli and rice, such a perfect light weeknight meal.
Quick note for anyone who has a cast iron skillet: sear this on high heat for 2 minutes per side after brining and you get the most perfect crispy crust without any breading! I was worried it would stick but the brine creates a nice little seal, it came right up no problem. 10/10, will be making this for our annual fishing trip cookout next month.
Tried making this last night and I think I used the wrong miso? I grabbed red miso instead of white and it was way saltier than I expected. Still edible, my kids ate it, but I was wondering if I should dilute the brine next time if I only have red miso on hand?
This is so versatile! I made it as written the first time, then used leftover flaked catfish to make miso catfish tacos the next day with pickled cabbage and a little sriracha mayo. Absolute chef’s kiss, my entire extended family raved about the tacos at our Sunday cookout. Who knew miso and catfish worked so well in tacos?
So happy this recipe is naturally gluten free! I have celiac and it’s so hard to find tasty fish recipes that don’t require wheat-based breading or have hidden soy sauce with wheat. I used tamari instead of the regular soy sauce in the brine and it turned out perfectly, no weird texture or off flavors. Adding this to my permanent weekly rotation!