
Molten Chocolate Lava Cake
intro
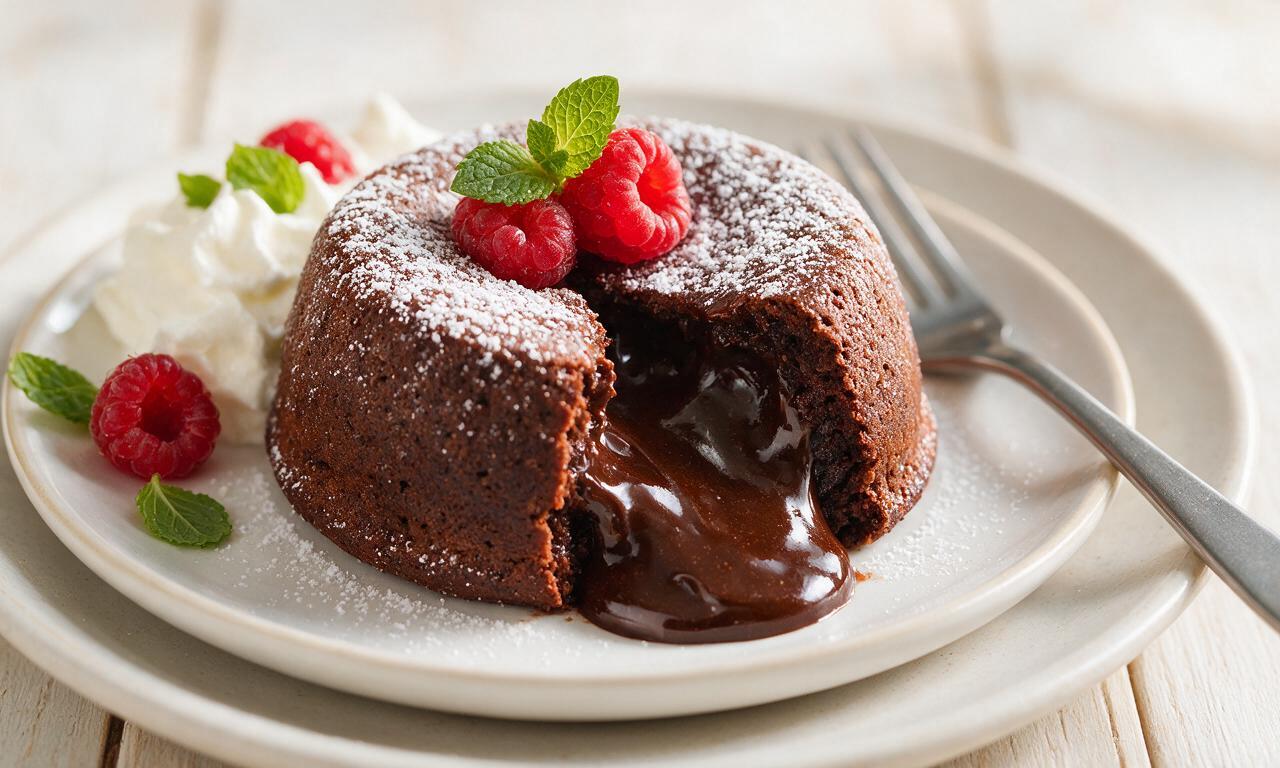
Warm, rich individual chocolate cakes with a gooey, flowing molten center, this restaurant-worthy baked treat is indulgent, impressive, and simple to master at home.
Ingredients
Steps
Prep oven and ramekins
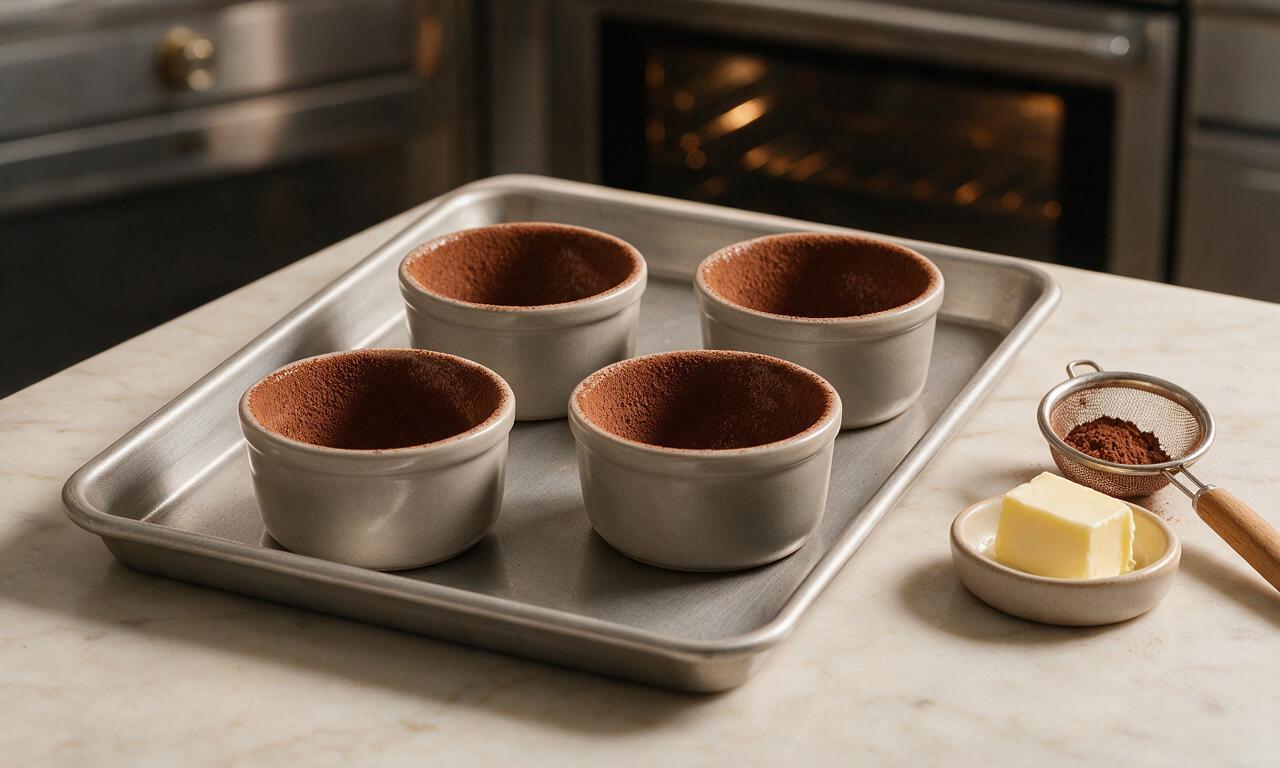
Preheat your oven to 220°C (425°F) with a rack positioned in the exact center. Grease the interior of four 177ml (6-oz) ceramic ramekins thoroughly with the 1 teaspoon of extra softened butter, then dust each inside surface with 1/4 tablespoon of unsweetened cocoa powder, tapping out excess to create an even non-stick coating. Set prepared ramekins on a small rimmed baking sheet for easy transfer to and from the oven.
Melt chocolate and butter
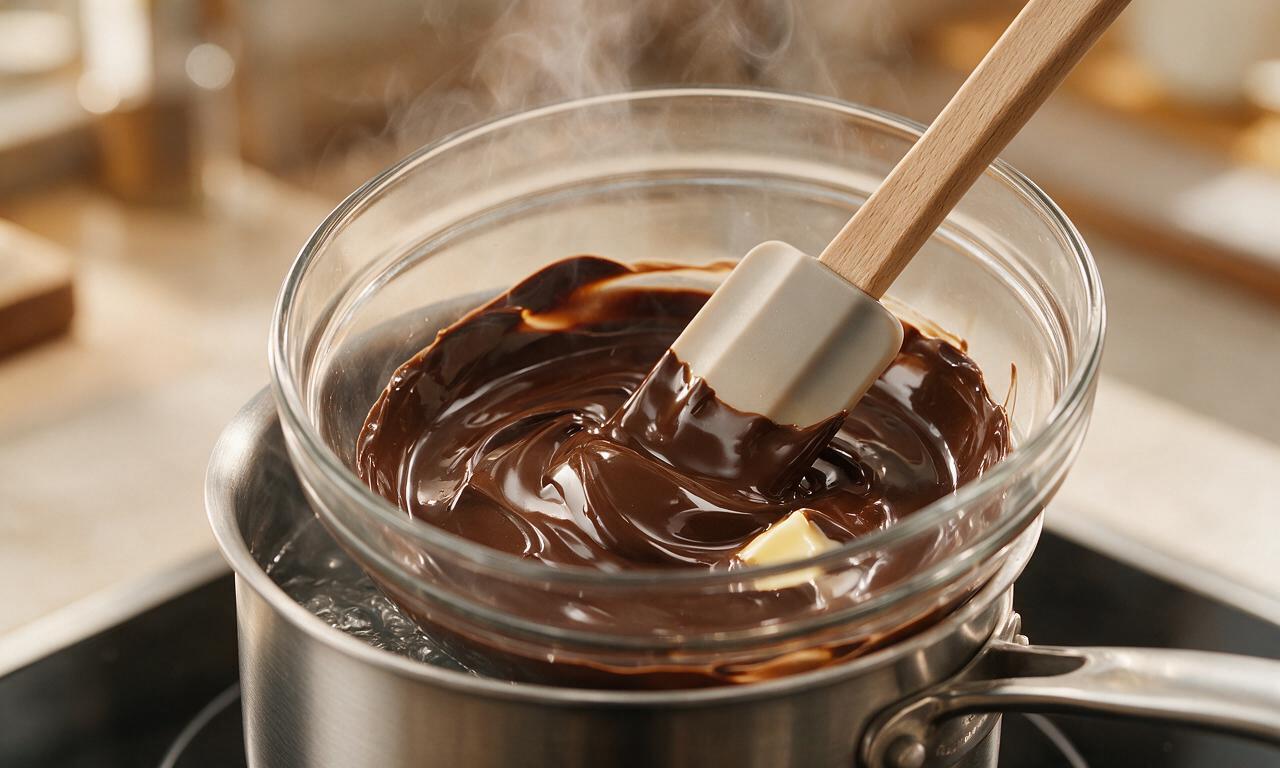
Place the chopped 113g dark chocolate and cut 113g unsalted butter in a heatproof glass bowl set over a small saucepan of gently simmering water (double boiler method, ensure the bottom of the bowl does not touch the water). Stir continuously with a silicone spatula over medium-low heat for 3-4 minutes until the mixture is completely smooth with no remaining lumps. Remove the bowl from heat and set aside to cool for 5 minutes, until it is warm to the touch but not hot enough to cook eggs.
Whisk egg and sugar base
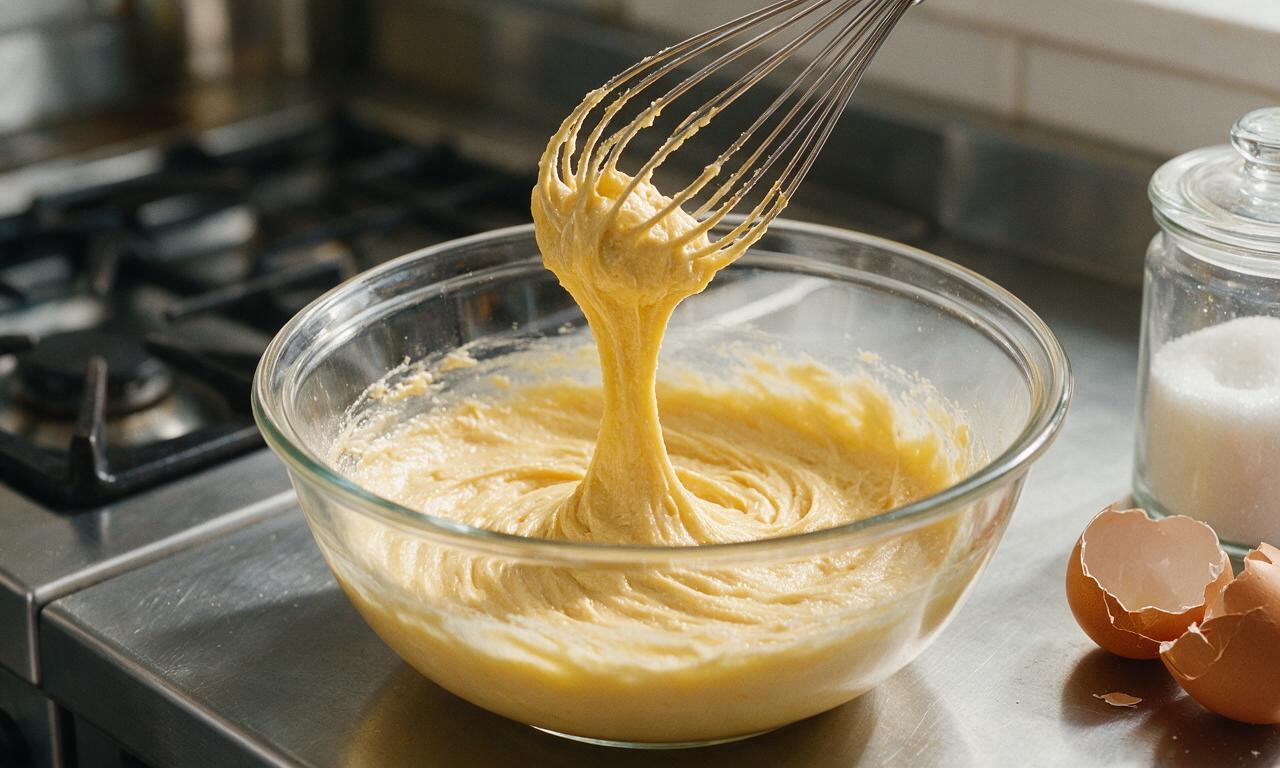
In a separate medium mixing bowl, combine the 2 whole eggs, 2 egg yolks, 60g granulated sugar, 5ml vanilla extract, and 1/8 teaspoon fine sea salt. Whisk vigorously by hand for exactly 2 minutes until the mixture is pale golden, thickened, and leaves a slow, thin ribbon trail when the whisk is lifted 2 inches above the bowl. Do not over-whisk to incorporate excess air, which can cause cakes to rise unevenly and collapse while baking.
Combine cake batter
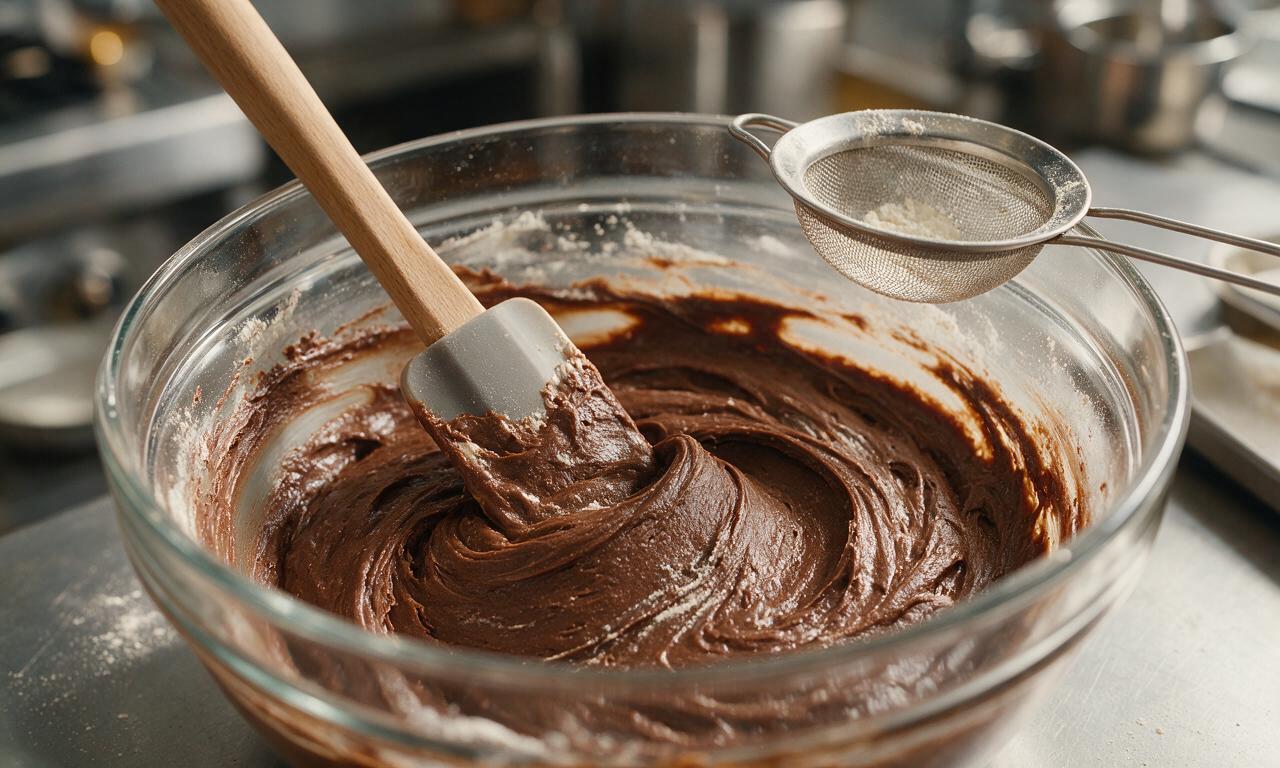
Pour the slightly cooled melted chocolate-butter mixture into the whisked egg base, stirring gently with a silicone spatula in slow, folding motions until no pale egg streaks remain. Sift the 30g of all-purpose flour evenly over the top of the mixture, then fold again just until the flour fully disappears into the batter—stop mixing as soon as no dry flour is visible to avoid creating a tough, dense cake texture.
Portion and bake cakes
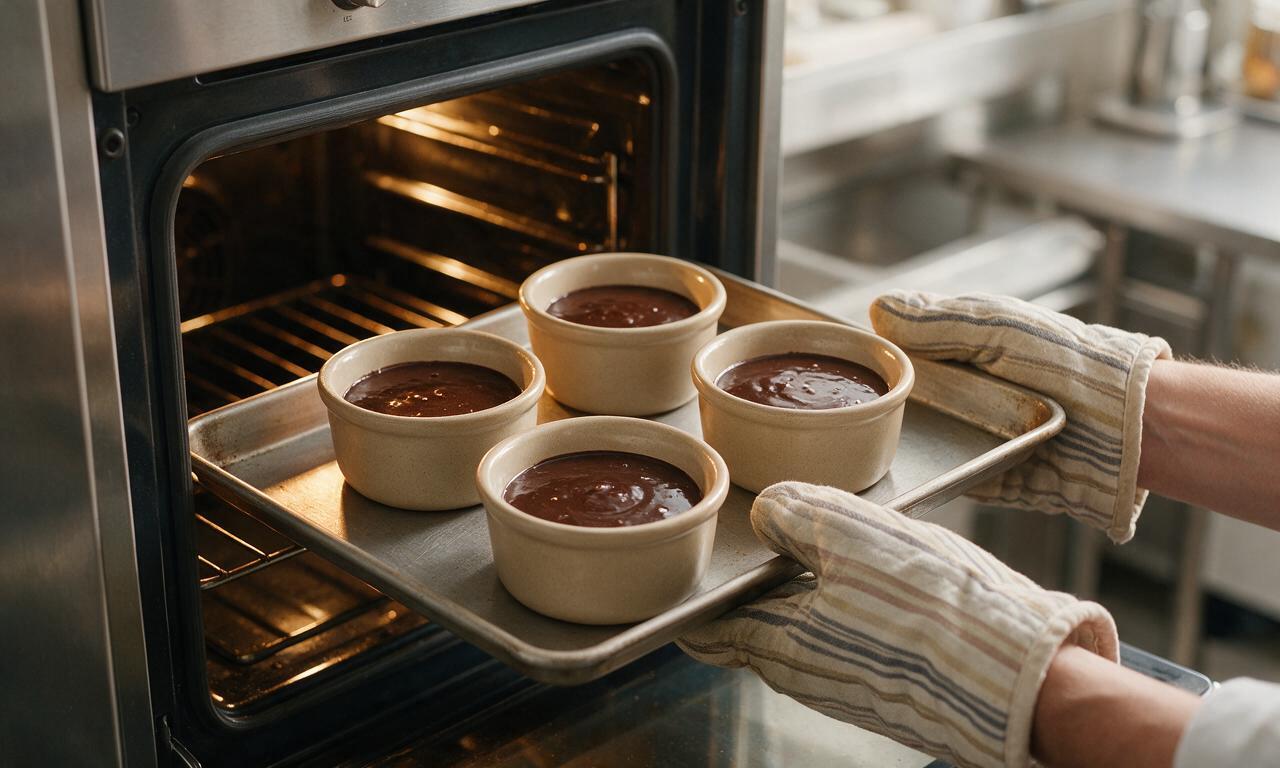
Divide the batter evenly between the four prepared ramekins, filling each to 3/4 of its total capacity (roughly 90g of batter per ramekin). Slide the baking sheet with ramekins onto the preheated center oven rack, and bake for exactly 10-12 minutes at 220°C (425°F). Cakes are done when the outer edges are fully set and puffed 1/4 inch above the ramekin rim, but the very center still looks soft and jiggly when the baking sheet is gently nudged.
Unmold and serve hot
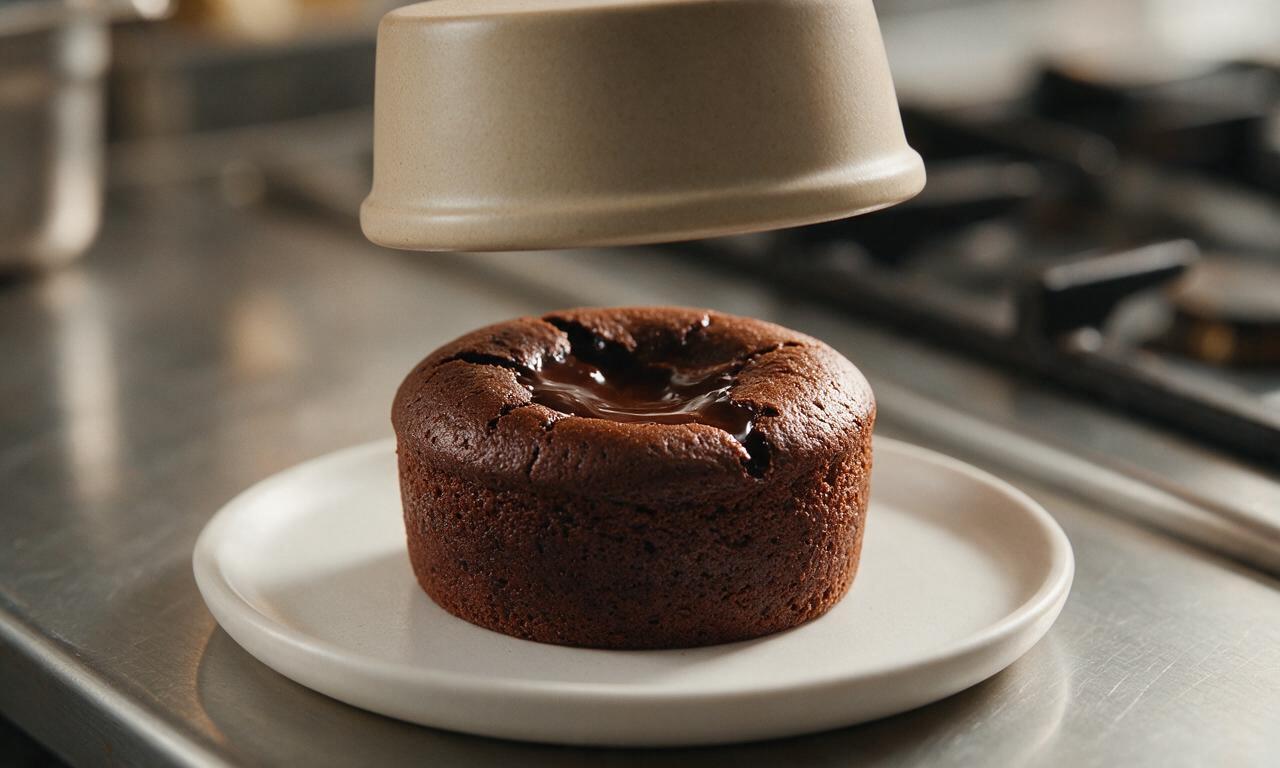
Remove the baking sheet from the oven, and let the cakes rest in their ramekins for exactly 60 seconds (1 minute) — do not let them rest longer, as residual heat will cook the molten center solid. Place a small dessert plate upside down over the top of each ramekin, hold the plate and ramekin firmly together with a folded kitchen towel, and flip quickly in one smooth motion. Lift the ramekin gently away to release the cake, and serve immediately while the center is still flowing.
Tips
2.Use this easy make-ahead hack: portion batter into prepared ramekins, cover tightly with plastic wrap, and refrigerate for up to 24 hours; add 2 minutes to total bake time when cooking straight from chilled, no need to bring batter to room temperature first.
3.For balanced flavor, serve each cake with a 50g (1 small scoop) serving of vanilla bean ice cream, a light dusting of powdered sugar, or 3-4 fresh raspberries to cut through the rich dark chocolate with cool, bright, creamy contrast.






OMG this molten lava cake was an absolute game changer for my date night last night! I was so nervous it’d be too hard since it’s medium difficulty, but the 30 minute cook time was totally doable even with me running around getting the rest of dinner ready. The center was perfectly gooey, my partner kept raving about it like I was a professional pastry chef. 10/10 will make again for our next dinner party!
Brought these to my office potluck yesterday and they were gone in 10 minutes flat! I topped them with a little powdered sugar and fresh raspberries, people were coming back for seconds before I even got to try a bite (luckily I saved one for myself at home, SO good). Pro tip: grease the ramekins really well so they pop out clean, I almost messed up the first batch!
Okay so I’ve literally never baked anything that wasn’t from a box mix before, and I was so stressed about the molten center not turning out. I followed the directions exactly, set a timer like the recipe said, and mine came out perfectly runny in the middle? My roommates thought I ordered takeout from a fancy dessert spot! Only thing I’ll add next time is a scoop of vanilla ice cream on top.
Wait has anyone tried making these ahead of time and freezing them? I meal prep all my weeknight treats and would love to have these on hand for when my kid’s friends come over last minute. 30 minutes is fast but 10 minutes from frozen would be even better!
I swapped the all purpose flour for a 1:1 gluten free baking flour and these came out insane! I was worried the texture would be off, but you literally can’t tell the difference. My whole family (even the non-gluten free folks) were obsessed. Will be making these for our Sunday family dinner for sure!
Made these in my tiny dorm kitchen with just a toaster oven and they worked! I didn’t have ramekins so I used a couple of mugs I got from the campus bookstore, and the center was still perfectly molten. Total crowd pleaser when my friends came over to study, we all ate way too much. 10/10 easy enough for even the most basic college kitchen.
Tried this recipe last night and for some reason my centers were fully cooked through, no gooey middle at all? I think I left them in the oven a couple minutes too long because I got distracted answering the door. They still tasted really good, just not the lava effect I was going for. Gonna try again this weekend and be super strict with the timer!