
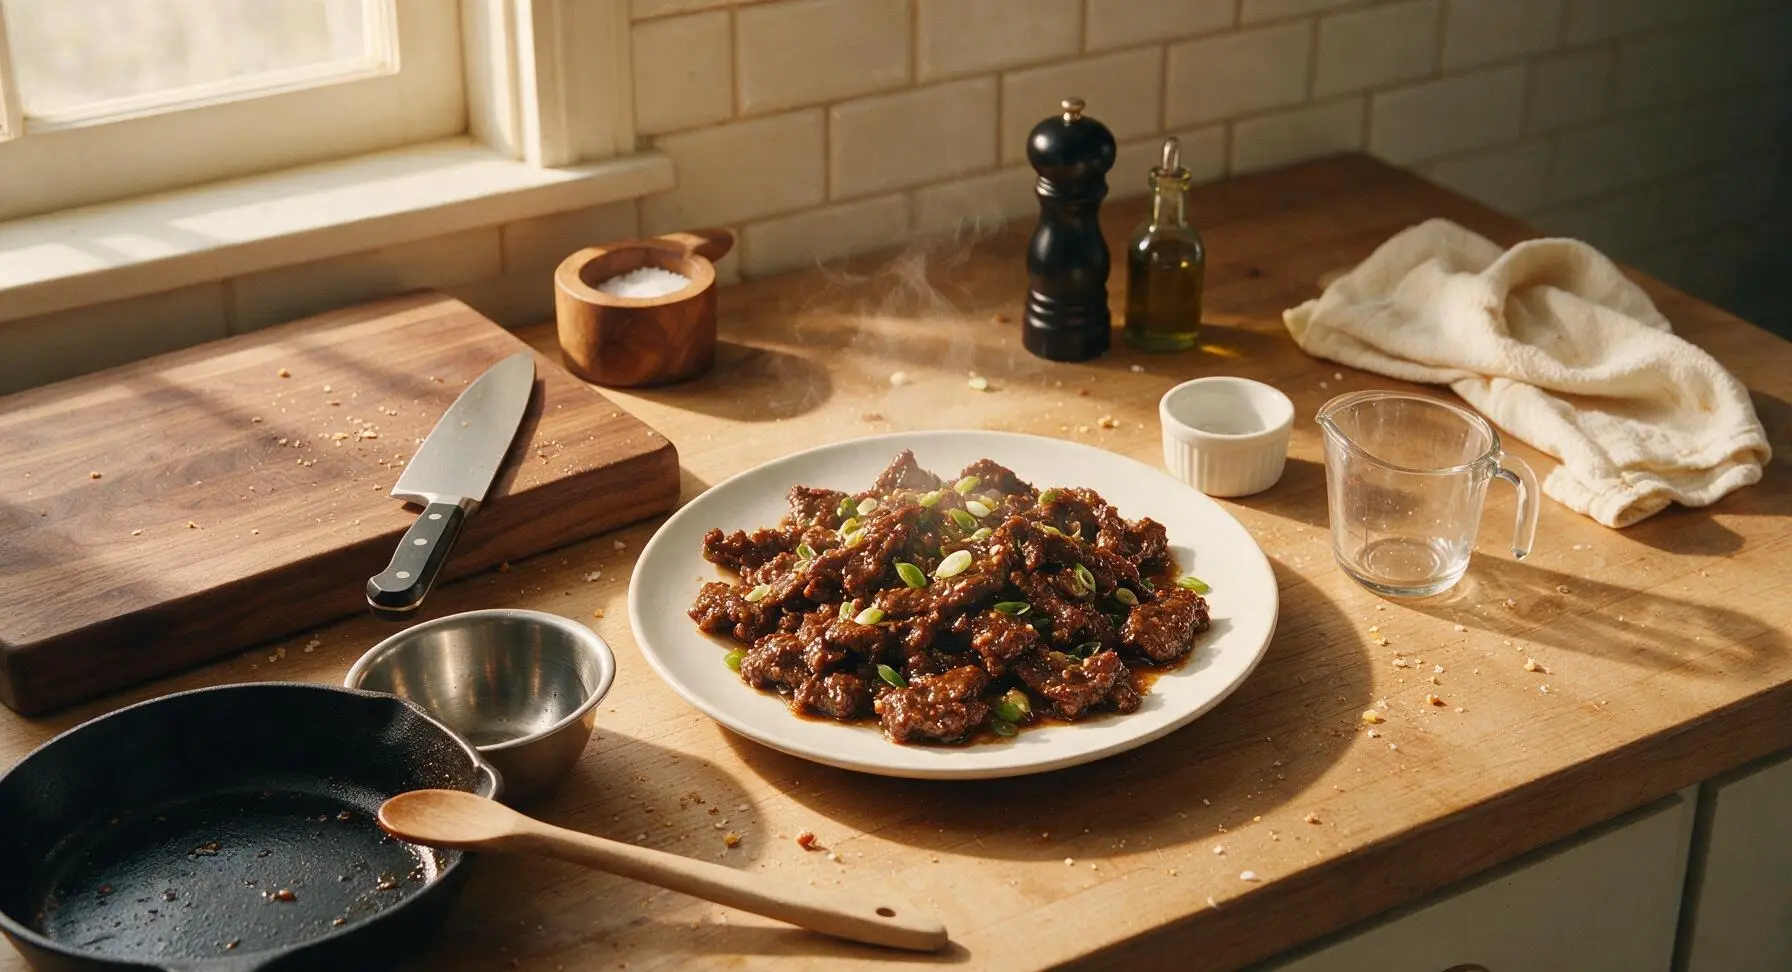
Mongolian Beef

title 1
Mongolian Beef
⏱️ cook time 10 minutes
🍽️ servings 4
⚡ Difficulty easy

intro

Crispy-tender flank steak tossed in glossy, sweet-savory soy-ginger sauce, studded with scallions— the iconic Chinese-American takeout favorite made quick and easy at home.

Ingredients
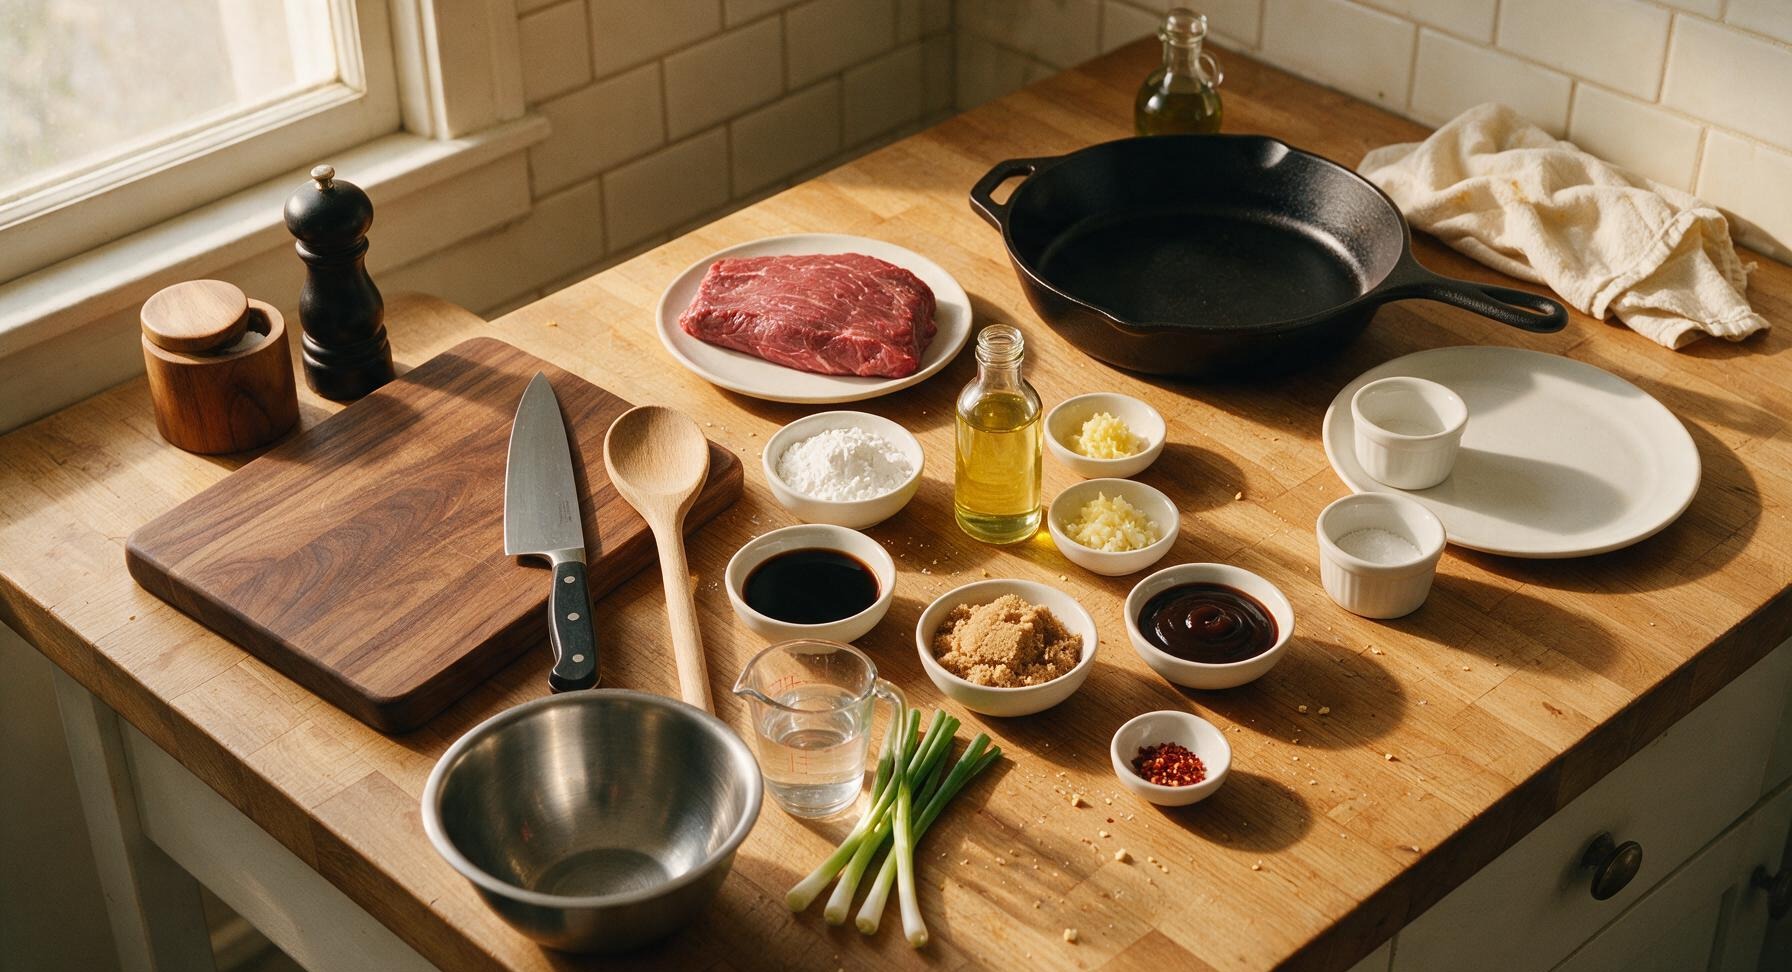
Flank steak 450g
Cornstarch 3 tablespoons
Canola oil 1/4 cup
Fresh ginger 1 tablespoon, grated
Garlic 3 cloves, minced
Low-sodium soy sauce 1/2 cup
Light brown sugar 1/3 cup, packed
Hoisin sauce 2 tablespoons
Water 1/4 cup
Scallions (green onions) 6 stalks
Red pepper flakes (optional) 1/4 teaspoon

Steps

1

Slice Flank Steak Thin

Place the whole flank steak on the honey-toned bamboo cutting board. Using the 8-inch chef knife, slice the steak against the grain into 1/4-inch thick slices, cutting at a 45-degree bias to create wider, extra-tender pieces. Pat all sliced beef thoroughly dry with paper towels to remove excess surface moisture—this is critical for achieving a crispy sear instead of steaming during cooking.
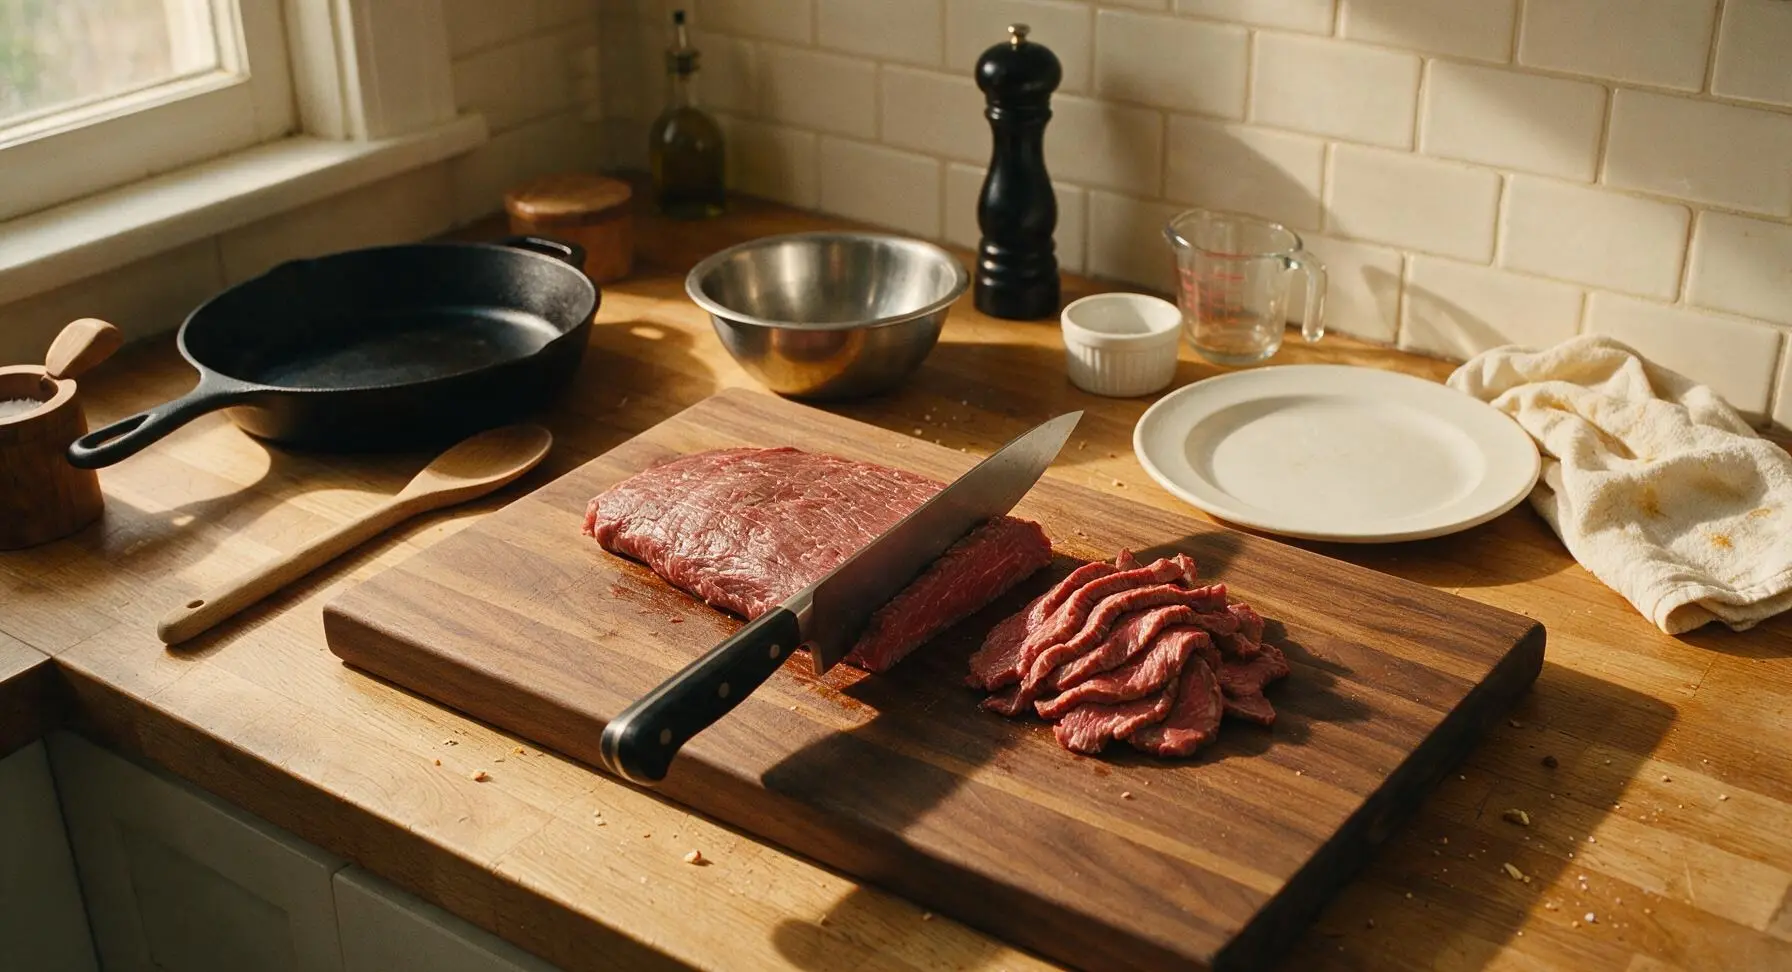
Step 1
step1:Slice Flank Steak Thin
2

Coat Beef in Cornstarch

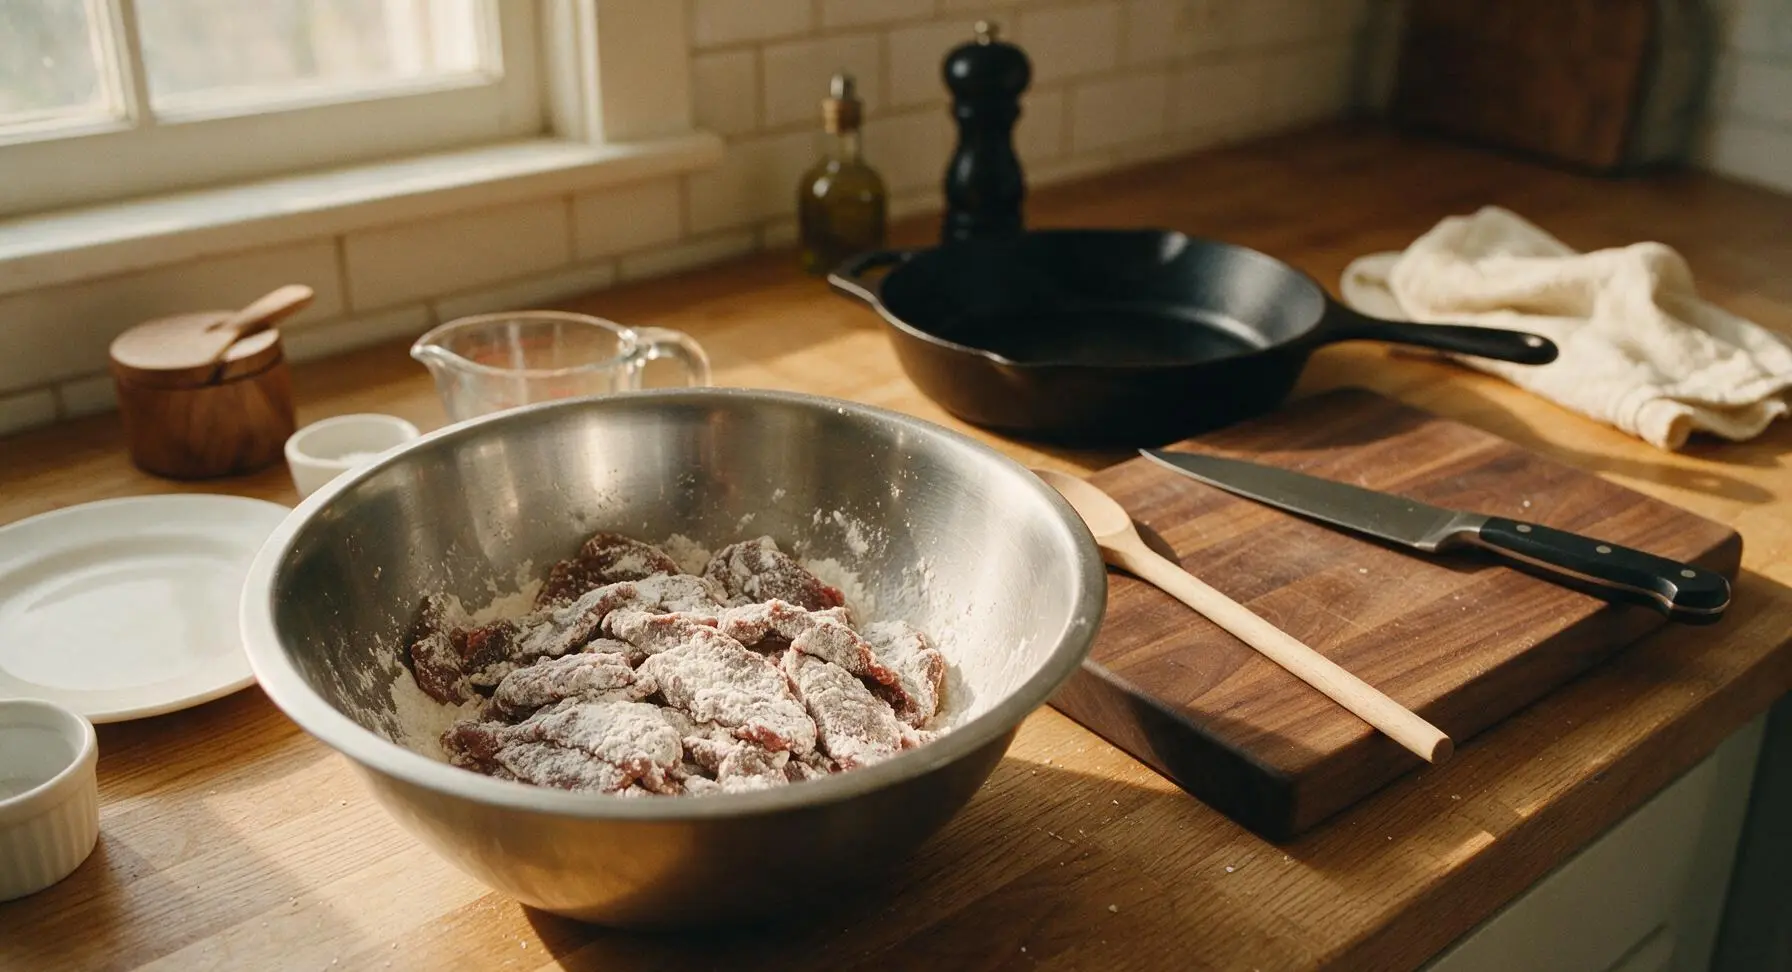
Transfer the sliced, dried beef to the large stainless steel mixing bowl. Add 3 tablespoons of cornstarch, tossing thoroughly with clean hands until every slice is evenly coated in a thin, dry layer of cornstarch, with no damp spots or dry cornstarch clumps visible. Let the coated beef rest for 10 minutes at room temperature to allow the cornstarch to adhere firmly to the beef surface, preventing it from sloughing off during searing.
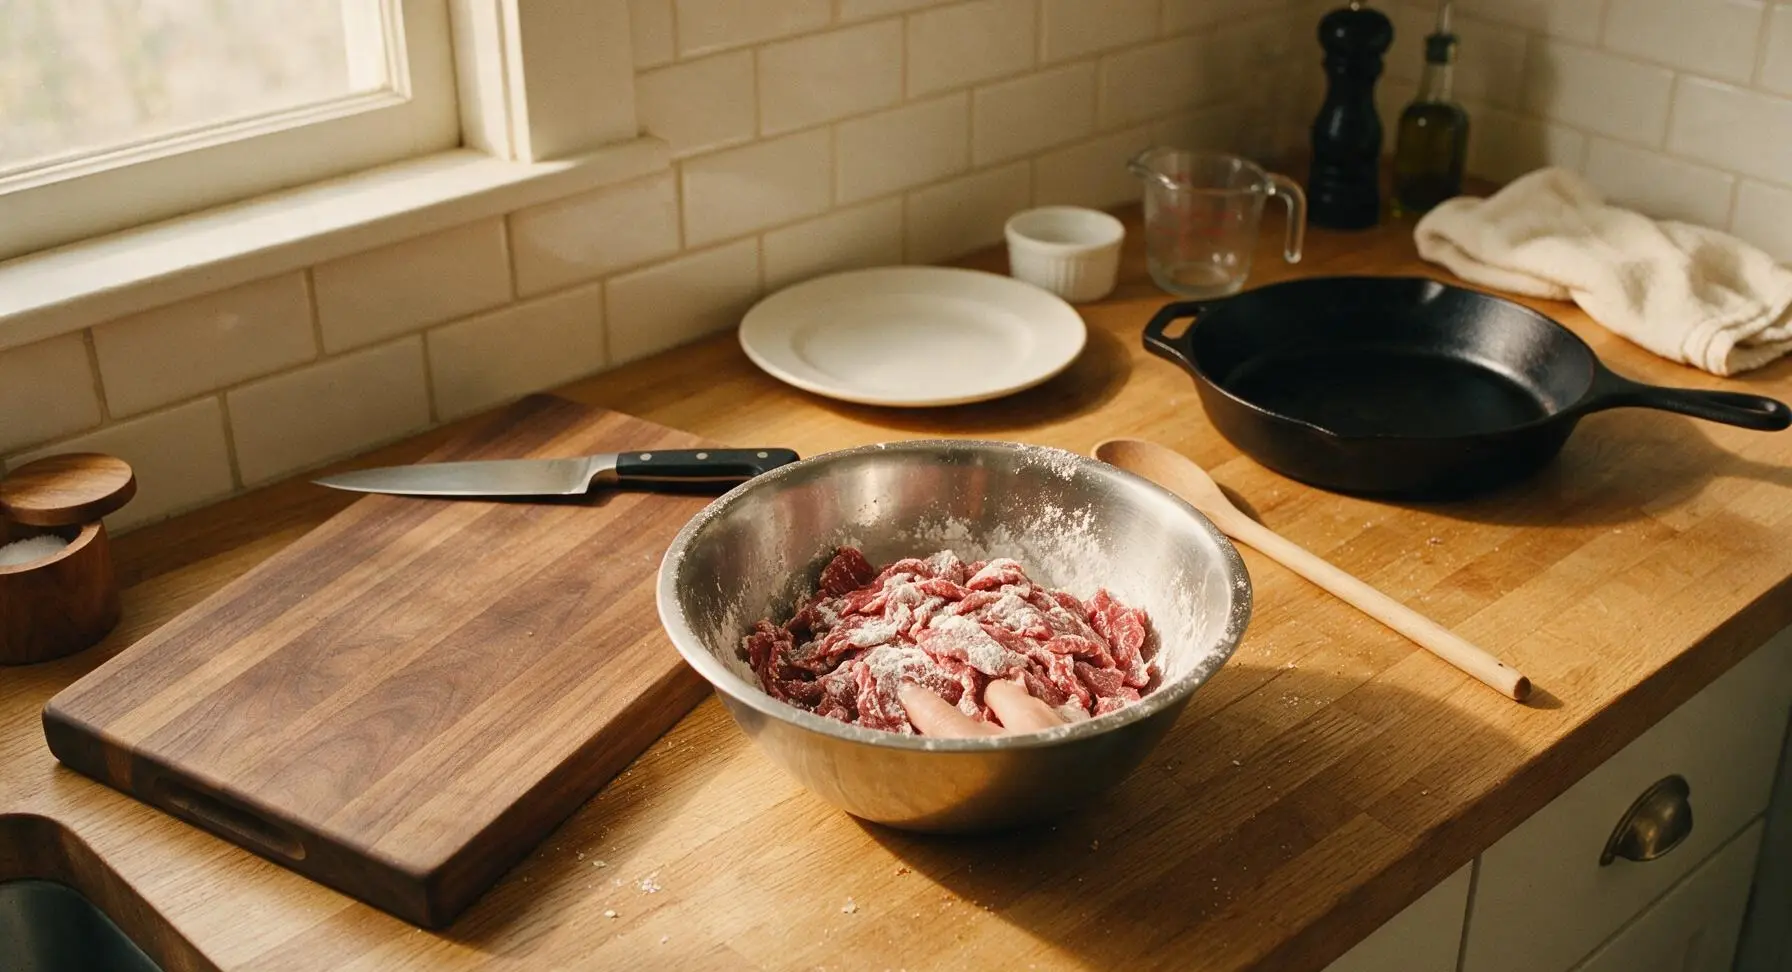
Step 2
step2:Coat Beef in Cornstarch
Step 2
step2:Coat Beef in Cornstarch
3

Mix Stir-Fry Sauce

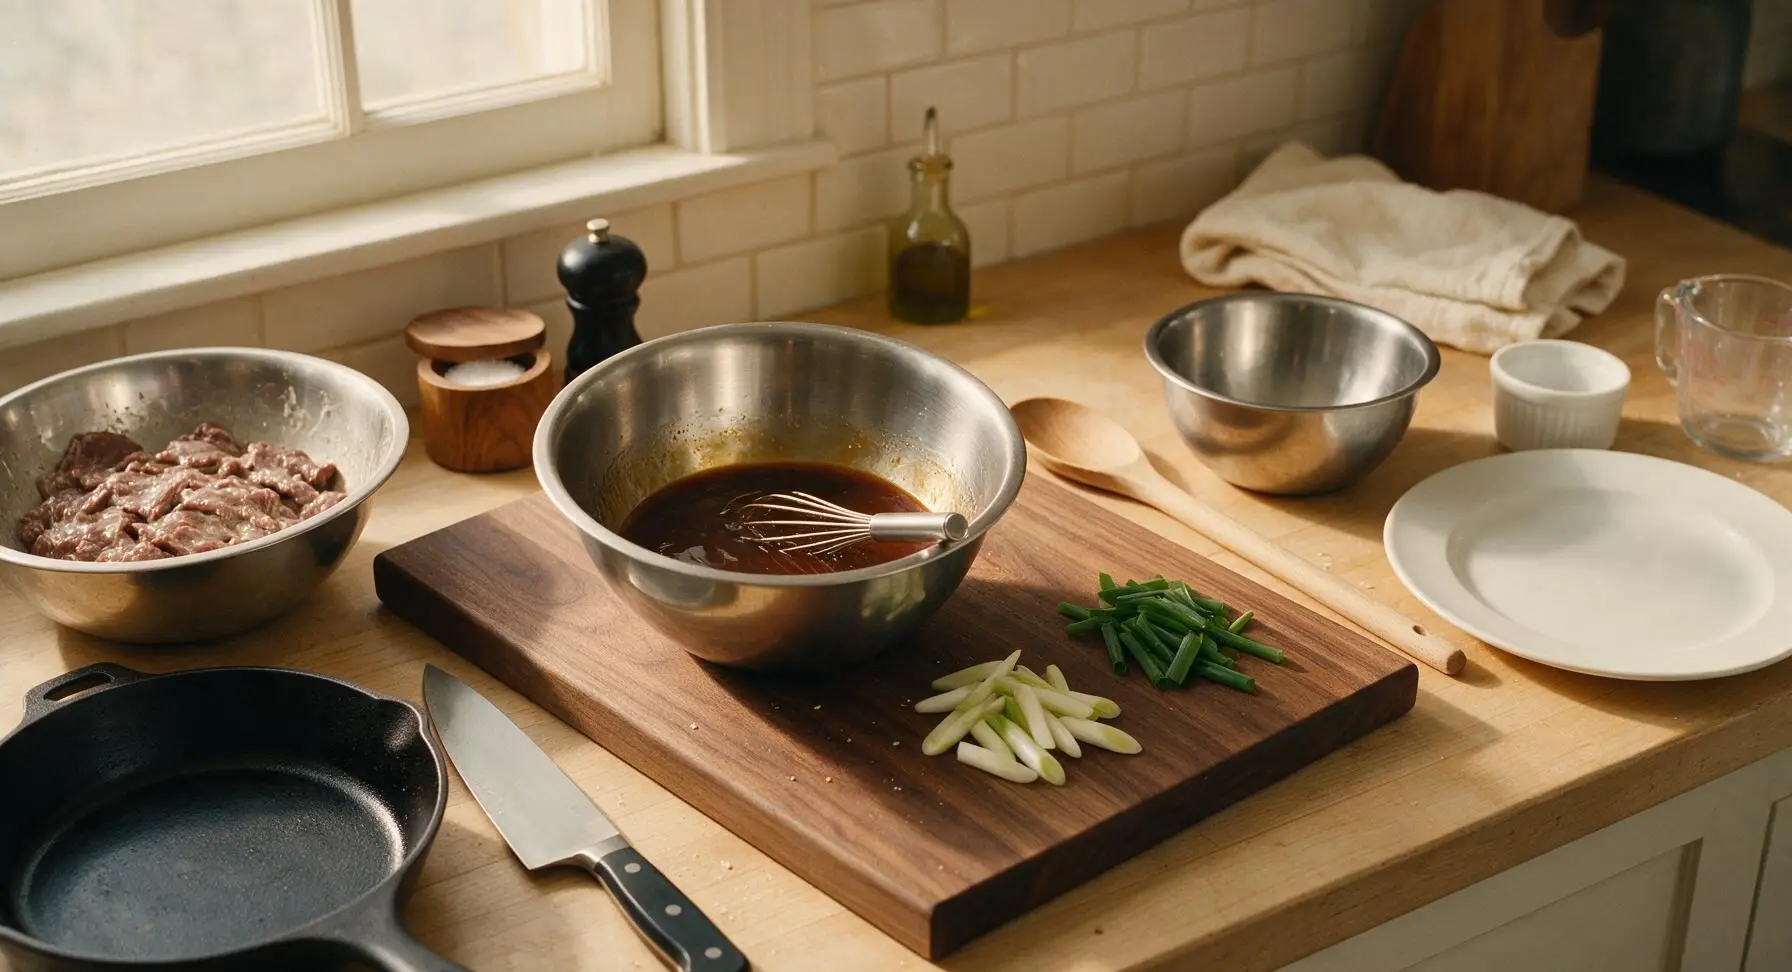
In the medium stainless steel mixing bowl, combine 1/2 cup low-sodium soy sauce, 1/3 cup packed light brown sugar, 2 tablespoons hoisin sauce, 1/4 cup cool water, 1 tablespoon grated fresh ginger, 3 minced garlic cloves, and 1/4 teaspoon red pepper flakes (if using for mild heat). Whisk thoroughly with the small stainless steel whisk until the brown sugar is fully dissolved, and the sauce is completely smooth with no lumps. Trim the root ends off the 6 scallions, then cut into 2-inch long segments, separating the firm white/light green parts from the delicate dark green tops, and set aside on the cutting board.
Step 3
step3:Mix Stir-Fry Sauce
4

Sear Beef Until Crisp

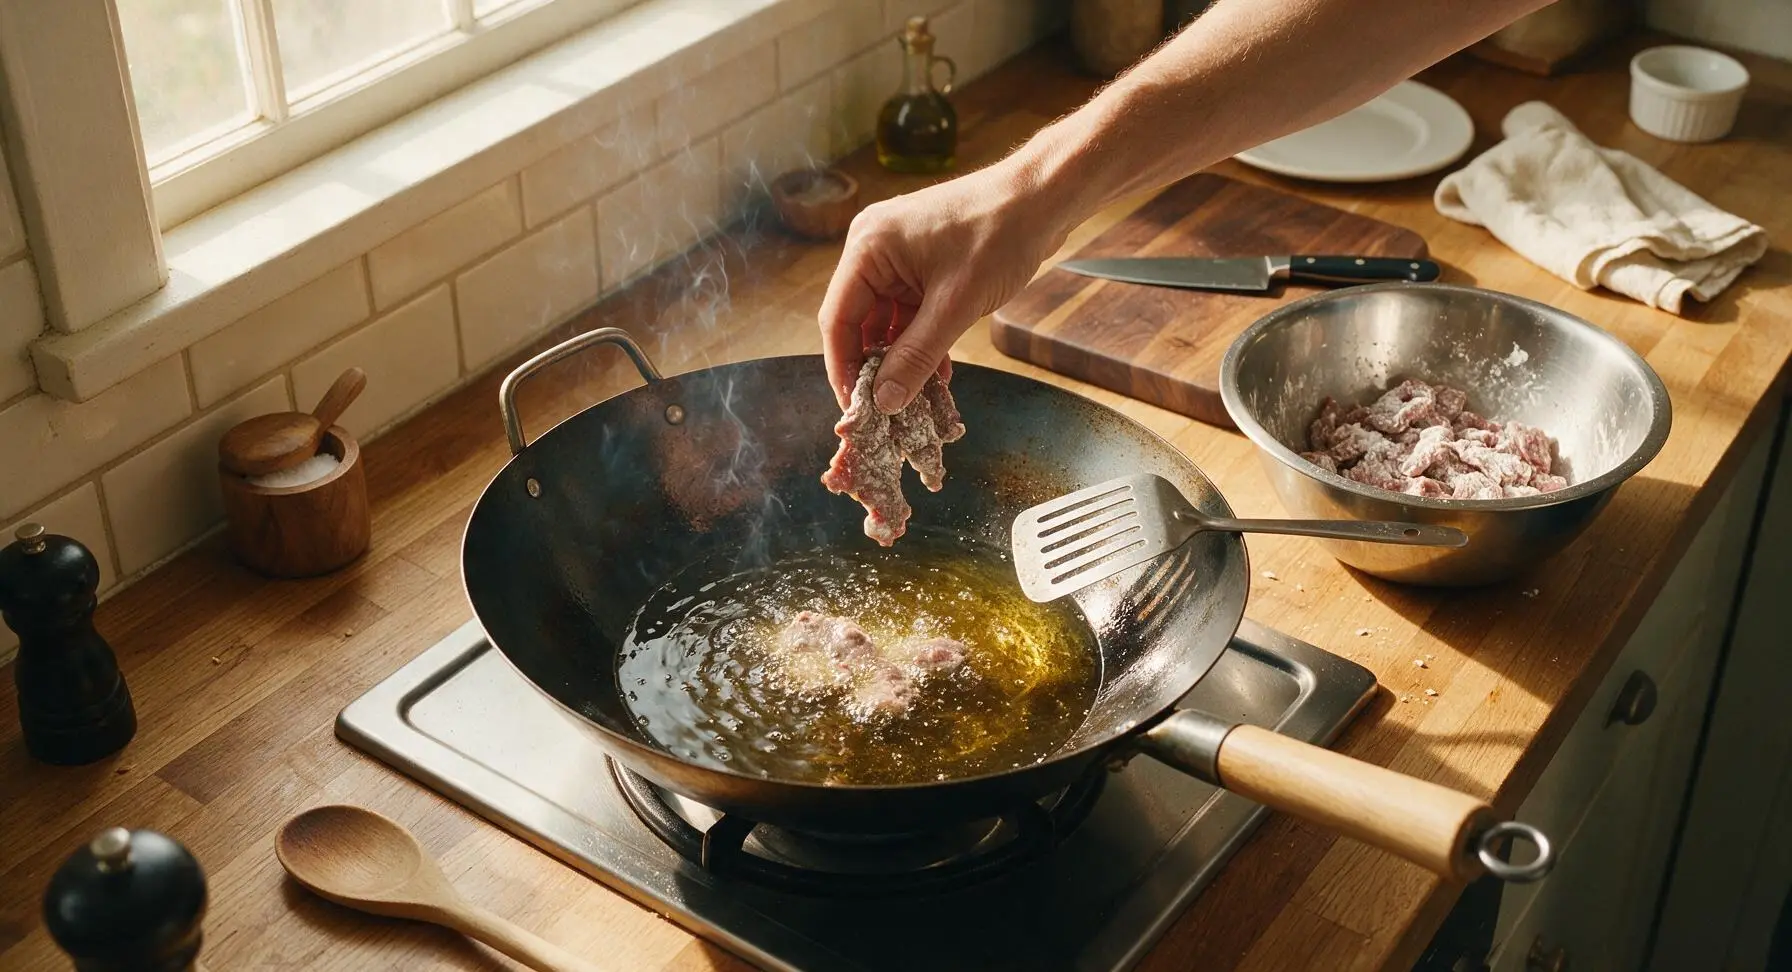
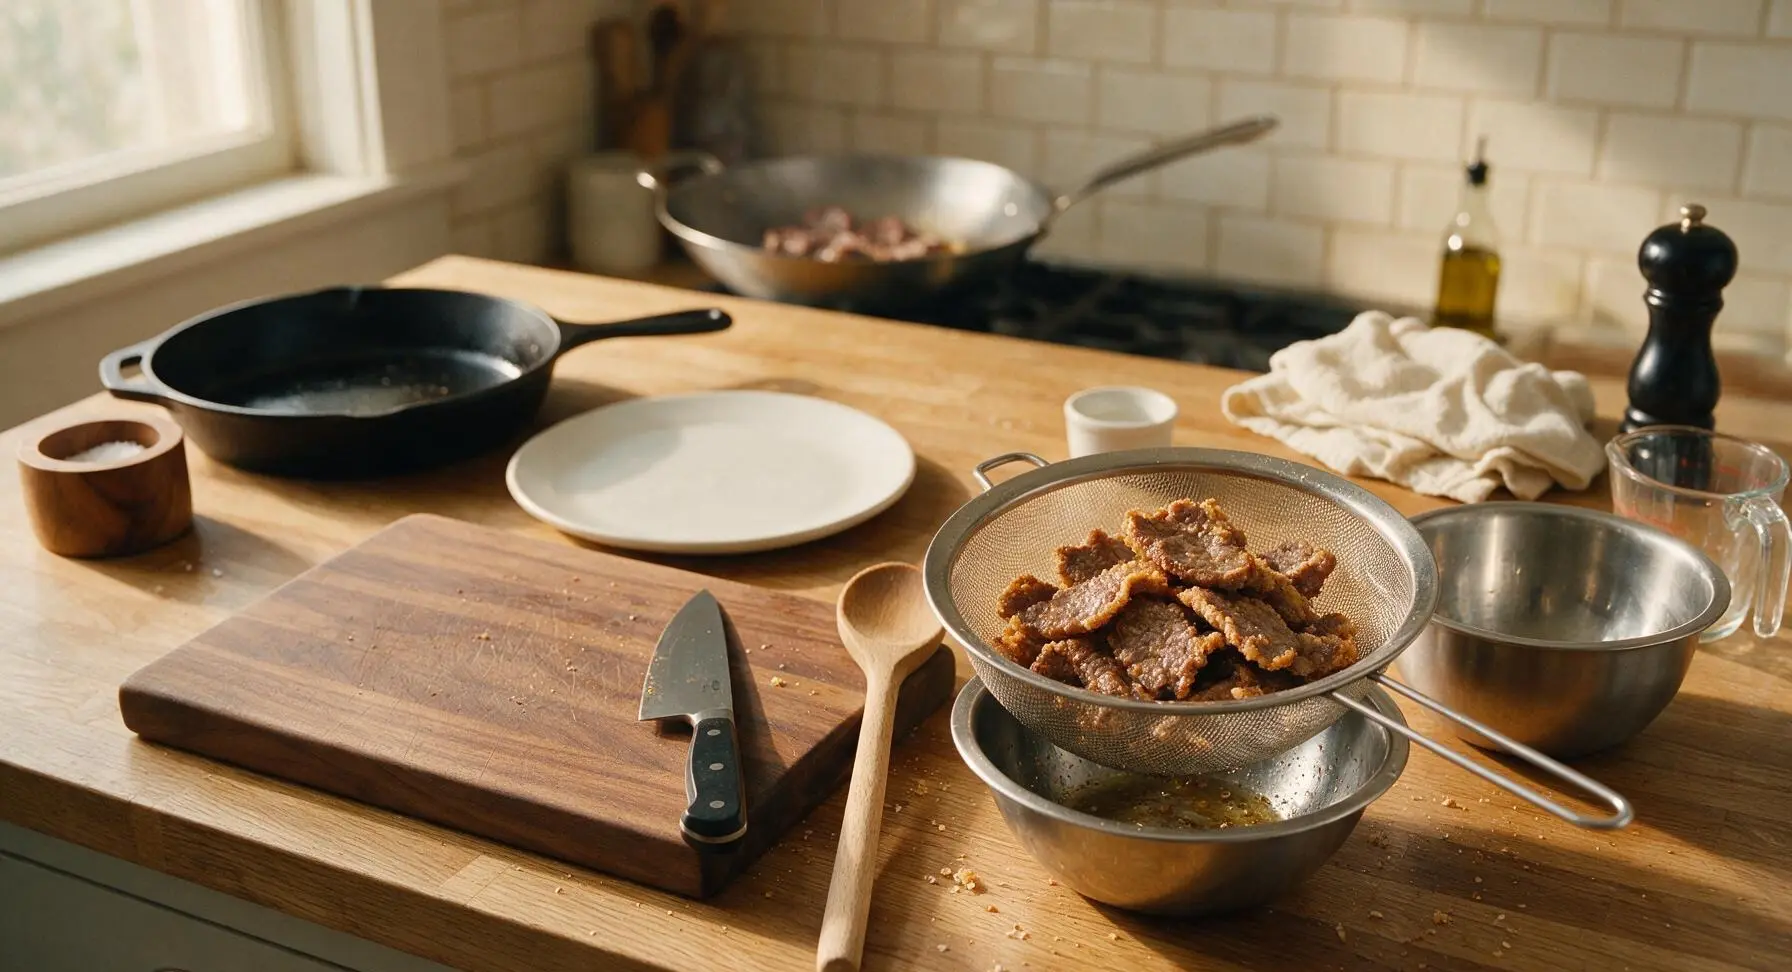
Retrieve the 12-inch seasoned carbon steel wok and place it on the stovetop burner set into the counter. Heat 1/4 cup canola oil in the wok over medium-high heat until the oil shimmers and sends up thin, wispy trails of smoke (approximately 375°F). Working in 2 equal small batches to avoid crowding the pan, add the cornstarch-coated beef slices in a single, even layer, searing for 45 seconds on each side until the edges are golden and crispy, and the beef is just barely cooked through (light pink in the very center). Use the slotted stainless steel turner to transfer the seared beef to the fine-mesh strainer set over the small stainless steel mixing bowl to drain excess oil. Do not overcook the beef, as it will finish cooking in the hot sauce.
Step 4
step4:Sear Beef Until Crisp
Step 4
step4:Sear Beef Until Crisp
5

Simmer Sauce Until Glossy

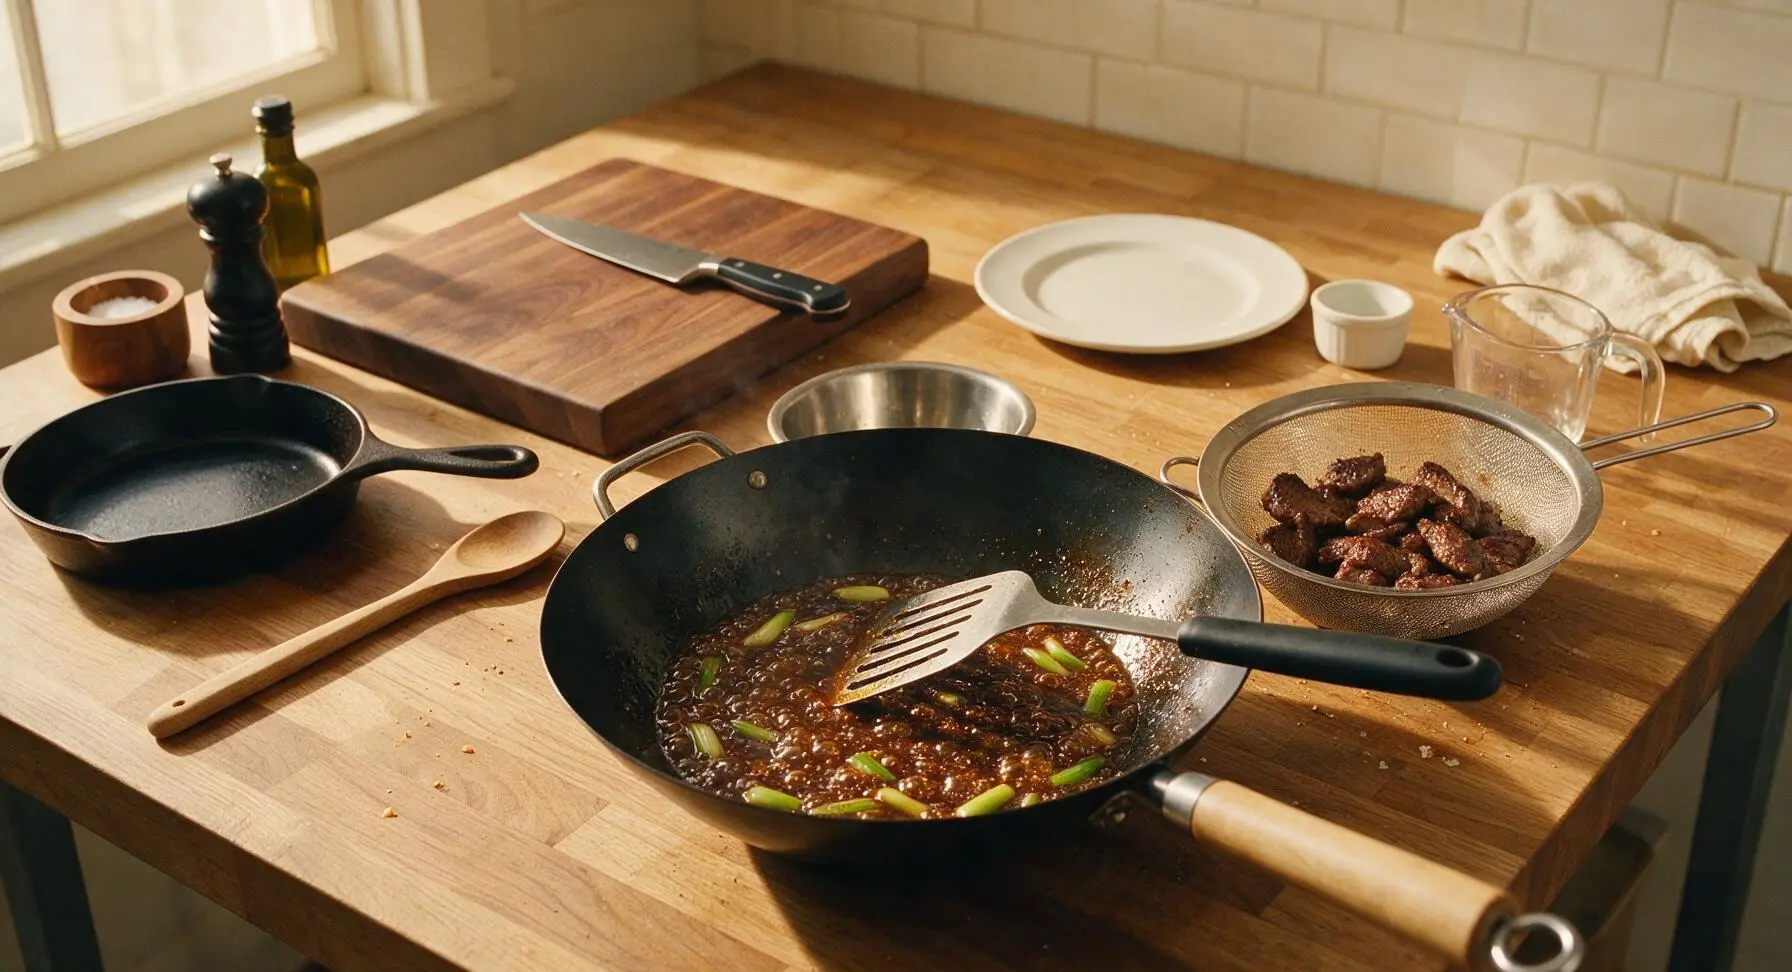
Carefully pour off all but 1 tablespoon of excess oil from the wok, leaving the browned, flavorful bits (fond) stuck to the wok bottom. Return the wok to medium heat, add the firm white/light green scallion segments, and stir-fry for 30 seconds until bright green and fragrant. Pour the pre-mixed sauce into the wok, bringing it to a gentle, rolling simmer, cooking for 1-2 minutes until the sauce thickens to a glossy, syrupy consistency that coats the back of a spoon without running off quickly.
Step 5
step5:Simmer Sauce Until Glossy
6

Toss Beef in Sauce

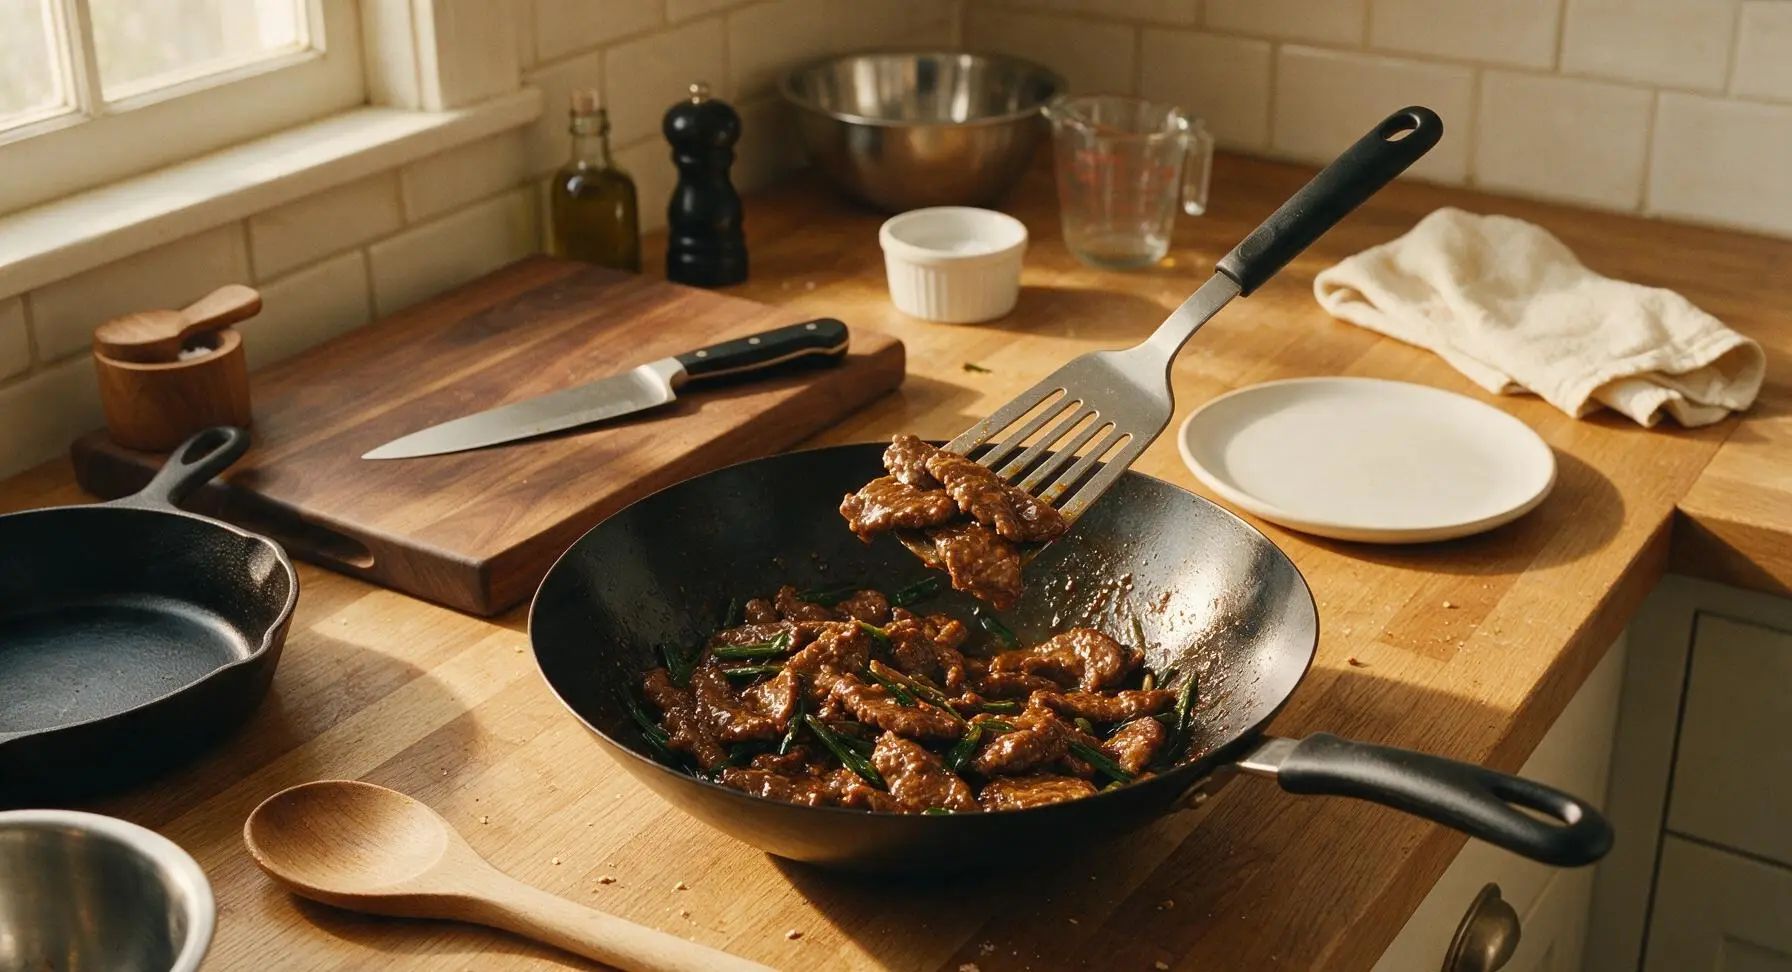
Add the seared, drained beef back into the wok with the thickened sauce, tossing continuously with the slotted turner for 30-45 seconds until every slice of beef is evenly coated in the glossy sauce. Add the reserved dark green scallion tops, tossing for an additional 10 seconds just to wilt the greens slightly, then immediately remove the wok from heat to prevent the beef from overcooking and the sauce from becoming too thick.
Step 6
step6:Toss Beef in Sauce
7

Plate and Serve Hot

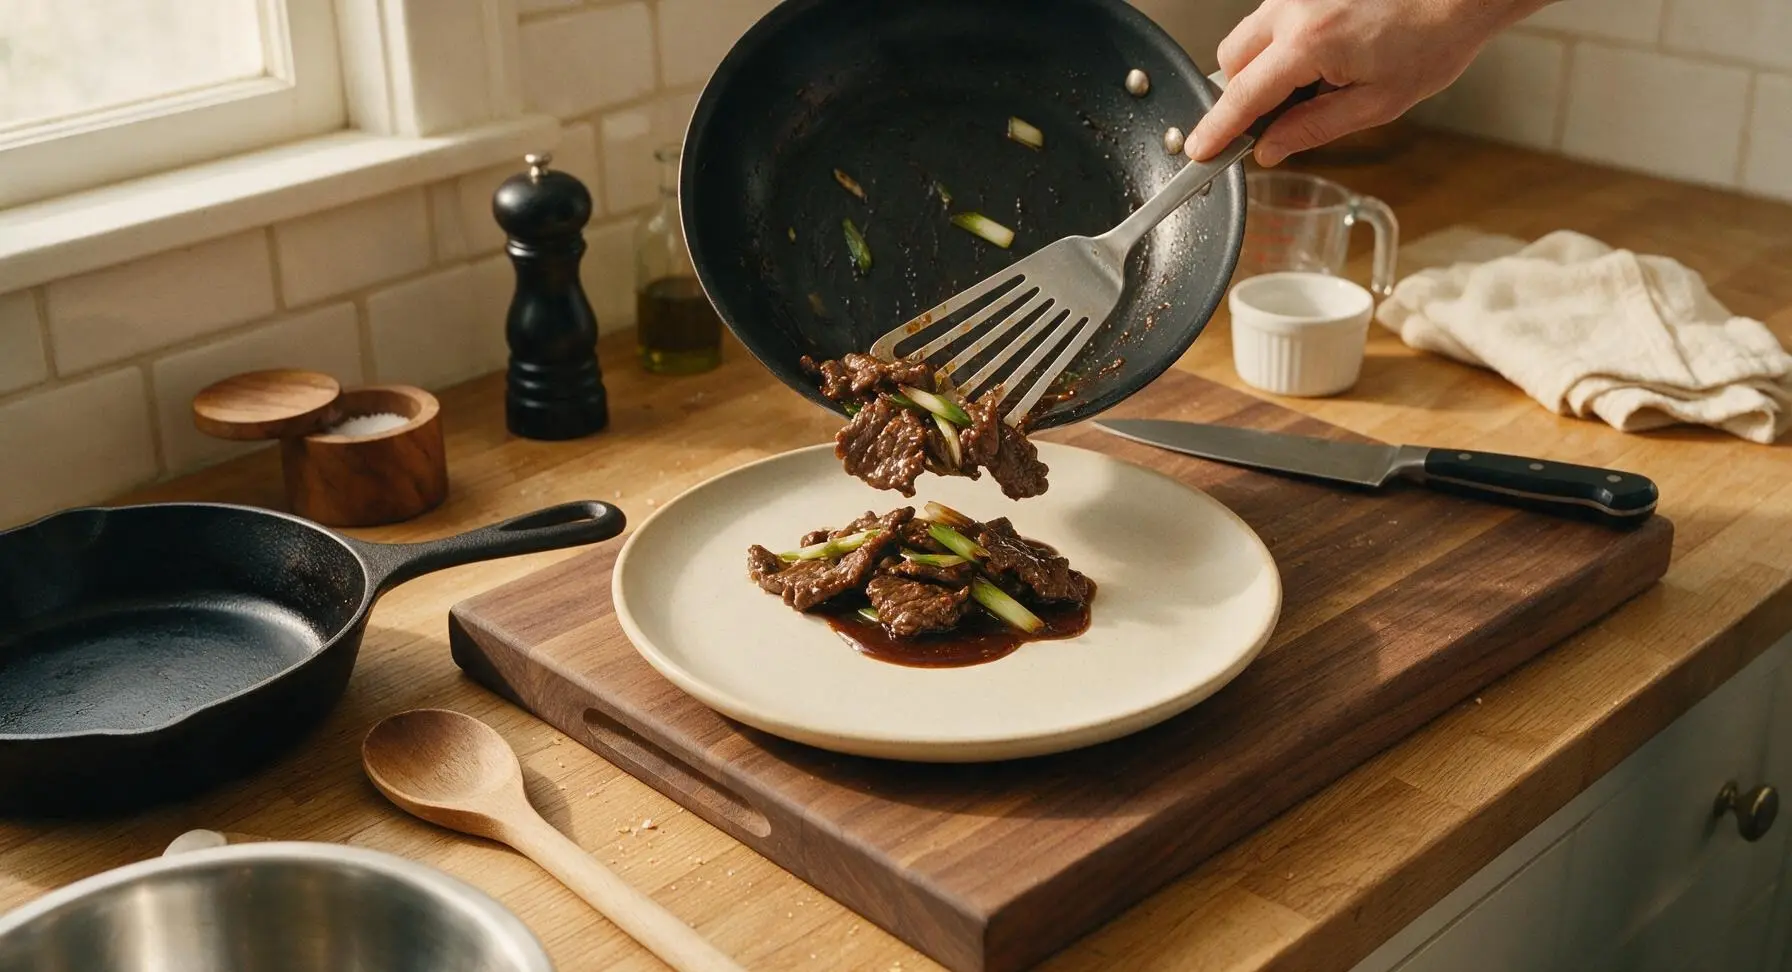
Transfer the sauced Mongolian Beef directly to a matte cream ceramic dinner plate, piling the slices loosely in the center, making sure to scrape any remaining thick sauce from the wok over the top of the beef. Serve immediately while the beef is still hot and the edges are crisp, as the cornstarch coating will soften significantly if left to sit in the sauce for more than 5 minutes.
Step 7
step7:Plate and Serve Hot

Tips

1.Freeze the flank steak for 15 minutes before slicing: this firms up the meat, making it much easier to cut thin, even 1/4-inch slices against the grain for the most tender texture.
2.Never crowd the wok when searing: adding too much beef at once drops the oil temperature rapidly, causing the cornstarch coating to fall off and the beef to steam instead of developing a signature crispy golden edge. Cook in two small batches for best results.
3.Serve immediately after tossing in sauce: the crispy cornstarch coating will soften and become mushy if left to sit in the warm sauce for more than 5 minutes, so plate and serve right away for the best takeout-style texture.


✨ You May Also Like

Main Course
🍜 United Kingdom

A showstopping classic of tender seared beef, savory mushroom duxelles, and crisp prosciutto wrapped in flaky golden puff pastry, baked to juicy perfection.

⏱️ 2 hours 1Main Course ★ 4.7
Main Course
🍜 India

Tender charred marinated chicken simmered in a rich, spiced creamy tomato sauce, this iconic Anglo-Indian curry pairs perfectly with basmati rice or warm naan.

⏱️ 50 minuteMain Course ★ 4.6
Main Course
🍜 Thailand

Classic tangy, sweet, and savory Thai stir-fried rice noodles with shrimp, tofu, and crunchy garnishes, balancing all five core Thai flavor profiles.

⏱️ 30 minuteMain Course ★ 4.5
Main Course
🍜 United Kingdom

Crispy golden beer-battered cod and fluffy double-fried chips, served with tangy tartar sauce and malt vinegar: the timeless, beloved British pub comfort classic.

⏱️ 45 minuteMain Course ★ 4.7
Main Course
🍜 Mexico

Smoky, chile-marinated pork tacos with caramelized pineapple, fresh cilantro, and lime: a beloved classic Mexican street food perfect for casual summer gatherings.

⏱️ 1 hour 45Main Course ★ 4.8
Main Course
🍜 United States

Crunchy Fritos corn chips layered with savory beef chili and melted cheddar, topped with cool, zesty fixings for a beloved, cozy Tex-Mex comfort food.

⏱️ 35 minuteMain Course ★ 4.8

Mongolian Beef:Frequently Asked Questions

1.Why is my Mongolian Beef coming out tough instead of tender? ▾
Tough Mongolian Beef almost always stems from two common missteps: slicing the steak with the grain instead of against it, or overcooking the meat. Slice flank steak ¼-inch thick across the visible muscle fibers, and only fry it for 1-2 minutes total until just crisp on the edges—overcooking squeezes out moisture and leaves it chewy.
2.How does the cornstarch coating create that signature crispy beef texture? ▾
That light cornstarch dredge is the secret to takeout-style crisp-tender beef. It forms a thin, dry barrier on the steak surface that locks in meat juices while frying, so the outside gets shatteringly crisp instead of soggy. It also helps the glossy sauce cling evenly to every bite instead of pooling at the bottom of the pan.
3.Can I make Mongolian Beef without full deep frying? ▾
You absolutely can skip deep frying for an easier, lighter at-home version! Heat 2-3 tablespoons of canola oil in a heavy skillet over high heat, add cornstarch-coated steak in a single layer (work in batches to avoid crowding), and pan-fry 1 minute per side until crisp-edged for nearly identical texture with far less oil.
4.Why do my ginger and garlic burn so easily when making this stir-fry? ▾
Fresh ginger and garlic have delicate, fine fibers that burn in seconds over the high heat used for Mongolian Beef. Instead of adding them at the start of cooking, toss them into the pan for only 15-30 seconds right before adding sauce, so they release bright, aromatic flavor without turning bitter and charred.
5.Is Mongolian Beef an authentic traditional Mongolian dish? ▾
Nope! This dish is a classic Chinese-American takeout staple, invented in Taiwanese and American Chinese restaurants in the mid-20th century, not Mongolia. It gets its name from the quick, high-heat stir-fry style associated with Mongolian barbecue cooking, rather than traditional Mongolian home cooking.
6.How do I get that glossy, takeout-style sauce consistency? ▾
That signature shiny sheen comes from balancing your soy-ginger base with a tiny cornstarch slurry (1 teaspoon cornstarch mixed with 2 tablespoons cold water) stirred in at the end. Let it simmer 30 seconds once added, and it will thicken into a clingy coating that sticks to beef and scallions instead of running thin.
7.Can I prep components of Mongolian Beef ahead for faster weeknight cooking? ▾
Definitely! Slice your flank steak against the grain, toss it with the cornstarch coating, and store it in an airtight container in the fridge for up to 24 hours before cooking. You can also pre-mix sauce and pre-slice ginger, garlic, and scallions so the whole dish comes together in under 10 minutes at dinnertime.
8.Why does my cornstarch-coated beef stick to the pan when I fry it? ▾
Sticking usually happens for one of three reasons: your pan isn’t hot enough before adding oil, you used too little oil, or you crowded the pan with too much beef at once. Make sure your canola oil is shimmering (not smoking) before adding steak, and cook in small batches so every piece touches the hot pan surface directly.
9.What’s the best way to serve Mongolian Beef for a classic takeout-style meal? ▾
Serve it immediately after tossing with sauce and scallions, piled over fluffy steamed white or jasmine rice to soak up extra savory-sweet sauce. For a veggie boost, add a side of steamed broccoli, snap peas, or bell peppers—skip adding watery veggies directly to the stir-fry, as they’ll make crispy beef soggy.
10.Can I use low-sodium soy sauce for this recipe without ruining the flavor? ▾
Absolutely! Low-sodium soy sauce works great, and it lets you control salt levels more easily than full-sodium soy. Just taste the sauce before tossing it with the beef, and add a tiny pinch of extra salt only if needed—you’ll still get deep umami flavor without the overly salty finish of some takeout versions.
11.How long should I fry the beef to get the perfect crisp-tender texture? ▾
For thin ¼-inch slices of flank steak, you only need to fry pieces 45 seconds to 1 minute per side in 375°F canola oil, whether deep frying or pan frying. The beef will be lightly golden outside and just barely cooked through inside; it will finish cooking for a minute when tossed in hot sauce, so don’t overfry it.
12.Can I freeze leftover Mongolian Beef for later meals? ▾
Yes, you can freeze fully cooked Mongolian Beef in an airtight, freezer-safe container for up to 3 months. To reheat, spread it on a baking sheet and warm in a 350°F oven for 10-12 minutes, stirring halfway, instead of microwaving—this helps the cornstarch coating crisp back up instead of turning mushy.
13.Do I have to add scallions, or can I leave them out of the recipe? ▾
Scallions are the classic bright finishing touch that cuts through rich, sweet-savory sauce with a mild, fresh onion flavor, but you can absolutely swap them if needed. Thinly sliced sweet onion, sautéed for 1 minute before adding sauce, or even a sprinkle of chives will give you a similar bright flavor balance.
14.My sauce is too sweet or too salty—how do I fix the flavor balance? ▾
Classic Mongolian Beef sauce balances salty soy, sweet brown sugar, bright ginger, and savory garlic, so it’s easy to tip the scales. If it’s too sweet, add a tiny splash of rice vinegar or extra soy to cut the sugar; if it’s too salty, stir in a pinch more sugar or splash of low-sodium broth to mellow it out.
15.Can I make this recipe gluten-free for guests with dietary restrictions? ▾
Definitely! Swap regular soy sauce for tamari or certified gluten-free soy sauce, and double-check that your cornstarch is labeled gluten-free (most are, but some carry cross-contamination risks). All other core ingredients—flank steak, canola oil, ginger, garlic, and scallions—are naturally gluten-free for the same great takeout flavor.

Comments (3)

2 days ago

OMG this Mongolian Beef was SO good! Threw it together for a random weeknight family dinner last night and even my super picky 7 year old cleaned his plate, no complaints at all. 10 minute cook time is no joke, I didn't even have time to set the table before it was done. Total game changer for my busy meal prep rotation too!

yesterday

Brought this to my office potluck yesterday and people were literally coming up to ask me for the recipe before we even finished eating! I added a little extra red pepper flake for a tiny kick and it was chef's kiss. Only thing is I wish the sauce was a tiny bit thicker for my taste, but otherwise 10/10, will absolutely make again.

30 minutes ago

So glad this was a potluck hit! If you want a thicker sauce next time, try mixing in an extra 1/2 teaspoon of cornstarch to your sauce slurry before adding it to the pan – it'll give you that perfect rich, clingy texture without altering the flavor at all. Hope that helps!

3 days ago

Wait, 10 minute cook time AND it tastes just like the takeout I order from my local Chinese spot?? Game changer. My kids loved it so much they asked for seconds before they finished their first serving. I paired it with jasmine rice and steamed broccoli for a full meal, zero stress after a long work day.

2 days ago

Wait did you use flank steak or skirt steak for this? I'm grabbing groceries after work today and want to make sure I pick the right cut! I've been searching for a good fakeout takeout recipe forever.

yesterday

Great question! Flank steak works best for this recipe if you slice it super thin against the grain – it stays tender and soaks up that delicious sauce perfectly. Skirt steak works too in a pinch, but flank is our go-to for that classic takeout texture!



