
mongolian beef sauce
intro
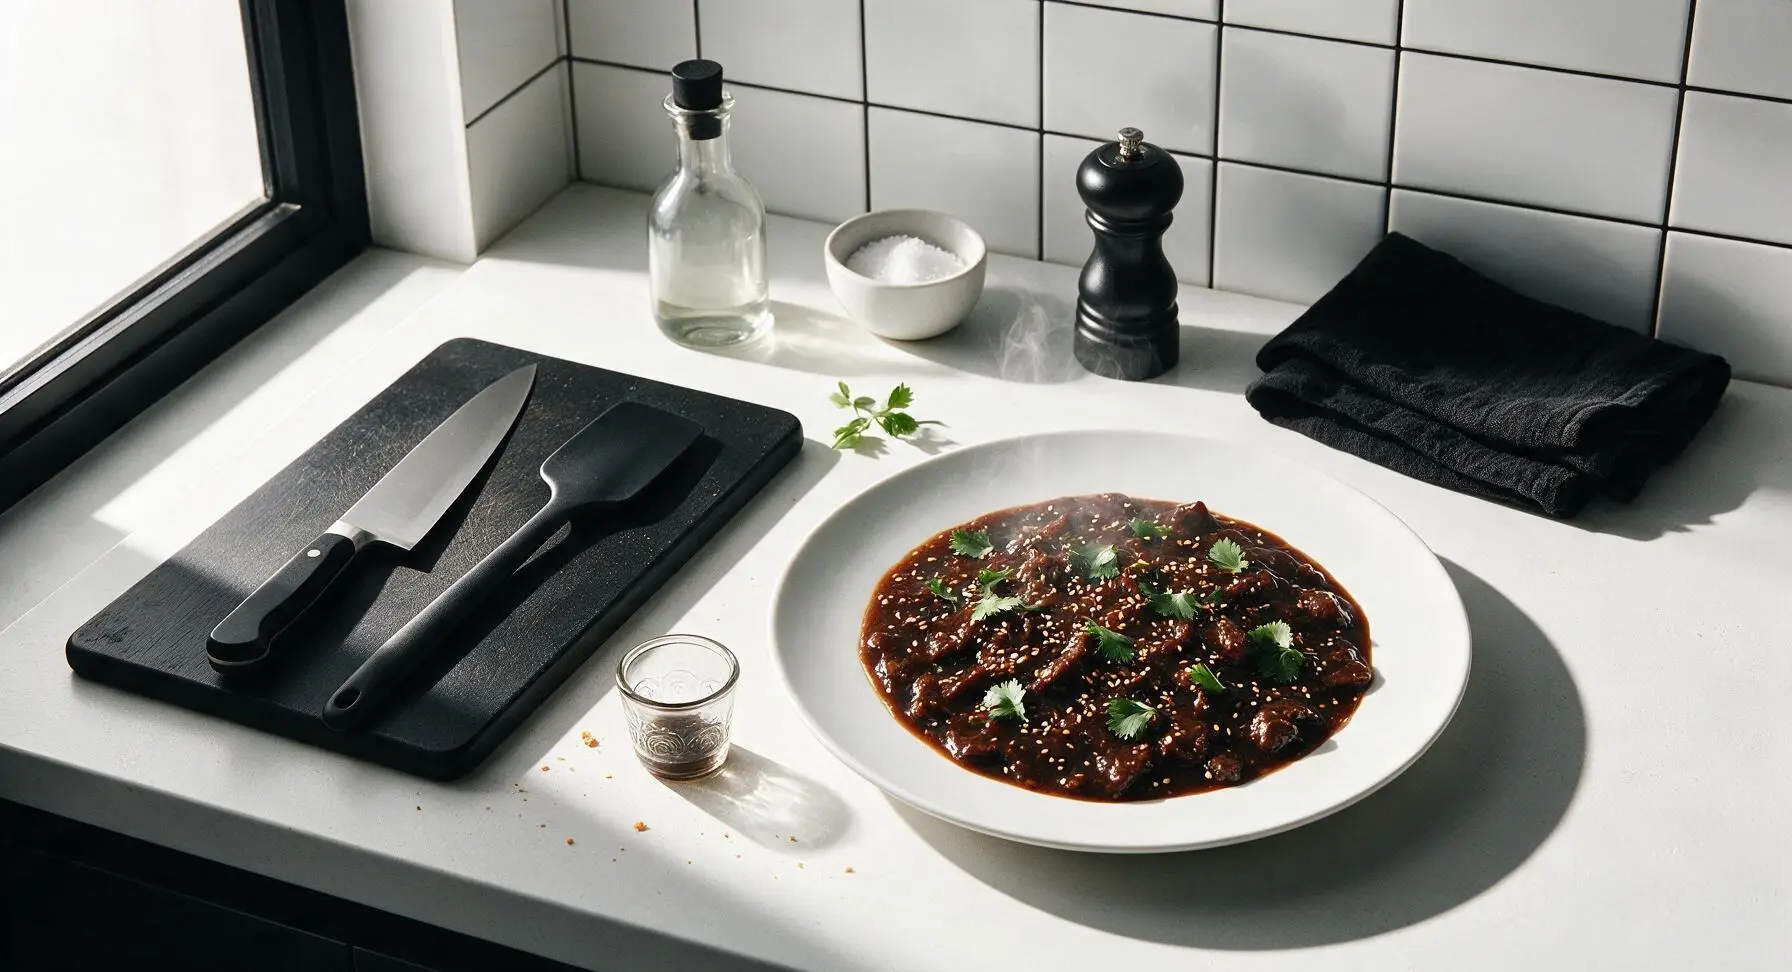
Glossy, savory-sweet takeout-style Mongolian beef sauce, packed with umami, perfect for coating crispy stir-fried beef to make restaurant-worthy meals in minutes.
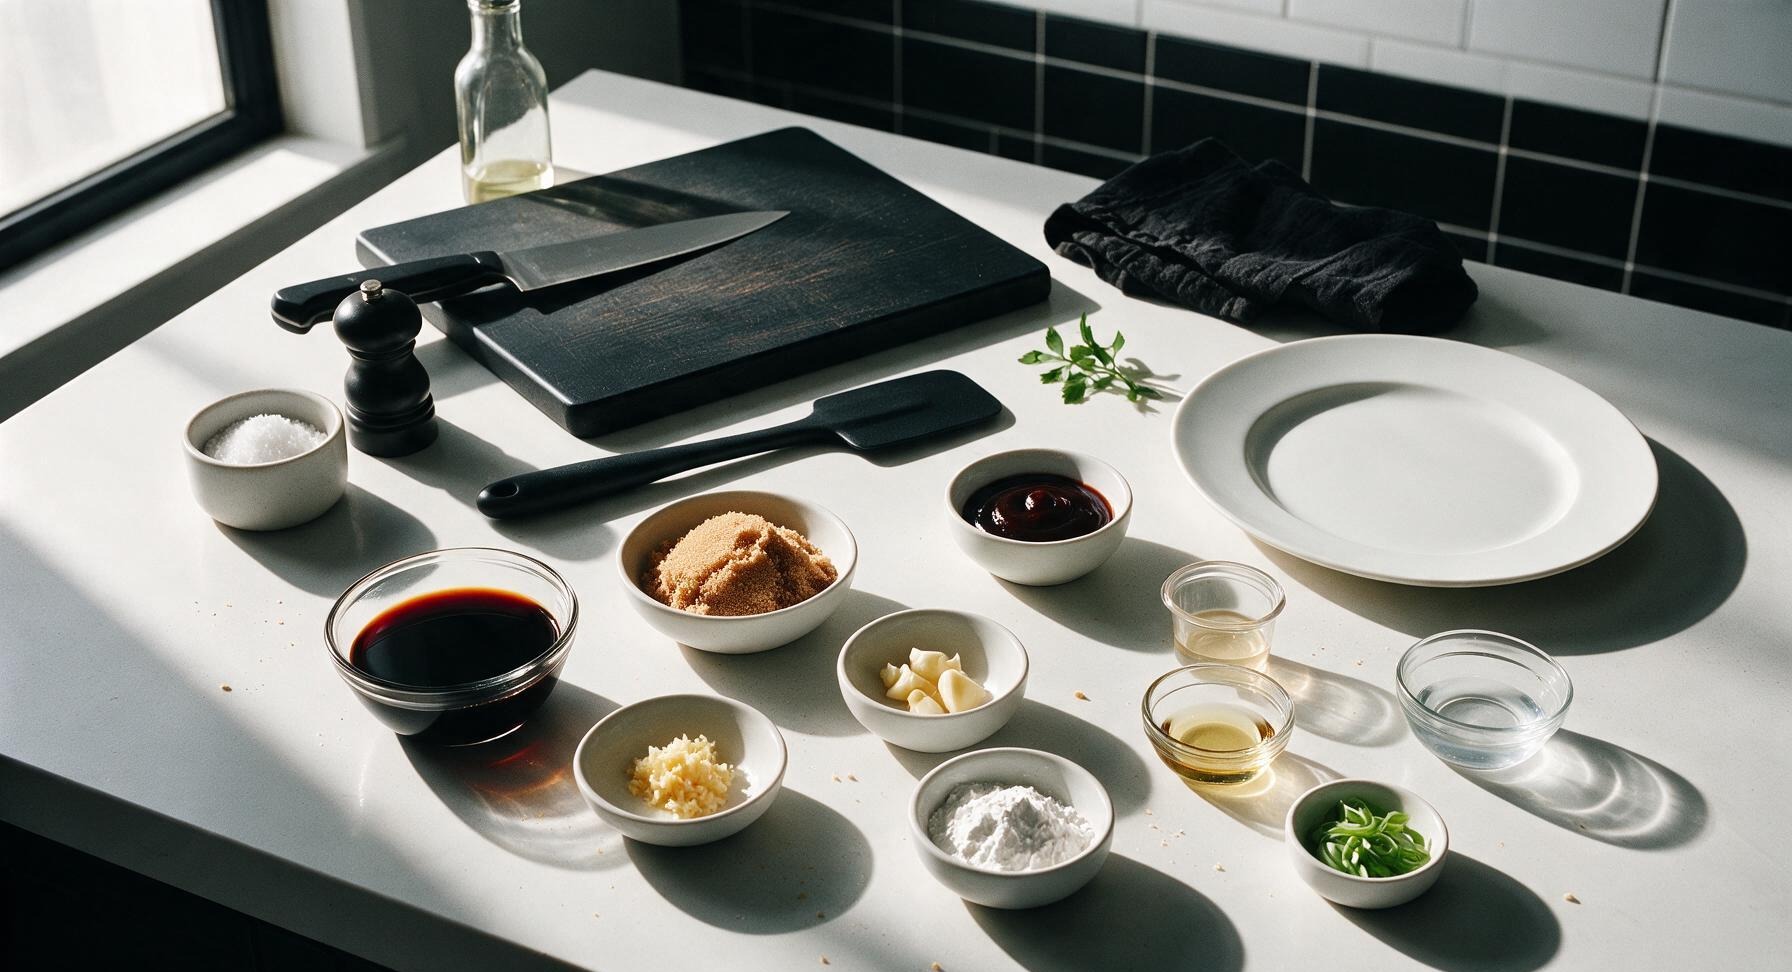
Ingredients
Steps
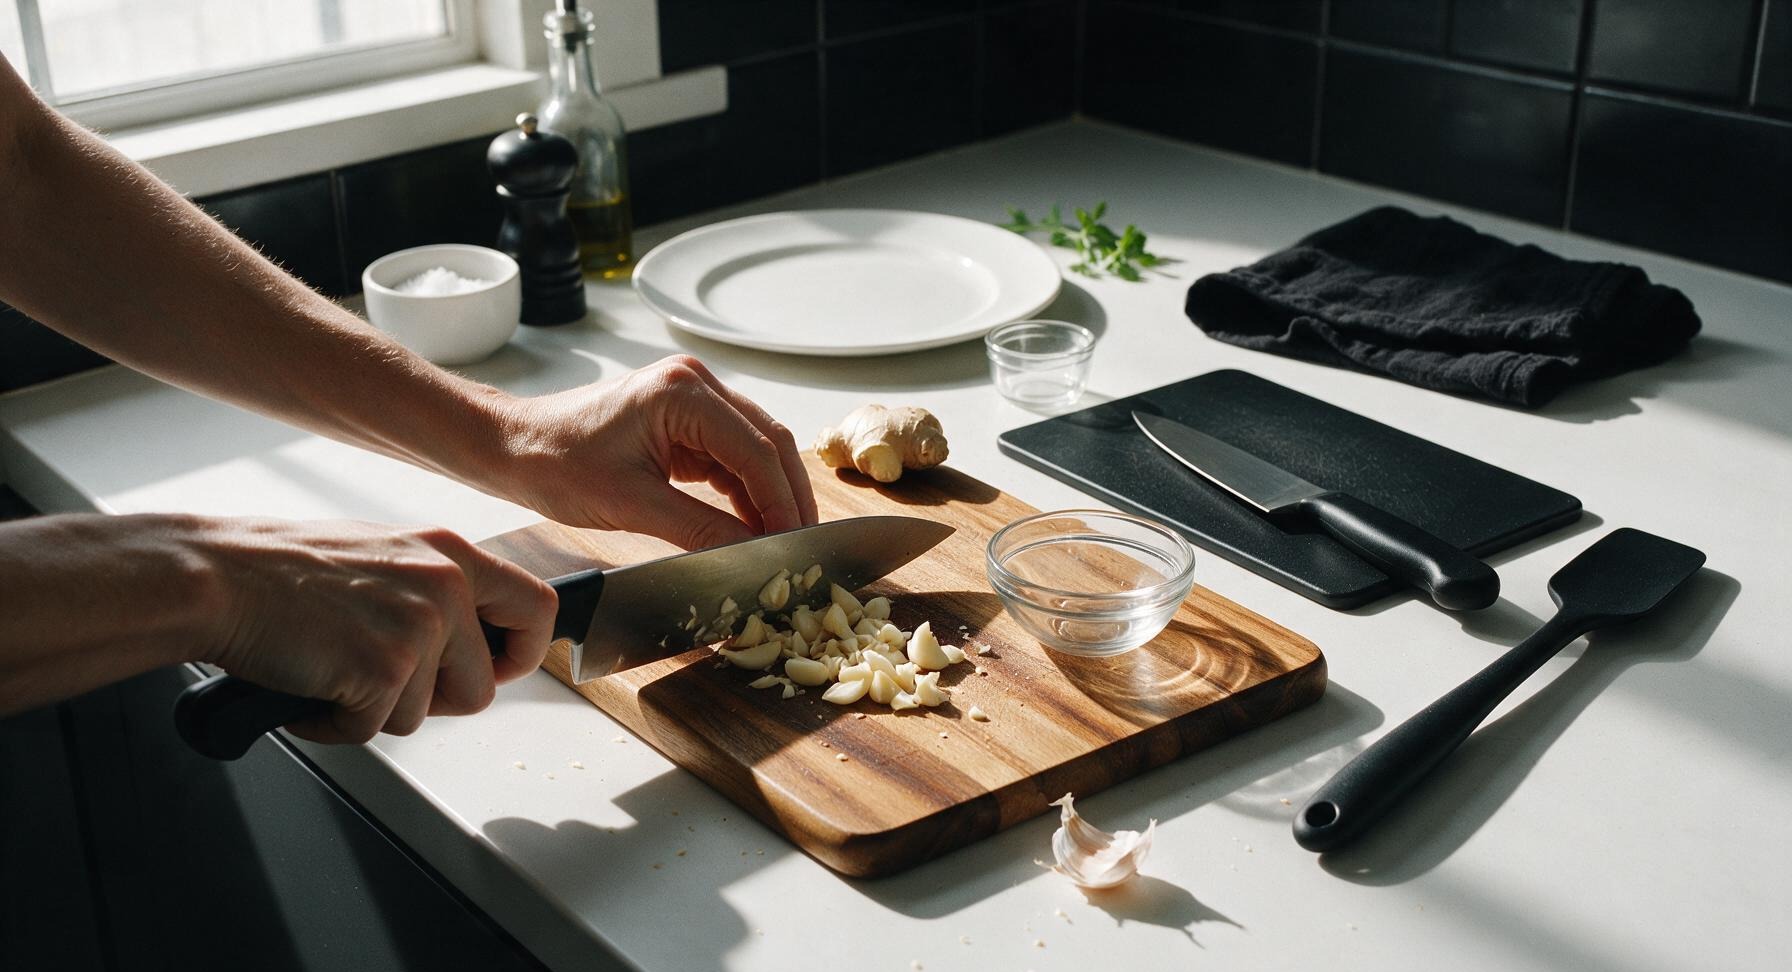
Prep Aromatic Ingredients
Peel 3 garlic cloves and a 1-inch knob of fresh ginger. Place both on the acacia wood cutting board. Use the 6-inch stainless steel chef knife to mince garlic into fine 1mm pieces, then mince ginger to the same texture, measuring out 1 full tablespoon of minced ginger. Transfer both prepped aromatics to one of the small clear glass prep bowls. This step takes approximately 3 minutes.
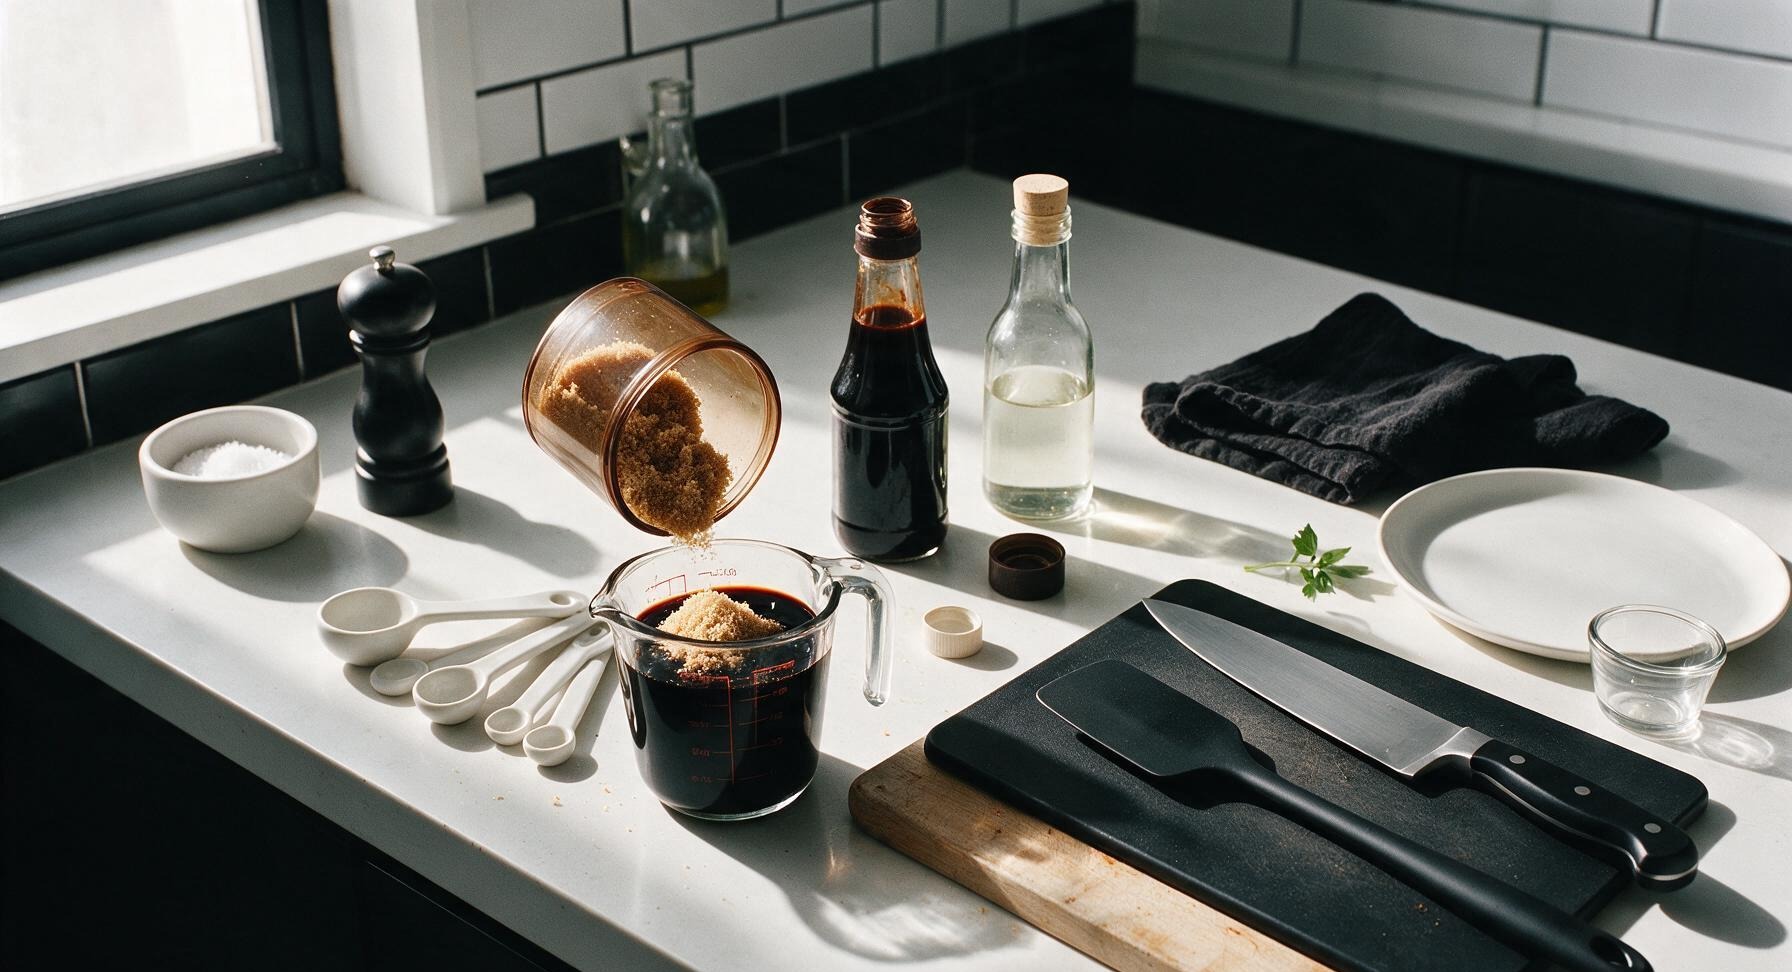
Measure Sauce Base
Use the matte white ceramic measuring spoons and 1-cup clear glass measuring cup to portion base sauce components: measure 1/2 cup low-sodium soy sauce into the glass measuring cup, then add 1/3 cup packed light brown sugar, 2 tablespoons hoisin sauce, and 1 teaspoon unseasoned rice vinegar. Stir briefly with the grey-handled silicone whisk to break up large brown sugar clumps, until the mixture is a uniform dark brown with no dry sugar lumps visible at the bottom of the cup.
Mix Cornstarch Slurry
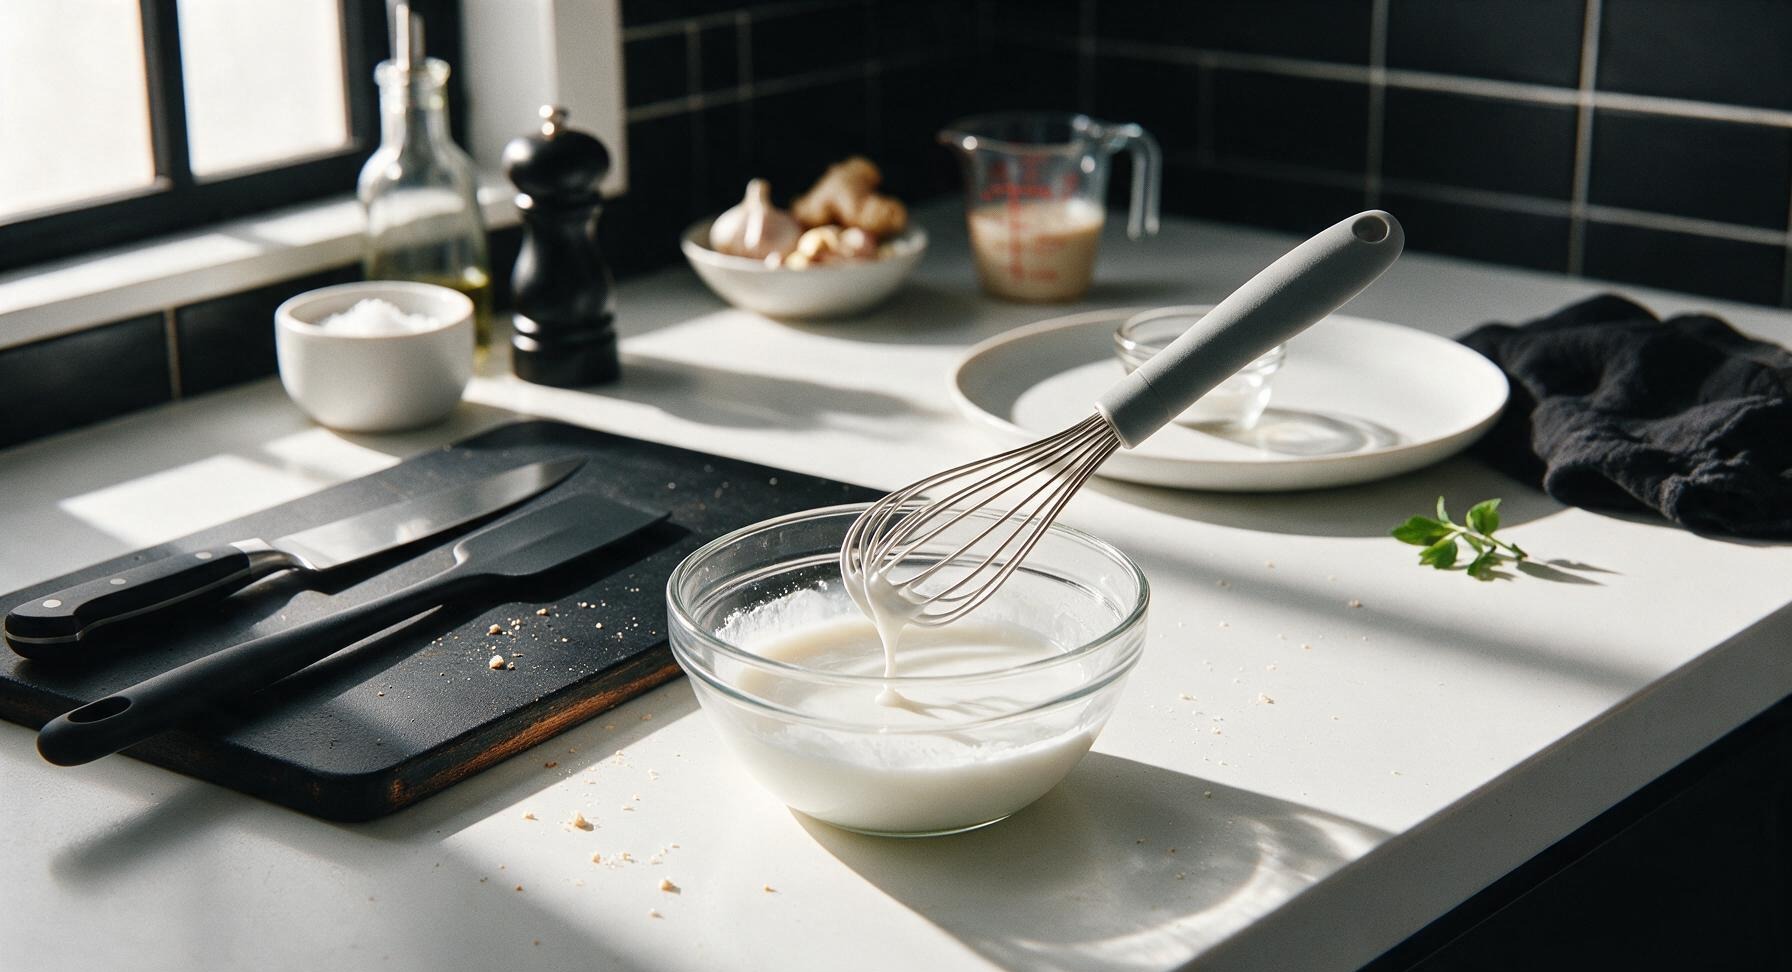
In a second small clear glass prep bowl, combine 1 tablespoon cornstarch with 2 tablespoons cold tap water. Stir vigorously with the tip of the silicone whisk until no dry cornstarch clumps remain, and the mixture is a smooth, opaque milky white liquid with no lumps settled at the bottom. Set this slurry aside; do not mix more than 5 minutes before use, as cornstarch will settle and separate if left to sit too long.
Sauté Aromatics Briefly
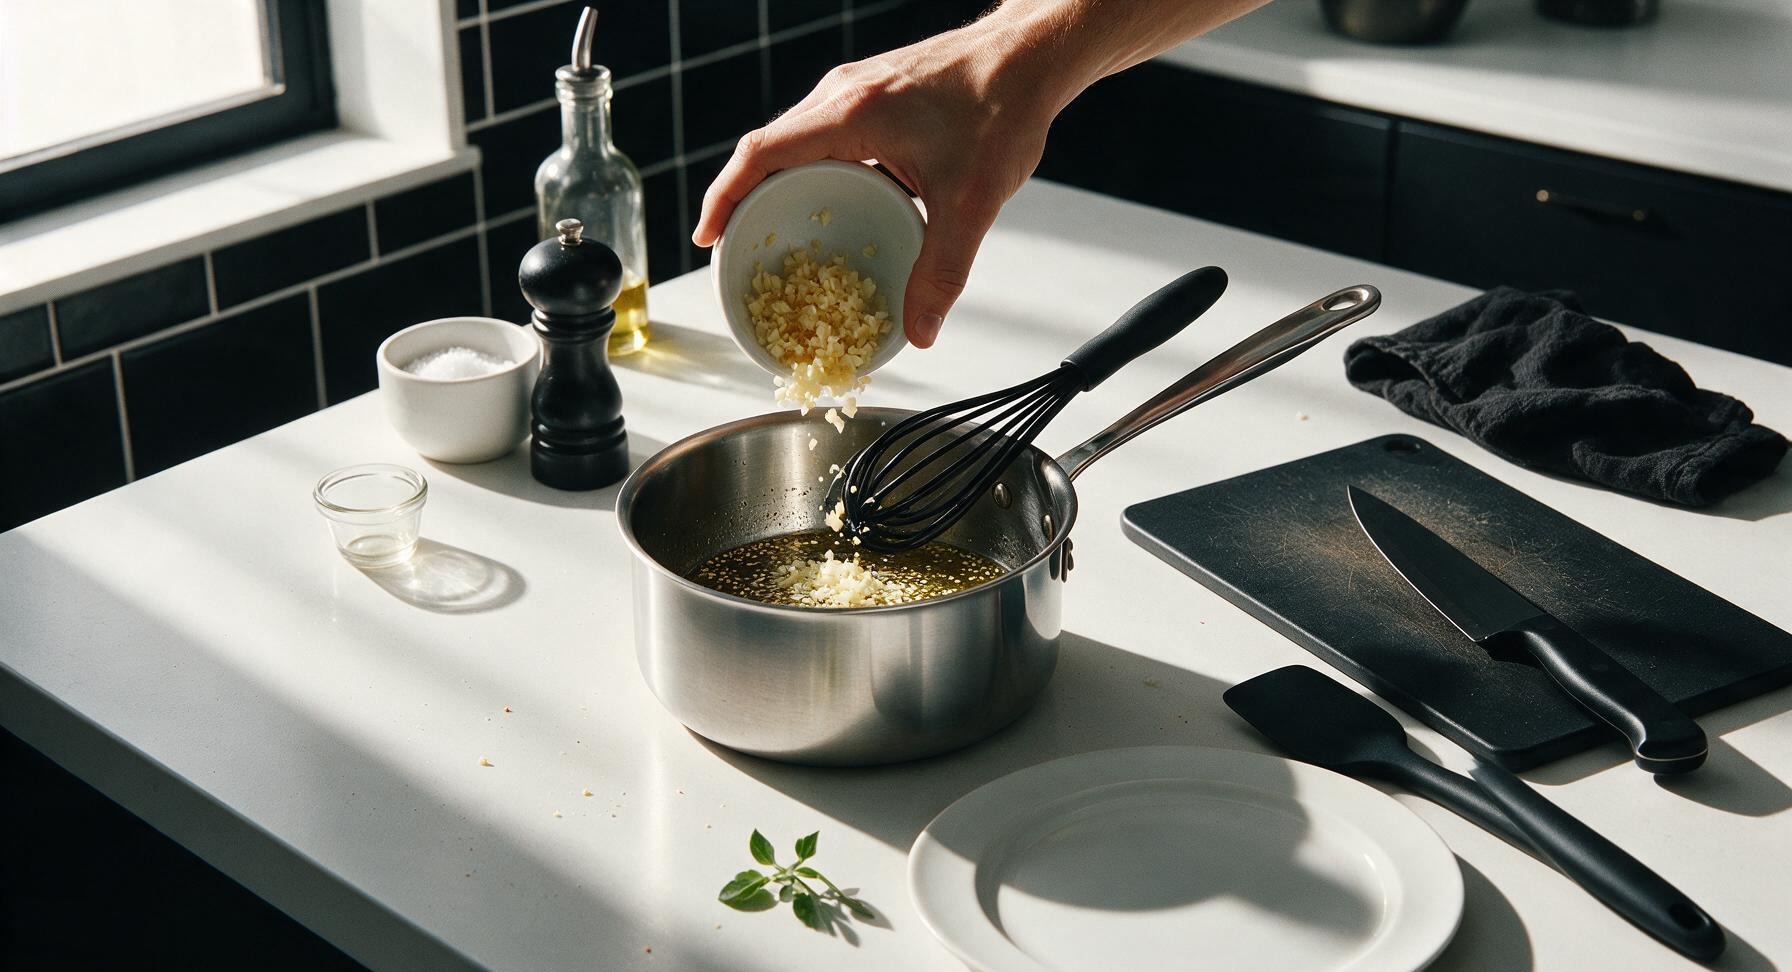
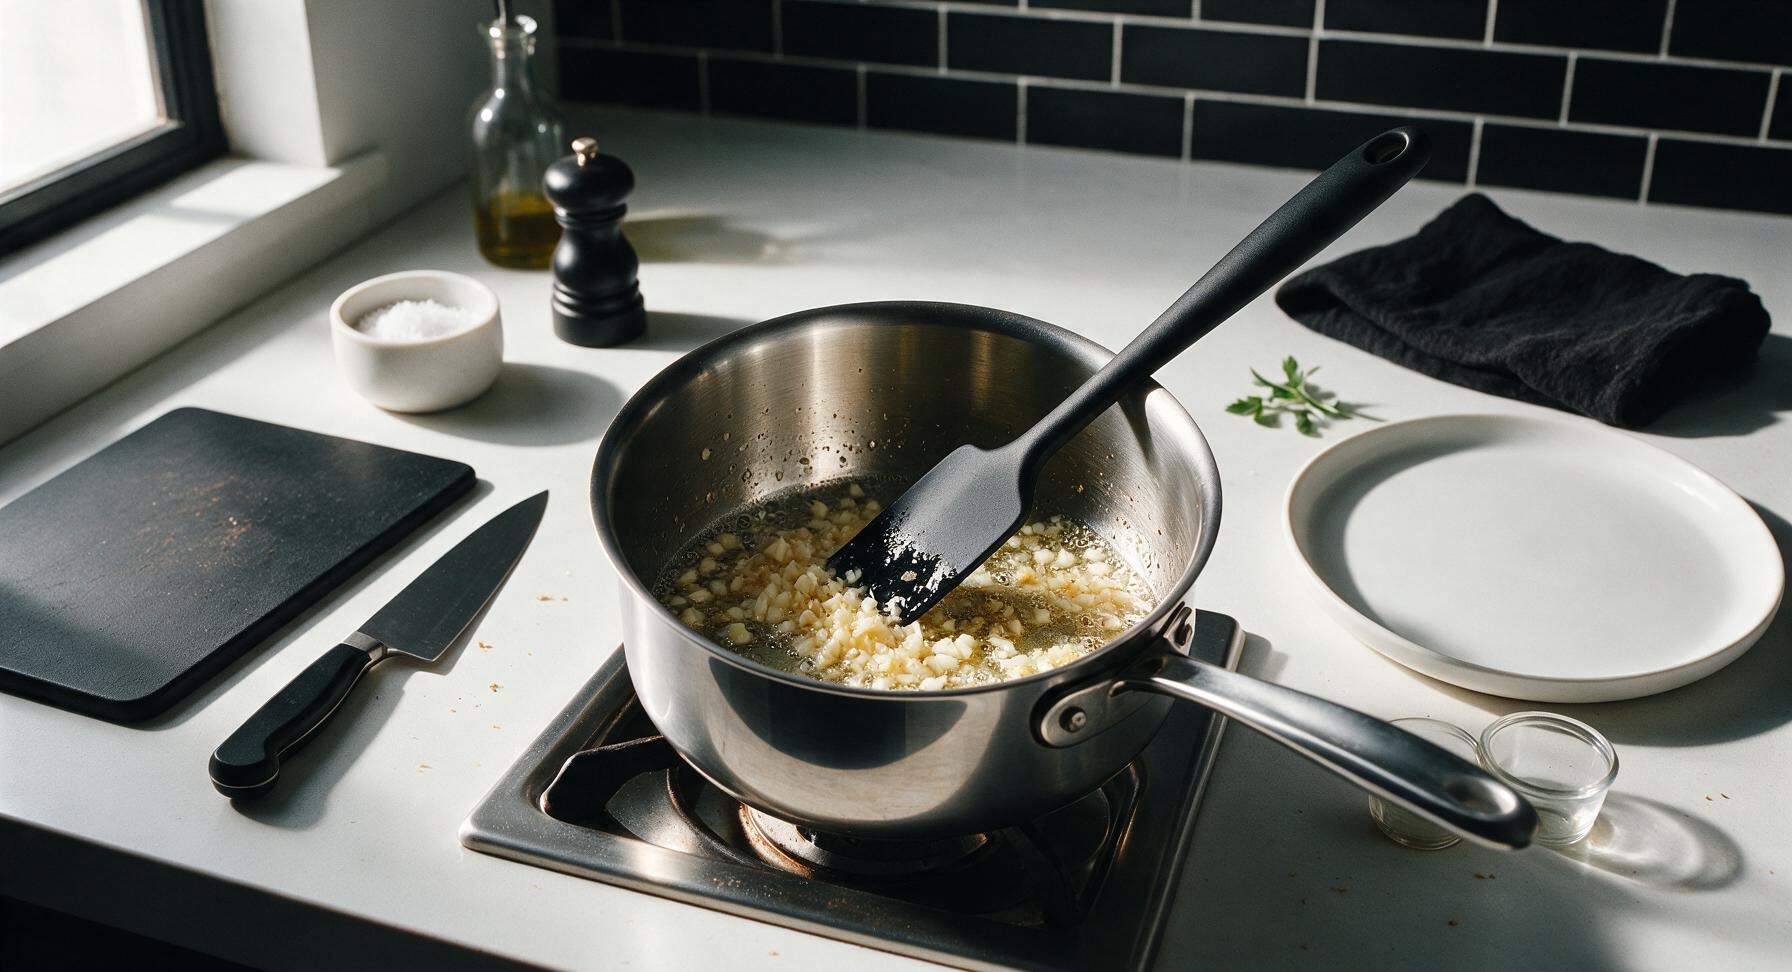
Retrieve the 1-quart polished stainless steel saucepan and place it at the center of the counter over a stovetop burner set to medium-low. Add 1 teaspoon toasted sesame oil to the pan. Once the oil shimmers (about 30 seconds of heating), add the prepped minced garlic and ginger. Sauté for exactly 30 seconds, stirring constantly with the silicone whisk, until fragrant. Do not let the garlic turn golden brown, as burnt garlic will create a bitter, unpleasant aftertaste. You will smell a warm, sharp garlic-ginger aroma when the aromatics are perfectly cooked.
Simmer Sauce Base
Pour the pre-mixed soy sauce, brown sugar, hoisin, and rice vinegar mixture from the glass measuring cup into the saucepan with the sautéed aromatics. Stir to combine, then adjust heat to medium to bring the mixture to a gentle low simmer, where small bubbles break slowly at the surface (do not bring to a rolling boil). Let simmer for 3 minutes, stirring occasionally, until the brown sugar is fully dissolved and the sauce smells rich, warm, and balanced between sweet and savory.
Thicken Sauce to Gloss
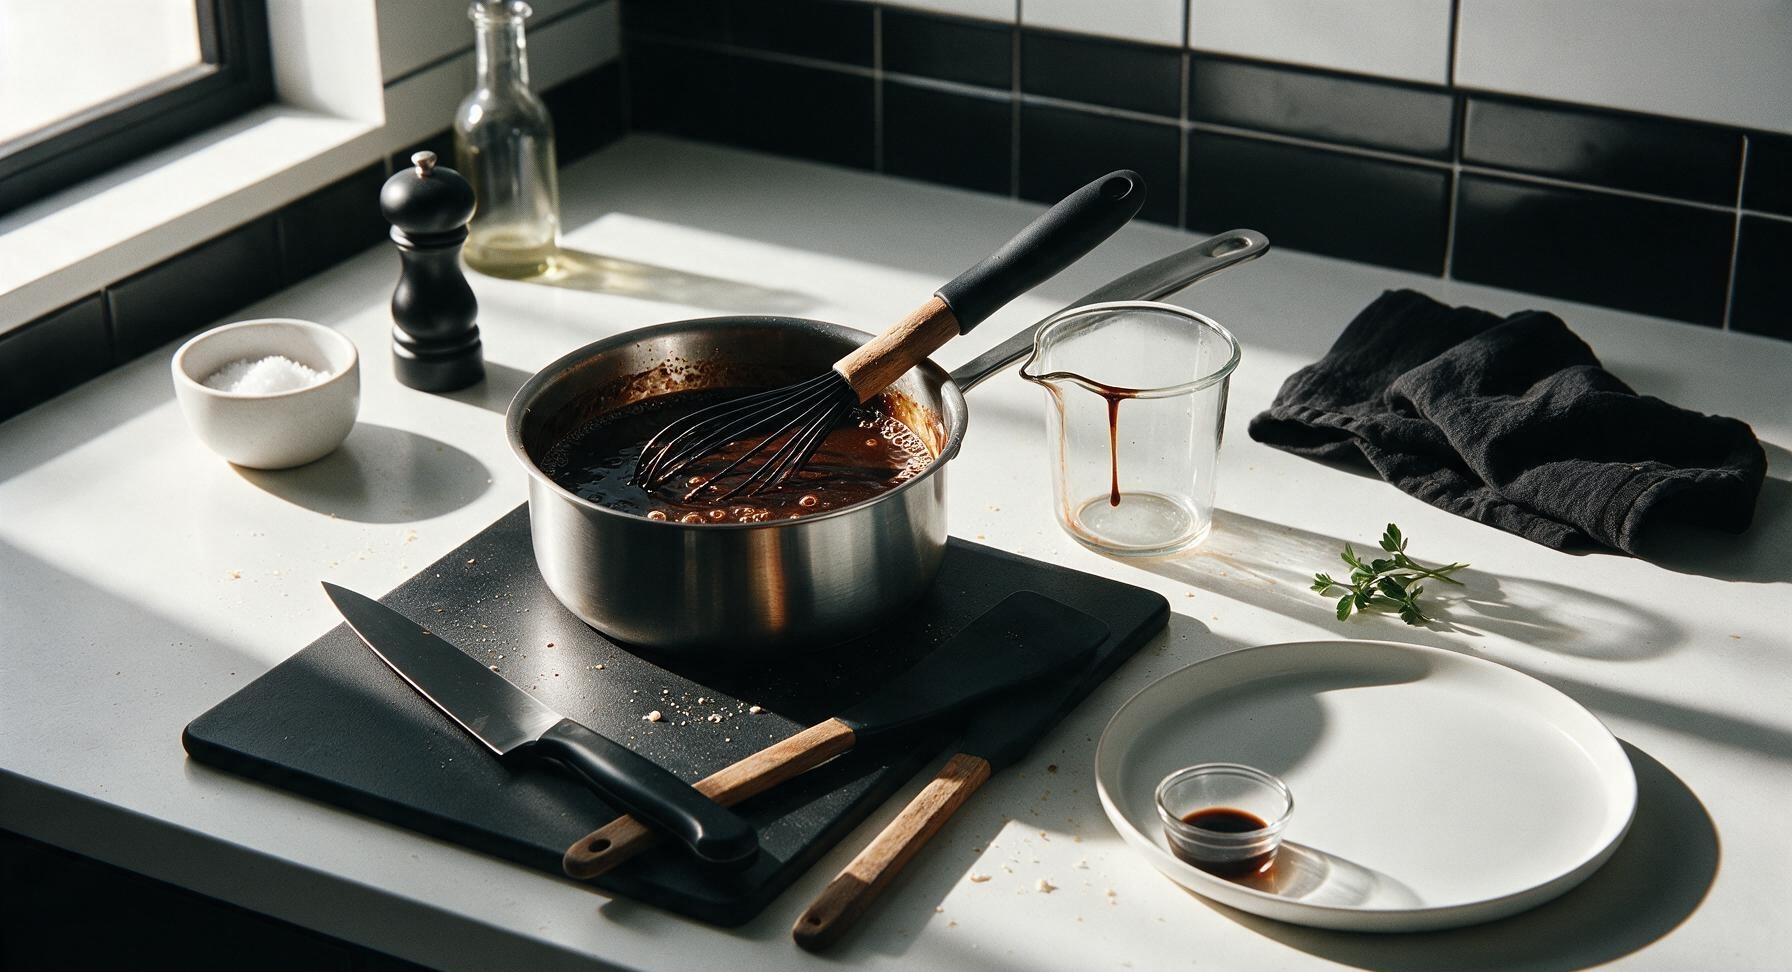
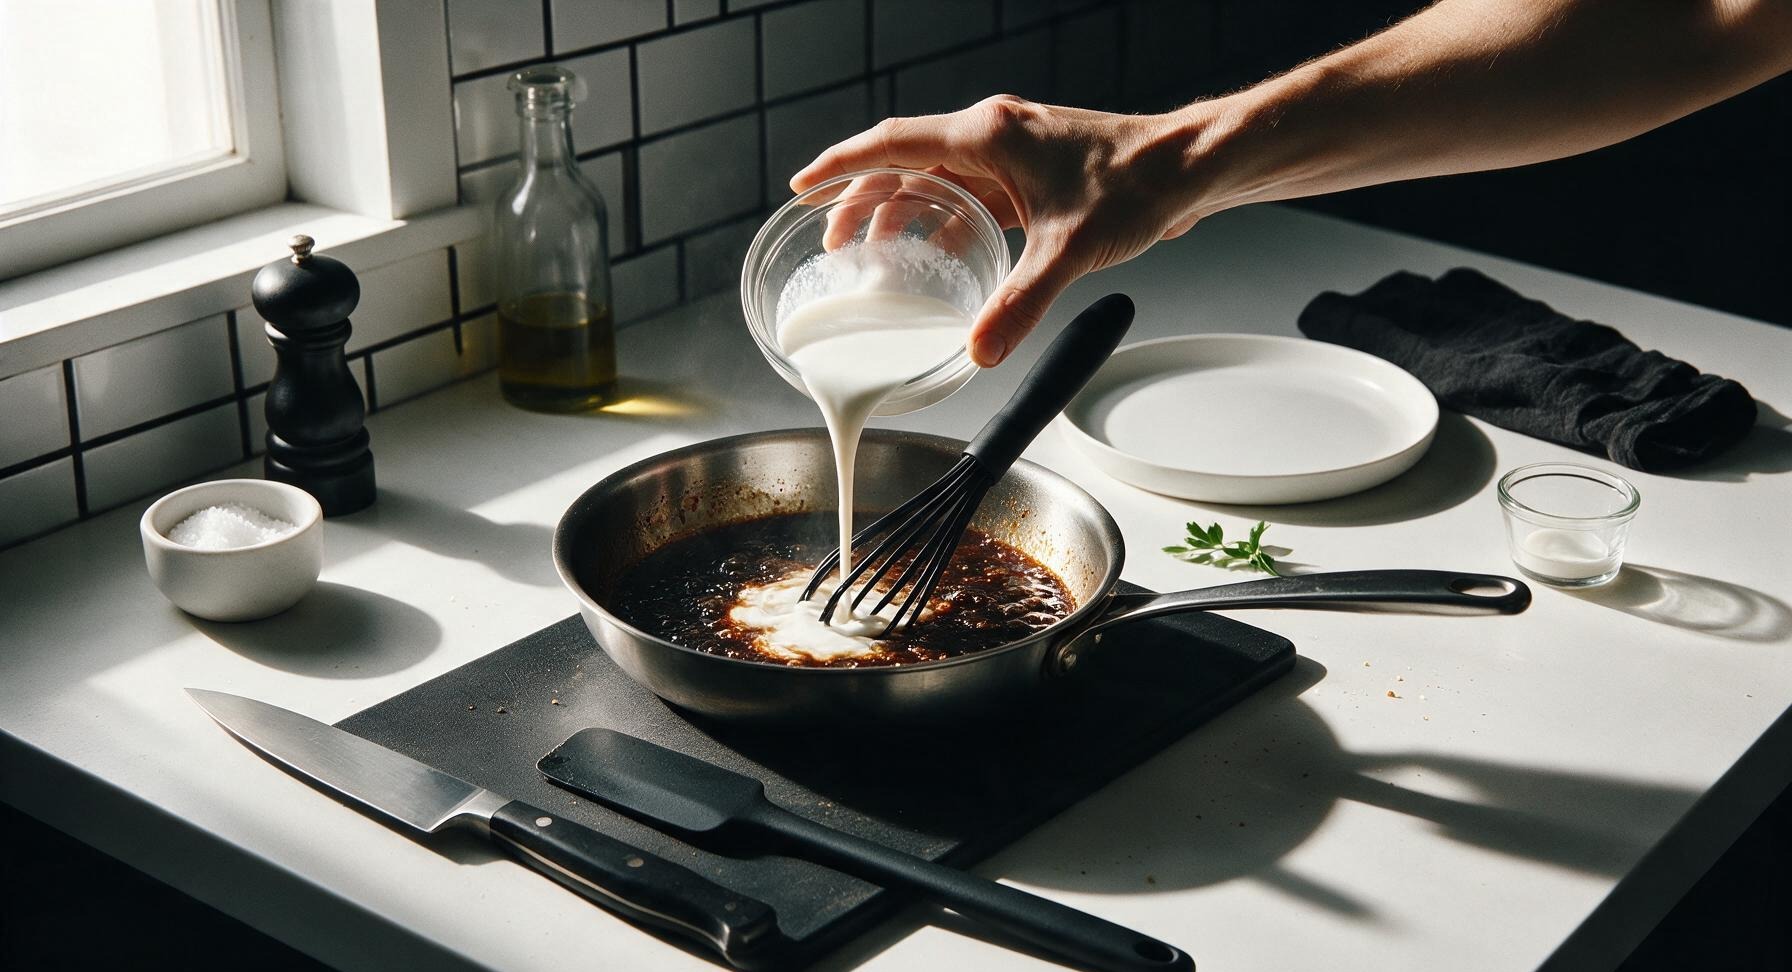
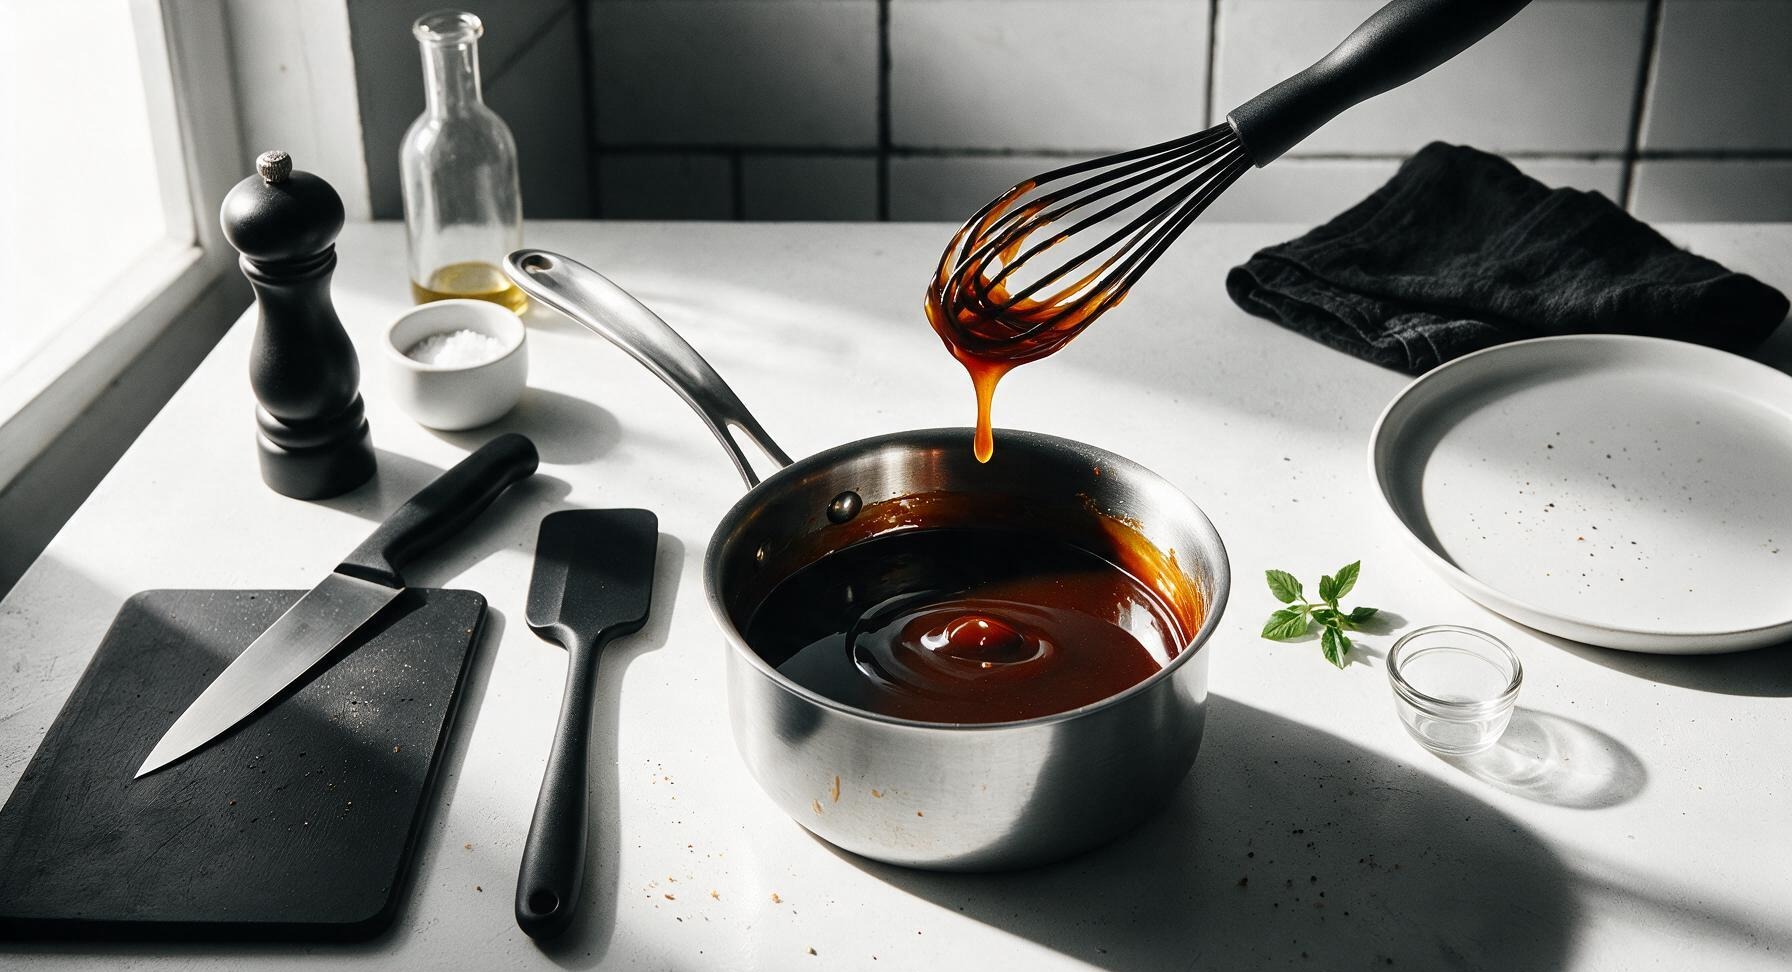
Give the reserved cornstarch slurry a quick 2-second stir to re-mix any settled cornstarch, then pour it slowly into the simmering sauce while whisking constantly. Continue whisking for 1 to 2 minutes, until the sauce thickens to a glossy, syrupy consistency that coats the back of a spoon: when you run your finger across the coated spoon, the line should hold cleanly without running. Immediately turn off the heat to avoid over-thickening, which will make the sauce gummy once cooled.
Rest and Serve Sauce
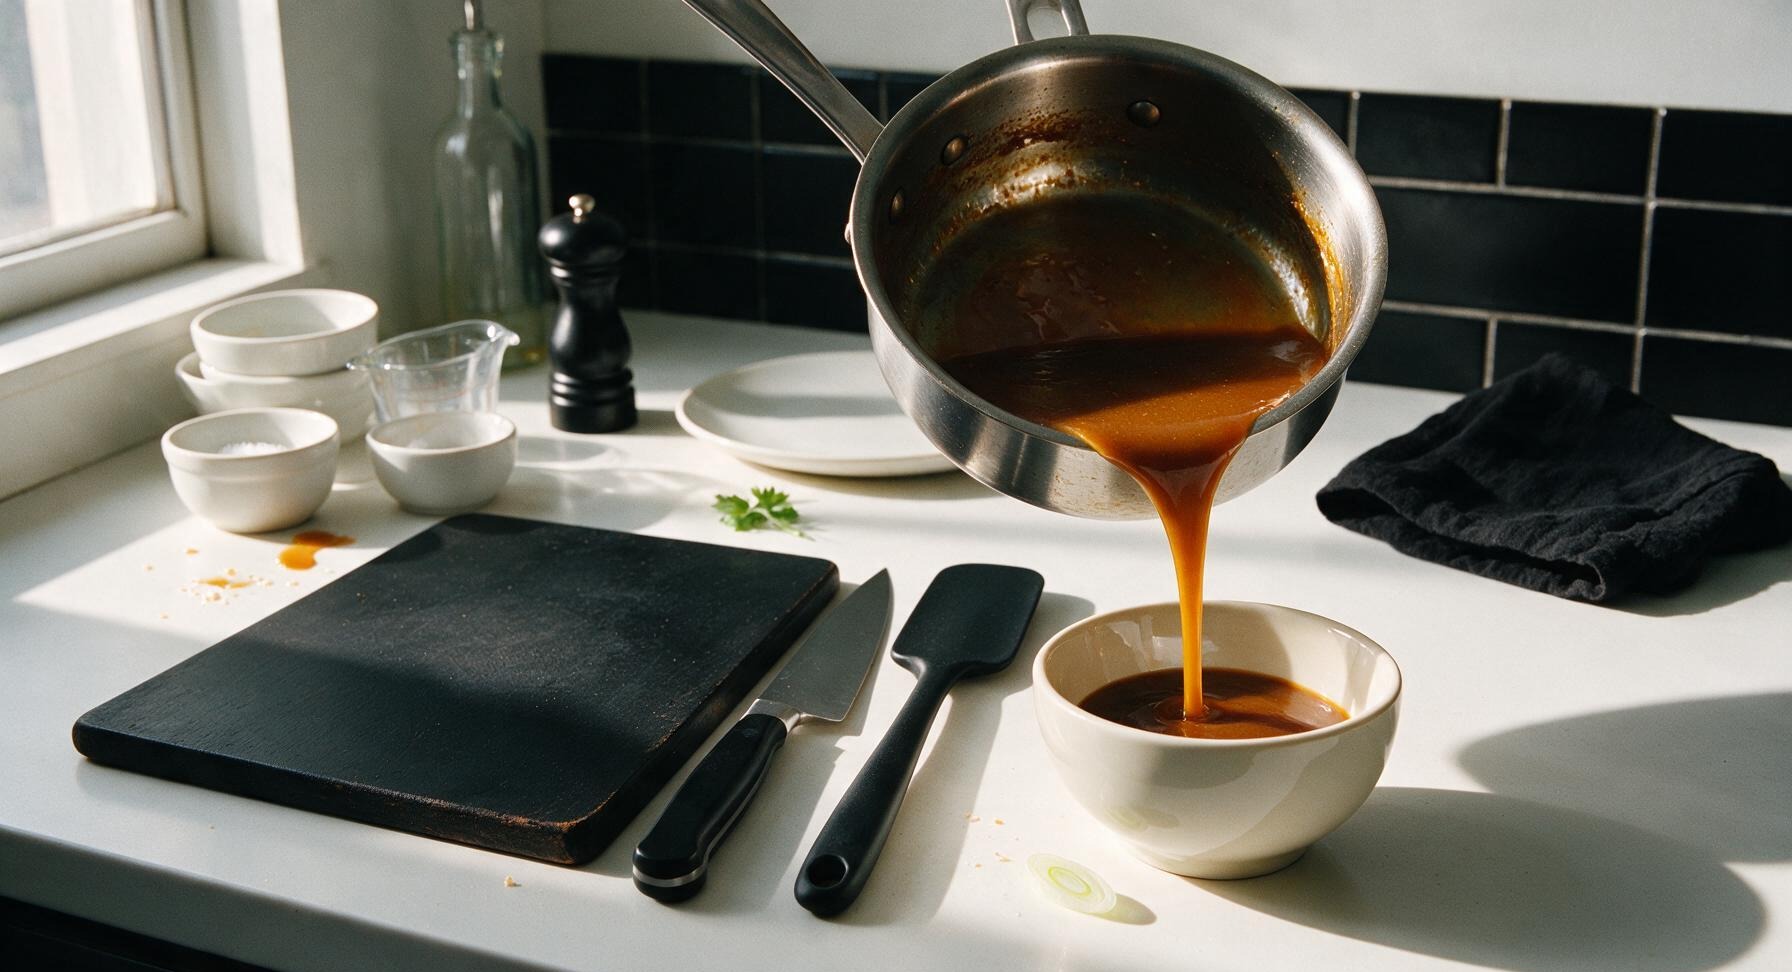
Let the sauce rest in the pan for 2 minutes off heat; it will thicken slightly more as it cools to serving temperature. Taste and adjust if needed: add a pinch more brown sugar if the sauce tastes too salty, or a tiny splash of soy sauce if it is too sweet. Pour the finished sauce into the glossy cream white ceramic sauce bowl, and top with thinly sliced scallion greens for garnish. The sauce is ready to toss with crispy seared flank steak slices and stir-fried onions for classic takeout-style Mongolian beef.
Tips
2.Never sauté garlic and ginger for longer than 30 seconds over medium-low heat: garlic can burn in as little as 45 seconds at stovetop temperature, and burnt garlic adds a sharp, bitter aftertaste that throws off the sauce's balanced sweet-savory flavor.
3.Always stir cornstarch slurry right before adding it to simmering sauce, and whisk constantly as you pour: cornstarch settles quickly to the bottom of prep bowls, and adding slurry to rapidly boiling sauce without stirring will cause lumpy, grainy sauce instead of a smooth, glossy coating.






OMG this sauce is an absolute game changer! I’ve been trying to nail takeout Mongolian beef for years and this 7 minute recipe is better than our local Chinese spot’s version. My kids devoured it over rice last night for family dinner, even my super picky 8 year old asked for seconds! 10/10 will be making this weekly for meal prep.
This was SO easy to throw together after work! I didn’t even have to run to the grocery store because I had all the pantry staples already — soy sauce, brown sugar, garlic, ginger, sesame oil, done. Tossed it with some crispy beef and broccoli, my roommate thought I ordered takeout lmao. Only thing I added was a pinch of red pepper flakes for a little heat.
No cap, this recipe saved my week. I’m a broke college student with like 10 minutes max to cook between classes and study sessions, and this sauce is cheap to make, tastes insane, and makes even the cheap grocery store beef taste like fancy takeout. Already shared the link with my whole dorm group chat.
Made a big batch of this for our neighborhood potluck last weekend and people were hounding me for the recipe all night! I served it on meatball sliders with a little drizzle of this sauce instead of the usual marinara, and it was the first dish gone. 10/10, so versatile.
Is there a way to make this lower sugar? I’m doing low carb right now and Mongolian beef is my biggest takeout craving, I don’t want to blow my macros on the sugary sauce from the restaurant.
I’ve been making Mongolian beef for my grandkids for 30 years using my old recipe, but I tried this one last Sunday and wow, it’s so much faster and just as flavorful! I added a little extra fresh ginger because we love ginger in our house, and the kids said it’s better than the old version. I might be converted!
Help! I tried making this last night and my sauce came out way too thin? Did I do something wrong? I followed the measurements exactly but it didn’t thicken up like the takeout version I know.
This sauce slaps. I tossed it with crispy tofu instead of beef to make a vegetarian version for my partner, and even as a total meat lover I was going back for thirds. The balance of sweet and savory is perfect, not too salty like a lot of copycat recipes I’ve tried before.
Made this for my partner’s birthday dinner since Mongolian beef is his favorite takeout order, and he said it was better than the place we’ve been ordering from for 5 years. Win for me! Also, 7 minute cook time? Unbeatable for a weeknight birthday when I got off work late.
Meal prep win for the books! I made a quadruple batch of this sauce on Sunday, portioned it into freezer containers, and now I can just grab one, heat it up with some beef and frozen veggies, and have dinner on the table in 10 minutes flat on busy soccer practice nights. Total lifesaver.
Wait I’m confused — is this just the sauce recipe? Do I cook the beef separately? I’m new to cooking so I don’t want to mess this up, it looks so good!
I used this sauce on grilled chicken thighs last weekend for a cookout and people lost their minds. Who knew Mongolian sauce worked so well on grilled chicken? The caramelization from the grill with the sweet savory sauce? Chef’s kiss. Will be making this all summer long.
This is really tasty, but it’s pretty high in sodium for me since I’m on a low sodium diet for my blood pressure. Any tips to cut the salt without ruining the flavor?
Pro tip: add a handful of green onions and a sprinkle of toasted sesame seeds at the end, just like the takeout places do. It makes it look and taste so much more authentic, and it takes literally 10 extra seconds. My husband thought I DoorDashed it when I set the plate down lol.
Made this for my date night last night and it was a total hit! We paired it with fried rice and steamed edamame, it felt like we got takeout from our favorite spot but for a fraction of the price. Will be adding this to our regular date night rotation.
I was so skeptical that a 7 minute sauce could actually taste like real takeout Mongolian beef, but color me impressed. It’s perfectly balanced — not too sweet, not too garlicky, just right. I was worried it would be one of those bland copycat recipes but nope, this one’s a keeper.
Y’all. I can barely boil water without burning it, and I pulled this off on the first try. It was SO easy. I used pre-sliced beef from the grocery store, followed the sauce instructions exactly, and my roommate said it’s the best thing I’ve ever cooked. 10/10 for cooking newbies.
I brought this sauce to a friend’s potluck a few days ago, tossed with noodles and beef, and people were going back for seconds even after they were full. The only problem is now everyone expects me to bring it to every get-together from now on lmao. Worth it, though, because it’s so fast to make.