
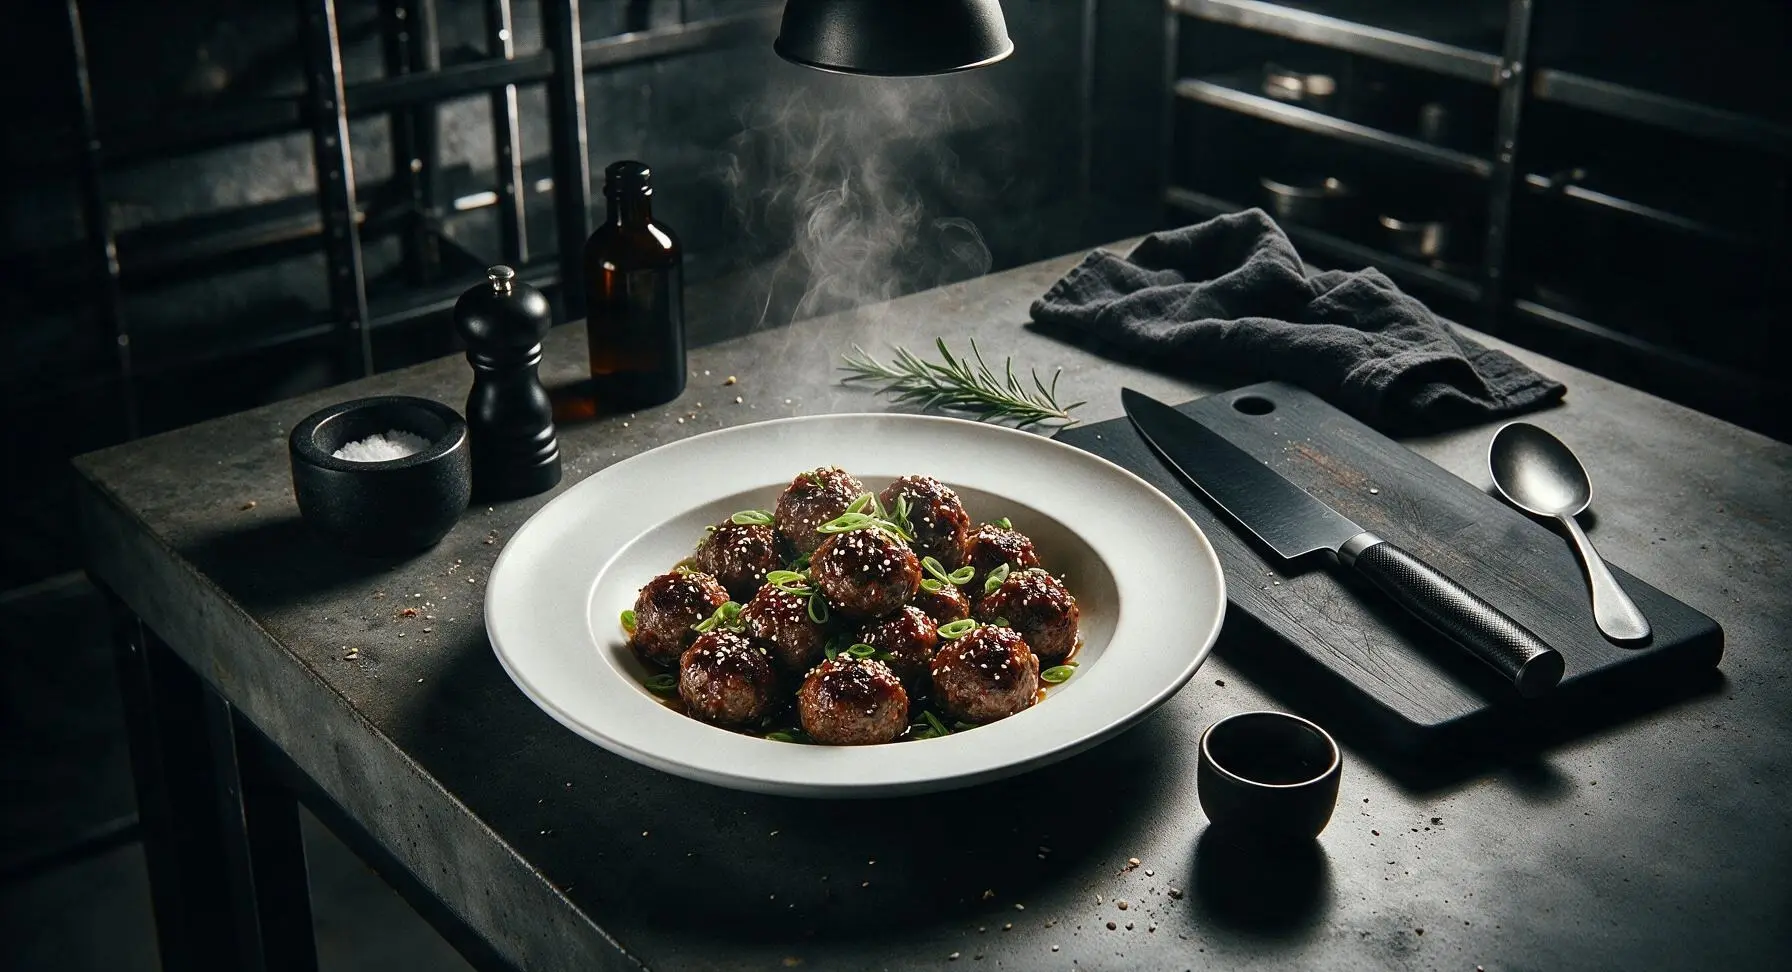
mongolian meatballs

title 1
mongolian meatballs
⏱️ cook time 20 minutes
🍽️ servings 4
⚡ Difficulty easy

intro

Juicy seared beef meatballs coated in a sticky, sweet-savory soy-ginger glaze, a beloved Chinese-American takeout classic made quick and easy for home cooking.

Ingredients
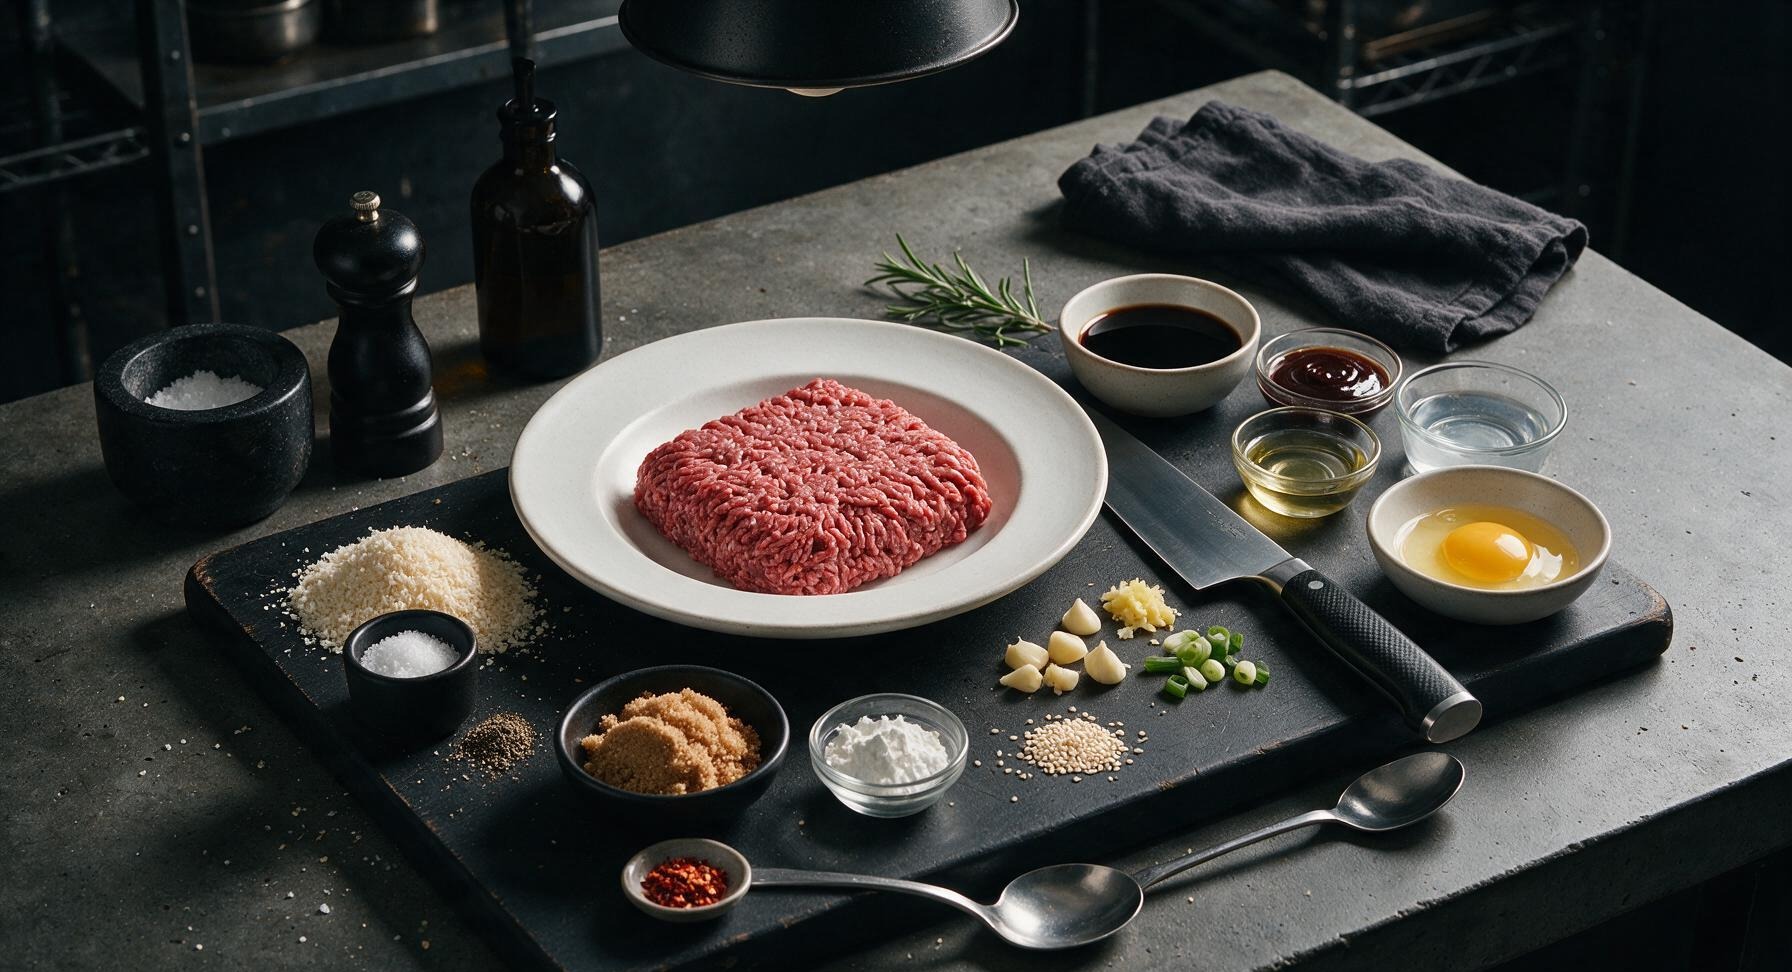
80/20 ground beef 450g (1lb)
Panko breadcrumbs 60g (1/2 cup)
Large egg 1 unit
Garlic cloves 3 (minced, divided)
Fresh ginger 1 tbsp (grated, divided)
Scallions 4 stalks (2 chopped for meatballs, 2 sliced for garnish)
Kosher salt 1/2 tsp
Ground black pepper 1/4 tsp
Low-sodium soy sauce 110ml (1/3 cup + 2 tbsp, divided)
Light brown sugar 75g (1/3 cup, packed)
Hoisin sauce 2 tbsp
Unseasoned rice vinegar 1 tbsp
Cornstarch 1 tbsp
Cold water 60ml (1/4 cup)
Red pepper flakes 1/4 tsp (optional)
Toasted white sesame seeds 1 tsp (garnish)
Neutral cooking oil (canola or avocado) 1 tbsp

Steps

1

Combine Meatball Ingredients

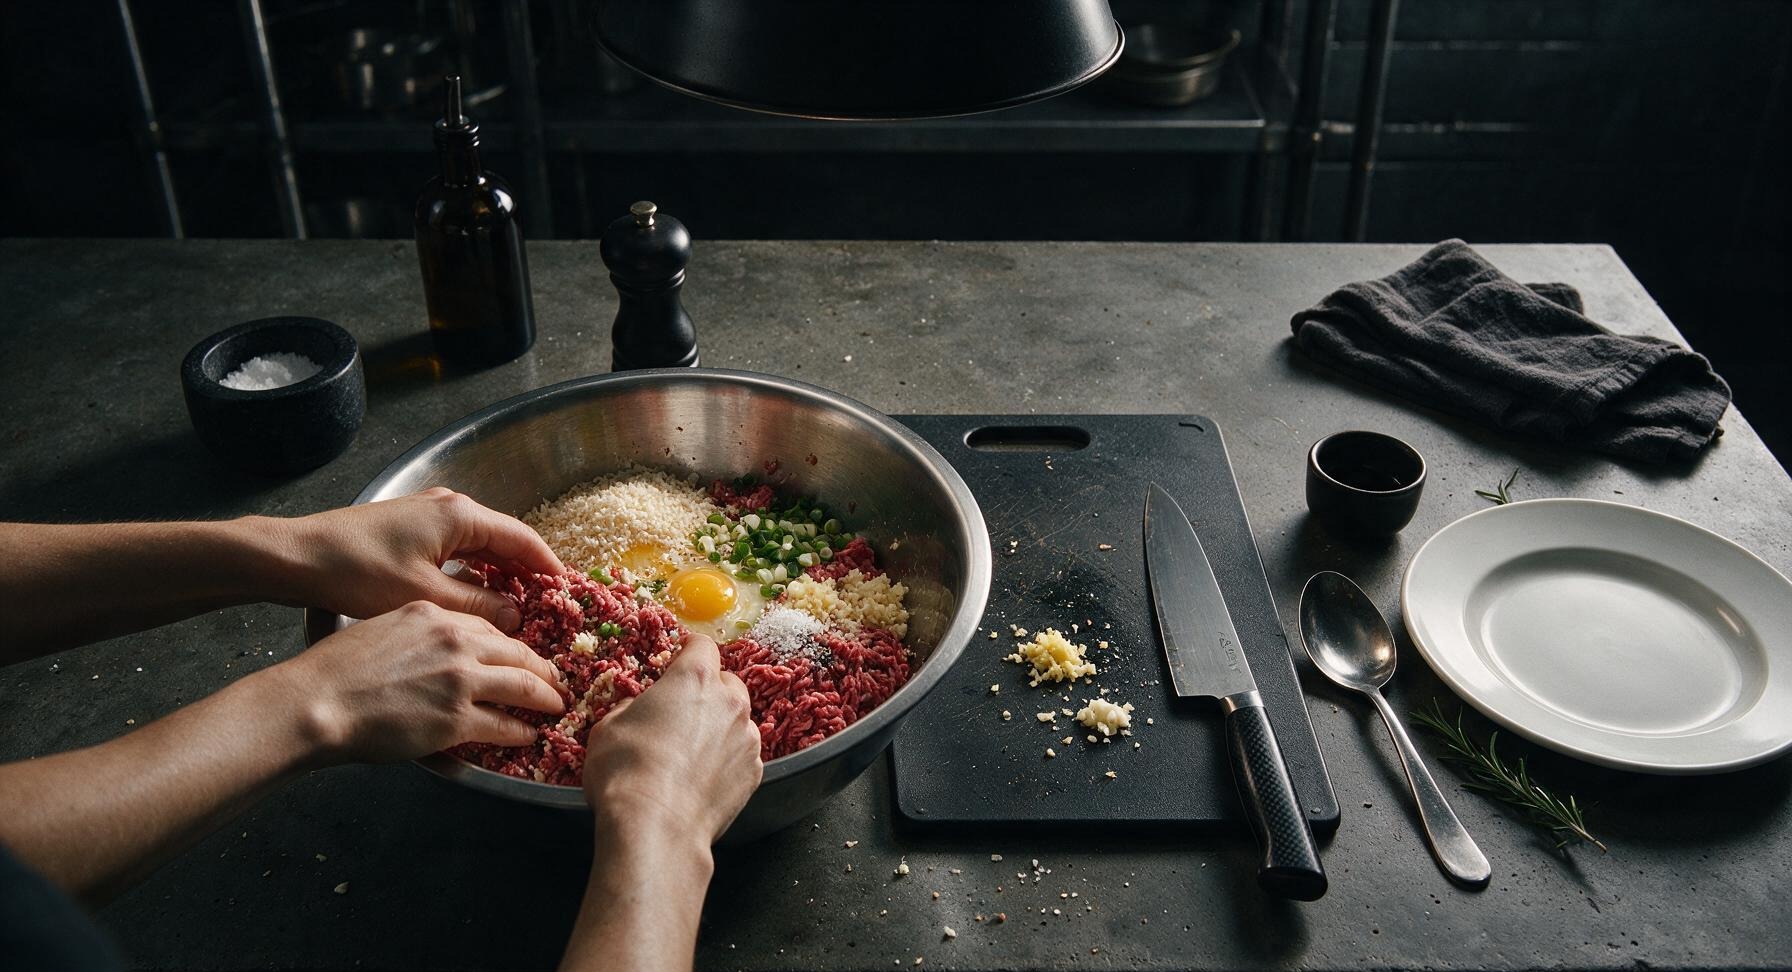
Place the 450g 80/20 ground beef, 60g panko breadcrumbs, 1 lightly beaten large egg, 2 tbsp low-sodium soy sauce, 2 finely chopped scallions, 1 tsp minced garlic, 1 tsp grated ginger, 1/2 tsp kosher salt, and 1/4 tsp black pepper into the large stainless steel mixing bowl. Use clean hands to gently fold the ingredients together until just evenly combined; do not overmix, as this will create tough meatballs. The mixture should hold together when squeezed gently without crumbling.
Step 1
step1:Combine Meatball Ingredients
2

Shape Even Meatballs

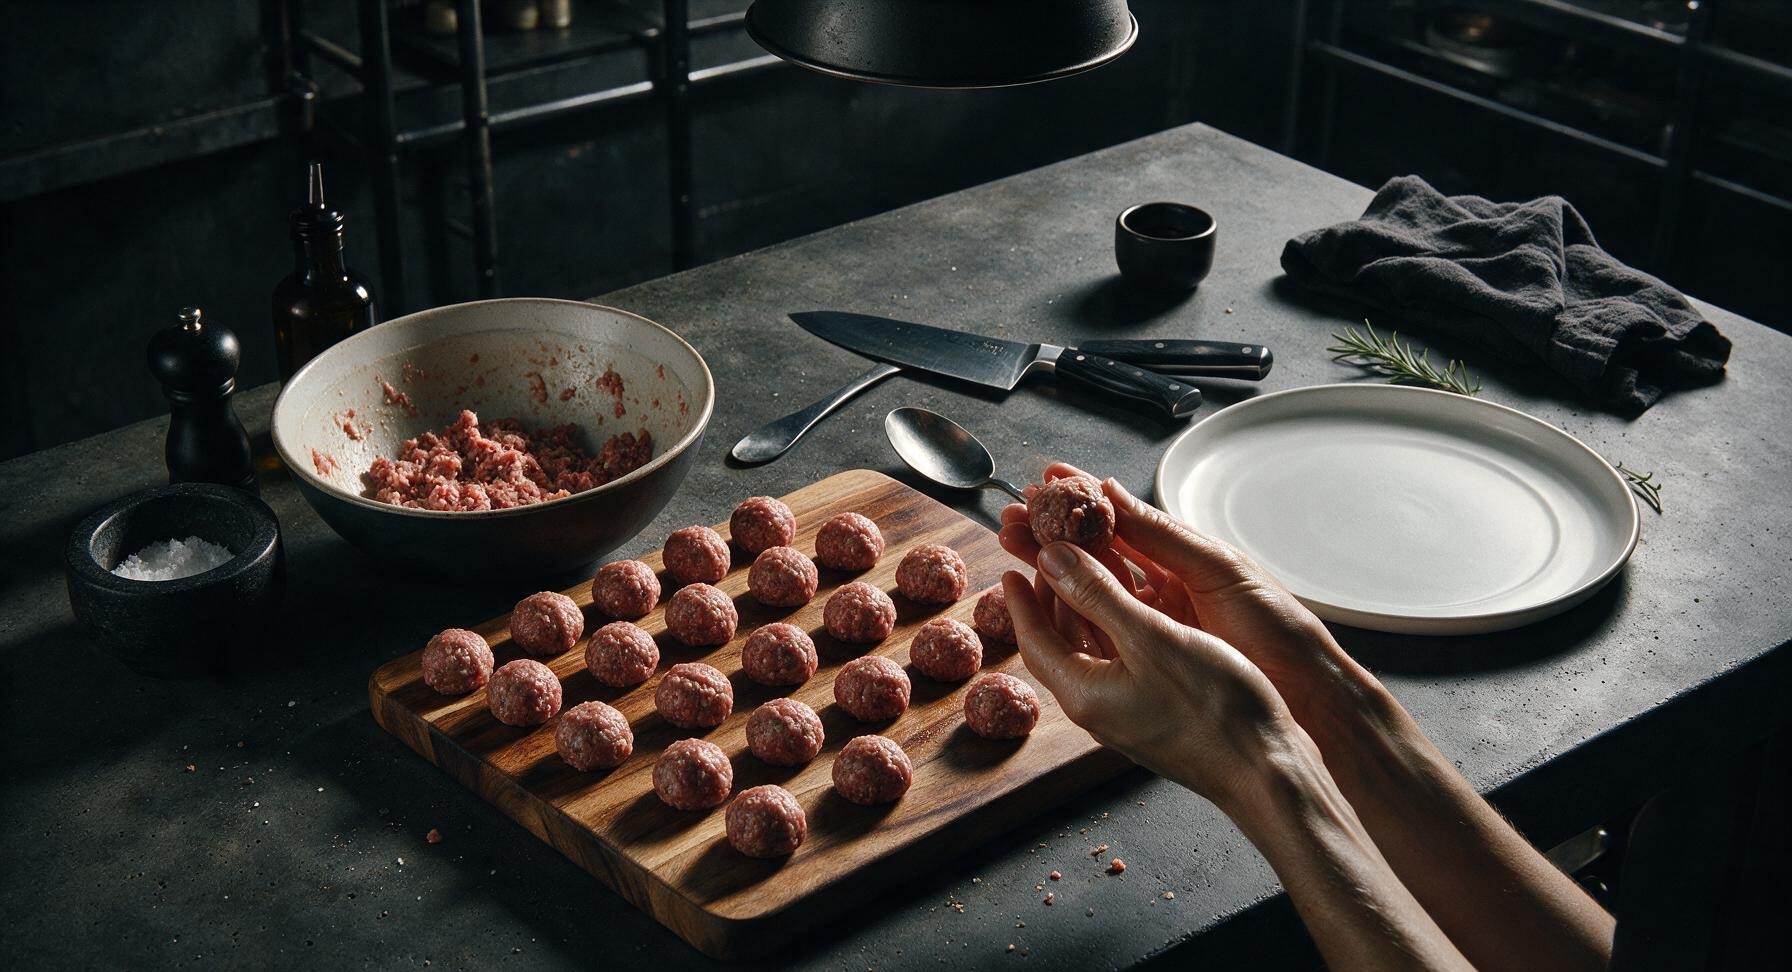
Lightly oil your hands to prevent sticking, then portion the meat mixture into 28g (1 ounce) portions, rolling each between your palms to form smooth, 1.5-inch round meatballs. You will yield approximately 16 uniform meatballs. Set the formed meatballs on the clean edge of the acacia wood cutting board as you work, leaving 1cm of space between each to prevent sticking.
Step 2
step2:Shape Even Meatballs
3

Whisk Glaze Ingredients

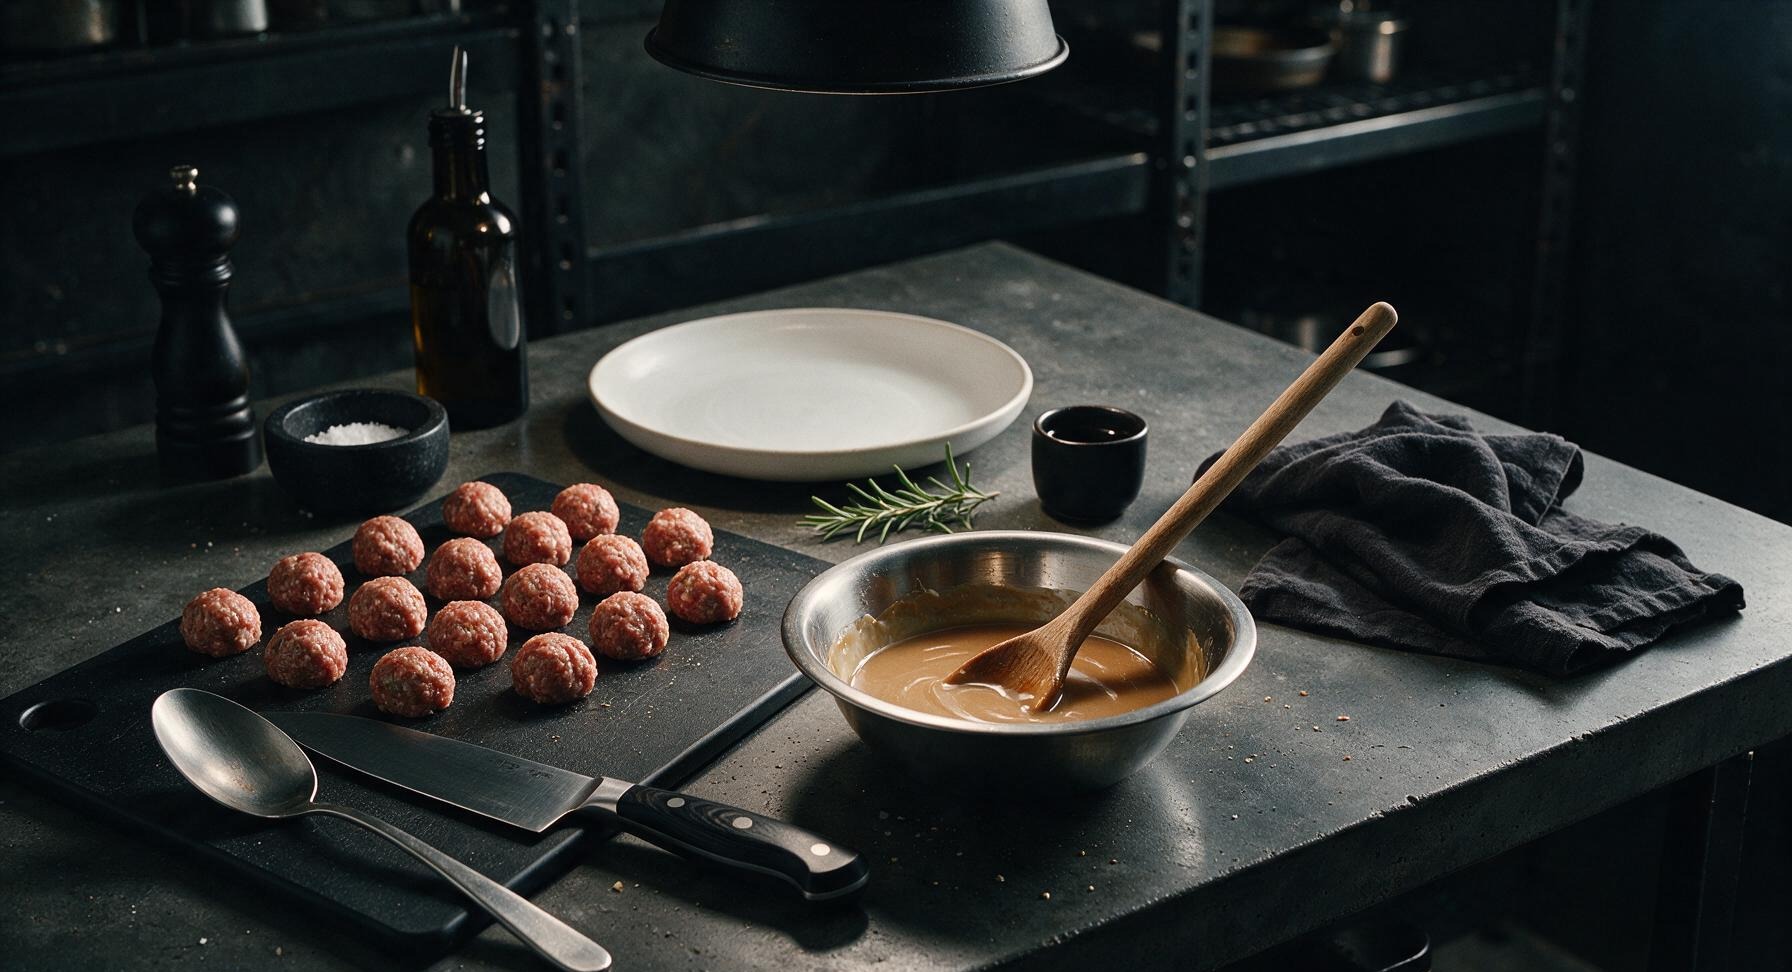
In the small stainless steel mixing bowl, combine the remaining 80ml (1/3 cup) low-sodium soy sauce, 75g packed light brown sugar, 2 tbsp hoisin sauce, 1 tbsp rice vinegar, remaining 2 minced garlic cloves, remaining 2 tsp grated ginger, 1/4 tsp red pepper flakes (if using), 1 tbsp cornstarch, and 60ml cold water. Use the long beech wood spoon to whisk the mixture until completely smooth, with no visible cornstarch lumps remaining. The glaze will be thin and light brown before cooking.
Step 3
step3:Whisk Glaze Ingredients
4

Sear Meatballs Until Golden

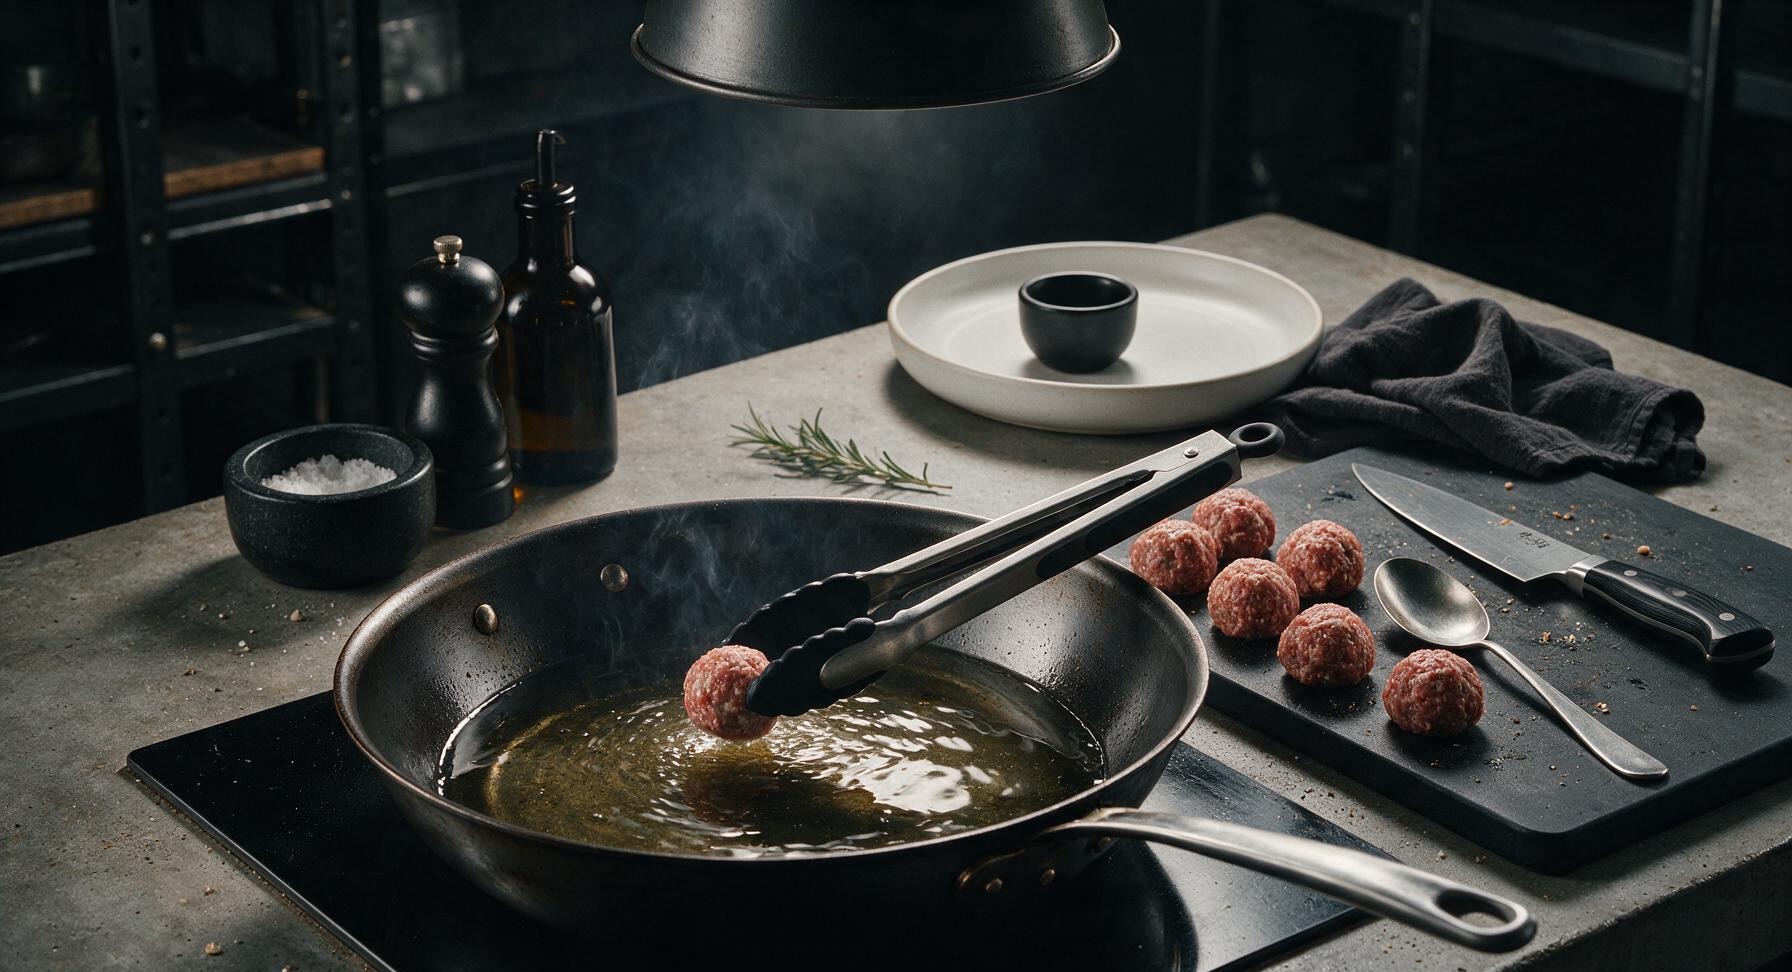
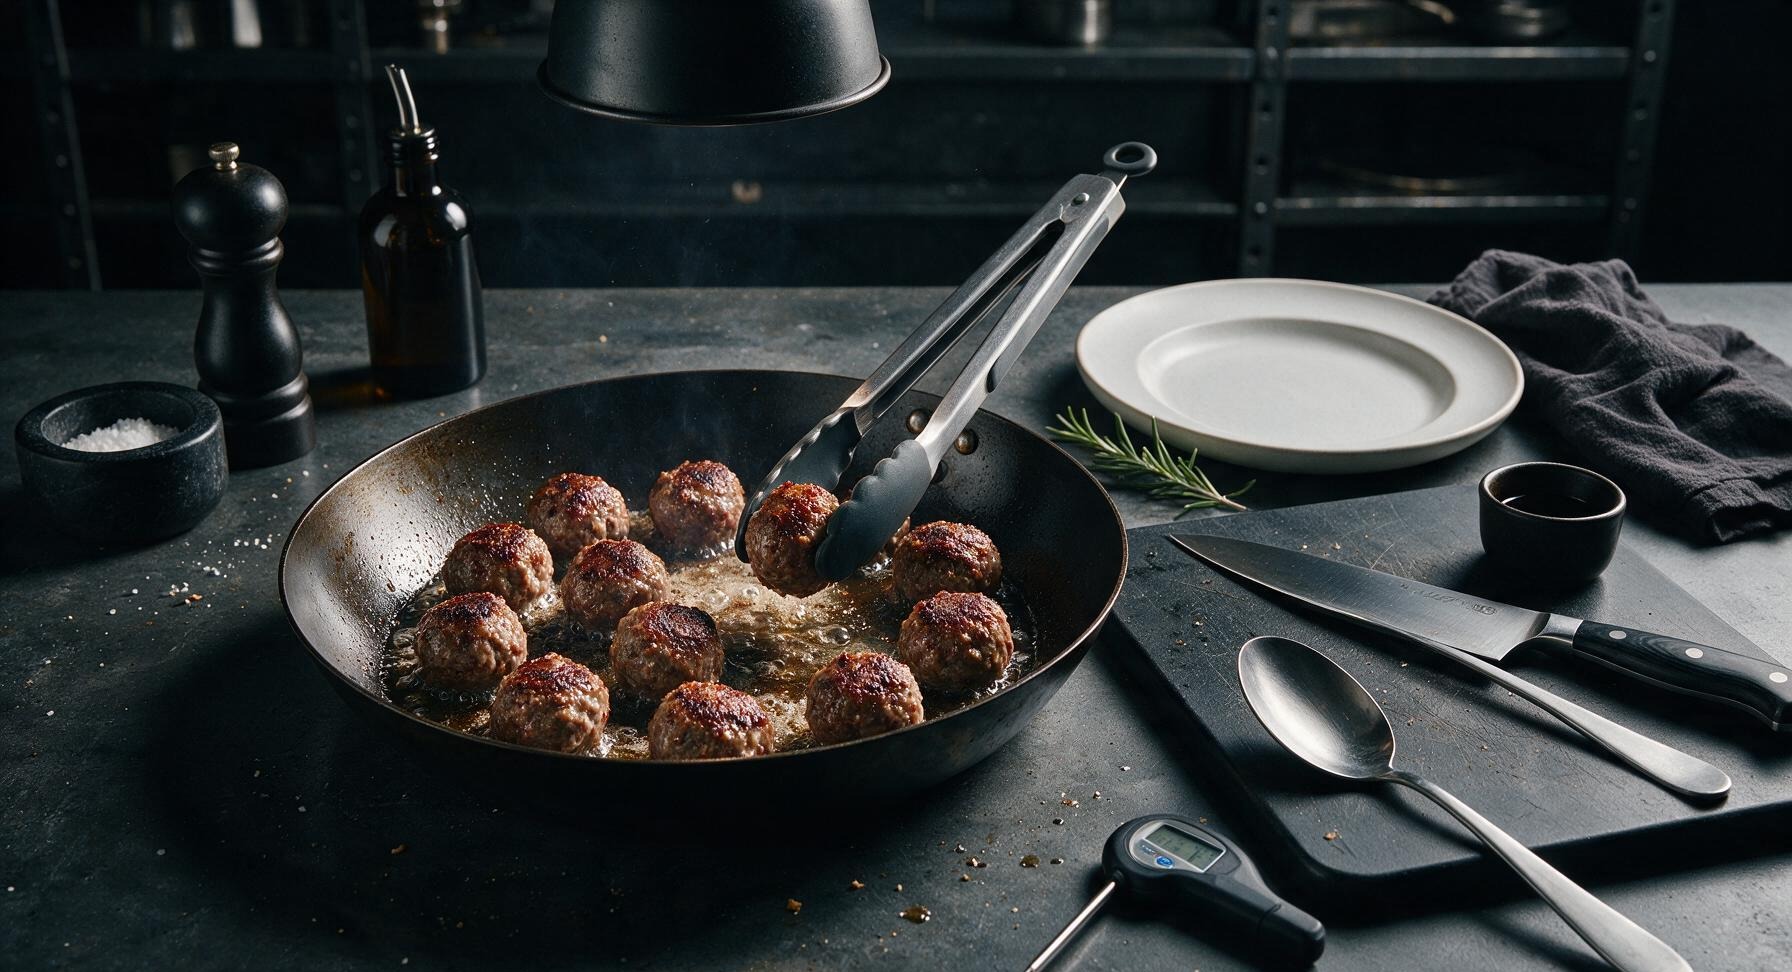
Heat 1 tbsp neutral cooking oil in the 12-inch carbon steel skillet over medium heat (175°C / 350°F) until the oil shimmers. Carefully add the meatballs to the skillet in a single layer, working in two batches if needed to avoid crowding the pan. Sear for 8-10 minutes total, turning the meatballs with the silicone-tipped tongs every 2 minutes, until all sides are deep golden brown and the internal temperature reaches 63°C / 145°F when checked with the digital meat thermometer. Transfer seared meatballs to a clean plate temporarily.
Step 4
step4:Sear Meatballs Until Golden
Step 4
step4:Sear Meatballs Until Golden
5

Simmer in Sticky Glaze

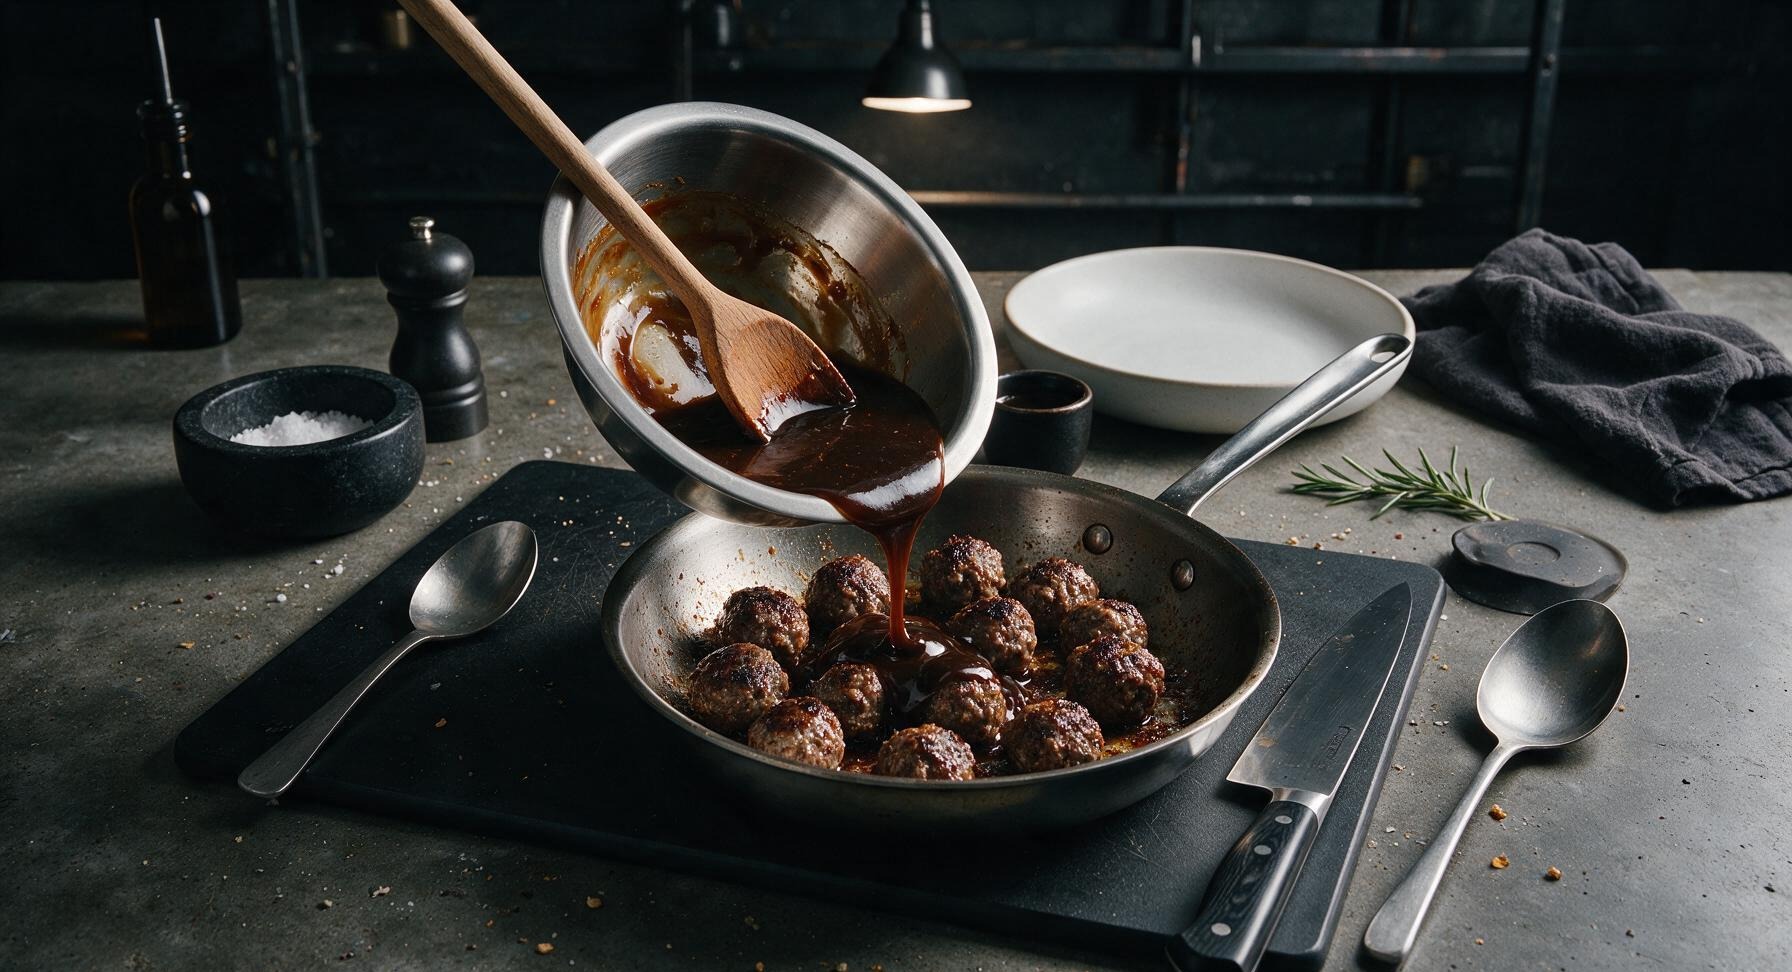
Reduce the stovetop heat to medium-low (160°C / 325°F). Pour the prepared glaze into the same skillet used to sear the meatballs, using the beech wood spoon to scrape up any browned fond bits from the pan bottom. Return all seared meatballs to the skillet, turning them gently with the tongs to coat fully in the glaze. Simmer for 3-4 minutes, stirring occasionally, until the glaze thickens to a syrupy consistency that clings tightly to the meatballs, with no watery liquid remaining in the pan.
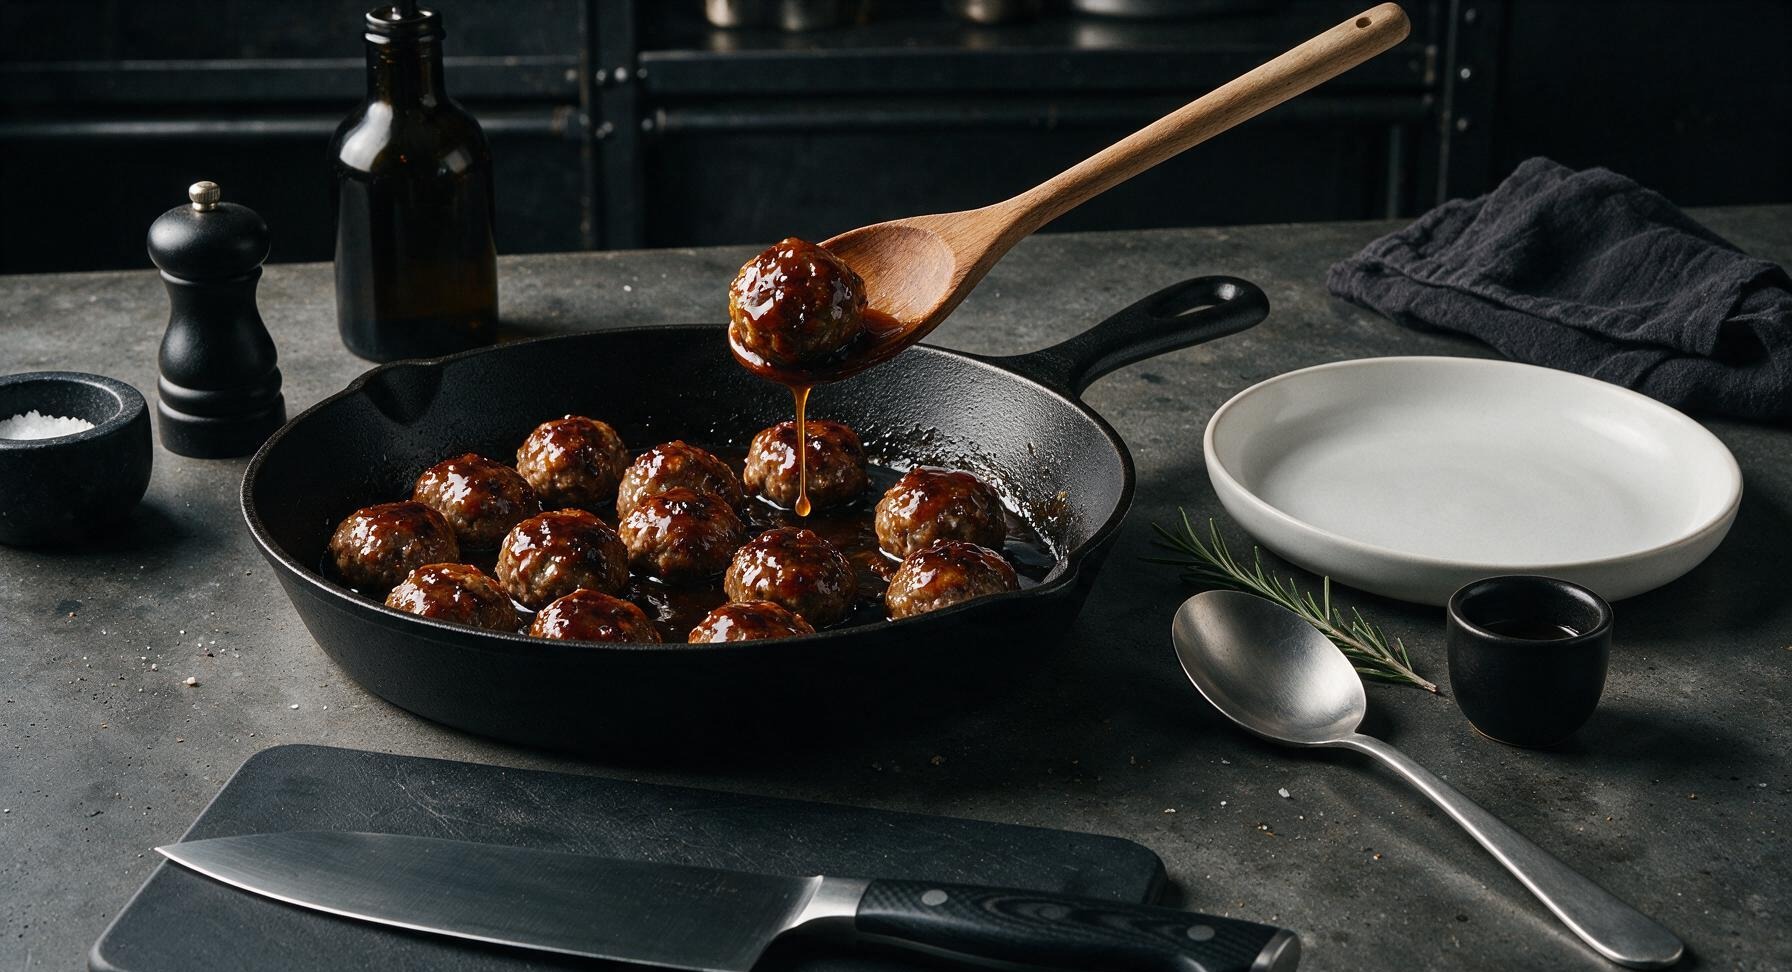
Step 5
step5:Simmer in Sticky Glaze
Step 5
step5:Simmer in Sticky Glaze
6

Plate and Garnish Dish

Transfer the glazed meatballs to the top matte white ceramic dinner plate from the stacked set, piling them gently in the center. Drizzle any remaining glaze from the skillet over the top of the meatballs. Garnish with thinly sliced green scallion tops and 1 tsp toasted white sesame seeds. Serve immediately alongside fluffy steamed jasmine rice if desired.
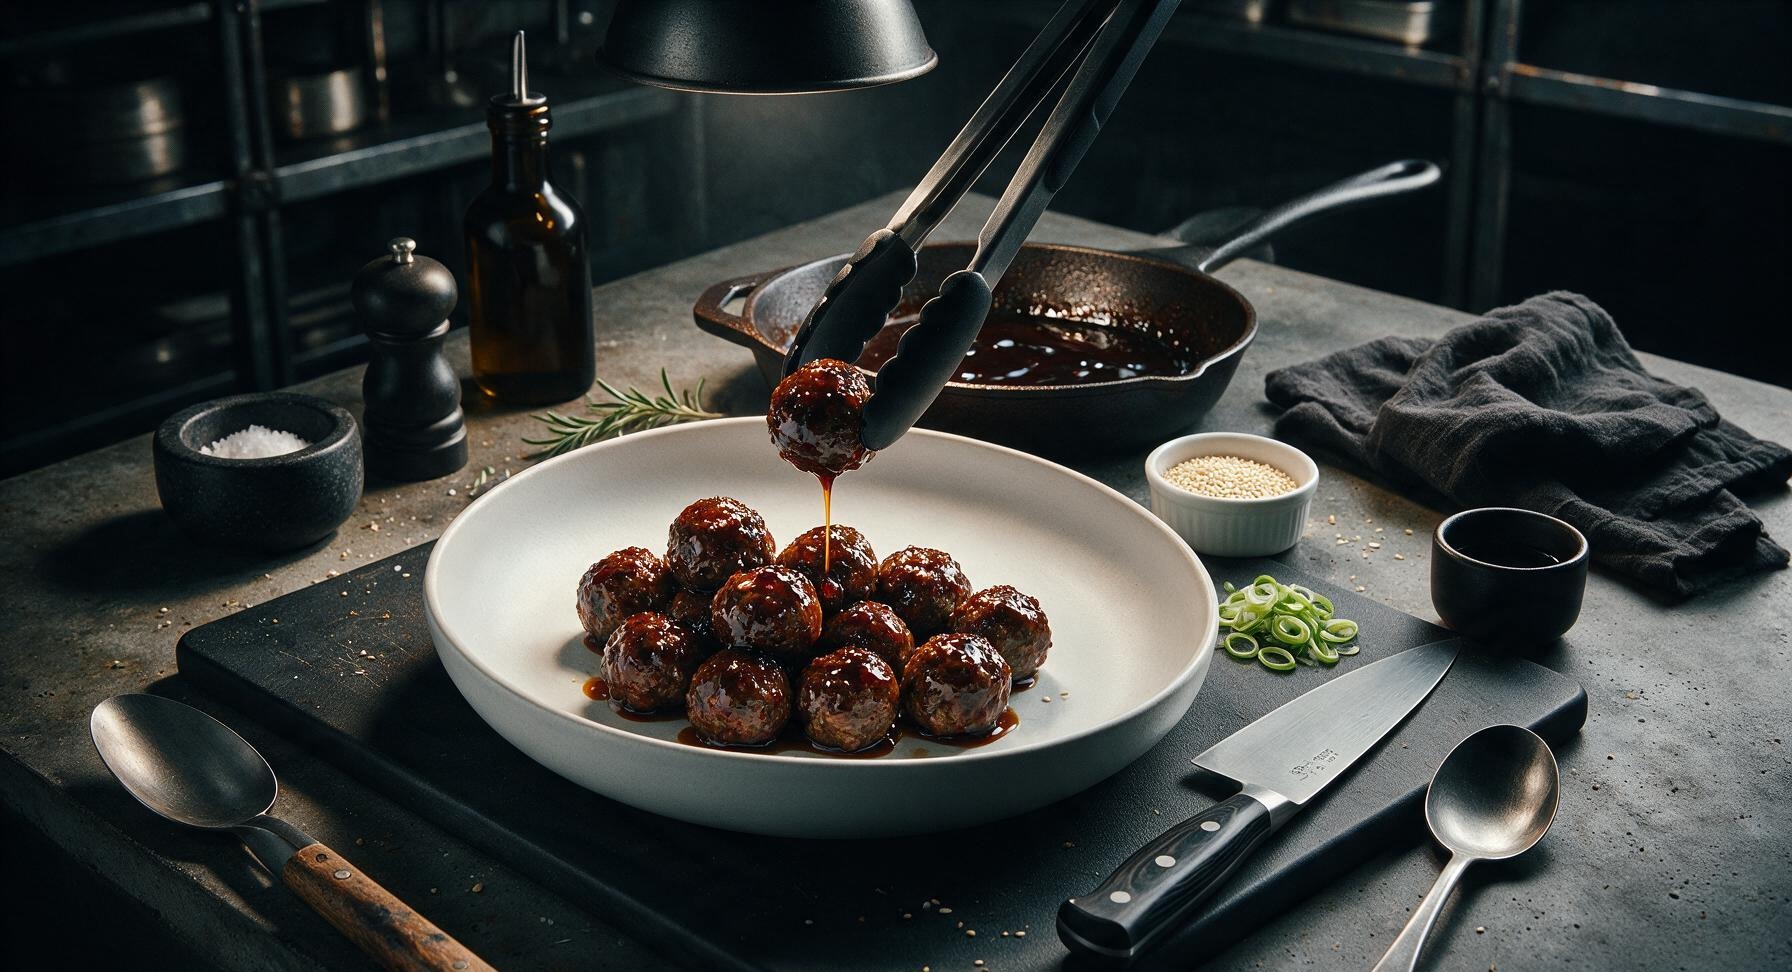
Step 6
step6:Plate and Garnish Dish

Tips

1.Use 80/20 ground beef rather than extra-lean beef: the 20% fat content renders during searing to keep meatballs juicy and tender, rather than dry and crumbly, and adds rich depth of flavor to the glaze as it mixes with the pan drippings.
2.Avoid overmixing the meatball mixture: overworking ground beef develops tough, tight muscle fibers that result in dense, rubbery meatballs. Stop folding as soon as ingredients are evenly distributed, with no large streaks of separate breadcrumb or egg visible.
3.Whisk cornstarch into the cold glaze base before heating: adding cornstarch directly to hot liquid causes immediate clumping that is impossible to fully stir out, so mixing it into cold ingredients ensures a perfectly smooth, evenly thickened glaze that clings to every meatball.


✨ You May Also Like

Main Course
🍜 United Kingdom

A showstopping classic of tender seared beef, savory mushroom duxelles, and crisp prosciutto wrapped in flaky golden puff pastry, baked to juicy perfection.

⏱️ 2 hours 1Main Course ★ 4.7
Main Course
🍜 India

Tender charred marinated chicken simmered in a rich, spiced creamy tomato sauce, this iconic Anglo-Indian curry pairs perfectly with basmati rice or warm naan.

⏱️ 50 minuteMain Course ★ 4.6
Main Course
🍜 Thailand

Classic tangy, sweet, and savory Thai stir-fried rice noodles with shrimp, tofu, and crunchy garnishes, balancing all five core Thai flavor profiles.

⏱️ 30 minuteMain Course ★ 4.5
Main Course
🍜 United Kingdom

Crispy golden beer-battered cod and fluffy double-fried chips, served with tangy tartar sauce and malt vinegar: the timeless, beloved British pub comfort classic.

⏱️ 45 minuteMain Course ★ 4.7
Main Course
🍜 Mexico

Smoky, chile-marinated pork tacos with caramelized pineapple, fresh cilantro, and lime: a beloved classic Mexican street food perfect for casual summer gatherings.

⏱️ 1 hour 45Main Course ★ 4.8
Main Course
🍜 United States

Crunchy Fritos corn chips layered with savory beef chili and melted cheddar, topped with cool, zesty fixings for a beloved, cozy Tex-Mex comfort food.

⏱️ 35 minuteMain Course ★ 4.8

mongolian meatballs:Frequently Asked Questions

1.Can I use leaner ground beef instead of the recommended 80/20 blend for these meatballs? ▾
The 80/20 ground beef is ideal here because the 20% fat content keeps the meatballs juicy as they sear, no extra moisture needed. If you only have leaner ground beef (like 90/10), mix in 1 tablespoon of neutral oil or finely grated onion to replace that lost fat, and be careful not to overmix the meat to avoid tough, dense meatballs.
2.Why does this recipe call for Panko breadcrumbs instead of regular fine breadcrumbs? ▾
Panko has a coarser, airier crumb structure than standard fine breadcrumbs, which keeps meatballs light and tender instead of dense, gummy, or overly bready. If you only have regular fine breadcrumbs on hand, use 25% less than the listed Panko measurement to keep the texture balanced, so the breadcrumbs don’t soak up too much moisture from the beef.
3.How do I keep my meatballs from falling apart while searing? ▾
Two easy tricks prevent this: First, don’t overwork the meat mixture—when you fold in Panko, egg, minced garlic, and grated ginger, mix just until combined, since overmixing creates tough, fragile meatballs. Second, let rolled meatballs rest in the fridge for 15 minutes before cooking to let the binder set, and don’t nudge them in the pan for the first 3 minutes so they form a firm seared crust.
4.Can I prep these Mongolian meatballs ahead of time for busy weeknights? ▾
Absolutely! You can roll uncooked meatballs, store them covered in the fridge for up to 24 hours, or freeze them on a baking sheet before transferring to a sealed freezer bag for up to 3 months. You don’t even need to thaw frozen meatballs before cooking—just add 2 to 3 minutes to your searing time, then toss them in the glaze as normal.
5.Can I substitute dried ground ginger for fresh ginger in the glaze? ▾
Fresh ginger delivers that bright, sharp zing that makes the classic sweet-savory Mongolian glaze sing, so it’s always my first pick. If you’re in a pinch, use ¼ teaspoon of dried ground ginger for every 1 tablespoon of grated fresh ginger the recipe calls for—dried ginger is far more concentrated, so adding too much will give the glaze a bitter, earthy off-flavor.
6.How do I get that perfectly sticky, even glaze coating on every meatball? ▾
Once your meatballs are fully seared and cooked through, turn the heat down to medium-low before pouring in the mixed soy-ginger glaze. Toss the meatballs constantly for 1 to 2 minutes as the glaze simmers and thickens from natural sugar reduction—don’t turn the heat too high, or the sugar will burn and turn bitter instead of glossy and sticky.
7.What quick sides pair best with these meatballs for a full takeout-style meal? ▾
For that classic Chinese takeout vibe, serve the meatballs over fluffy steamed white rice or buttery garlic noodles, paired with quick stir-fried bok choy or roasted broccoli. If you’re serving them as an appetizer, spear them with toothpicks and top with a sprinkle of toasted sesame seeds and sliced green onion for a bright, crunchy garnish.

Comments (8)

2 hours ago

OMG these Mongolian meatballs are a total game changer for our weeknight dinners! I was so tired of the same old chicken and pasta rotation, and these came together in literally 20 minutes just like the recipe says. My kids devoured them, even the one who swears he hates all meat with sauce. Served over jasmine rice with some steamed broccoli on the side, 10/10 will be adding to our regular meal prep rotation!

30 minutes ago

Wait did you use ground beef or a mix? I’m making these for a potluck this weekend and wondering if a 50/50 beef pork mix hits better!

5 minutes ago

Great question! A 50/50 ground beef and ground pork mix adds amazing richness, but plain 80/20 ground beef works perfectly too if that’s what you have on hand. Hope the potluck goes great!

2 days ago

So good! I made a double batch on Sunday to portion out for work lunches all week, and the sauce is *chef’s kiss* — that perfect balance of sweet and savory, not too sticky or overly salty. Only tweak I made was adding a pinch of red pepper flakes for a tiny heat kick, so good. Way easier than ordering takeout, cheaper too!

yesterday

Love that red pepper flakes addition! So many people have told us that little extra heat takes these meatballs to the next level — so glad you enjoyed them for meal prep!

just now

Wait, I’m literally the worst at cooking, like I burn toast bad, and these turned out perfect?? I was so nervous making meatballs from scratch because I thought they’d fall apart while cooking, but the instructions were so straightforward I didn’t mess up a single step. My roommate thought I ordered takeout lmao, 10/10 for beginner cooks

3 days ago

Brought these to our neighborhood block party last weekend and people were hovering around the crockpot asking for the recipe before I even set the serving spoon down! I kept them warm on low in the slow cooker after cooking on the stovetop, and they held up perfectly for 3 hours. Only note: make a double batch, they go FAST.

2 days ago

Oh smart using the crockpot to keep them warm! I’m hosting book club next week and was trying to figure out how to serve these without being stuck in the kitchen the whole time, that’s the perfect hack!

yesterday

It worked so well! I just tossed them in a little extra sauce before putting them in the crockpot so they didn’t dry out, everyone raved. Your book club is gonna love ‘em!

1 week ago

Super easy to adapt for gluten free! I swapped the regular breadcrumbs for gluten free panko and used tamari instead of regular soy sauce, and you couldn’t even tell a difference. The texture of the meatballs was still tender, not dense at all, and the sauce coated perfectly. So happy to have a quick takeout dupe that fits my dietary needs! Only reason I’m not giving 5 stars is I wish the sauce recipe was a little bigger, I felt like I could’ve used an extra half batch to really douse them, but otherwise amazing!

5 days ago

So glad the gluten free swaps worked out for you! Great note on the sauce quantity — if you love extra sauce, you can easily 1.5x the sauce ingredients without throwing off the flavor balance at all. Thanks for the feedback!

30 minutes ago

Tried this last night because my partner has been begging for Mongolian beef takeout all week and I wanted to make something a little more fun. These meatballs hit every single flavor note we were craving, for a third of the price of takeout, and way less greasy. We ate way too many, no regrets. Will definitely be making these again on our next date night in.

2 weeks ago

Wait these are even better as leftovers?? I had a portion cold straight from the fridge for a midnight snack last night and I swear it tasted better than the night before. Don’t judge me, the sauce soaks into the meatballs so much after sitting in the fridge overnight, it’s insane. 10/10, no notes.

1 week ago

LMAO I thought I was the only one who ate cold meatballs straight from the fridge! I made these last week and did the exact same thing at 2am after my late shift, so good. No judgment here!

3 days ago

We won’t judge at all — we’ve definitely been known to sneak a cold leftover meatball straight from the container too! So glad you loved the recipe enough to snack on them around the clock.

5 days ago

Haven’t made these yet but they look SO good! Quick question — can I bake these meatballs instead of pan frying them? My apartment gets so smoky when I pan fry meat on the stovetop and my smoke alarm goes off every single time (my neighbors already think I’m a fire hazard), I’d rather avoid that if possible lmao

2 days ago

Absolutely! You can bake the meatballs on a lined baking sheet at 400°F for 12-15 minutes until cooked through, then toss them in the sauce on the stovetop for a minute or two to coat. No smoky kitchen, no angry neighbors, same great flavor. Hope you love them!



