
mongolian sauce
intro
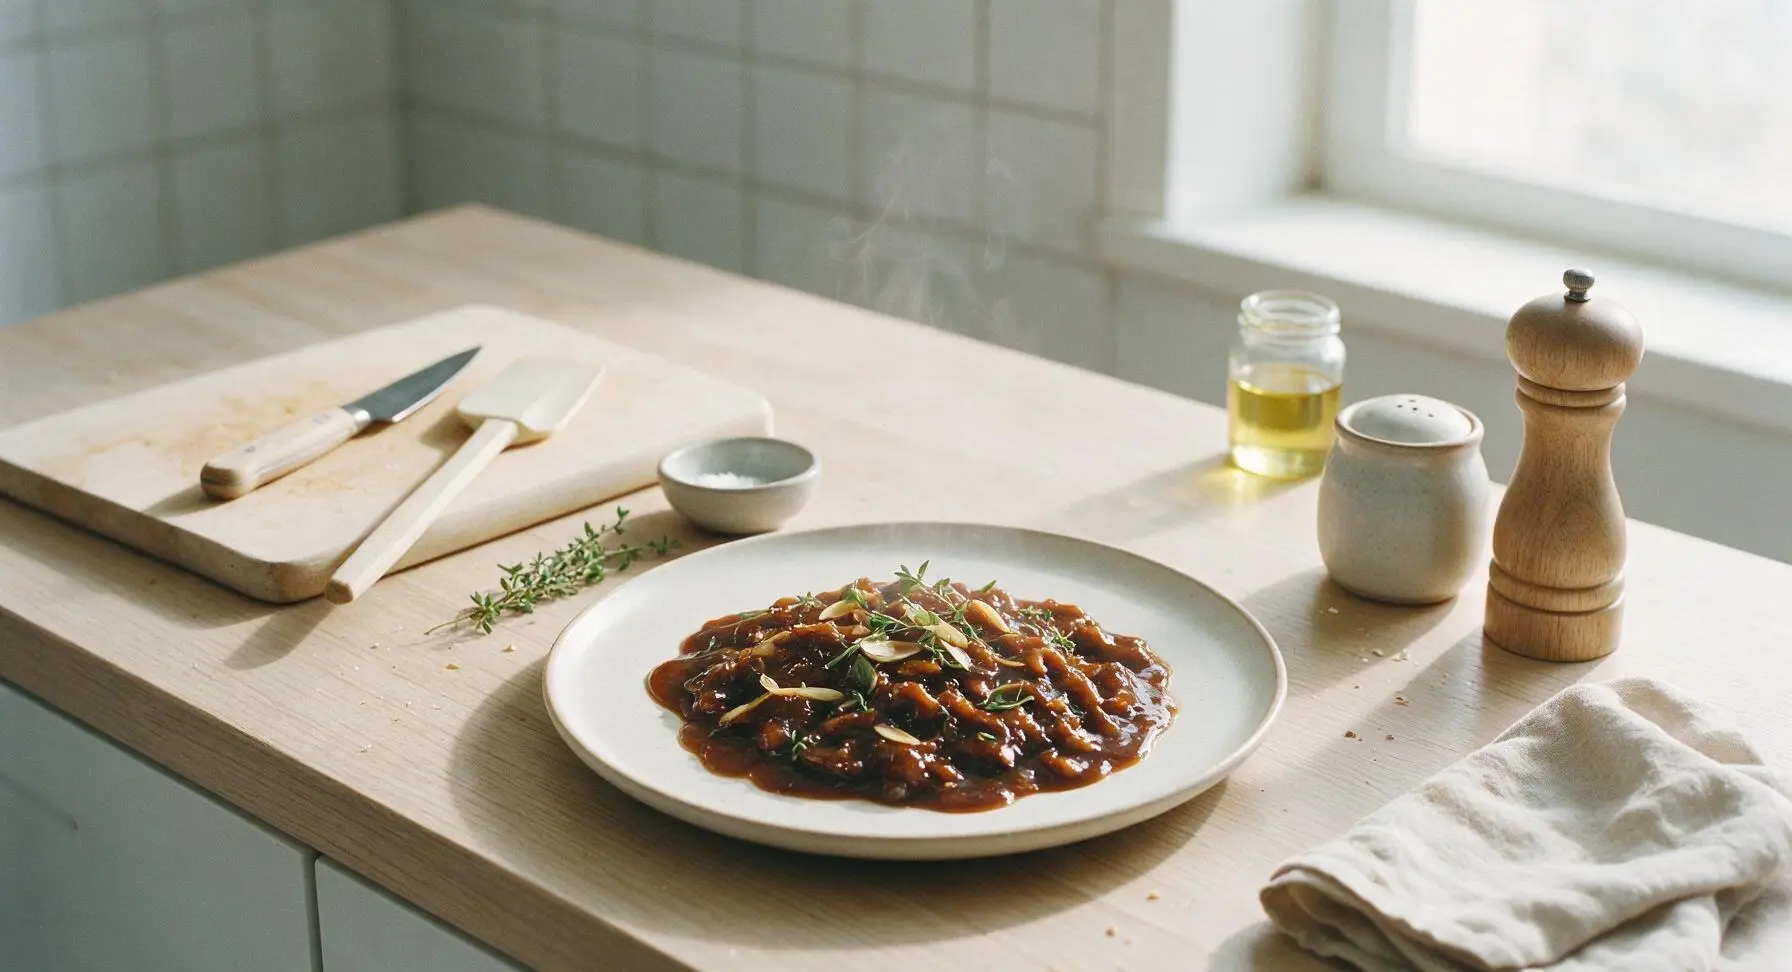
Rich, savory-sweet glossy Mongolian sauce is the iconic base for takeout-style stir fries, with deep umami, warm ginger notes, and a sticky texture that coats every bite perfectly.
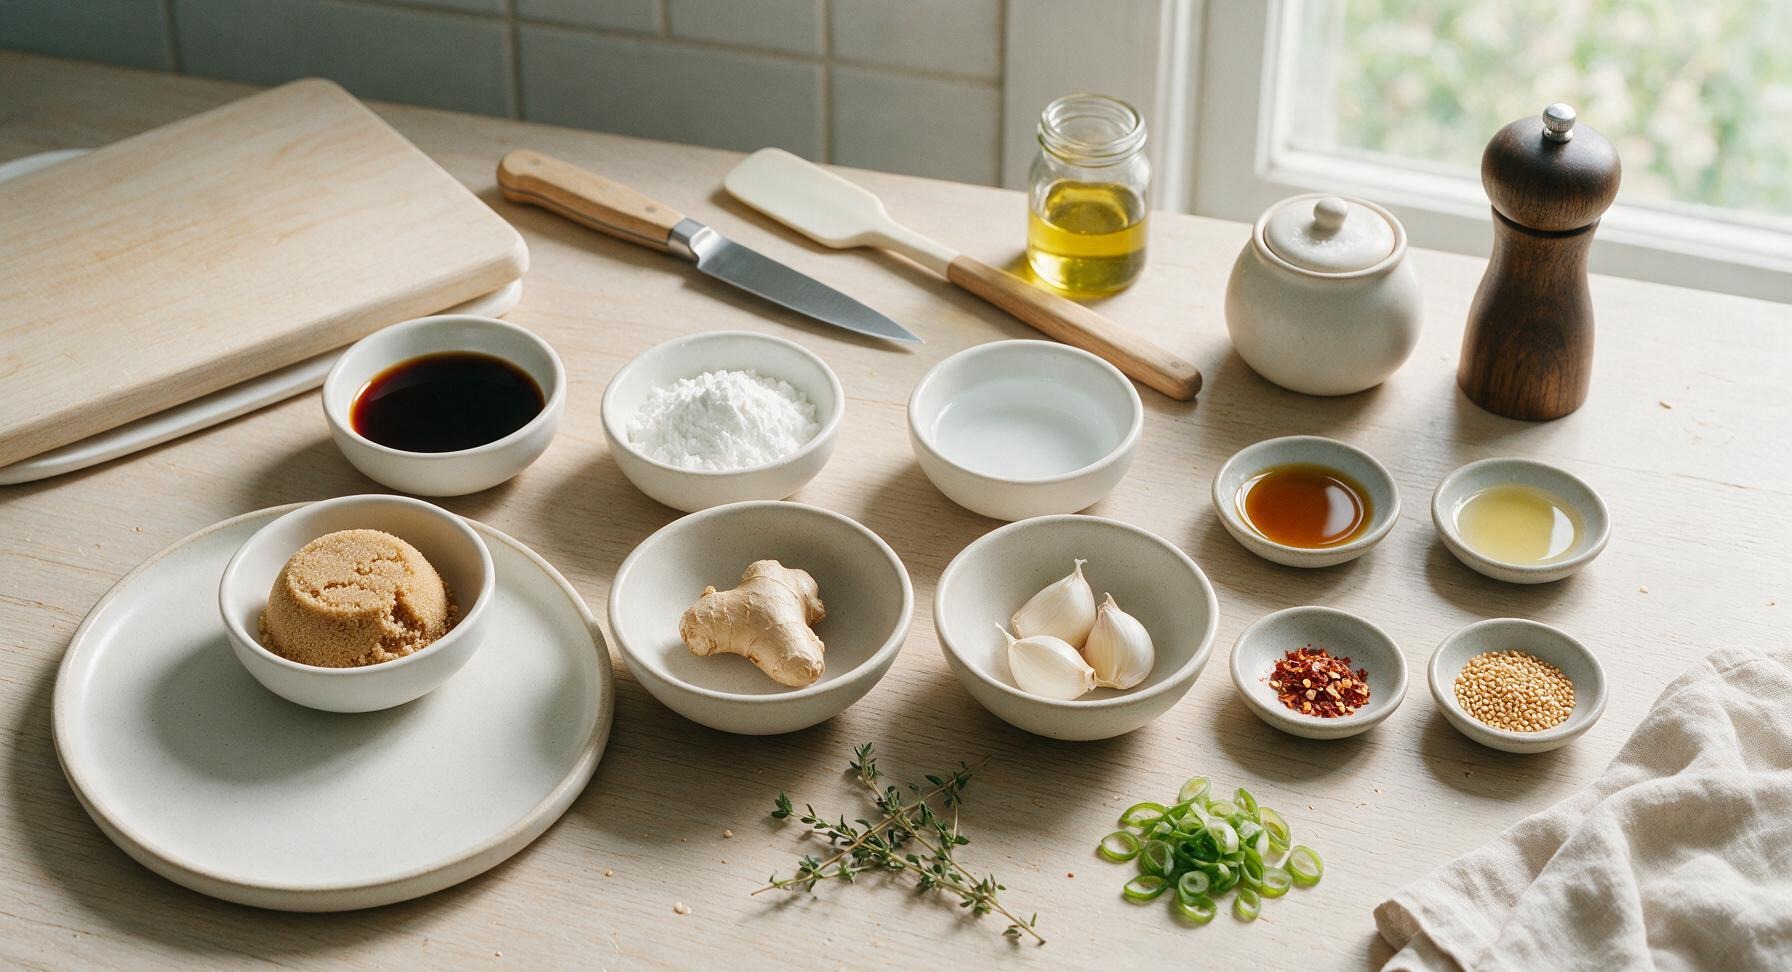
Ingredients
Steps
Prep Fresh Aromatics
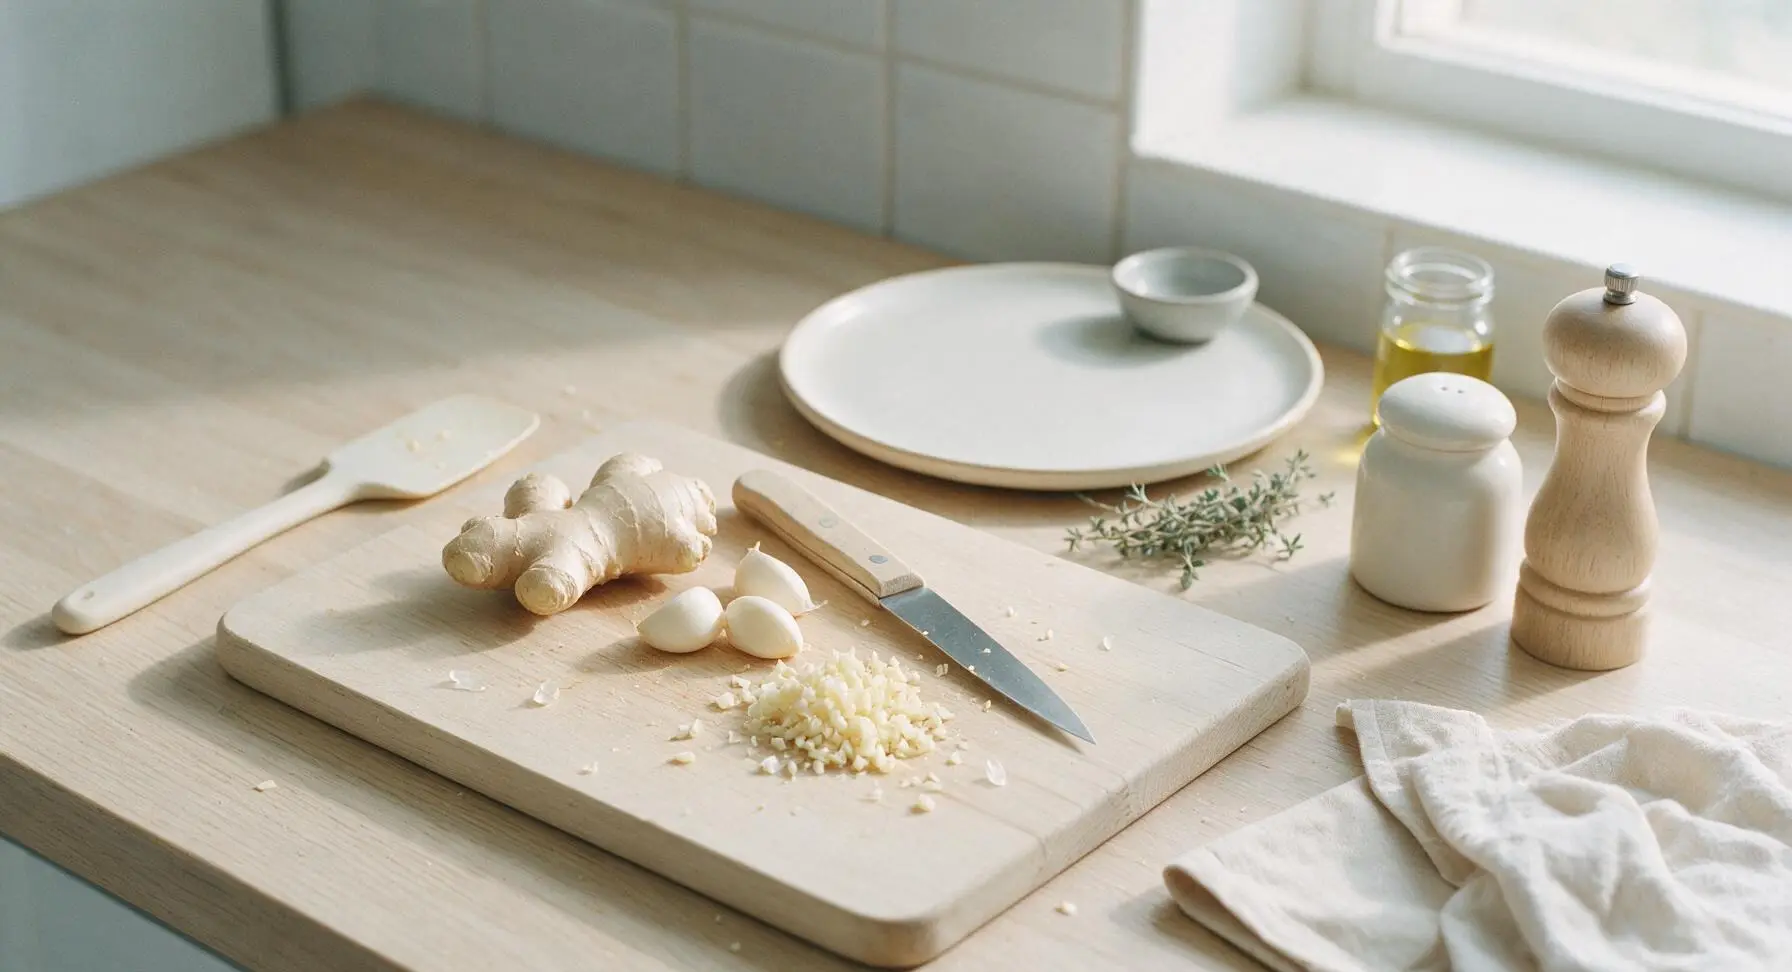
Set the acacia wood cutting board in its fixed center-left position. Peel the 1-inch fresh ginger knob and 3 garlic cloves. Using the beech-handled paring knife, mince both garlic and ginger into very fine 1mm pieces, so they melt smoothly into the sauce rather than leaving large, sharp chunks. Set prepped aromatics in a small pile on the cutting board edge. This step takes approximately 3 minutes.
Mix Cornstarch Slurry
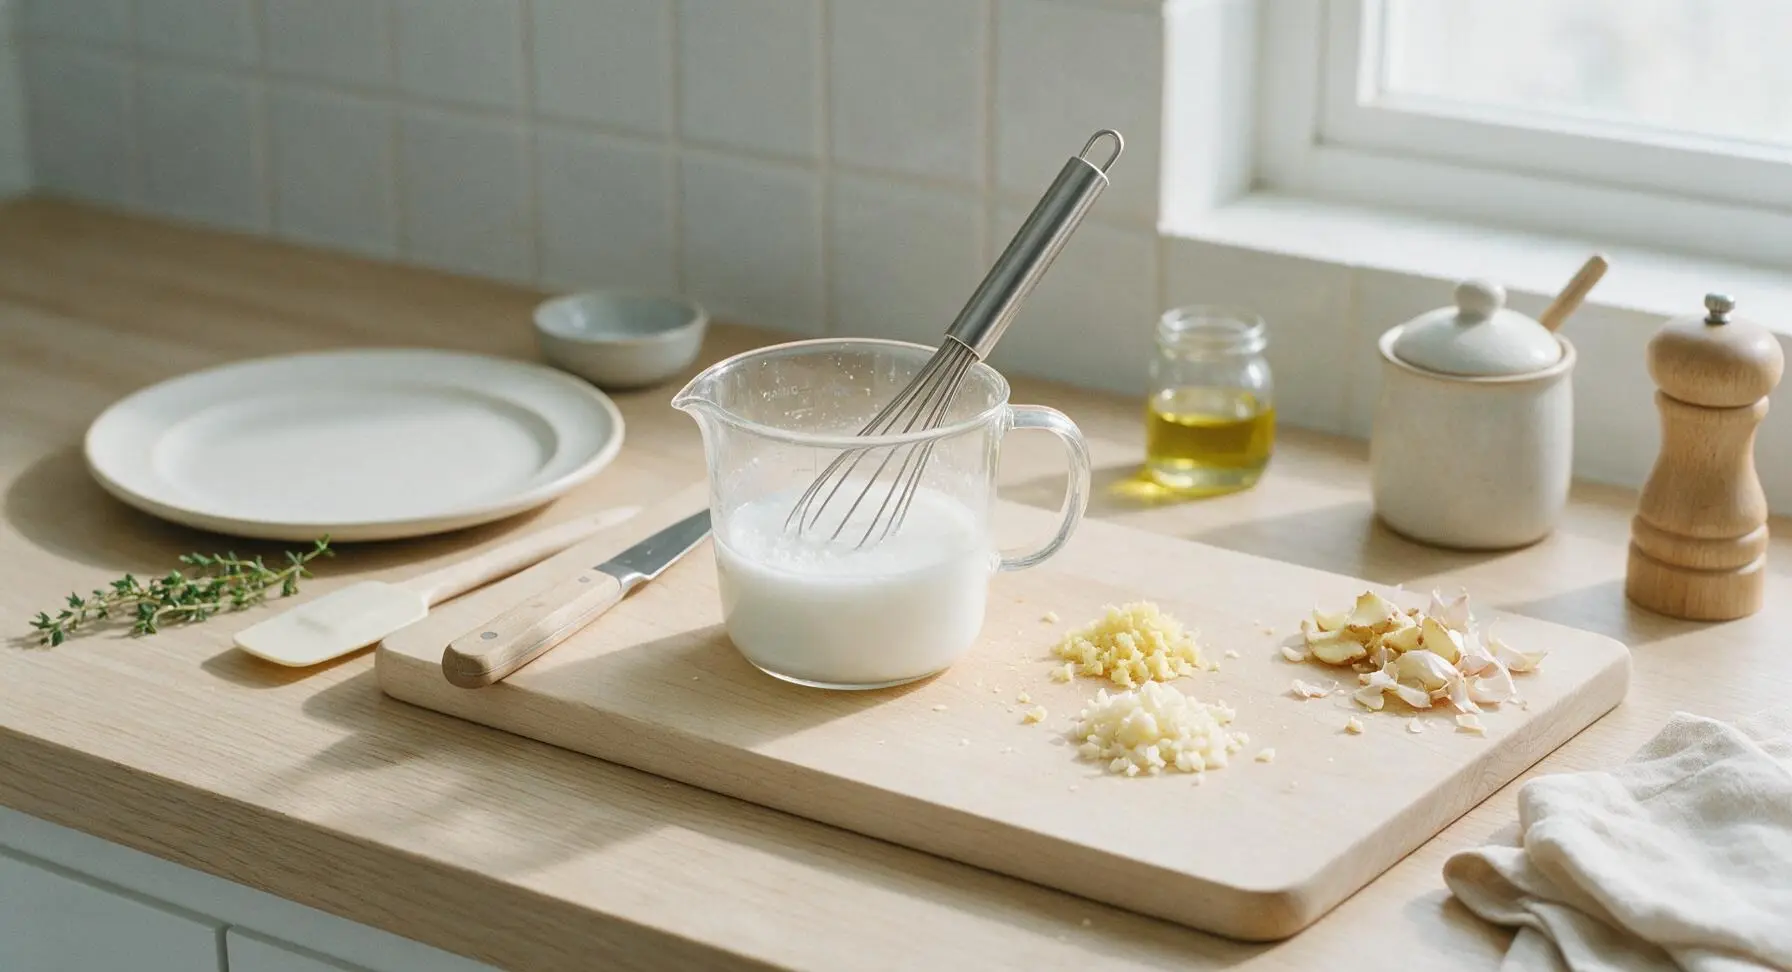
In the 250ml clear glass measuring cup, combine 1 tablespoon cornstarch with 1/4 cup cold water. Stir vigorously with the stainless steel whisk until cornstarch is fully dissolved, with no visible white lumps remaining at the cup bottom. The liquid will be opaque milky-white when fully mixed. Set slurry aside; do not prep this more than 5 minutes ahead of time, as cornstarch will settle to the bottom if left to rest.
Combine Sauce Base
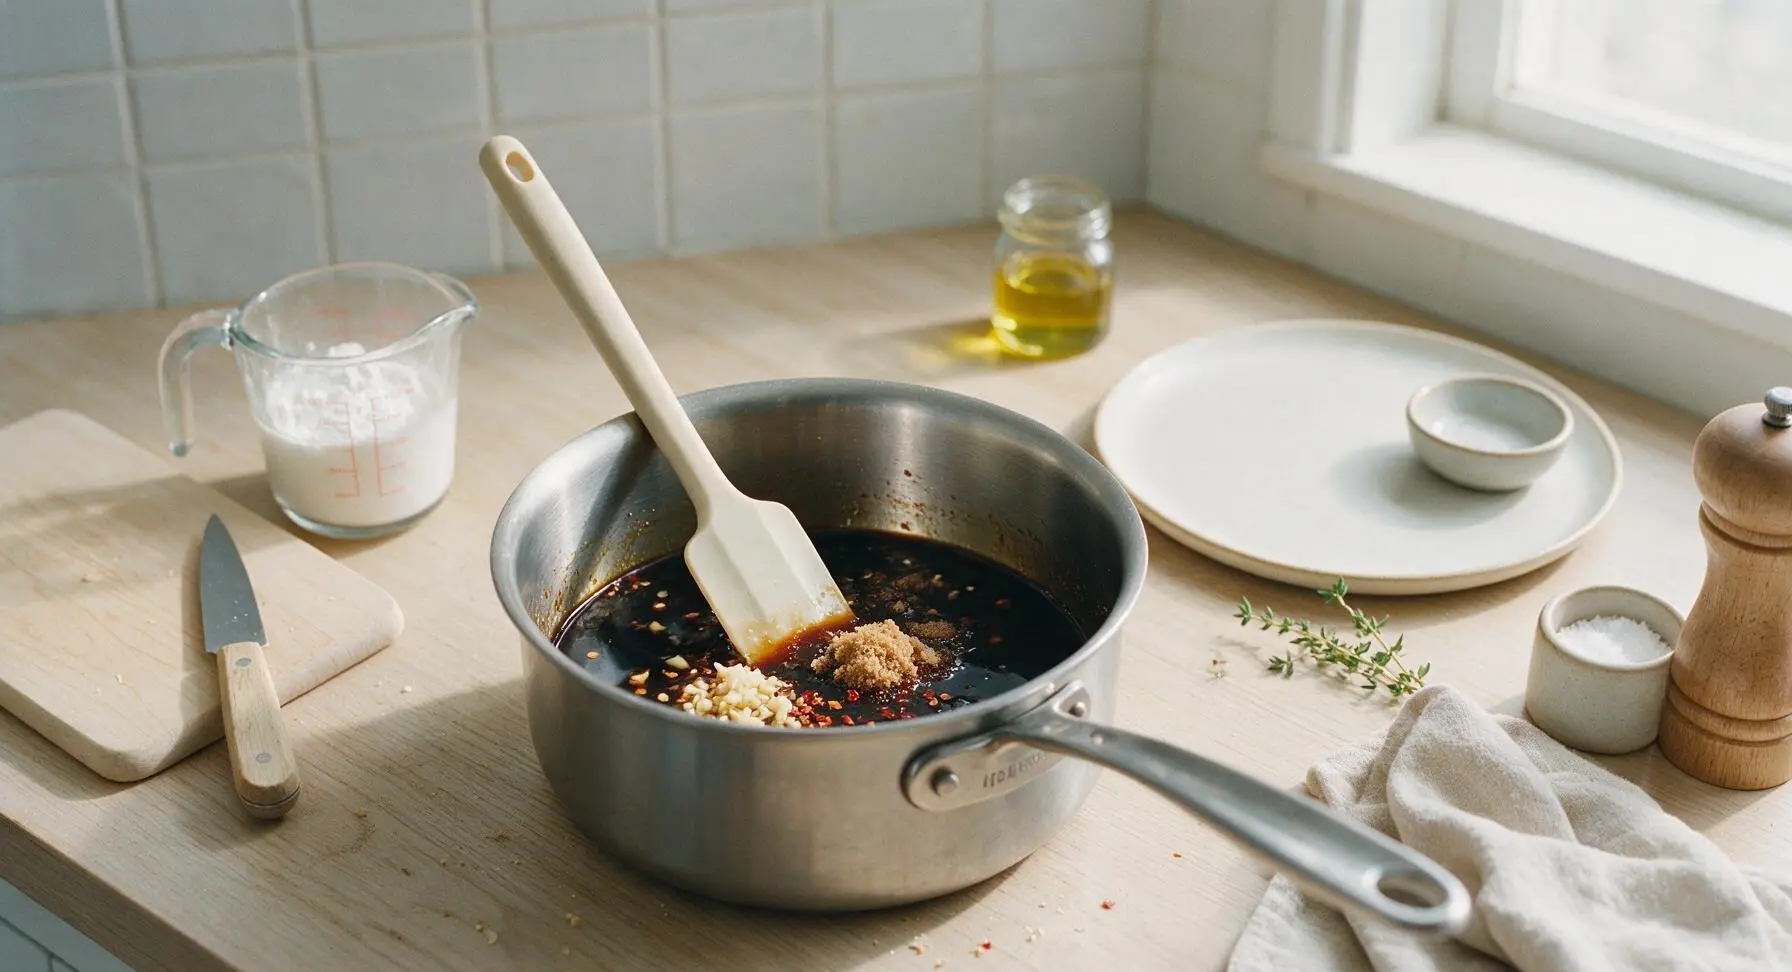
Retrieve the 1.5 quart brushed stainless steel saucepan from its stored position on the back counter edge and place it in the center work area. Add 1/2 cup low-sodium soy sauce, 1/3 cup packed light brown sugar, 1 tsp unseasoned rice vinegar, the prepped minced garlic and ginger, and 1/4 tsp red pepper flakes (if using) to the saucepan. Stir gently with the silicone spatula to combine, pressing brown sugar against the pan side to break up any large clumps.
Simmer Sauce Base
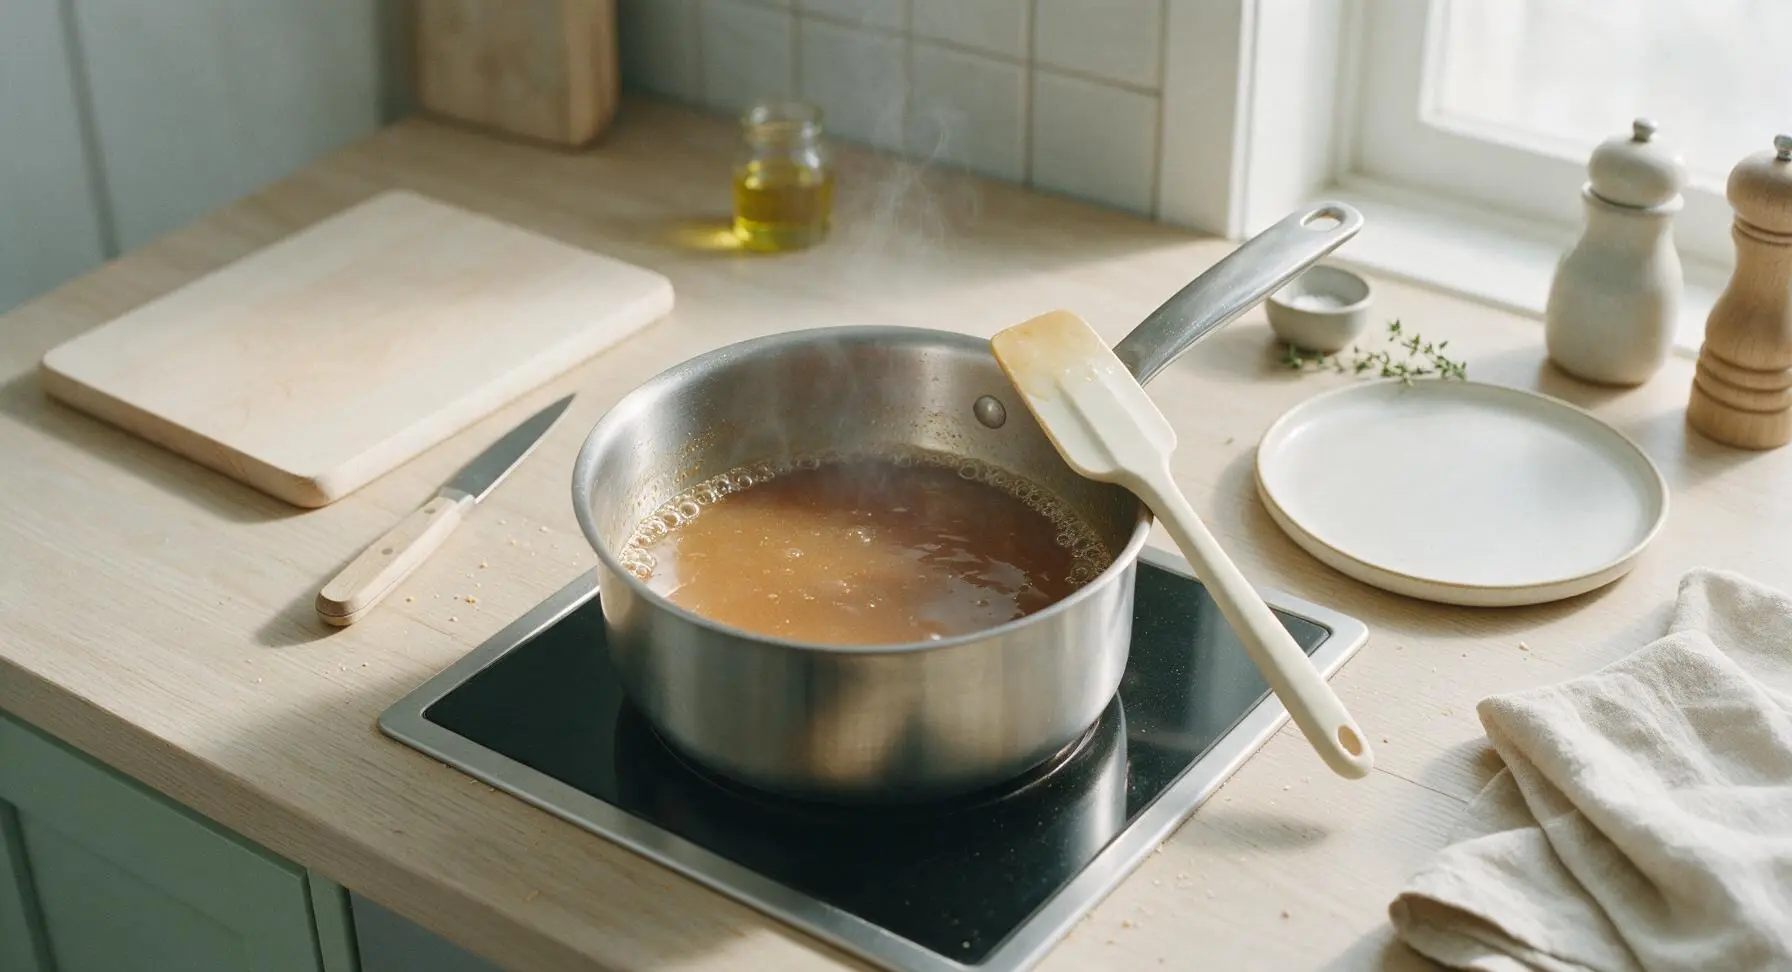
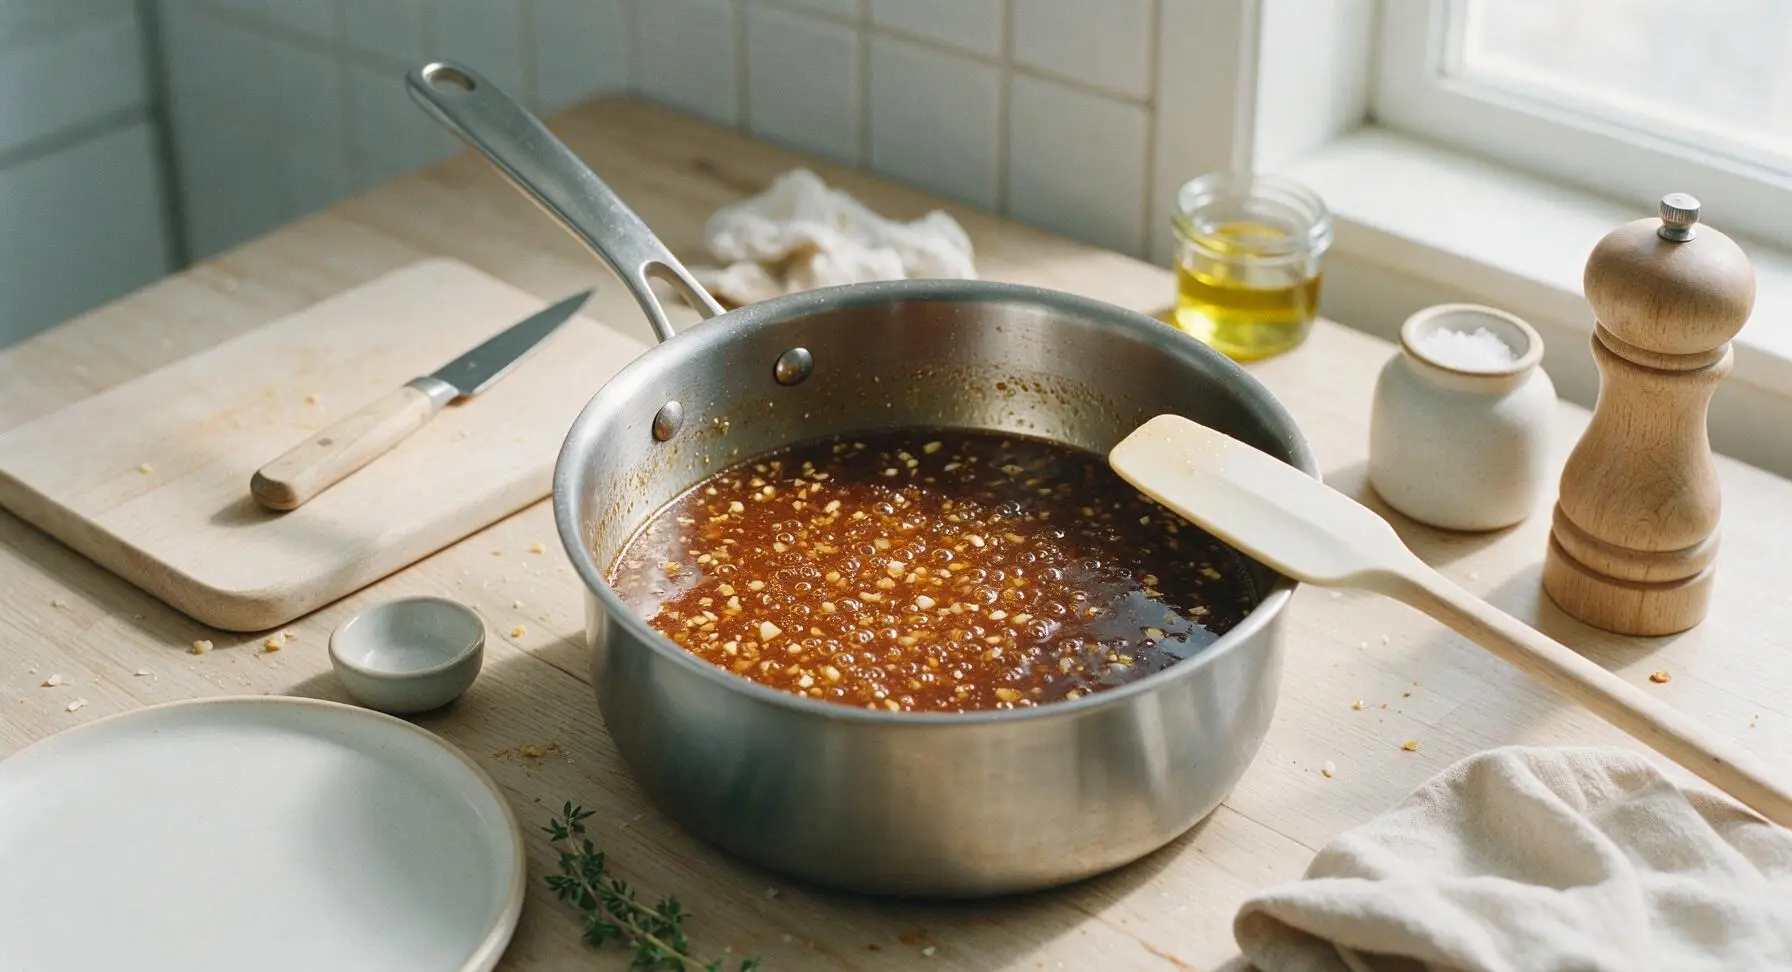
Turn stovetop heat to medium, and bring the sauce base in the saucepan to a gentle, low simmer (approximately 190°F / 88°C, avoid a hard rolling boil). Once simmering, cook for 3 minutes, stirring occasionally with the charcoal silicone spatula to prevent sugar from burning on the pan bottom. The sauce will become deeply aromatic with notes of toasted garlic and ginger, and will darken slightly to a rich amber color as it simmers.
Thicken With Slurry
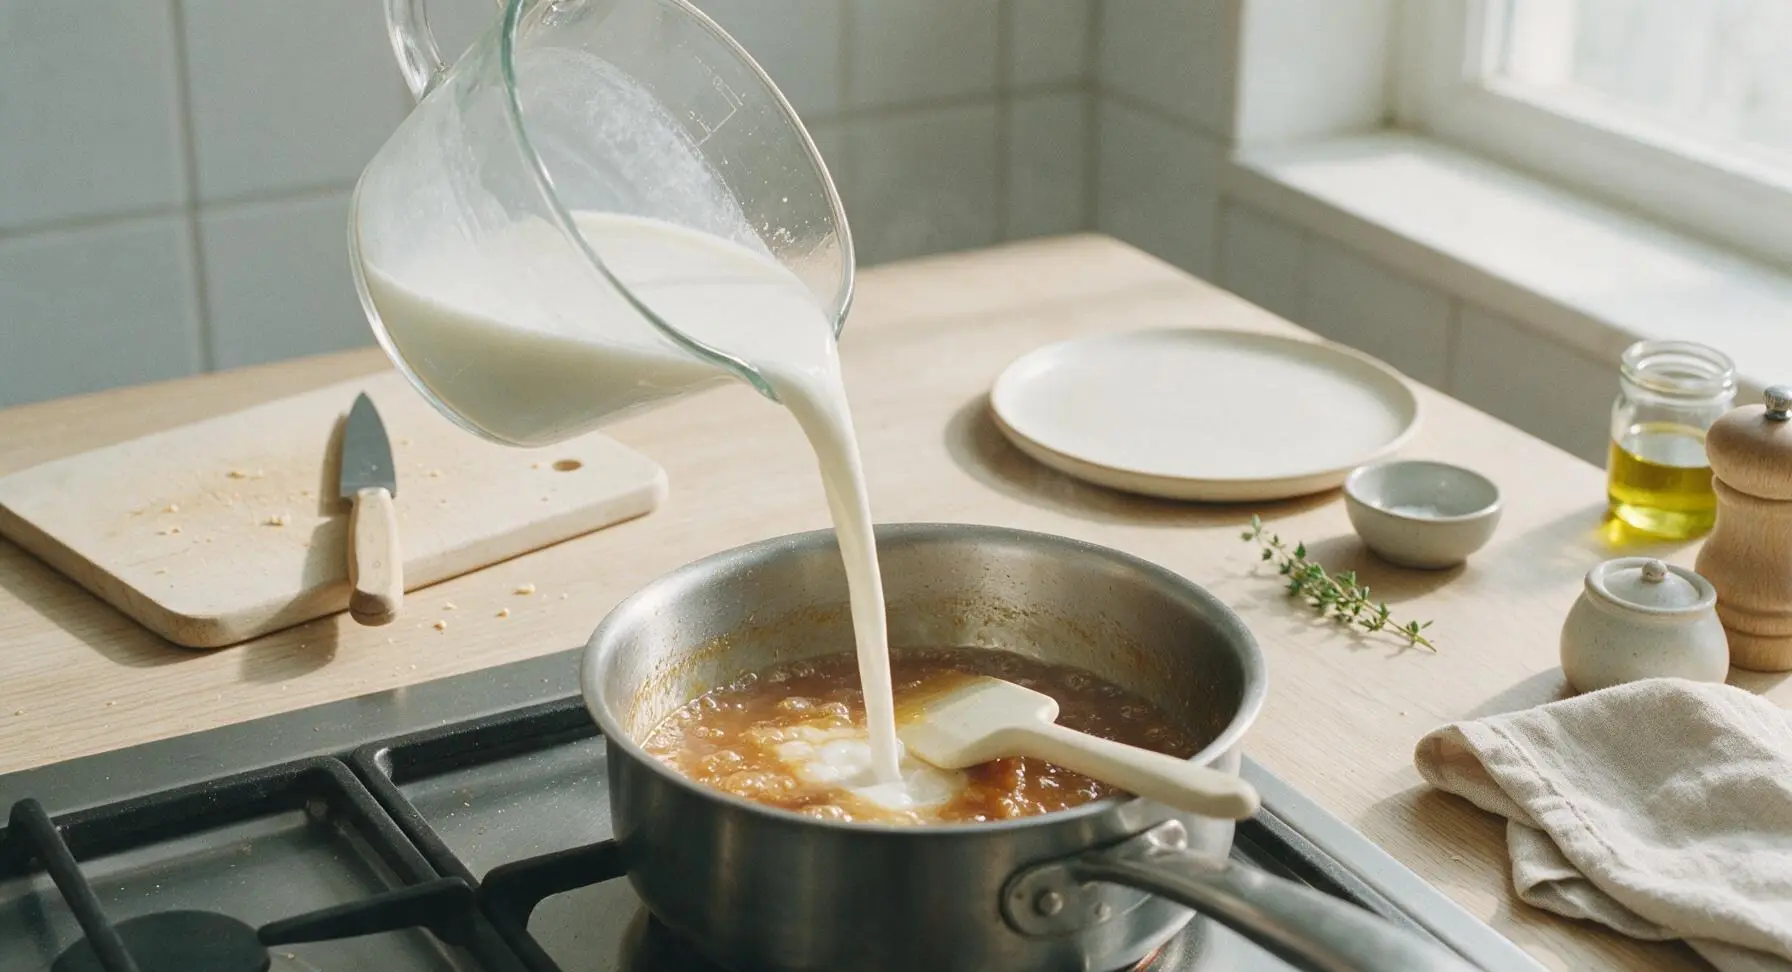
Give the reserved cornstarch slurry a quick 2-second stir with the whisk to re-incorporate any settled cornstarch. Slowly pour the slurry into the simmering sauce while stirring constantly with the silicone spatula. Continue cooking and stirring for 1 to 2 minutes, until the sauce thickens to a glossy, syrupy consistency that coats the back of the spatula — when you run your finger across the coated spatula, the line should hold cleanly without running.
Finish With Sesame Oil
Remove the saucepan from heat immediately once the sauce reaches the desired thick, glossy consistency. Stir in 1 teaspoon of toasted sesame oil until fully incorporated. Do not boil the sauce after adding sesame oil, as high heat will destroy its delicate nutty aroma. Let the sauce rest for 1 minute to allow surface bubbles to subside.
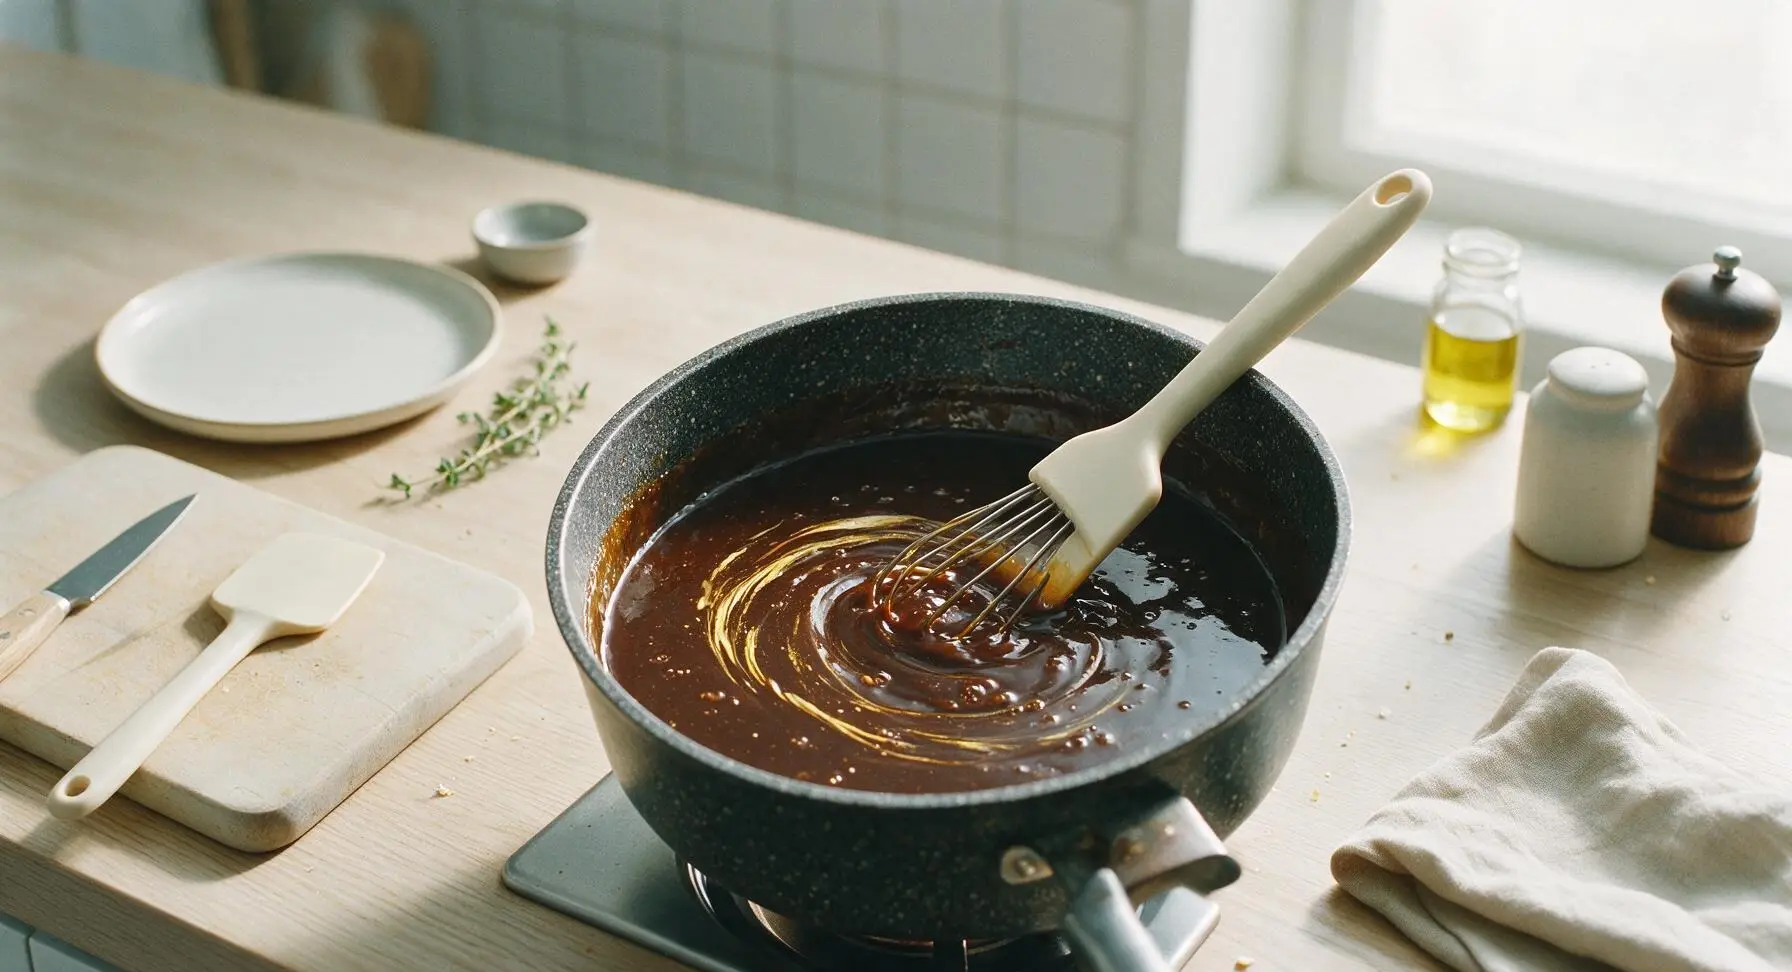
Plate And Garnish
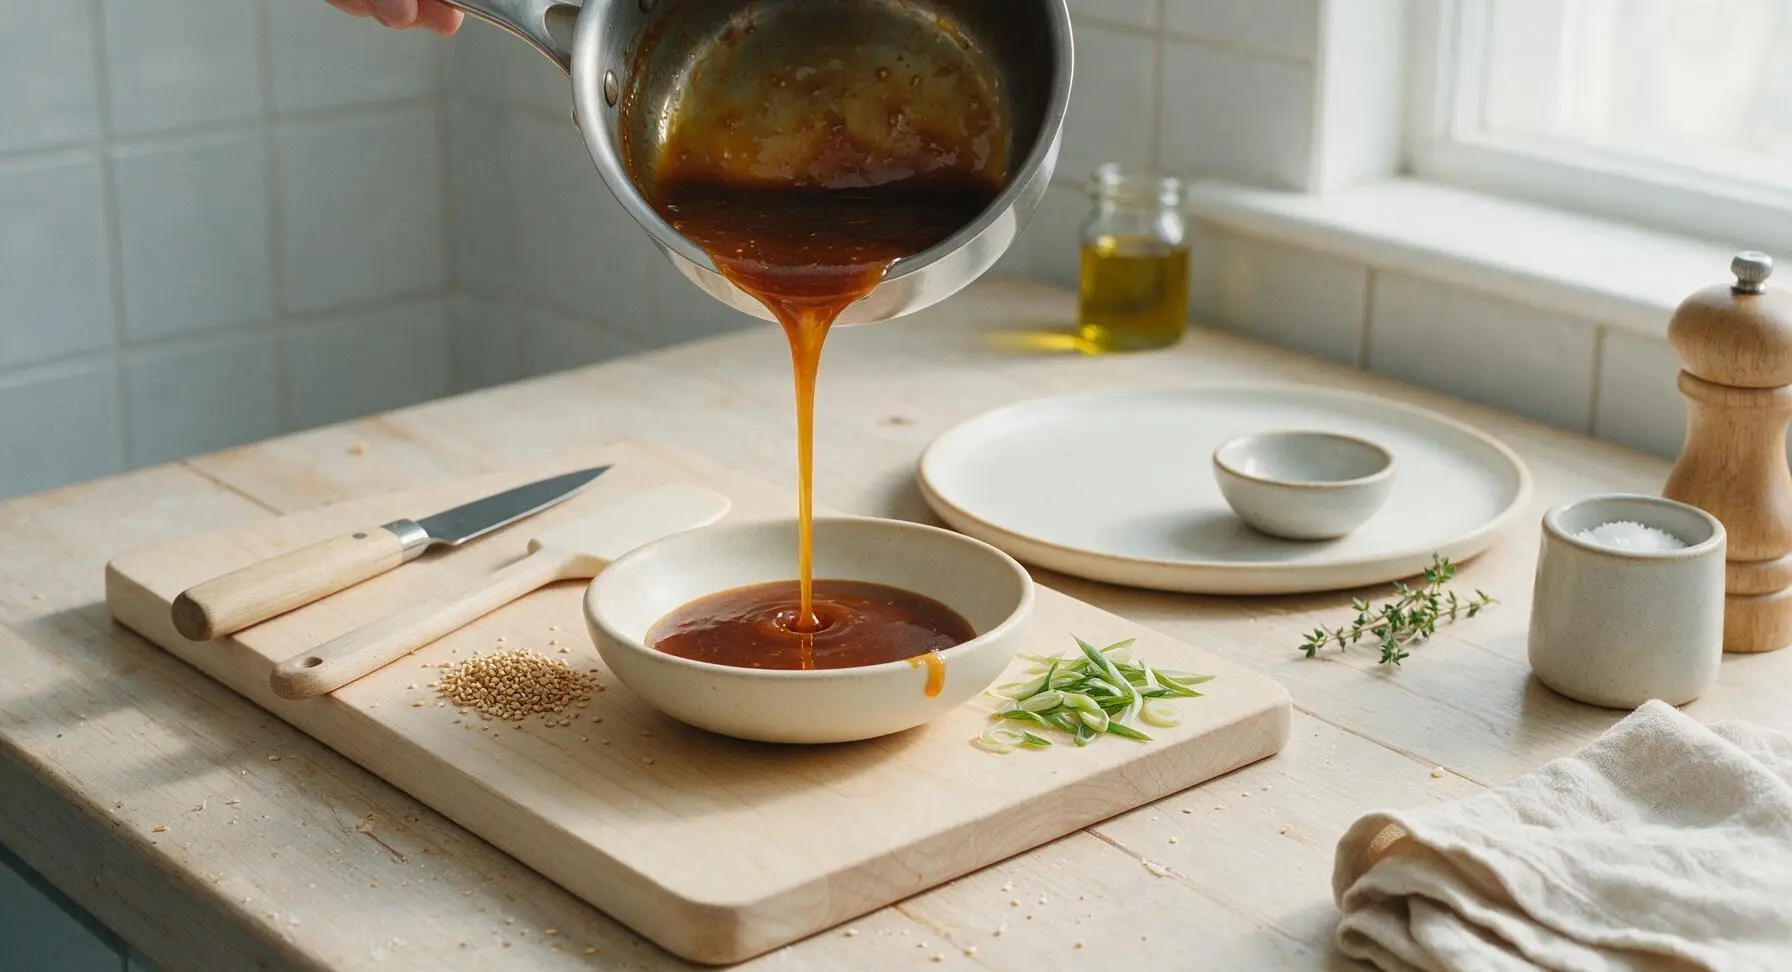
Carefully pour the finished warm sauce from the saucepan into the fixed matte cream ceramic shallow sauce bowl. Sprinkle the top with 1 teaspoon toasted sesame seeds and 1 tablespoon thinly sliced scallion greens for garnish. The sauce is now ready to toss with stir-fried beef, chicken, tofu, or vegetables for a classic takeout-style Mongolian dish.
Tips
2.Opt for low-sodium soy sauce instead of regular full-sodium soy sauce. The sauce reduces as it simmers, concentrating salt content, and regular soy sauce will result in an overly salty final product that tastes harsh rather than balanced.
3.Do not over-thicken the sauce. It will continue to thicken slightly as it cools after being removed from heat, so stop cooking when it coats the back of a spatula in a thin, syrupy layer — if it is too thick while hot, it will turn gummy once tossed with stir fry ingredients.






OMG this sauce is a total game changer! I tossed it with crispy beef and broccoli for family dinner last night and my kids asked for seconds before they even finished their first plates. Tastes EXACTLY like the takeout we order from our local spot, no weird aftertaste at all. So easy to throw together too, 8 minutes flat? Sign me up for weekly meal prep with this!
As someone who survives on meal prepped stir fries during the semester, this sauce is about to become a staple. It’s so cheap to make, no fancy ingredients, and it tastes way better than the store bought bottled Mongolian sauce I used to buy. 10/10 will be making a double batch every Sunday from now on.
Made this last night after a long day on the trails, tossed it with leftover rice, frozen stir fry veggies, and some tofu I had in the fridge. Literally took 10 minutes total from walking in the door to sitting down to eat. Absolute weeknight win.
I tried this sauce at a friend’s house last week and it was incredible! Quick question though: has anyone tried making this with gluten free soy sauce (tamari) instead of regular? I have celiac and have been craving that classic takeout Mongolian beef taste so bad, but don’t want to waste ingredients if it doesn’t turn out right.
I added a pinch of red pepper flakes to mine to give it a little heat, and wow, that was the best call I’ve made all week. My husband said it’s better than the takeout place that charges $17 for a single order of Mongolian beef. SO good!
Made this as a glaze for meatballs for our office potluck yesterday and they were gone in 10 minutes flat. People thought I ordered catering! So simple, so flavorful, will absolutely be adding this to my go-to appetizer rotation.
Hi! I’m a total beginner in the kitchen and I messed up the cornstarch slurry at first, it got all lumpy. Is there a trick to getting it smooth so the sauce isn’t clumpy? I still ate it but the texture was a little off.
My three teen boys eat SO much takeout every week, and this sauce just saved me so much money! I made a huge batch of Mongolian beef with it last night and they didn’t even realize it wasn’t from our usual spot. Game. Changer.
I tossed this sauce with roasted cauliflower and edamame for a vegetarian version last night, and it was so satisfying. I didn’t miss the meat at all! The sweet-savory balance is spot on.
Used this sauce to dress up leftover grilled chicken and rice for lunch today, and my coworker was leaning over my desk asking where I ordered it from. Little does he know it took me 2 minutes to heat up this morning with the leftovers. 10/10
I thought this was a little less sweet than the takeout Mongolian sauce I’m used to? Don’t get me wrong, it was still really good, but I was expecting that super sticky, sweet glaze. Did I do something wrong?
Can I freeze this sauce? I like to make big batches of sauces and freeze them in ice cube trays so I can pop out single servings for quick stir fries, but I don’t know if the cornstarch will hold up in the freezer.
Made this for my partner’s birthday dinner last night, served with crispy flank steak and steamed bok choy, and he said it was the best home cooked meal I’ve ever made. We will absolutely be adding this to our weekly rotation!
This is so versatile! I’ve used it as a stir fry sauce, a glaze for salmon, a dip for egg rolls, and even tossed it with roasted Brussels sprouts. It works for everything, no notes. 10/10, will make this forever.