
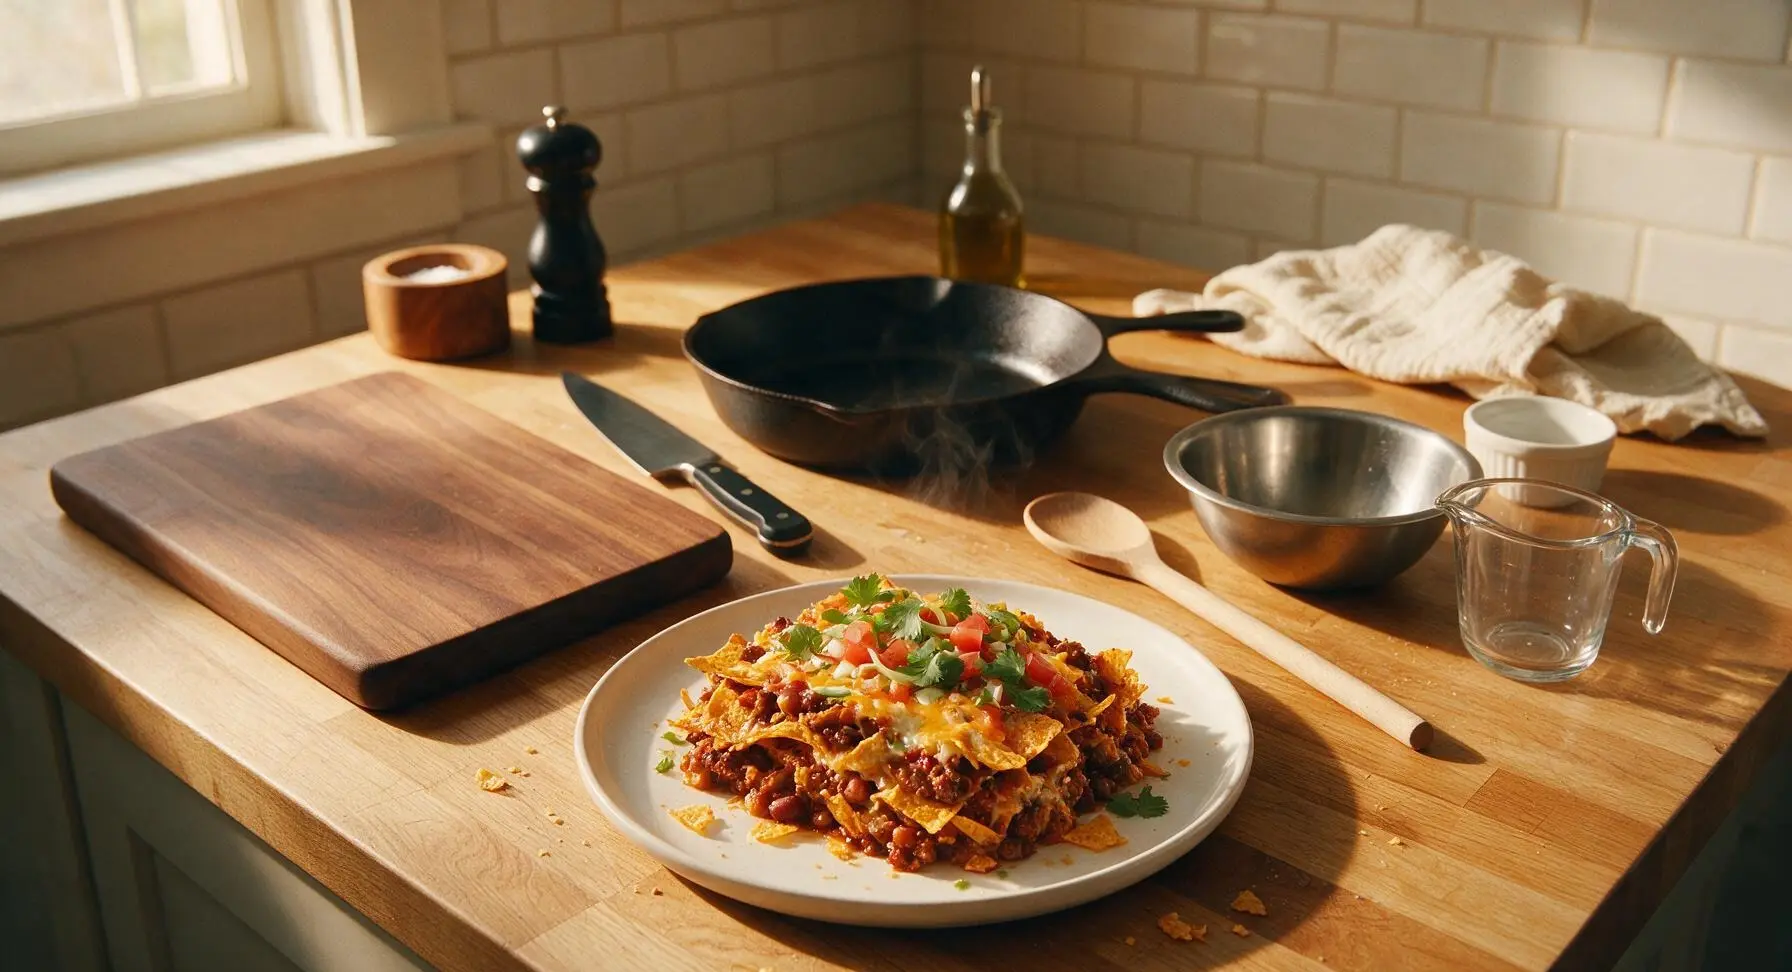
Nacho Casserole

title 1
Nacho Casserole
⏱️ cook time 30 minutes
🍽️ servings 6
⚡ Difficulty easy

intro

Layered, crunchy, gooey baked nacho casserole loaded with spiced beef, beans, and melty cheese, perfect for casual game night sharing with minimal prep and bold flavor.

Ingredients
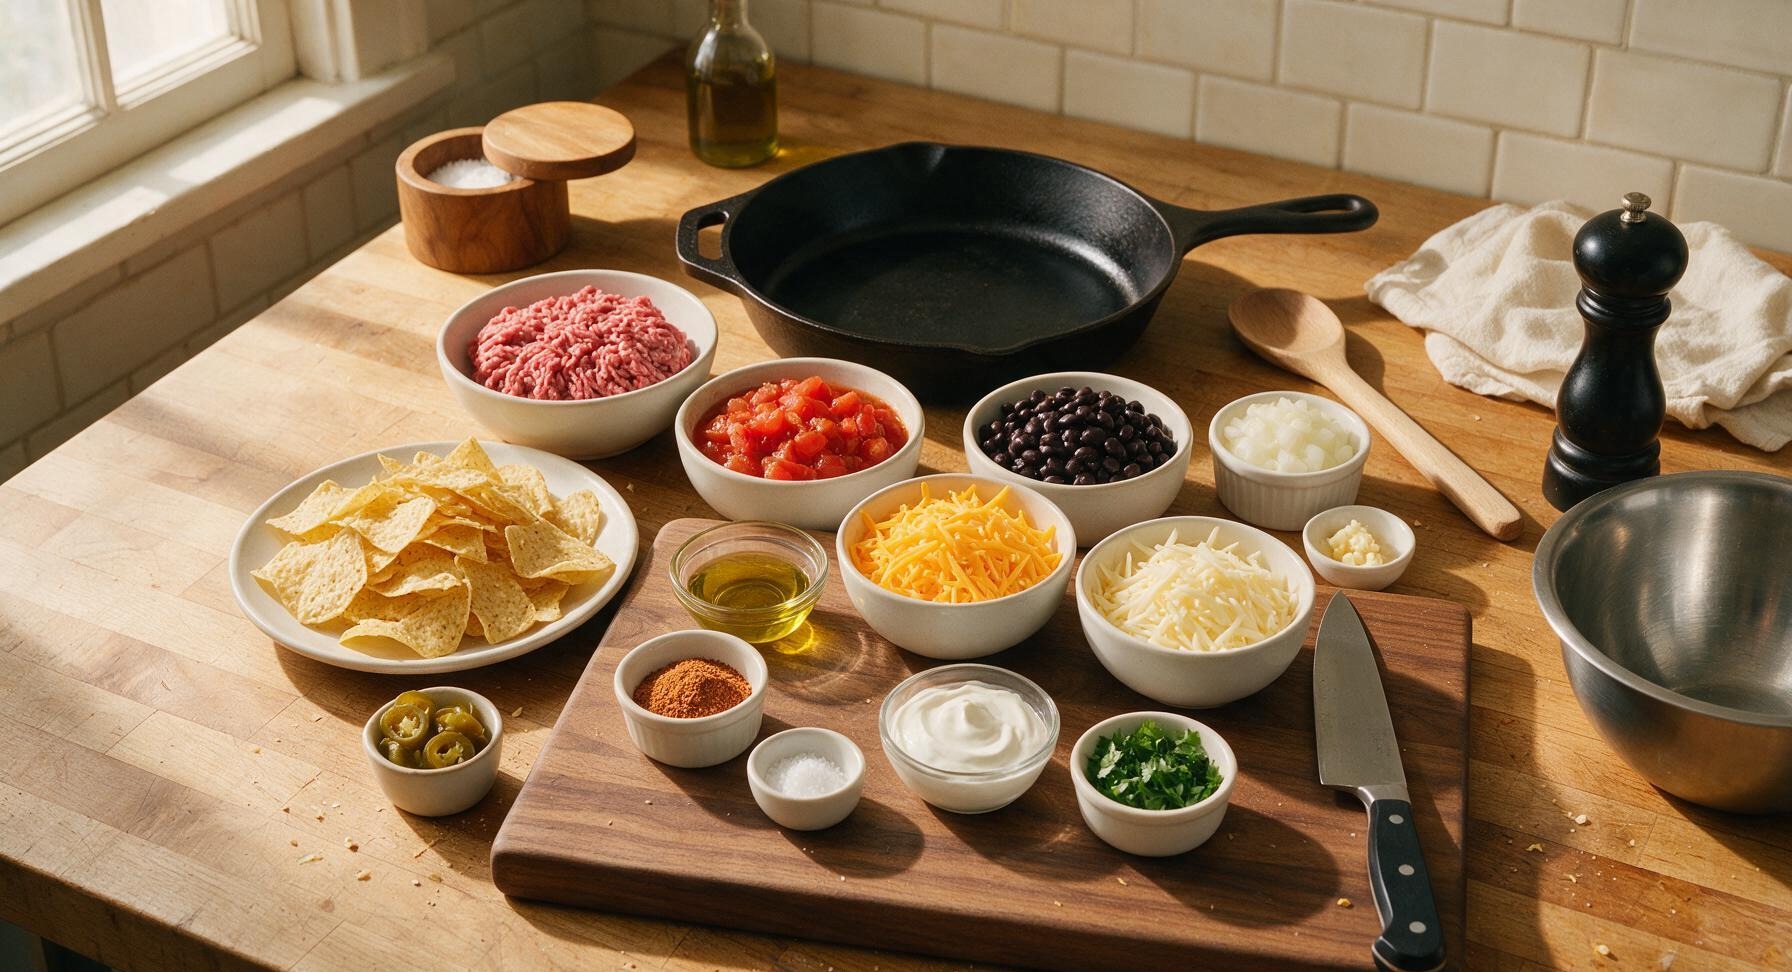
Lean ground beef (90/10) 1 lb (450g)
Yellow corn tortilla chips 6 oz (170g)
Sharp cheddar cheese 8 oz (225g)
Monterey Jack cheese 4 oz (115g)
Small yellow onion 1 unit (110g, diced)
Garlic cloves 2 units (minced)
Canned black beans 1 can (15 oz / 425g, rinsed, drained)
Fire-roasted diced tomatoes 1 can (14.5 oz / 410g, drained)
Taco seasoning mix 2 tbsp
Extra-virgin olive oil 1 tsp
Pickled jalapeño slices 1/4 cup
Sour cream 1/2 cup
Fresh cilantro 2 tbsp (chopped)
Kosher salt 1/2 tsp

Steps

1

Prep Veggies, Preheat Oven

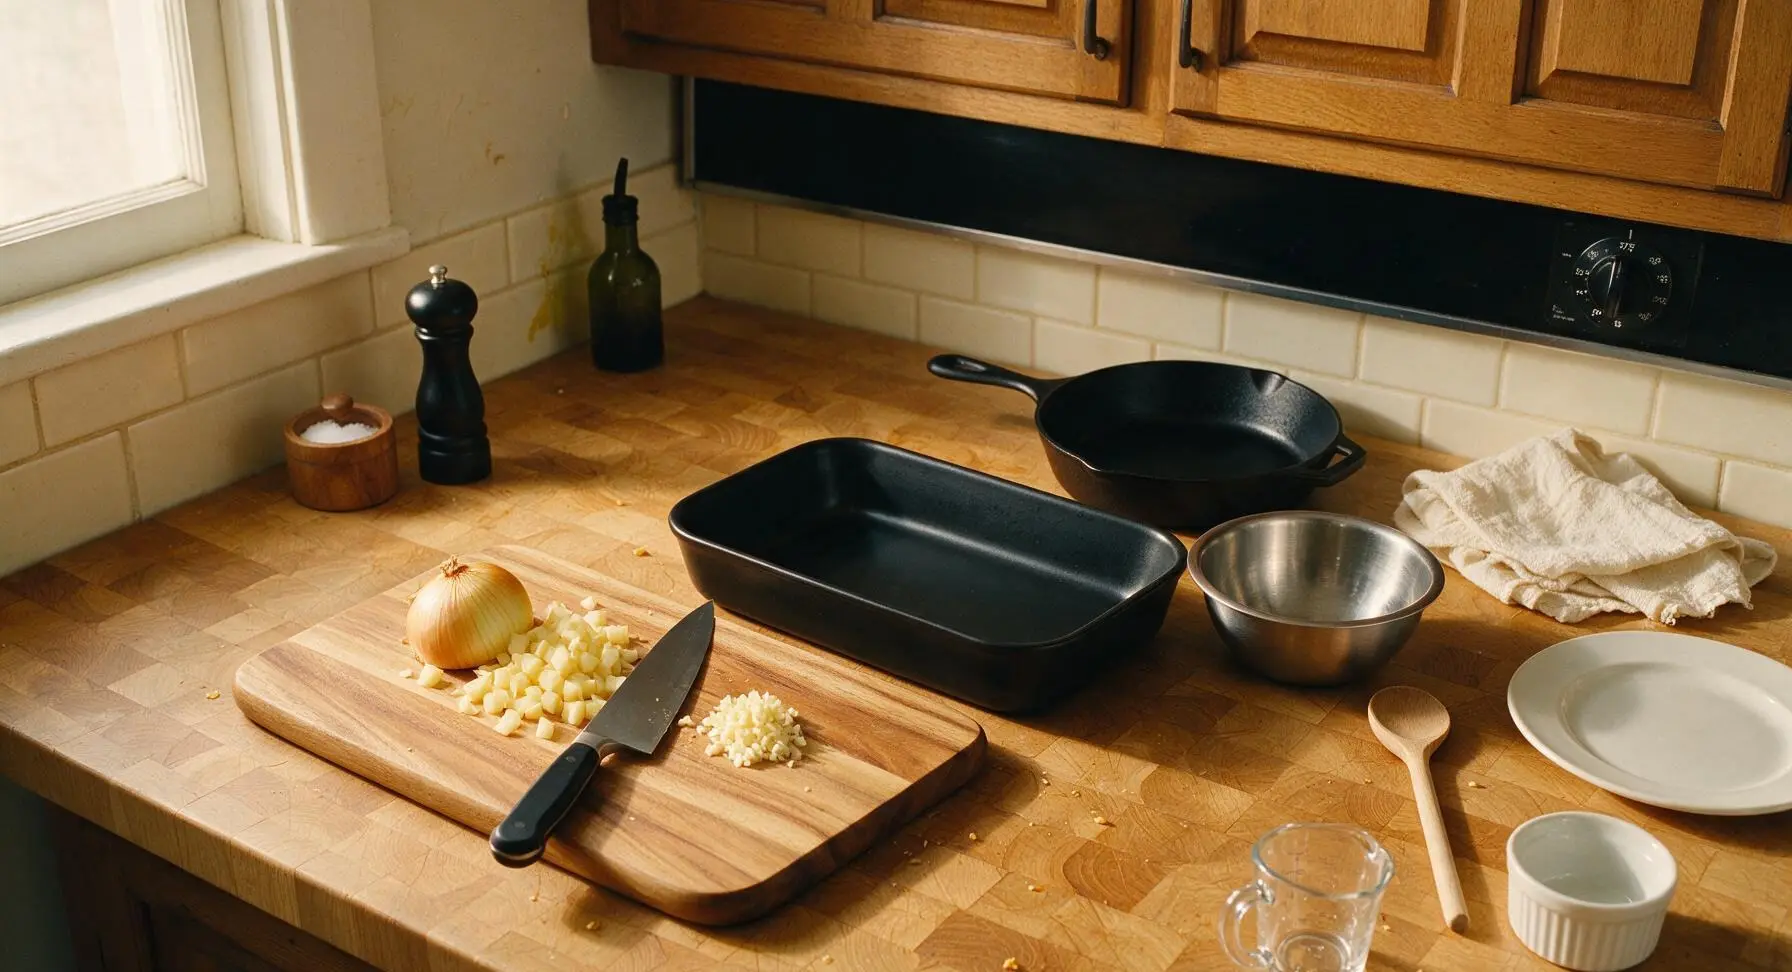
Adjust oven rack to the middle position, then preheat oven to 375°F (190°C). Set the acacia wood cutting board on the center of the counter. Use the 8-inch chef knife to dice the yellow onion into uniform 1/4-inch pieces, then mince the garlic cloves finely. Transfer diced onion and minced garlic to one of the small white ramekins and set aside. Place the 9x13 inch matte black ceramic baking dish on the right side of the counter, ready for layering.
Step 1
step1:Prep Veggies, Preheat Oven
2

Brown Seasoned Ground Beef

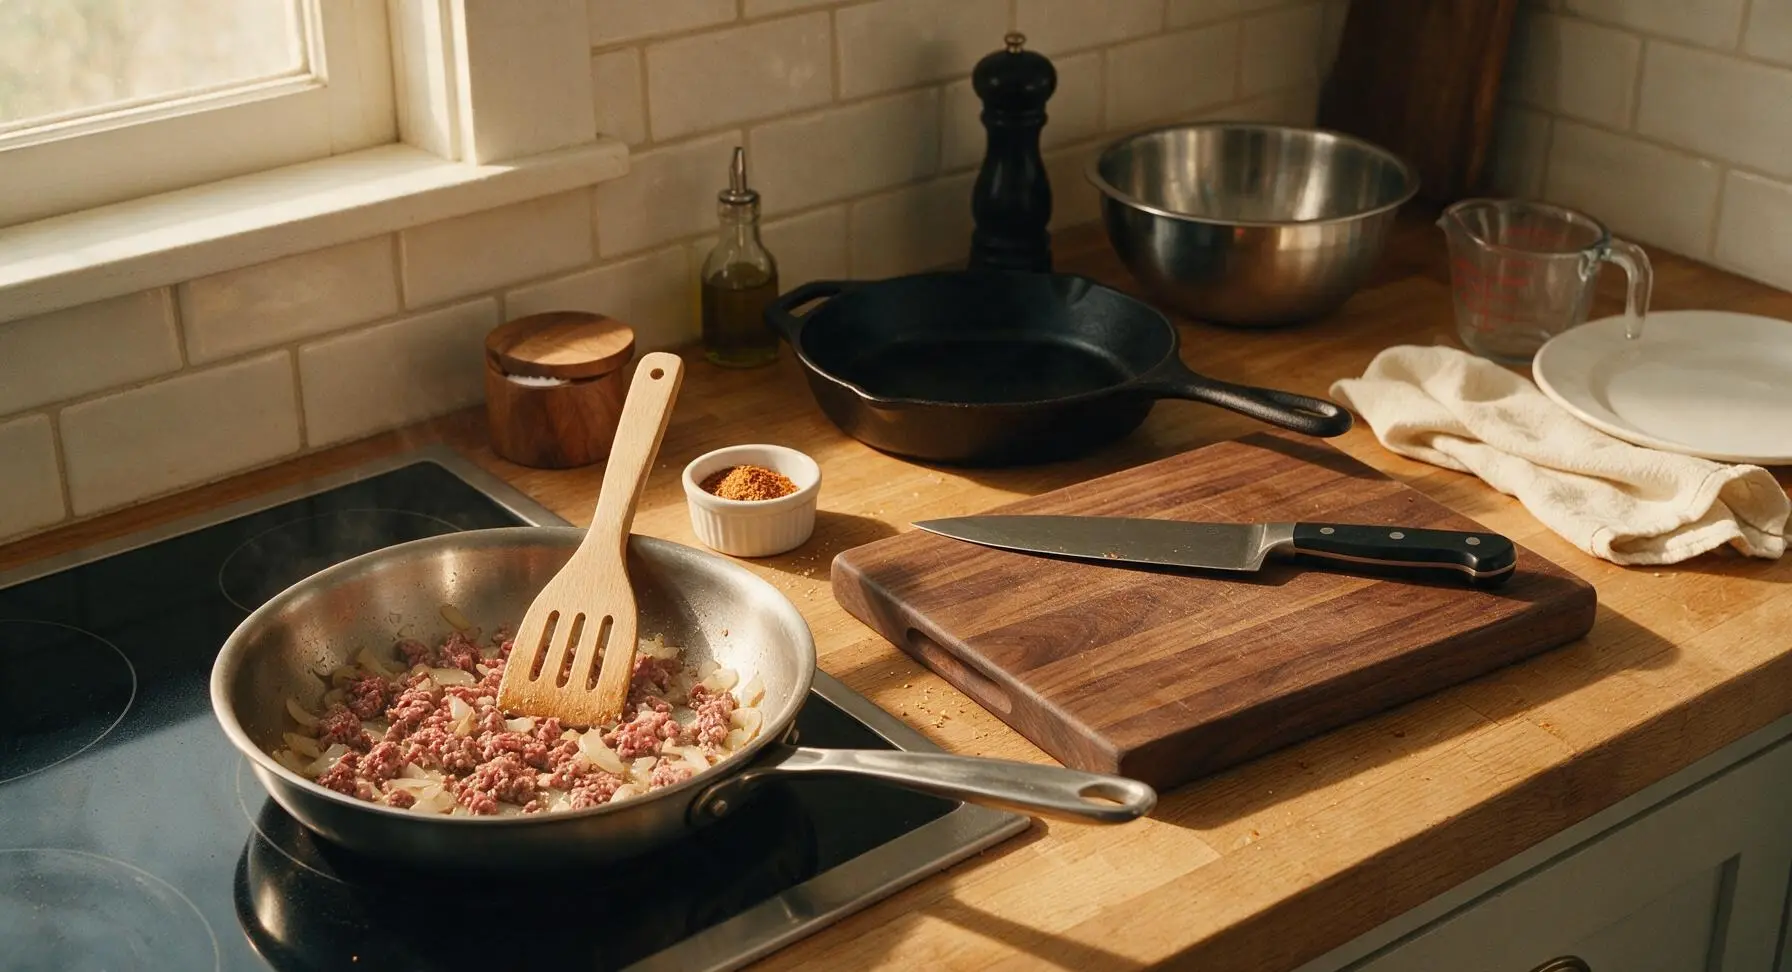
Heat 1 tsp olive oil in the 10-inch stainless steel skillet over medium heat (stovetop set to 350°F). Add diced onion and sauté for 3 minutes, until soft and translucent. Add minced garlic and cook for 30 seconds, until fragrant. Add the ground beef, breaking it apart into small crumbles with the beech wood slotted turner as it cooks. Sprinkle with 2 tbsp taco seasoning and 1/2 tsp kosher salt, stirring to coat evenly. Cook for 5-6 minutes, until the beef is fully browned with no visible pink remaining, then carefully drain any excess grease from the skillet.
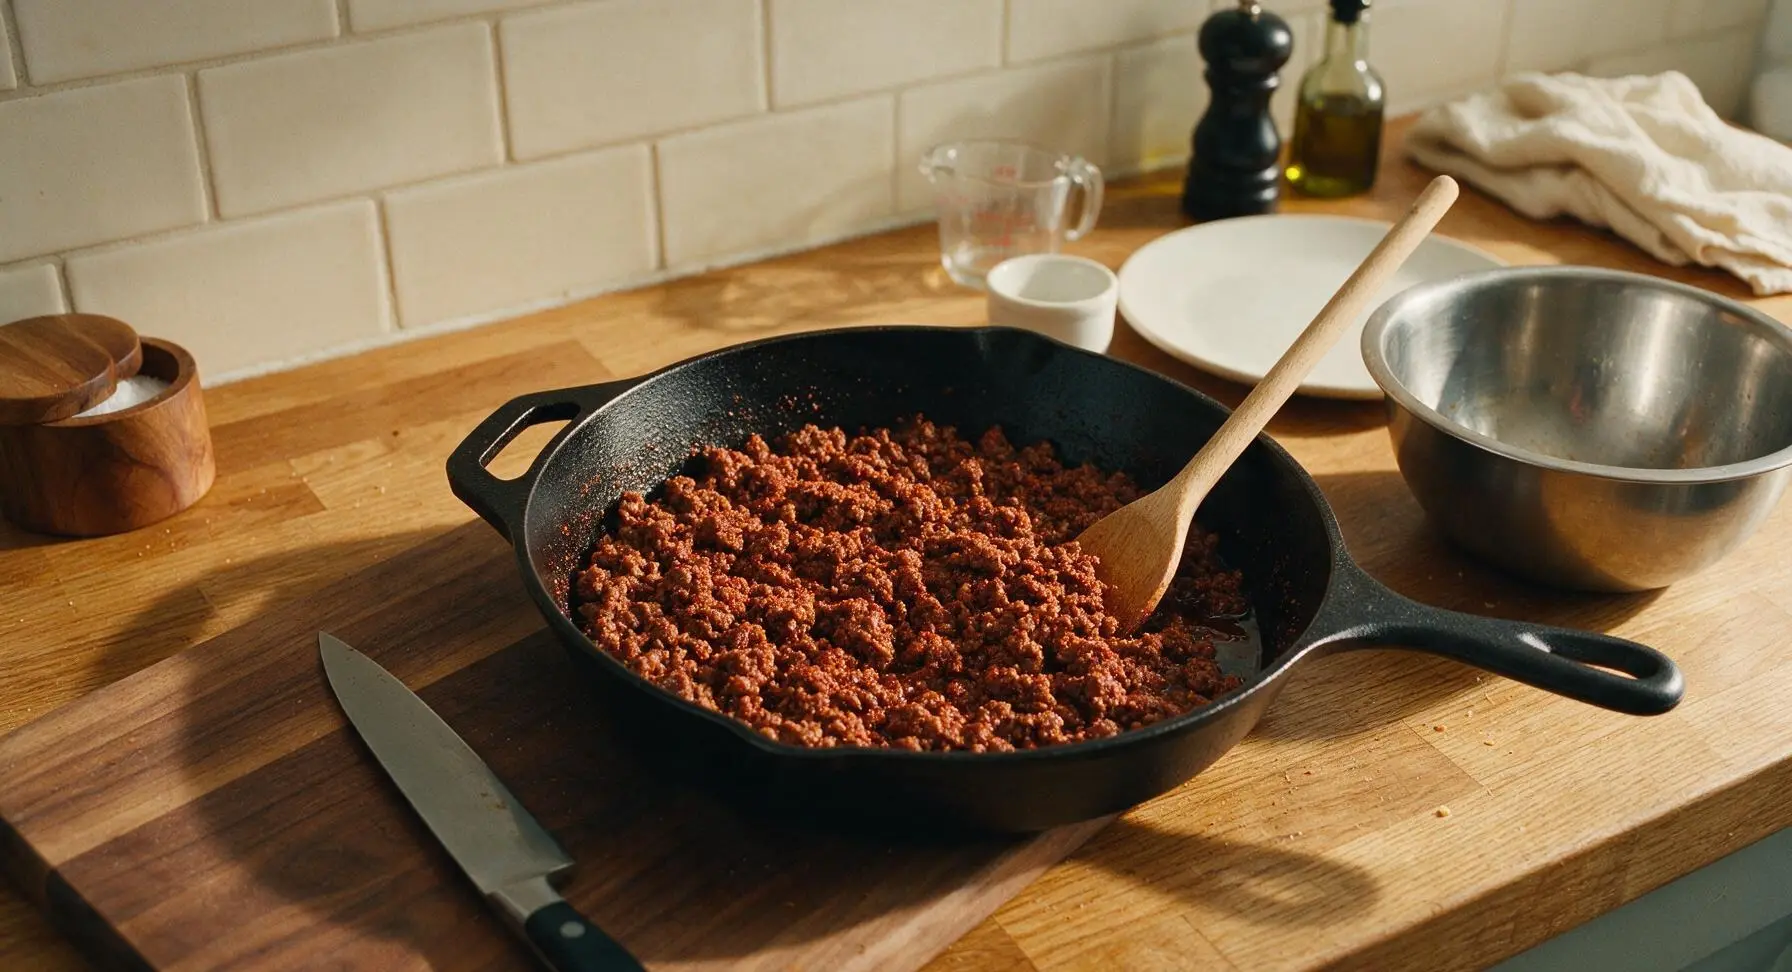
Step 2
step2:Brown Seasoned Ground Beef
Step 2
step2:Brown Seasoned Ground Beef
3

Grate Cheese, Mix Fillings

Use the matte black can opener to open the cans of black beans and fire-roasted diced tomatoes, draining and rinsing the beans thoroughly, and draining all excess liquid from the tomatoes. Use the box grater to shred the sharp cheddar and Monterey Jack cheese into the medium stainless steel mixing bowl, tossing lightly to combine the two cheeses. Add the drained beans and tomatoes to the skillet with browned beef, stirring with the terracotta silicone spatula to combine evenly, then cook for 2 minutes over low heat to warm the beans and tomatoes through.
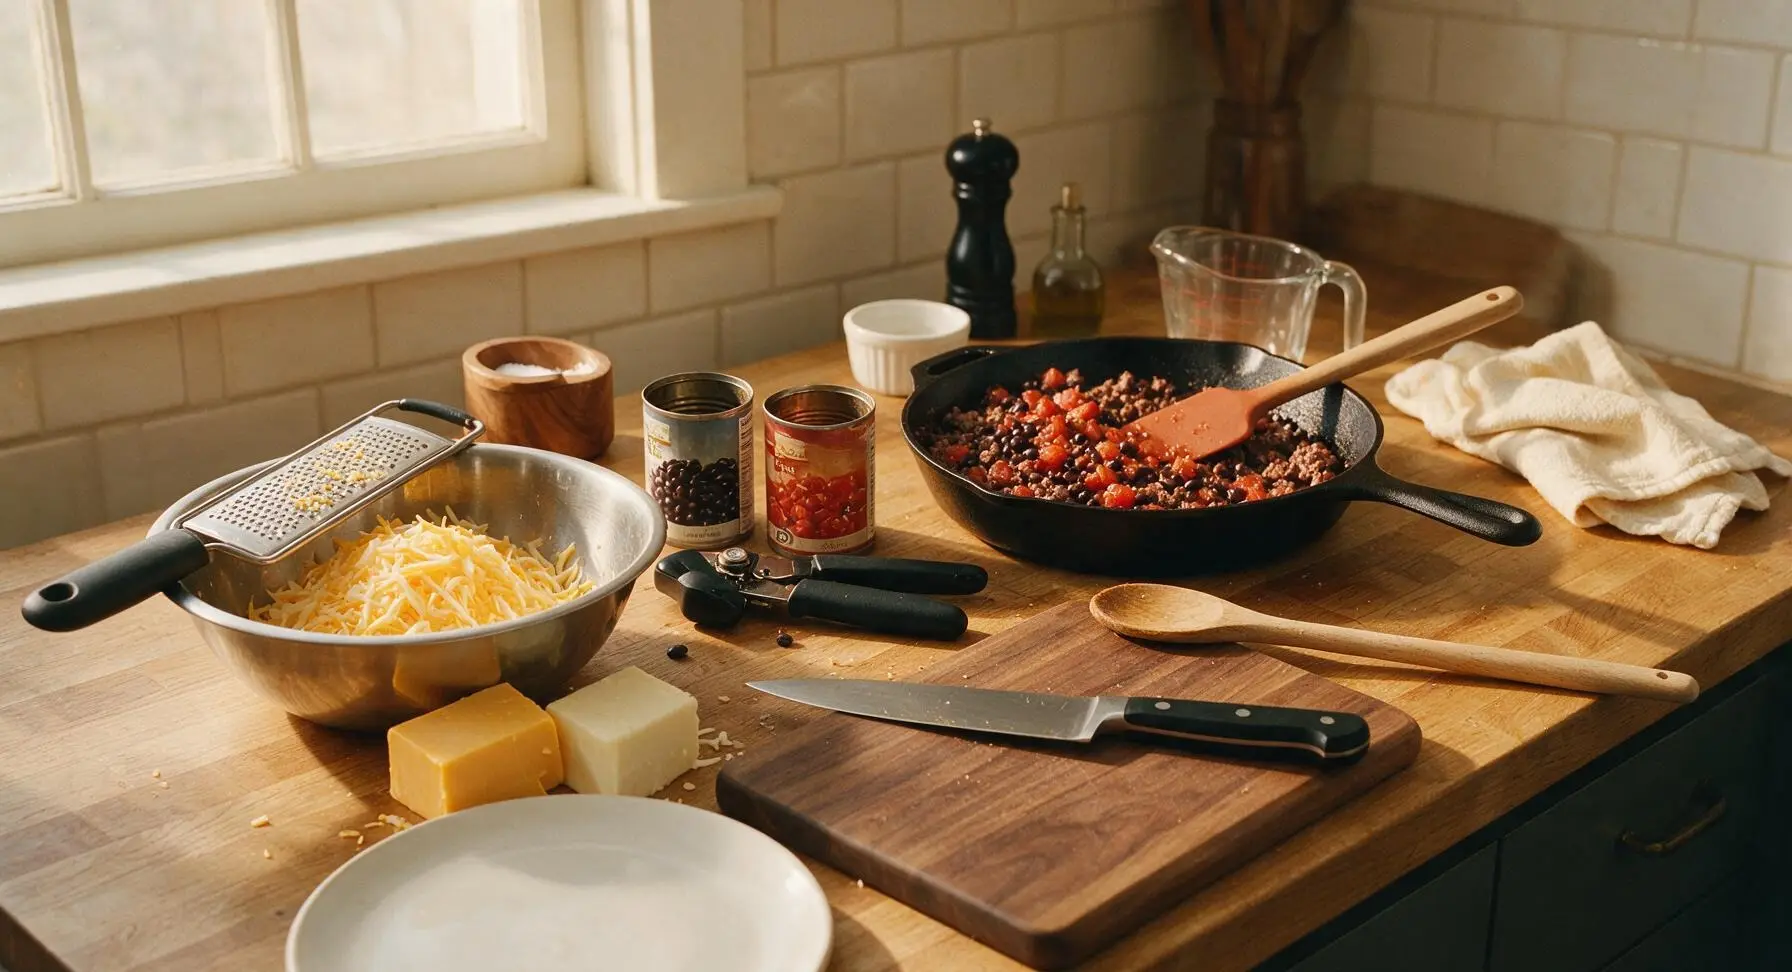
Step 3
step3:Grate Cheese, Mix Fillings
4

Layer Casserole Evenly

Spread 1/3 of the tortilla chips in a single, even layer across the bottom of the matte black baking dish. Top the chip layer with 1/2 of the beef and bean mixture, spreading it gently with the spatula, then sprinkle with 1/3 of the shredded cheese blend. Repeat the layering sequence once more: 1/3 of the chips, the remaining 1/2 of the beef mixture, 1/3 of the cheese. Finish with the final 1/3 of chips spread across the top, then cover evenly with the last 1/3 of shredded cheese, ensuring most top chips are partially coated in cheese to prevent burning during baking.
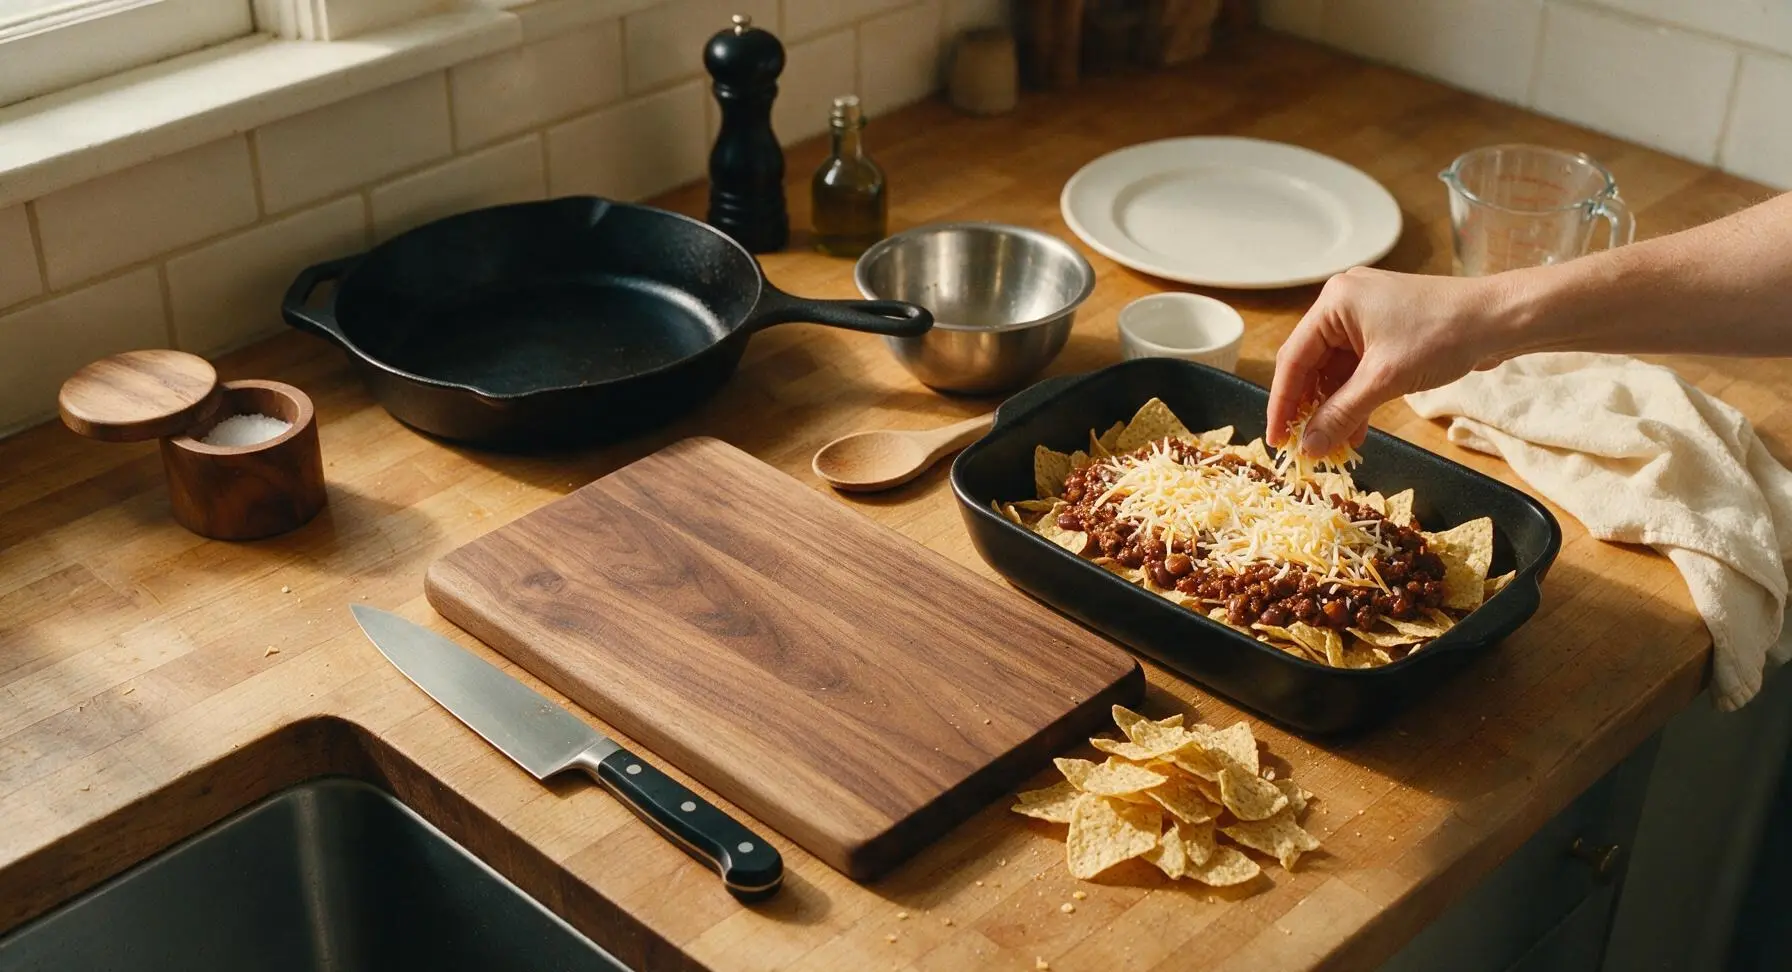
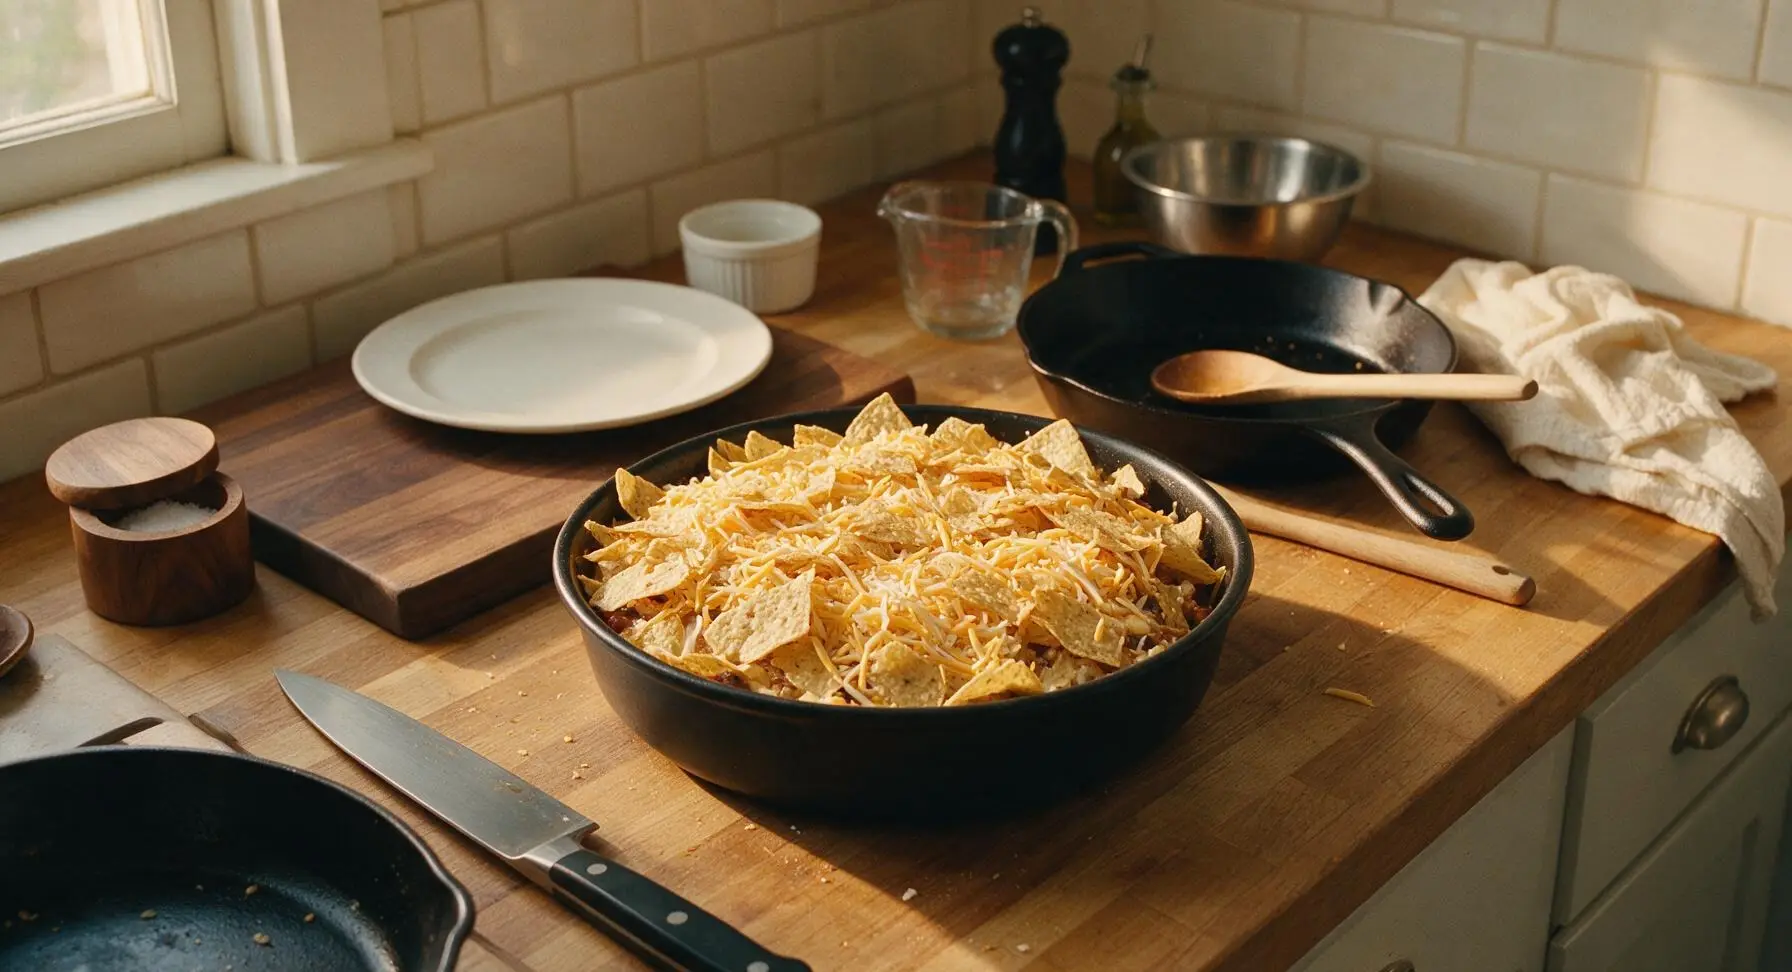
Step 4
step4:Layer Casserole Evenly
Step 4
step4:Layer Casserole Evenly
5

Bake Until Cheese Bubbles

Carefully slide the assembled baking dish onto the middle oven rack, then bake for 20 minutes at 375°F (190°C). The casserole is done when the cheese is fully melted, bubbling around the edges of the dish, and the top layer of cheese is just starting to develop light golden brown spots. Do not overbake, as extended oven time will make the chip layers soggy. Use the quilted cream oven mitts to carefully remove the hot dish from the oven, setting it on the counter to rest.
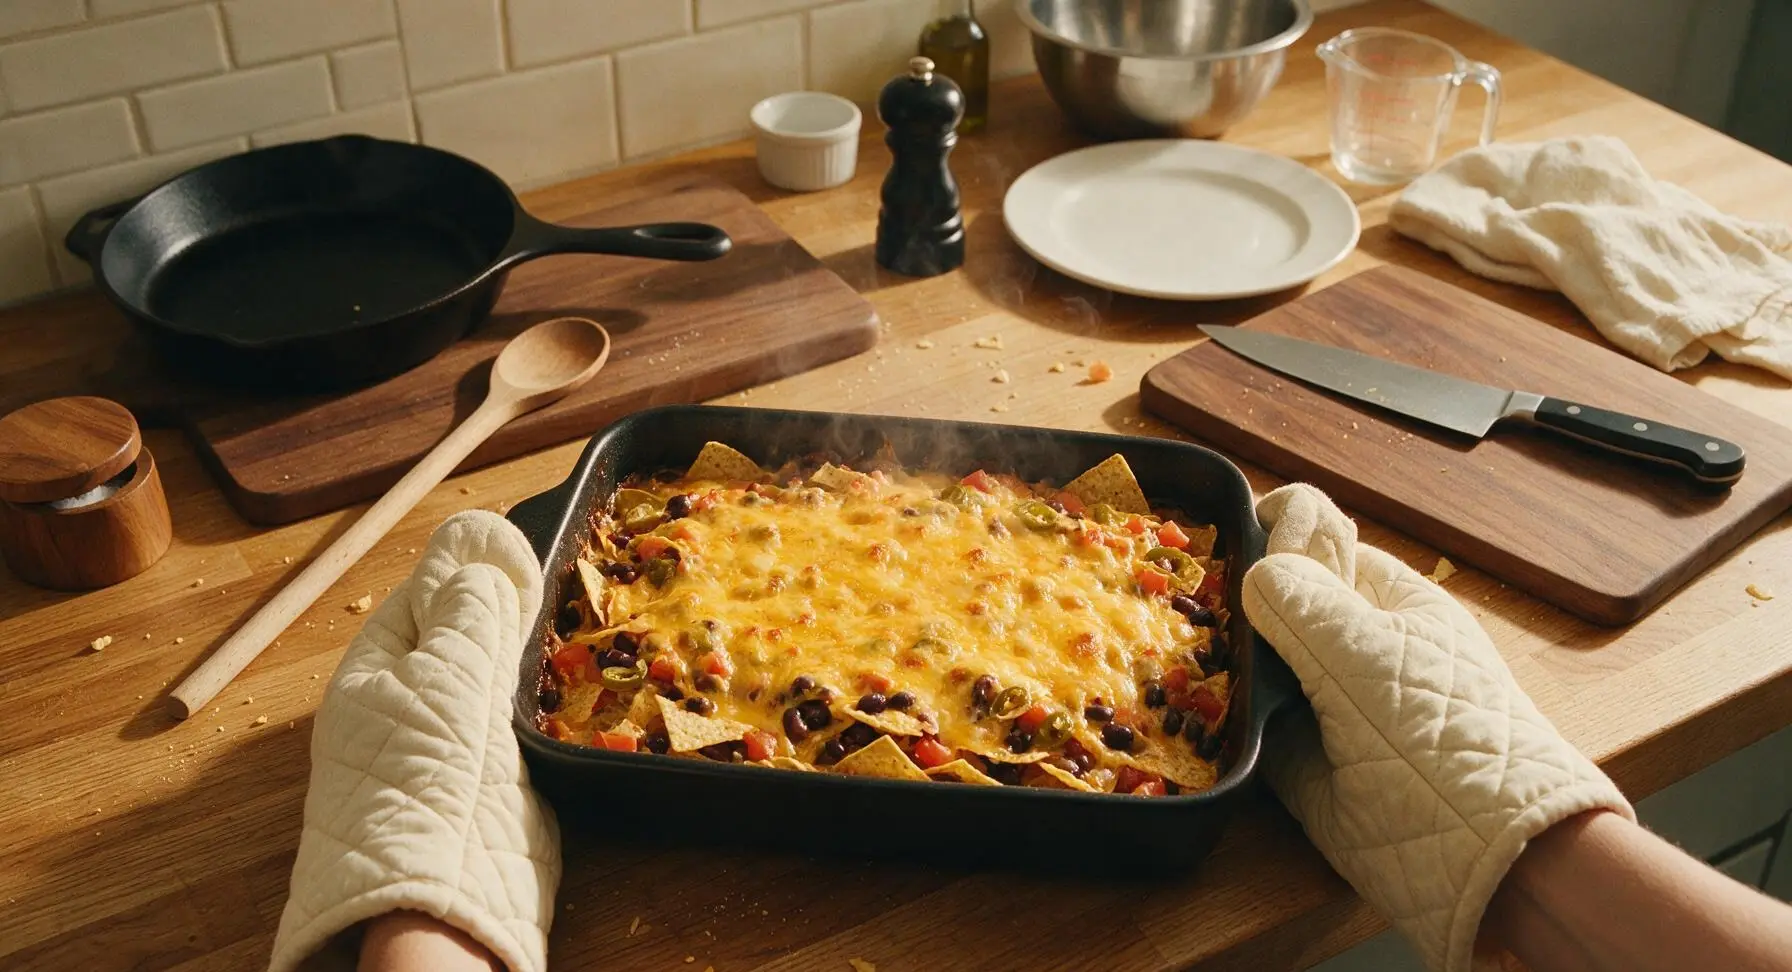
Step 5
step5:Bake Until Cheese Bubbles
6

Top and Rest Casserole

Let the hot casserole rest for 5 full minutes to allow the layers to set, which prevents sliding when scooping. After resting, scatter pickled jalapeño slices evenly across the top of the casserole, then sprinkle with chopped fresh cilantro for a bright, fresh contrast to the rich cheese and beef.
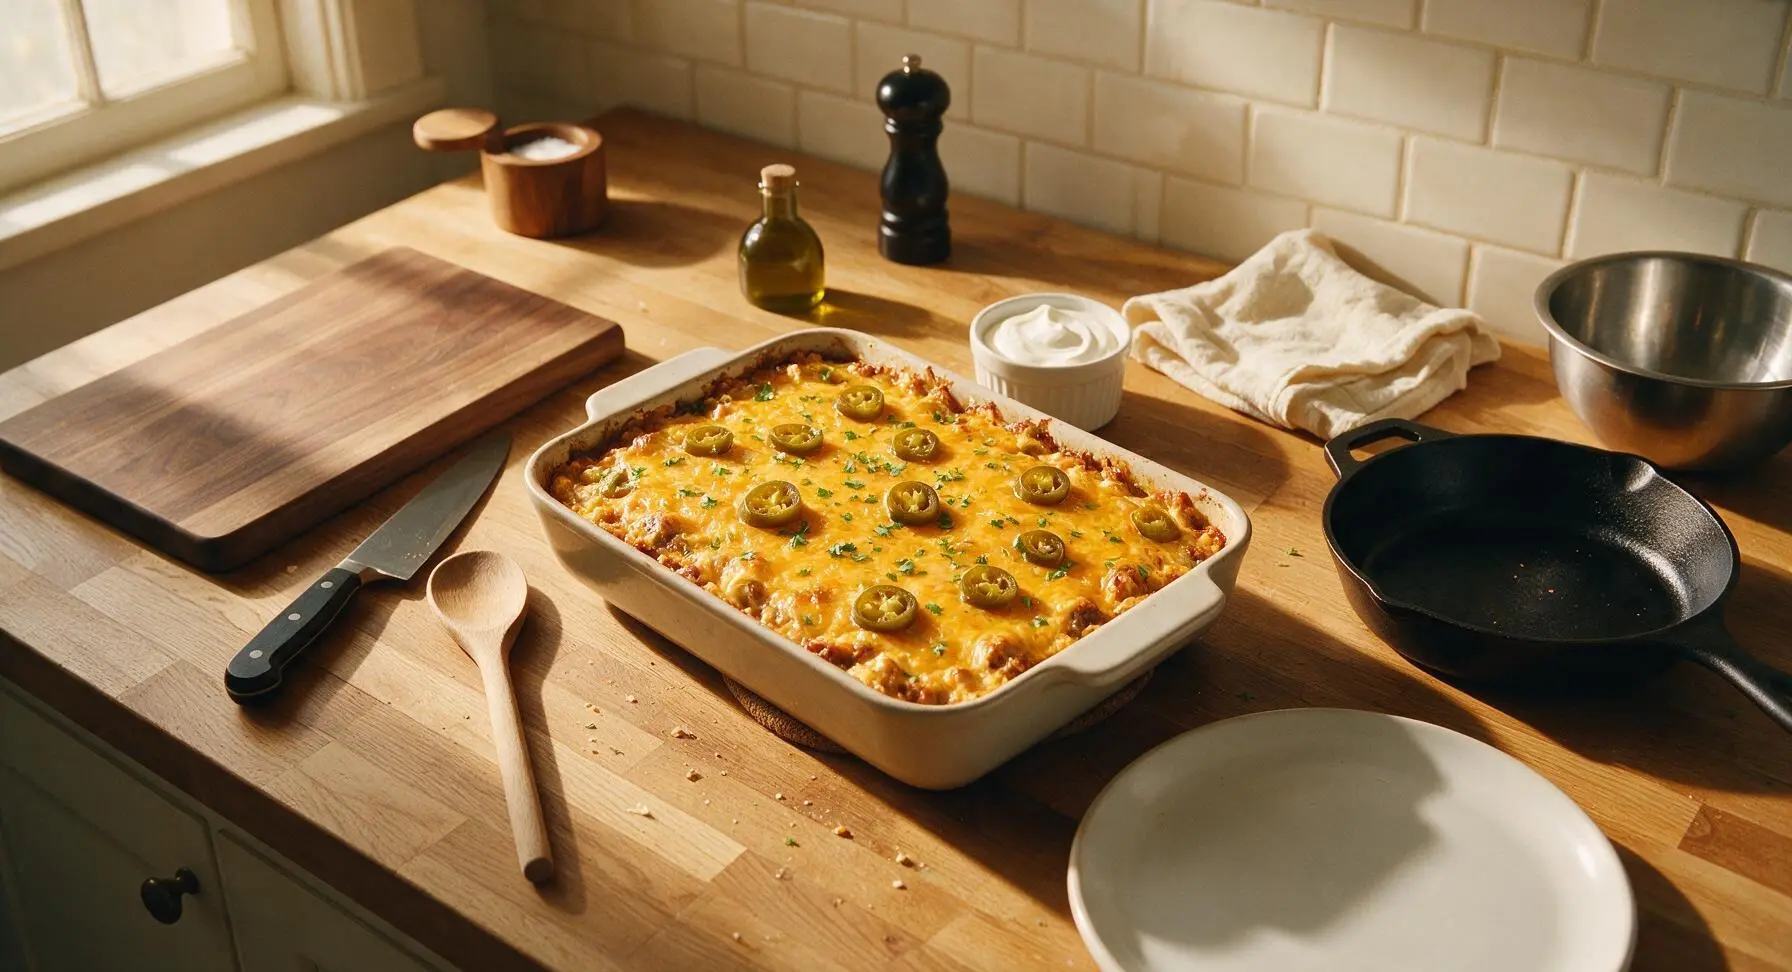
Step 6
step6:Top and Rest Casserole
7

Plate and Serve Warm

Use the beech wood slotted turner to scoop a generous, heaped portion of the layered casserole onto the matte terracotta dinner plate, ensuring each scoop includes a mix of crunchy chips, savory beef filling, and melted cheese from every layer. Add a 2-tbsp dollop of sour cream to the plate next to the casserole scoop, and serve immediately while the cheese is stretchy and chips are crisp.
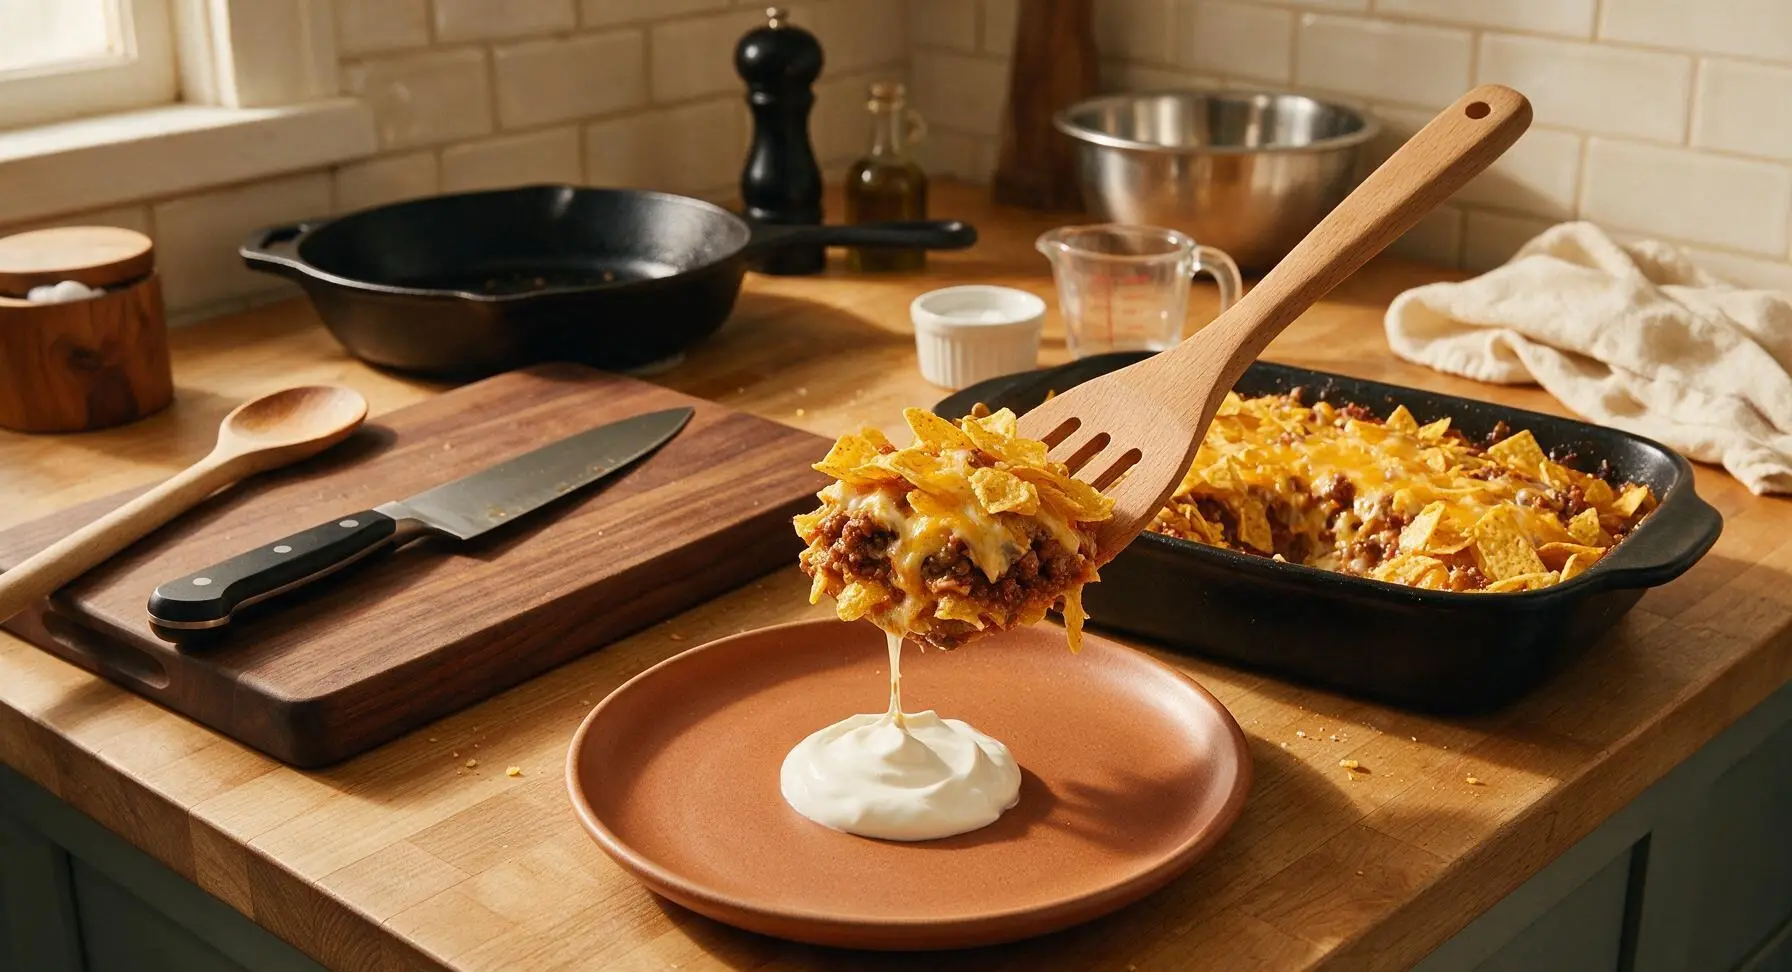
Step 7
step7:Plate and Serve Warm

Tips

1.Drain canned beans and diced tomatoes very thoroughly before adding them to the beef filling; excess trapped liquid will seep into the bottom chip layer and turn the casserole soggy instead of retaining a light, pleasant crunch.
2.Shred cheese from blocks rather than using pre-shredded bagged cheese; pre-shredded cheese is coated in potato starch and anti-caking agents that prevent it from melting into the smooth, stretchy, gooey texture that makes this dish feel indulgent.
3.Let the casserole rest for the full 5 minutes after removing it from the oven before scooping; this short rest allows the cheese and filling to set slightly, so portions hold their shape instead of sliding apart when served.


✨ You May Also Like

Main Course
🍜 United Kingdom

A showstopping classic of tender seared beef, savory mushroom duxelles, and crisp prosciutto wrapped in flaky golden puff pastry, baked to juicy perfection.

⏱️ 2 hours 1Main Course ★ 4.7
Main Course
🍜 India

Tender charred marinated chicken simmered in a rich, spiced creamy tomato sauce, this iconic Anglo-Indian curry pairs perfectly with basmati rice or warm naan.

⏱️ 50 minuteMain Course ★ 4.6
Main Course
🍜 Thailand

Classic tangy, sweet, and savory Thai stir-fried rice noodles with shrimp, tofu, and crunchy garnishes, balancing all five core Thai flavor profiles.

⏱️ 30 minuteMain Course ★ 4.5
Main Course
🍜 United Kingdom

Crispy golden beer-battered cod and fluffy double-fried chips, served with tangy tartar sauce and malt vinegar: the timeless, beloved British pub comfort classic.

⏱️ 45 minuteMain Course ★ 4.7
Main Course
🍜 Mexico

Smoky, chile-marinated pork tacos with caramelized pineapple, fresh cilantro, and lime: a beloved classic Mexican street food perfect for casual summer gatherings.

⏱️ 1 hour 45Main Course ★ 4.8
Main Course
🍜 United States

Crunchy Fritos corn chips layered with savory beef chili and melted cheddar, topped with cool, zesty fixings for a beloved, cozy Tex-Mex comfort food.

⏱️ 35 minuteMain Course ★ 4.8

Nacho Casserole:Frequently Asked Questions

1.What type of ground beef works best to avoid greasy, soggy nacho casserole? ▾
Stick with the recommended 90/10 lean ground beef for the best results! Its lower fat content means you won’t end up with greasy, limp tortilla chip layers as the casserole bakes. If you only have fattier beef on hand, fully drain all rendered fat after browning before adding it to your layers to cut down on excess moisture.
2.How do I keep tortilla chips from getting totally mushy in this baked casserole? ▾
Start with sturdy, thick-cut yellow corn tortilla chips instead of thin, delicate restaurant-style chips for better structure. Layer chips between denser ingredients like spiced beef, beans, and cheese rather than piling all toppings on top, and go light on watery add-ins to keep that signature crunch in every bite.
3.Why does the recipe call for a mix of sharp cheddar and Monterey Jack cheese? ▾
This cheese blend hits the ideal balance of flavor and texture! Sharp cheddar brings that bold, tangy, classic nacho cheese taste, while Monterey Jack melts ultra-smooth and gooey, stretching perfectly when you scoop a serving. Pre-shredded cheese works in a pinch, but freshly grated melts even more evenly.
4.Do I need to cook the yellow onion before adding it to the casserole layers? ▾
Yes, sauté your diced small yellow onion for 3 to 4 minutes while you brown the ground beef to mellow out its sharp raw bite. You don’t need to fully caramelize it—just cook until soft and translucent so it blends seamlessly with the spiced beef instead of adding a harsh, crunchy raw texture to the finished bake.
5.How long should I bake this casserole to get that perfect gooey, crunchy texture? ▾
Bake uncovered in a 375°F oven for 18 to 22 minutes, until the cheese is fully melted, bubbly around the dish edges, and the beef and bean layers are heated all the way through. Don’t overbake it, or the chips on the bottom layer will turn tough and overly crisp instead of staying sturdy but crunchy.
6.Can I swap the ground beef for a plant-based option for vegetarian guests? ▾
Absolutely! Swap the 90/10 lean ground beef for your favorite plant-based crumble, and double check that your tortilla chips and cheese are vegetarian-friendly (most standard store-bought versions are). Sauté the plant-based crumble with diced onion and taco spices the exact same way you would prepare beef for seamless flavor.
7.What easy add-ins work well to customize this casserole for game night? ▾
The base recipe is super flexible! Try adding drained black or pinto beans, sliced pickled jalapeños, seeded diced Roma tomatoes, roasted corn, or extra taco seasoning to the beef as it browns. Just skip watery add-ins like unseeded tomatoes or runny salsa layered directly on chips to avoid sogginess.
8.What size baking dish is best for building even layers in this casserole? ▾
A 9x13-inch glass or ceramic baking dish is ideal for even, consistent layers that cook uniformly. It gives you enough space to spread chips, beef, beans, and cheese in thin, alternating stacks so every serving gets a mix of crunch, savory beef, and melted cheese, rather than having lopsided, uneven portions.
9.How do I serve this casserole so it stays crunchy for the whole game night gathering? ▾
Serve it straight from the baking dish right after it comes out of the oven, with small serving scoops so guests can grab their own portions. Set out toppings like sour cream, guacamole, salsa, and cilantro on the side instead of piling them on the casserole, so chips don’t get soggy as the night goes on.
10.Can I freeze fully assembled loaded nacho casserole for quick future meals? ▾
I don’t recommend freezing the fully assembled baked casserole, as the corn tortilla chips will turn mushy and soggy once thawed and reheated. If you want to prep ahead to keep cook time minimal, store the cooked spiced beef and onion mixture in an airtight bag for up to 3 months, then assemble and bake fresh with chips and cheese when ready.
11.Do I need to add extra sauce or salsa between layers to keep the casserole moist? ▾
No, skip adding extra liquid sauce or salsa between layers, as that will quickly turn your crunchy yellow corn tortilla chips soggy. The moisture from the cooked spiced beef, sautéed onion, beans, and melting cheese is more than enough to keep every bite flavorful and juicy without making the casserole watery.
12.How do I get perfectly melted cheese without burning the top layer of chips? ▾
Grate your sharp cheddar and Monterey Jack evenly, spreading it in thin layers between the chip and beef stacks, plus a final generous layer across the very top. If you notice the top cheese browning too fast before the middle heats through, tent a loose piece of aluminum foil over the dish for the last 5 minutes of baking.
13.What’s the best way to reheat leftovers so chips don’t turn chewy or soggy? ▾
Reheat single portions in a toaster oven or regular oven at 350°F for 5 to 7 minutes, until the cheese is melted again and the chips crisp back up. Avoid microwaving leftovers, as the microwave will turn the yellow corn tortilla chips chewy and soggy in seconds, ruining that classic crunchy nacho texture.

Comments (3)

2 hours ago

OMG this loaded nacho casserole was such a game changer for our weekly family taco night! I swapped the ground beef for ground turkey to lighten it a little, added extra pickled jalapeños, and my kids loved it — they devoured the whole pan in 10 minutes flat. So easy to throw together after work too, the 30 minute cook time is no joke, I didn’t even have to do any fancy meal prep ahead. 10/10 will be making this for our next neighborhood block potluck for sure!

30 minutes ago

Wait swapping for ground turkey is such a smart call! I’ve been trying to cut back on red meat too, did you notice any difference in flavor at all? I’m making this for my partner’s college football watch party this weekend and don’t want it to taste bland.

5 minutes ago

Such a great question! Ground turkey works beautifully here — just add a pinch extra of taco seasoning and a tiny splash of beef broth if you’re worried about depth of flavor, and it’ll taste just as delicious. So glad the recipe was a hit with your family, and we hope it’s a total crowd pleaser at the potluck!

yesterday

This recipe is perfect for my Sunday meal prep routine! I split it into 5 individual containers for my work lunches all week, packed sour cream and guac on the side to add when I reheat, and it tastes SO good even on day 4. Only heads up for anyone else making it for prep: don’t skip the extra layer of chips on top, it keeps the casserole from getting mushy when you reheat. I wish I’d added more black beans when I made it, I skimped a little because I was almost out. Even works eaten cold if you’re running late out the door in the morning, no lie.

2 hours ago

We love hearing this works so well for meal prep! Great call out about the top chip layer to prevent mush. The best part about this casserole is how totally customizable it is — load up on extra black beans, roasted corn, diced tomatoes, or even a sprinkle of cotija cheese next time to make it exactly how you like it. Hope those tasty work lunches make your desk neighbors jealous!

1 week ago

Made this for my Sunday football watch party a week back and everyone was begging for the recipe by halftime! I topped it with a drizzle of queso, fresh pico de gallo, and extra crushed tortilla strips right before serving for extra crunch, and there were zero leftovers. Way less messy than regular sheet pan nachos too, no sad soggy chips sitting at the bottom of the pan. Absolute winner for any casual get together, I’ll be pulling this out for every tailgate this fall.



