1.Why do I need Tipo 00 flour for this recipe, and can I substitute all-purpose flour if I don’t have it?
▾
Tipo 00 is a finely milled, moderate-protein flour that creates Neapolitan pizza’s signature soft, stretchy, delicately crisp crust with light, airy bubbles. All-purpose works in a pinch, but it produces a chewier, denser crust; if you swap it, cut your water amount by 2 tablespoons to avoid sticky dough, and take care not to overknead.
2.Do I really need San Marzano tomatoes for the sauce, or will regular canned tomatoes work?
▾
San Marzano tomatoes are grown in mineral-rich volcanic soil near Mount Vesuvius, making them sweeter, lower in acid, and less watery than standard canned tomatoes for that classic bright sauce. If you can’t find them, use high-quality whole peeled plum tomatoes, drain excess juice, and add a tiny pinch of sugar to cut sharp acidity.
3.What oven temperature do I need to get that classic leopard-charred crust at home?
▾
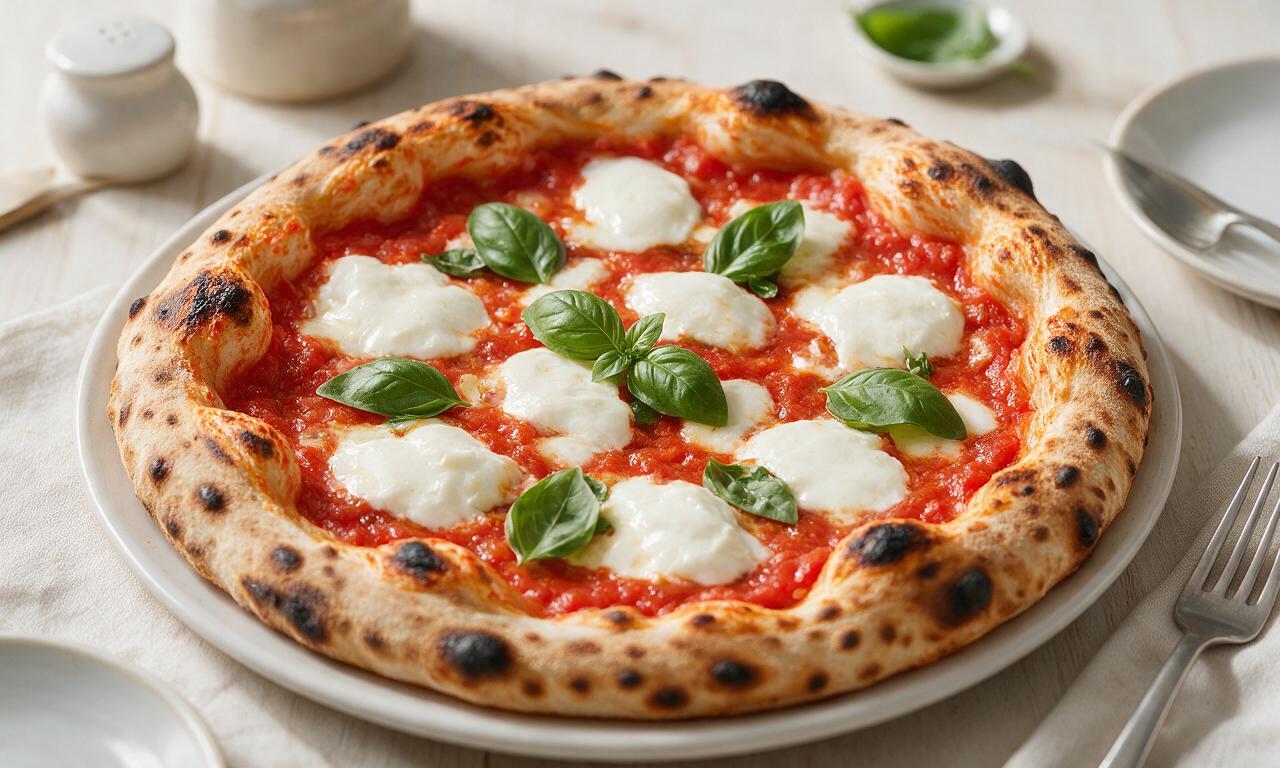
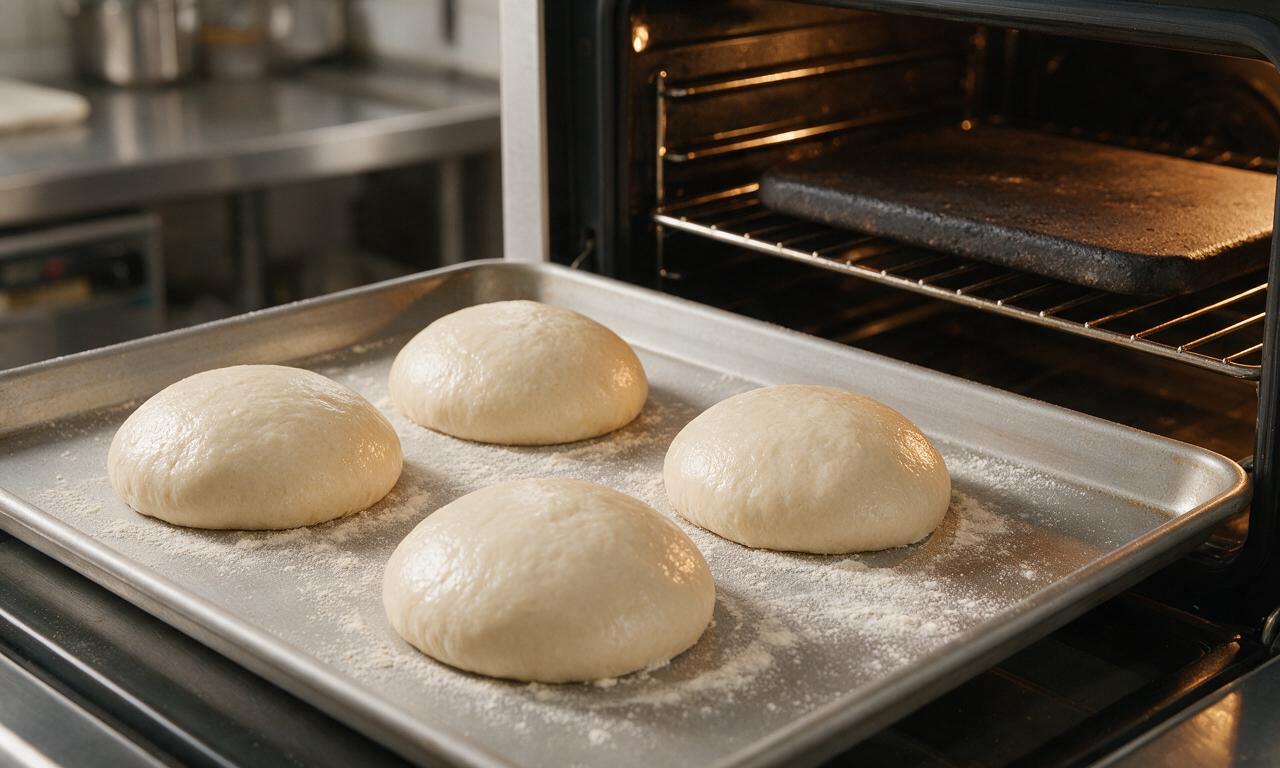
Traditional wood-fired Neapolitan ovens hit 800°F and cook pizza in 90 seconds, but for home ovens, crank it to the highest setting (usually 500–550°F) and preheat a pizza stone or steel for a full 45 minutes. That intense, direct heat creates the coveted dark, bubbly char without drying out toppings.
4.How long should I let my pizza dough rise for the best flavor and texture?
▾
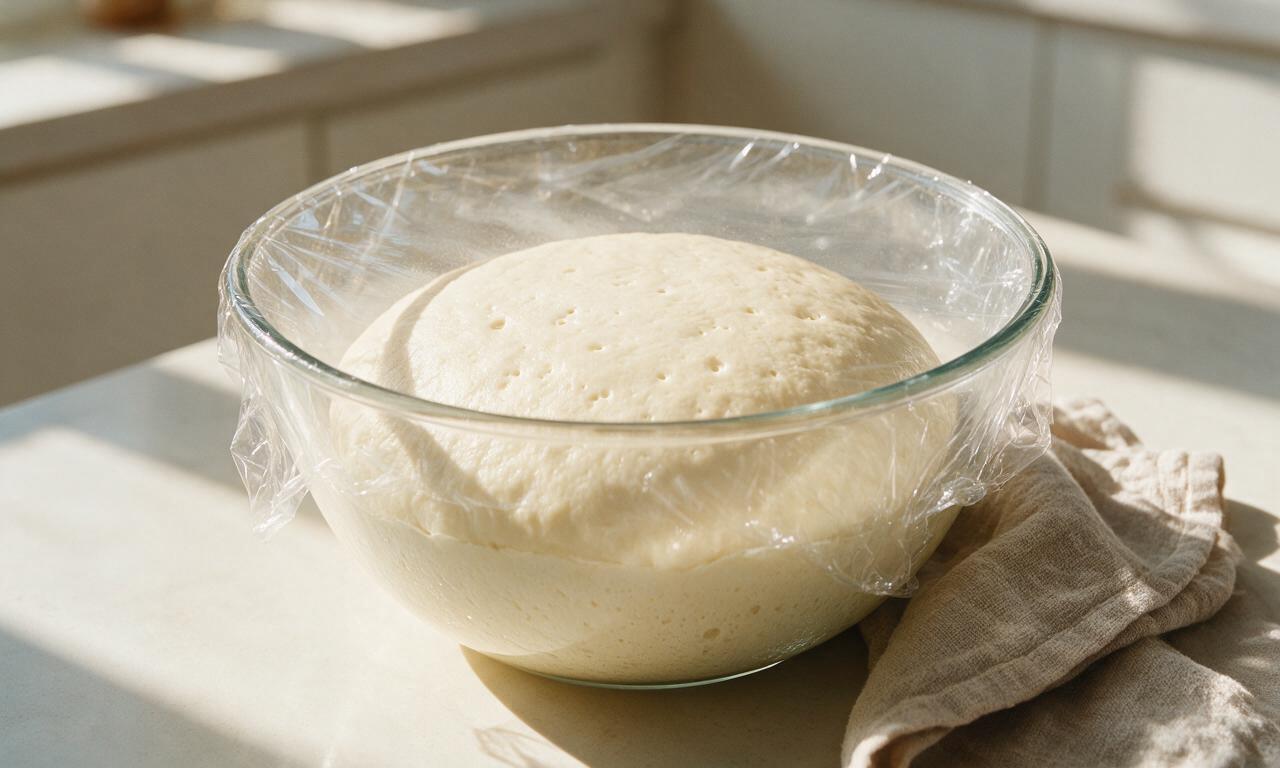
For the lightest, most nutty, complex crust, do a slow cold ferment in the fridge for 24–48 hours after mixing your dough. If you’re short on time, a 2-hour room temperature rise works, but the slow cold ferment develops far better flavor and creates the large, airy crust bubbles fast rises can’t produce.
5.Why does my pizza always turn out with a soggy center?
▾
Soggy centers almost always trace back to three common culprits: overloading the pie with sauce, using an under-preheated baking surface, or adding overly wet toppings. Strain your tomatoes, pat fresh mozzarella dry with paper towels first, and remember—less is more when it comes to Neapolitan pizza toppings.
6.Can I make this pizza dough without a stand mixer or special equipment?
▾
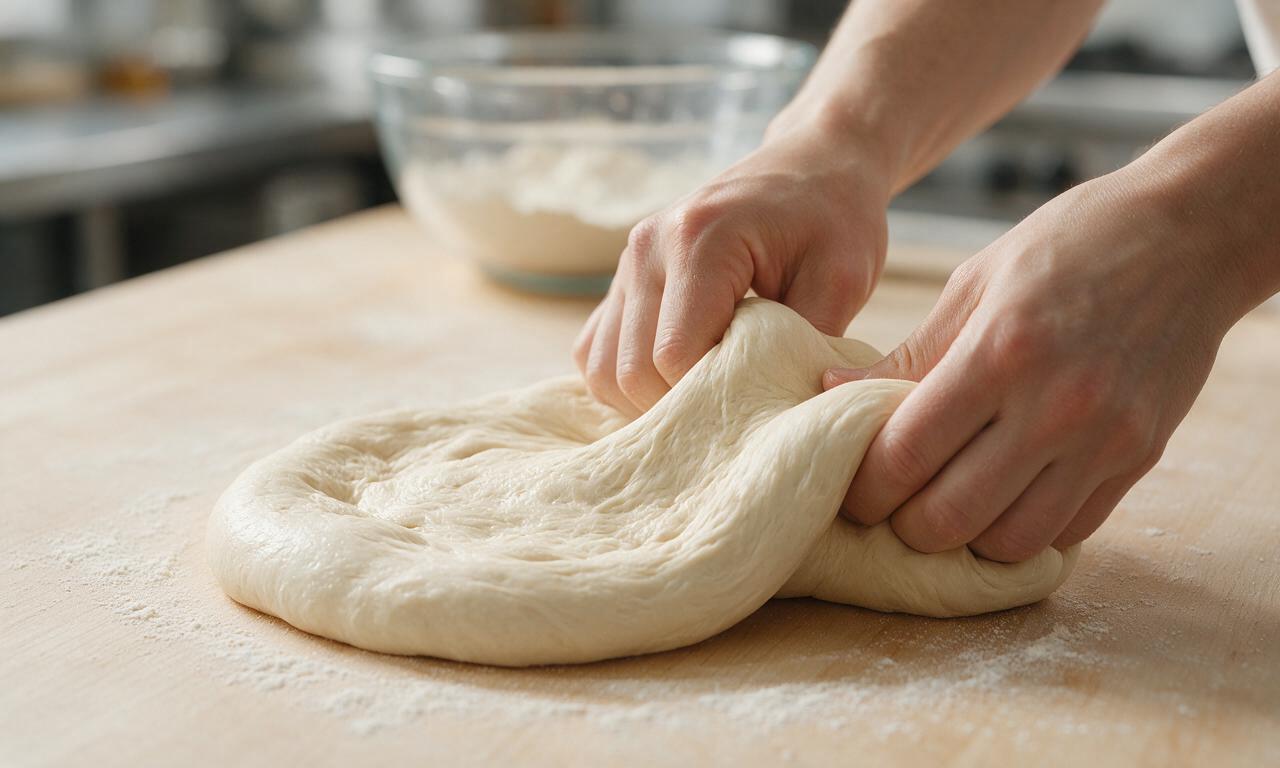
Absolutely! Traditional Neapolitan dough is mixed and kneaded entirely by hand. Combine your ingredients until a shaggy mass forms, then turn it out onto a clean counter and knead for 8–10 minutes, folding the dough over itself repeatedly, until it’s smooth, elastic, and springs back gently when poked.
7.Do I need to cook the tomato sauce before spreading it on the pizza?
▾
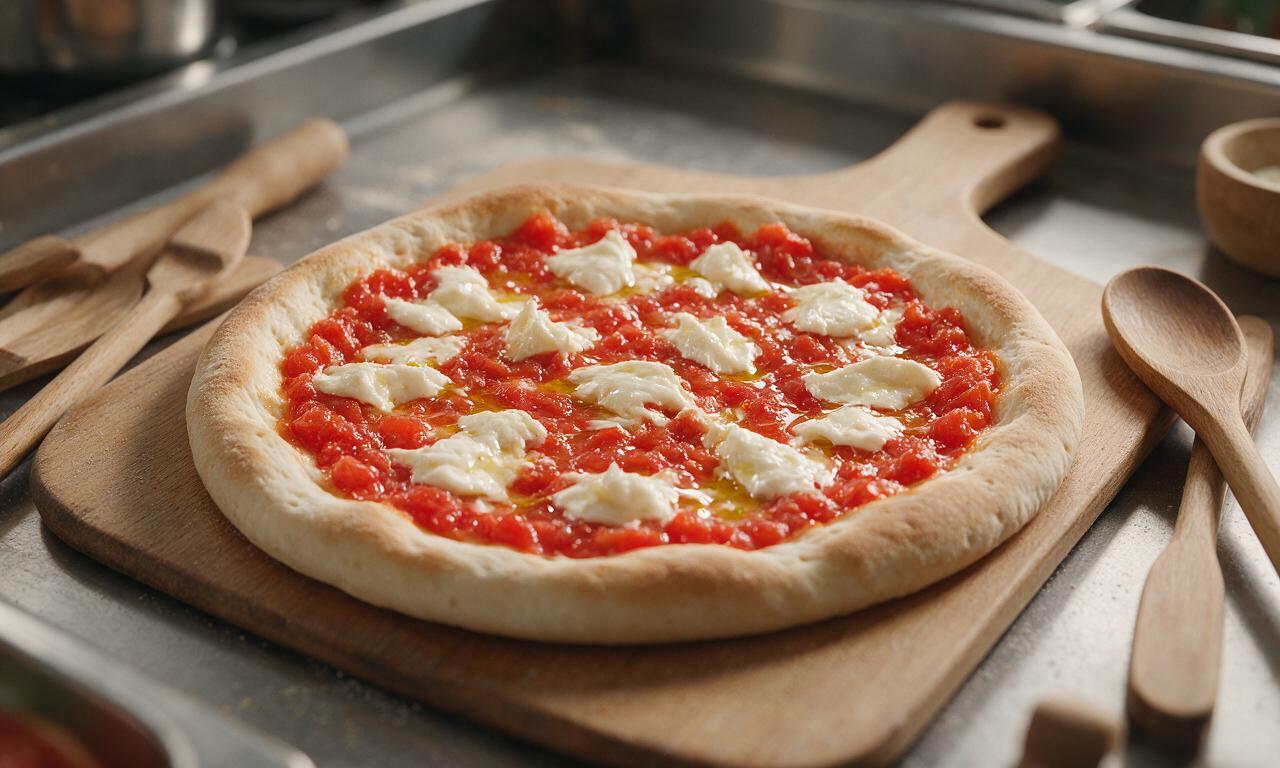
No, pre-cooking sauce is a common mistake for Neapolitan pizza! The authentic recipe uses uncooked crushed San Marzano tomatoes seasoned with just a pinch of fine sea salt. The short, high-heat pizza bake cooks the sauce just enough to brighten its flavor, and pre-cooking leads to thick, heavy sauce that weighs down the thin crust.
8.What’s the best way to stretch the dough without tearing it or popping bubbles?
▾
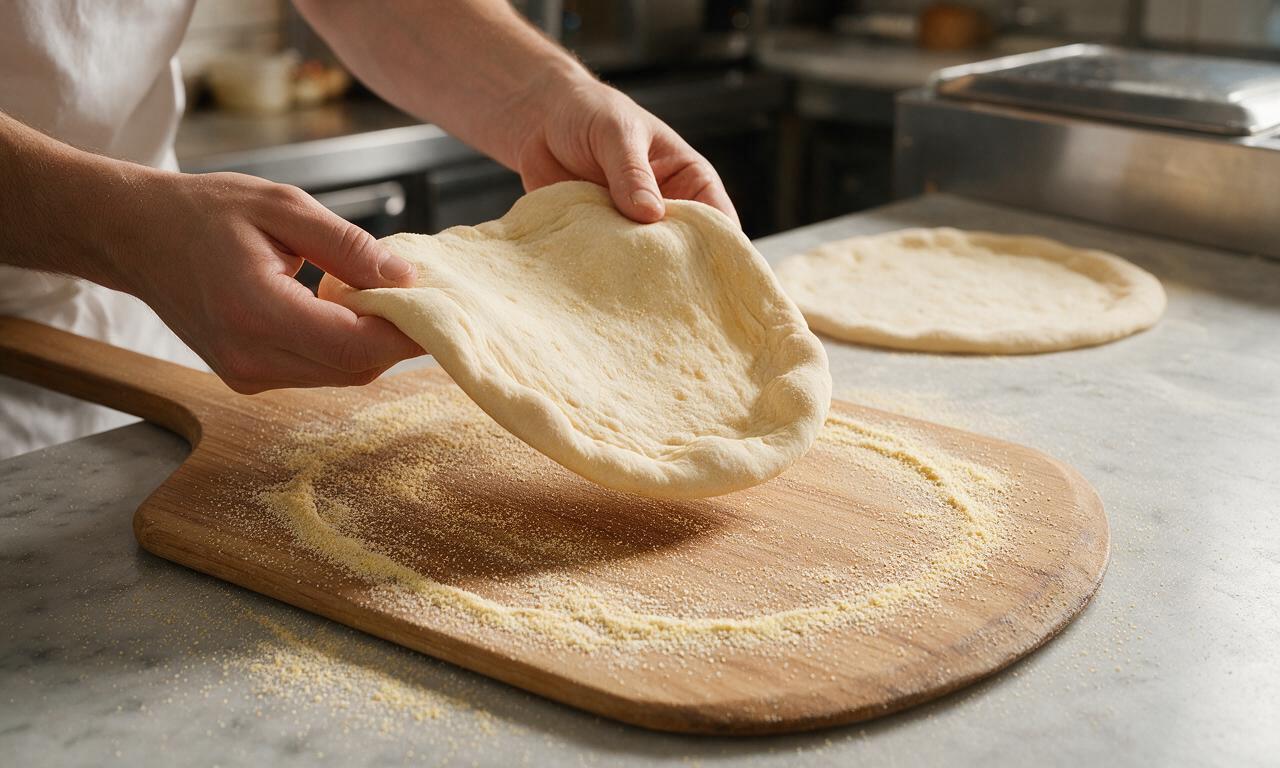
Never use a rolling pin—that presses out all the precious air bubbles you built during fermentation. Instead, let rested dough come to room temp for 30 minutes, then gently press it out from the center with your fingertips, stretching slowly in a circular motion and leaving a ½-inch thicker border for the crust edge.
9.Why isn’t my crust getting those dark, speckled leopard spots?
▾
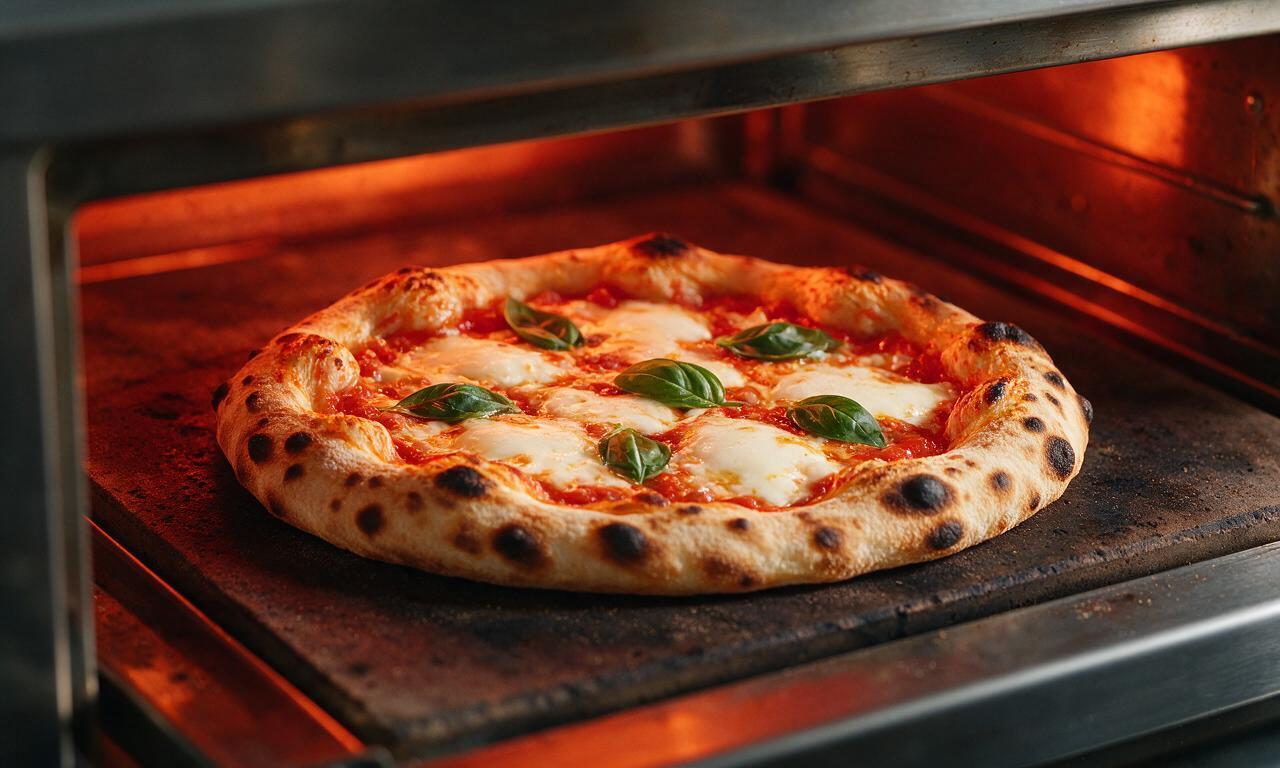
Leopard spots form when tiny air pockets in the dough hit extreme, direct heat fast enough to char lightly before the rest of the crust burns. If you’re missing those spots, your oven or baking surface isn’t hot enough, you’re rolling dough too flat to trap air, or you’re cooking the pizza too long at a low temperature.
10.Should I use fresh mozzarella or low-moisture mozzarella for Margherita pizza?
▾
Authentic Neapolitan Margherita calls for fresh mozzarella (either cow’s milk fior di latte or buffalo mozzarella), but always pat it dry or tear it and let it drain 15 minutes first to avoid soggy crust. Low-moisture mozzarella works for chewier American-style pie, but it won’t give that soft, creamy classic melt.
11.Do I need a fancy pizza peel to transfer the pie to my oven, and what works as a substitute?
▾
A pizza peel makes transferring topped pies to a hot stone much easier, but you don’t need a high-end model. A rimless baking sheet dusted with coarse semolina flour or cornmeal works perfectly—just give the sheet a quick shake before sliding the pie off to make sure it doesn’t stick mid-transfer.
12.How much yeast do I need, and how do I avoid that overly yeasty, bready taste?
▾
You only need a tiny amount—about ¼ teaspoon of instant dry yeast per 500 grams of flour for a long cold ferment. Using too much yeast causes a fast, puffy rise with that sharp, unpleasant yeasty flavor, instead of the subtle, wheat-forward, nutty taste of properly fermented Neapolitan crust. Less is always more here.
13.Why does my dough keep shrinking back when I try to stretch it?
▾
Dough shrinks when its gluten network is too tight, usually because you skipped resting the dough after portioning it into balls, or you’re trying to stretch it straight out of the fridge. Let covered dough balls rest at room temperature for 30–60 minutes before stretching; this relaxes gluten so it pulls easily without springing back.
14.Can I add salt directly to my yeast when mixing the dough?
▾
Use fine sea salt for this recipe, as it dissolves evenly without leaving gritty bits in the crust, but never pour salt directly on top of your instant yeast. High concentrations of salt can deactivate yeast and stop your dough from rising entirely. Mix salt into your flour first before adding water and yeast to avoid this issue.
15.How long does the pizza actually take to cook in a standard home oven?
▾
On a fully preheated pizza stone or steel at 550°F, your pizza will only need 6–8 minutes to cook perfectly. Rotate it halfway through baking with a peel to ensure even browning, and pull it as soon as the crust edges are puffed, golden with dark char spots, the cheese is bubbly, and the center sauce is set.
16.When should I add the basil so it doesn’t turn brown or taste bitter?
▾
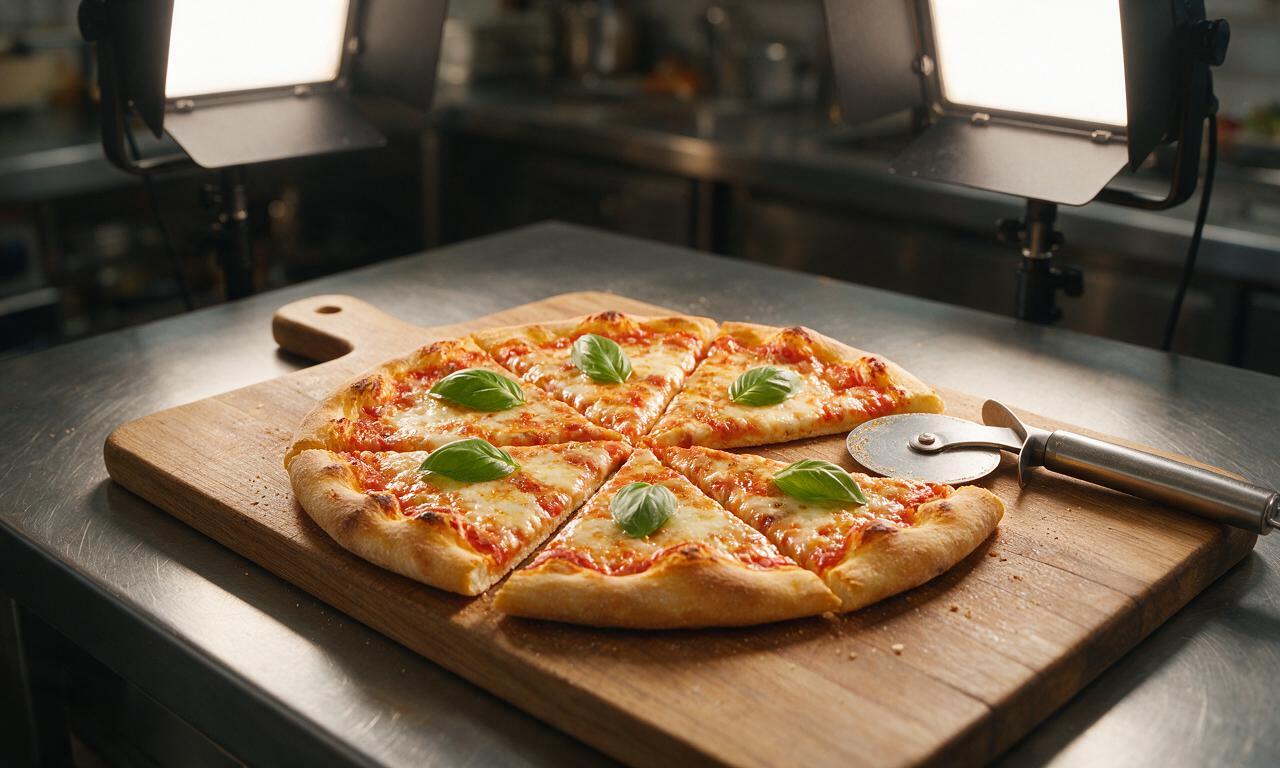
Add whole, fresh basil leaves immediately after you pull the pizza out of the oven, right before serving. If you add basil before cooking, the extreme high heat will wilt it to a mushy texture, turn it dark brown, and leave a bitter aftertaste. Residual heat from the hot pie will gently release its bright, aromatic flavor without ruining it.
17.Can I freeze extra dough to make pizza later, and how do I thaw it properly?
▾
Absolutely! After your dough finishes its first rise and you portion it into individual 250-gram balls, wrap each tightly in plastic wrap and freeze for up to 3 months. Thaw dough balls in the fridge for 12 hours before you plan to bake, then let them come to room temperature for 30 minutes before stretching as usual.
18.What order should I add toppings to get the best result?
▾
Start with a very thin, even layer of seasoned crushed San Marzano tomatoes spread almost to the crust border, then add torn, well-dried fresh mozzarella pieces spaced evenly across the sauce. Drizzle with a tiny bit of extra-virgin olive oil right before baking, then add fresh basil the second it comes out of the oven.
19.Is it okay to add extra toppings like pepperoni or mushrooms to a classic Margherita?
▾
Per official Neapolitan pizza standards, a true Margherita only uses tomato, mozzarella, basil, and olive oil to match the colors of the Italian flag. That said, you can add small amounts of other toppings if you prefer—just go light, and pre-cook watery veggies like mushrooms first to avoid a soggy, weighed-down crust.
20.How do I get that perfect puffy crust edge (called a cornicione) without it being doughy?
▾
That signature puffy cornicione comes from leaving a ½-inch un-topped border when stretching your dough, and ensuring your oven is hot enough to cook that raised edge quickly. If your edge is doughy, you’re either not preheating your baking surface long enough, or pressing too much air out of the border when stretching.







OMG, this is the actual real deal Neapolitan pizza! I’ve been chasing that perfect wood-fired margherita taste ever since I went to Naples on my honeymoon 5 years ago, and this recipe nailed it. I cranked my oven to 550 with a pizza stone for an hour before baking, and the 90 second cook time gave it that perfect bubbly, slightly charred crust just like the spots I ate at over there. My kids loved it—we had it for our Sunday family dinner and my picky 7 year old asked for thirds! No more $30 delivery pies for us, this is our new go-to.
Total game changer! I’ve always been scared to make pizza dough from scratch because I thought it’d be super finicky, but the steps here were so straightforward even I didn’t mess it up. The 1.5 hour rise time was totally hands off, which was perfect because I got to mow the lawn and fix the fence while I waited. The crust came out light and chewy, the sauce was bright and not too heavy—chef’s kiss. Only reason I’m not giving 5 stars is I wish there was a note about making dough ahead for meal prep, can I prep the balls a day early and keep them in the fridge for quick weeknight pies?
SO good! I made a test batch of this for our neighborhood block party potluck last weekend and people were swarming me for the recipe before I even set the tray down. I messed up the first dough ball by stretching it way too thin in the middle, so sauce leaked through and made a little mess on my stone, but the other three pies came out absolute perfection. Quick pro tip for other newbies: go slow stretching the dough from the center out, don’t yank it! We paired it with a little side salad and it fed half the block for pennies on the dollar compared to catering.
Made this for my roommates last night and we all agreed it’s way better than the fancy pizza place by campus that charges $26 a pie. Total cost for four whole pies was like $11 total—flour, canned tomatoes, fresh mozz, basil—absolute steal. Quick heads up for other people trying this: make sure your oven is fully preheated hot as hell before you slide the pie in. I put the first one in when the oven was only at 450 and it took 10 minutes to cook and came out soggy, but once I cranked it to max and let the stone get ripping hot, the 90 second cook time worked like a charm. Saved the leftover slices for lunch today and they even reheated great in the toaster oven.
Made this for my 3 year anniversary dinner with my partner tonight and it felt like we were sitting at a tiny little trattoria in Little Italy instead of our tiny apartment! I followed the recipe exactly, added that extra sprinkle of fresh basil right when it came out of the oven, and the smell was so good our neighbor texted asking if we were having pizza delivered. 10/10, this is going in our permanent date night rotation, way more fun than getting takeout.
I really wanted this to turn out because the photos look incredible, but I followed the dough measurements exactly and it came out so sticky I couldn’t stretch it at all! It kept sticking to my hands, my counter, even my rolling pin (I know, I know, purists say no rolling pin but I was desperate). I ended up adding a ton of extra flour which made the crust really tough when it baked. Did I miss a step? I’d love to get this right for my kid’s birthday party next month.