
Old-Fashioned Cornmeal Mush
intro
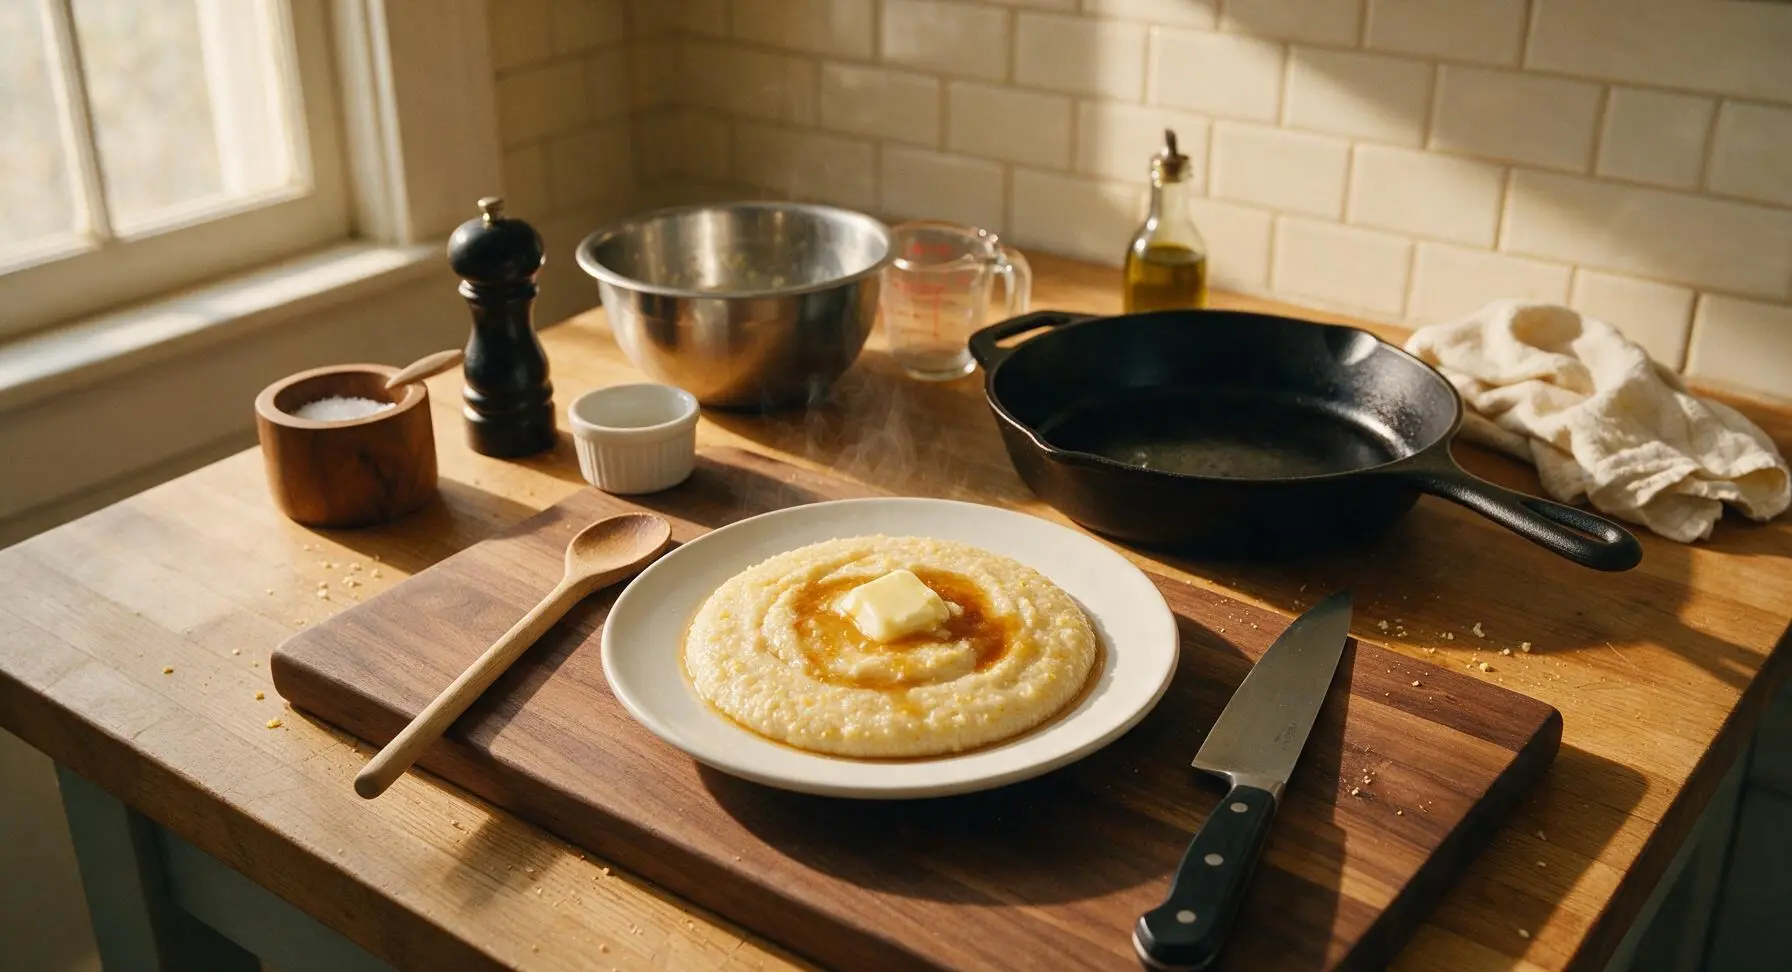
Creamy, hearty old-fashioned cornmeal mush is a humble Appalachian pantry staple, served warm with butter and maple syrup for a cozy, satisfying meal perfect for cold winter days.
Ingredients
Steps
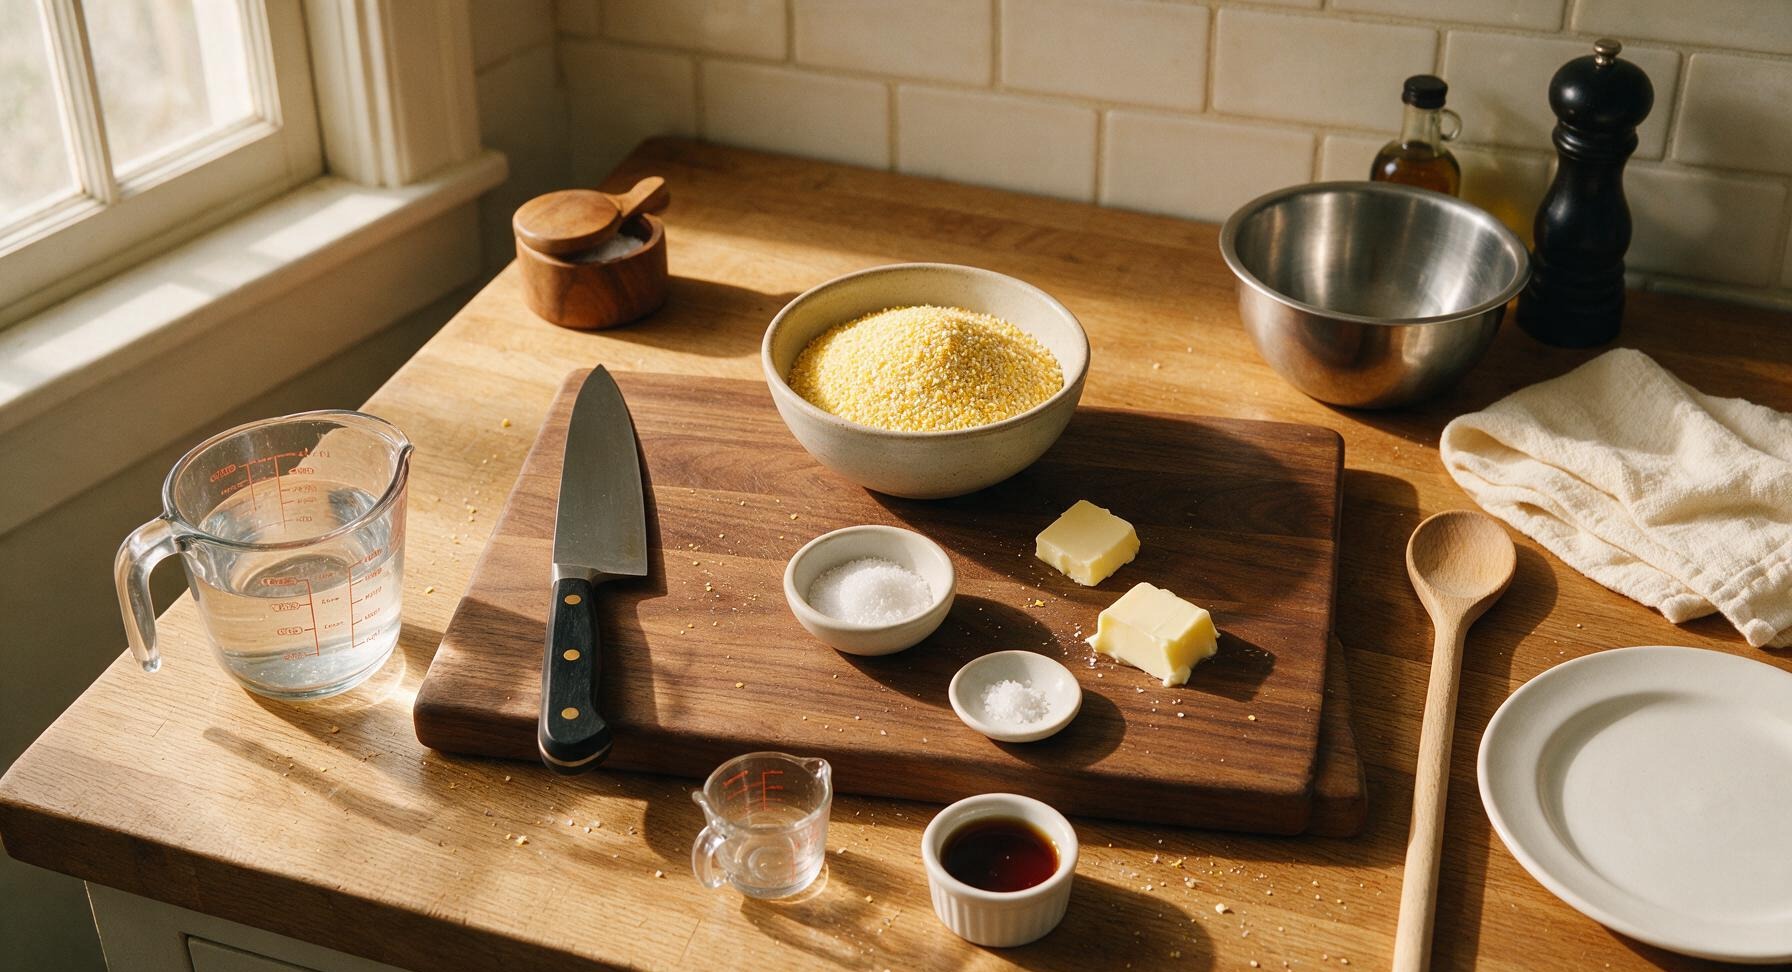
Gather and Measure Ingredients
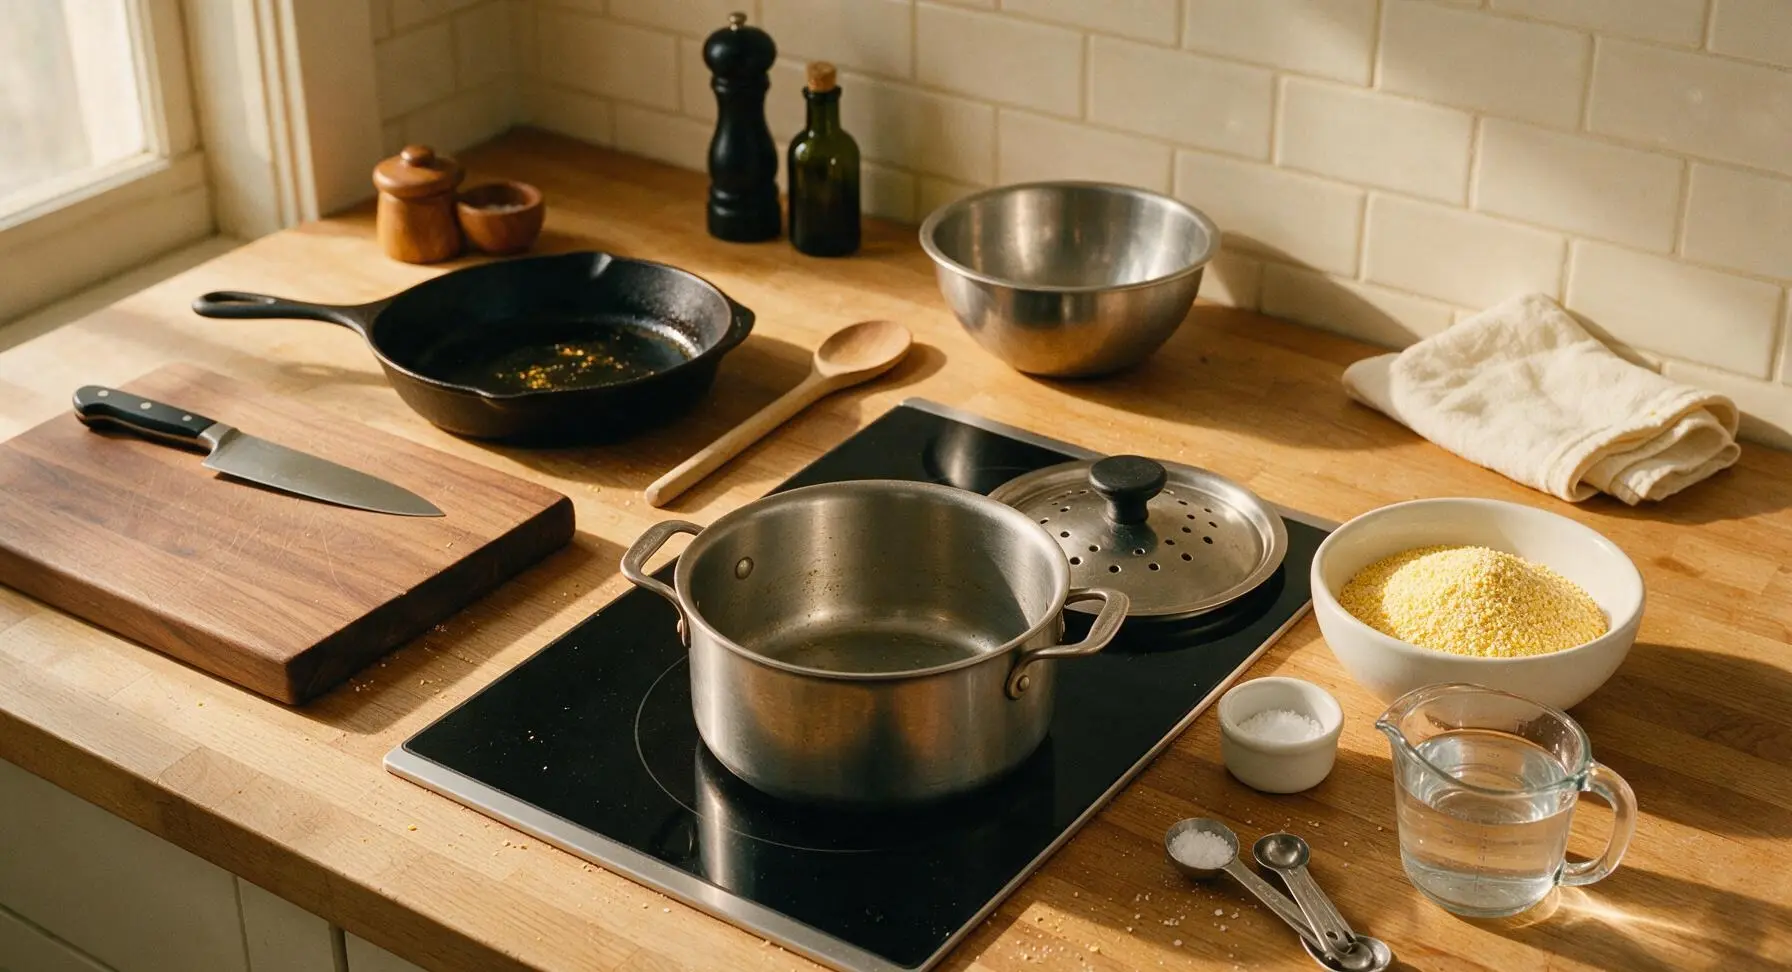
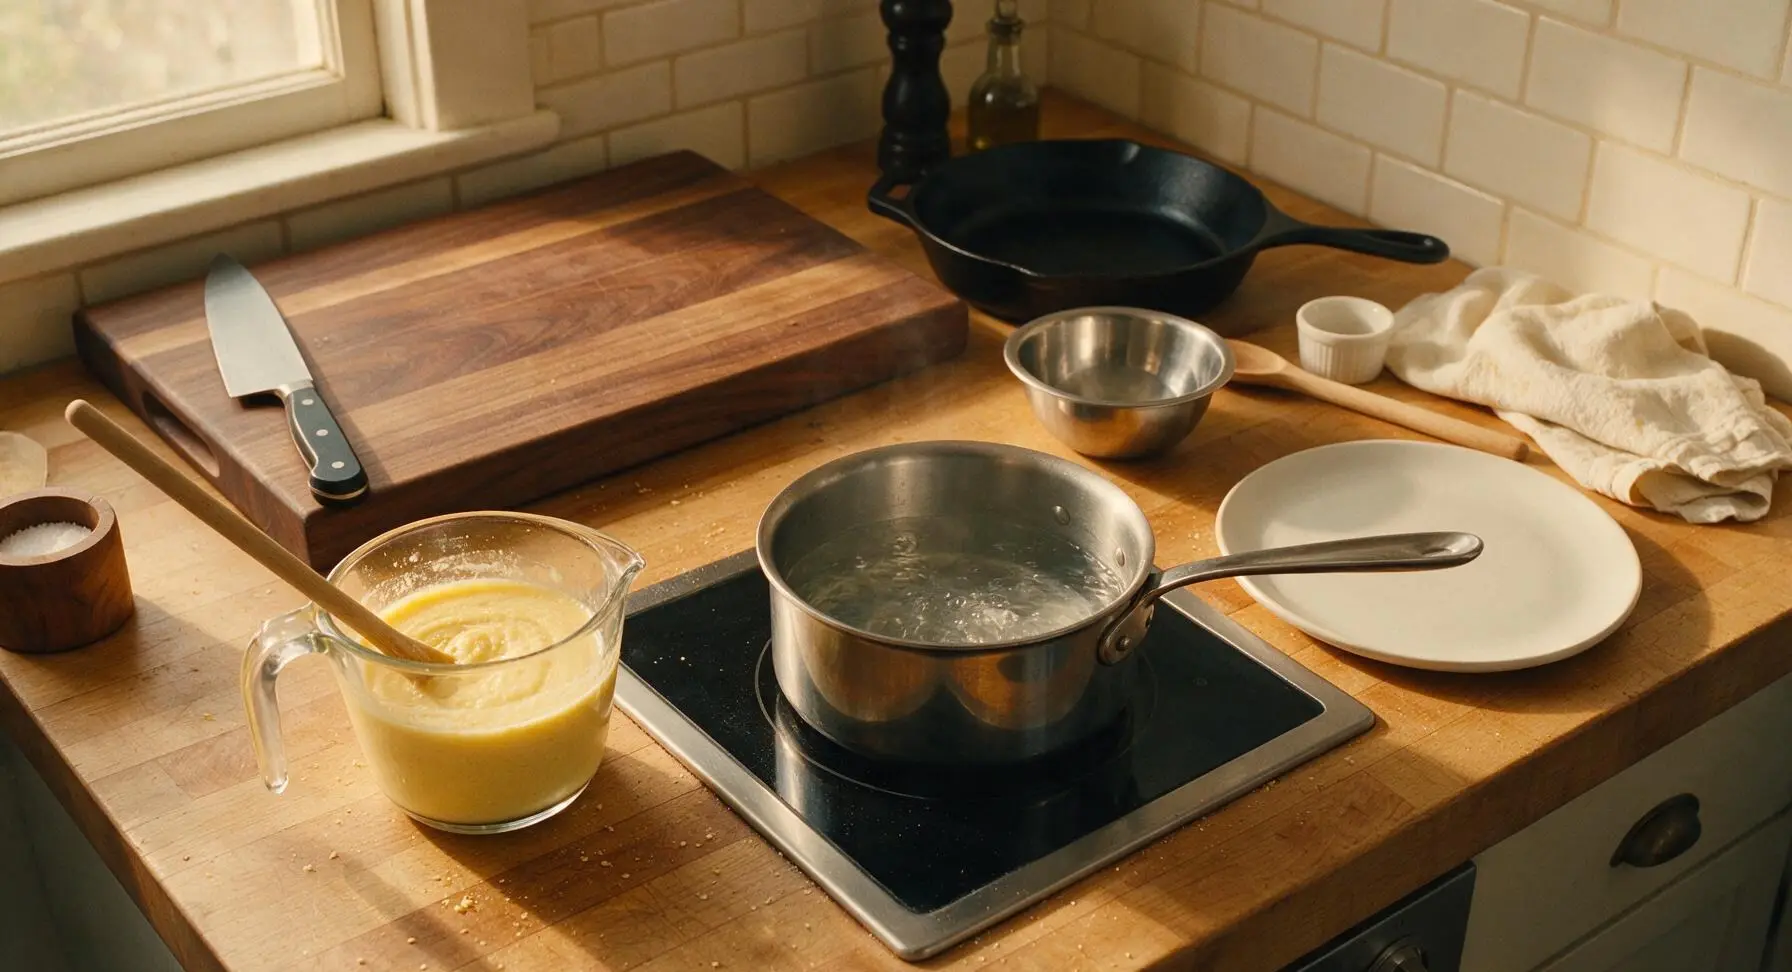
Use the clear glass measuring cup to portion 1 cup coarse-ground yellow cornmeal and 4 cups cold water. Use the stainless steel measuring spoons to portion 1 teaspoon fine sea salt. Arrange all ingredients within easy reach of the cooktop, and set the 3-quart stainless steel saucepan (with its vented lid) centered on the induction cooktop, ready for heating.
Bring Water to Simmer
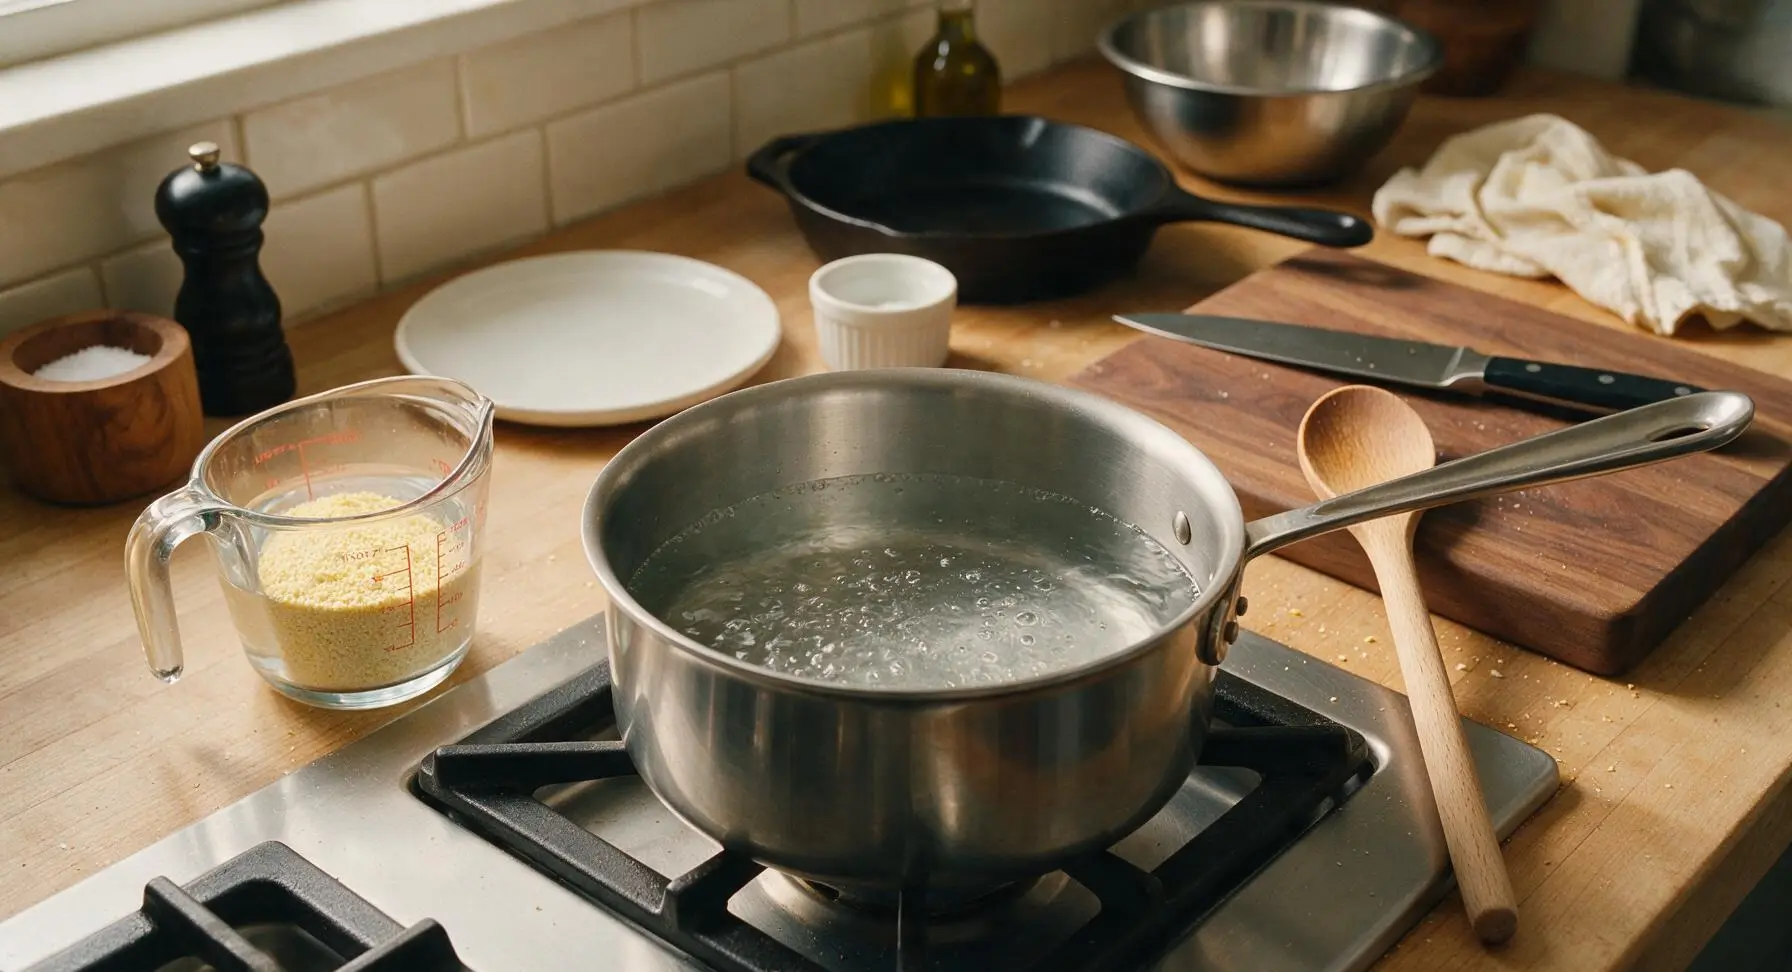
Pour 3 cups of the measured cold water into the 3-quart stainless steel saucepan, set over medium heat (induction setting 5), and bring to a gentle simmer (190°F / 88°C), where small steady bubbles break the water’s surface rather than a violent rolling boil. Stir in the 1 teaspoon of fine sea salt with the beech wood spoon until the salt is fully dissolved.
Mix Cornmeal Slurry
While the water heats to a simmer, stir the remaining 1 cup of cold water into the measured cornmeal in the glass measuring cup using the tip of the beech wood stirring spoon. Mix until the slurry is completely smooth, with no dry clumps of cornmeal left at the bottom of the cup. This cold slurry method eliminates the lumps that form when dry cornmeal is added directly to hot water.
Add Slurry to Simmering Water
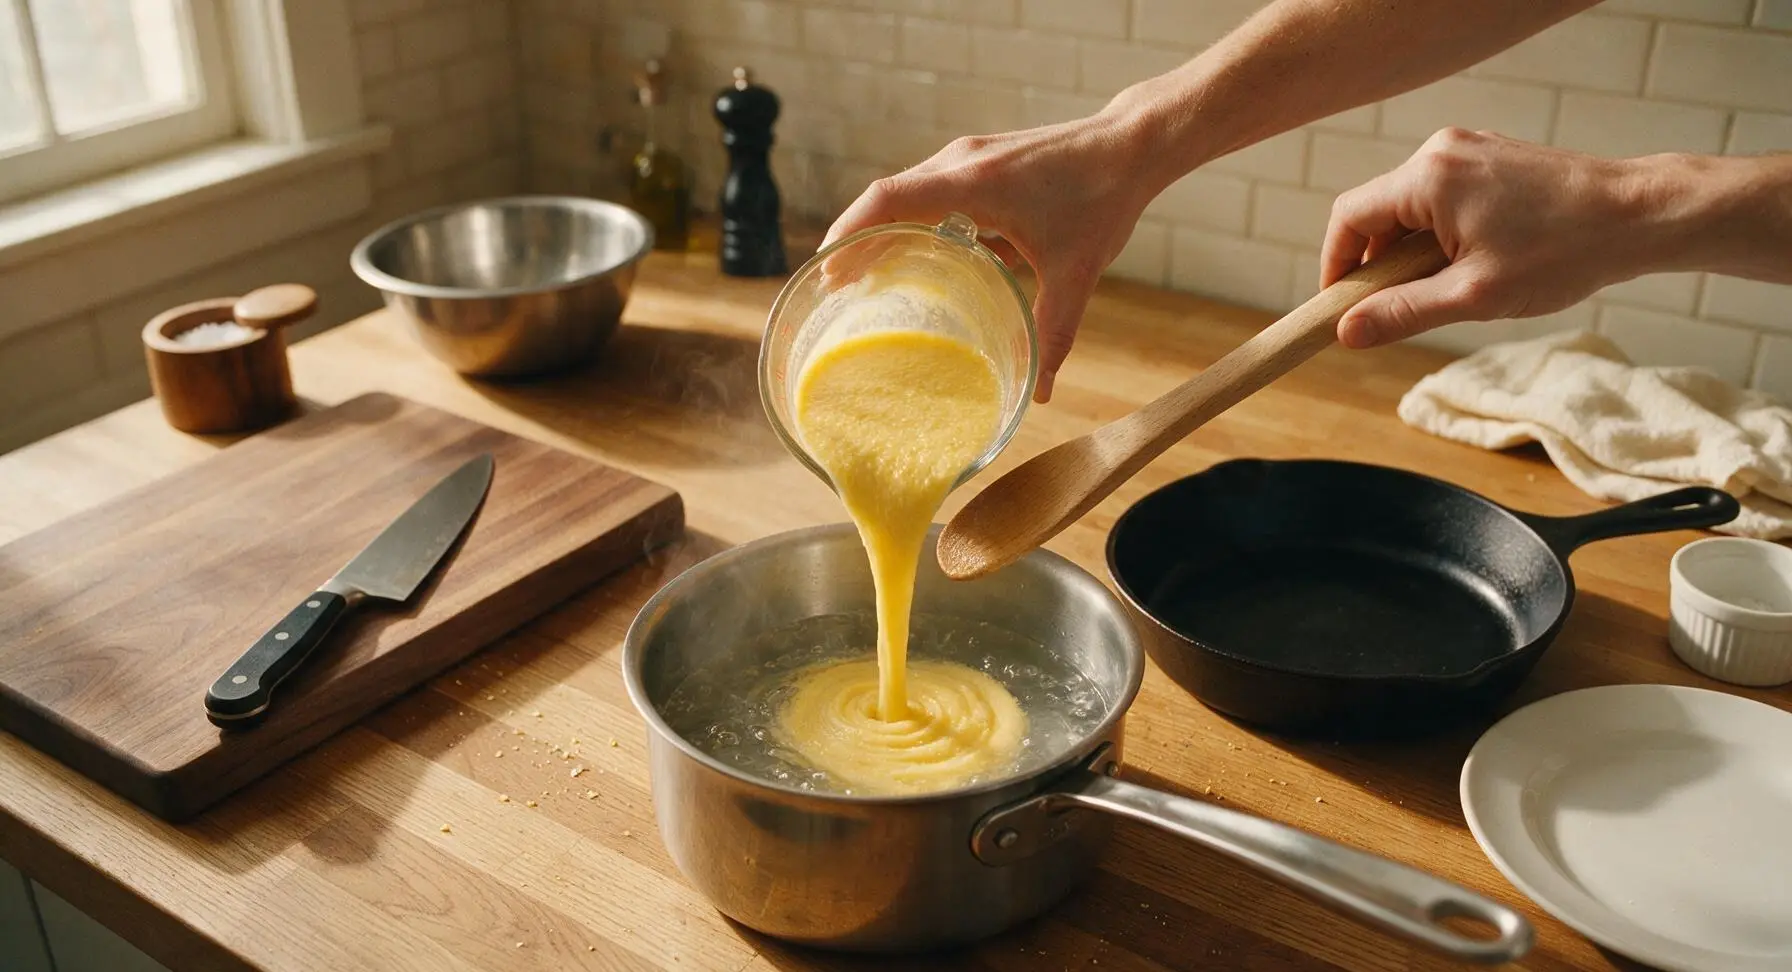
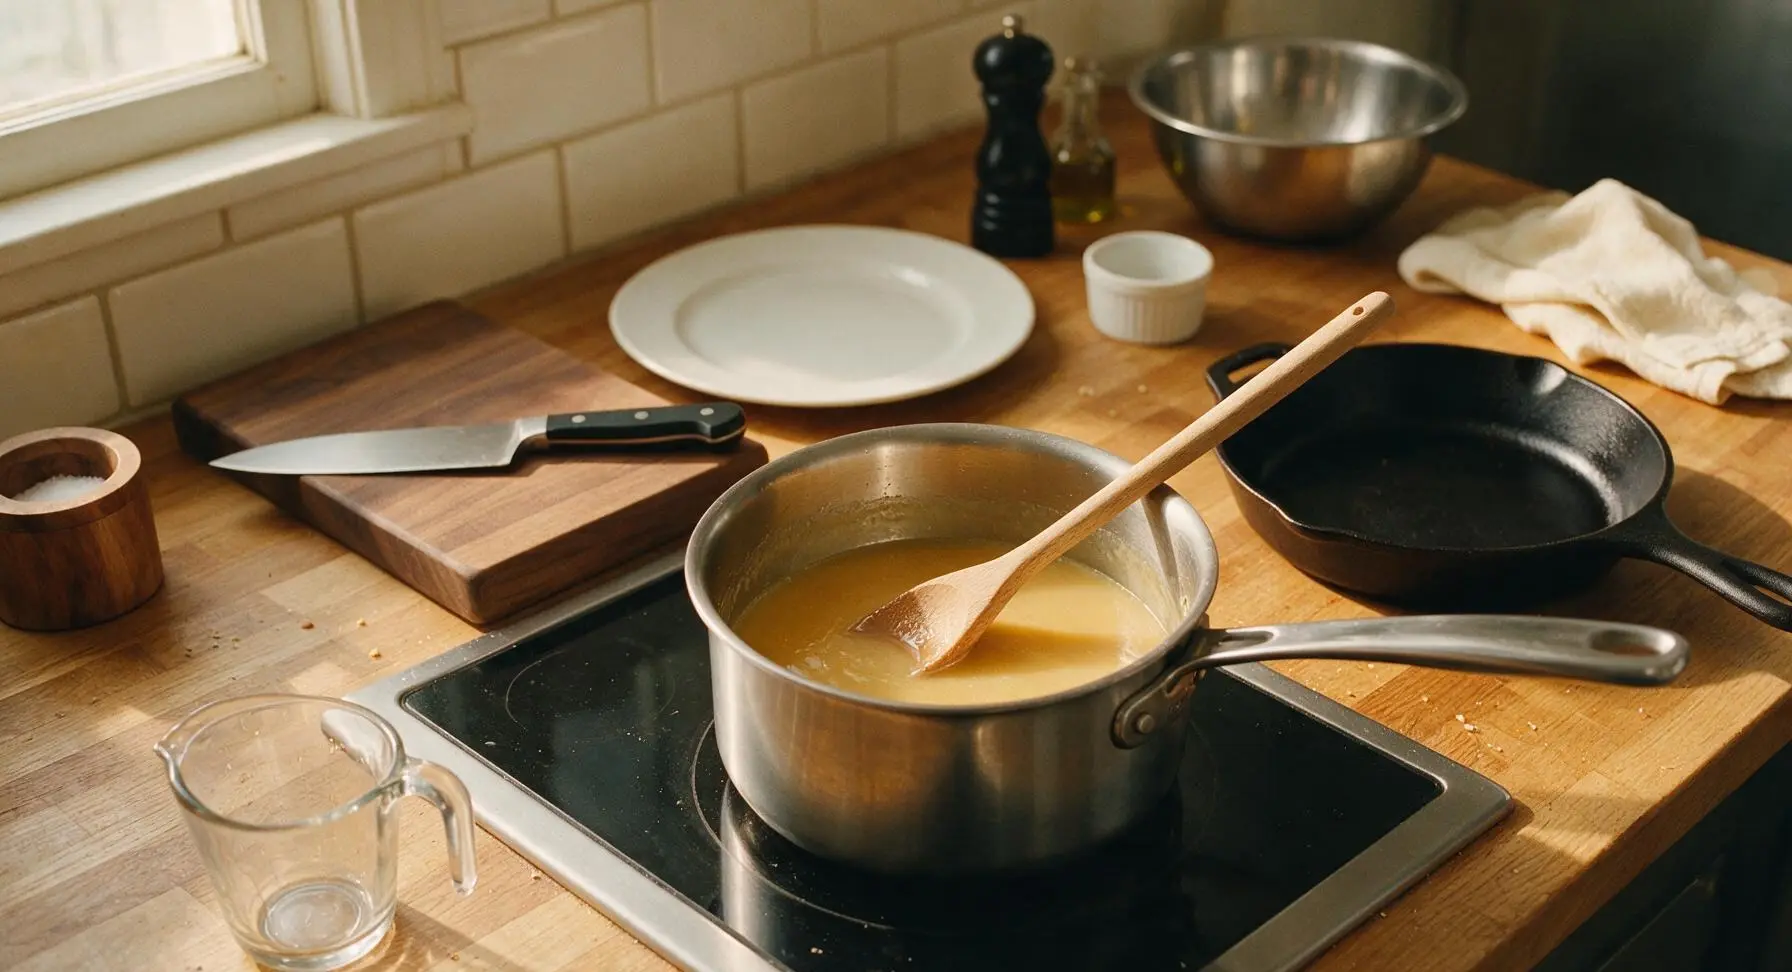
Slowly pour the smooth cornmeal slurry into the simmering salted water, stirring constantly with the beech wood spoon in a slow figure-8 pattern to break up any small lumps as they form. Continue stirring for 2 full minutes until the mixture returns to a gentle, steady simmer and has a uniform, thin golden consistency.
Simmer Until Thickened
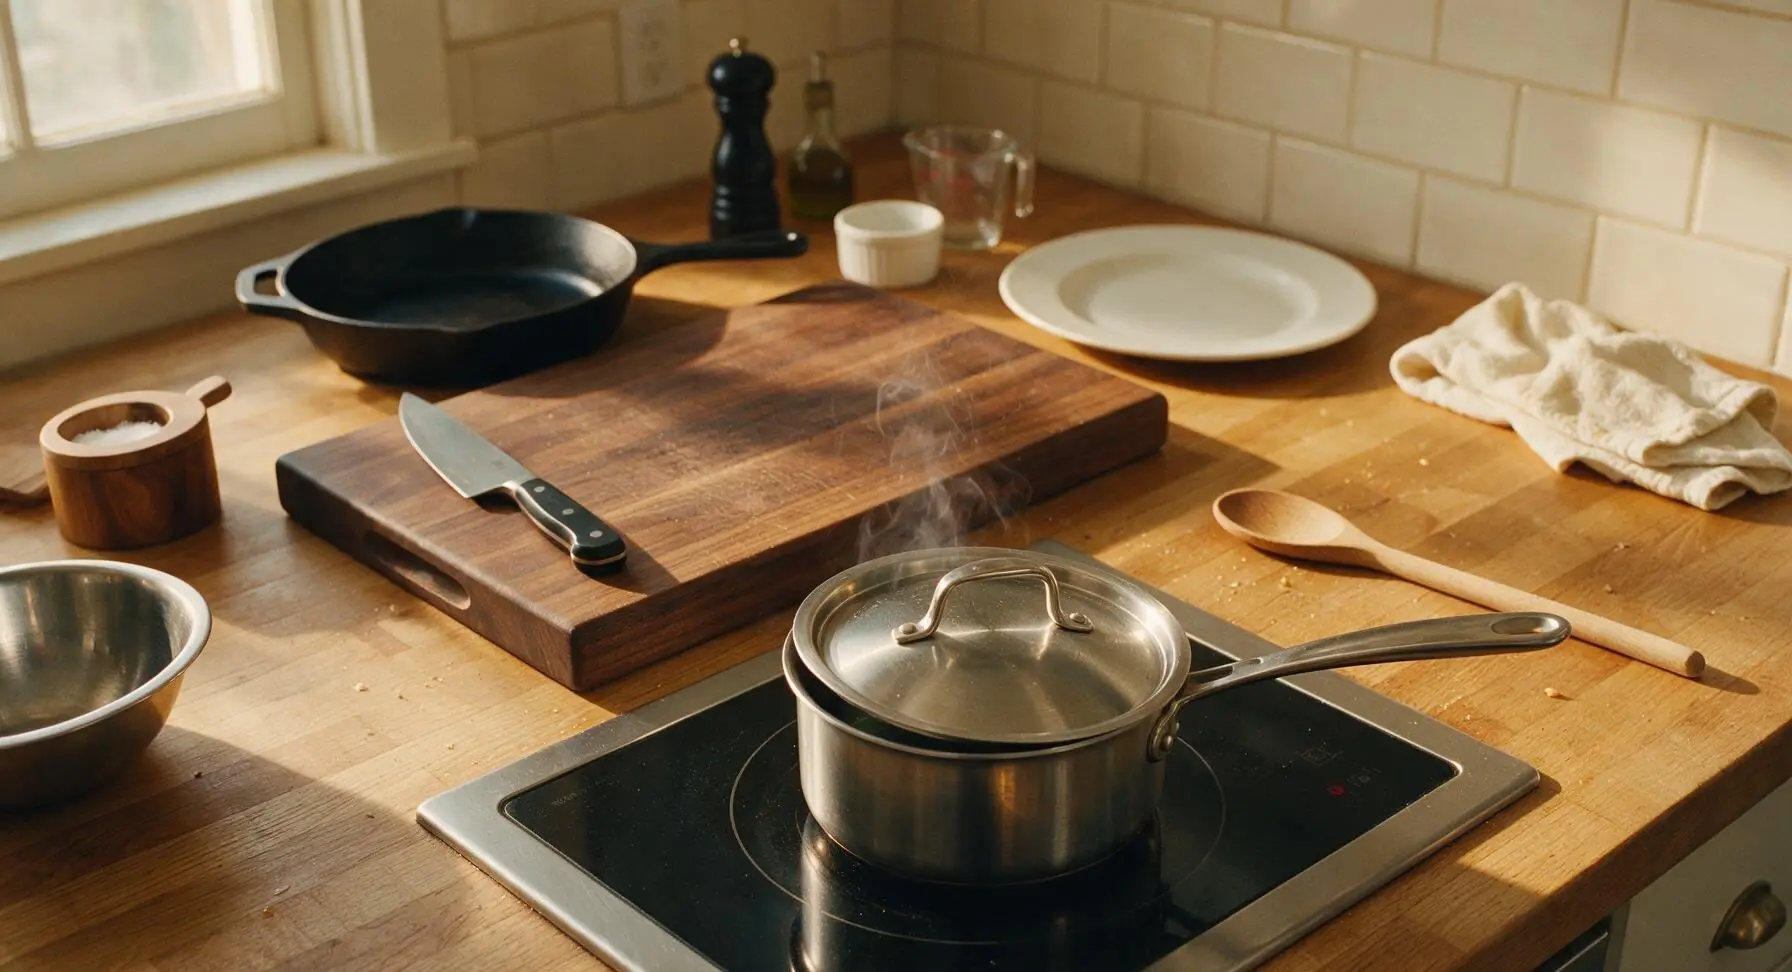
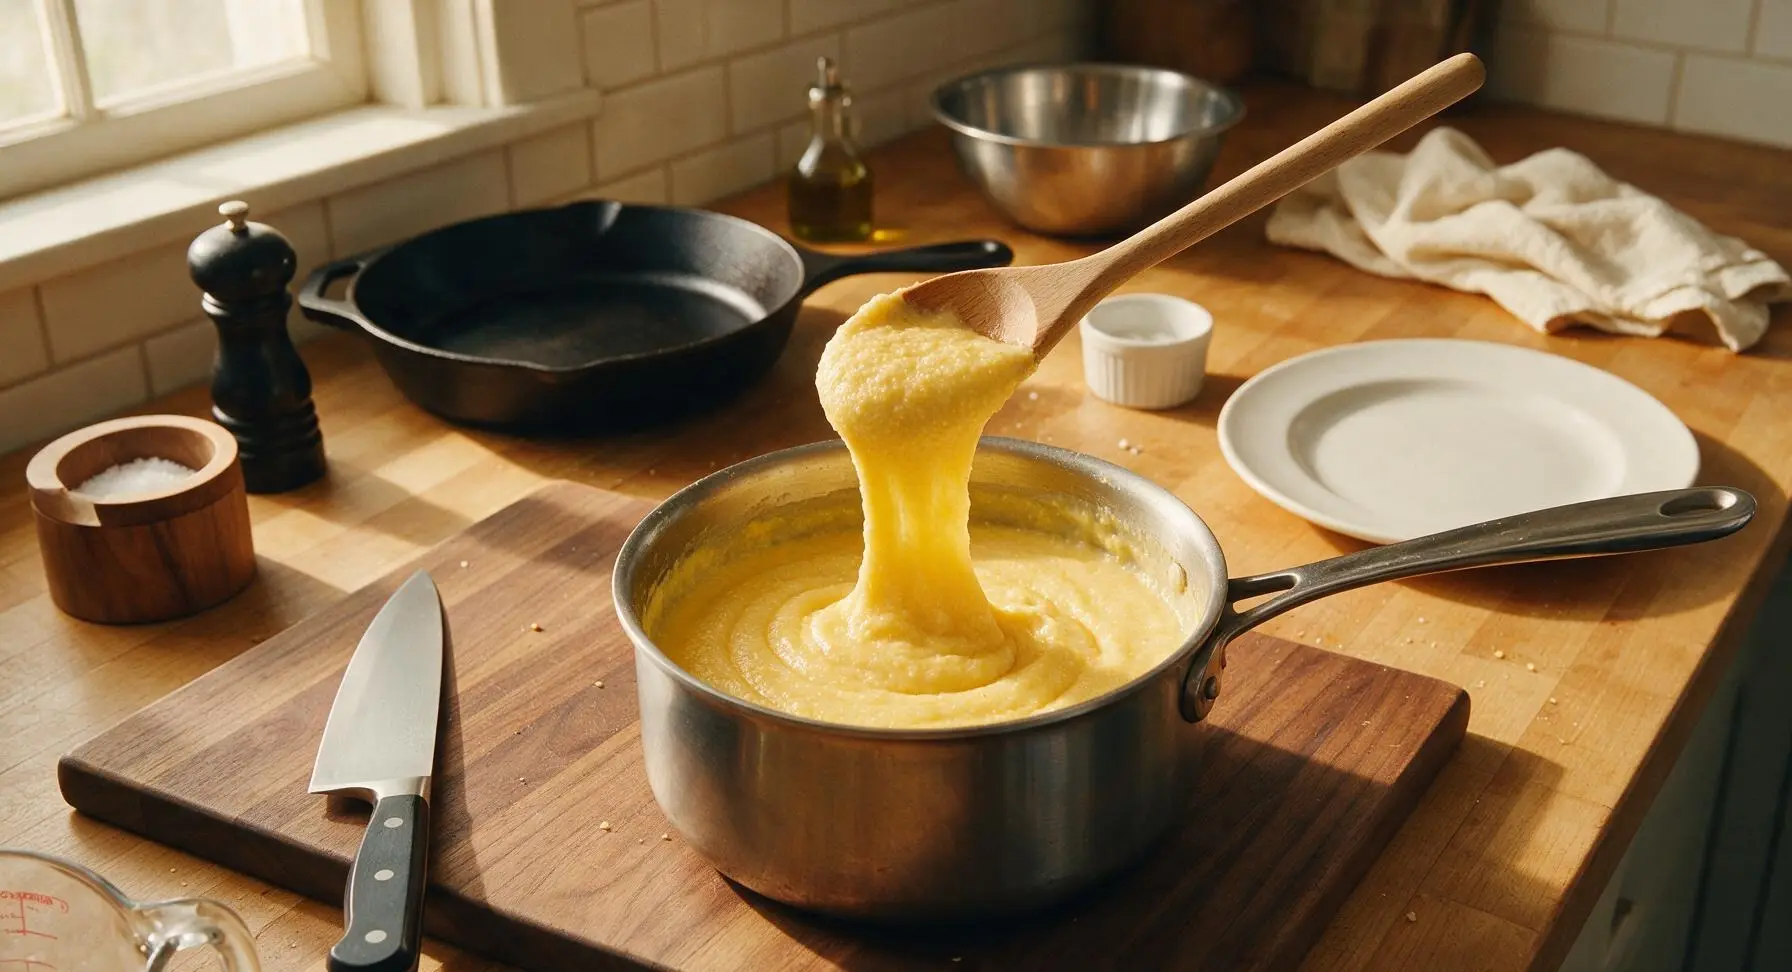
Reduce heat to the lowest induction setting (1), place the vented stainless steel lid on the saucepan at a slight angle to leave a 1cm steam gap (to prevent boiling over and messy splatters), and cook for 20 minutes. Stir thoroughly with the beech wood spoon every 5 minutes, scraping the bottom and sides of the pan to prevent the mush from sticking and burning. The mush is done when it is thick, smooth, and completely free of gritty texture when you taste a small, cooled bite; properly cooked mush will coat the back of the spoon thickly.
Stir in Butter
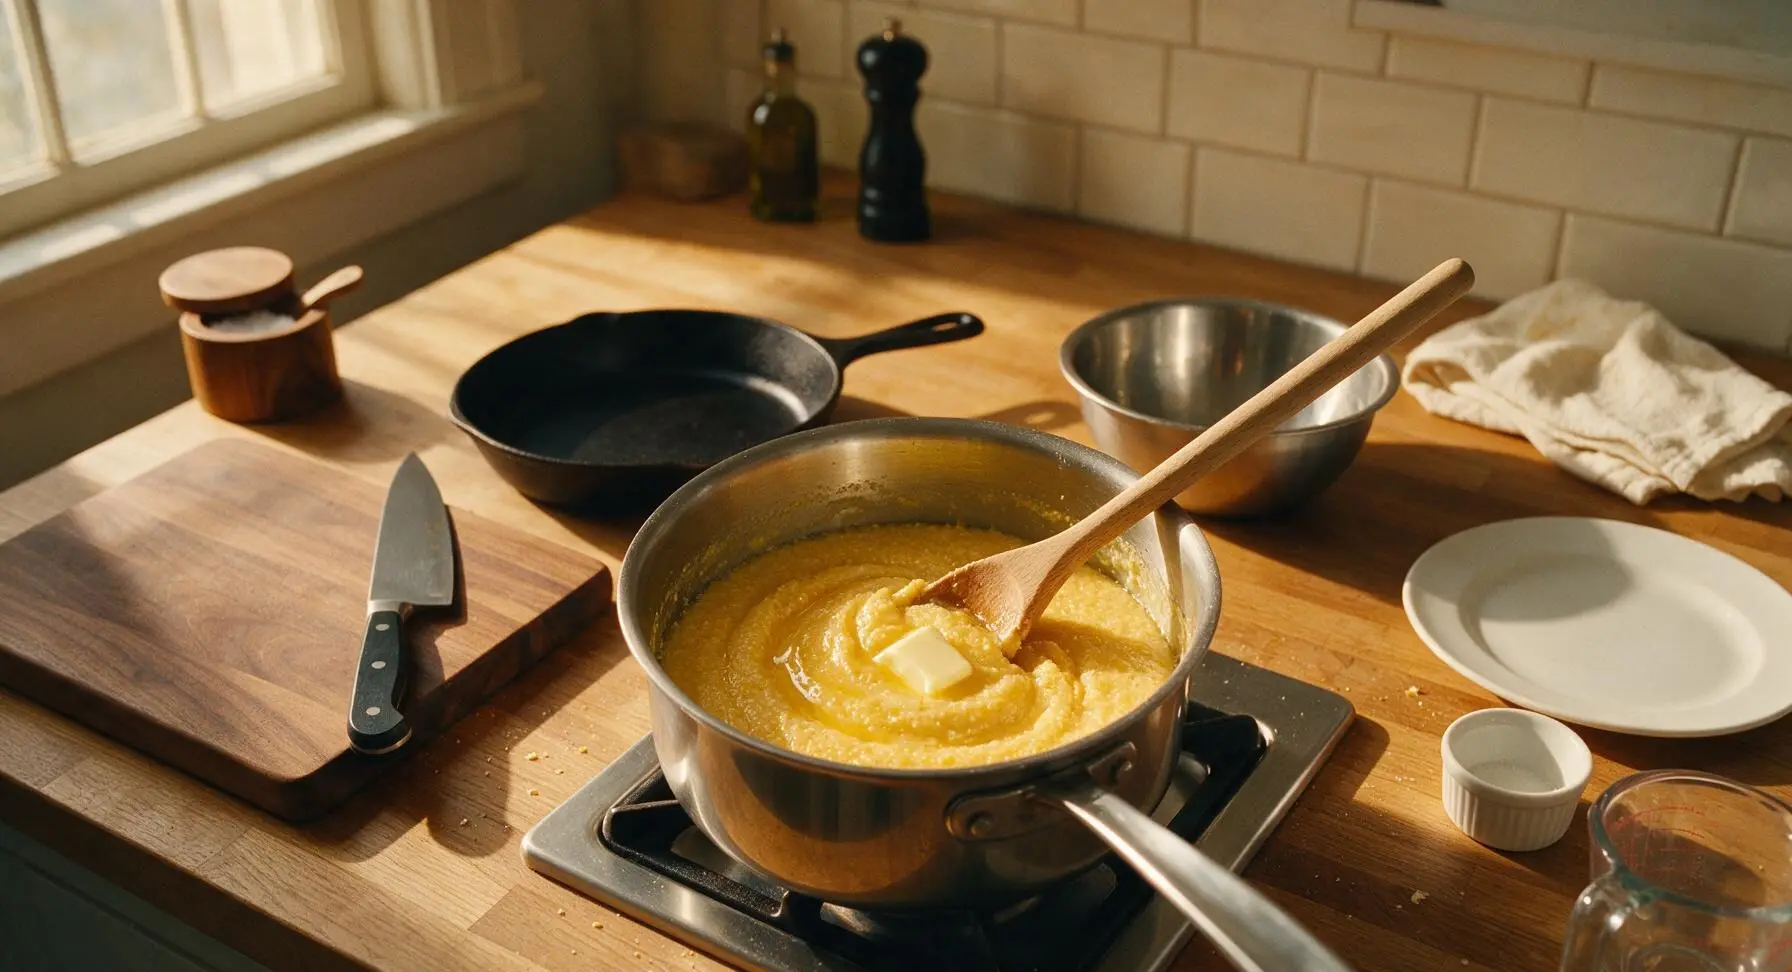
Remove the saucepan from heat, take off the lid, and stir in 1 tablespoon of the unsalted butter until fully melted and incorporated, giving the mush a rich, glossy sheen. Scrape any thickened mush from the sides of the pan as you stir to ensure an even consistency.
Ladle Mush into Bowls
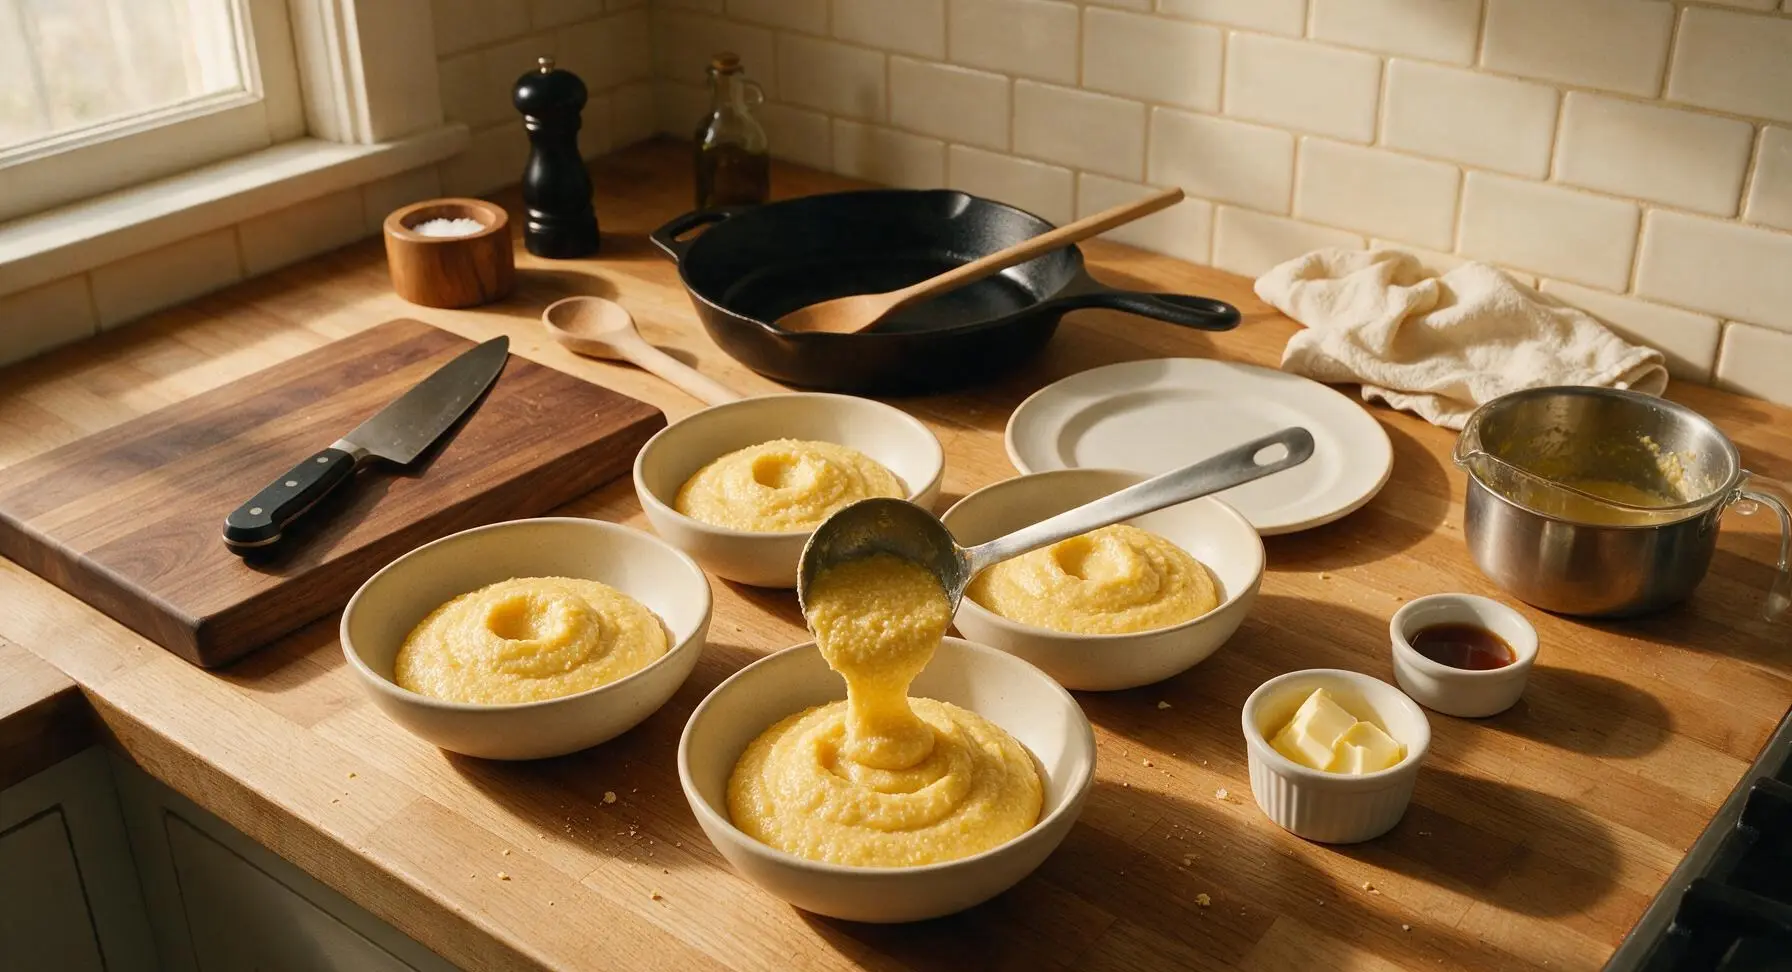
Set out the four matte cream ceramic serving bowls in front of the cooktop, with the two small matte white ramekins (one holding the remaining butter cut into pats, one holding maple syrup) to their right. Use the stainless steel serving ladle to scoop equal portions of warm mush into each bowl, mounding each serving gently in the center. Press a small 2cm well into the top of each mound with the back of the ladle to hold toppings.
Add Toppings and Serve
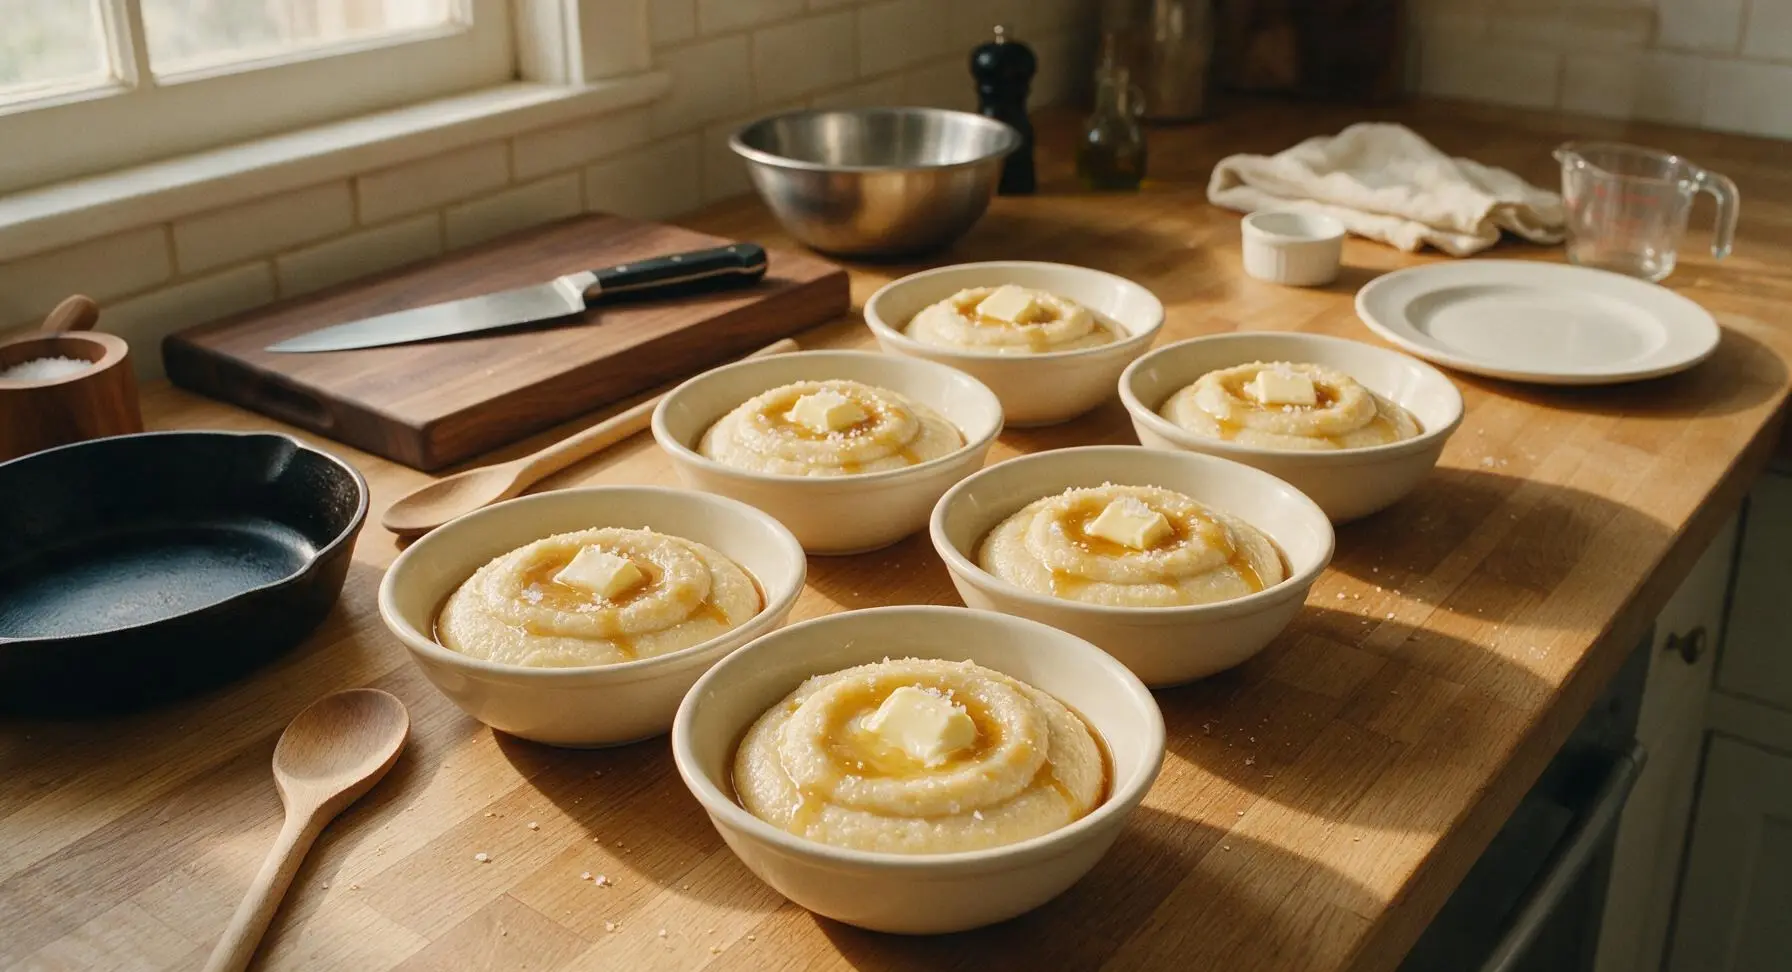
Place a 1/4-tablespoon pat of the remaining butter into the well on top of each serving, drizzle each with 1/2 tablespoon of maple syrup, and sprinkle with a tiny pinch of flaky sea salt. Serve immediately while the mush is hot and creamy, as it will thicken and set as it cools.
Tips
2.Choose coarse-ground yellow cornmeal for authentic texture and flavor: fine-ground cornmeal will cook into a gluey, pasty consistency, while coarse grains break down slowly during the low simmer to create a creamy, tender bite with no gritty aftertaste.
3.Save leftovers for classic fried mush: pour any leftover warm mush into a greased 8-inch square glass dish, chill for 4 hours until fully firm, slice into 1cm-thick slabs, and pan-fry in butter until golden and crispy on both sides for a beloved regional breakfast served with syrup or savory sausage.






OMG this tastes exactly like the cornmeal mush my grandma used to make for Saturday breakfasts! I topped mine with a drizzle of maple syrup and a pat of salted butter, and my kids devoured it before I even got a second helping. SO easy to throw together on busy school mornings too, total game changer. Will be adding this to our weekly meal rotation for sure!
Made this for our ranch crew breakfast this morning and everyone went back for seconds! I fried up slices of the chilled mush later for lunch with a side of sausage and it was chef’s kiss. Perfect stick-to-your-ribs food for cold work mornings out here.
Swapped the regular milk for oat milk and used vegan butter to top it, and it turned out perfectly creamy! I was worried it would be bland but the pinch of salt really makes all the flavors pop. Great base for both sweet and savory toppings.
Brought this to our neighborhood potluck last weekend and people were asking for the recipe left and right! I served it with a little topping bar: maple syrup, brown sugar, crumbled bacon, and fresh berries, so everyone could customize their bowl. Such a crowd-pleaser for such a cheap, easy dish!
This is perfect for Sunday meal prep! I make a big batch on Sunday, slice it up, and keep it in the fridge for quick breakfasts all week. 2 minutes in the pan to fry it up and it’s good to go. Way cheaper and tastier than those frozen breakfast sandwiches I used to buy.
I grew up eating fried mush with syrup for breakfast, and this recipe is spot on. No weird additives, just simple, honest ingredients. Cook time was exactly 25 minutes like the recipe said, no guesswork at all. 10/10.
Wait this is so much better than I thought it would be? I’m a broke college student and cornmeal is like $2 a bag, so I can make this for breakfast all week for pennies. I topped mine with cinnamon and sugar and it tastes like a warm hug. Obsessed.
So happy I found this! It’s naturally gluten free (as long as you use certified GF cornmeal, which I did) and it doesn’t have that weird gritty texture a lot of GF hot cereals have. My husband who hates all “healthy” food even loved it with a little cheddar melted on top.
Been making cornmeal mush for over 60 years and this recipe is exactly how I learned to make it from my dad. Nice to see the old recipes still getting shared instead of all those fancy, complicated meals you see online these days. Good, simple food is always best.
Tried this last night for a quick dinner when I didn’t feel like going to the grocery store. I added a handful of blueberries and a sprinkle of pecans on top, and it was so cozy. Perfect comfort food for a rainy night.
Skip the sweet toppings, y’all—top this with a fried egg, a little hot sauce, and some crumbled chorizo, and you’ve got the best savory breakfast ever. I was skeptical at first but it’s now my go-to weekend brunch.
I’ve never made anything besides microwave oatmeal before, and this turned out perfect on my first try! The instructions were so easy to follow, no fancy skills needed. I felt like a real cook making this, haha. Can’t wait to experiment with more toppings.
I doubled the recipe to feed my whole crew, and it still came out perfectly! No lumps, super creamy, everyone ate every last bite. Served it alongside scrambled eggs and bacon for Sunday breakfast after church, and it was a huge hit.
Made this on our camping trip last weekend over the campfire, and it was the perfect warm breakfast after a cold night sleeping in the tent. We didn’t even have syrup, just a little honey we brought, and it was still incredible. Can’t beat simple, hearty food when you’re out in the woods.
I had leftover cornmeal from making cornbread last week and zero clue what to do with it, so I gave this recipe a shot. It’s SO good I might actually start buying cornmeal just to make this regularly. Love when random leftover ingredients turn into a new go-to meal!