
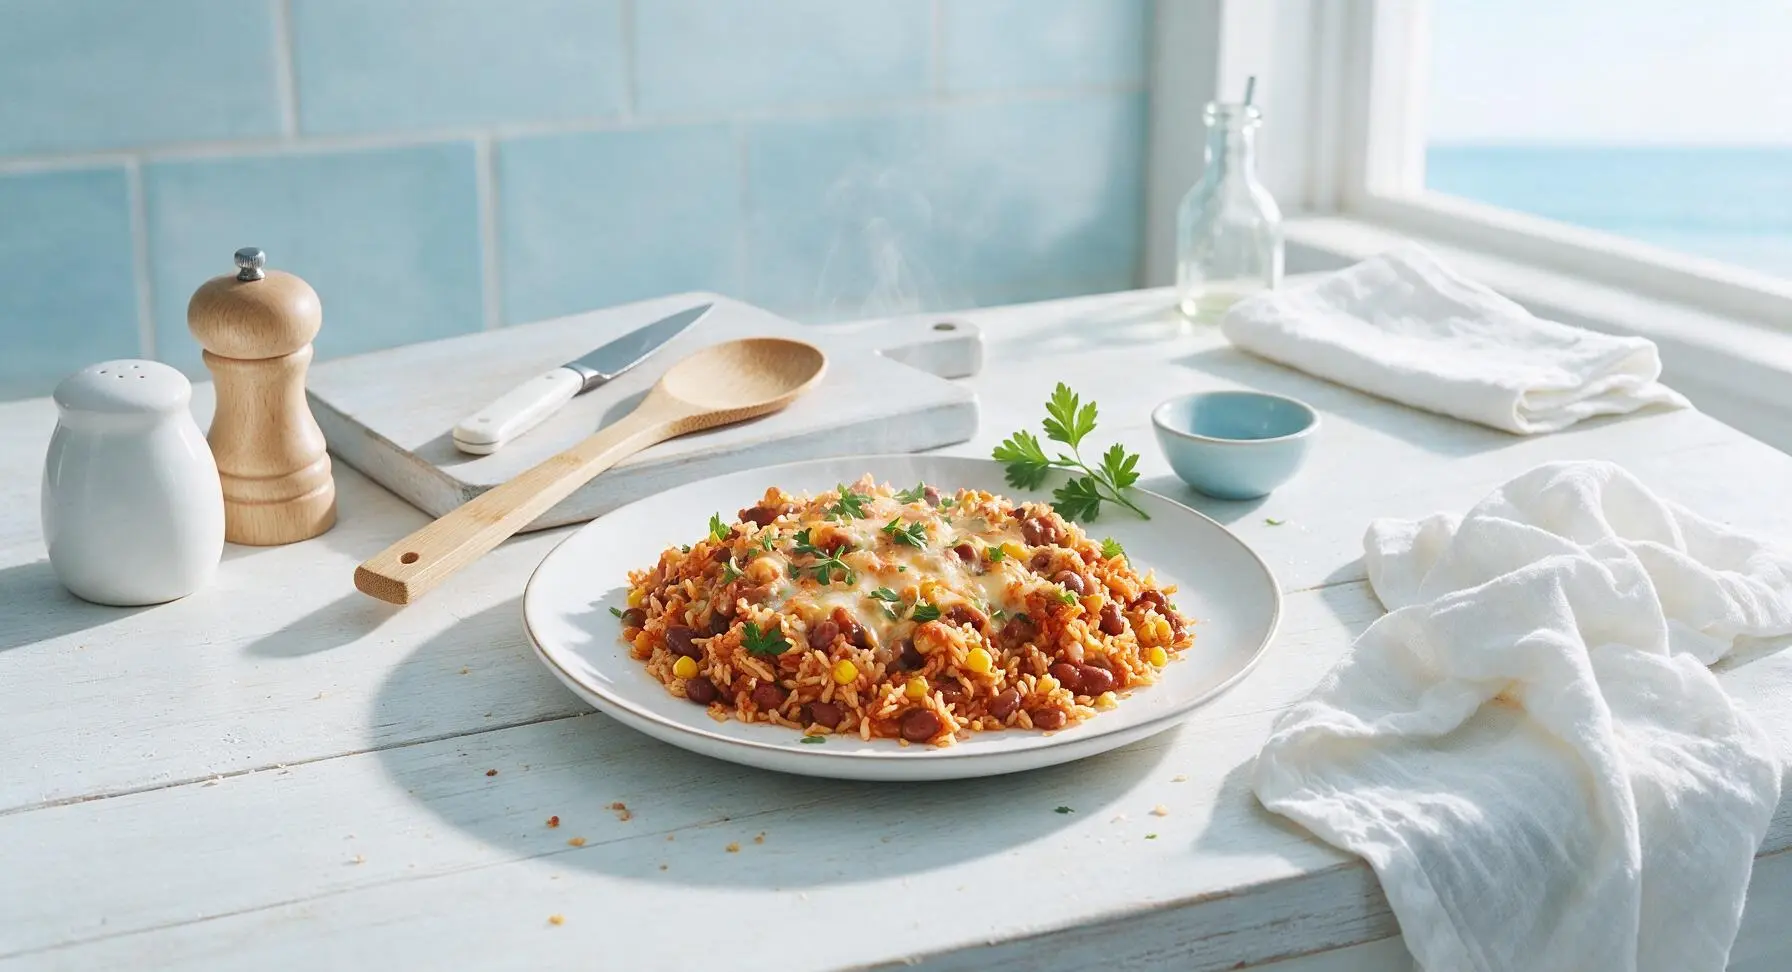
one pot mexican rice casserole

title 1
one pot mexican rice casserole
⏱️ cook time 35 minutes
🍽️ servings 4
⚡ Difficulty easy

intro

Hearty, fuss-free one pot meal with fluffy spiced rice, tender beans, sweet corn, and gooey melted cheese, packed with bold flavor and zero extra dishes for busy nights.

Ingredients
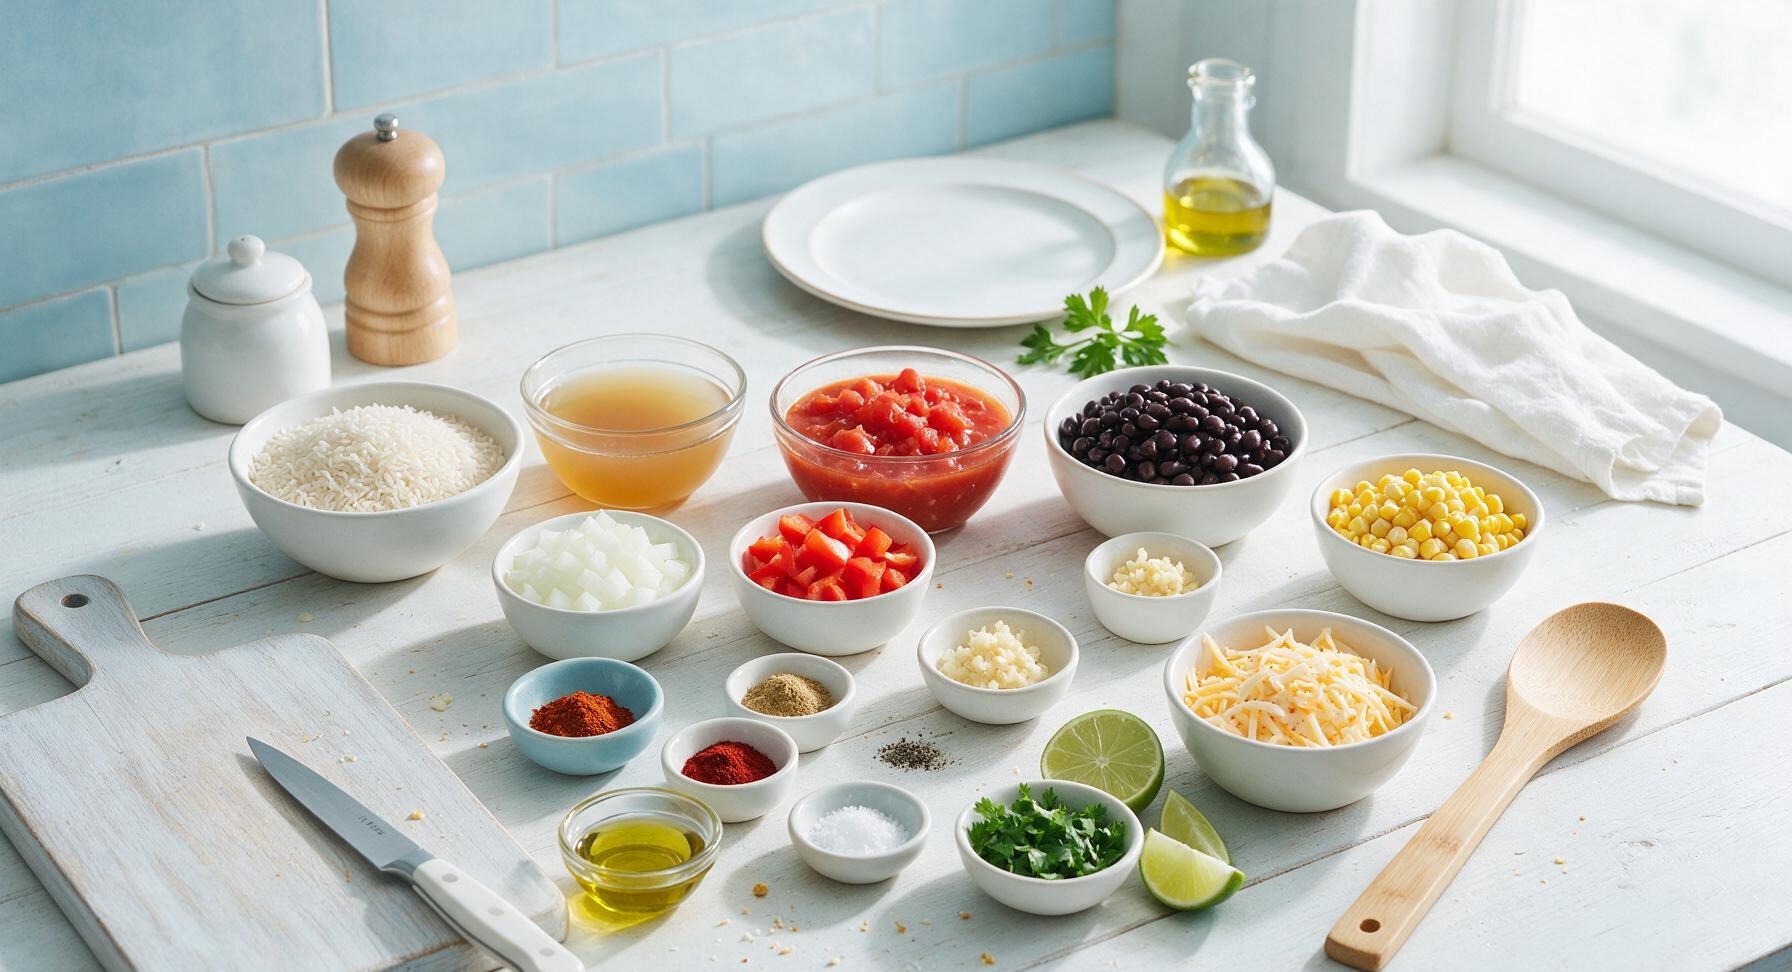
Long-grain white rice (uncooked) 1 cup (185g)
Low-sodium chicken broth 2 cups (480ml)
Fire-roasted diced tomatoes (undrained) 1 can (14.5oz/410g)
Black beans (drained, rinsed) 1 can (15oz/425g)
Yellow onion (diced) 1 small (120g)
Red bell pepper (diced) 1 medium (150g)
Garlic (minced) 3 cloves (10g)
Frozen sweet corn 1 cup (150g)
Chili powder 1 tablespoon
Ground cumin 1 teaspoon
Smoked paprika 1/2 teaspoon
Kosher salt 1/2 teaspoon
Ground black pepper 1/4 teaspoon
Pepper jack cheese (shredded) 1 cup (110g)
Olive oil 1 tablespoon
Fresh cilantro (chopped, for garnish) 1/4 cup (10g)
Lime (cut into wedges, for serving) 1 whole (60g)

Steps

1

Sauté Base Aromatics

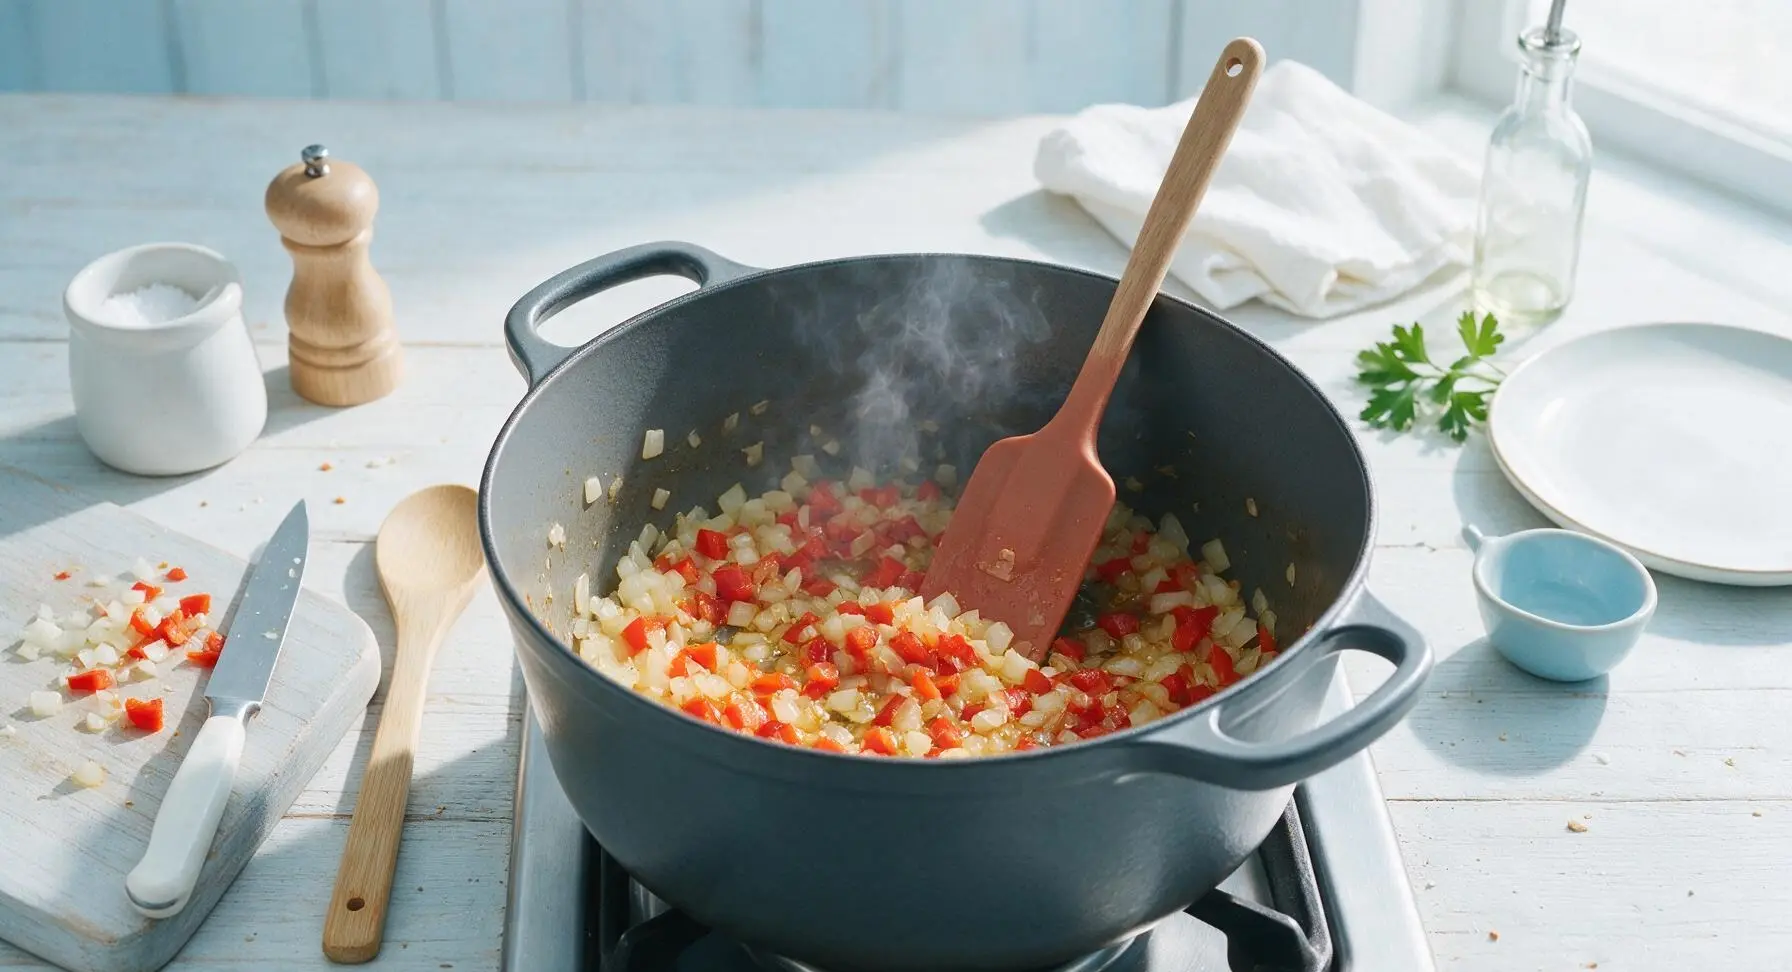
Heat the 5-quart matte charcoal enameled Dutch oven over medium heat (350°F/175°C stovetop setting). Add 1 tablespoon olive oil, then toss in diced yellow onion and red bell pepper. Sauté for 4 minutes, stirring occasionally with the matte terracotta silicone spatula, until vegetables are soft and translucent at the edges. Add minced garlic and cook for 30 seconds more, until fragrant, taking care not to burn the garlic, as burnt garlic will add a bitter taste to the final dish.
Step 1
step1:Sauté Base Aromatics
2

Toast Rice and Spices

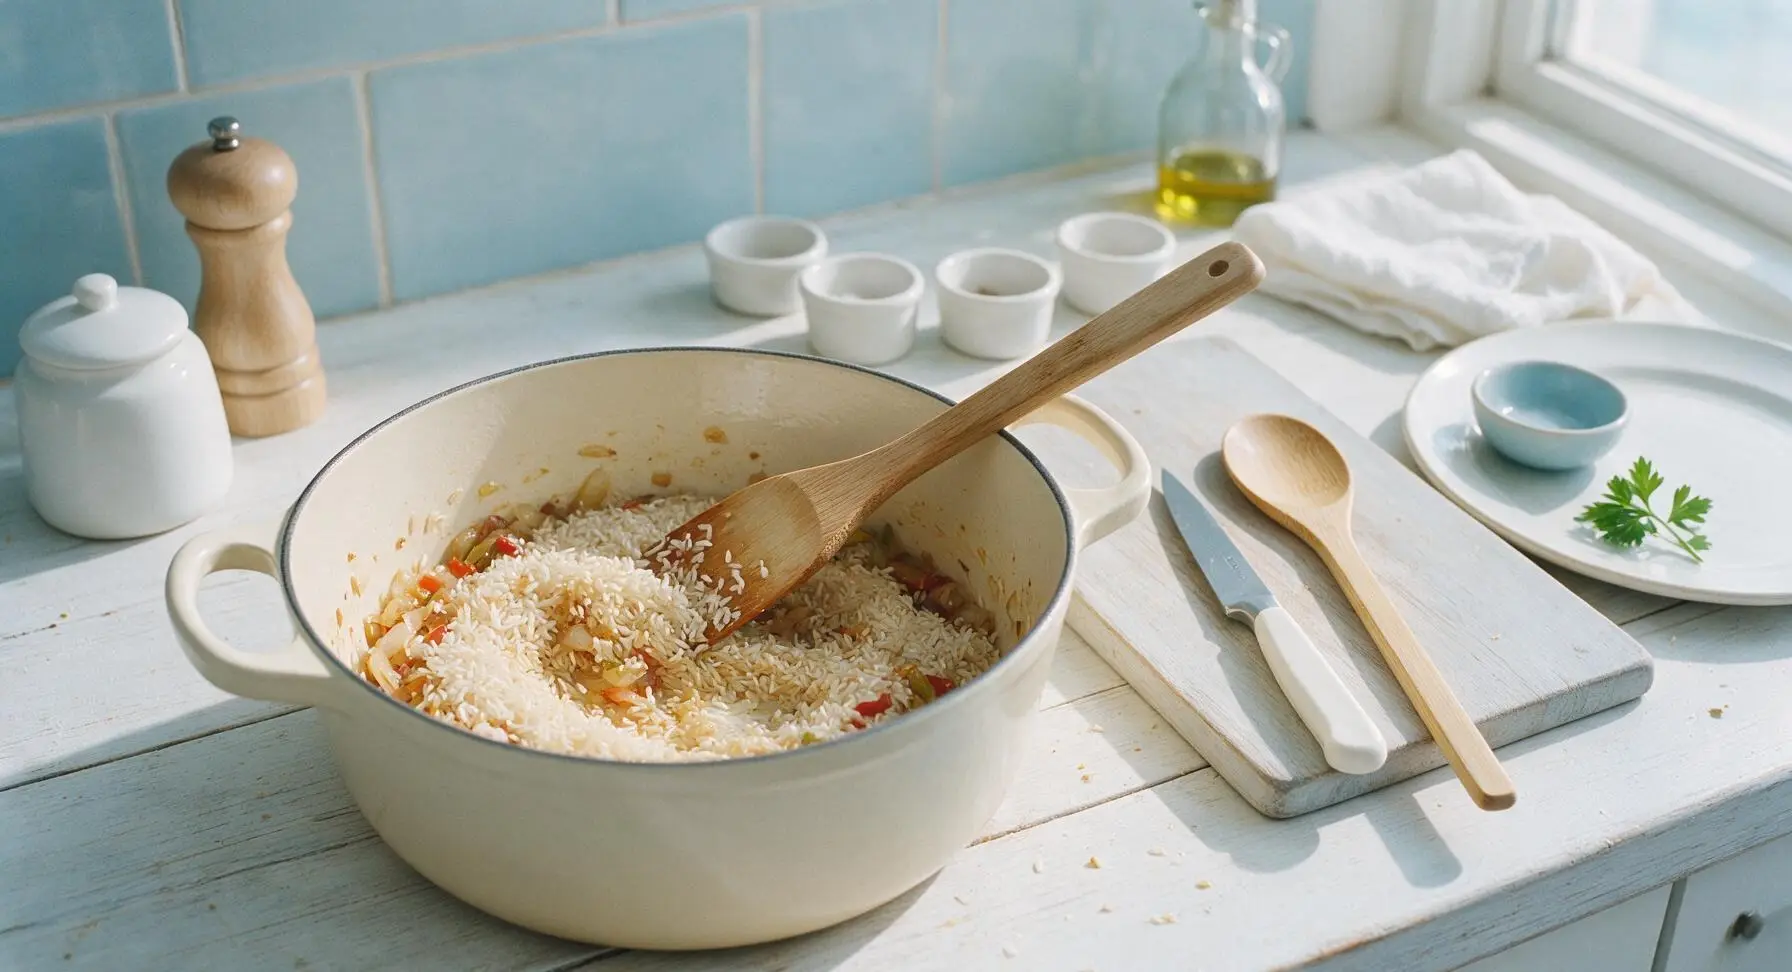
Add 1 cup uncooked long-grain white rice to the Dutch oven with the sautéed aromatics. Stir to coat every grain of rice in oil, then toast for 2 minutes, stirring frequently, until the edges of the rice turn slightly pale golden and smell nutty. Add 1 tablespoon chili powder, 1 teaspoon ground cumin, 1/2 teaspoon smoked paprika, 1/2 teaspoon kosher salt, and 1/4 teaspoon black pepper. Stir constantly for 30 seconds to toast the spices, until their deep, earthy aroma fills the kitchen.
Step 2
step2:Toast Rice and Spices
3

Add Liquid and Mix-ins

Pour in 2 cups low-sodium chicken broth and 1 undrained 14.5oz can of fire-roasted diced tomatoes, stirring well to scrape up any browned spice or veggie bits from the bottom of the Dutch oven, as these bits add deep, savory flavor. Add drained, rinsed black beans and 1 cup frozen sweet corn, stirring to evenly distribute all ingredients. Bring the entire mixture to a gentle rolling boil, which will take approximately 3-4 minutes over medium heat, with bubbles breaking steadily across the surface.
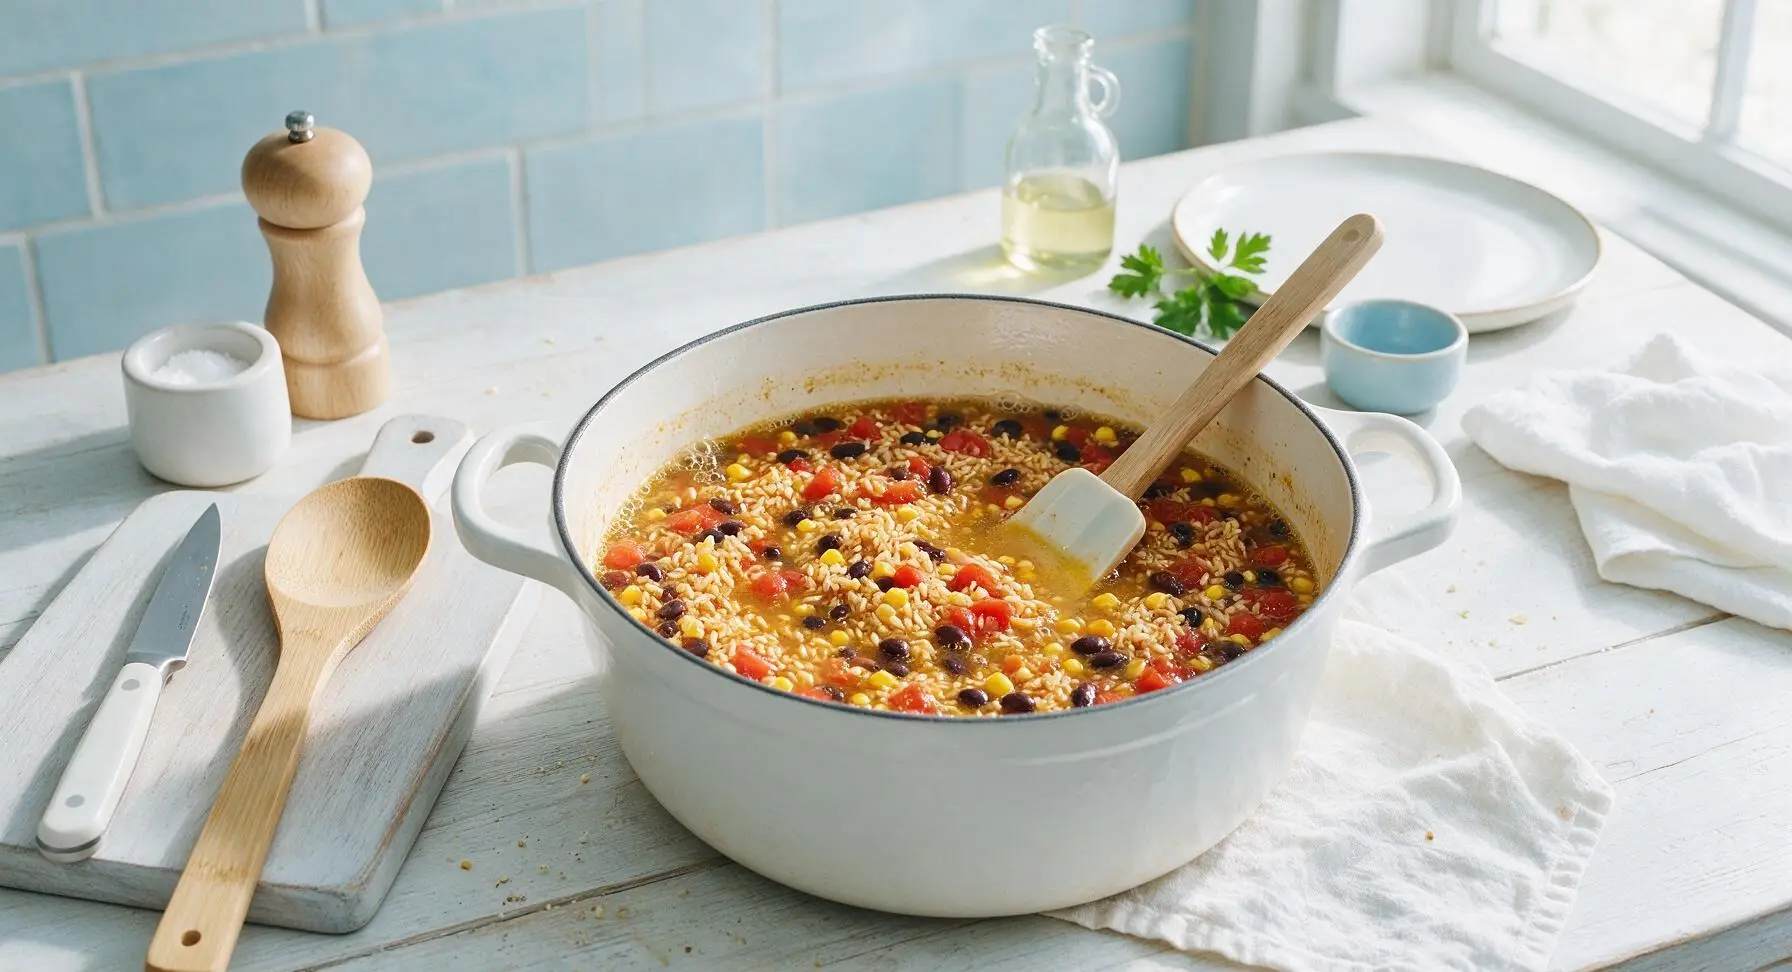
Step 3
step3:Add Liquid and Mix-ins
4

Simmer Rice Covered

Once the mixture reaches a steady rolling boil, reduce heat to the lowest stovetop setting (low, ~200°F/95°C). Place the matching matte charcoal Dutch oven lid tightly on the pot, and set a timer for 18 minutes. Do not lift the lid during this time, as trapped steam is required to cook the rice evenly. The rice is done when all liquid is fully absorbed and grains are tender, with no hard, crunchy white center.
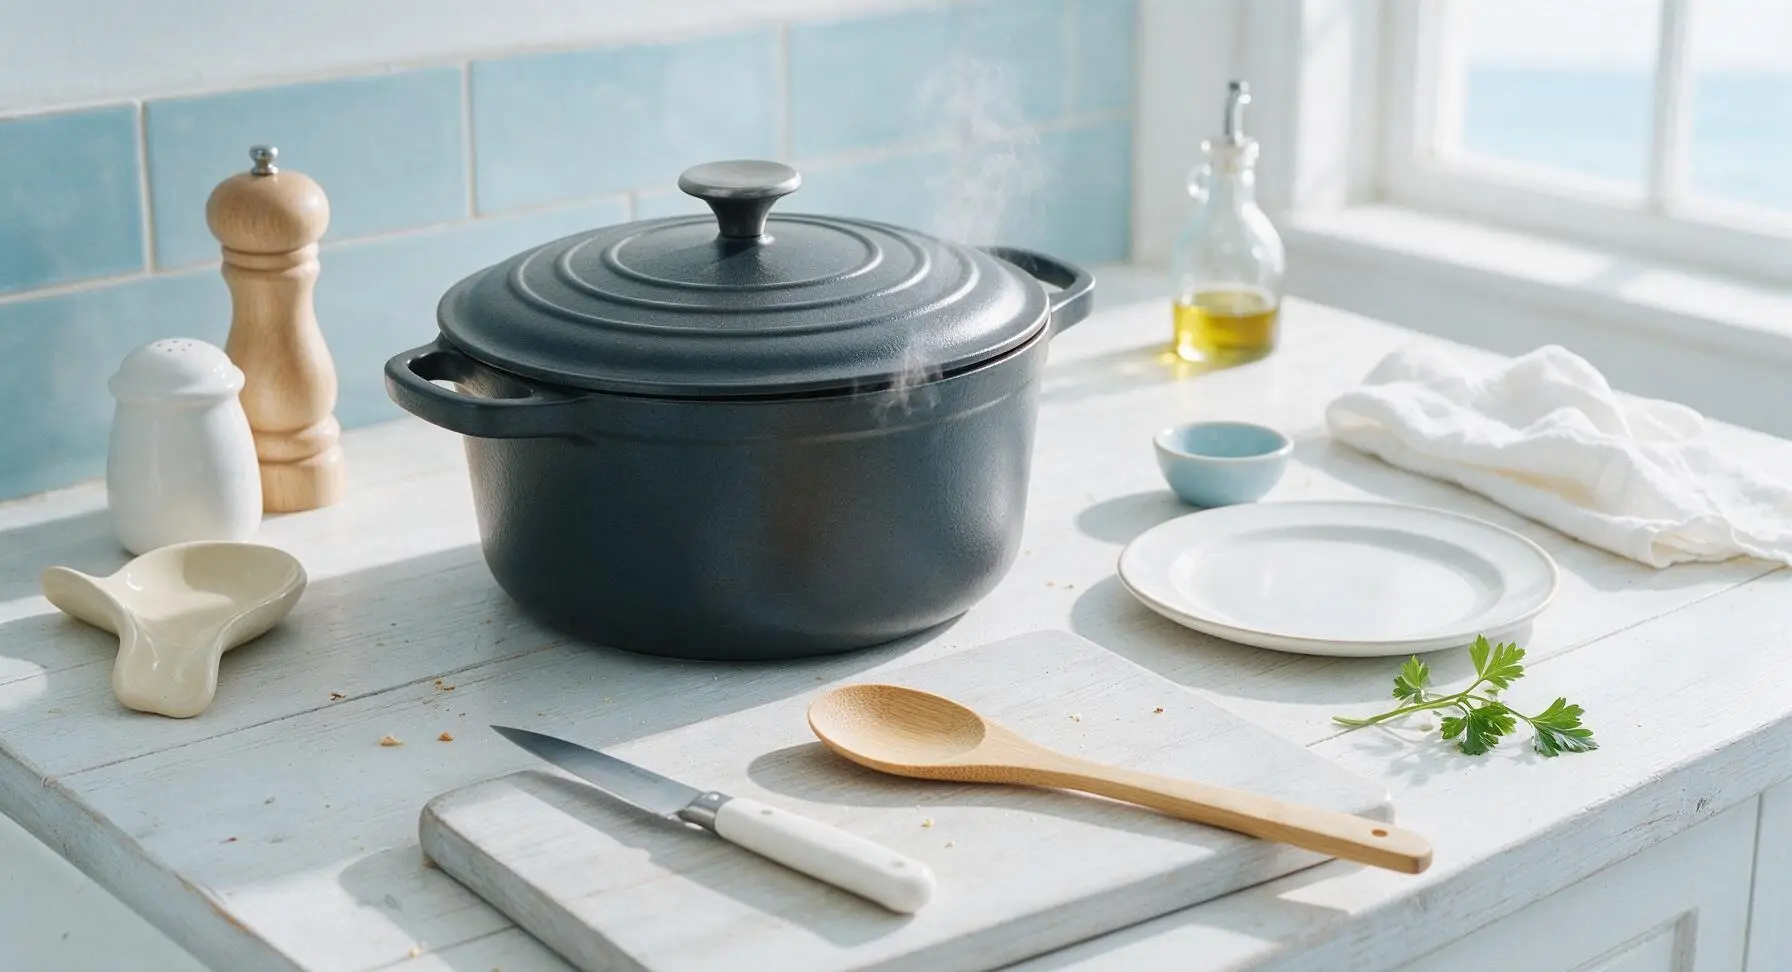
Step 4
step4:Simmer Rice Covered
5

Top and Melt Cheese

After 18 minutes of simmering, turn off the stovetop heat. Carefully lift the Dutch oven lid, tilting it away from your face to avoid steam burns, and fluff the rice gently with the silicone spatula to separate grains. Sprinkle 1 cup shredded pepper jack cheese evenly across the top of the rice, then place the lid back on the pot for 3 minutes to let residual heat melt the cheese completely into a smooth, gooey layer.
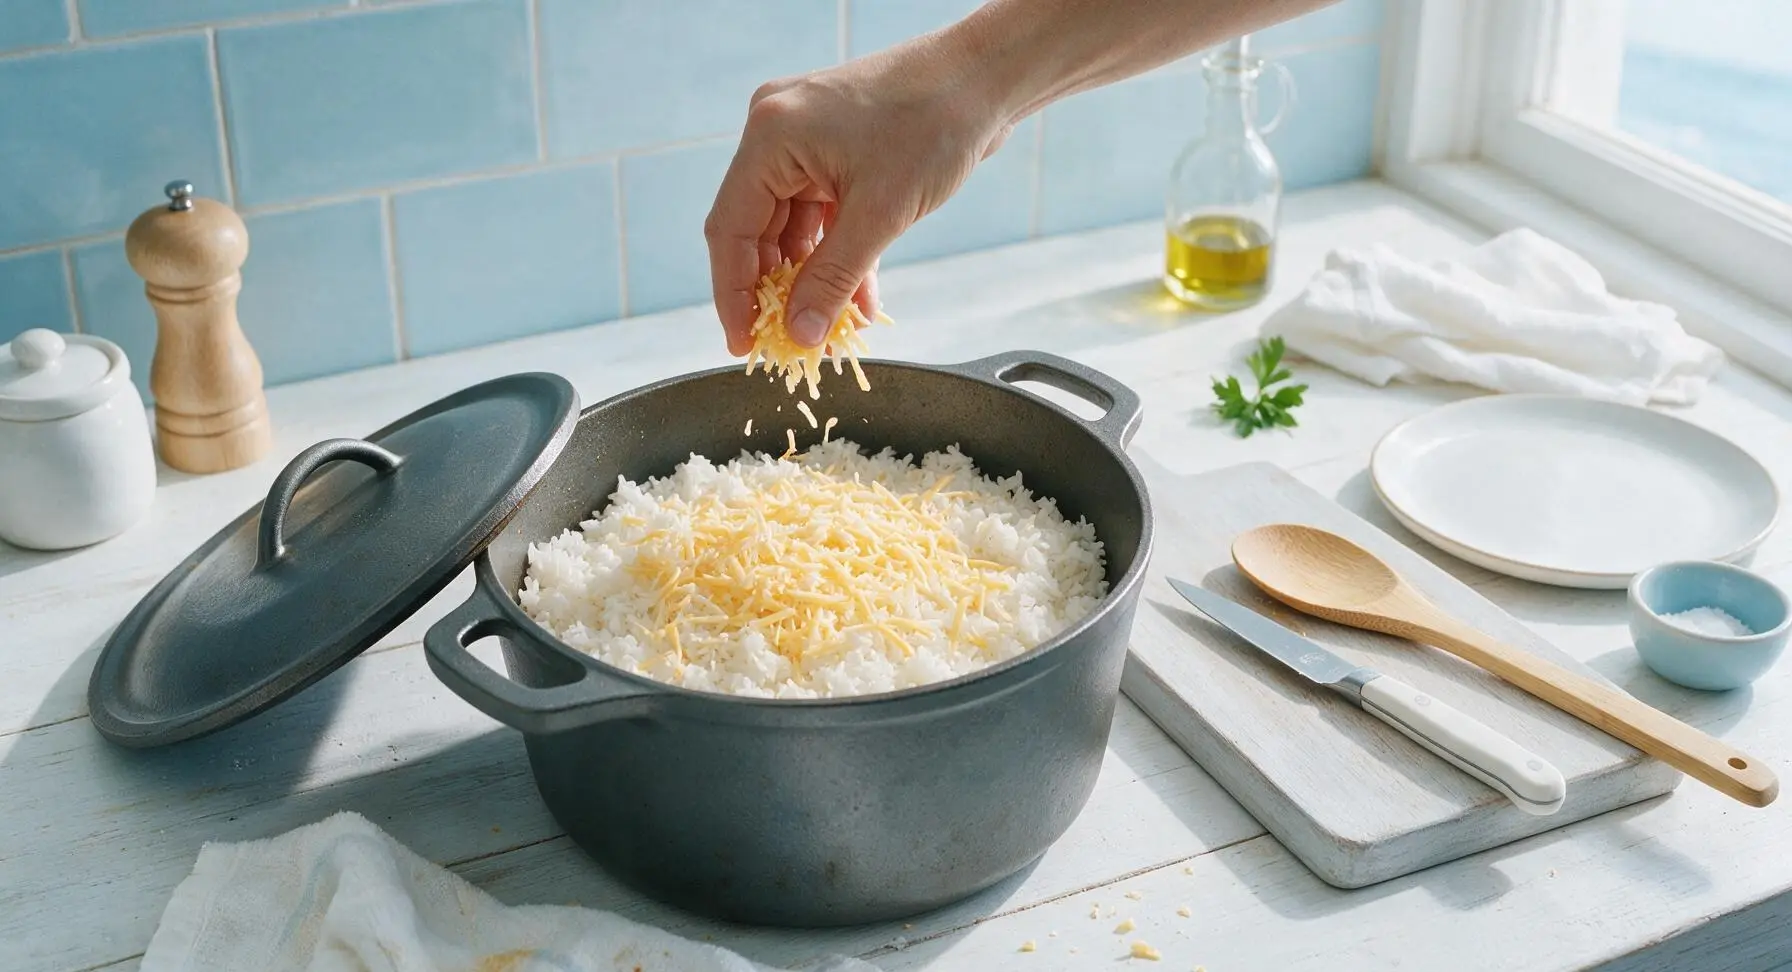
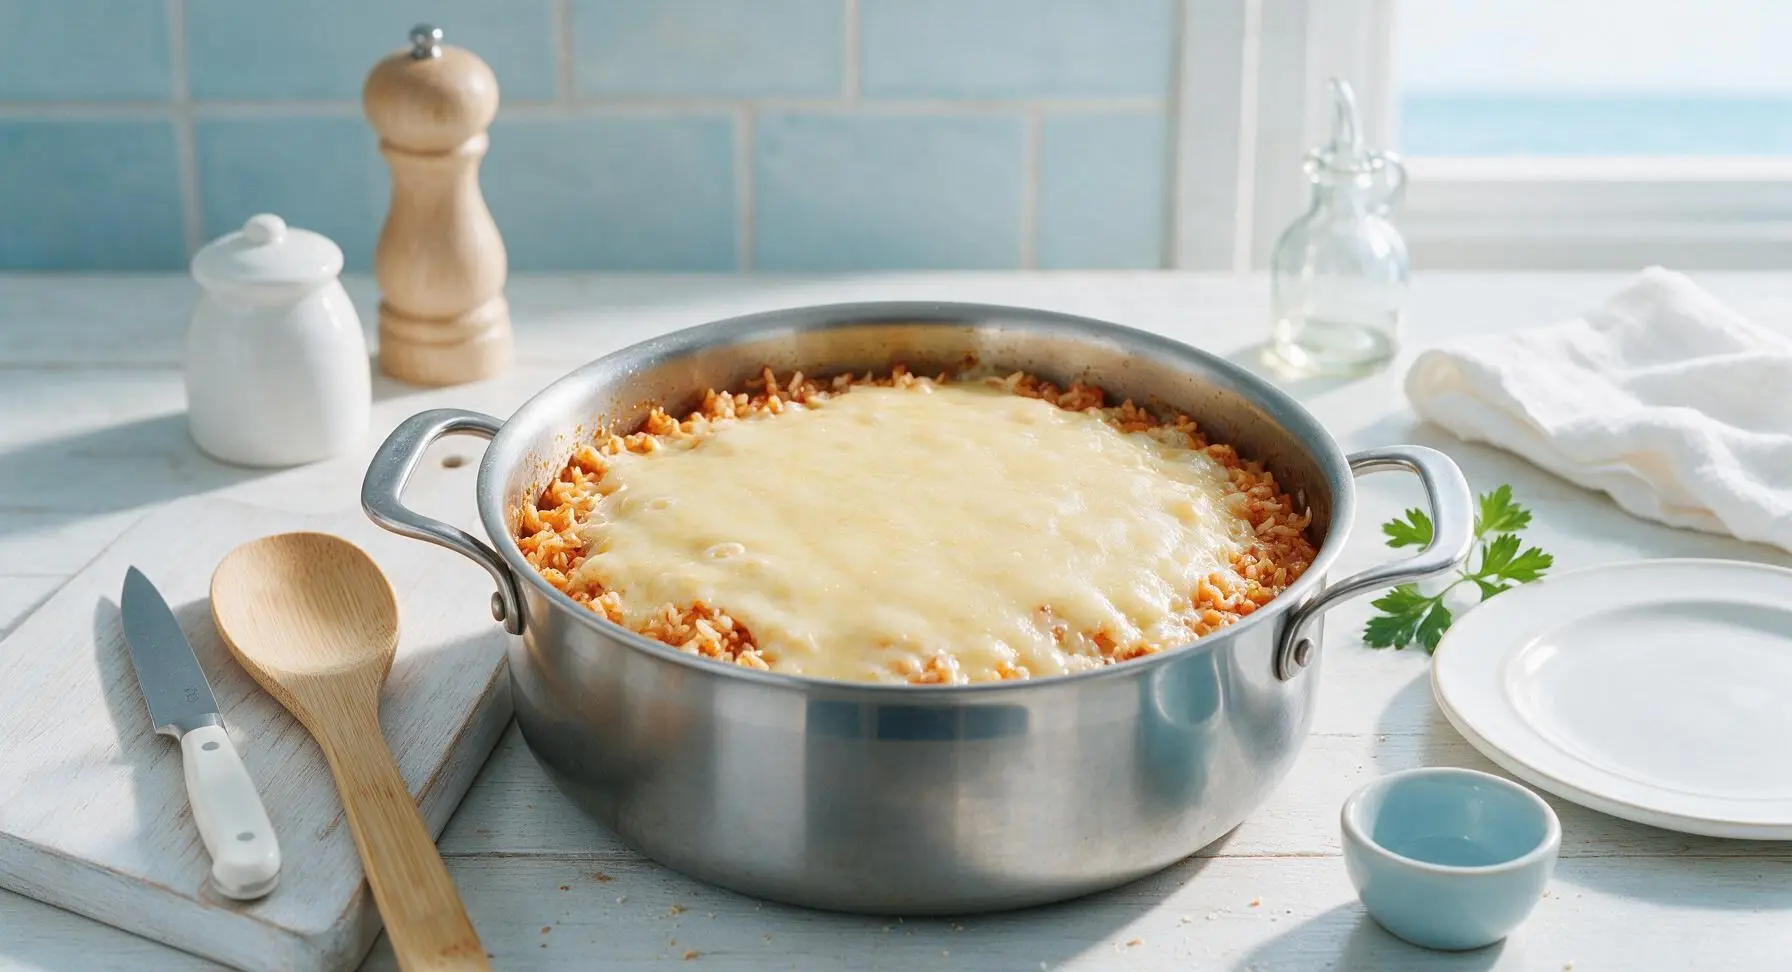
Step 5
step5:Top and Melt Cheese
Step 5
step5:Top and Melt Cheese
6

Garnish and Rest

Remove the lid after 3 minutes, then sprinkle 1/4 cup chopped fresh cilantro across the top of the melted cheese. Let the casserole rest for 5 minutes at room temperature to allow grains to set and flavors to meld, before scooping to serve. Serve with lime wedges on the side for squeezing over top to brighten the rich, spiced flavors.
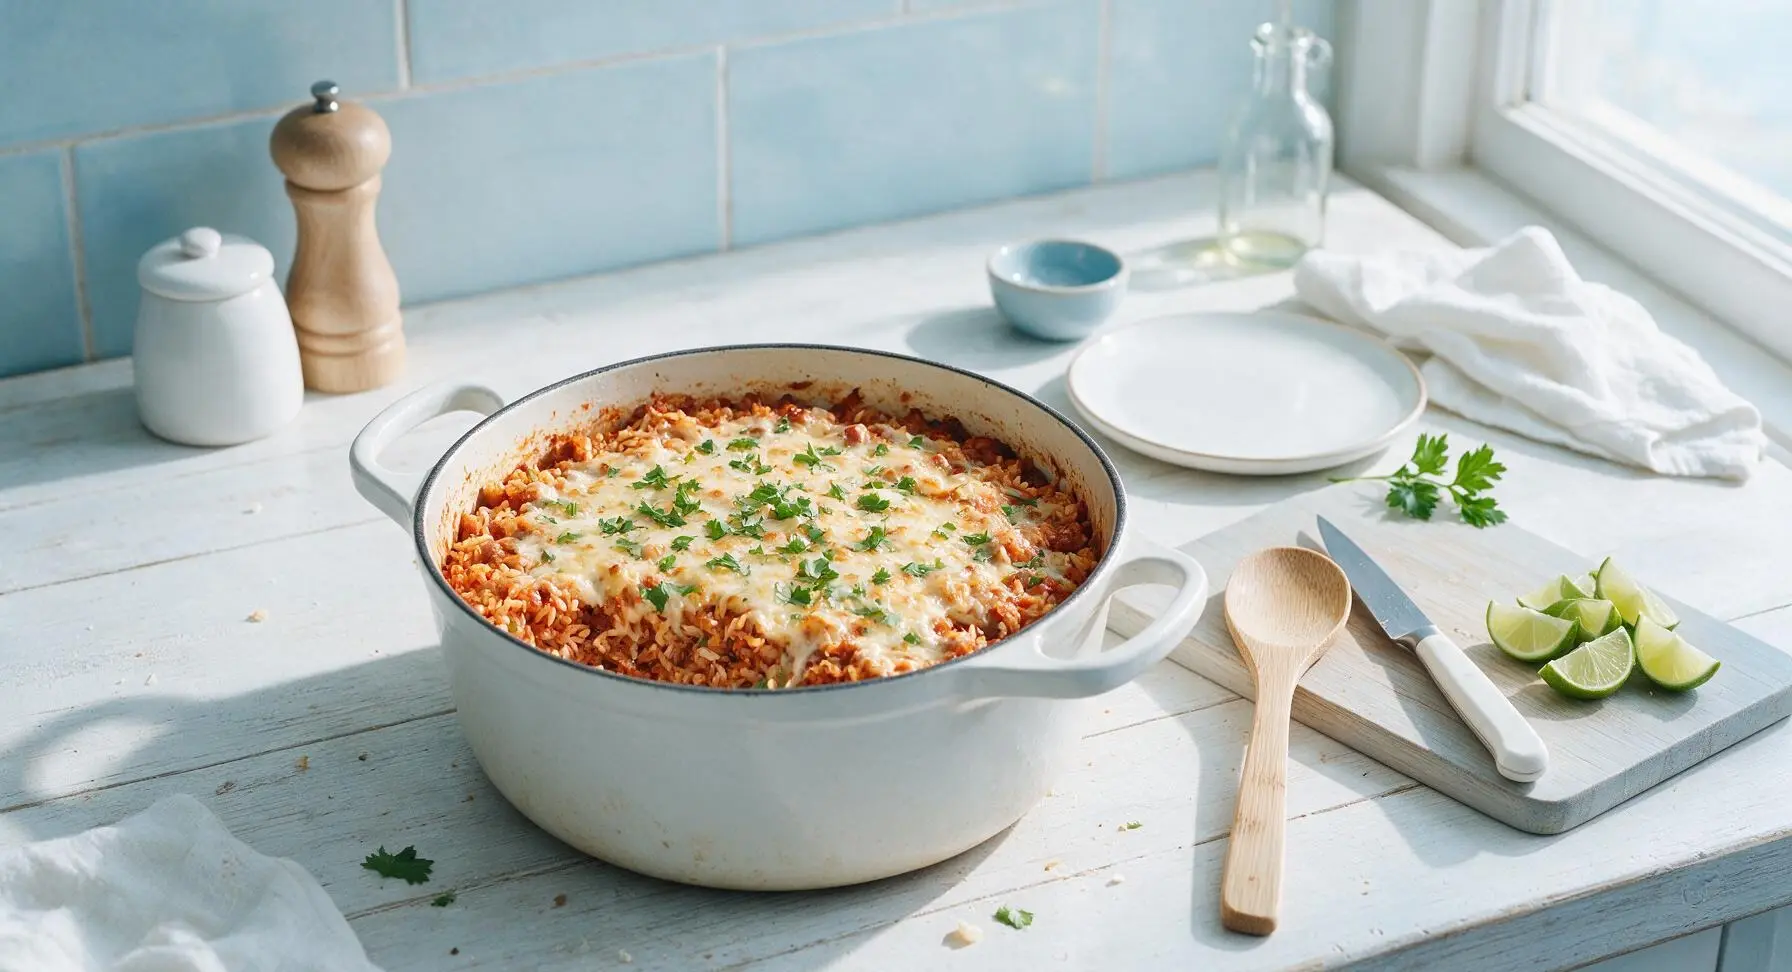
Step 6
step6:Garnish and Rest

Tips

1.Resist the urge to lift the Dutch oven lid during the 18-minute simmer: trapped, consistent steam is required to cook rice evenly, and releasing heat early will lead to crunchy undercooked grains on top and mushy, overcooked rice at the bottom of the pot.
2.Stick to long-grain white rice for best results: short-grain rice releases too much starch and will turn the casserole gluey, while instant rice will break down and become mushy during the covered simmer time.
3.For ultra-fast weeknight prep, use pre-diced onion and bell pepper, pre-minced garlic, and pre-shredded cheese to cut prep time down to 5 minutes without sacrificing significant flavor — the one pot design means you won’t dirty extra cutting boards or graters.


✨ You May Also Like

Main Course
🍜 United Kingdom

A showstopping classic of tender seared beef, savory mushroom duxelles, and crisp prosciutto wrapped in flaky golden puff pastry, baked to juicy perfection.

⏱️ 2 hours 1Main Course ★ 4.7
Main Course
🍜 India

Tender charred marinated chicken simmered in a rich, spiced creamy tomato sauce, this iconic Anglo-Indian curry pairs perfectly with basmati rice or warm naan.

⏱️ 50 minuteMain Course ★ 4.6
Main Course
🍜 Thailand

Classic tangy, sweet, and savory Thai stir-fried rice noodles with shrimp, tofu, and crunchy garnishes, balancing all five core Thai flavor profiles.

⏱️ 30 minuteMain Course ★ 4.5
Main Course
🍜 United Kingdom

Crispy golden beer-battered cod and fluffy double-fried chips, served with tangy tartar sauce and malt vinegar: the timeless, beloved British pub comfort classic.

⏱️ 45 minuteMain Course ★ 4.7
Main Course
🍜 Mexico

Smoky, chile-marinated pork tacos with caramelized pineapple, fresh cilantro, and lime: a beloved classic Mexican street food perfect for casual summer gatherings.

⏱️ 1 hour 45Main Course ★ 4.8
Main Course
🍜 United States

Crunchy Fritos corn chips layered with savory beef chili and melted cheddar, topped with cool, zesty fixings for a beloved, cozy Tex-Mex comfort food.

⏱️ 35 minuteMain Course ★ 4.8

one pot mexican rice casserole:Frequently Asked Questions

1.Can I use brown rice instead of long-grain white rice for this casserole? ▾
Absolutely, but you’ll need to adjust your cook time and liquid ratio to avoid crunchy, undercooked grains. Add an extra ½ cup of low-sodium chicken broth, extend the covered simmer time by 20 minutes, and resist lifting the lid to check on it—trapped steam is key to cooking dense brown rice evenly.
2.Do I really need to use uncooked rice, or should I pre-boil it first? ▾
No pre-boiling required—that’s the whole point of this fuss-free one-pot meal! Toast the dry, uncooked rice in a little oil with your diced onion for 2 to 3 minutes first to bring out a nutty depth, then add your broth and other ingredients to let the rice cook right in the flavorful liquid.
3.How can I adapt this recipe to be vegetarian or vegan? ▾
It’s super easy to swap ingredients to fit plant-based diets! Trade the low-sodium chicken broth for equal parts low-sodium vegetable broth, and replace the dairy cheese with your favorite meltable vegan cheddar or pepper jack. Double check that your canned beans and tomatoes have no hidden animal additives for strictly vegan meals.
4.My one-pot rice always turns out mushy—what am I doing wrong? ▾
Mushy rice almost always stems from two common missteps: lifting the lid too early while simmering, which lets critical steam escape, or using too much cooking liquid. Stick to the 2:1 liquid-to-dry-rice ratio, keep the lid sealed for the full 18-minute simmer, then let it rest 5 minutes off heat for fluffy, separate grains.
5.Can I add extra protein like ground beef or chicken to this casserole? ▾
Definitely! Brown 1 pound of lean ground beef or diced boneless, skinless chicken breast in the pot first before sautéing your onion and toasting the rice, drain any excess grease, then proceed with the rest of the recipe as written. The protein will soak up all the warm spices for a more filling meal.
6.What if I don’t have fire-roasted diced tomatoes in my pantry? ▾
No need to run to the store! Swap in an equal amount of regular undrained diced tomatoes, add ¼ teaspoon of smoked paprika and a tiny pinch of sugar to mimic that signature smoky, slightly sweet fire-roasted flavor. Don’t drain the tomatoes, though—their liquid counts toward the total cooking liquid for the rice.
7.How do I get a gooey melted cheese top without burning the rice? ▾
Timing is everything here! Hold off on adding the cheese until the rice is fully tender and all liquid is absorbed. Turn off the heat, sprinkle your shredded cheese evenly across the top, put the lid back on, and let it sit for 3 to 4 minutes. Trapped residual heat will melt the cheese perfectly without overcooking the rice underneath.
8.Do I have to rinse my black beans before adding them to the pot? ▾
Yes, that quick rinse is worth the 30 seconds it takes! Rinsing drained black beans washes away the starchy, slightly metallic-tasting canning liquid that can make your casserole murky and overly salty, even when using low-sodium beans. It also keeps the final rice texture light instead of heavy or gummy.
9.Is this casserole spicy enough for kids, or do I need to adjust the heat? ▾
As written, this casserole is very mild, with warm, earthy spices that complement the sweet corn, beans, and tomatoes without any sharp burn. If you’re extra sensitive to spice, skip any added cayenne, and serve hot sauce, pickled jalapeños, or red pepper flakes on the side so everyone can customize their heat level.
10.What size and type of pot works best for this recipe? ▾
Reach for a 5 to 6 quart heavy-bottomed Dutch oven or lidded stock pot for the best results. Heavy-bottomed pots distribute heat evenly so the rice on the bottom doesn’t scorch while the top layer cooks through, and a tight-fitting lid is non-negotiable to trap the steam that cooks the rice evenly.
11.Can I use instant white rice instead of regular long-grain rice? ▾
I don’t recommend it for this specific recipe! Instant rice is par-cooked and dehydrated, so it absorbs liquid much faster than standard long-grain rice, which will leave you with mushy, overcooked grains and throw off the entire ingredient ratio. Stick to regular uncooked long-grain white rice for fluffy, perfect results.
12.How long will leftovers stay fresh, and what’s the best way to reheat them? ▾
Stored in a sealed, airtight container, leftovers will stay fresh in the refrigerator for 3 to 4 days. When reheating, add a 1 to 2 tablespoon splash of chicken broth or water per serving to keep the rice from drying out, then warm in the microwave or on the stovetop until heated all the way through.
13.Can I freeze this casserole for make-ahead meals? ▾
Yes, this dish freezes beautifully for quick busy-night meals! Let leftovers cool completely, portion into airtight freezer-safe containers or heavy-duty freezer bags, and freeze for up to 3 months. Thaw overnight in the fridge, then reheat with a tiny splash of broth, and add a fresh sprinkle of cheese if you’d like.
14.Can I mix in extra veggies beyond the onion, corn, and beans? ▾
Absolutely! Diced bell pepper is a classic, delicious addition—sauté it right along with the onion and toasting rice for a sweet, bright pop of flavor. If you’re adding softer veggies like zucchini or diced squash, stir them in during the last 5 minutes of simmering so they don’t turn mushy and water down the dish.

Comments (5)

2 days ago

OMG this was such a game changer for our busy weeknight family dinner! I threw in a can of black beans I had in the pantry and a handful of frozen corn, and my two picky toddlers devoured it. No extra pots to wash? Sign me up for every one pot meal ever, tbh. SO good, will absolutely be adding this to our regular meal prep rotation!

yesterday

Wait adding black beans is such a good call! I’m making this for our neighborhood potluck this weekend, do you think it would hold up in a slow cooker on warm for a couple hours?

2 hours ago

So glad your family loved it! Adding black beans and corn is such a tasty swap, great call. It’ll hold up perfectly on the warm setting for 2-3 hours—just give it a quick stir every 30 minutes or so to keep it from sticking to the sides!

5 minutes ago

Tried this last night after seeing it pop up on my feed, super easy even for someone who burns toast half the time lmao. Quick note: I used regular long grain rice instead of instant, and it came out a little crunchy on the bottom even after the full 35 minutes. Flavor was 10/10 though—my roommate ate half the pan before I even got a second serving!

just now

Hi Josh! So glad the flavor hit for you and your roommate! If you use regular long grain rice instead of instant, you’ll want to add about 1/3 cup extra chicken (or veggie) broth and tack on an extra 10 minutes of covered cook time to make sure it gets nice and tender. Give that a shot next time!

yesterday

Made this for our office potluck yesterday and people were coming up to me for the recipe all afternoon! I topped it with a little shredded cotija and a dollop of sour cream before serving, and it was gone in 10 minutes flat. So easy to throw together before work, didn’t even have to get up extra early. 10/10, no notes.

1 week ago

Super easy to make vegan! Swapped the regular broth for vegetable broth, skipped the cheese topping, and added a can of diced green chiles for a little kick. Came out perfect, didn’t miss the meat at all. Great base recipe to tweak however you want.

5 days ago

Oh the green chile addition sounds chef’s kiss! I’m always looking for easy vegan casseroles I can make on Sundays for the week, can’t wait to try this tomorrow!

3 days ago

Bro this is so cheap to make and actually tastes good??? I was surviving off ramen for the last month and this made me feel like I was eating at a real restaurant. Only thing I had on hand was a jar of salsa so I dumped that in instead of diced tomatoes, worked like a charm.

2 days ago

The salsa swap is genius! I do that too when I don’t have fresh tomatoes, it adds so much extra flavor. Pro tip: toss a handful of crushed tortilla chips on top the last 5 minutes for crunch!

yesterday

Love that you made this work with what you had on hand! That’s the best part of this recipe—it’s super flexible for whatever’s hanging out in your pantry. The tortilla chip crunch tip from Liz is such a good call, it adds the perfect salty, crispy finish!



