
oven baked waffles
intro
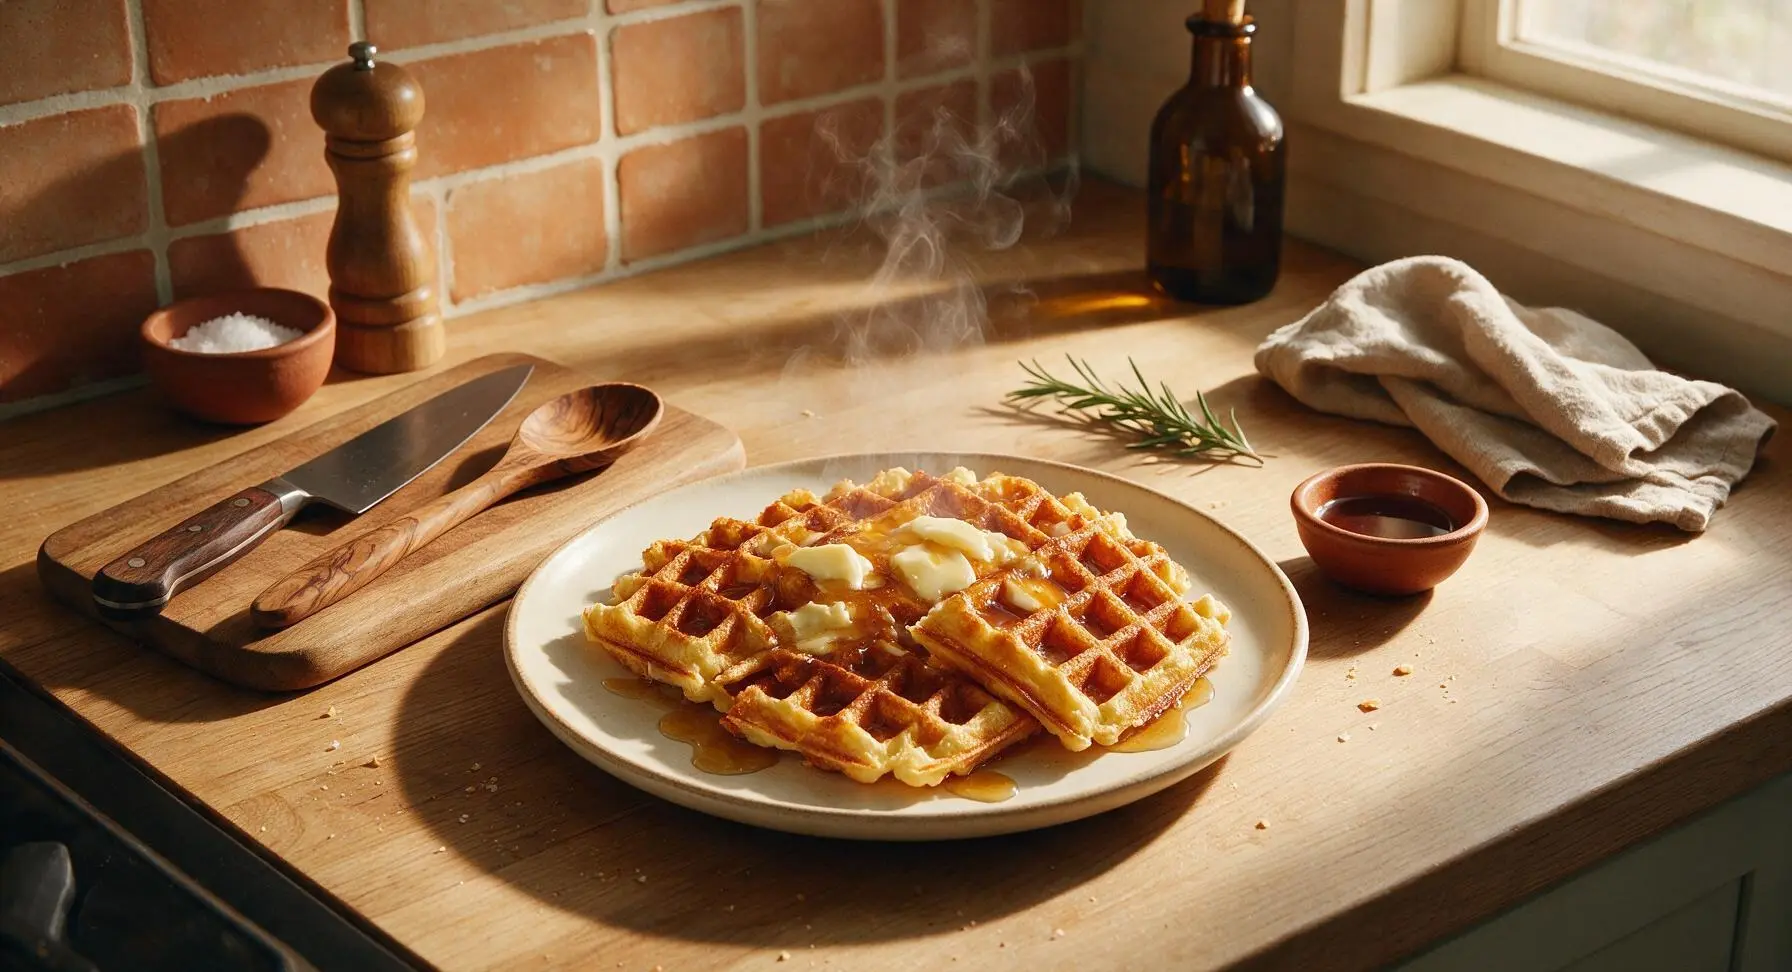
Crisp-edged, fluffy-centered oven-baked waffles require no special waffle iron, perfect for quick, cozy winter meals topped with melted butter and warm maple syrup.
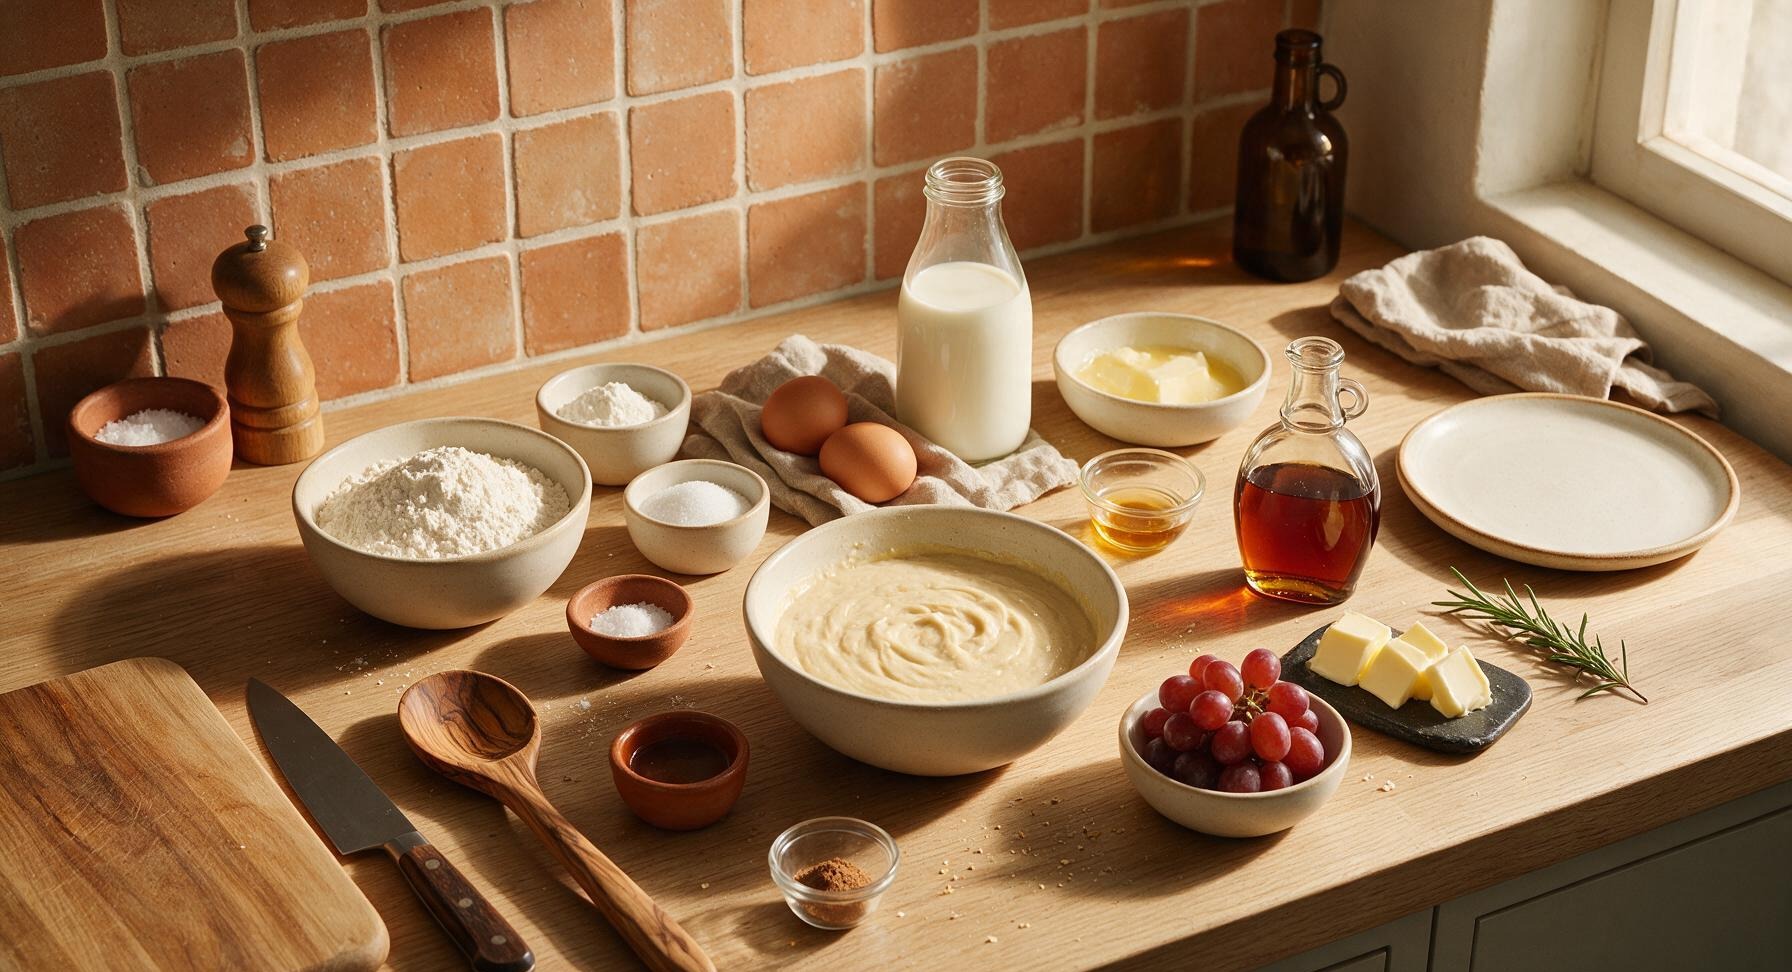
Ingredients
Steps
Preheat and Prep Pan
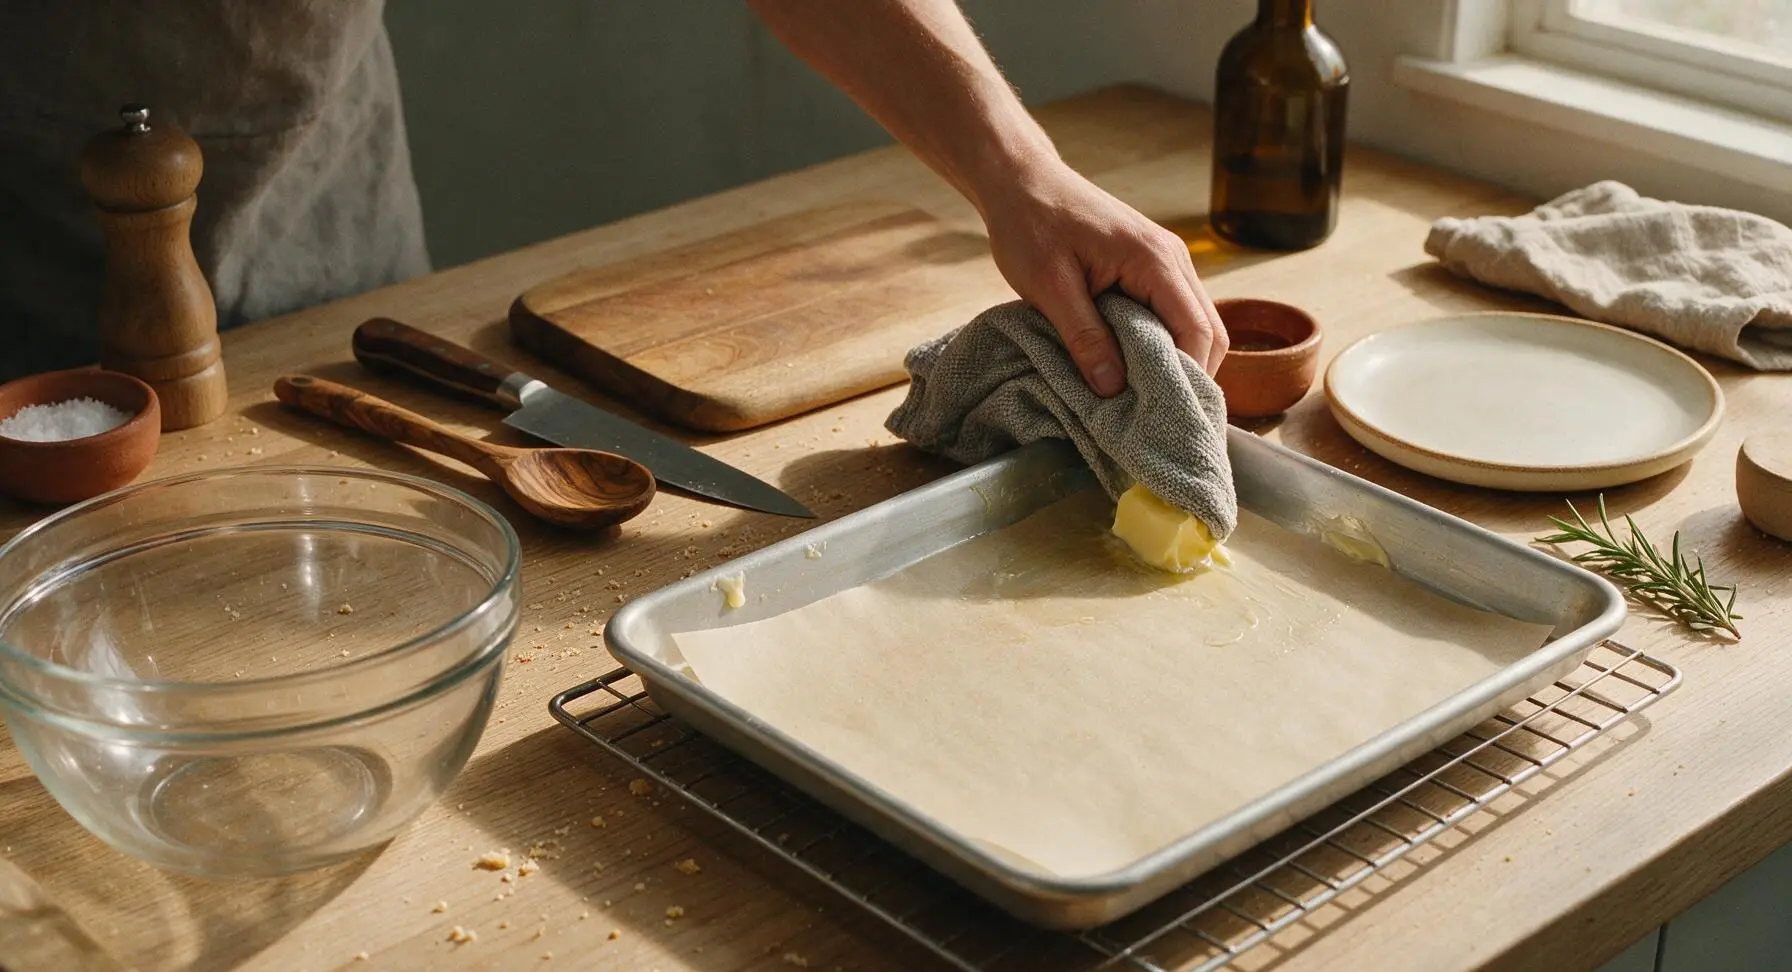
Adjust oven rack to middle position, preheat oven to 425°F (220°C). Pull the aluminum baking sheet from its propped position against the backsplash, line it with a sheet of unbleached parchment paper, and use a corner of the folded gray kitchen towel dipped in melted butter to lightly coat the parchment and raised pan edges. Set the prepared pan on the wire cooling rack while you mix the batter.
Whisk Dry Ingredients
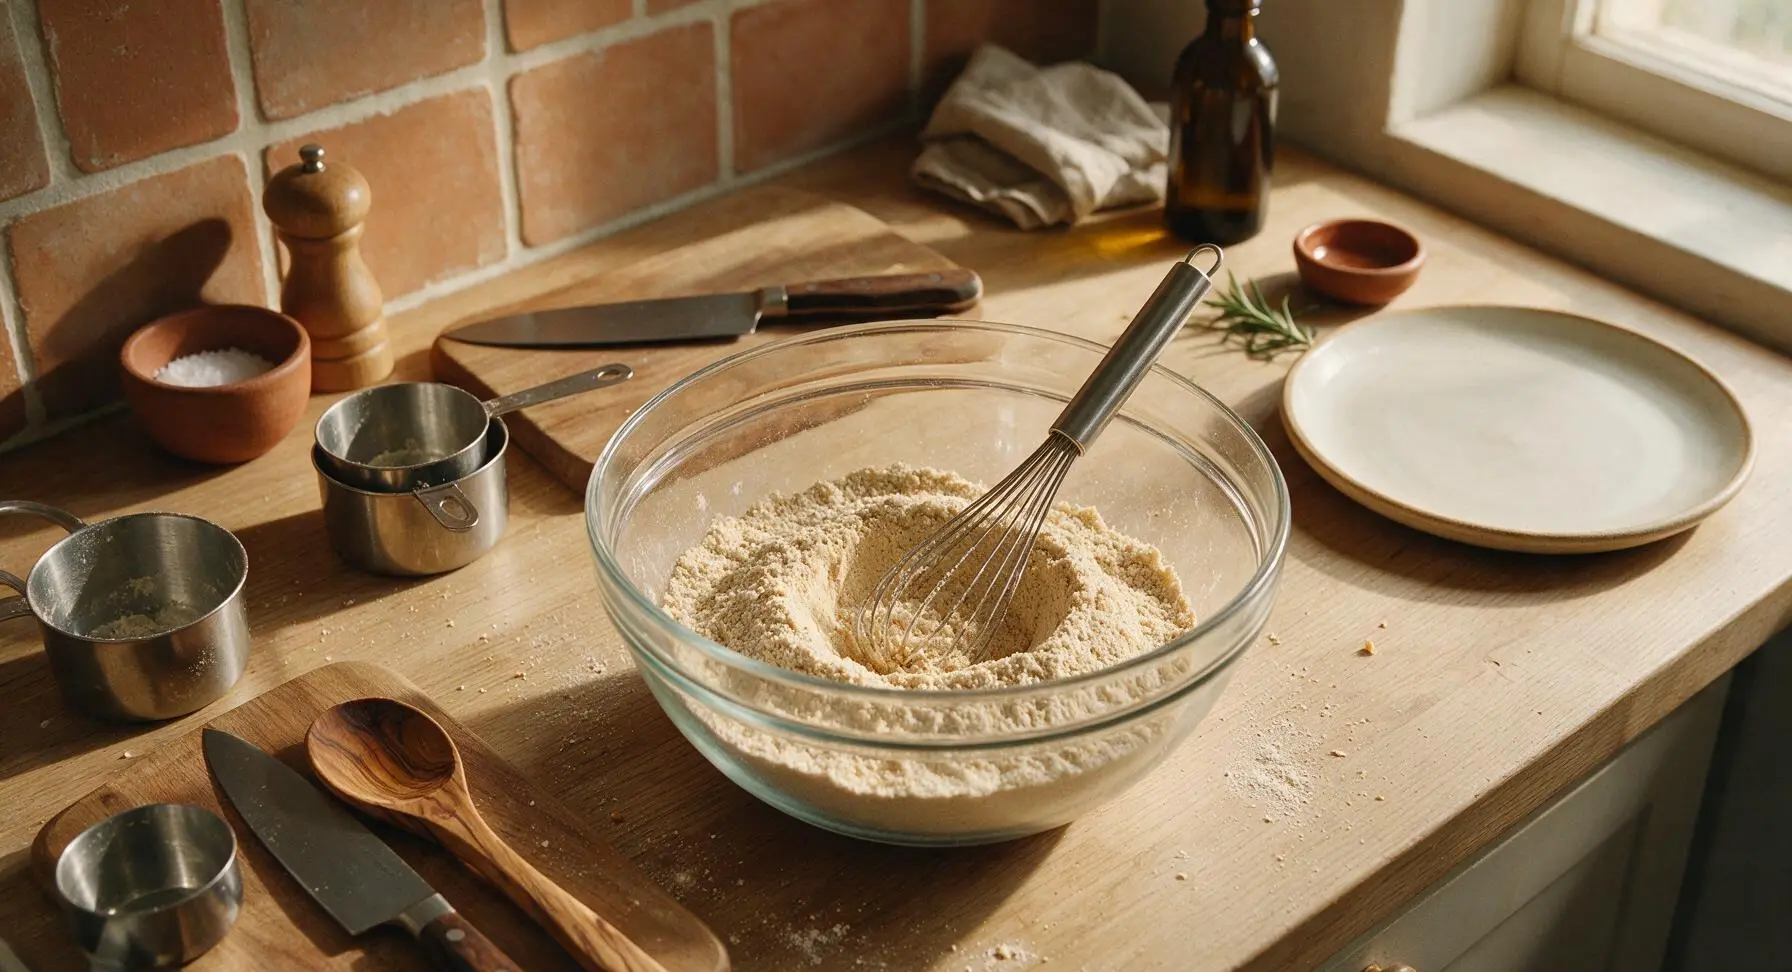
Add 2 cups (240g) all-purpose flour, 1 tablespoon baking powder, 1/2 teaspoon fine sea salt, and 2 tablespoons granulated sugar to the clear glass mixing bowl. Use the stainless steel wire whisk to stir the dry ingredients for 30 seconds until fully combined, with no visible clumps of baking powder. Create a small 5cm wide well in the center of the dry mix to hold the wet ingredients.
Combine Wet Ingredients
Crack 2 large eggs into the well in the dry mixture, then pour in 1 3/4 cups (420ml) whole milk, 1/3 cup (75g) cooled melted unsalted butter, and 1 teaspoon pure vanilla extract. Do not stir yet – allow all wet ingredients to settle into the well to reduce overmixing once whisking begins.
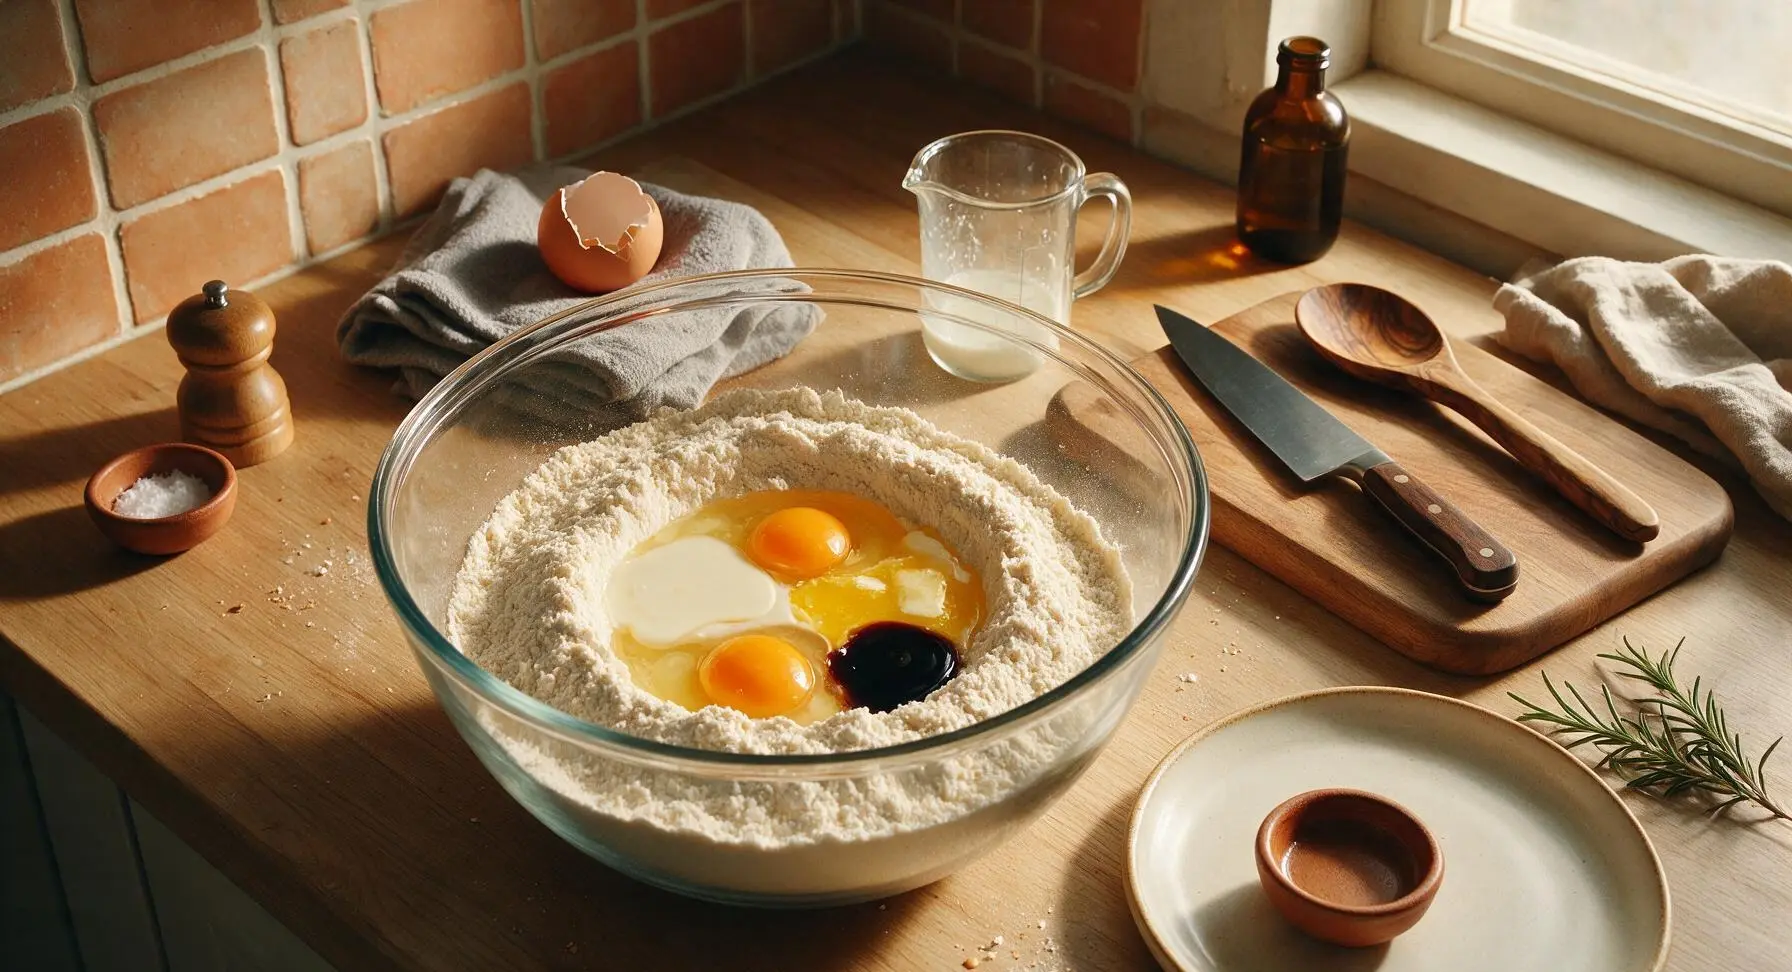
Mix Batter Gently
Use the stainless steel wire whisk to stir the wet and dry ingredients together in slow, broad circles, mixing only just until no large dry flour streaks remain. The finished batter should be slightly lumpy – do not overmix, as this develops gluten and will make waffles tough. Stop stirring after roughly 20 seconds, as soon as no dry flour patches are visible. Use the black silicone spatula to scrape any remaining dry flour from the bowl sides into the batter.
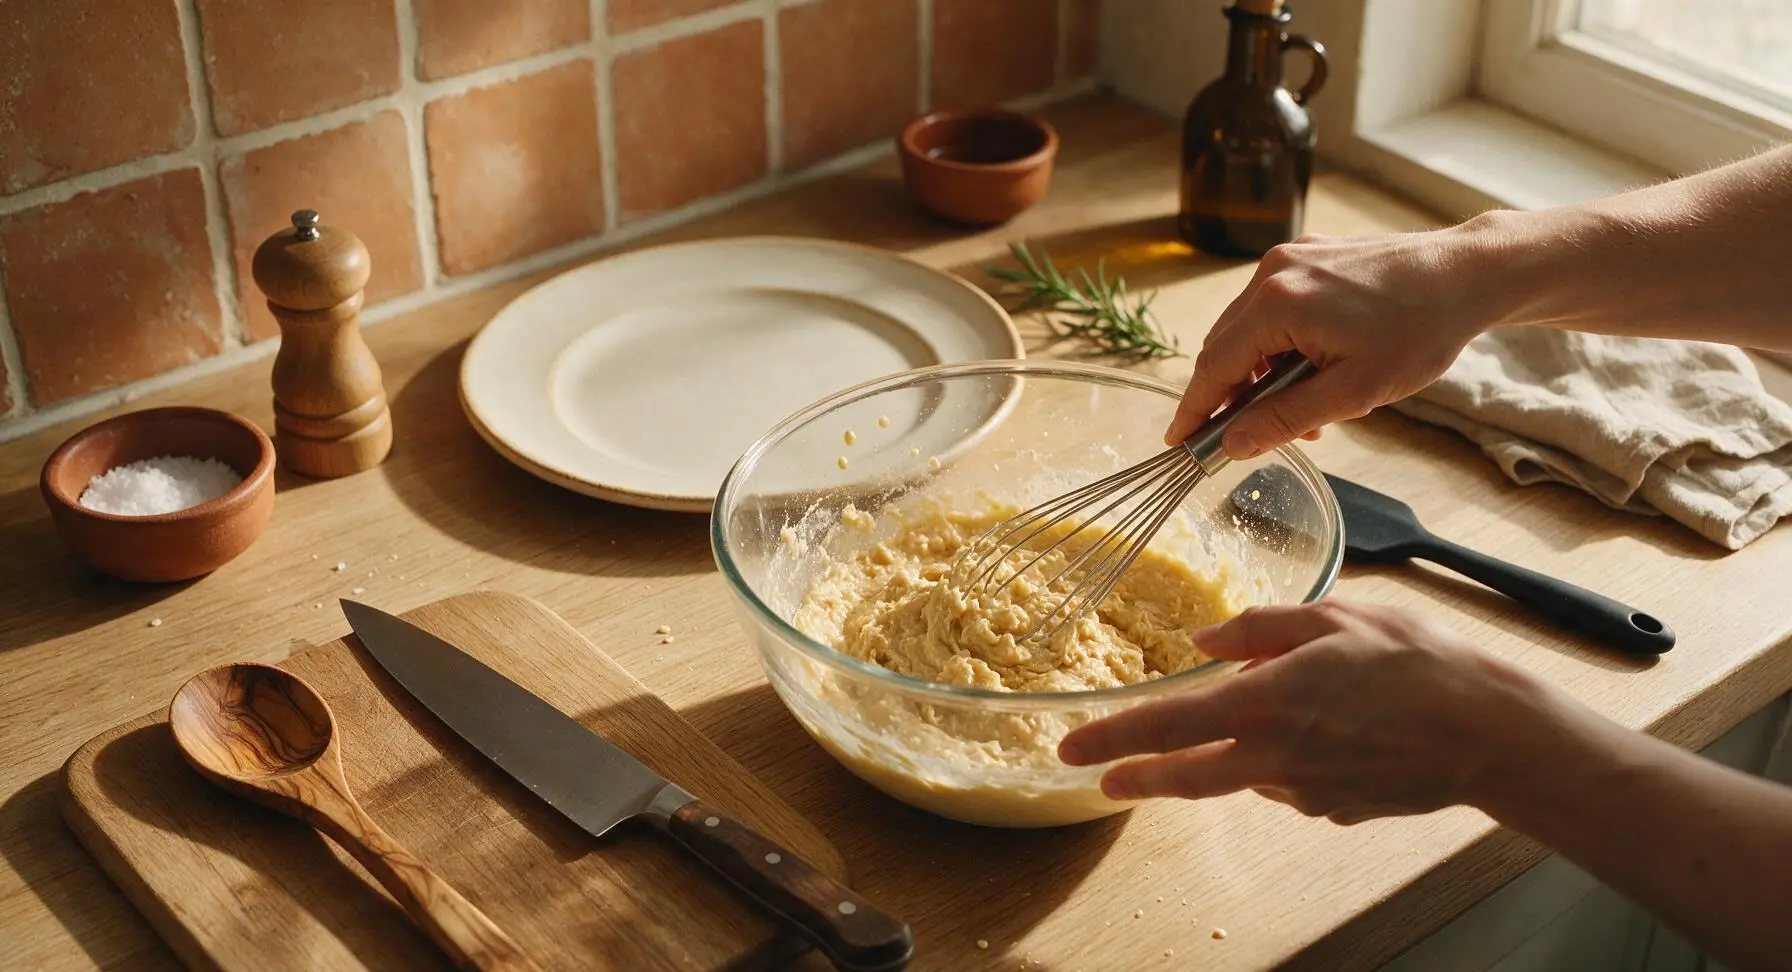
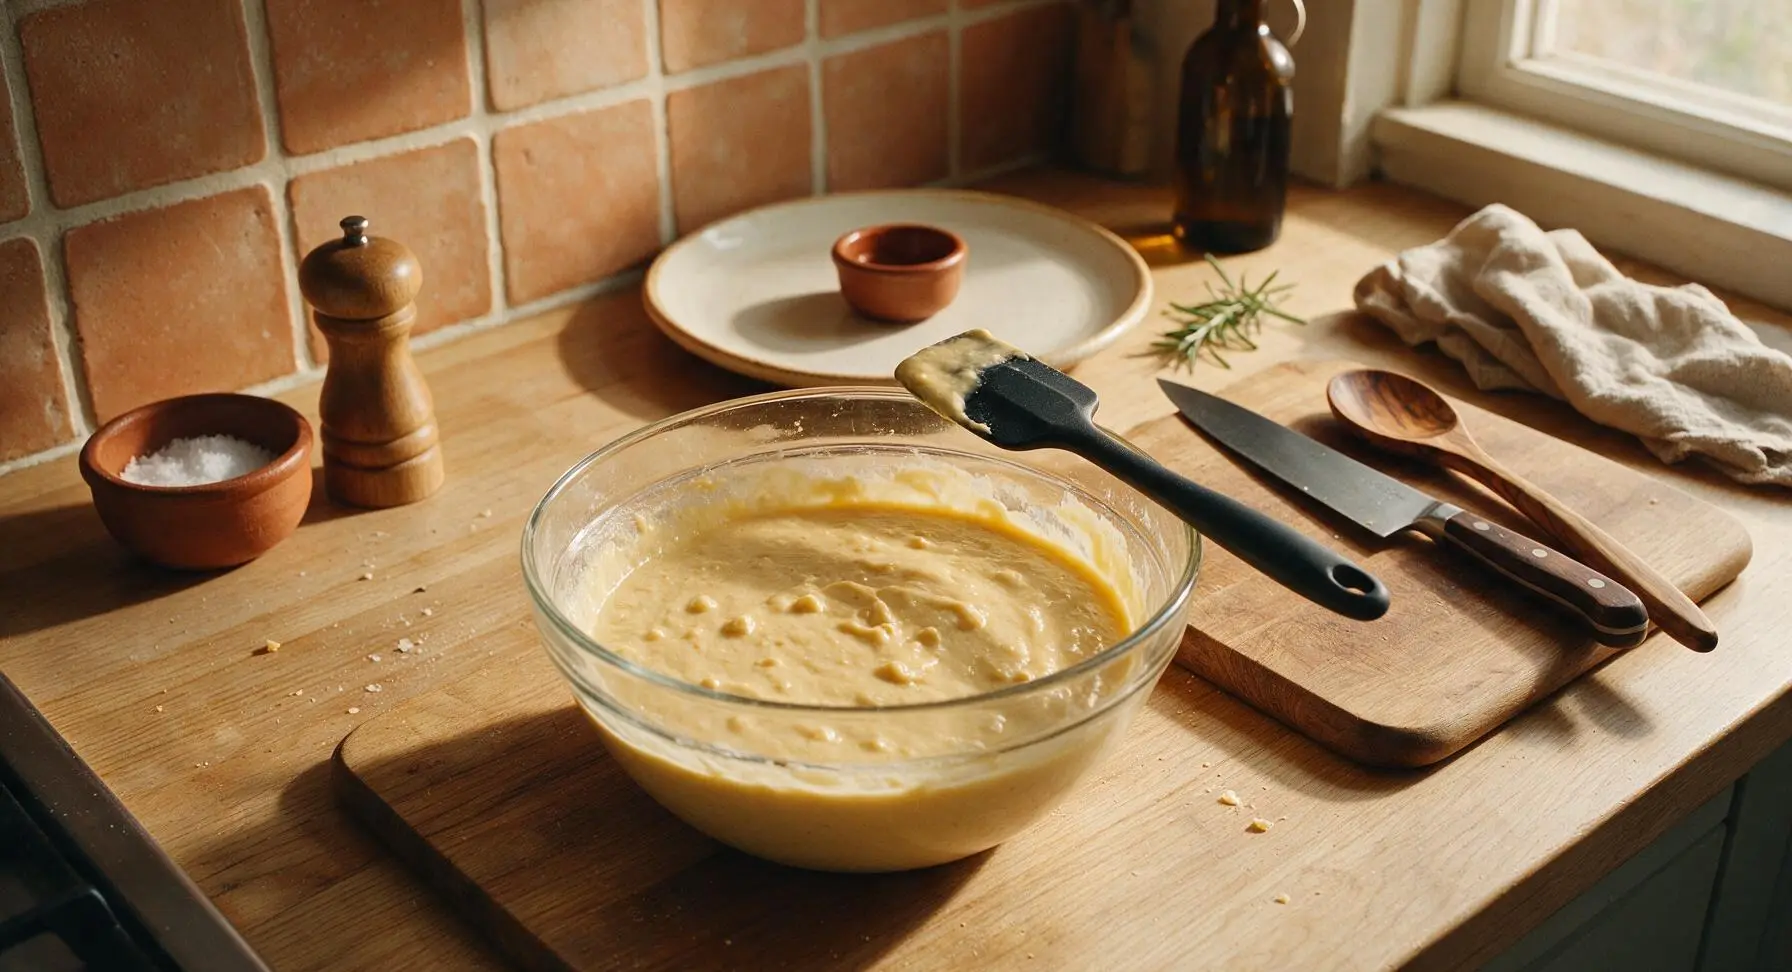
Pour Batter Evenly
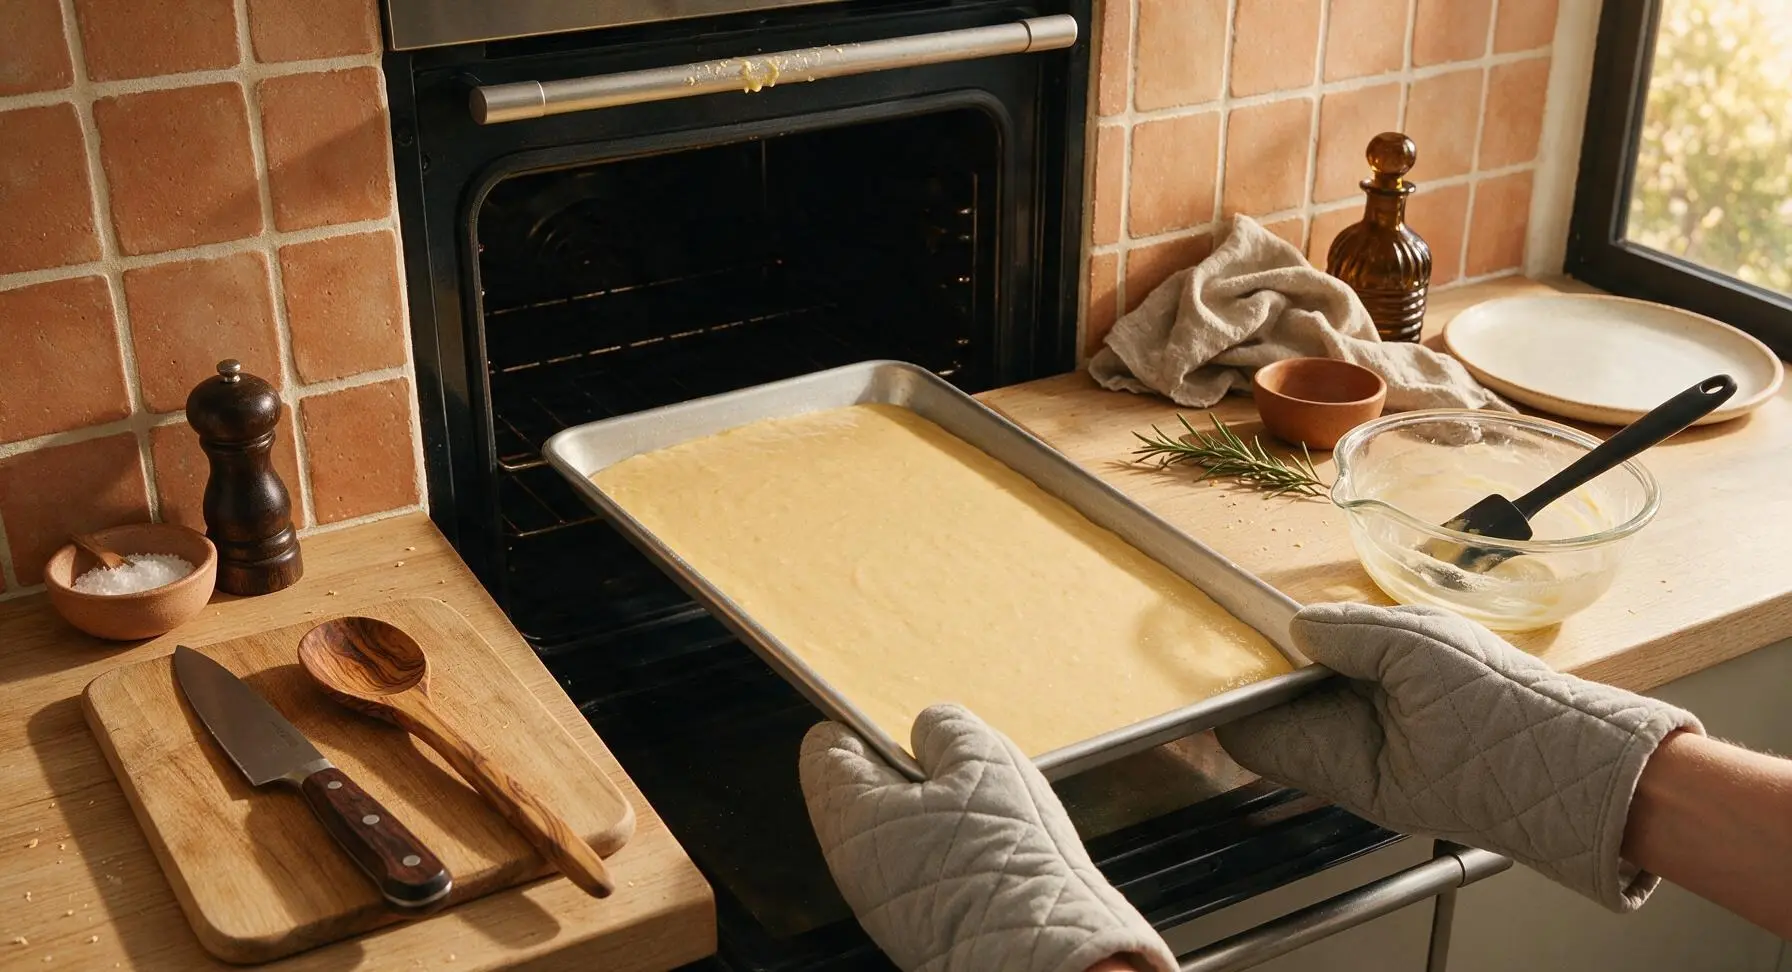
Move the prepared baking sheet from the wire cooling rack to the counter adjacent to the mixing bowl. Use the black silicone spatula to scrape all batter from the bowl onto the center of the parchment-lined pan. Spread the batter in a smooth, uniform 1/2-inch thick layer across the entire pan, spreading all the way to the raised edges to ensure even thickness for consistent baking.
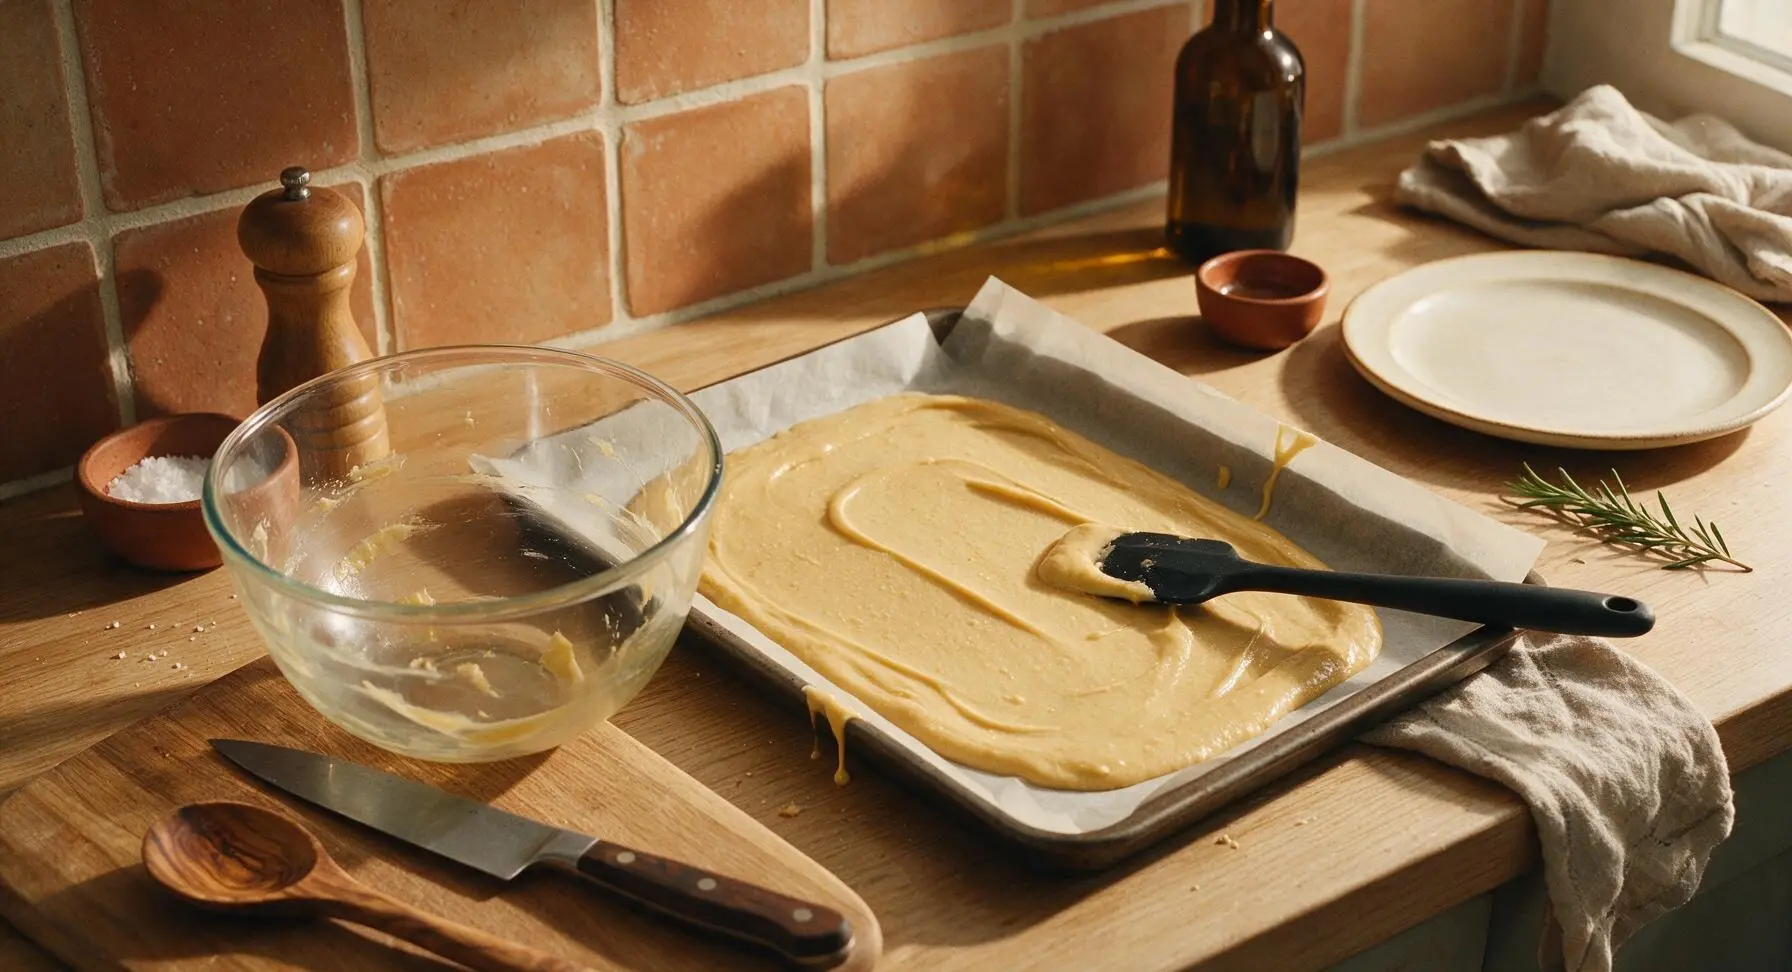
Bake Until Golden
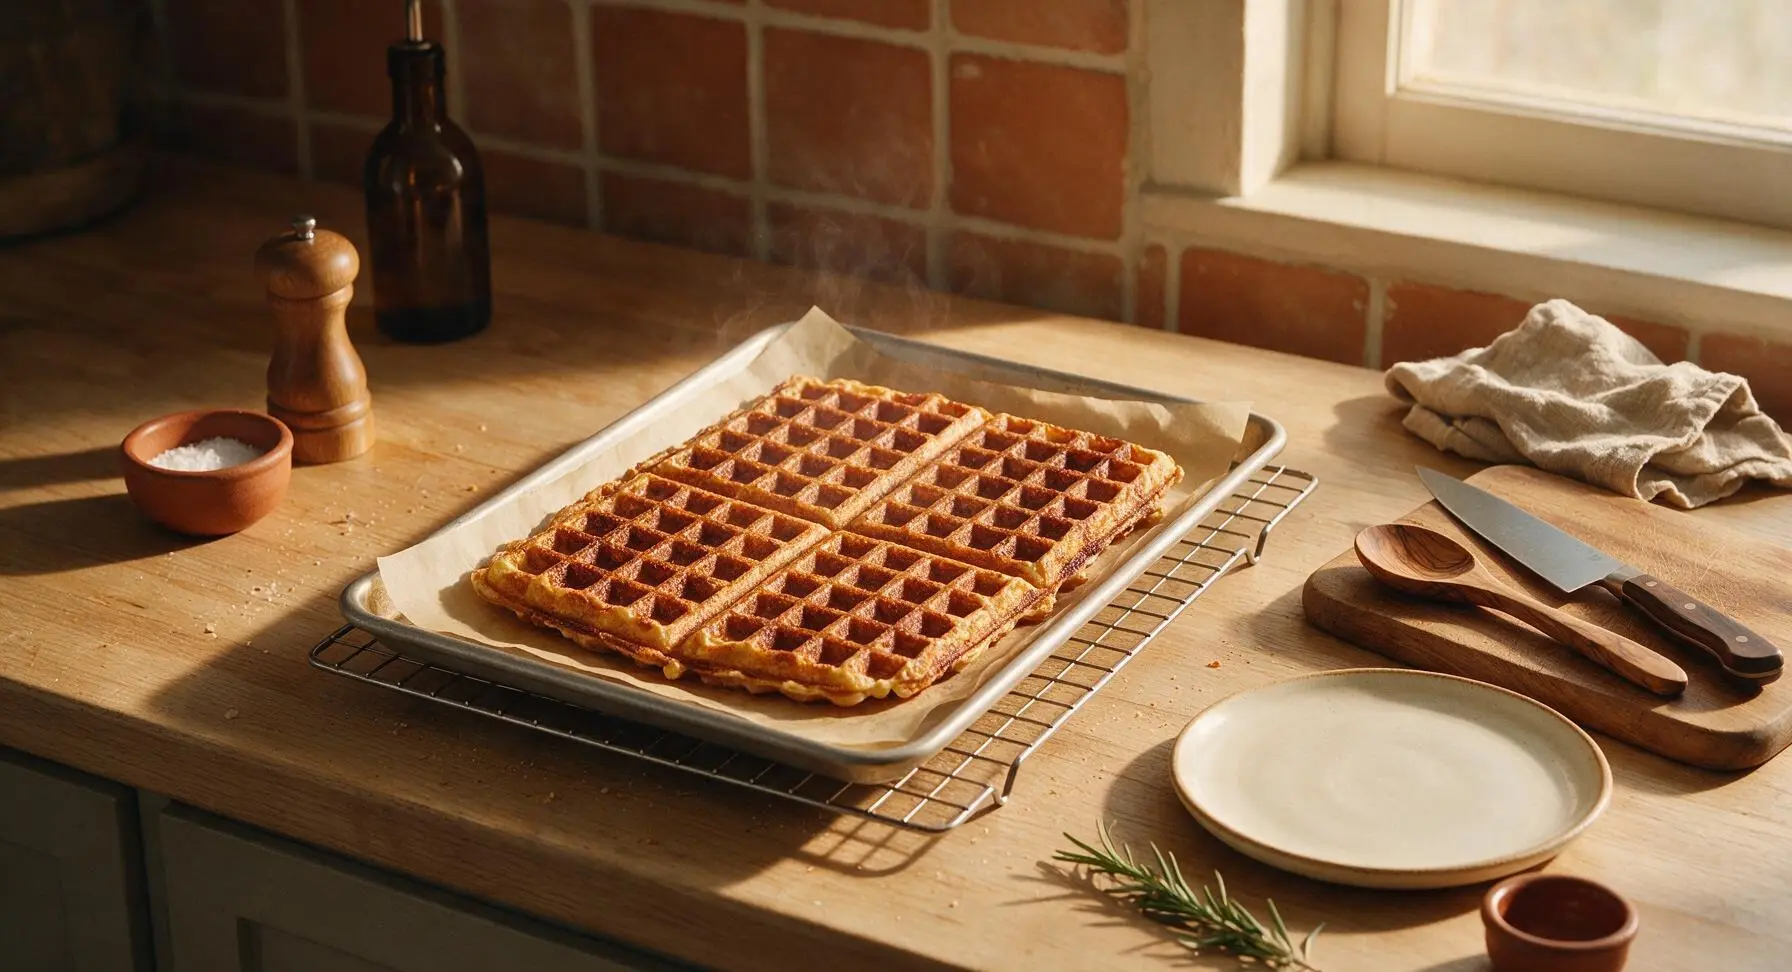
Carefully transfer the baking sheet to the preheated middle oven rack. Bake for 15-18 minutes, until the top is deep golden brown, edges are crisp and slightly pulled away from the pan sides, and the center is fully set (no jiggling when you gently shake the pan). Do not open the oven door for the first 12 minutes of baking to allow the batter to rise properly without deflating.
Cut and Plate Waffles
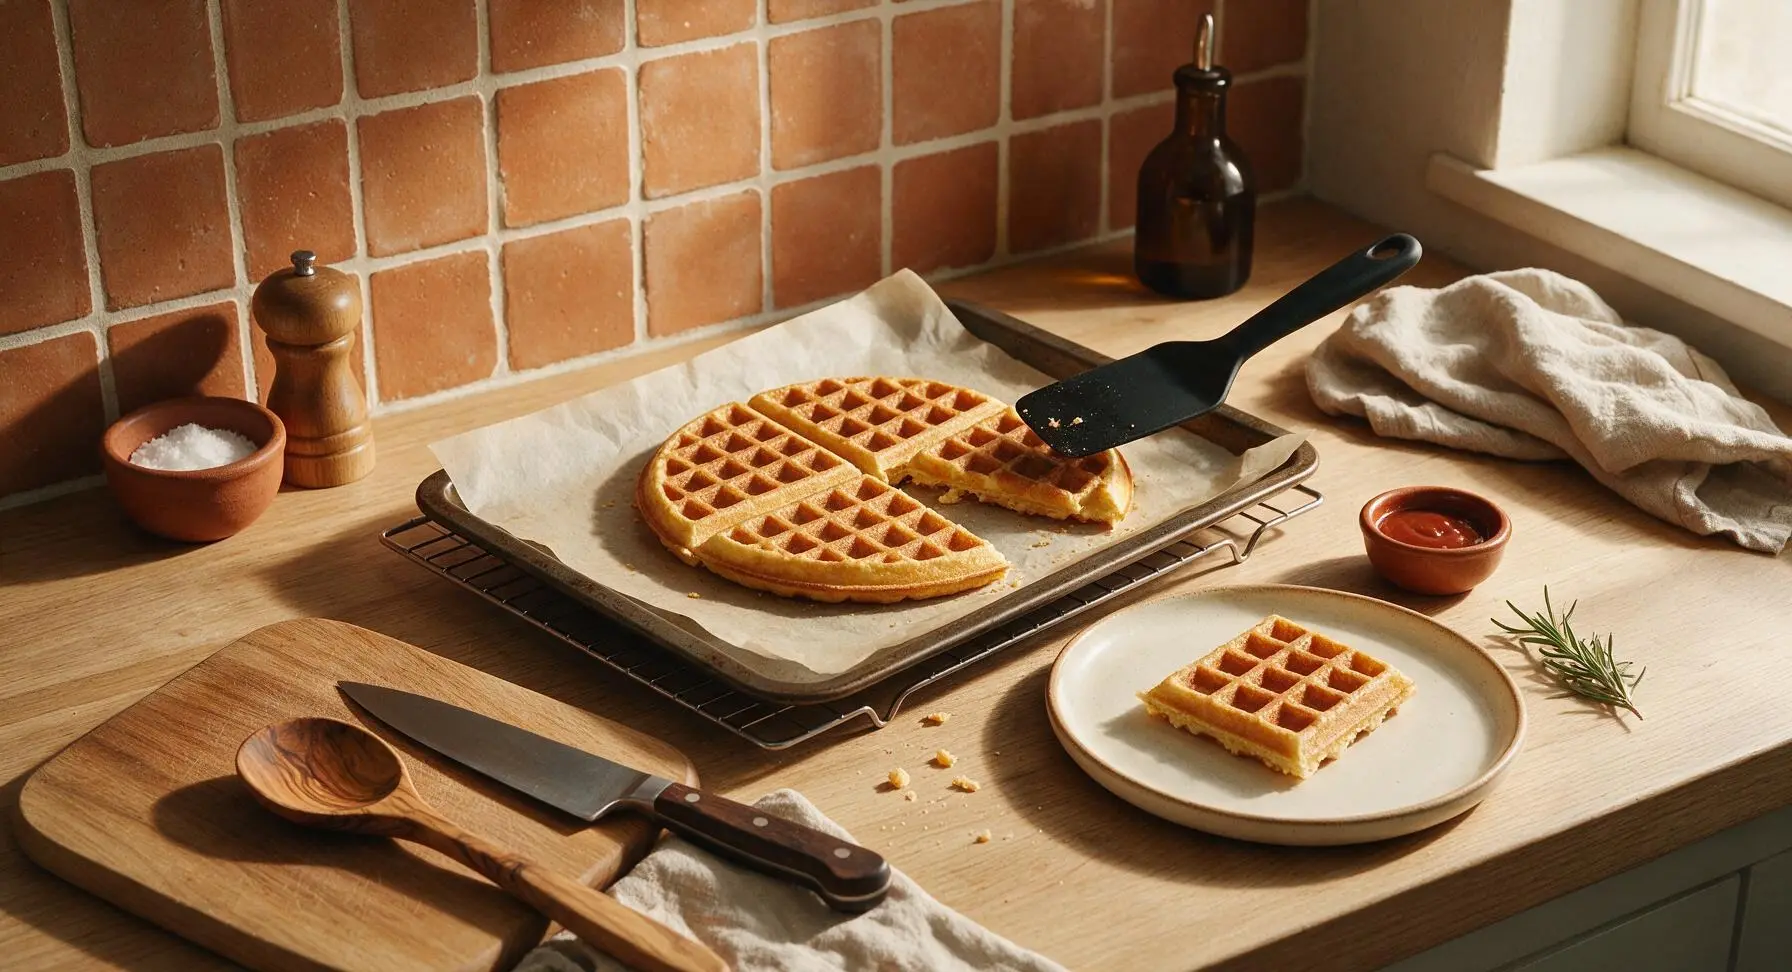
Let the baked waffle cool in the pan on the wire cooling rack for 2 minutes to set, then use the firm edge of the black silicone spatula to cut the waffle into 4 equal 6-inch (15cm) square sections. Lift sections one by one onto the cream white ceramic dinner plate, stacking them slightly offset to showcase their crisp golden edges.
Add Toppings, Serve
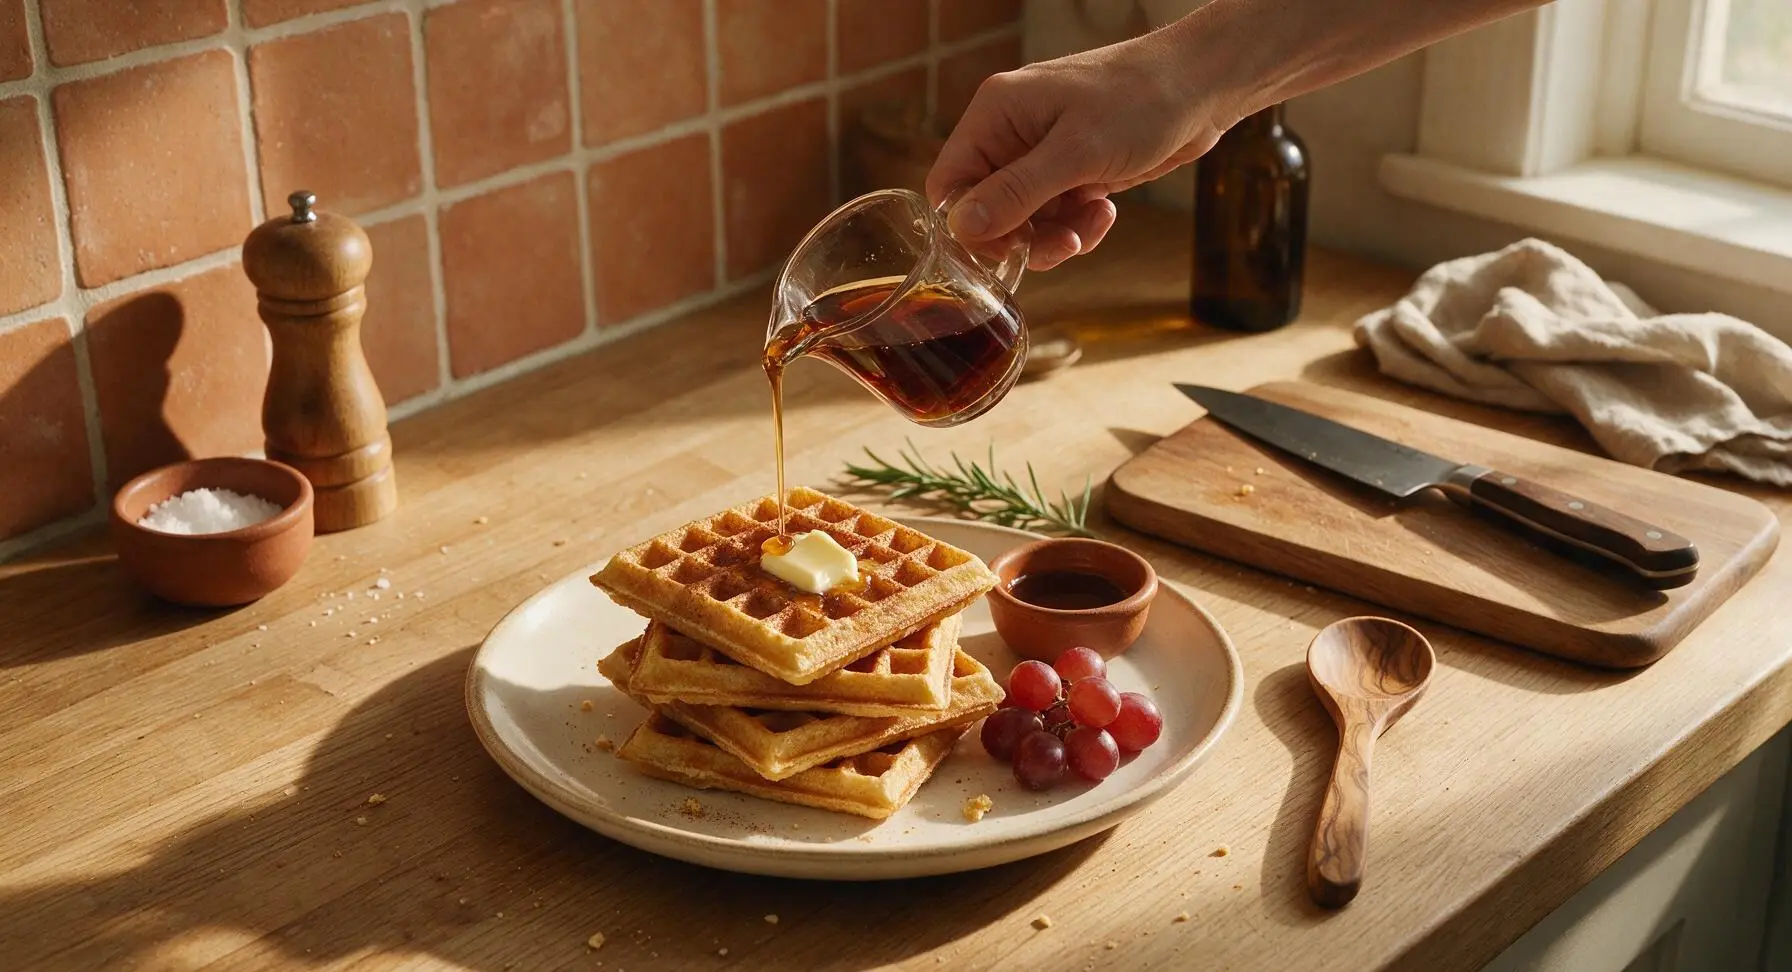
Top the stacked waffle squares with a 1-tablespoon pat of salted butter, a light 1/8 teaspoon dusting of ground cinnamon, and a 3-tablespoon drizzle of warm pure maple syrup per serving. Serve immediately while waffles are hot and crisp, paired with the fresh red grapes for a bright, juicy contrast.
Tips
2.Resist overmixing the batter: Small lumps are a good sign! Overstirring develops gluten in the flour, resulting in dense, tough waffles instead of light, fluffy centers surrounded by crisp, caramelized edges.
3.For extra-crisp edges, swap nonstick spray for melted butter to grease the pan: The milk solids in butter brown as the waffle bakes, creating a deeper, crunchier golden crust around the pan edges than neutral cooking spray can produce.






OMG these sheet pan waffles are a total game changer for school mornings! I used to stand over the waffle iron for 20 minutes flipping batch after batch, and now I just pop the whole pan in the oven and have enough for all three kids plus my husband in 18 minutes flat. They came out perfectly crisp, no soggy spots at all! My kids loved them, they piled on strawberries and whipped cream and asked for seconds before I even sat down to eat. 10/10 will be making these every Sunday for meal prep too!
SO good! I was skeptical that oven baked waffles could get as crisp as the iron ones, but these delivered. I added a handful of chocolate chips to half the pan for my roommate and the other half I kept plain for breakfast sandwiches all week. Perfect easy recipe, no fancy equipment needed.
Brought these to my neighborhood block party potluck last weekend and people were asking for the recipe before I even set the platter down! I cut them into little squares, put out bowls of syrup, nutella, and fruit toppings, and it was the easiest build-your-own waffle bar ever. Will absolutely be making these for every brunch event from now on.
These are so tasty! I made the regular version for my family last week and everyone raved, but I’m wondering if anyone has tried this with a 1:1 gluten free all purpose flour? I’m hosting a GF friend for brunch next weekend and don’t want the GF batch to turn out dense or gummy!
Game changer for dorm life!!! I don’t have a waffle iron, obviously, just a tiny sheet pan that fits in my apartment oven, and these came out so crispy I almost cried. Drizzled with maple syrup and a little peanut butter and it was better than the dining hall waffles by a mile. So easy too, only had to dirty one bowl and one pan.
Added these to my weekly meal prep rotation last month and they’ve been a total lifesaver. I make a pan every Sunday, cut them into squares, and freeze them in between parchment paper squares. On work mornings I just grab one and toast it on my way out the door—no sad drive-thru breakfast for me anymore! They stay crisp even after freezing, I was shocked.
Made these for my kid’s birthday brunch sleepover and let me tell you, 8 sugar-crazed 10 year olds devoured the entire pan in 5 minutes flat. I was worried they’d be too soft or not taste like real waffles, but they had that perfect crisp edge and fluffy middle. I even added a little cinnamon to the batter and it was chef’s kiss. Only complaint is I should’ve made two pans!
Took these to my friend’s bridal shower brunch last weekend and they were such a hit! I topped the whole pan with a little powdered sugar before serving, and set out a mimosa bar to go with it. No one could believe I didn’t make them in a traditional waffle iron. The 18 minute cook time is no joke either, I was able to throw them together while everyone was arriving and they were hot right when we were ready to eat.
I know everyone’s talking about sweet toppings, but I made these with a little garlic powder and shredded cheddar in the batter, and they’re insane as a base for fried chicken and waffles! The crisp texture holds up so well to the gravy and fried chicken, no soggy mess even after 10 minutes of sitting on the plate. Absolute win for savory breakfast lovers.
Okay I’m literally the worst at baking, I burn toast half the time, but these came out perfect on my first try!!! The instructions were so straightforward, no weird steps, and the cook time was exactly 18 minutes like it said. My roommate thought I ordered takeout brunch lmao. So proud of myself, will be making these every weekend from now on.
Made these before an early morning hike last weekend and they were the perfect portable breakfast! I cut them into sticks, packed them in a container with a little side of syrup for dipping, and they didn’t get all squished in my backpack like regular pancakes do. Way more filling than energy bars too, kept me full for the whole 3 hour trail. Has anyone tried adding oats to the batter for extra fiber?