
oven burritos with ground beef

title 1
oven burritos with ground beef
⏱️ cook time 30 minutes
🍽️ servings 4
⚡ Difficulty easy

intro

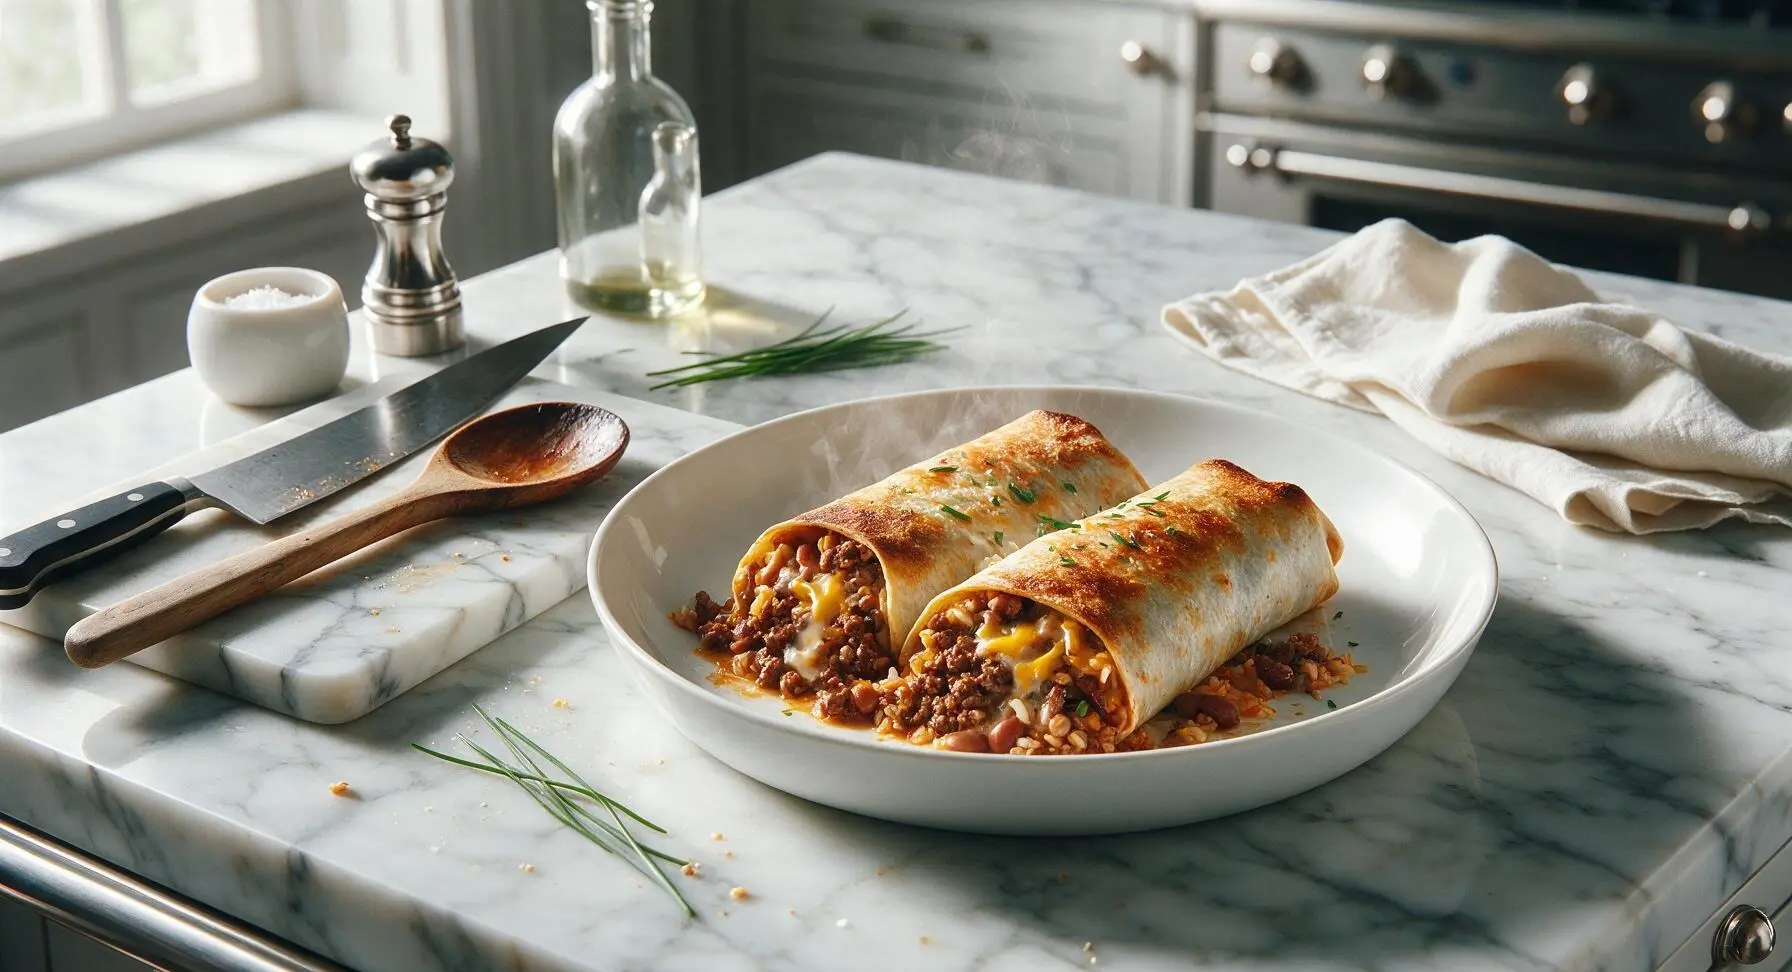
Crisp on the outside, oozing with savory seasoned ground beef, melted cheddar, creamy beans, and rice, these easy oven-baked burritos are a satisfying, no-fuss weeknight crowd-pleaser.

Ingredients
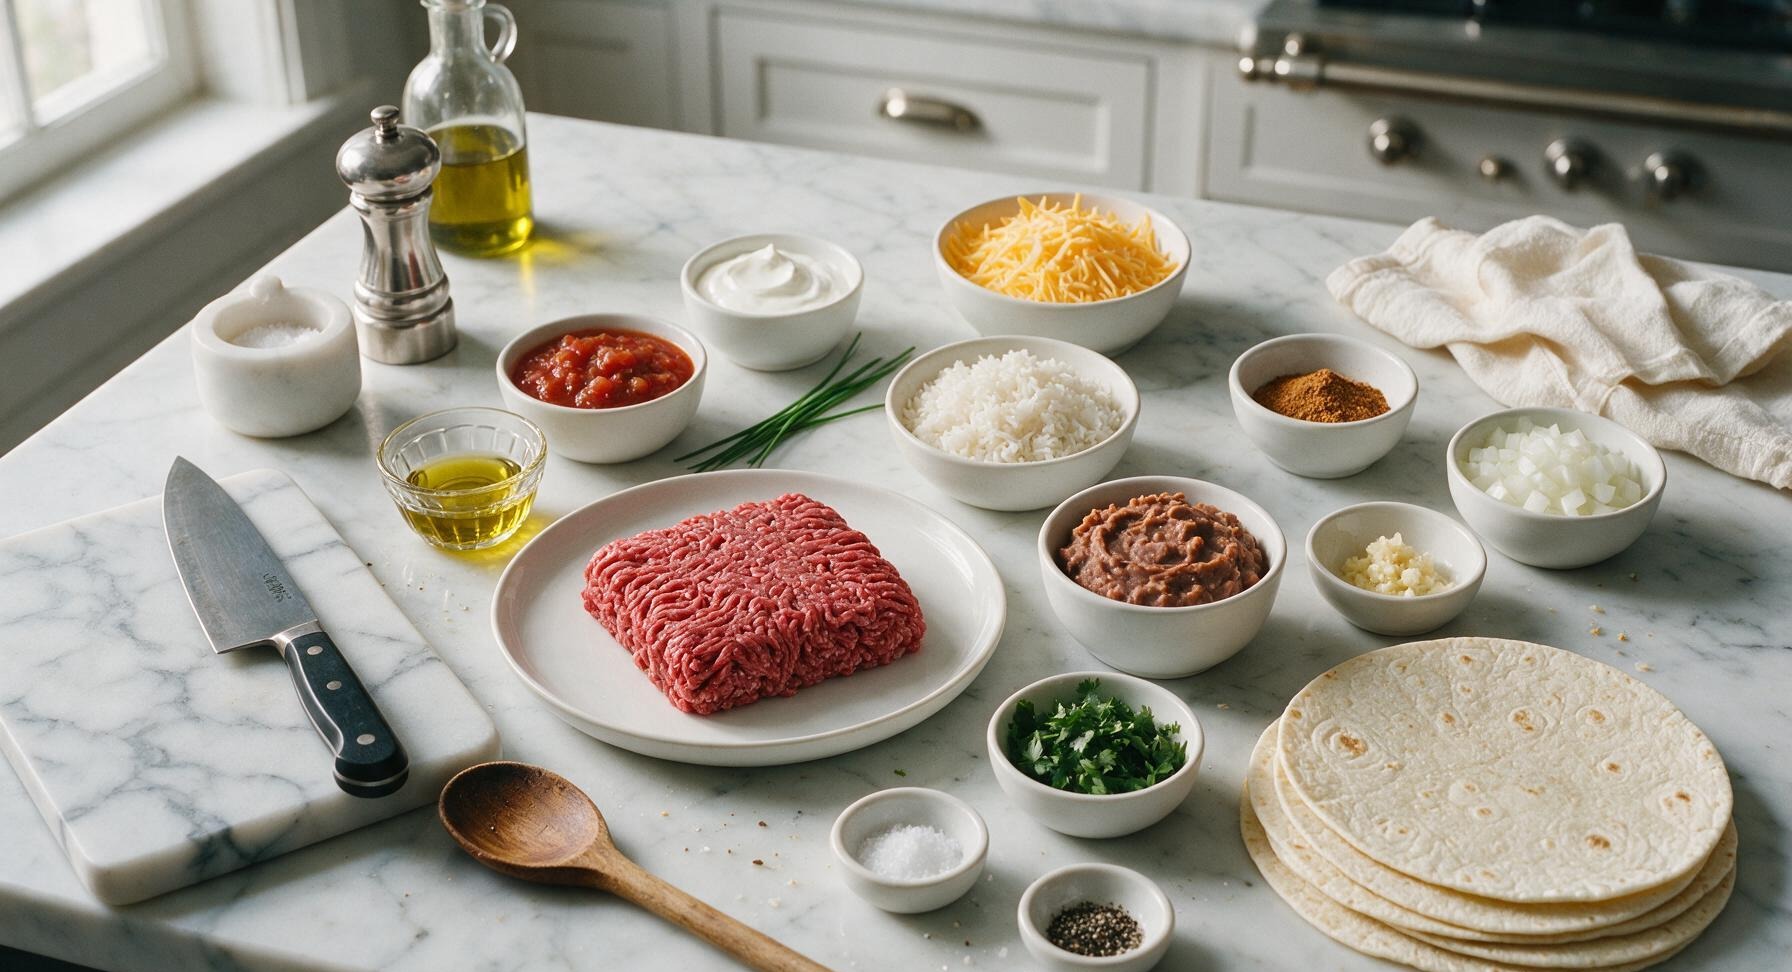
Lean ground beef (90/10) 450g (1lb)
10-inch flour tortillas 4 each
Refried beans 420g (1 can, lightly drained)
Cooked white rice 120g (1 cup, cooked)
Shredded sharp cheddar cheese 180g (2 cups, divided)
Taco seasoning 2 tbsp
Small yellow onion 120g (1 small, diced)
Garlic cloves 2 cloves, minced
Olive oil 1 tbsp
Sour cream 60g (1/4 cup, for serving)
Chunky red salsa 120g (1/2 cup, for serving)
Fresh cilantro 10g (1/4 cup, chopped, for garnish)
Kosher salt 1 tsp
Freshly ground black pepper 1/2 tsp

Steps

1

Preheat and Chop Aromatics

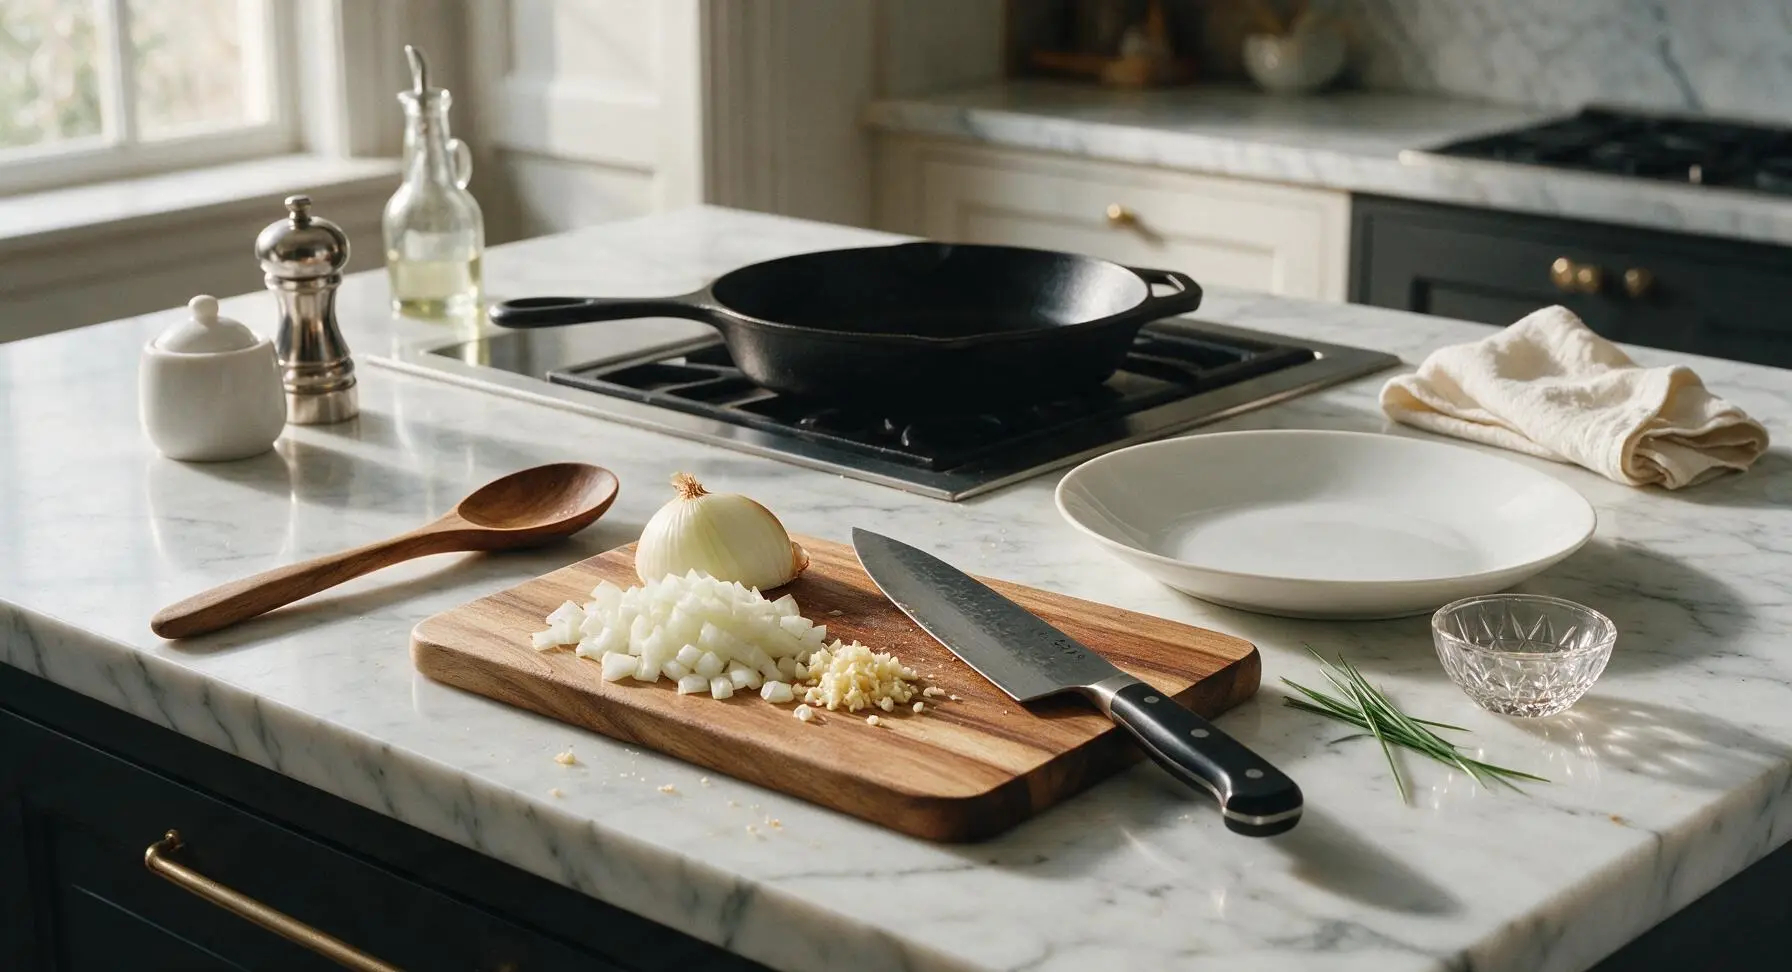
Adjust oven rack to the middle position, preheat oven to 200°C (400°F). Set the acacia wood cutting board at center-front of the counter. Use the 8-inch chef knife to dice 1 small yellow onion into uniform 1cm pieces, and mince 2 garlic cloves finely. Transfer prepped aromatics to the edge of the cutting board and set aside.
Step 1
step1:Preheat and Chop Aromatics
2

Cook Seasoned Beef Filling

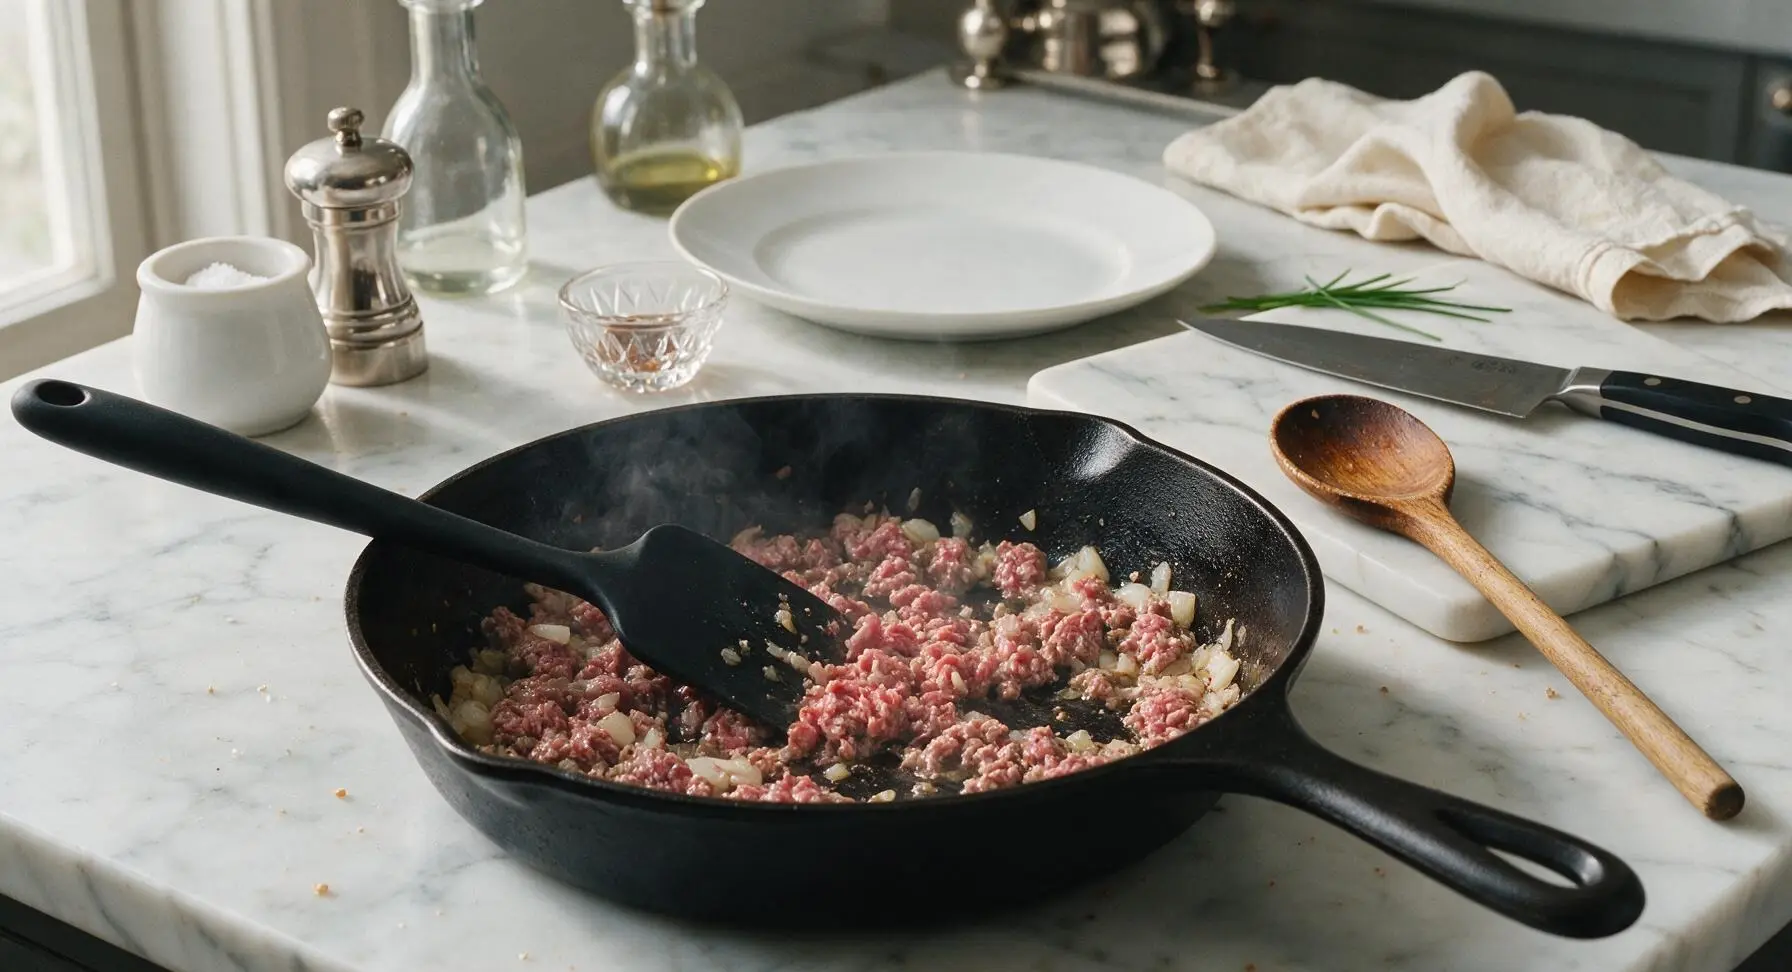
Heat 1 tablespoon olive oil in the cast iron skillet over medium heat. Add diced onion and cook for 3 minutes, stirring occasionally with the silicone spatula, until soft and translucent with no brown edges. Add minced garlic and cook 30 seconds, stirring constantly, until fragrant (do not burn, as burnt garlic will turn bitter). Add 450g lean ground beef to the skillet, breaking it apart into fine 5mm crumbles with the spatula as it cooks. Stir in 2 tablespoons taco seasoning, 1 teaspoon kosher salt, and 1/2 teaspoon freshly ground black pepper. Cook for 7-8 minutes, stirring occasionally, until beef is fully browned with no visible pink remaining, and any released cooking liquid has evaporated. Remove skillet from heat and set aside.
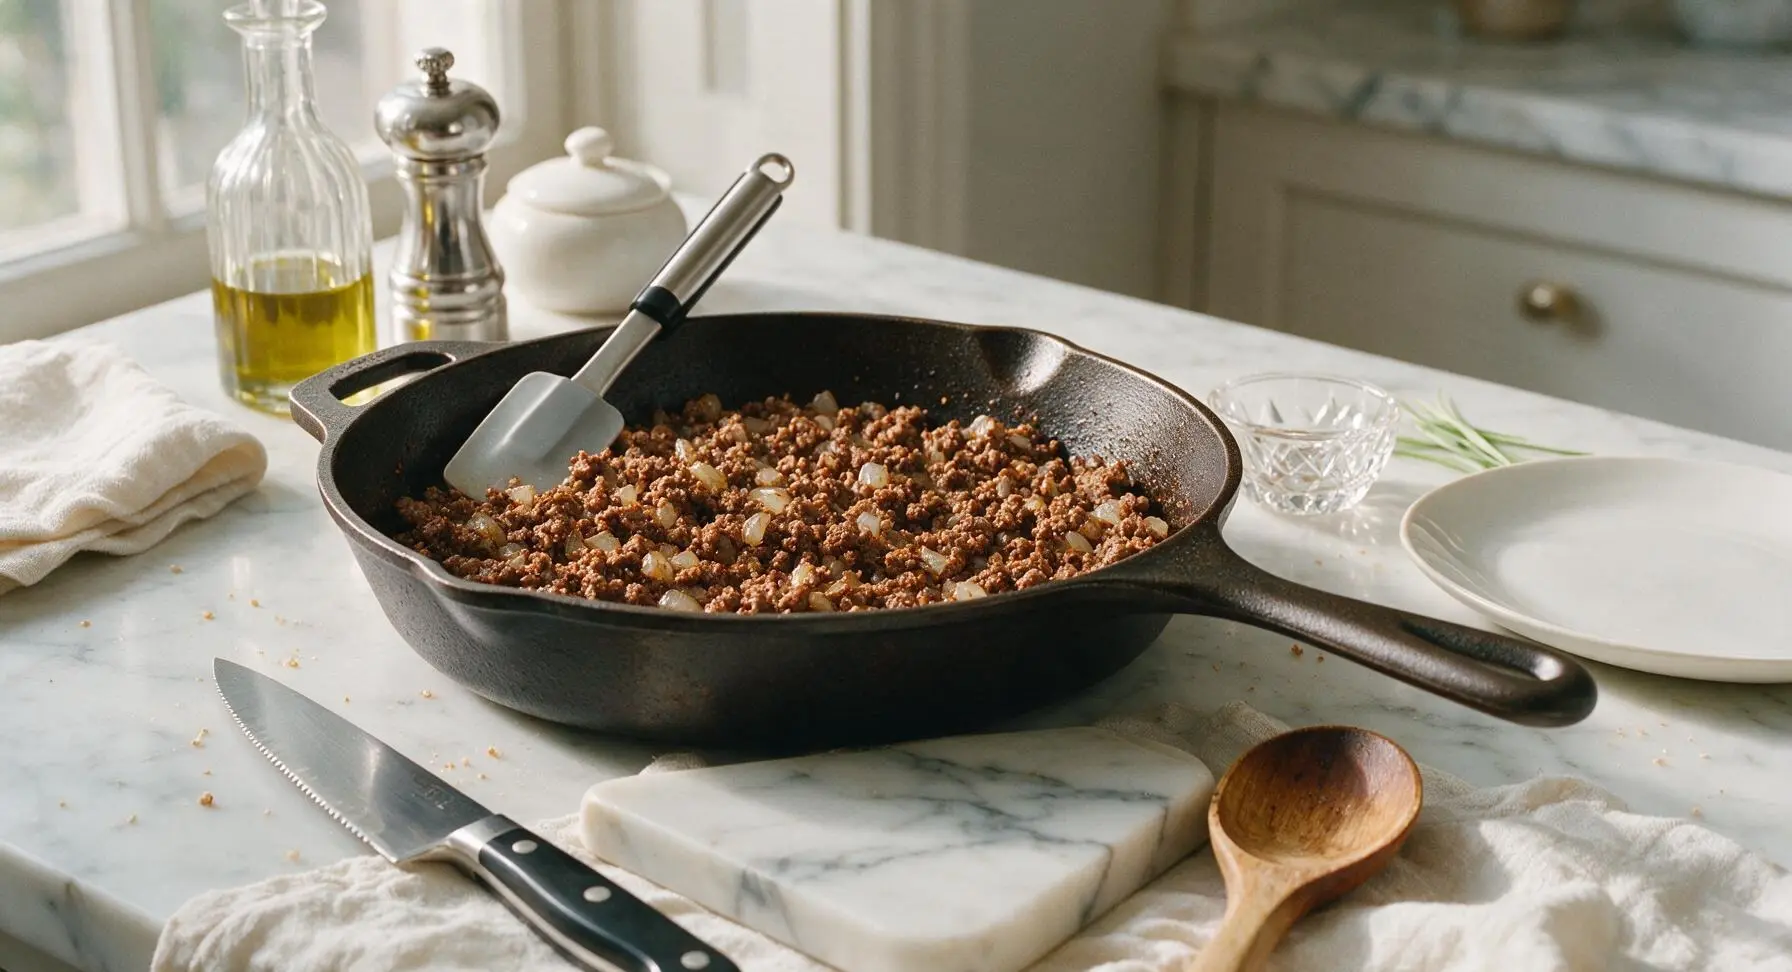
Step 2
step2:Cook Seasoned Beef Filling
Step 2
step2:Cook Seasoned Beef Filling
3

Layer Fillings on Tortillas

Lay all 4 10-inch flour tortillas flat on the clean section of the acacia wood cutting board. Spread 105g (1/4 of the can) of lightly drained refried beans in a 5cm wide line down the center of each tortilla, leaving a 5cm clear border at the top and bottom short edges to prevent filling leakage during rolling. Top the bean layer on each tortilla with 30g (1/4 cup) cooked white rice, 1/4 of the cooked ground beef mixture, and 30g (1/3 cup) shredded sharp cheddar cheese, keeping all fillings in the tight central line to make rolling easier.
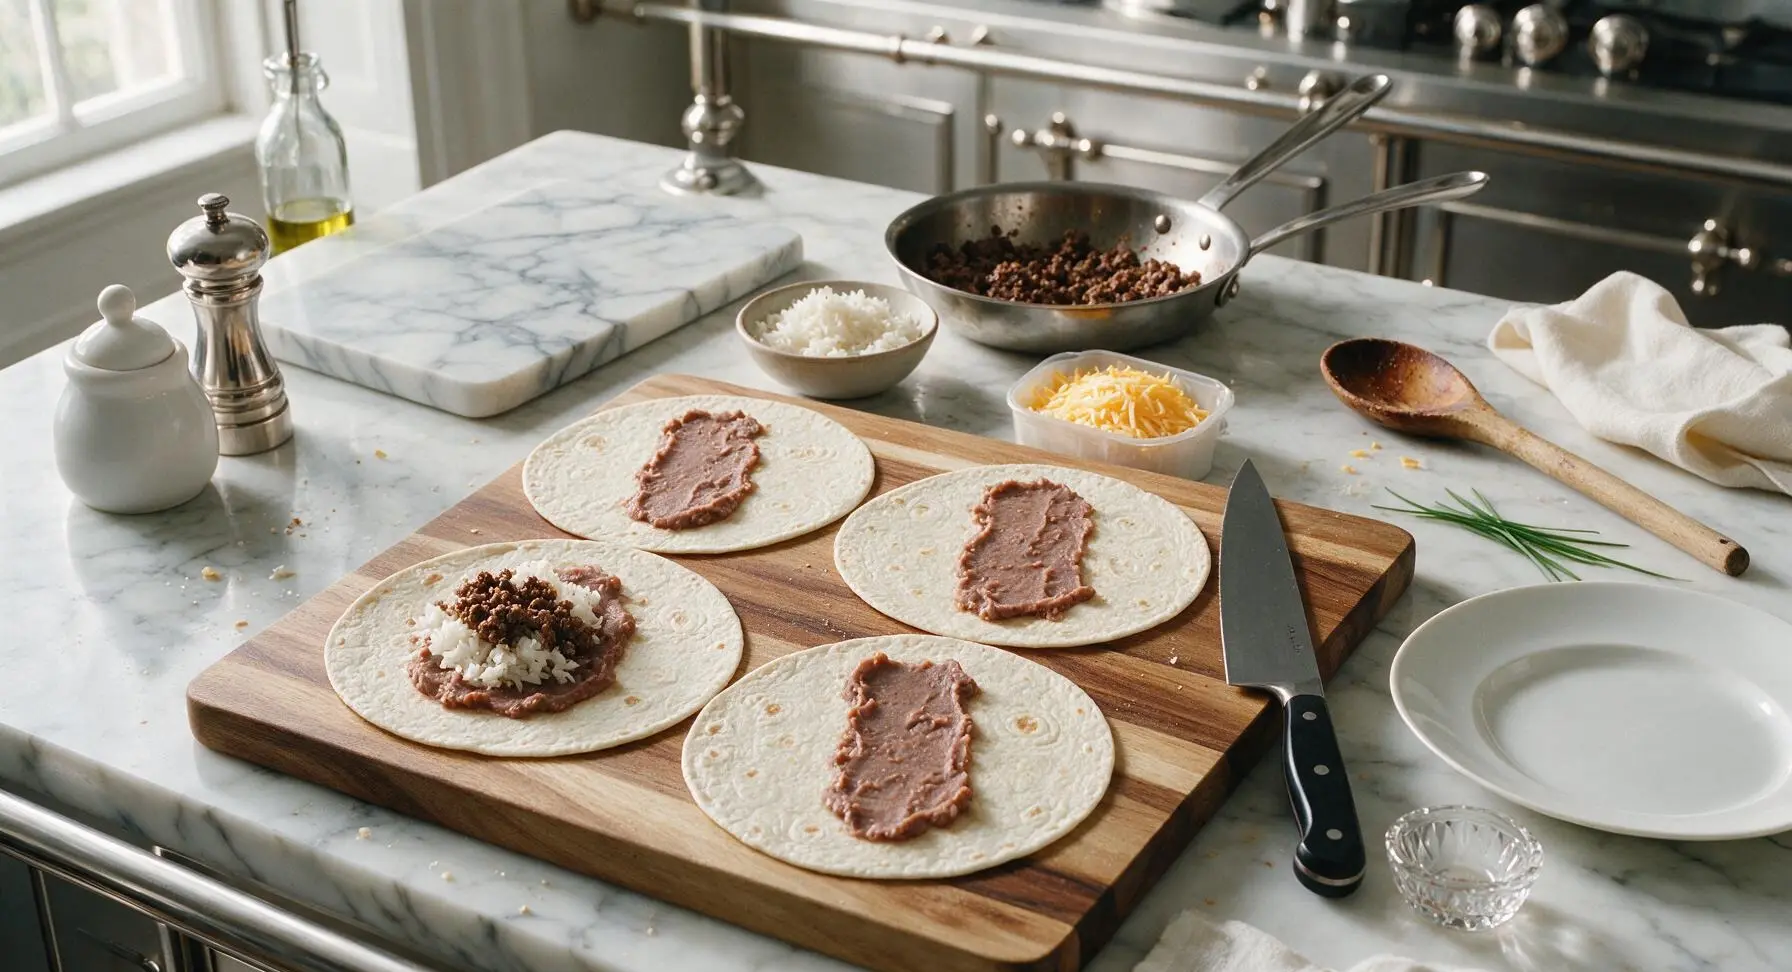
Step 3
step3:Layer Fillings on Tortillas
4

Roll Burritos Tightly

Working one tortilla at a time, fold the 5cm top and bottom clear borders in over the ends of the filling line. Hold the folded edges in place, then roll the tortilla tightly from one long open edge to the other, applying gentle pressure to pack the filling snugly inside, so no filling leaks out during baking. Set each fully rolled burrito seam-side down on the cutting board to hold its closed shape as you finish rolling the remaining burritos.
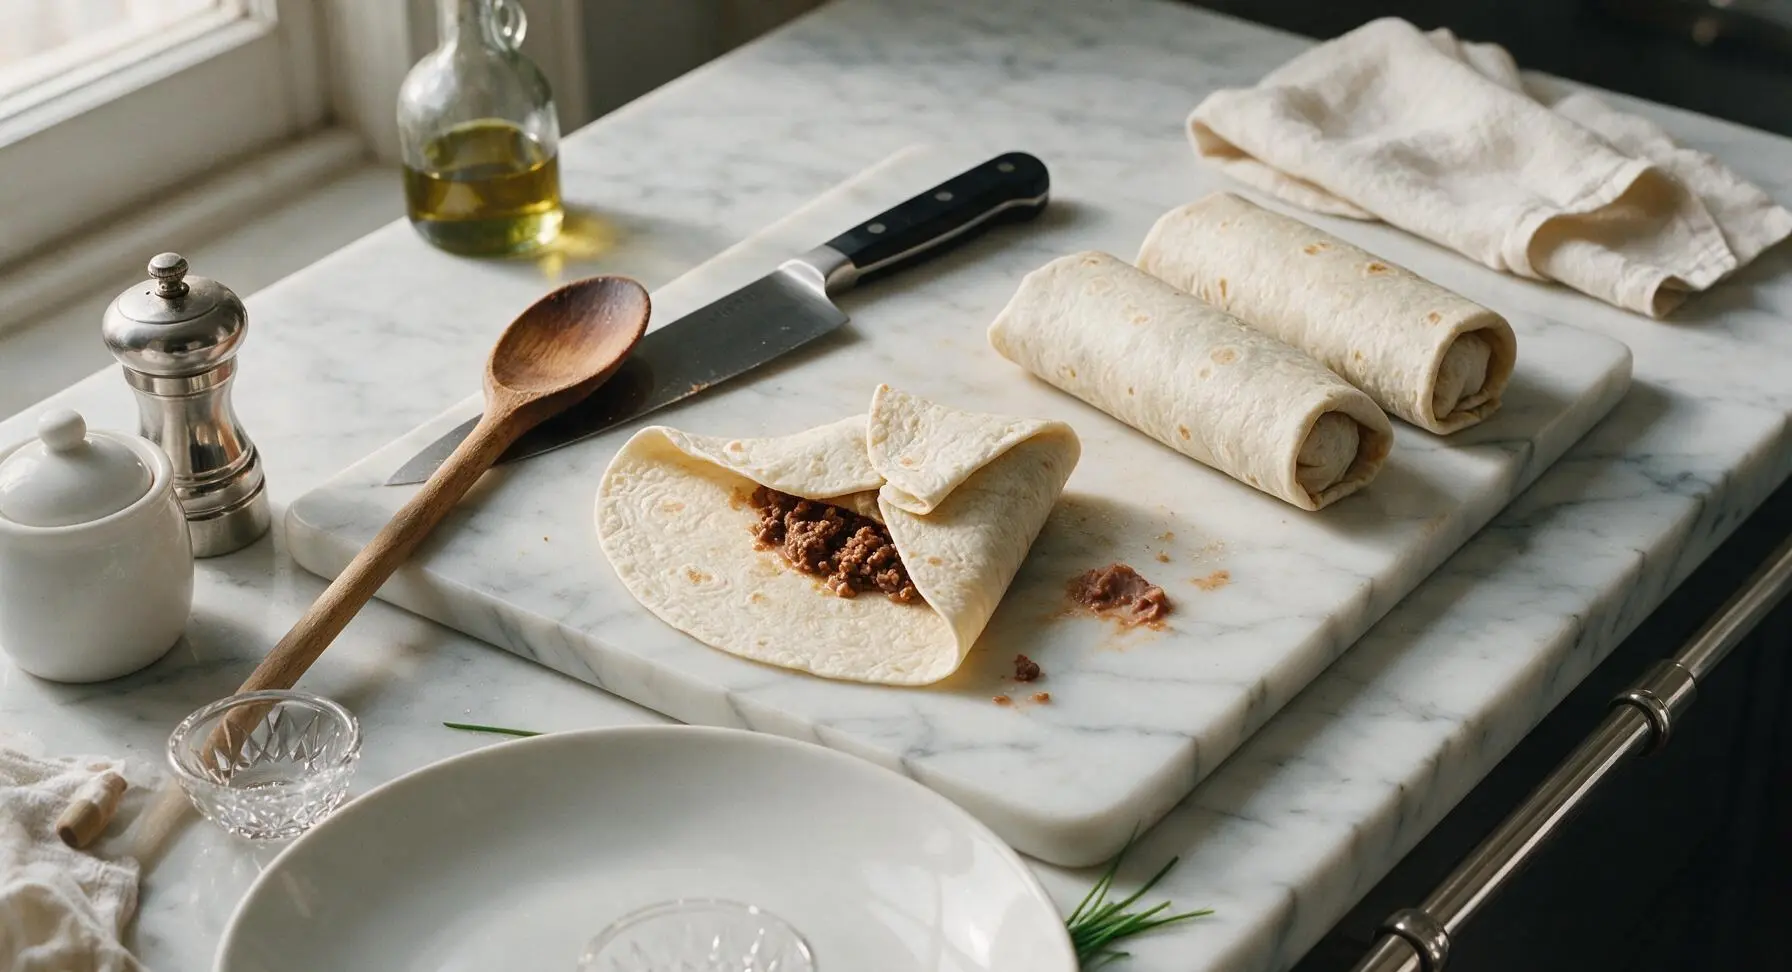
Step 4
step4:Roll Burritos Tightly
5

Arrange on Baking Sheet

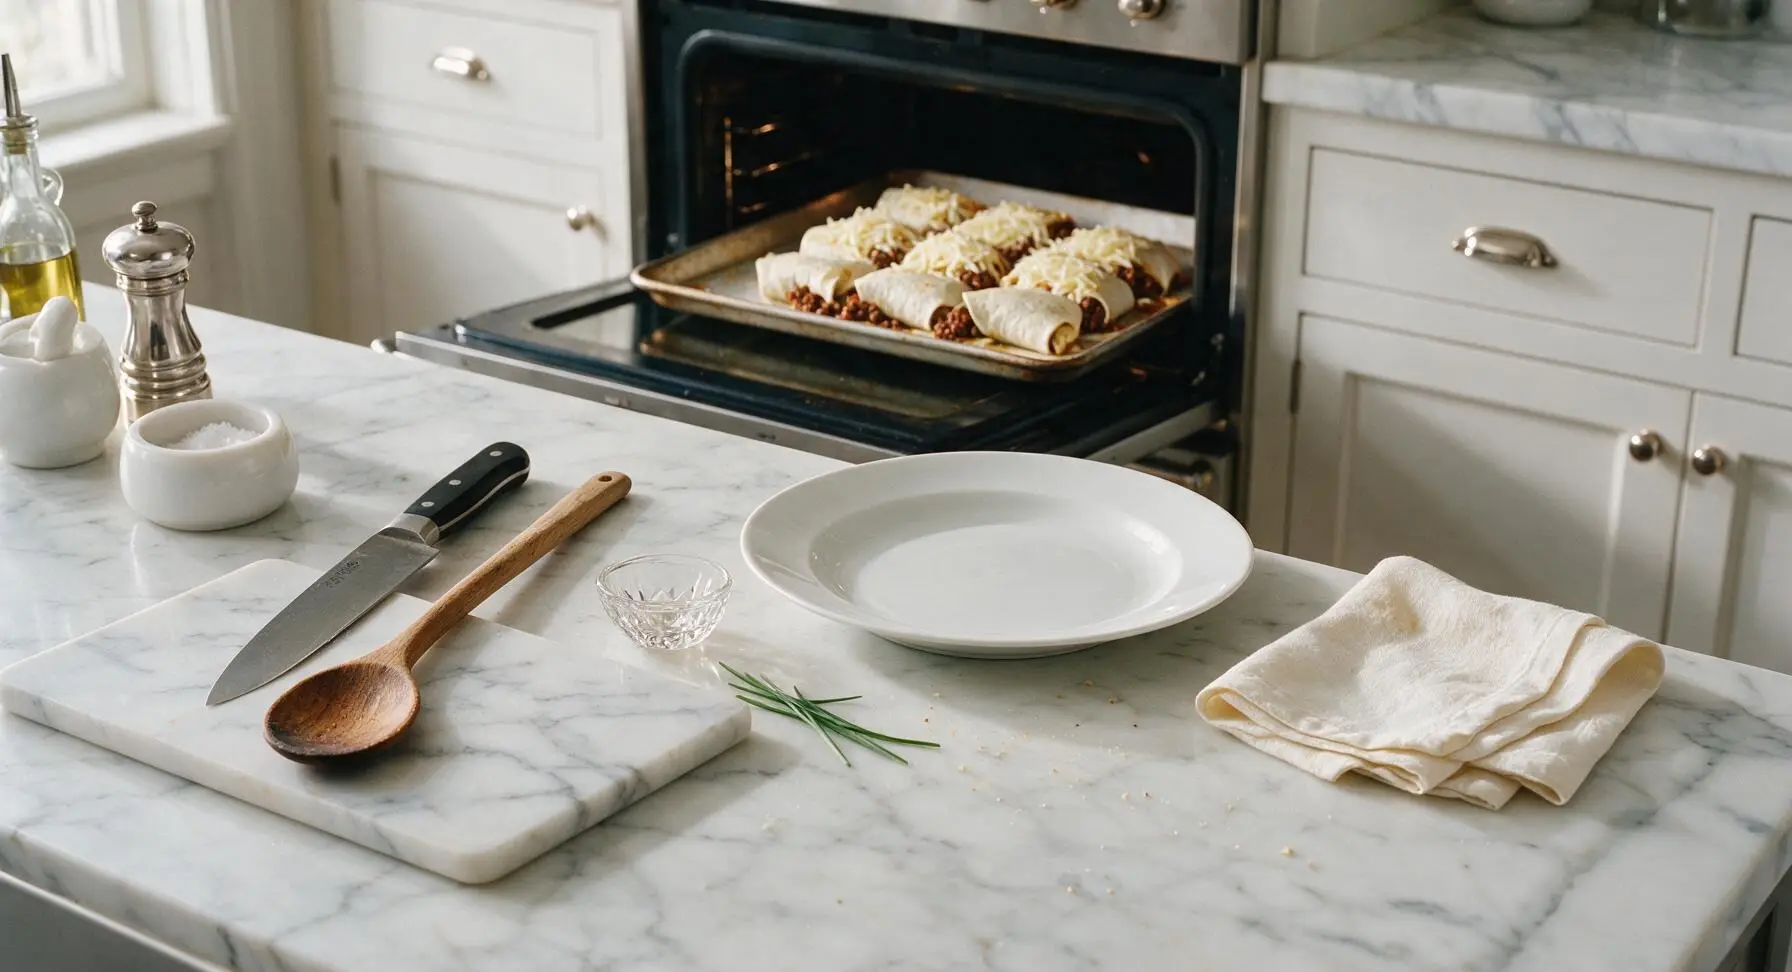
Line the 33x23cm matte carbon steel baking sheet with a sheet of unbleached parchment paper, leaving a 2cm overhang on the long edges for easy cleanup. Place all 4 rolled burritos seam-side down on the lined sheet, spaced 2cm apart to allow hot oven air to circulate around each burrito for even crisping. Sprinkle the remaining 60g (2/3 cup) shredded cheddar cheese evenly over the tops of the burritos.
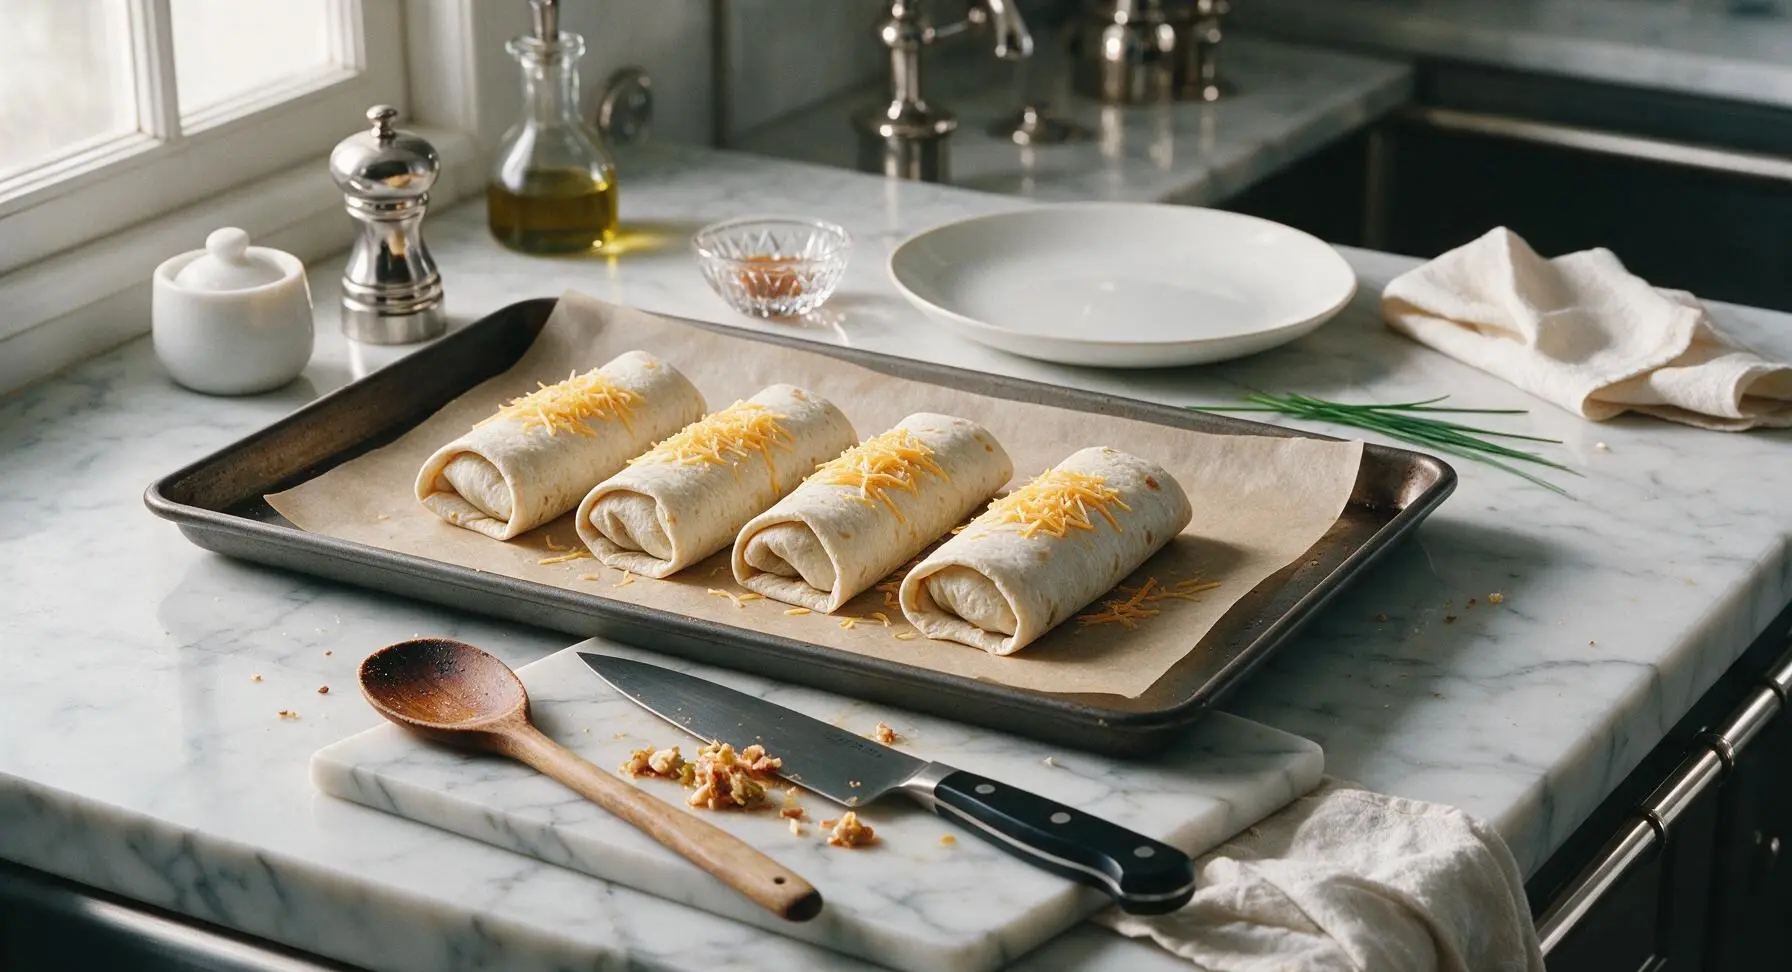
Step 5
step5:Arrange on Baking Sheet
6

Bake Until Golden Crisp

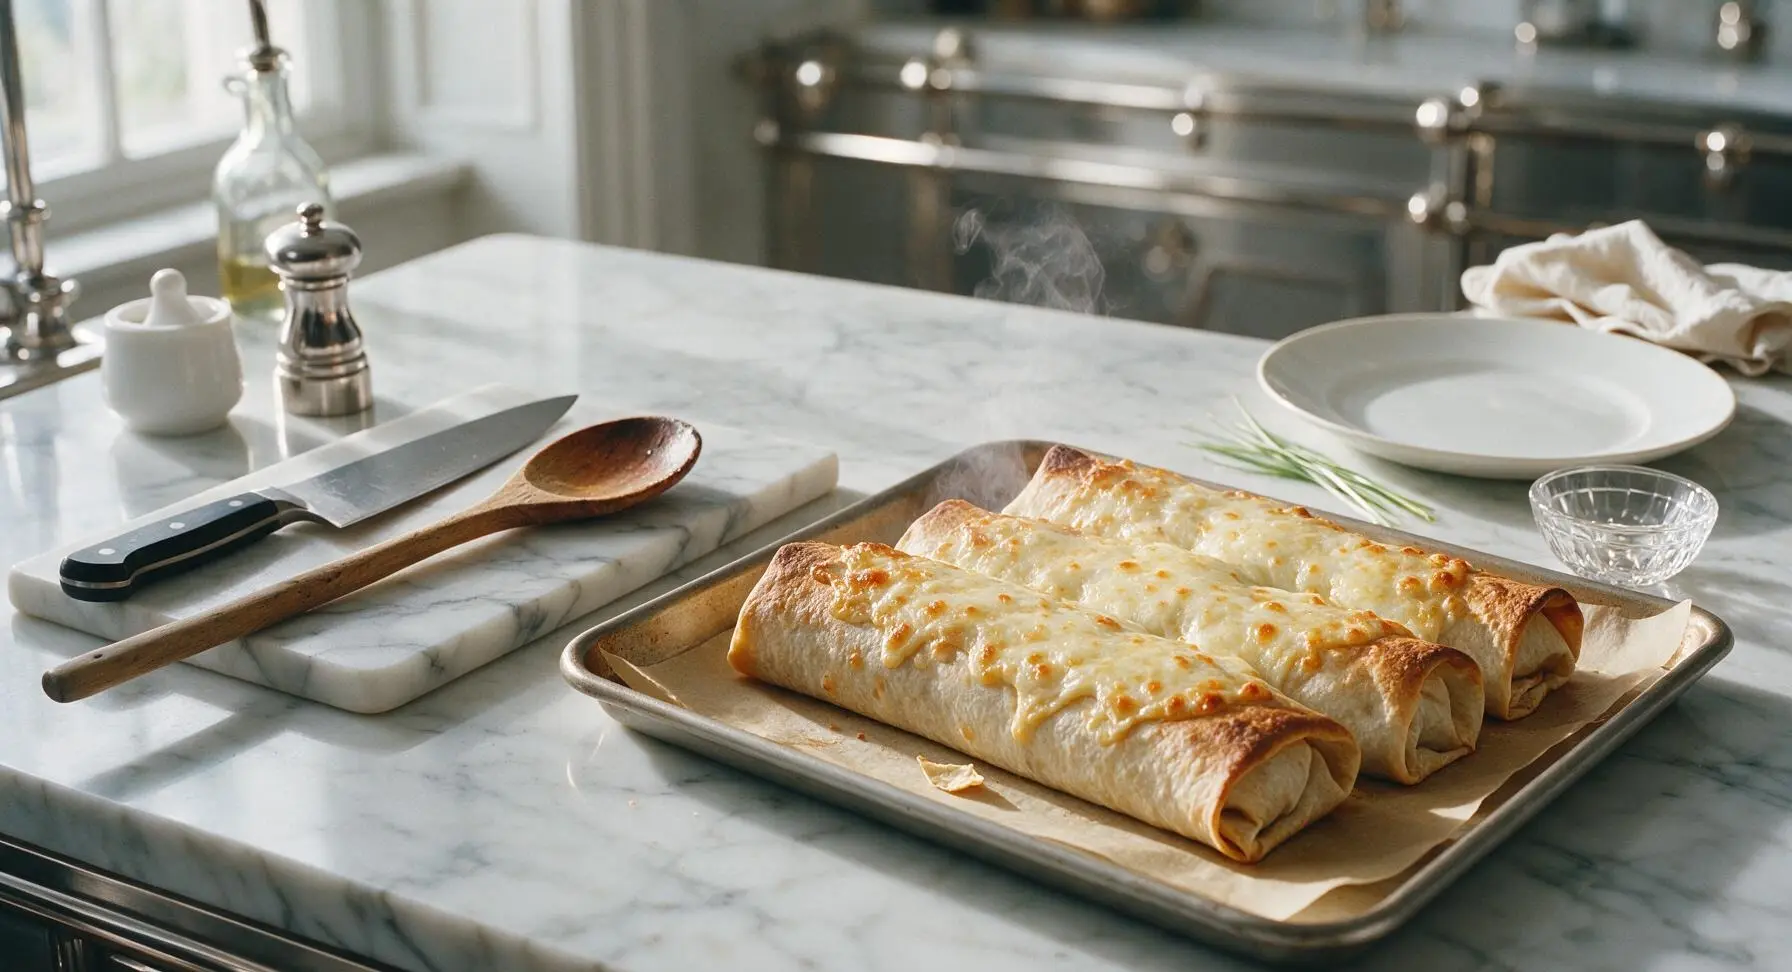
Carefully slide the baking sheet onto the middle rack of the preheated 200°C (400°F) oven. Bake for 18-20 minutes, rotating the sheet halfway through baking for even browning, until tortillas are deep golden brown and slightly crisp on the edges, cheese on top is fully melted and bubbly with light golden brown spots, and the internal temperature of the filling reaches 74°C (165°F). Remove the baking sheet from the oven and let burritos rest for 3 minutes to set the filling before serving.
Step 6
step6:Bake Until Golden Crisp
Step 6
step6:Bake Until Golden Crisp
7

Plate and Garnish to Serve

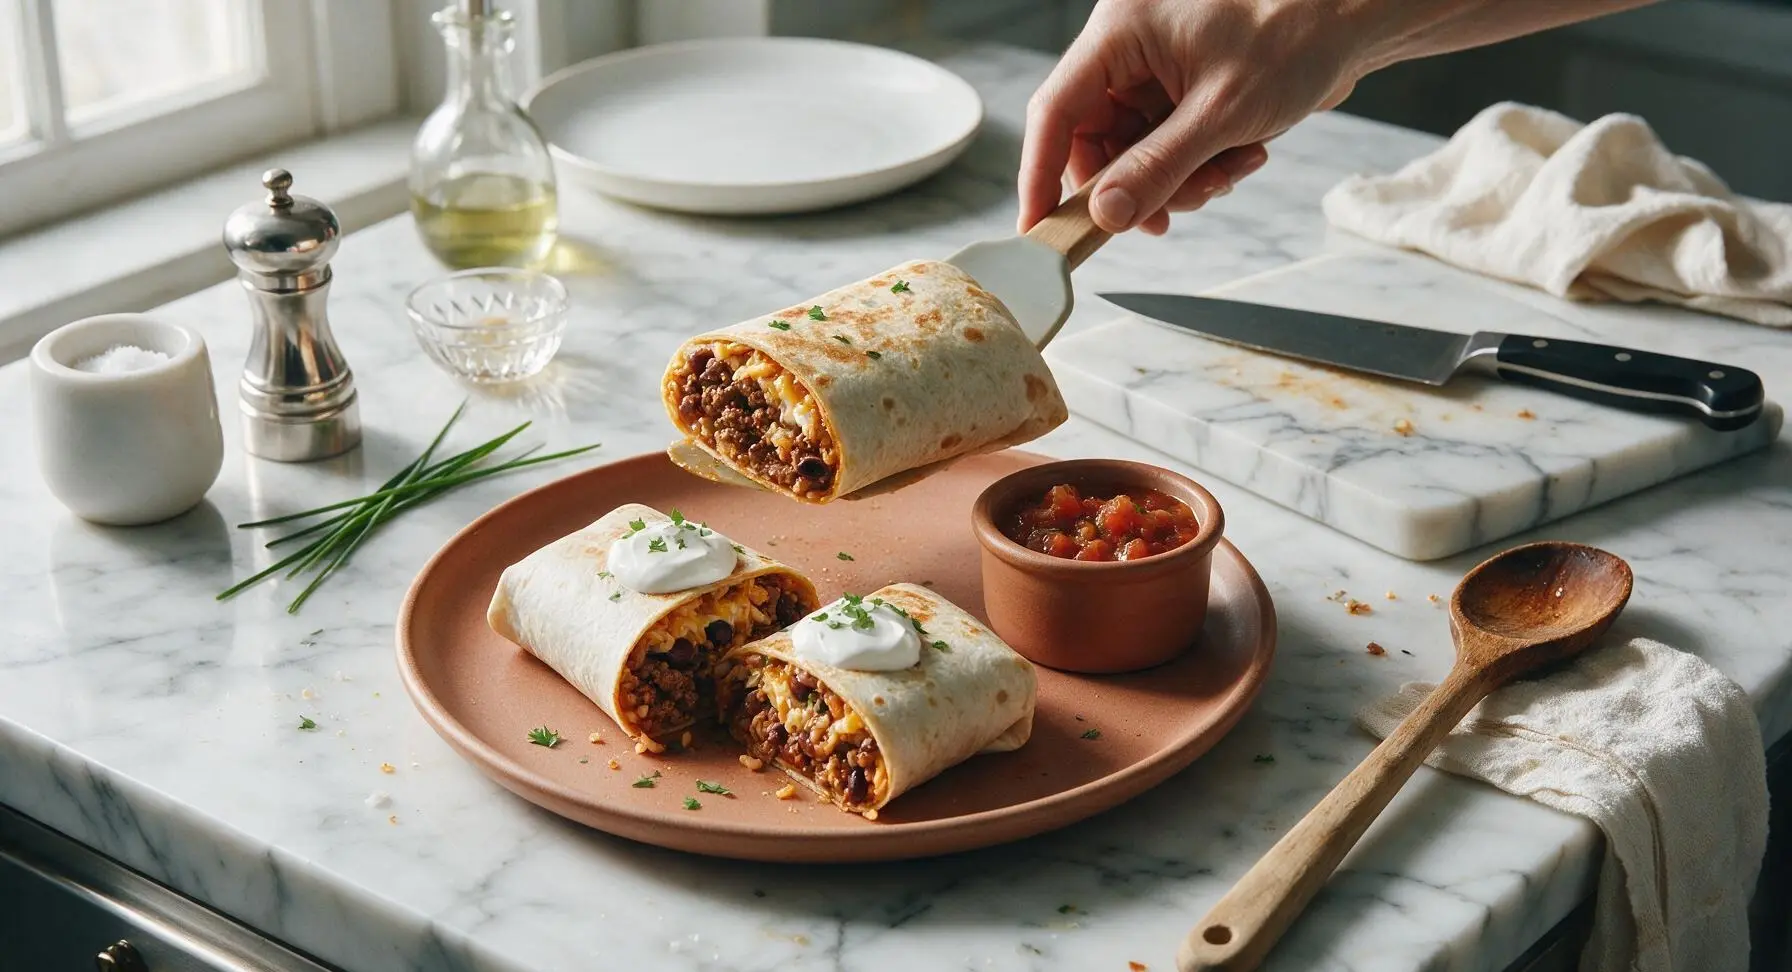
Transfer 2 baked burritos to the matte terracotta dinner plate. Use the chef knife to cut each burrito diagonally in half, angling the cut sides up to show the layered filling. Top each burrito half with a 15g dollop of sour cream, and a light sprinkle of chopped fresh cilantro. Fill the 8cm matte terracotta ramekin with chunky salsa, and set it on the plate beside the burritos for serving.
Step 7
step7:Plate and Garnish to Serve

Tips

1.Warm flour tortillas for 10 seconds in the microwave before assembling: this softens the tortillas to prevent cracking or splitting when rolling tightly, which eliminates filling leaks during baking.
2.Avoid overstuffing burritos: stick to the measured filling amounts per tortilla, as overfilling will cause burritos to burst open in the oven, leaving filling stuck to the parchment and creating unnecessary mess.
3.For an extra-crisp tortilla shell, brush the tops of the rolled burritos with a thin layer of melted butter or olive oil before adding the final cheese sprinkle: this creates a deeper golden, crunchy top instead of a soft, chewy texture.


✨ You May Also Like

Main Course
🍜 United Kingdom

A showstopping classic of tender seared beef, savory mushroom duxelles, and crisp prosciutto wrapped in flaky golden puff pastry, baked to juicy perfection.

⏱️ 2 hours 1Main Course ★ 4.7
Main Course
🍜 India

Tender charred marinated chicken simmered in a rich, spiced creamy tomato sauce, this iconic Anglo-Indian curry pairs perfectly with basmati rice or warm naan.

⏱️ 50 minuteMain Course ★ 4.6
Main Course
🍜 Thailand

Classic tangy, sweet, and savory Thai stir-fried rice noodles with shrimp, tofu, and crunchy garnishes, balancing all five core Thai flavor profiles.

⏱️ 30 minuteMain Course ★ 4.5
Main Course
🍜 United Kingdom

Crispy golden beer-battered cod and fluffy double-fried chips, served with tangy tartar sauce and malt vinegar: the timeless, beloved British pub comfort classic.

⏱️ 45 minuteMain Course ★ 4.7
Main Course
🍜 Mexico

Smoky, chile-marinated pork tacos with caramelized pineapple, fresh cilantro, and lime: a beloved classic Mexican street food perfect for casual summer gatherings.

⏱️ 1 hour 45Main Course ★ 4.8
Main Course
🍜 United States

Crunchy Fritos corn chips layered with savory beef chili and melted cheddar, topped with cool, zesty fixings for a beloved, cozy Tex-Mex comfort food.

⏱️ 35 minuteMain Course ★ 4.8

oven burritos with ground beef:Frequently Asked Questions

1.Why do my baked burritos turn out soggy instead of crisp on the outside? ▾
Sogginess usually stems from overstuffing, excess moisture in fillings, or trapped steam while baking. Drain all rendered grease from cooked ground beef, pat extra-runny refried beans lightly before adding, arrange burritos seam-side down on a greased baking sheet, and bake uncovered at 400°F so hot air circulates to crisp tortillas evenly.
2.Can I prep these burritos ahead of time for busy weeknights? ▾
Absolutely! Assemble burritos fully, wrap each tightly in plastic wrap, and store in the fridge for up to 3 days, or freeze for up to 3 months. When ready to bake, unwrap and place on a baking sheet—add 5-10 minutes to bake time for refrigerated burritos, 15-20 for frozen, no thawing required.
3.How do I keep burritos from bursting open while they bake? ▾
Overstuffing is the most common cause of burst burritos. Stick to roughly ½ cup of total filling per 10-inch flour tortilla to leave enough room to fold. Tuck in the short sides first, roll tightly from the long edge, and set burritos seam-side down on the baking sheet so their own weight holds the seal shut.
4.Can I use a fattier ground beef blend instead of the recommended 90/10 lean? ▾
You can, but you’ll need to take an extra step to avoid soggy tortillas. If using 80/20 or another higher-fat blend, fully drain all rendered grease after browning, and even blot the beef with paper towels to remove excess fat before seasoning, so grease doesn’t seep into the tortilla as it bakes.
5.Should I cover the burritos with aluminum foil while they bake? ▾
Skip the foil if you want that signature crisp, golden tortilla exterior! Foil traps steam, which will soften tortillas and leave them soggy instead of crisp. Bake burritos uncovered on your middle oven rack at 400°F for 18-22 minutes, until edges are lightly golden and fillings are hot all the way through.
6.Can I replace the refried beans with another type of bean? ▾
Of course! Refried beans add a classic creamy, binding texture, but you can easily swap them for drained, rinsed black beans, pinto beans, or seasoned charro beans if you prefer. Just note whole beans have less starchy binding power, so use a slightly smaller portion to keep fillings from spilling as you roll.
7.How do I make sure the cheddar cheese is fully melted with no cold clumps? ▾
Shred your own sharp cheddar instead of using pre-shredded cheese, which is coated in anti-caking agents that melt less smoothly. Layer a small amount of cheese directly against the tortilla on both sides of the beef, rice, and bean filling, so it melts evenly from the outside in as the burrito bakes.
8.How do I know when the burritos are fully done baking? ▾
Since all the core fillings—cooked ground beef, rice, and beans—are pre-cooked before rolling, you just need to heat fillings to a food-safe 165°F, measured with an instant-read thermometer in the center of the thickest burrito. The tortilla should be crisp and lightly golden at the edges when ready.
9.Can I add extra vegetables to the filling without ruining the texture? ▾
You absolutely can, just cook high-moisture veggies first to remove excess water. Sautéed bell peppers, onions, sweet corn, or diced green chiles work beautifully, but pat them dry with paper towels after cooking to avoid soggy tortillas. Stick to 2 tablespoons of extra veggies per burrito to avoid overstuffing.
10.How do I store leftovers and reheat them to keep the tortilla crisp? ▾
Let leftover baked burritos cool completely, then wrap each individually in foil and store in the fridge for up to 4 days. To reheat, unwrap the foil, place burritos on a baking sheet, and bake at 375°F for 10-12 minutes until hot. Skip the microwave—it will turn crisp tortillas chewy and soggy fast.

Comments (3)

2 days ago

OMG these oven-baked ground beef burritos are a total game changer for our weeknight family dinners! I threw them together after work in like 10 minutes of prep, popped them in the oven, and my 3 kids devoured them before I even got a second one on my plate. I added a little extra taco seasoning and a handful of frozen corn to the beef mix, and they came out perfectly crispy on the outside with zero soggy tortillas — win! 10/10 will be adding this to our regular meal prep rotation.

yesterday

Wait did you wrap them in foil or put them straight on the baking sheet? I tried baking burritos once a couple weeks ago and they got rock hard on the edges, would love to nail that perfect crispy but not tough texture you got!

yesterday

Great question! We recommend placing them seam-side down on a parchment-lined baking sheet (no foil needed!) and brushing the tops with a tiny bit of olive oil to get that perfect crispy outside without rock-hard edges. So stoked these are a hit with your kids!

1 week ago

Made these for a potluck at my office last week and people were asking me for the recipe left and right! Super easy to throw together, the 30 minute cook time is totally accurate which was a total lifesaver because I was running late that morning. I mixed a can of rinsed black beans in with the ground beef to stretch the filling a little, and they held up great even after sitting in the break room for an hour before we ate. Only thing I’ll do different next time is add a little dollop of sour cream inside before rolling — they’re SO good even without it though.

5 days ago

Love that these were a potluck win! Mixing in black beans is such a smart, budget-friendly trick to stretch the filling, we do that all the time too. The sour cream addition sounds absolutely chef’s kiss, thanks for sharing your fun tweak!

30 minutes ago

As someone who can barely boil pasta without messing it up, I was shocked how easy these turned out! Grabbed a pack of ground beef on sale at the grocery store, had tortillas and taco seasoning sitting in my pantry already, and cranked out 6 burritos that I’ve been eating for lunches all week. Way better than the sad fast food burritos I usually grab between classes, and my roommate even stole two and said they were fire. Will absolutely be making these on repeat for quick, cheap meals.



