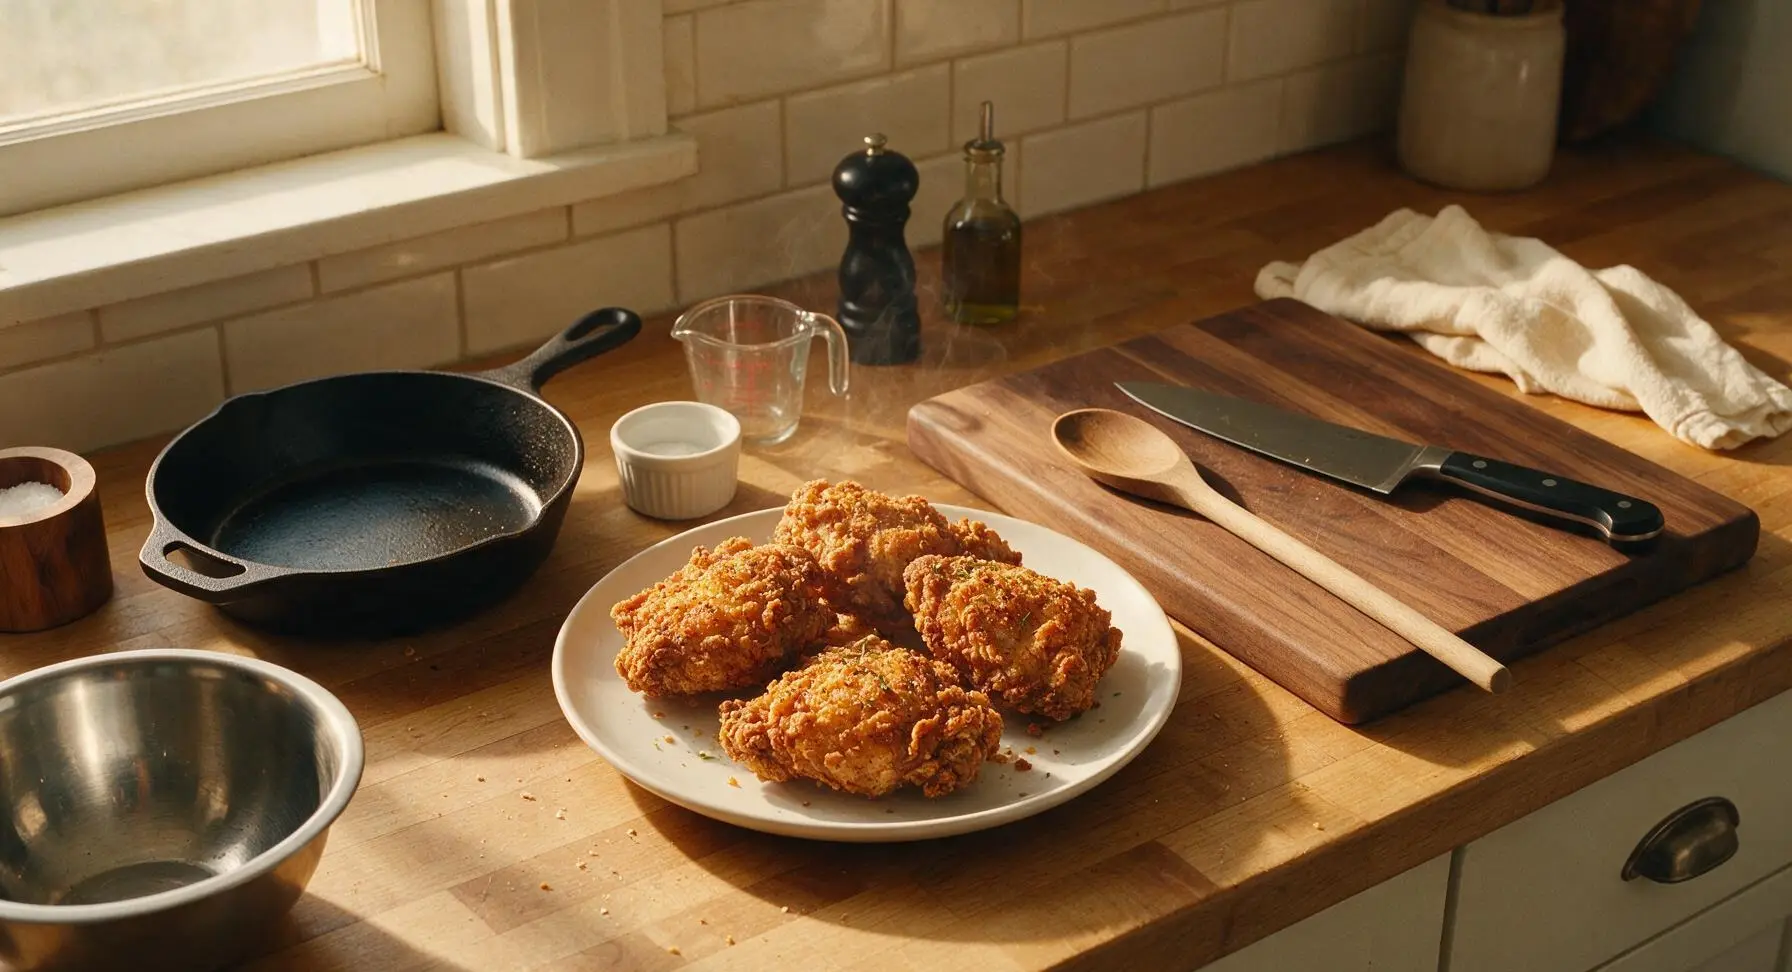
Oven Fried Chicken

Oven Fried Chicken
⏱️ cook time 45 minutes
🍽️ servings 4
⚡ Difficulty easy

intro

Crispy, craggy golden spiced chicken with juicy, tender meat, no deep frying required. This lighter Southern classic delivers all the crunch of traditional fried chicken with half the mess.

Ingredients
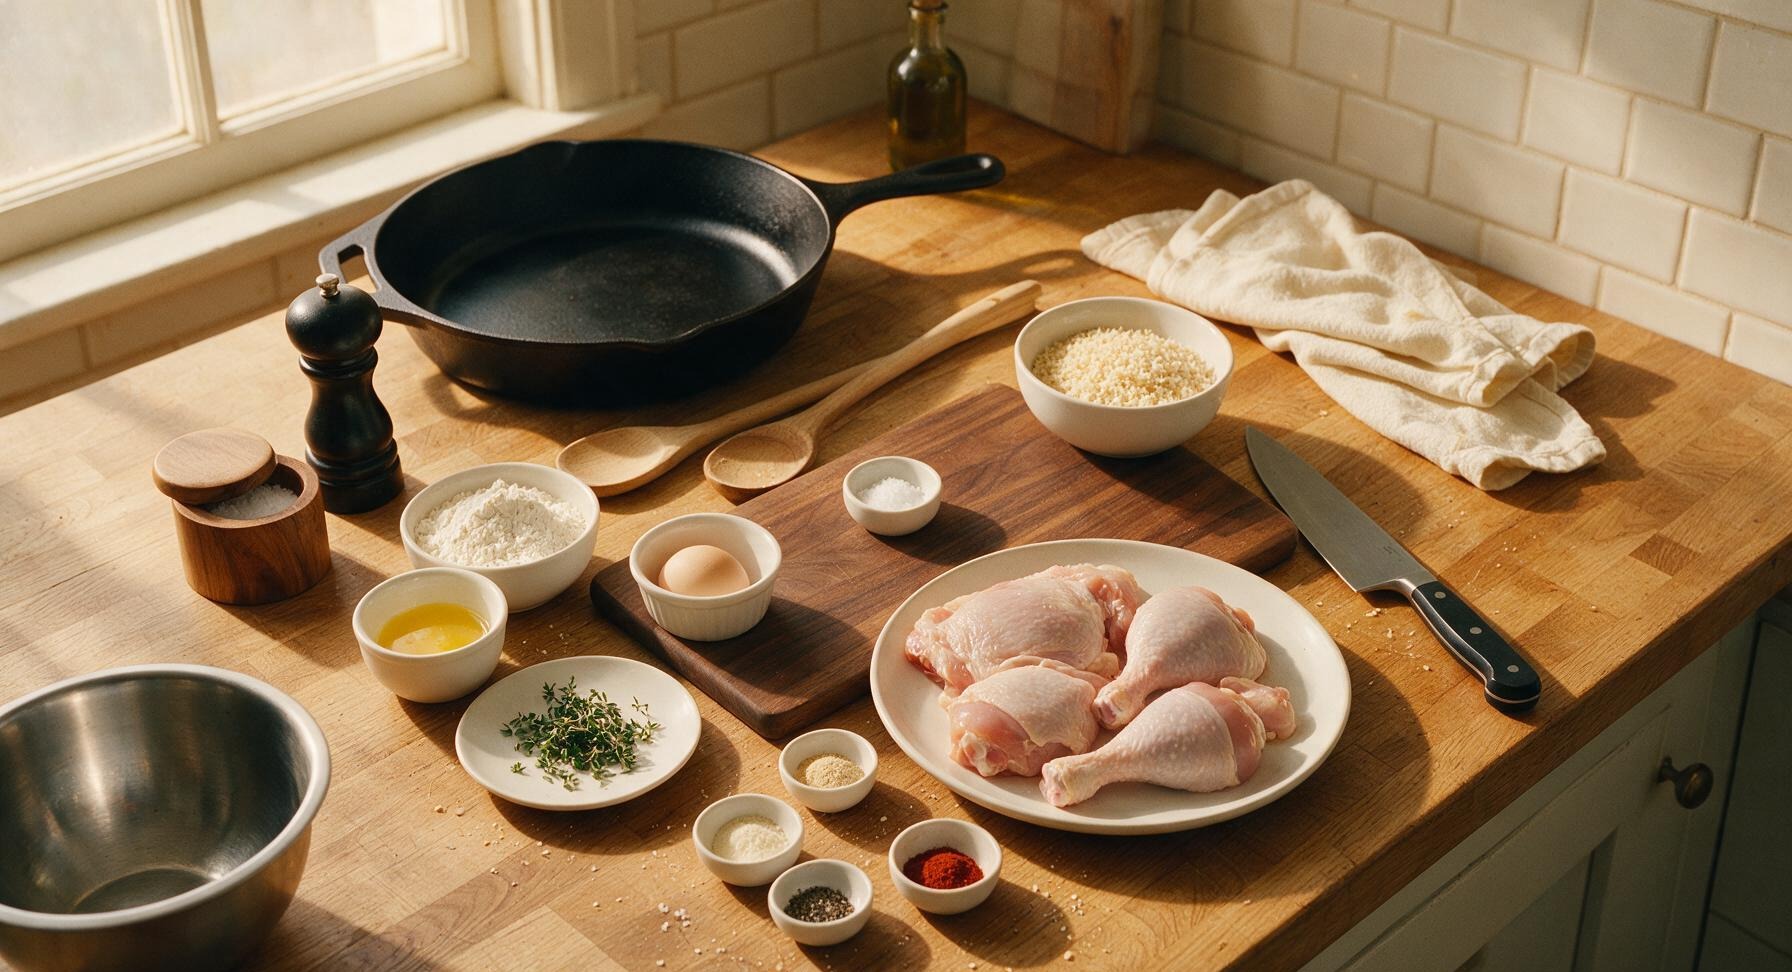
Bone-in, skin-on chicken pieces (2 thighs, 2 drumsticks) 1.2 kg (approx 2.6 lbs)
All-purpose flour 120g (1 cup)
Panko breadcrumbs 80g (1 cup)
Large egg 1 unit
Unsalted butter, melted 3 tbsp (42g)
Kosher salt 1.5 tsp
Garlic powder 1 tsp
Onion powder 1 tsp
Smoked paprika 1 tsp
Freshly ground black pepper 0.5 tsp
Cayenne pepper (optional) 1/4 tsp
Fresh thyme leaves, chopped 1 tsp
Non-stick canola oil cooking spray 2-second spray

Steps

1

Prep Oven and Chicken

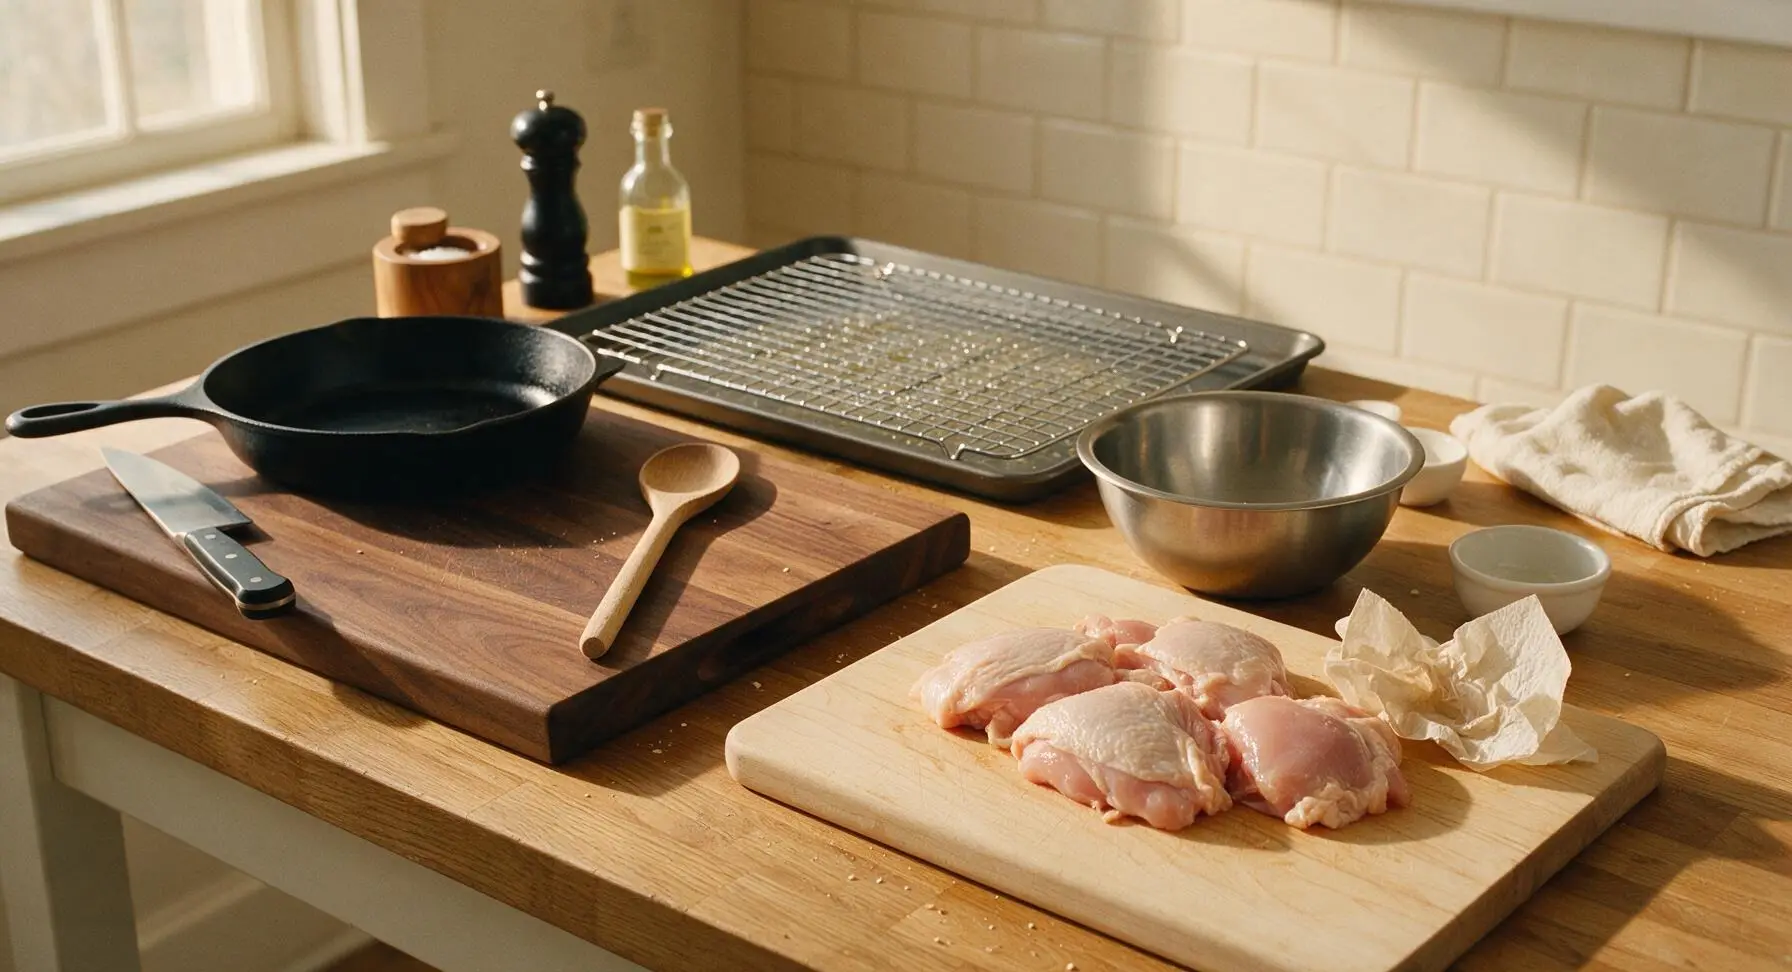
Adjust your oven rack to the middle position, then preheat oven to 220°C (425°F). Set the chrome wire rack inside the dark grey rimmed baking sheet, and coat the rack lightly with non-stick cooking spray to prevent sticking. Place all chicken pieces on the birch cutting board, and pat every surface completely dry with unbleached paper towels—dry skin and breading adherence starts with zero surface moisture. Set prepared pan aside.
Step 1
step1:Prep Oven and Chicken
2

Mix Breading Coating

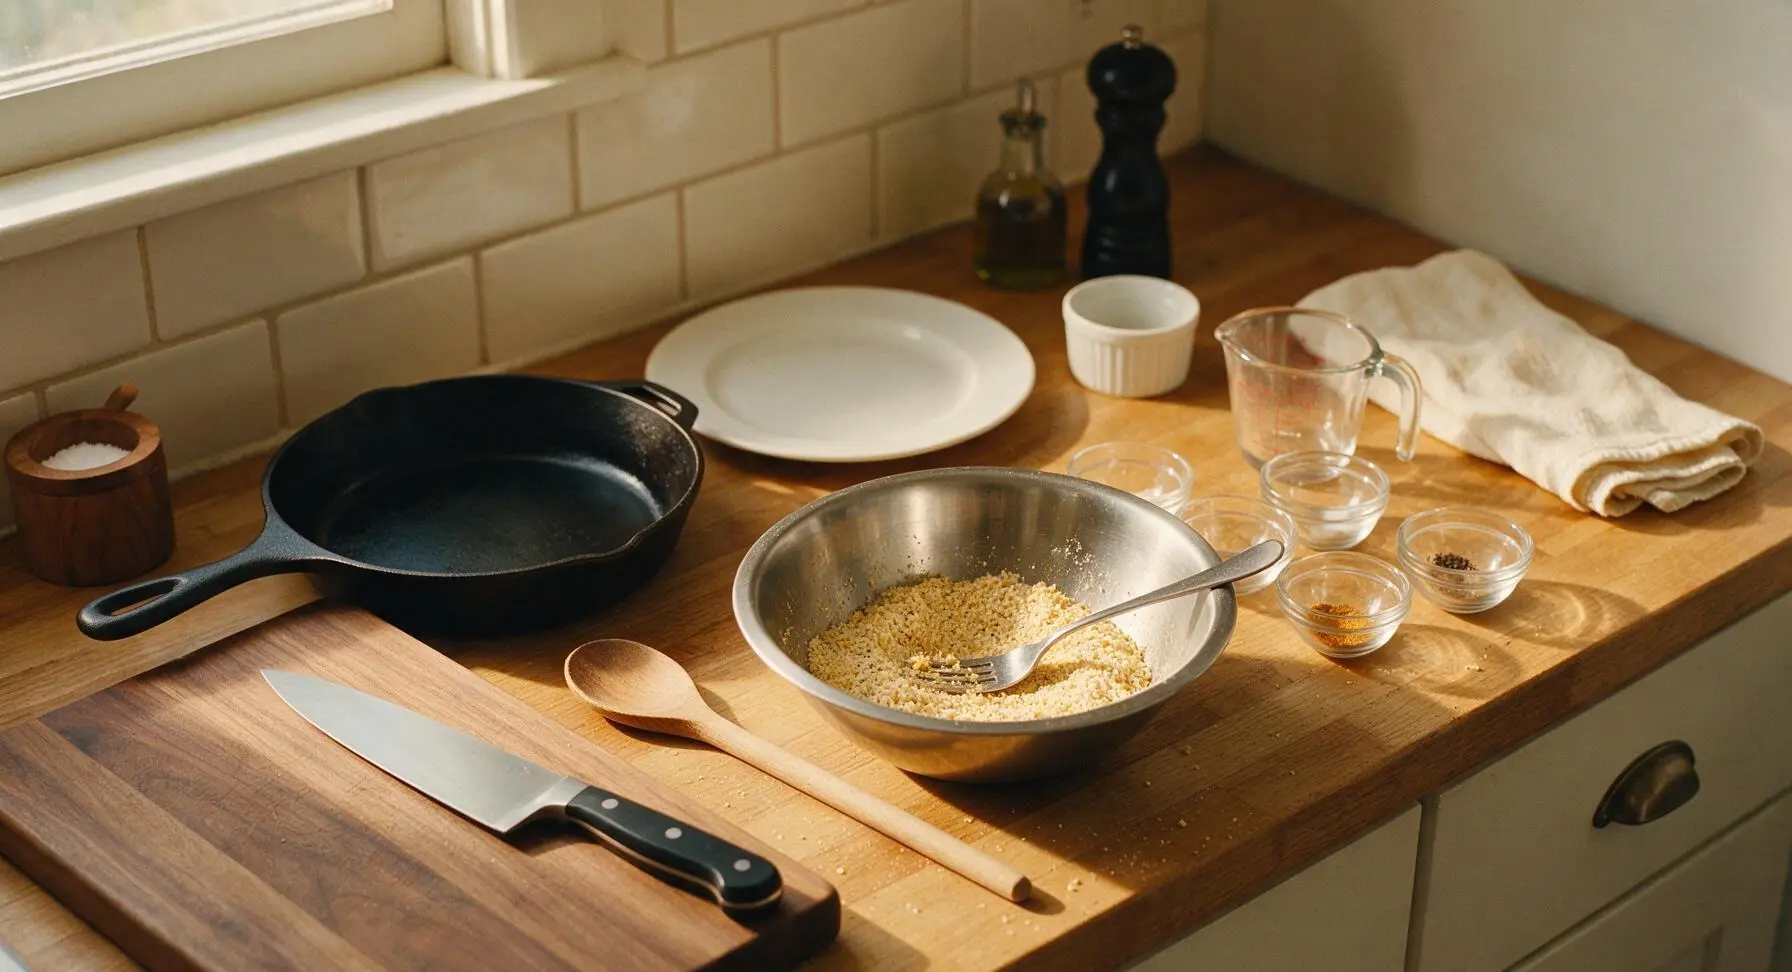
In the medium brushed stainless steel mixing bowl, combine the all-purpose flour, panko breadcrumbs, kosher salt, garlic powder, onion powder, smoked paprika, black pepper, optional cayenne, and chopped fresh thyme. Stir thoroughly with a stainless steel dinner fork for 30 seconds until all spices are evenly distributed through the crumb mixture, with no concentrated clumps of spice remaining.
Step 2
step2:Mix Breading Coating
3

Whisk Egg Wash

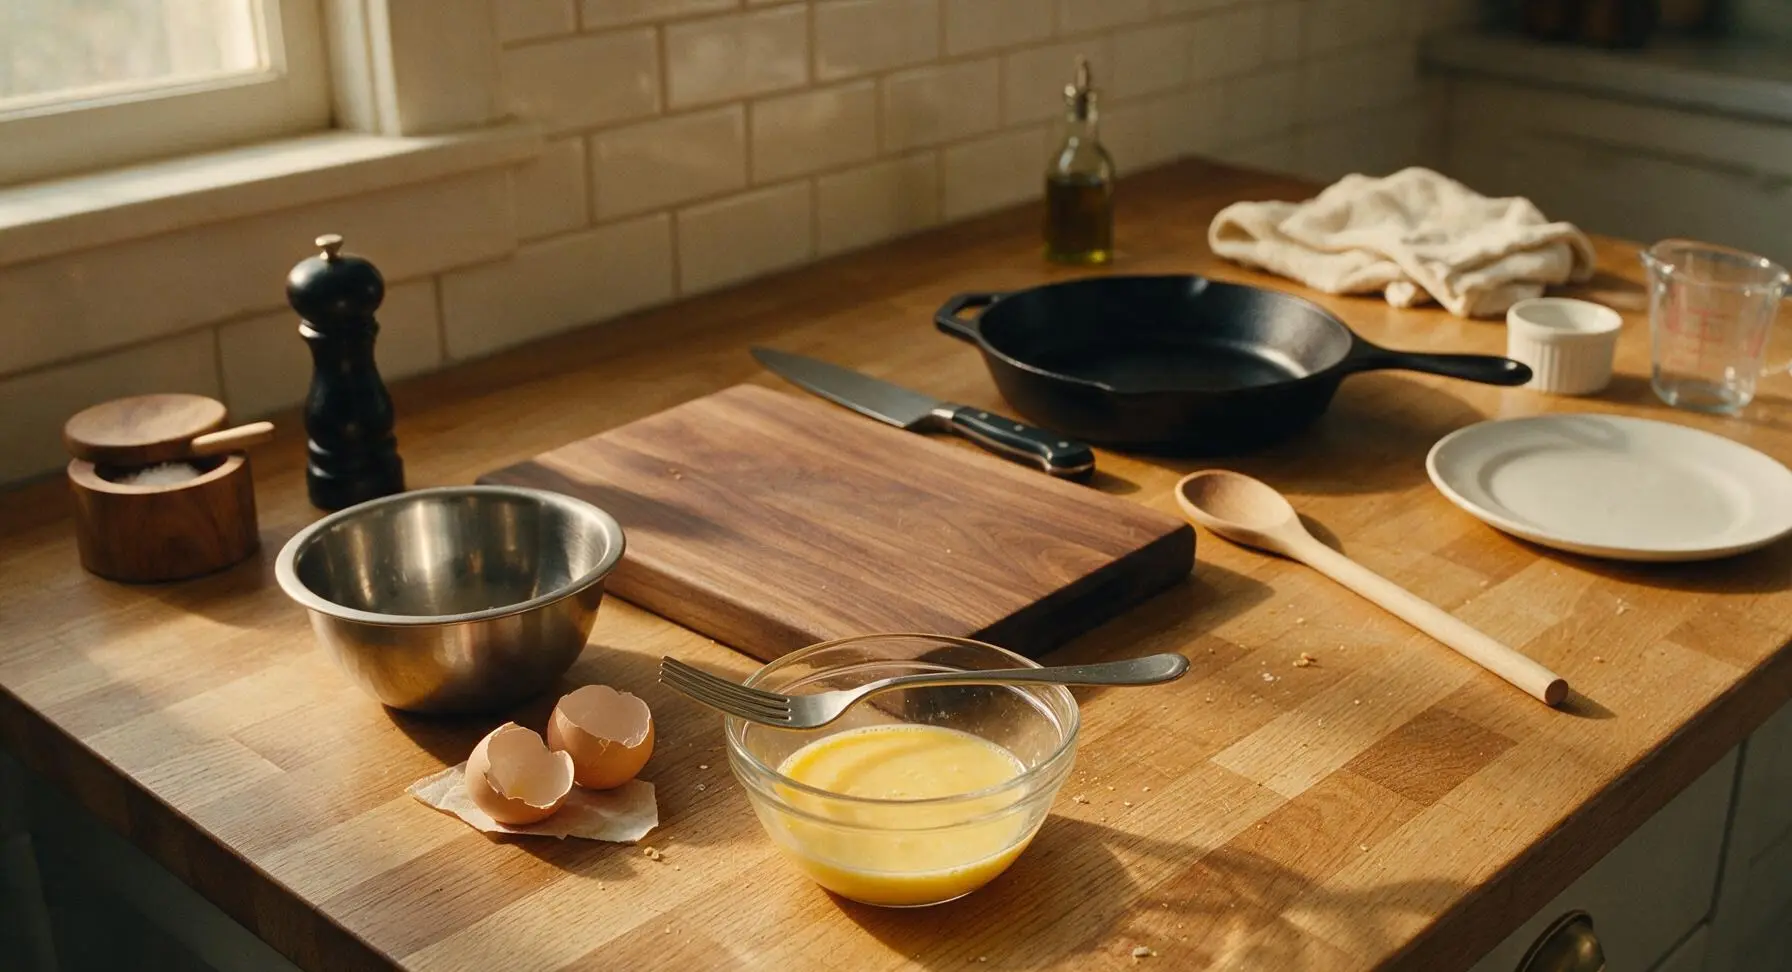
Crack the large egg into a separate small clear glass prep bowl, add 1 tablespoon (15ml) of cold water, and whisk vigorously with a dinner fork for 20 seconds until yolk and white are fully combined into a smooth, pale yellow liquid with no visible streaks.
Step 3
step3:Whisk Egg Wash
4

Bread Chicken Evenly

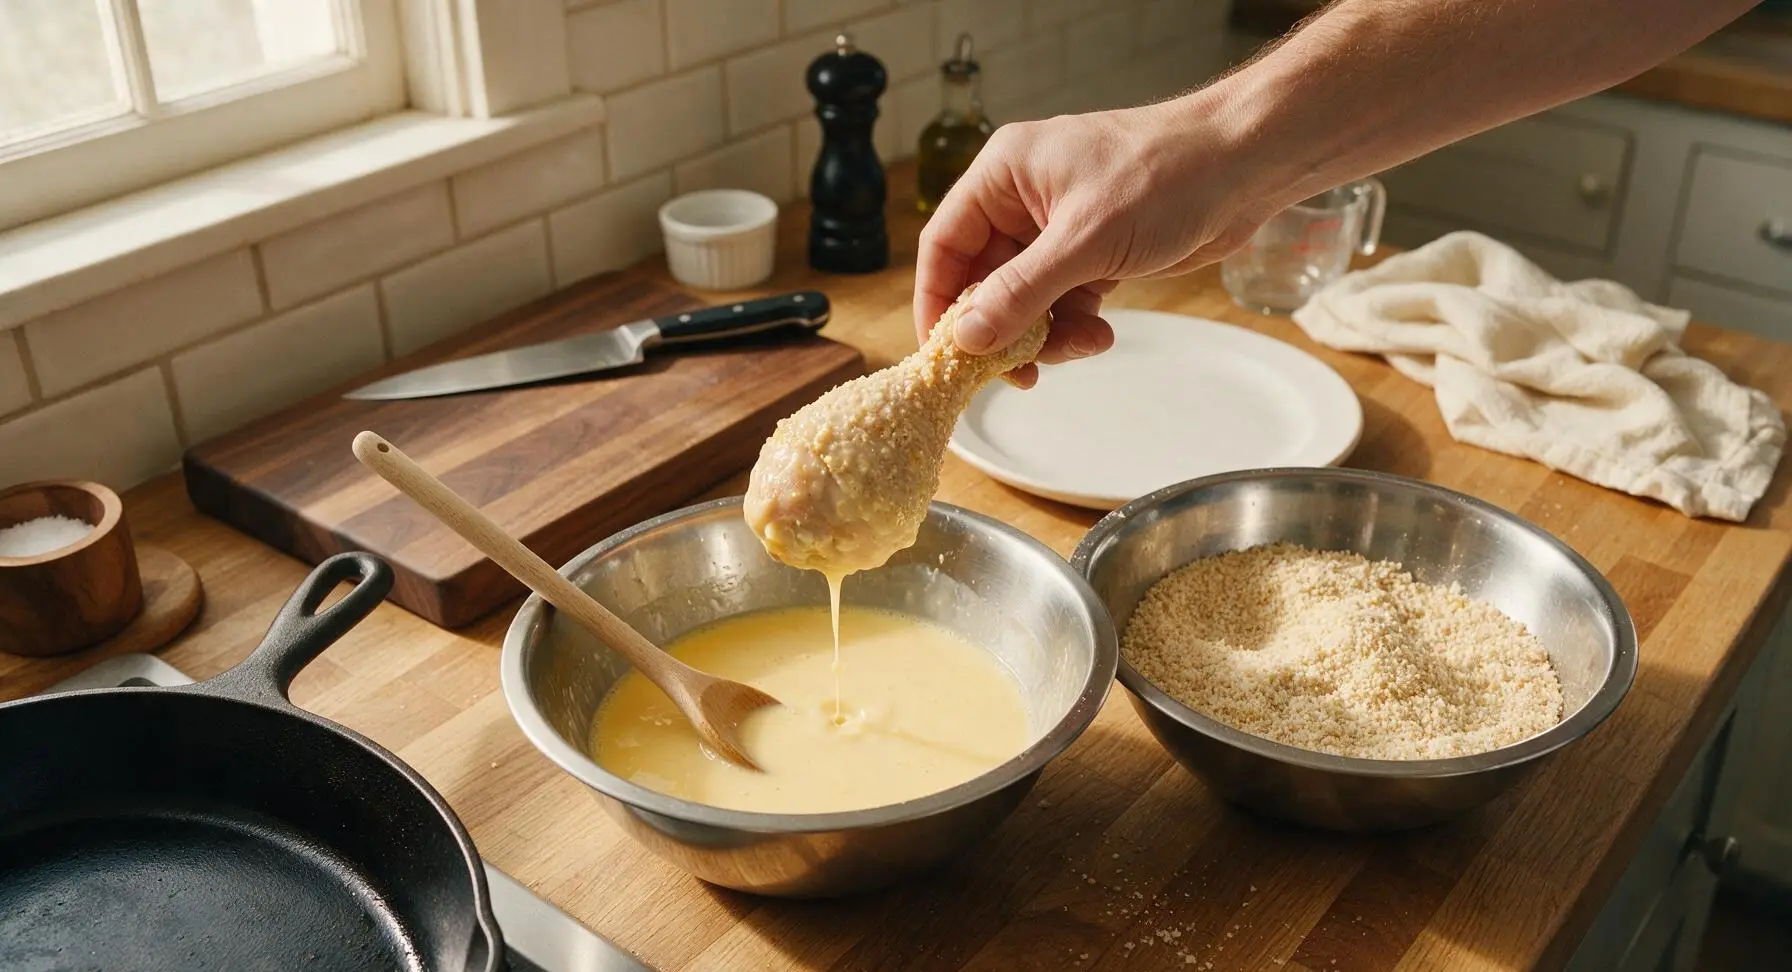
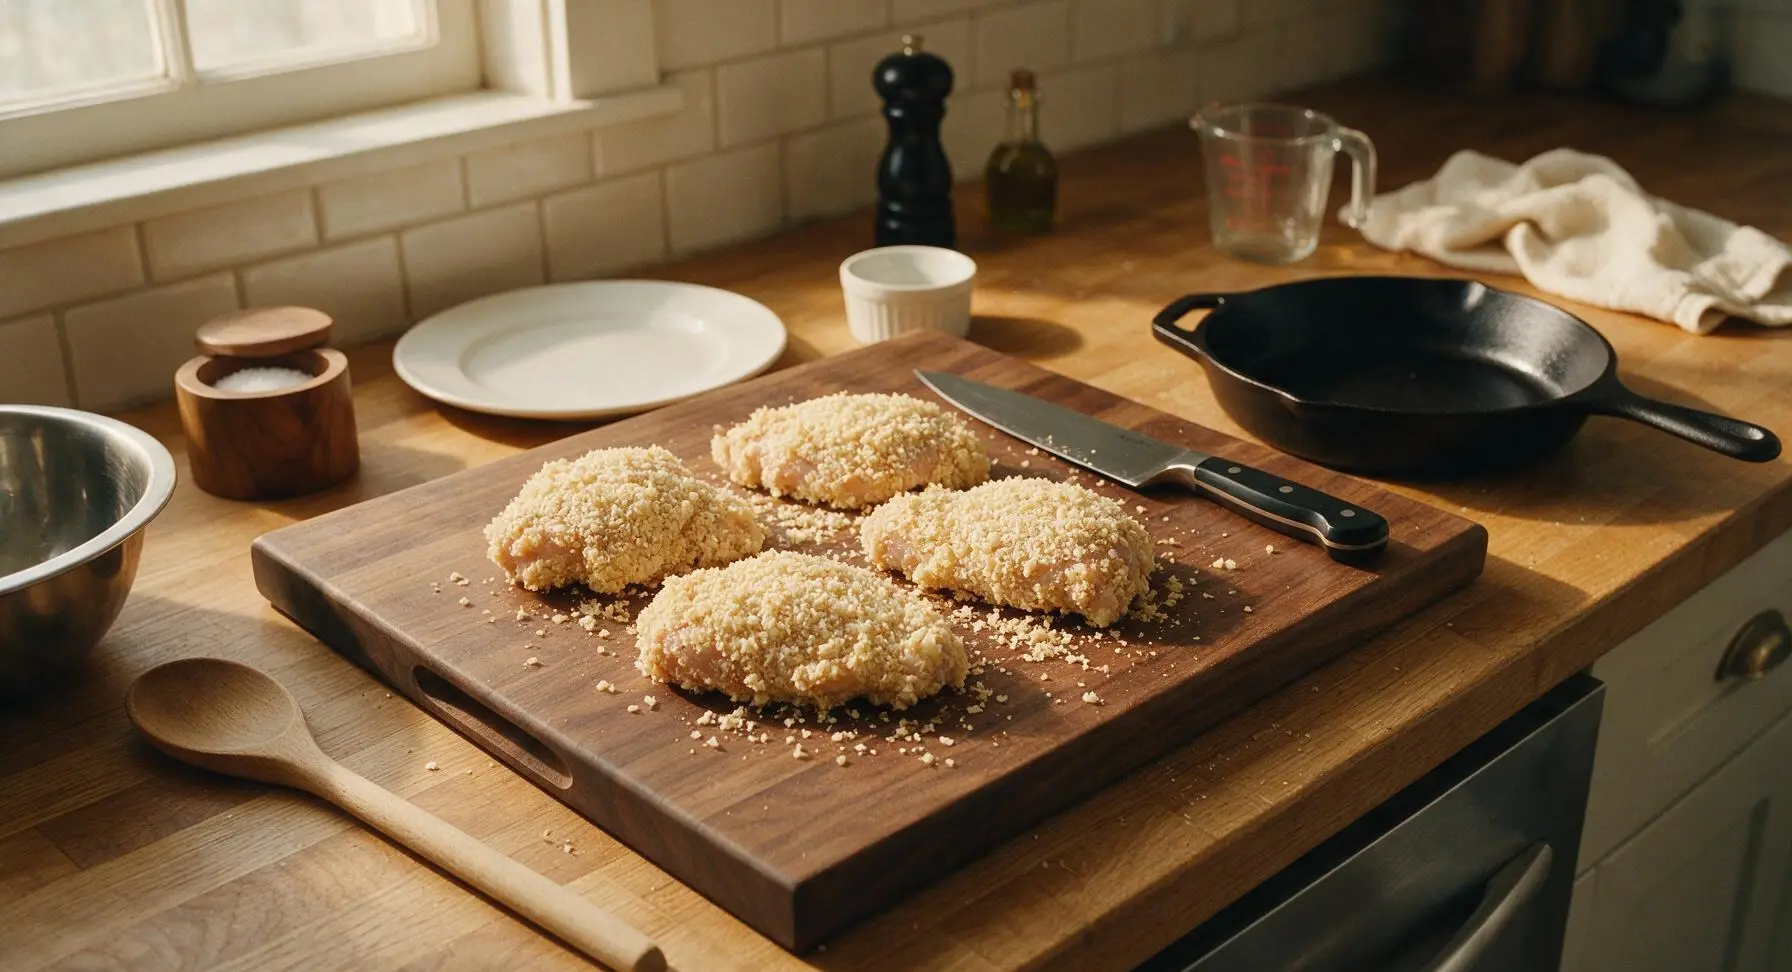
Working one piece at a time, dip a dried chicken piece fully into the egg wash, turning to coat every surface, and hold it above the bowl for 3 seconds to let excess egg drip off. Transfer the egg-coated chicken to the breading mixture, and press crumbs firmly onto all sides (including tucked edges of skin) until the piece is covered in a thick, even, craggy layer of coating. Shake off loose excess crumbs gently, then set the coated piece on the clean edge of the birch cutting board. Repeat with all chicken pieces.
Step 4
step4:Bread Chicken Evenly
Step 4
step4:Bread Chicken Evenly
5

Arrange on Baking Rack

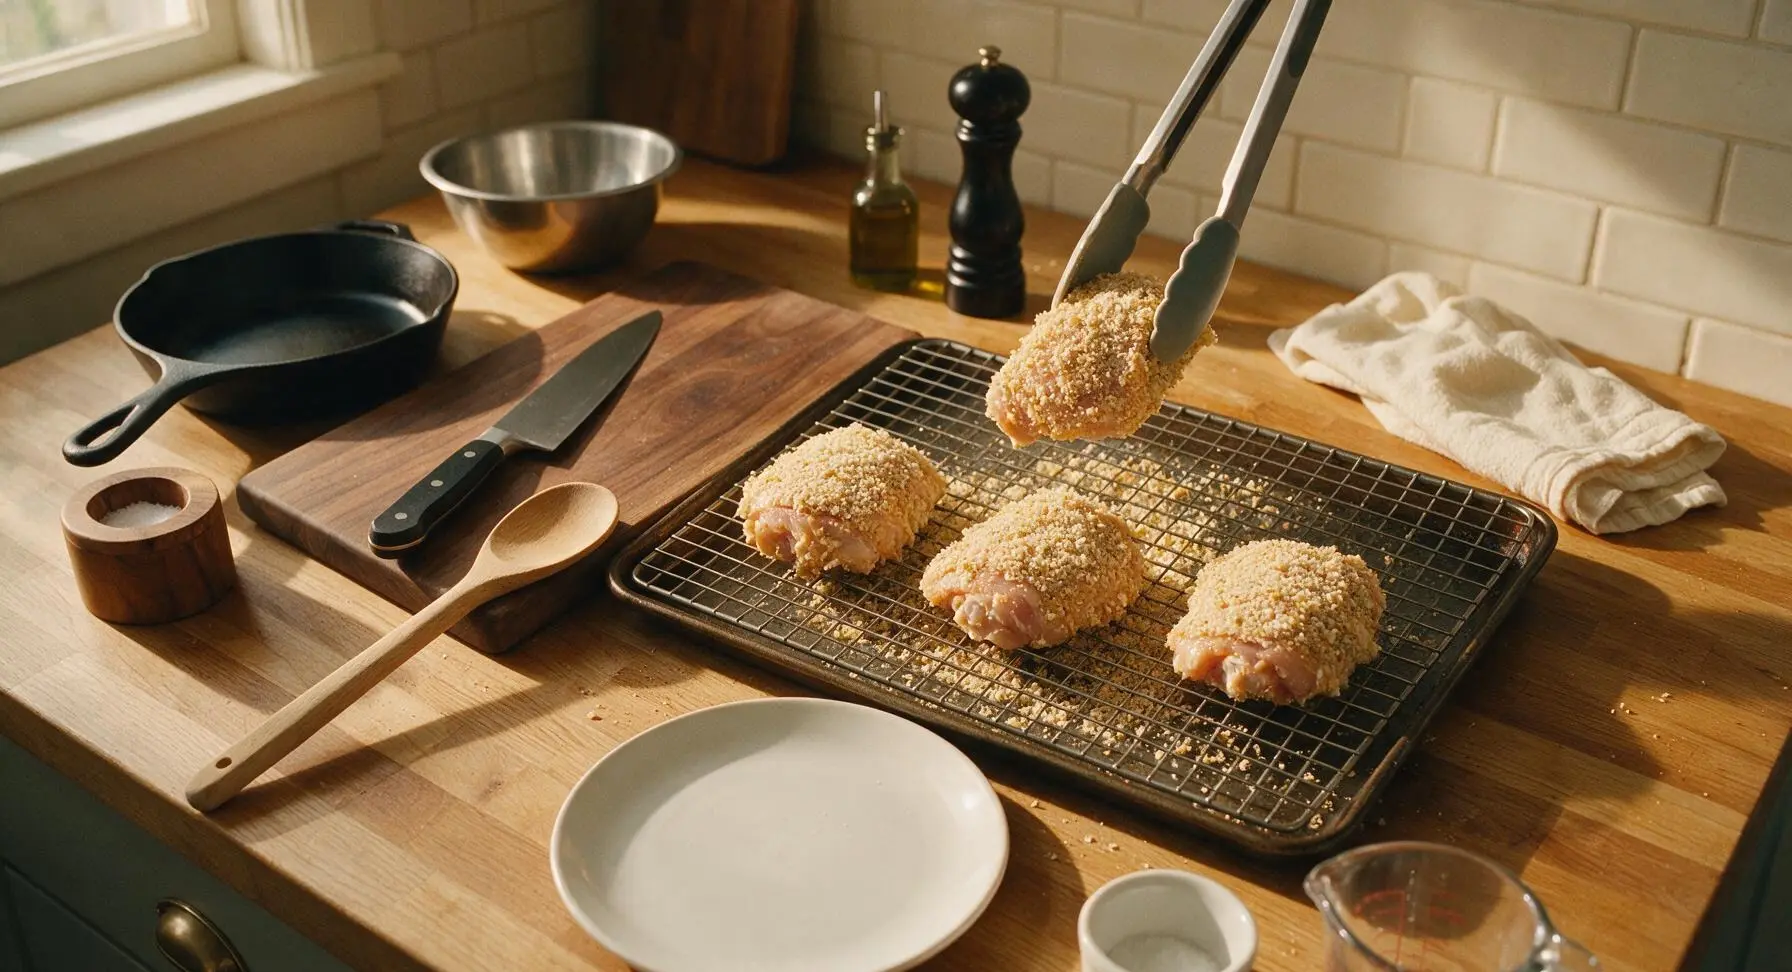
Use the silicone-tipped tongs to transfer each breaded chicken piece to the prepared wire rack, leaving a full 2cm (1 inch) of open space between every piece. This air gap allows hot oven air to circulate under the chicken, ensuring all sides crisp evenly instead of turning soggy where pieces touch or sit directly on the pan.
Step 5
step5:Arrange on Baking Rack
6

Drizzle with Melted Butter

Use the silicone basting brush to brush the top surface of every breaded chicken piece evenly with half (1.5 tbsp / 21g) of the melted unsalted butter. The butter coats the dry crumbs to help them toast to a deep golden, crunchy finish instead of drying out and burning in the high oven heat.
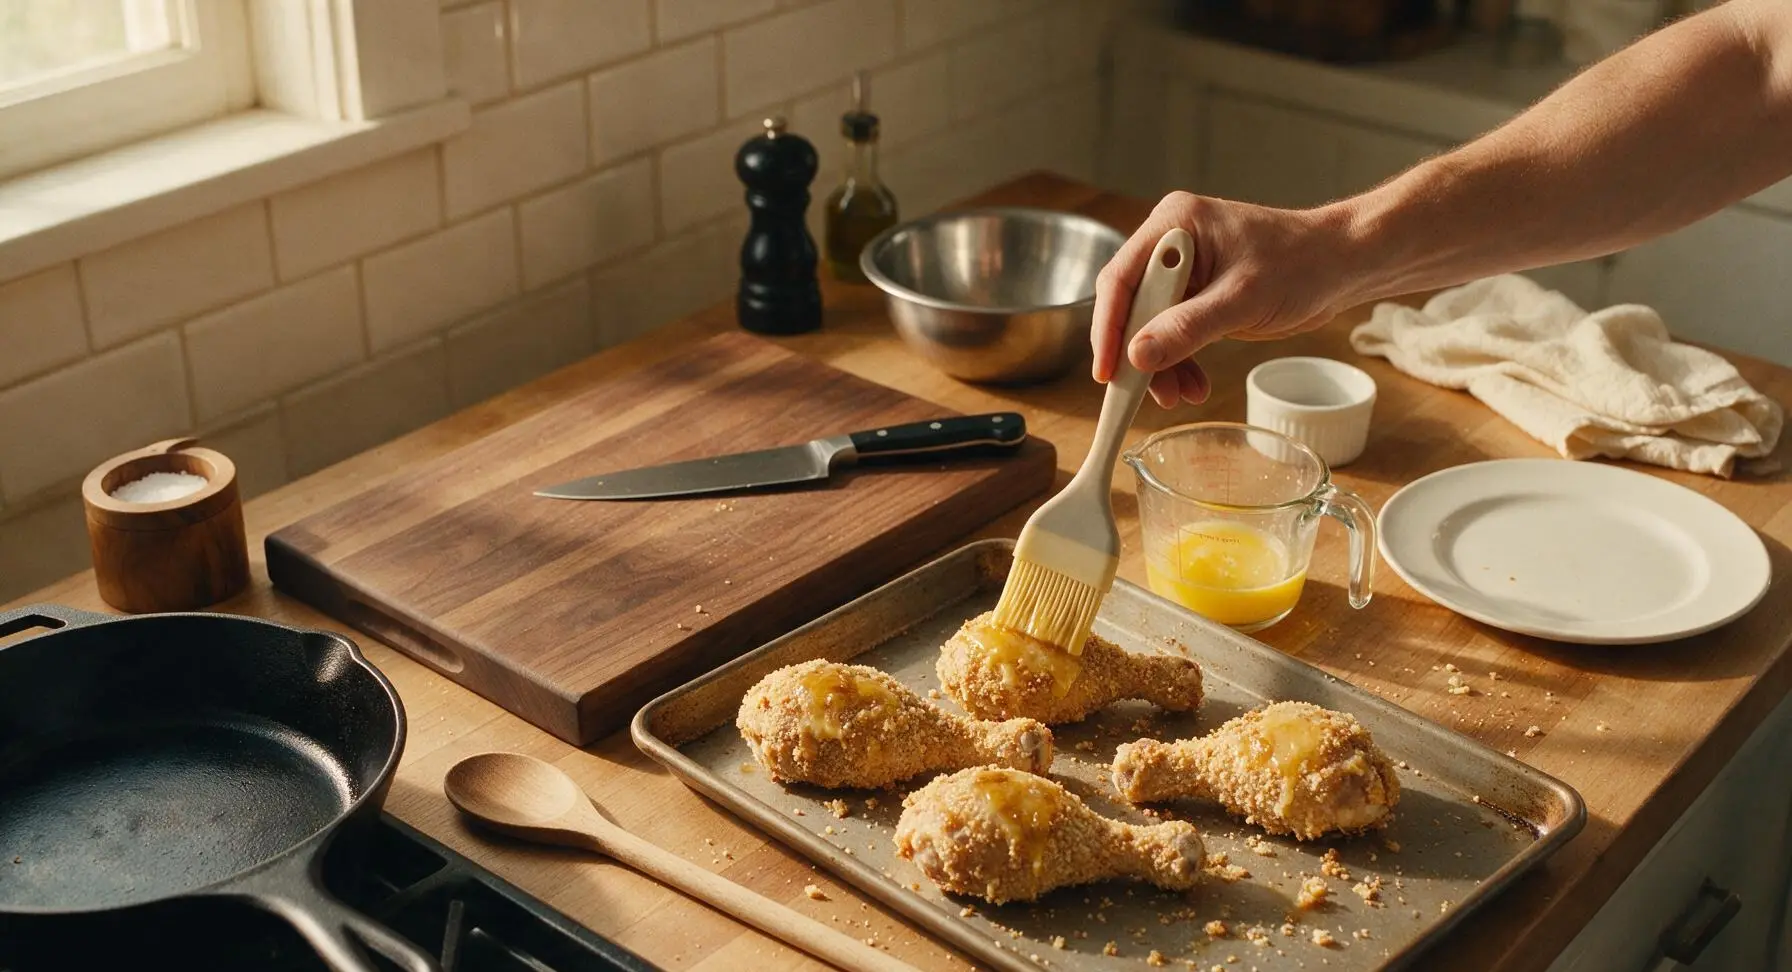
Step 6
step6:Drizzle with Melted Butter
7

Bake to Crispy Doneness

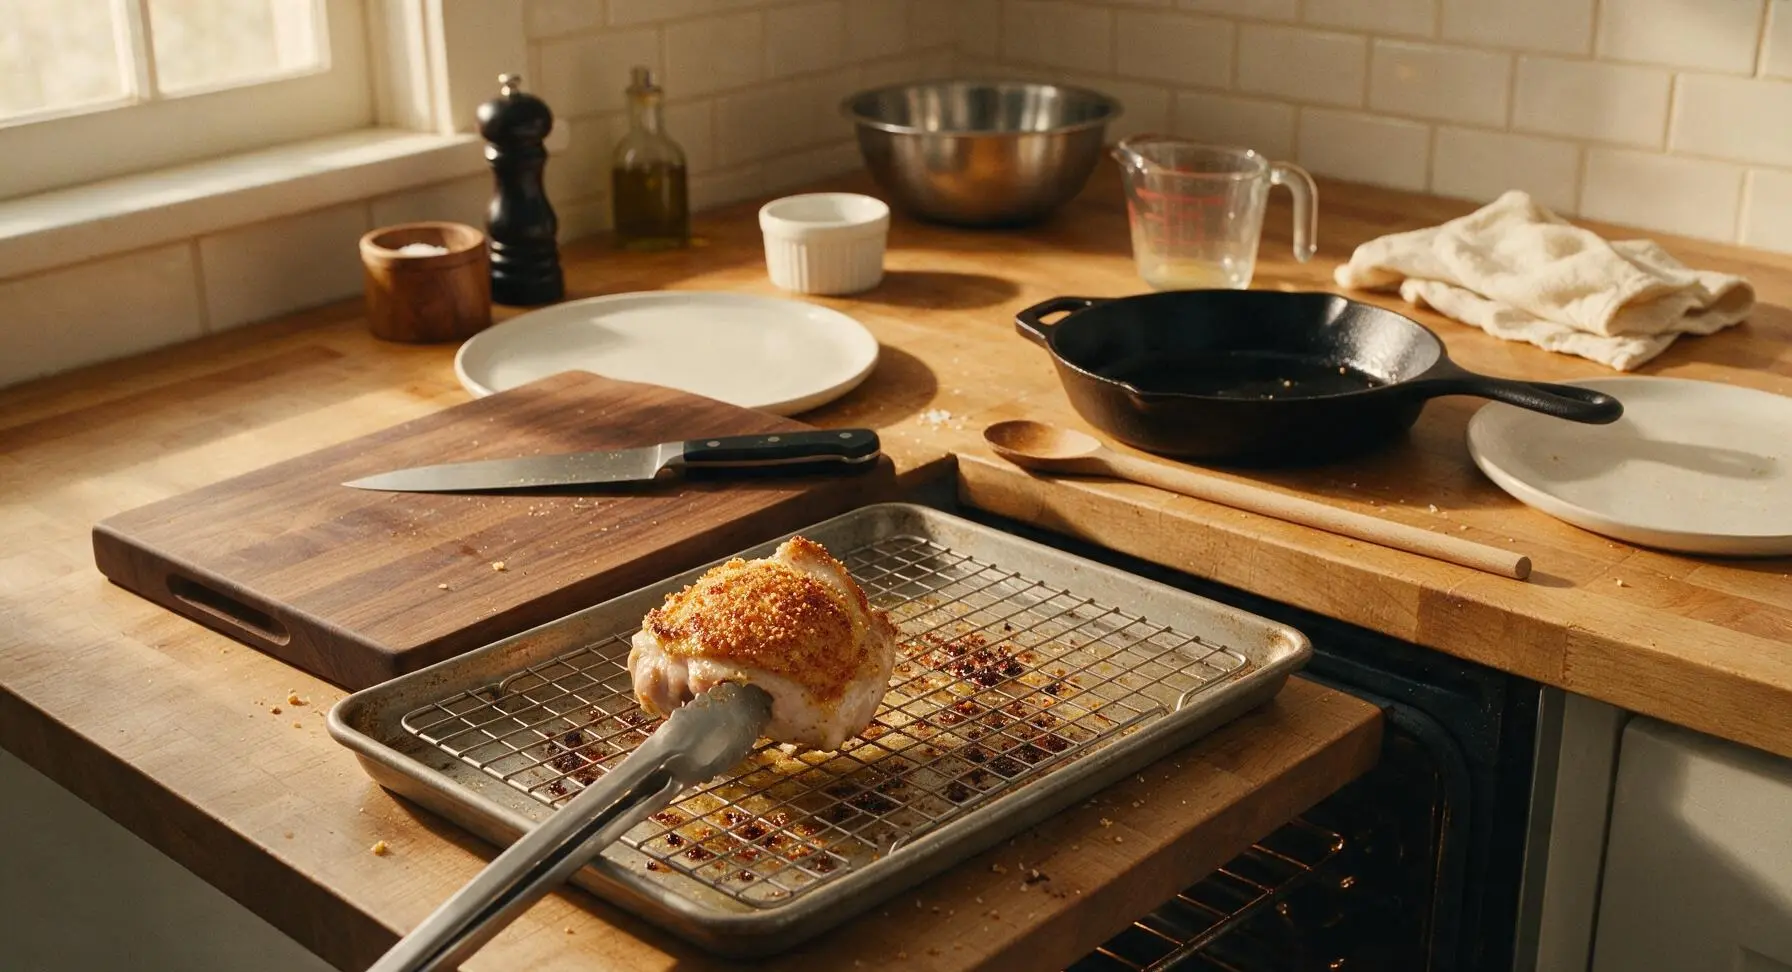
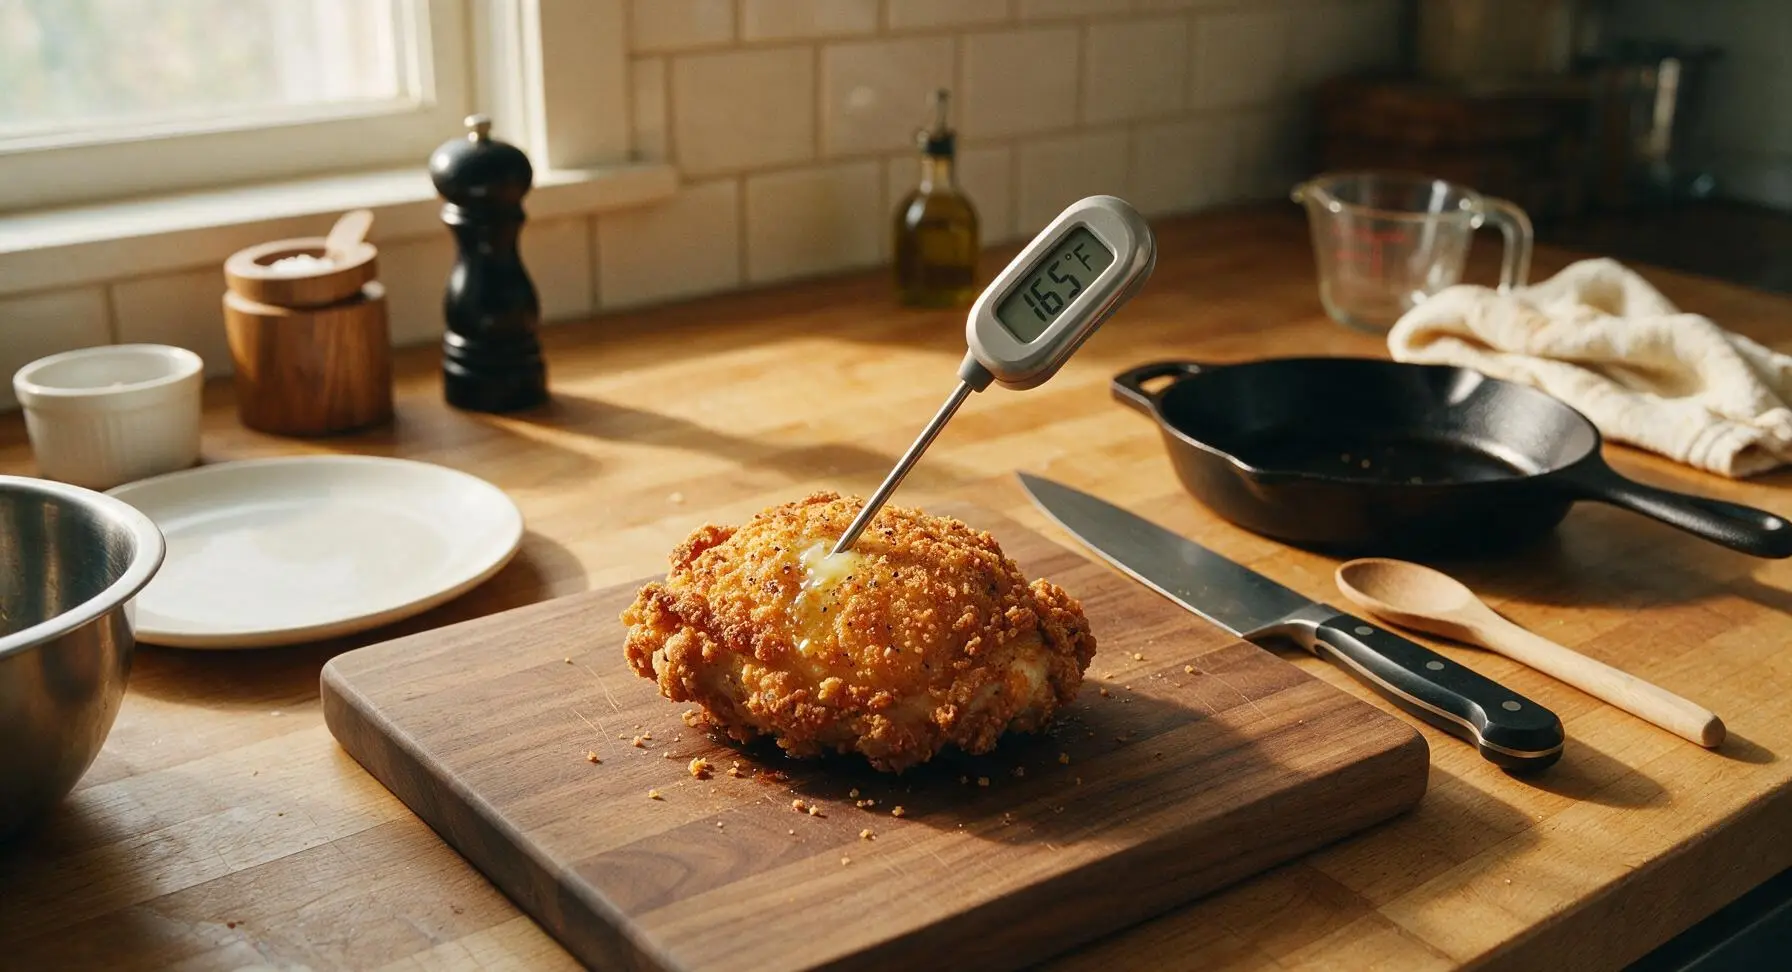
Carefully transfer the baking sheet to the preheated 220°C (425°F) oven. Bake for 25 minutes, then pull the sheet partially out of the oven, use tongs to flip every chicken piece, and brush the newly exposed top side with the remaining melted butter. Return the pan to the oven and bake for 20 more minutes, until the breading is a deep, rich golden brown with darker crispy edges, and the internal temperature at the thickest part of each piece (not touching bone) reads 75°C (165°F) on the instant-read thermometer. Total bake time is 45 minutes.
Step 7
step7:Bake to Crispy Doneness
Step 7
step7:Bake to Crispy Doneness
8

Rest and Plate Chicken

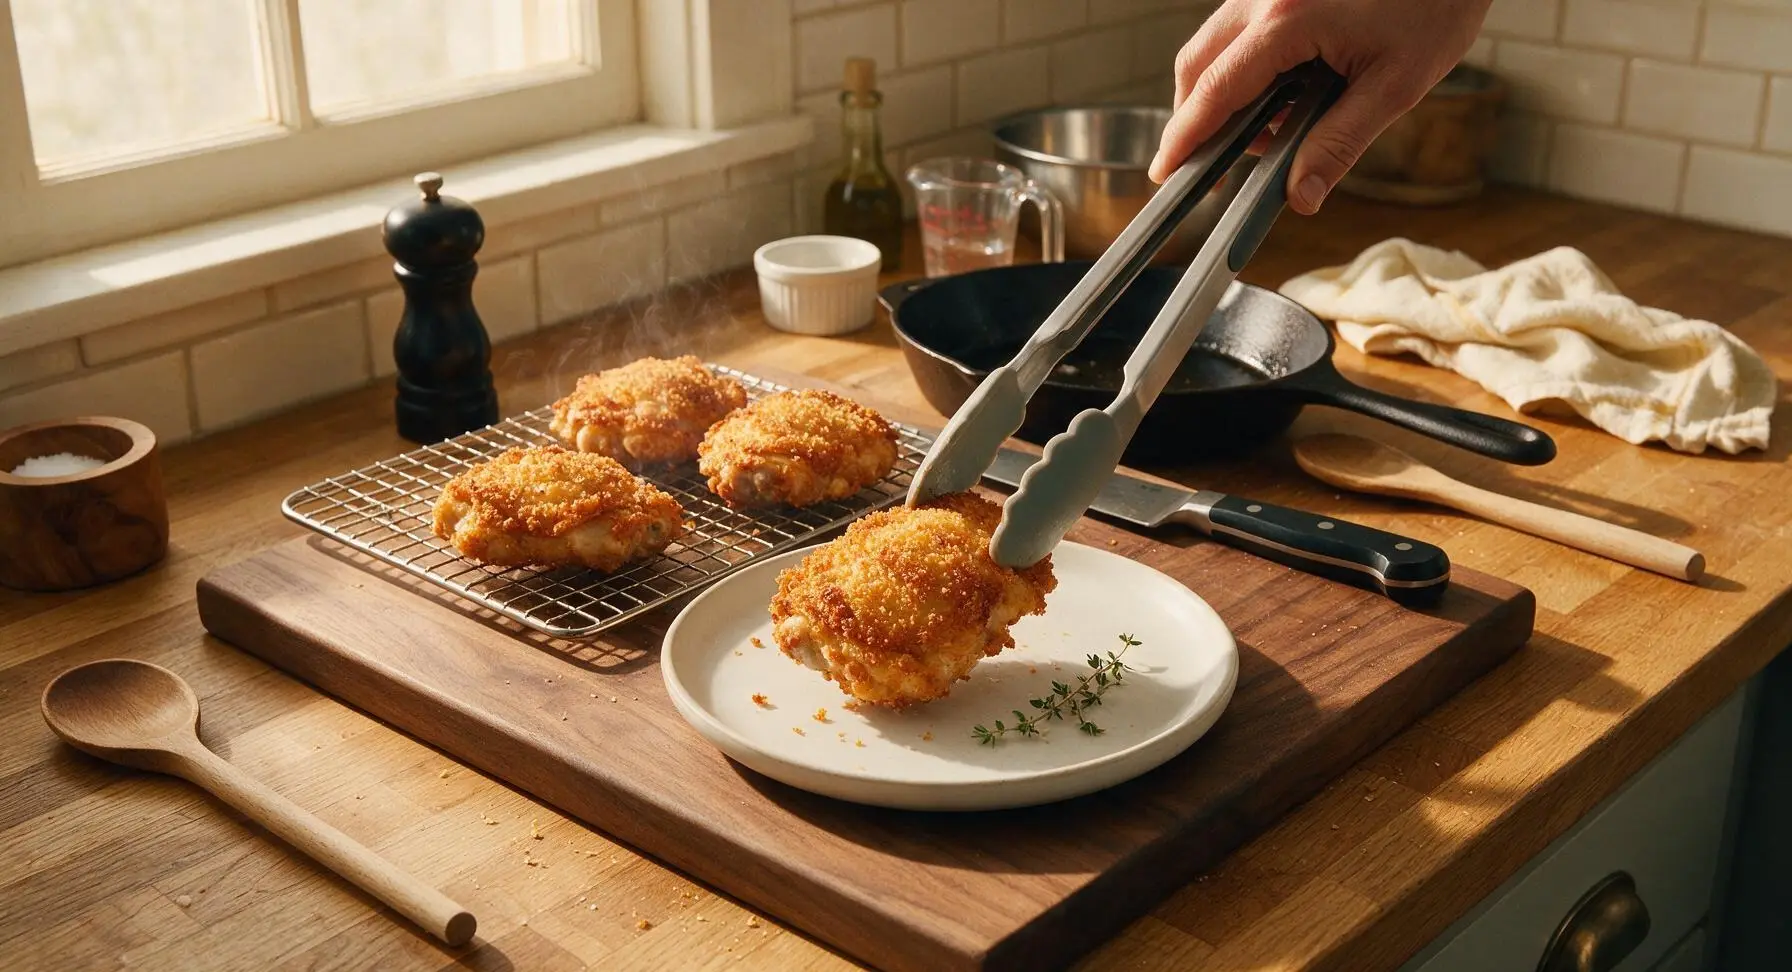
Once fully cooked, use tongs to transfer chicken pieces from the rack to the matte cream ceramic dinner plate. Let rest for 5 minutes, uncovered, to allow internal juices to redistribute through the meat—covering will trap steam and soften the crispy coating. Garnish with a small sprig of fresh thyme before serving.
Step 8
step8:Rest and Plate Chicken

Tips

1.Pat chicken completely dry with paper towels before breading: excess surface moisture will cause breading to slide off during baking and create steam that softens the crisp crust from underneath, leading to soggy, uneven coating.
2.Always bake breaded chicken on an elevated wire rack set inside a baking sheet, rather than directly on the pan surface: this allows 360-degree hot air circulation, eliminating soggy bottom spots and ensuring even crispness on every side without constant flipping.
3.Never cover chicken while it rests after baking: even a loose foil tent will trap steam that condenses and drips onto the crust, turning it soft and chewy in as little as 2 minutes. Resting uncovered for 5 minutes preserves crunch while juices redistribute into the meat for tender bites.
✨ You May Also Like

Main Course
🍜 United Kingdom

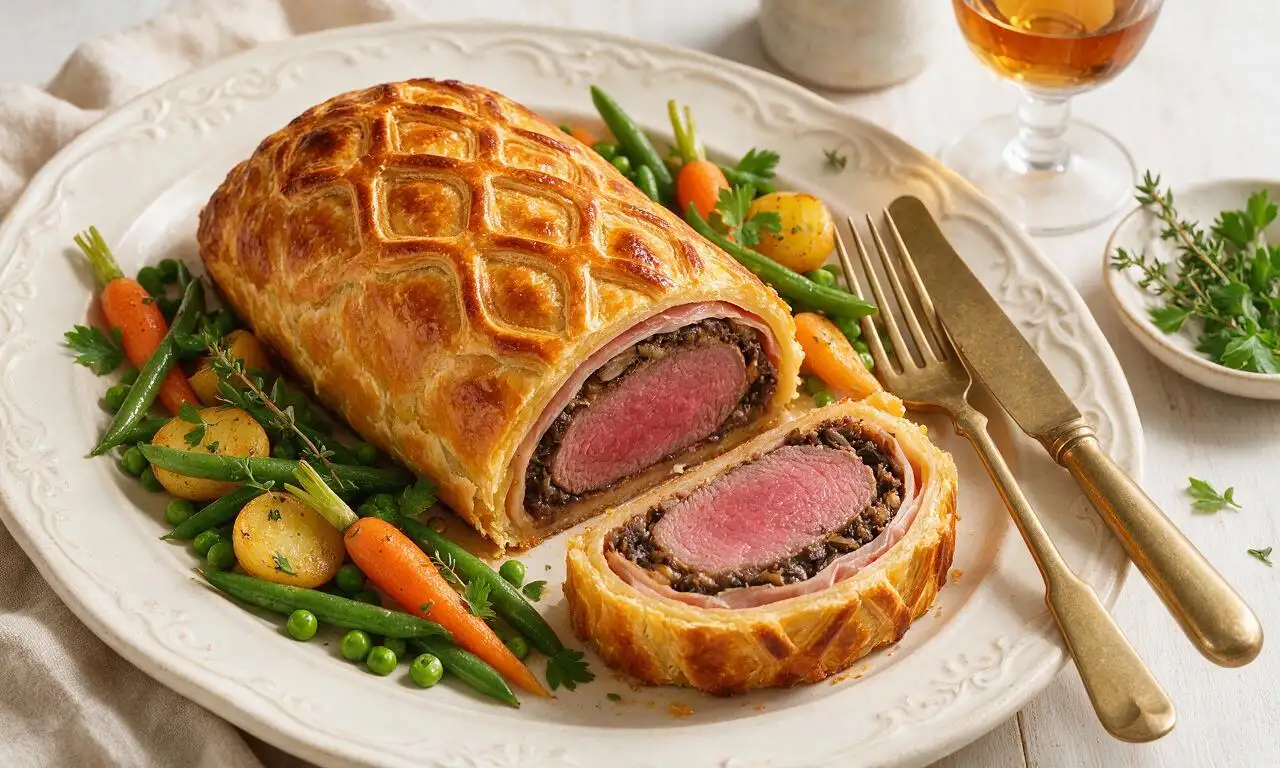
A showstopping classic of tender seared beef, savory mushroom duxelles, and crisp prosciutto wrapped in flaky golden puff pastry, baked to juicy perfection.

⏱️ 2 hours 1Main Course ★ 4.7
Main Course
🍜 India

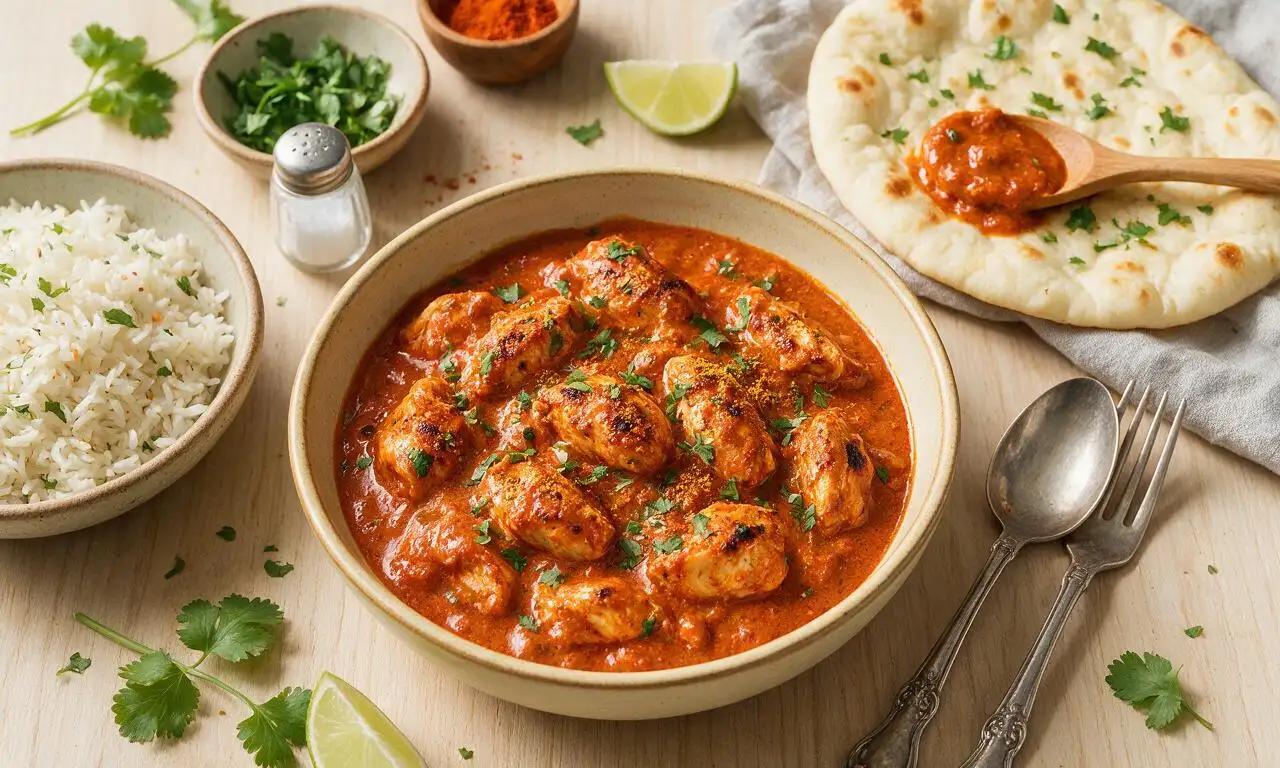
Tender charred marinated chicken simmered in a rich, spiced creamy tomato sauce, this iconic Anglo-Indian curry pairs perfectly with basmati rice or warm naan.

⏱️ 50 minuteMain Course ★ 4.6
Main Course
🍜 Thailand

Classic tangy, sweet, and savory Thai stir-fried rice noodles with shrimp, tofu, and crunchy garnishes, balancing all five core Thai flavor profiles.

⏱️ 30 minuteMain Course ★ 4.5
Main Course
🍜 United Kingdom

Crispy golden beer-battered cod and fluffy double-fried chips, served with tangy tartar sauce and malt vinegar: the timeless, beloved British pub comfort classic.

⏱️ 45 minuteMain Course ★ 4.7
Main Course
🍜 Mexico

Smoky, chile-marinated pork tacos with caramelized pineapple, fresh cilantro, and lime: a beloved classic Mexican street food perfect for casual summer gatherings.

⏱️ 1 hour 45Main Course ★ 4.8
Main Course
🍜 United States

Crunchy Fritos corn chips layered with savory beef chili and melted cheddar, topped with cool, zesty fixings for a beloved, cozy Tex-Mex comfort food.

⏱️ 35 minuteMain Course ★ 4.8

Oven Fried Chicken:Frequently Asked Questions

1.Why does this recipe call for bone-in, skin-on chicken instead of boneless, skinless cuts? ▾
Bone-in, skin-on pieces stay far juicier during high-heat oven cooking: the bone conducts heat evenly to prevent tough, overcooked spots, and the skin renders slow, savory fat that boosts flavor and crispness. Boneless, skinless cuts work if needed, but cut cook time by 10–12 minutes to avoid dry, stringy meat.
2.Can I use all chicken breasts instead of thighs and drumsticks if I prefer white meat? ▾
Absolutely! Swap the thighs and drumsticks for 4 bone-in, skin-on chicken breast halves, but cut each breast in half crosswise to keep pieces a similar size to the dark meat cuts. This ensures even cooking, so the coating gets crispy before the meat dries out, and you’ll still get that juicy, tender center.
3.Do I need to pat the chicken dry before breading it? ▾
Yes, this step is non-negotiable for a crisp, non-soggy coating. Pat every piece of chicken thoroughly with paper towels to remove surface moisture before you start breading. Any excess moisture on the skin will steam the coating as it cooks, leaving you with a gummy, flabby crust instead of that signature craggy crunch.
4.Why do you use a mix of all-purpose flour and panko instead of just one or the other? ▾
The flour creates a tight, adhesive base that helps the egg wash and breading stick to the chicken without sliding off during cooking, while the coarse, flaky panko creates that light, craggy, extra-crunchy exterior. Using only flour gives a dense, tough crust, and using only panko leads to breading that falls off in big, crumbly chunks.
5.Can I substitute regular fine breadcrumbs for panko if that’s what I have on hand? ▾
You can, but you’ll lose a little of that signature shattery crunch. If using regular fine breadcrumbs, toast them in a dry skillet for 3–4 minutes over medium heat until light golden before mixing into your breading station—this dries them out so they crisp up better in the oven instead of turning soft and mushy on the chicken.
6.What spices work best in the flour and panko coating for the most authentic flavor? ▾
Stick to classic Southern fried chicken seasoning: 1 tsp paprika, 1 tsp garlic powder, 1 tsp onion powder, ½ tsp black pepper, ½ tsp kosher salt, and a pinch of cayenne for subtle heat. Mix spices evenly into both the flour and panko so every bite of crust is well-seasoned, not bland or flat-tasting.
7.Do I need to let the breaded chicken rest before putting it in the oven? ▾
Yes, let breaded pieces rest on a wire rack for 10–15 minutes before baking. This short rest lets the flour, egg, and panko fuse together into a stable coating that won’t slide off or bubble up while cooking, and it helps the crust get extra crispy instead of turning soggy where it touches the pan.
8.Why does the recipe use melted butter instead of oil for the pan? ▾
Melted unsalted butter adds that rich, nutty, classic fried chicken flavor that neutral oil can’t match, and it helps the bottom of the chicken coating crisp up evenly instead of sticking to the pan. If you want a higher smoke point, swap half the butter for canola or avocado oil to prevent burning while keeping that buttery taste.
9.What oven rack position should I use for the crispiest possible results? ▾
Set your oven rack to the upper-middle position, about 6–8 inches below the top heating element, and preheat your oven to 425°F (220°C). This position delivers consistent, high, direct heat that circulates around the chicken, crisping the entire coating without burning the top before the chicken cooks through.
10.Do I need to flip the chicken halfway through the baking time? ▾
Yes, flip each piece gently with tongs after 25 minutes of cooking, then bake for another 20–25 minutes. Flipping ensures both sides of the chicken crisp up evenly, so you don’t end up with a rock-hard, stuck bottom crust and a soft, pale top, and it helps the chicken cook uniformly all the way through.
11.How do I know when the chicken is fully cooked and safe to eat? ▾
Use an instant-read thermometer inserted into the thickest part of each piece, away from bone, to check for an internal temperature of 165°F (74°C). The crust will be deep golden brown and craggy, and juices will run clear when pierced, but the thermometer is the only foolproof way to avoid undercooked or dry, overcooked meat.
12.My coating always slides off the chicken when I make oven fried chicken—what am I doing wrong? ▾
This almost always traces back to three common mistakes: not patting the chicken dry first, skipping the flour dip before the egg wash, or not letting the breaded chicken rest before baking. Follow the standard breading order (flour, egg, panko) and press panko firmly to adhere to every surface for a coating that stays put.
13.Why is my crust soggy instead of crispy even after baking long enough? ▾
Soggy crust usually comes from overcrowding the pan, baking on a lower rack, or placing chicken directly on the baking sheet instead of elevating it. Set breaded chicken on a wire rack inside a rimmed baking sheet to let hot air circulate under every piece, so steam doesn’t get trapped and turn the bottom crust soft and gummy.
14.Can I make this chicken gluten-free for guests with dietary restrictions? ▾
Absolutely! Swap the all-purpose flour for a 1:1 gluten-free all-purpose baking mix (make sure it has xanthan gum to help the coating stick), and use certified gluten-free panko breadcrumbs. Follow all the same prep and cooking steps, and you’ll get an equally crispy, flavorful result that’s safe for gluten-free eaters to enjoy.
15.Can I prep this breaded chicken ahead of time to bake later for a party? ▾
You can bread the chicken up to 4 hours ahead of baking: arrange the breaded pieces on a wire rack set over a baking sheet, cover loosely with plastic wrap, and store in the fridge. Don’t prep it more than 4 hours in advance, though, because panko will absorb chicken moisture and turn soft, leading to a less crispy final crust.
16.How do I store leftover crispy oven fried chicken? ▾
Let leftover chicken cool completely to room temperature within 2 hours of cooking, then transfer it to an airtight container lined with paper towels to absorb excess moisture. Store it in the fridge for up to 4 days. Don’t seal it up while it’s still warm, because trapped condensation will turn the crispy crust soggy fast.
17.What’s the best way to reheat leftovers so the crust stays crispy? ▾
Skip the microwave—it will turn the crust rubbery and the meat tough. Instead, reheat leftover chicken on a wire rack set over a baking sheet in a 375°F (190°C) oven for 12–15 minutes, until the internal temperature hits 165°F. This method recrisps the coating on all sides and keeps meat juicy, just like it was fresh out of the oven.
18.Can I freeze leftover cooked oven fried chicken for later meals? ▾
Yes! Let cooked chicken cool fully, then wrap each piece individually in plastic wrap and store in a labeled freezer bag for up to 3 months. To reheat, thaw pieces in the fridge overnight, then bake on a wire rack at 375°F for 18–20 minutes until heated through and the crust is crisp again, no thawed sogginess required.
19.What dips and side dishes pair best with this crispy oven fried chicken? ▾
This chicken pairs perfectly with classic Southern spreads: serve it with tangy honey mustard, creamy ranch, spicy hot honey, or homemade barbecue sauce for dipping. Pair it with coleslaw, baked mac and cheese, smoky baked beans, or buttery cornbread on the side for a comforting meal with half the mess of deep-fried chicken.

Comments (7)

2 days ago

OMG this crispy oven fried chicken is a total game changer for our chaotic weeknight family dinners! I was so sick of greasy pan-fried chicken that left my stove splattered and a huge mess to clean up, and this came out perfectly crunchy on the outside, juicy on the inside. My kids devoured 3 pieces each and asked when I’m making it again before they even finished their plates. 10/10, so easy even I can’t mess it up!

1 week ago

Made this for my neighborhood block party potluck last weekend and people were literally hovering around the platter asking for the recipe! The crust stays crispy even after it sits out for a couple hours, which I was super worried about with oven fried chicken. Only tweak I made: I added a little extra smoked paprika to the breading for a tiny smoky kick, chef’s kiss.

5 days ago

So glad this was a hit at your block party! Love the extra smoked paprika tip – that’s such a delicious way to customize the flavor to your taste. Thanks for sharing how it turned out!

3 days ago

Wait, has anyone tried making this ahead for meal prep? I’m always looking for easy high-protein meals that hold up in the fridge for 3-4 days and reheat well without getting soggy. This looks way better than the sad frozen chicken tenders I usually stock up on for lunches.

2 days ago

I did! I reheated mine in the air fryer at 375 for 5 minutes and it got almost as crispy as when it first came out of the oven. Way better than sad soggy microwave leftovers, trust me.

yesterday

Great question! As Jake mentioned, reheating in an air fryer or regular oven (def skip the microwave!) works best to keep that crisp crust. It holds up great for meal prep as long as you store it in an airtight container in the fridge for up to 4 days.

yesterday

Grew up on my grandma’s cast iron skillet fried chicken and was so skeptical an oven version could come close, but y’all… this is SO good. The trick with the panko and preheating the baking sheet before adding the chicken? Absolute genius. No more standing over a splattering pot of hot oil for me on Sunday family dinners.

30 minutes ago

Okay I’m literally the worst at cooking meat, I always overcook chicken until it’s dry and rubbery, but I decided to try this since it was marked easy difficulty. Mine actually came out crispy? And not dry? I’m so proud of myself lmao. Only thing is I forgot to spray the wire rack so a little bit of the panko breading stuck, oops.

5 minutes ago

Pro tip: line your rack with parchment paper that you poke a bunch of small holes in for air flow! No more stuck breading, and clean up is even easier. I made that exact same mistake my first time making this too 😂

2 hours ago

Quick question before I whip this up this weekend! Can I swap the regular panko for gluten-free panko without ruining that perfect crispiness? I have celiac so I can’t do regular breadcrumbs but I’ve been craving crispy fried chicken so bad lately.

30 minutes ago

Absolutely! Gluten-free panko works perfectly here as a 1:1 swap. I’ve tested it multiple times and it gets just as crispy and golden brown as regular panko. Hope you love it!

2 weeks ago

Took me a minute to get the breading to stick right the first batch I made, but once I remembered to pat the chicken really dry before dredging? *Chef’s kiss* I served it with homemade baked mac and cheese and tangy coleslaw, and my roommate said it tasted better than the fast food fried chicken we get down the street from our apartment. Will absolutely be adding this to my regular weeknight rotation.

1 week ago

Wait what mac and cheese recipe did you pair this with? That crispy chicken + creamy mac + coleslaw combo sounds like the ultimate comfort food dinner, I need to make it for my partner’s birthday next week!

5 days ago

I used the classic baked mac and cheese recipe from this same site! It’s super creamy and pairs so well with the crunchy chicken, your partner is gonna love it.