
overnight waffle batter

title 1
overnight waffle batter
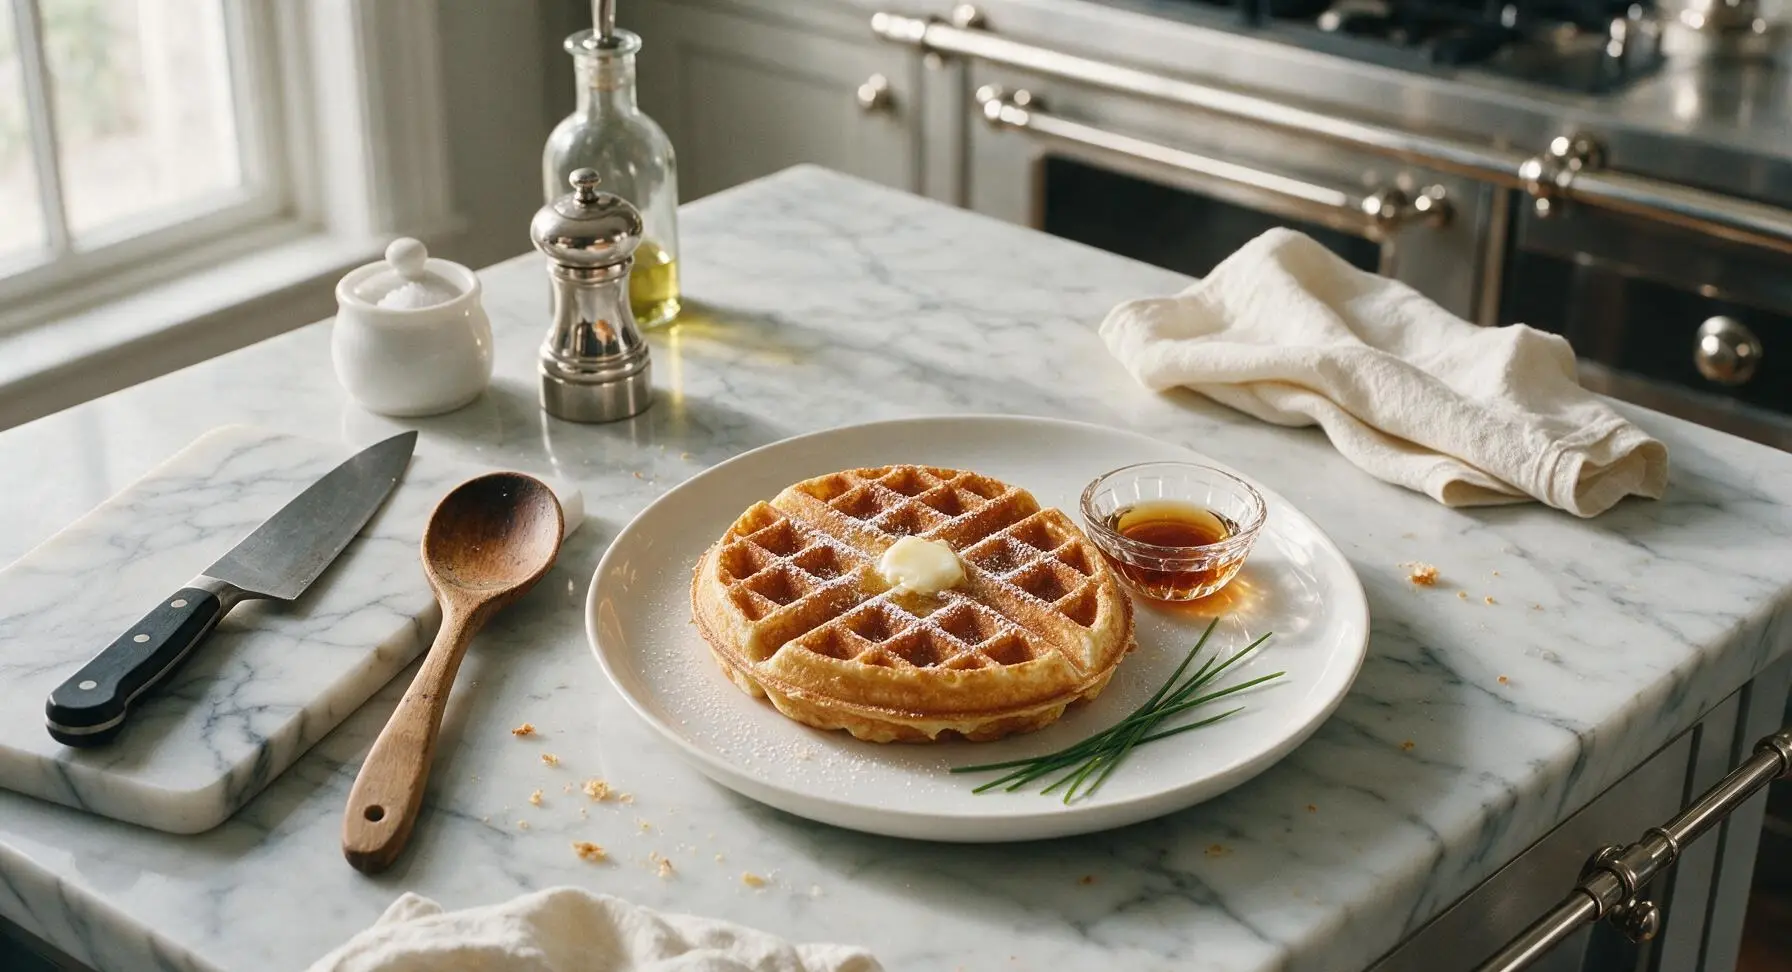
⏱️ cook time 20 minutes
🍽️ servings 4
⚡ Difficulty easy

intro

Light, crisp, fluffy yeasted waffle batter prepped the night before, with zero morning fuss, for golden, restaurant-quality waffles perfect for slow weekend family meals.

Ingredients
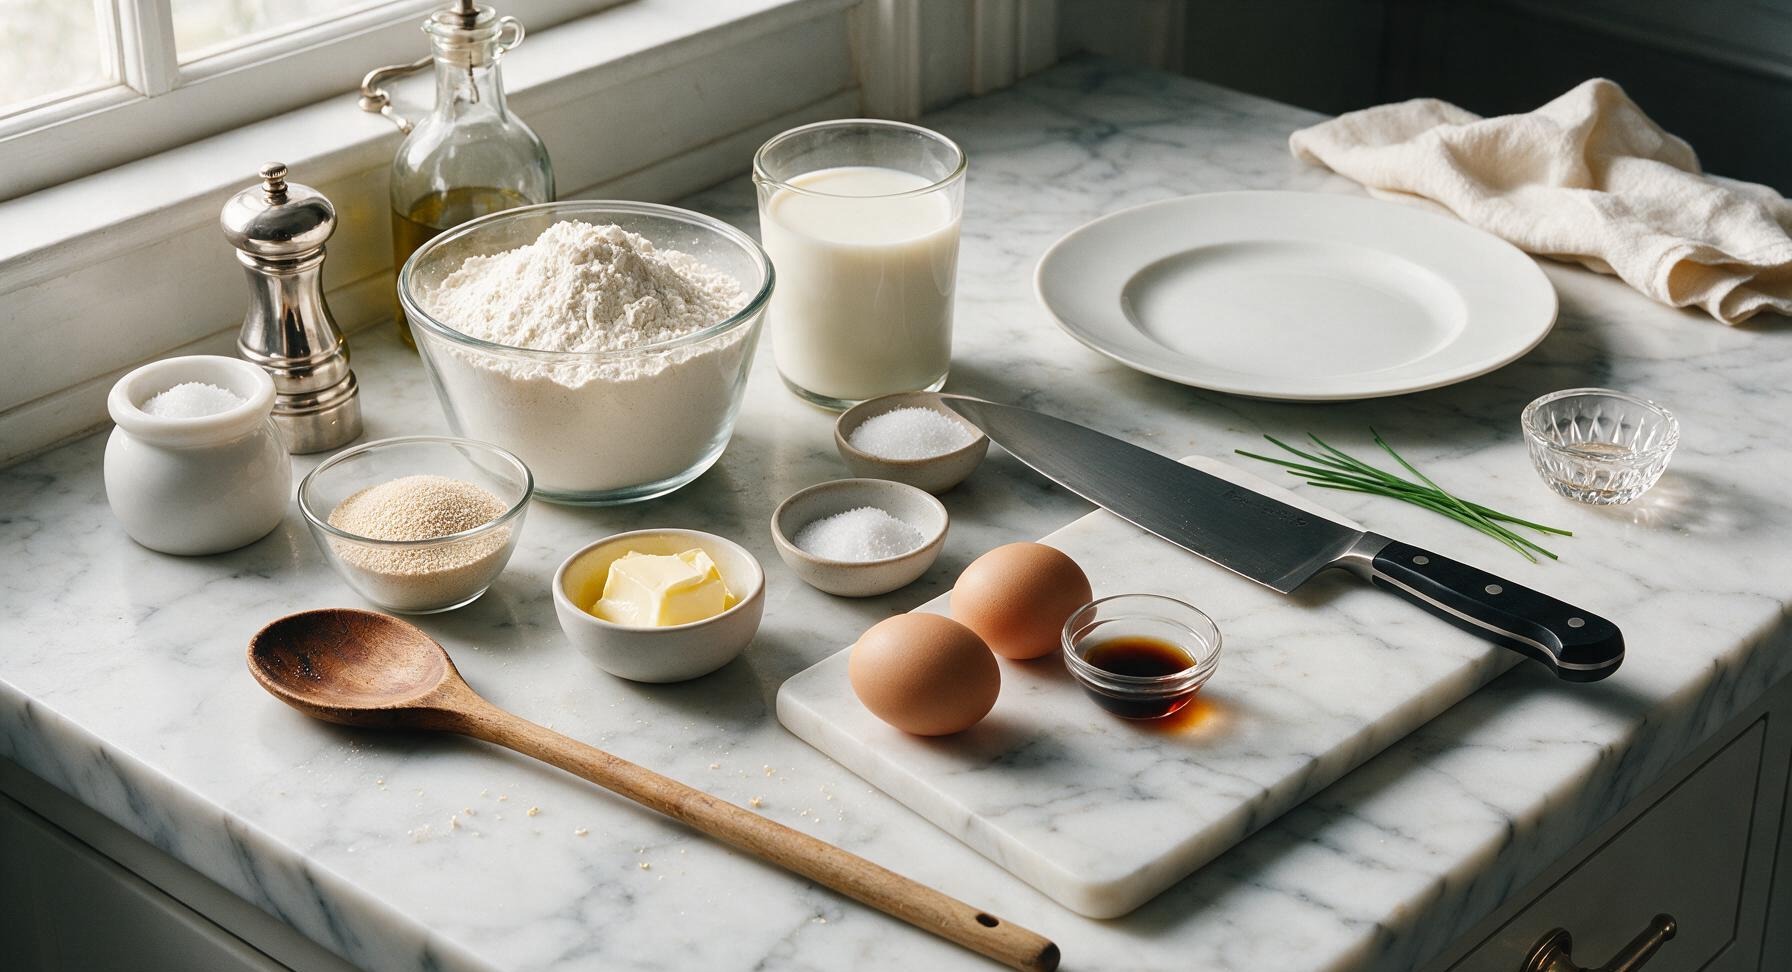
All-purpose flour 2 cups (240g)
Whole milk 1 3/4 cups (420ml)
Active dry yeast 2 1/4 tsp (7g, 1 standard packet)
Granulated sugar 1 tbsp (12g)
Kosher salt 1 tsp (5g)
Unsalted butter 1/2 cup (113g, 1 stick), melted and cooled
Large eggs 2, room temperature
Pure vanilla extract 1 tsp (5ml)

Steps

1

Activate the Yeast

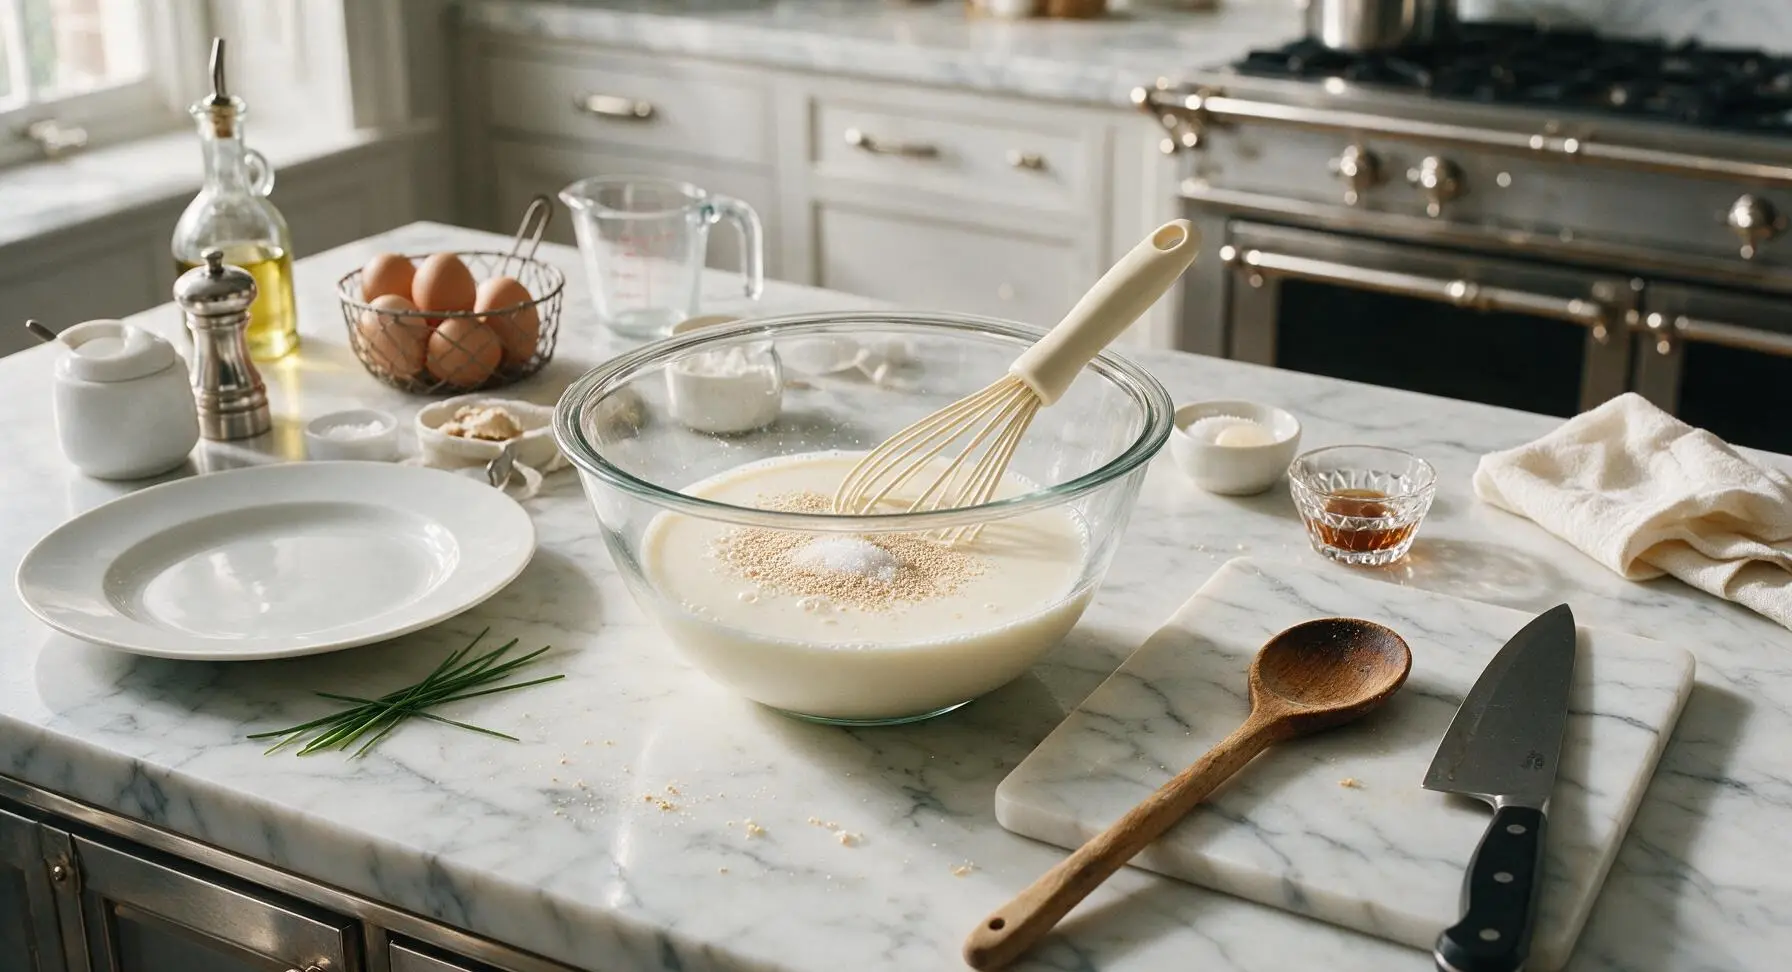
Pour the 1 3/4 cups (420ml) whole milk, warmed to exactly 110°F, into the base of the large clear glass mixing bowl. Sprinkle the 2 1/4 tsp (7g) active dry yeast and 1 tsp of the measured granulated sugar over the milk surface, then stir once gently with the whisk. Let rest for 5 minutes, until the surface develops a thin, frothy foamy layer, confirming the yeast is active. Do not use milk hotter than 115°F, as high heat will kill the yeast and prevent the batter from rising.
Step 1
step1:Activate the Yeast
2

Whisk Dry Ingredients

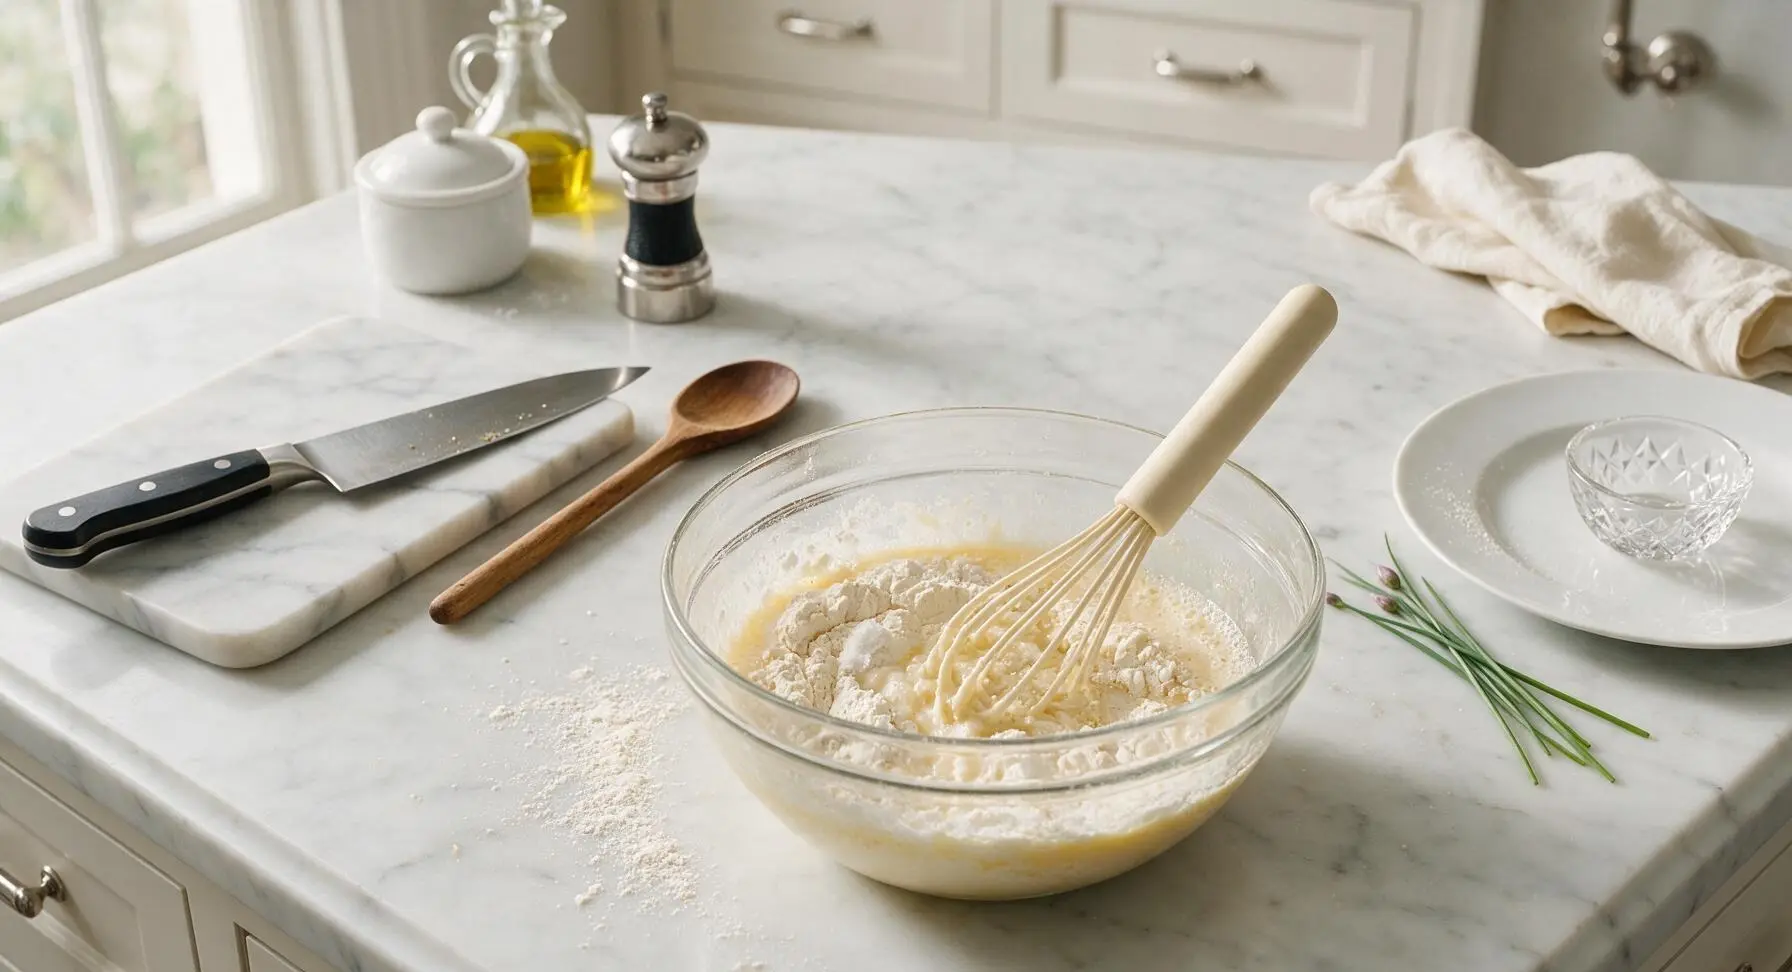
Add the remaining 2 tsp granulated sugar, 2 cups (240g) all-purpose flour, and 1 tsp (5g) kosher salt to the foamy yeast-milk mixture. Use the whisk to stir slowly at first to avoid flour clouds, then increase speed to combine until no large dry flour clumps remain, about 1 minute. The batter will be thick and slightly lumpy at this stage; do not overmix, as this will develop gluten and result in tough, dense waffles.
Step 2
step2:Whisk Dry Ingredients
3

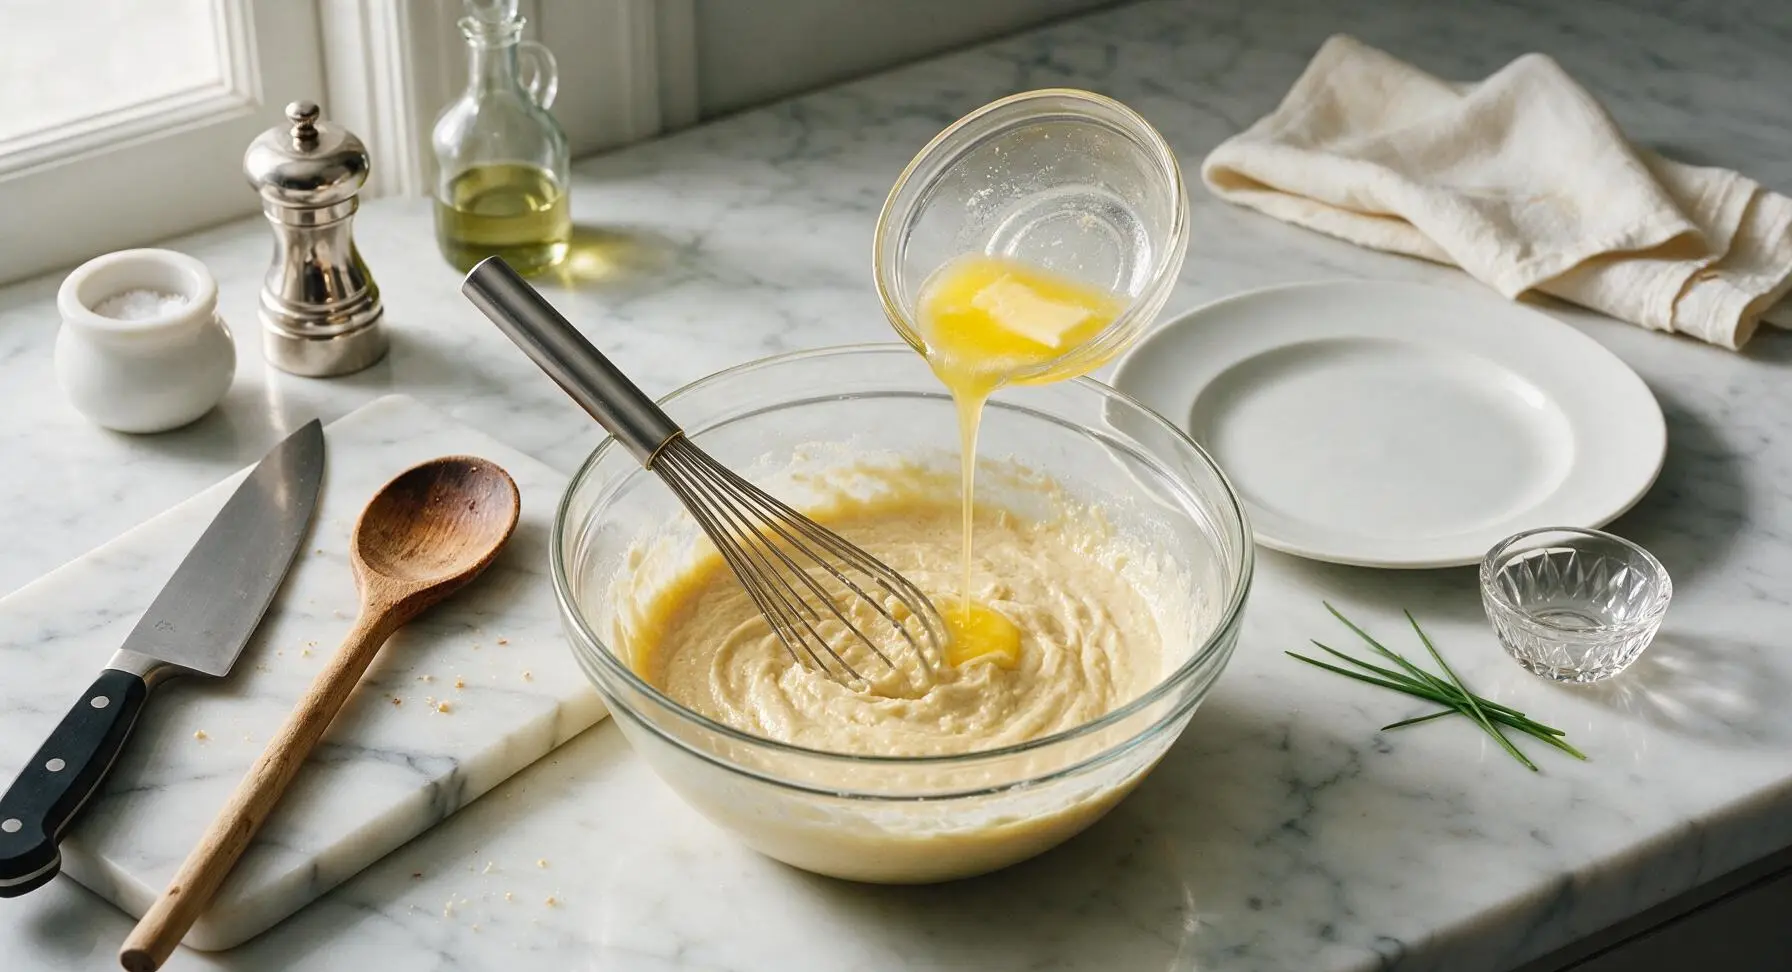
Stir in Melted Butter

Pour the 1/2 cup (113g) unsalted butter, melted and cooled to below 120°F, into the thick flour batter, stirring continuously with the whisk until fully incorporated. The batter will smooth out slightly and take on a pale creamy yellow color, with a loose, pourable consistency. Always cool melted butter before adding, as hot butter will kill the active yeast.
Step 3
step3:Stir in Melted Butter
4

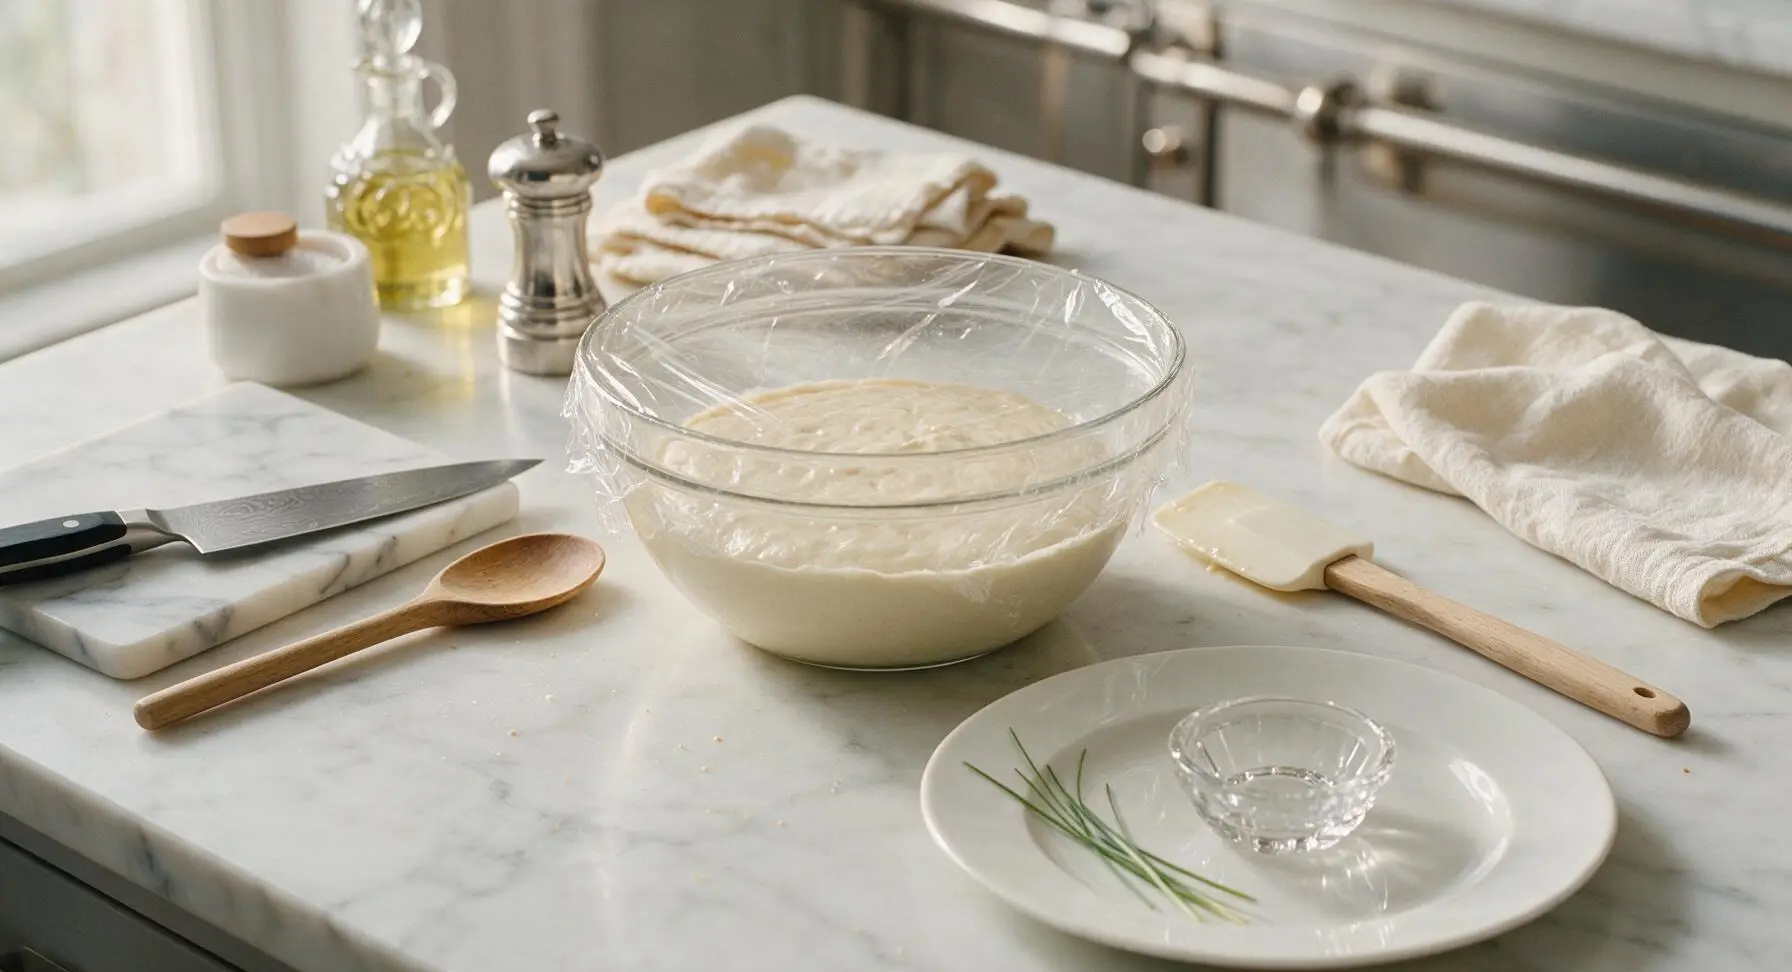
Cover for Overnight Rise

Scrape down the sides of the glass bowl with the flexible silicone spatula to remove any stray batter drips. Cover the bowl tightly with a layer of clear plastic wrap. Transfer the bowl to the refrigerator to rest for 8–12 hours (overnight). Do not leave the batter at room temperature to rise, as it will over-ferment, develop a sour off-taste, and overflow the bowl.

Step 4
step4:Cover for Overnight Rise
Step 4
step4:Cover for Overnight Rise
5

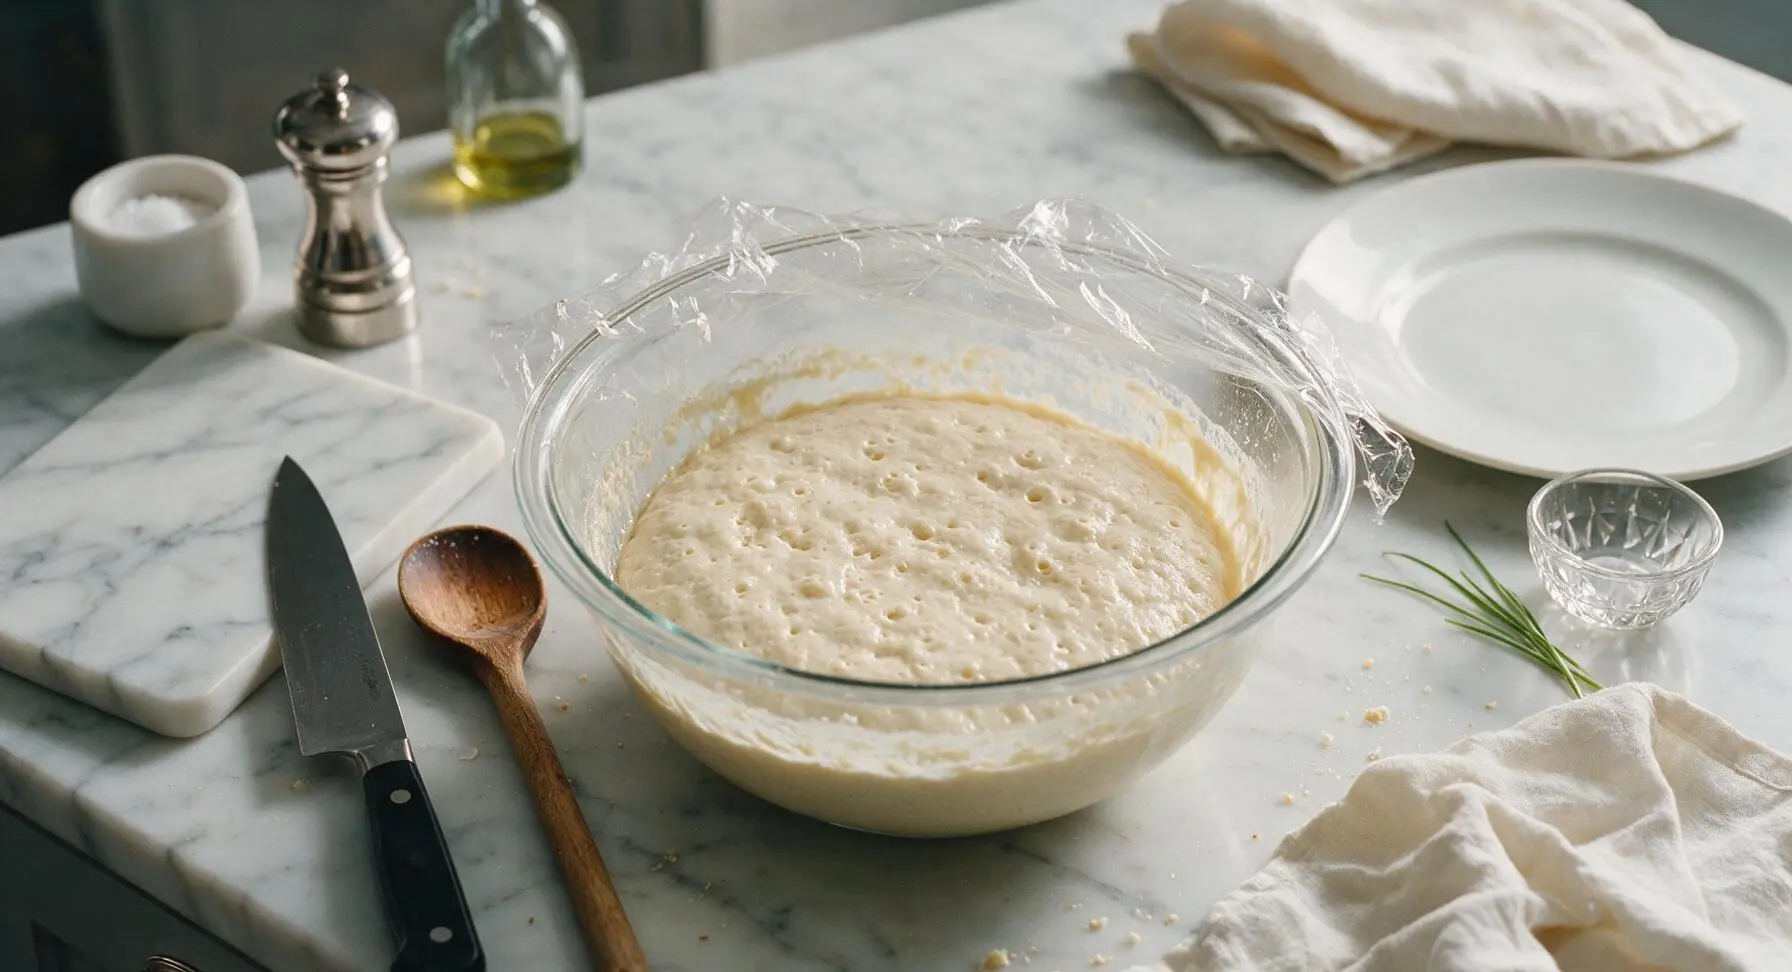
Remove Chilled Batter

After 8–12 hours of cold rest, pull the bowl of batter from the refrigerator. Peel back the plastic wrap; the batter will have doubled in size, appear frothy and bubbly across the entire surface, and carry a light, sweet yeasty aroma. It will deflate slightly as you remove the wrap, which is completely normal and expected.
Step 5
step5:Remove Chilled Batter
6

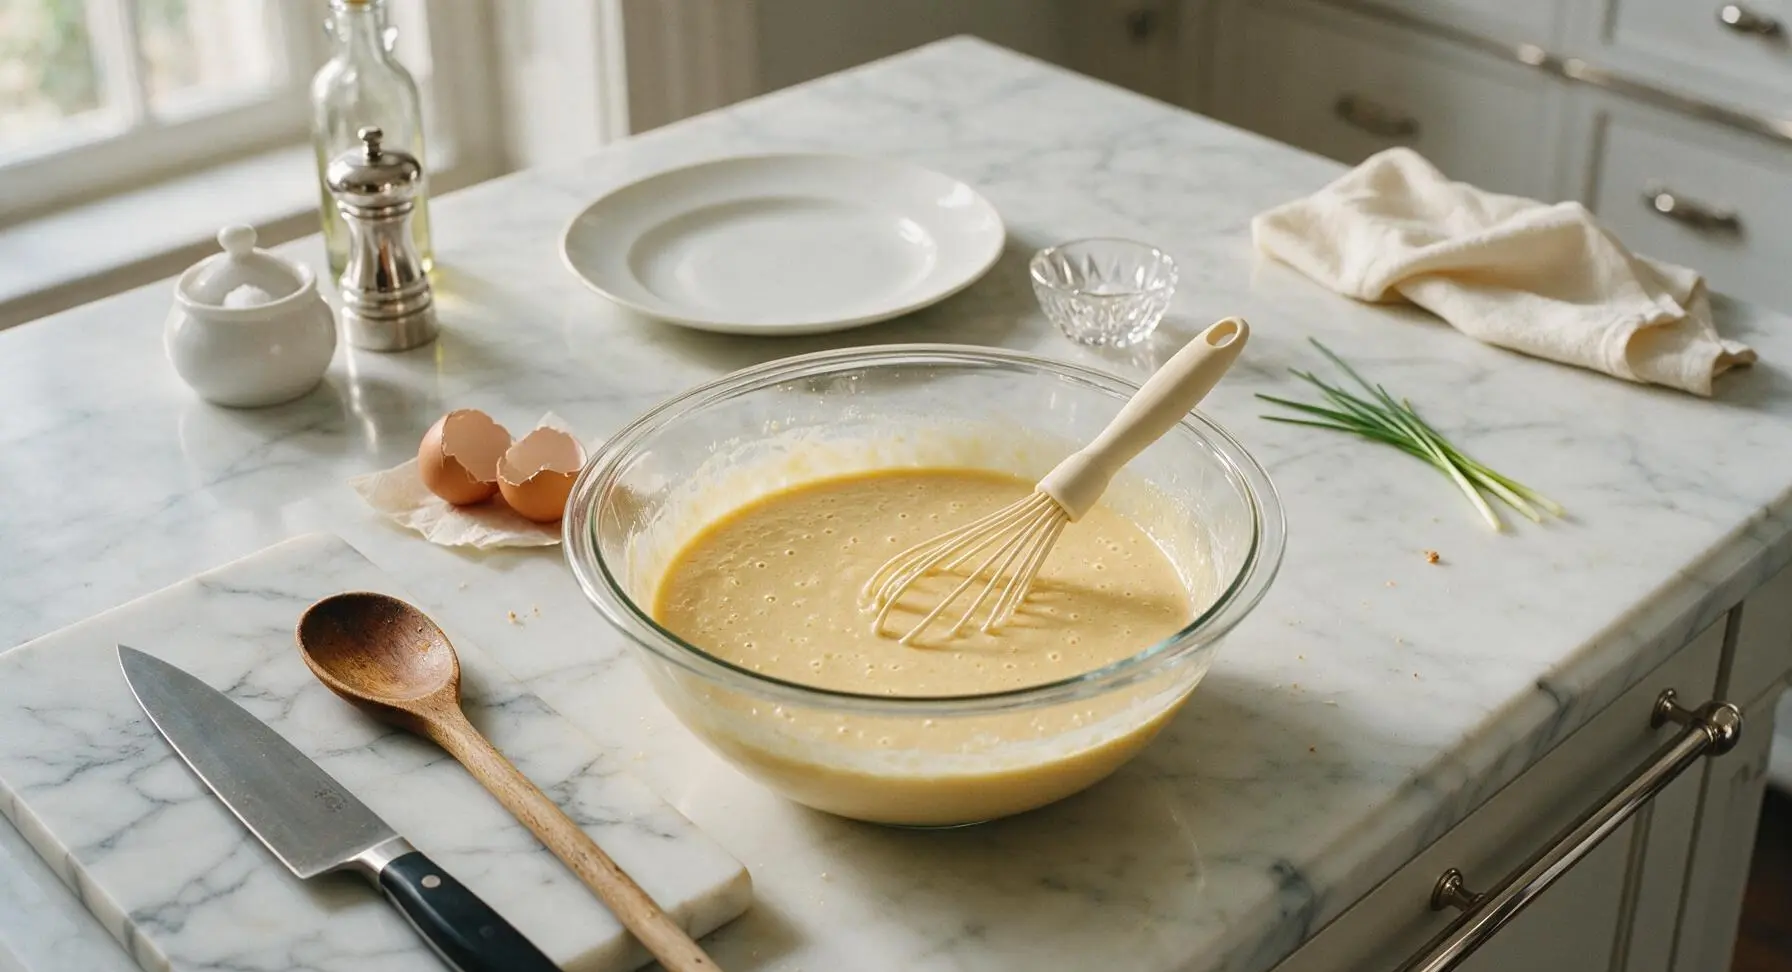
Add Eggs and Vanilla

Crack the 2 large room-temperature eggs directly into the bubbly batter, then pour in the 1 tsp (5ml) pure vanilla extract. Use the whisk to gently fold the ingredients together until fully combined, about 30 seconds. The batter will be smooth, bubbly, and thin enough to pour easily; fold slowly to preserve as many of the delicate air bubbles from the overnight rise as possible, for light, fluffy waffles.

Step 6
step6:Add Eggs and Vanilla
Step 6
step6:Add Eggs and Vanilla
7

Rest Batter Briefly

Let the combined batter sit undisturbed at room temperature for 10 minutes while you preheat your waffle iron to medium-high heat (375°F). This short rest allows the gluten in the flour to relax, resulting in more tender waffles with shatteringly crisp edges. The batter will thicken slightly during this rest period.
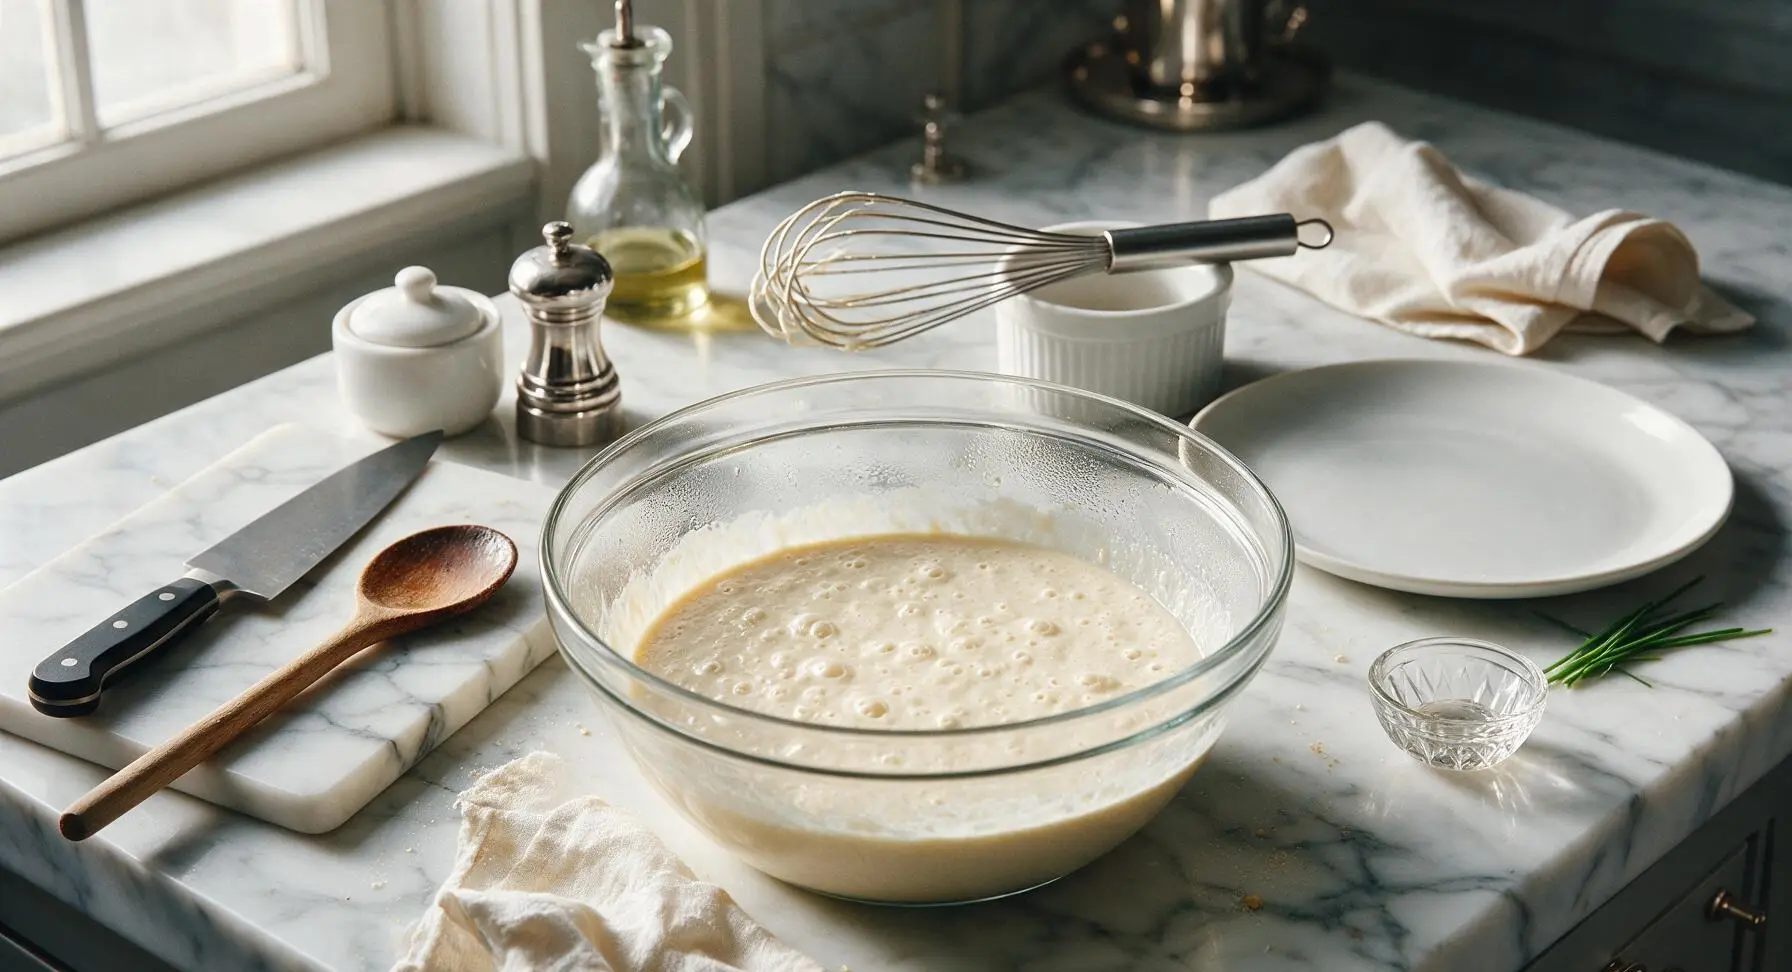
Step 7
step7:Rest Batter Briefly
8

Cook Golden Waffles

Lightly grease the preheated waffle iron with nonstick spray or a small pat of butter. Ladle 1/3 cup of batter per waffle onto the iron, closing the lid and cooking for 3–4 minutes until the waffle is deep golden brown, crisp to the touch on the outside, and pulls away easily from the iron plates. Serve immediately, or keep cooked waffles warm on a wire rack in a 200°F oven until ready to serve. Leftover batter will keep covered in the refrigerator for up to 3 days.
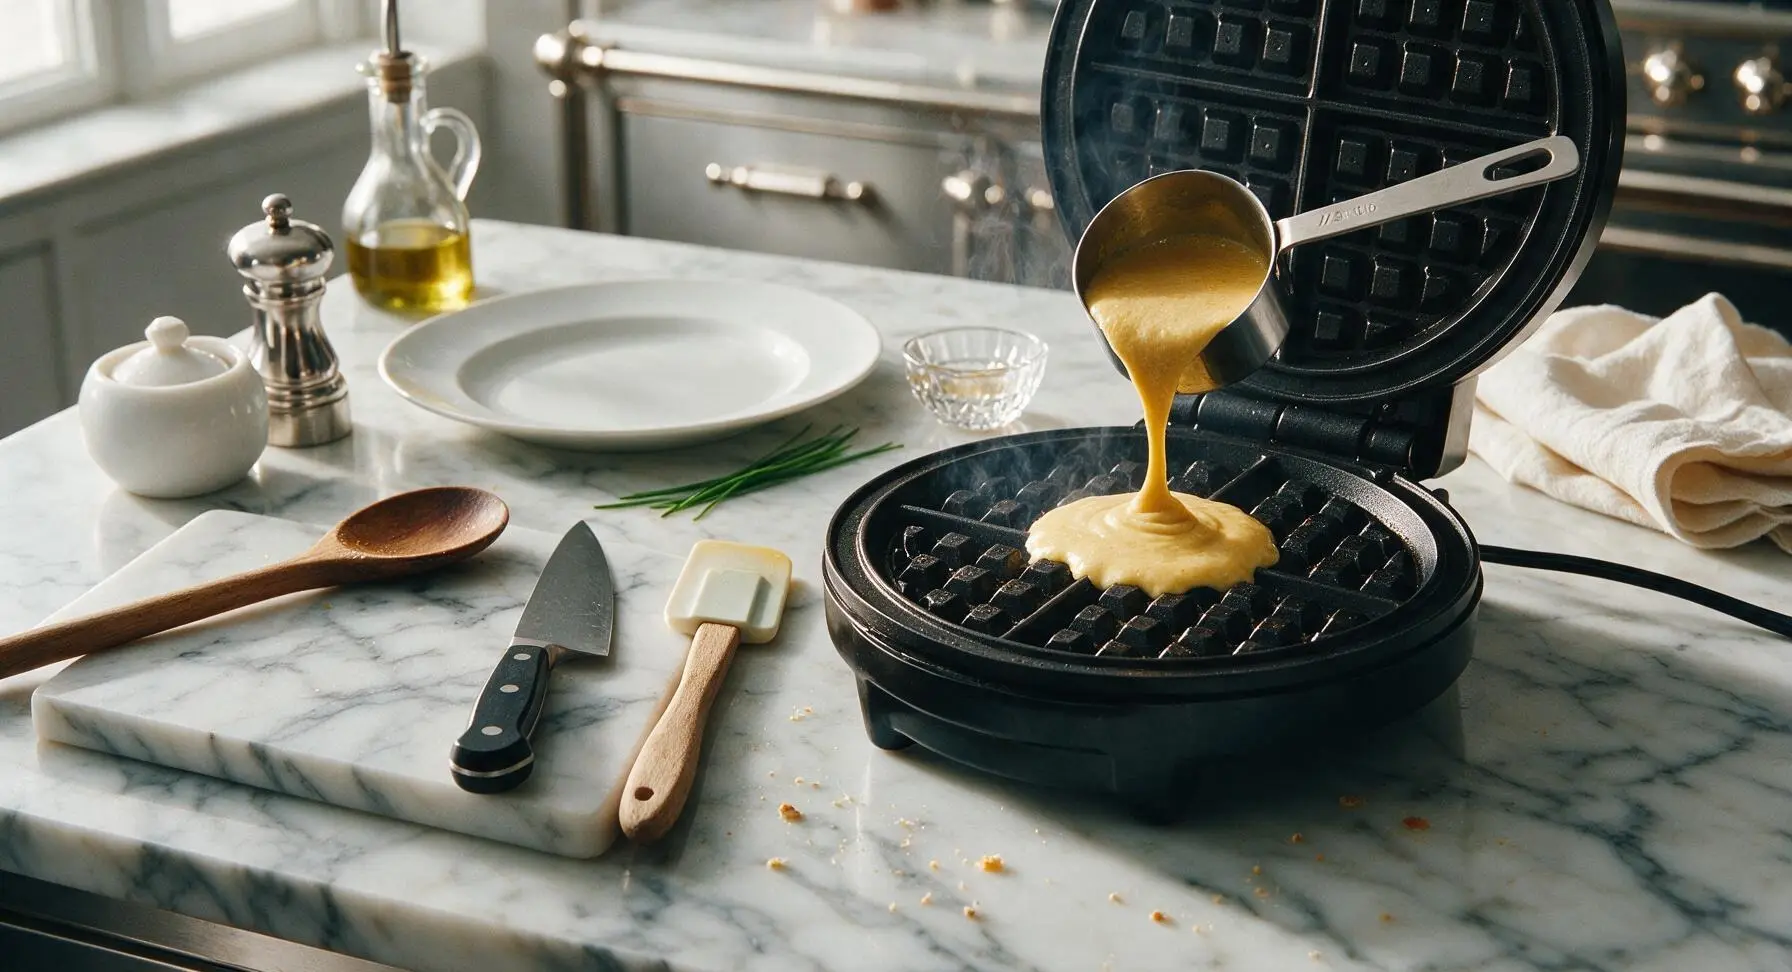
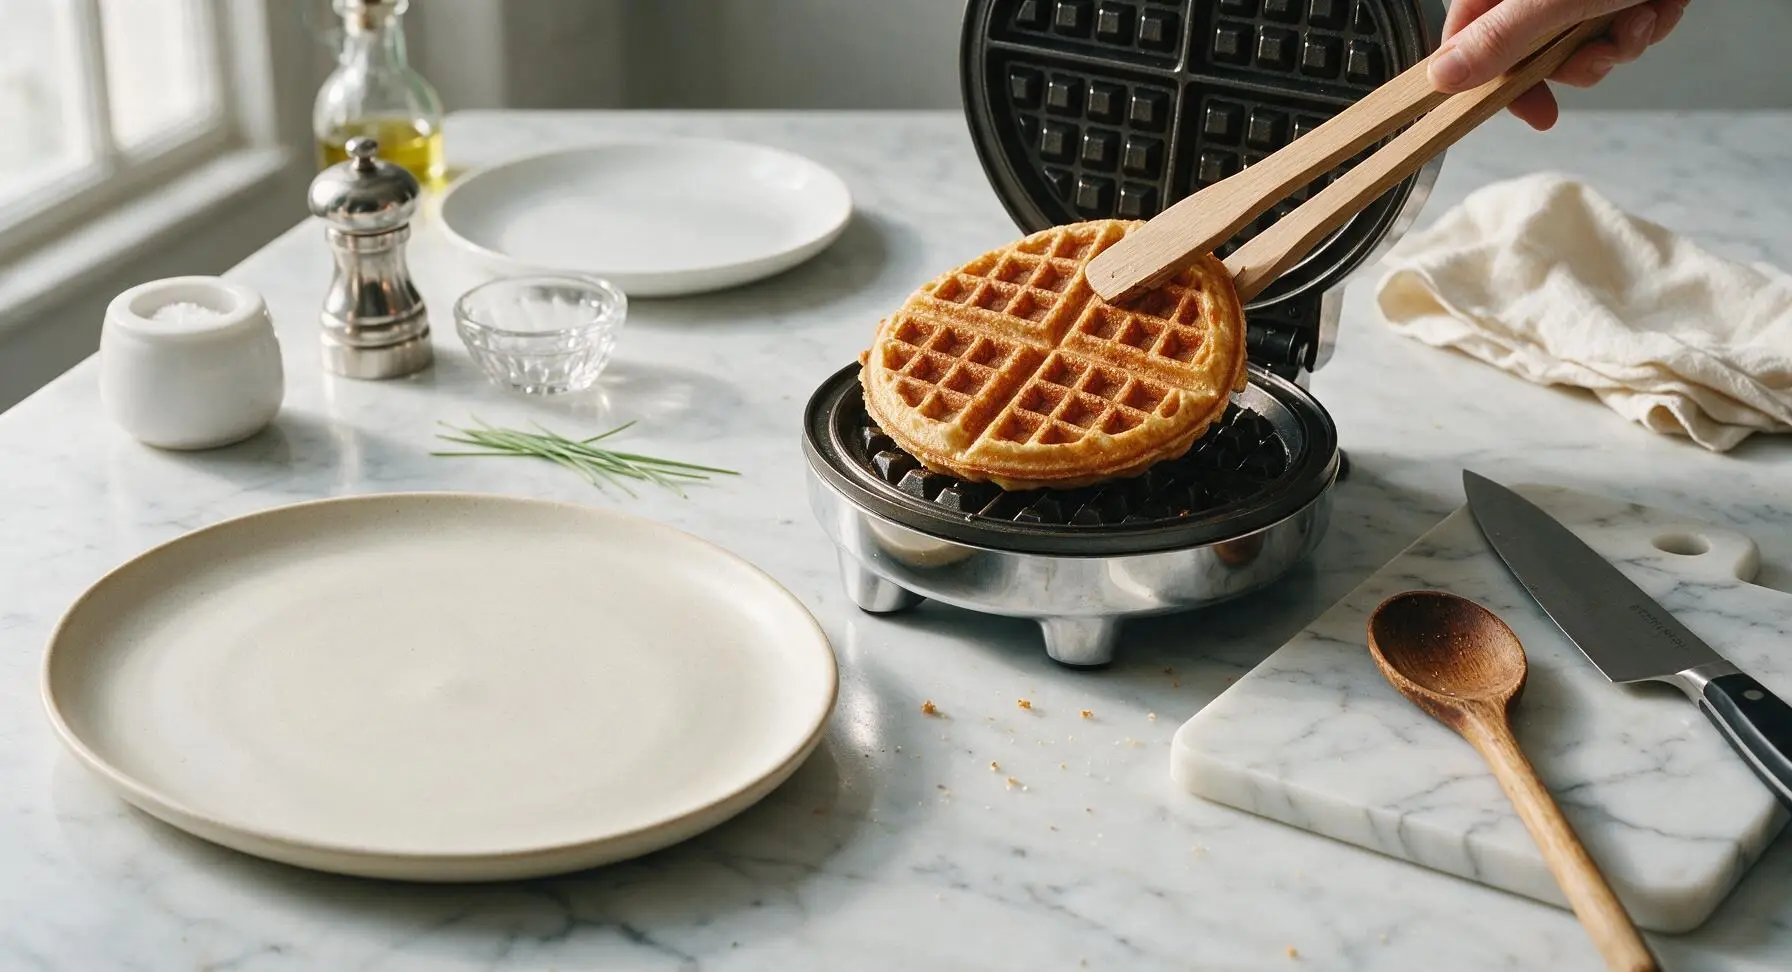
Step 8
step8:Cook Golden Waffles
Step 8
step8:Cook Golden Waffles

Tips

1.Use room-temperature eggs when mixing into the rested batter: cold eggs will shock the active yeast and deflate too many delicate air bubbles, leading to denser, less fluffy waffles.
2.Avoid overmixing the batter after adding eggs and vanilla: a few small lumps are completely normal, as overmixing develops excess gluten that makes waffles tough instead of tender with crisp edges.
3.Keep cooked waffles crisp by resting them on a wire rack set over a baking sheet in a 200°F oven instead of stacking them on a plate: stacking traps steam that softens the signature crunchy outer crust.


✨ You May Also Like

Breakfast
🍜 United States

Crisp-edged, fluffy lard griddle cakes are a nostalgic homestyle staple, with rich savoriness from rendered lard, perfect topped with maple syrup or savory gravy.

⏱️ 25 minuteBreakfast ★ 4.8
Breakfast
🍜 United States

Flaky, buttery homemade buttermilk biscuits smothered in creamy, peppery pork sausage gravy: a beloved, hearty Southern American comfort food classic.

⏱️ 35 minuteBreakfast ★ 4.8
Breakfast
🍜 United States

Golden, custardy brioche stuffed with sweet cream cheese and fresh berries, pan-fried to crisp perfection. An indulgent, cozy breakfast perfect for slow weekend mornings.

⏱️ 30 minuteBreakfast ★ 4.7
Breakfast
🍜 United States

Flaky, buttery Southern-style biscuits stuffed with savory salty country ham, a portable, satisfying classic perfect for casual on-the-go meals.

⏱️ 25 minuteBreakfast ★ 4.8
Breakfast
🍜 United States

Iconic puffy baked pancake popularized in Seattle, with crisp golden edges and soft custardy center, served warm with classic sweet toppings.

⏱️ 35 minuteBreakfast ★ 4.6
Breakfast
🍜 United States

Fluffy, golden pancakes studded with juicy peak-summer mixed berries, drizzled with maple syrup for a bright, comforting, crowd-pleasing family breakfast.

⏱️ 25 minuteBreakfast ★ 4.7

overnight waffle batter:Frequently Asked Questions

1.Do I really have to let this batter rest overnight, or can I make it same-day? ▾
The overnight cold rest is what builds that signature deep, slightly tangy yeasted flavor and delicate, light texture with zero morning work. If you’re short on time, you can let the batter rise in a warm spot for 1.5 to 2 hours until doubled, then rest 30 minutes before cooking, though the flavor won’t be as complex.
2.Can I use instant yeast instead of active dry yeast for this batter? ▾
Absolutely! Swap instant yeast 1:1 by volume for active dry yeast, and you won’t even need to proof it first—just whisk it directly into your dry ingredients before adding the warm milk. The long cold ferment works exactly the same, so you’ll get the same crisp, fluffy restaurant-quality waffles.
3.My batter didn’t get super bubbly overnight in the fridge—did I kill the yeast? ▾
That’s totally normal for cold ferments! Cold fridge temperatures slow yeast activity way down, so you won’t see the big, frothy bubbles you get with a warm countertop rise. As long as your yeast wasn’t expired, it will wake right up after 10 minutes at room temperature before cooking, no issues.
4.Can I use low-fat or plant-based milk instead of whole milk? ▾
Whole milk creates the richest, most tender crumb and shatteringly crisp crust, but you can swap 2% dairy milk, unsweetened oat milk, or plain soy milk 1:1 with good results. Skip skim milk or watery almond milk, though—they lead to flat, bland waffles that won’t crisp up properly in your iron.
5.Do I need to stir the batter in the morning before pouring it into the waffle iron? ▾
Give it just one or two very gentle stirs to pop any extra-large air pockets, but don’t overmix! Overstirring will knock out all the delicate yeast bubbles that give these waffles their signature light, fluffy lift, leading to dense, chewy waffles instead of that perfect restaurant-style texture.
6.How long can I keep leftover batter in the fridge after the overnight rest? ▾
You can store tightly covered batter for up to 3 total days in the fridge. The yeast will keep developing a subtle, tangy, almost sourdough-like flavor the longer it sits, which is absolutely delicious. Just give it a quick, gentle stir before scooping, and cook as you normally would.
7.Can I freeze leftover overnight waffle batter for later use? ▾
Absolutely! Pour leftover batter into labeled, airtight freezer bags, squeeze out all excess air, and freeze for up to 3 months. Thaw it fully in the fridge the night before you plan to make waffles, let it sit 10 minutes on the counter, give it a light stir, and it will cook up perfectly.
8.Why are my waffles coming out soft and soggy instead of crisp? ▾
There are two common culprits: your waffle iron isn’t fully preheated (it should hit 375°F, or make a drop of water dance and evaporate instantly on the surface), or you’re opening the iron too early. Cook waffles 3 to 4 minutes until steam stops escaping from the edges before checking for doneness.
9.Do I need to add eggs or butter to this simple base batter? ▾
This minimal 5-ingredient base makes fantastic light, crisp waffles all on its own, but you can stir in 2 tablespoons of melted, cooled butter and 1 beaten egg right before cooking for an extra rich, tender crumb. Don’t add these the night before, though—they can slow yeast activity during the cold ferment.
10.Can I use whole wheat or bread flour instead of all-purpose flour? ▾
You can swap up to half the all-purpose flour for whole wheat flour for a nutty, heartier waffle, or use bread flour for extra chewy, crisp structure. Avoid using 100% whole wheat or bread flour, though—it will make waffles too dense and heavy, instead of the light, fluffy texture we’re going for.
11.How warm does my milk need to be to activate the active dry yeast? ▾
Aim for milk between 105°F and 110°F—about the temperature of a comfortably warm bath, not hot to the touch. If your milk is over 120°F, it will kill the yeast, and if it’s too cold, the yeast won’t activate properly to create that light, airy rise overnight in the fridge.
12.Do I need to cover the batter while it rests in the fridge overnight? ▾
Yes, cover it tightly with plastic wrap pressed lightly against the batter surface, or a tight-fitting lid, to prevent a thick, dry skin from forming on top. A loose cover will also let the batter pick up random, off-flavors from other fridge foods, which will ruin that mild, sweet yeasted taste.
13.Can I add mix-ins like chocolate chips, blueberries, or cinnamon? ▾
Hold off on stirring in solid mix-ins until right before you cook the waffles, so they don’t sink to the bottom of the batter bowl overnight. Add ½ to ¾ cup of your favorite mix-in per batch, plus a teaspoon of cinnamon or vanilla if you like, right after you give the batter that quick morning stir.
14.How much batter should I pour per waffle to avoid messy overflow? ▾
For most standard 7-inch waffle irons, pour ½ to ⅔ cup of batter right in the center of the preheated grid, then close the lid. This yeasted batter rises much more than regular baking powder waffle batter, so pouring too much will cause it to ooze out the sides and leave a sticky, burnt mess on your appliance.

Comments (13)

2 days ago

OMG this overnight batter is such a game changer! I threw it together before bed last night, woke up, and had crispy, fluffy waffles on the table in 20 minutes flat. My 3 kids devoured theirs with extra syrup and berries before I even got a second piece. SO good!

2 hours ago

Wait, quick question—can I mix in a little cinnamon and vanilla into the batter before letting it sit overnight, or will that mess with the yeast? I love cozy spiced waffles for fall brunch!

30 minutes ago

I did that last weekend! Added a tsp of cinnamon and a splash of vanilla, no issues with the yeast at all. The waffles had that perfect warm flavor, my brunch guests went crazy for them.

5 minutes ago

Great question! Cinnamon and vanilla are totally fine to mix in before the overnight rest—just skip any super acidic add-ins like citrus juice until right before cooking, and your yeast will be perfectly happy. So glad you’re excited to make these!

1 week ago

Took this to our neighborhood potluck last weekend, made a double batch and cooked them up on our portable waffle iron out on the patio. People were asking me for the recipe before I even got my first waffle! Zero complaints, even from the picky kids in the group.

5 days ago

Love that you brought these to a potluck! They’re such a crowd pleaser, and the overnight prep means you don’t have to rush around mixing batter when you’re supposed to be hanging out with guests. So happy they were a hit!

5 days ago

I’ve tried so many homemade waffle recipes that turn out soggy or dense, even when I separate the eggs and beat the whites. These? Perfectly crispy on the outside, light and chewy inside, and the yeasty flavor is next level. Why did I sleep on overnight waffles for so long?

3 days ago

Right?! The yeast makes such a huge difference compared to baking powder only batters. I’ll never go back to regular waffles after making these.

2 weeks ago

Total meal prep win! I make a batch of this batter every Sunday, keep it in a sealed container in the fridge, and make fresh waffles for my kid’s breakfast all week long. It stays good for up to 4 days, right? Even as it gets a little extra tangy it tastes amazing, kind of like sourdough waffles.

3 days ago

I’ve been making waffles for my grandkids for 50 years, and I was skeptical a “no-fuss overnight batter” could hold a candle to my old recipe. Color me wrong! These are so fluffy, and that subtle yeasty note reminds me of the waffles my own mom used to make when I was little. Only note: I added a tiny pinch of nutmeg, per my usual trick.

2 days ago

The nutmeg trick sounds amazing! I’m definitely stealing that for my next batch. I love little tweaks that make recipes feel extra homey.

yesterday

My grandma adds nutmeg too! I didn’t think anyone else did that. It’s such a small addition but it makes the whole kitchen smell like fall when the waffles cook.

yesterday

Made these for a lazy Saturday brunch with my roommates, we topped them with fried chicken and hot honey for chicken and waffles. *Chef’s kiss* The slight tang from the fermented batter cut through the richness of the fried chicken perfectly. 10/10, will make again.

2 hours ago

Chicken and waffles with these? That’s such a perfect pairing! The subtle tang from the overnight yeast does pair so well with savory, salty toppings too, not just sweet ones. Thanks for sharing that serving idea!

30 minutes ago

Quick heads up for anyone who has a tiny kitchen like me: you don’t need a fancy stand mixer to mix this batter! I just used a regular whisk and a big bowl, it came together in 5 minutes flat before bed. My son has autism and is super picky about texture, and he ate two whole waffles without complaining—total win in my book.

5 minutes ago

Oh that makes me so happy to hear! My youngest is super texture sensitive too, and these are the only waffles he doesn’t push off his plate. It’s the fluffy, not soggy texture I think!

1 week ago

Tried making these for the first time last weekend and burned the first two because I was too impatient waiting for the waffle iron to heat up all the way 😂 Don’t be like me! Wait for the iron to be fully hot, and they come out perfectly crispy every time. Also, pro tip: a sprinkle of mini chocolate chips in the batter right before cooking is *chef’s kiss*.

5 days ago

Wait, has anyone tried making this with whole wheat flour instead of all purpose? I’m trying to add more whole grains to my family’s diet but don’t want to ruin the texture. Any tips?

3 days ago

I do half whole wheat half all purpose! It adds a little nuttiness without making them dense or heavy. Wouldn’t do 100% whole wheat though, last time I tried that they came out a little tough.

2 days ago

Great question! The half and half swap that MealPrepQueen mentioned is exactly what we recommend for whole grain lovers. 100% whole wheat can weigh the batter down too much and keep it from getting light and fluffy, so a 50/50 mix gives you the best of both worlds.

2 weeks ago

I was worried this would be too complicated because it uses yeast, but it’s genuinely the easiest waffle recipe I’ve ever made. No whipping egg whites, no folding, just stir everything together, cover, and stick it in the fridge overnight. Even my teen who’s never cooked anything more complicated than toast was able to help make these on Mother’s Day!

1 week ago

That’s what we love to hear! This recipe is designed to be low-lift so you don’t have to spend a ton of time in the kitchen, especially on slow weekends. What a sweet Mother’s Day memory—thanks for sharing that with us!

2 days ago

Game. Changer. I used to spend 20 minutes every Saturday morning measuring, mixing, beating egg whites, all to make waffles that were only okay. Now I spend 5 minutes mixing the batter Friday night, and Saturday morning waffles are ready to go with zero stress. We’ve made these three weeks in a row now!

yesterday

Same! I used to save waffles for special occasions because of all the work, now we have them every other Sunday. My wife keeps making fun of me for how much I rave about this recipe.

30 minutes ago

Three weeks in a row is nothing, I’ve been making these every weekend for two months! I don’t think I’ll ever make a different waffle recipe tbh.

just now

I don’t usually leave reviews but this recipe deserved one. I brought these waffles to my office brunch last week, and even my boss who’s a total food snob asked for the recipe. The yeasty, slightly tangy flavor just hits different than regular baking powder waffles. 10/10, no notes.



