
Oyster Bhakri
intro
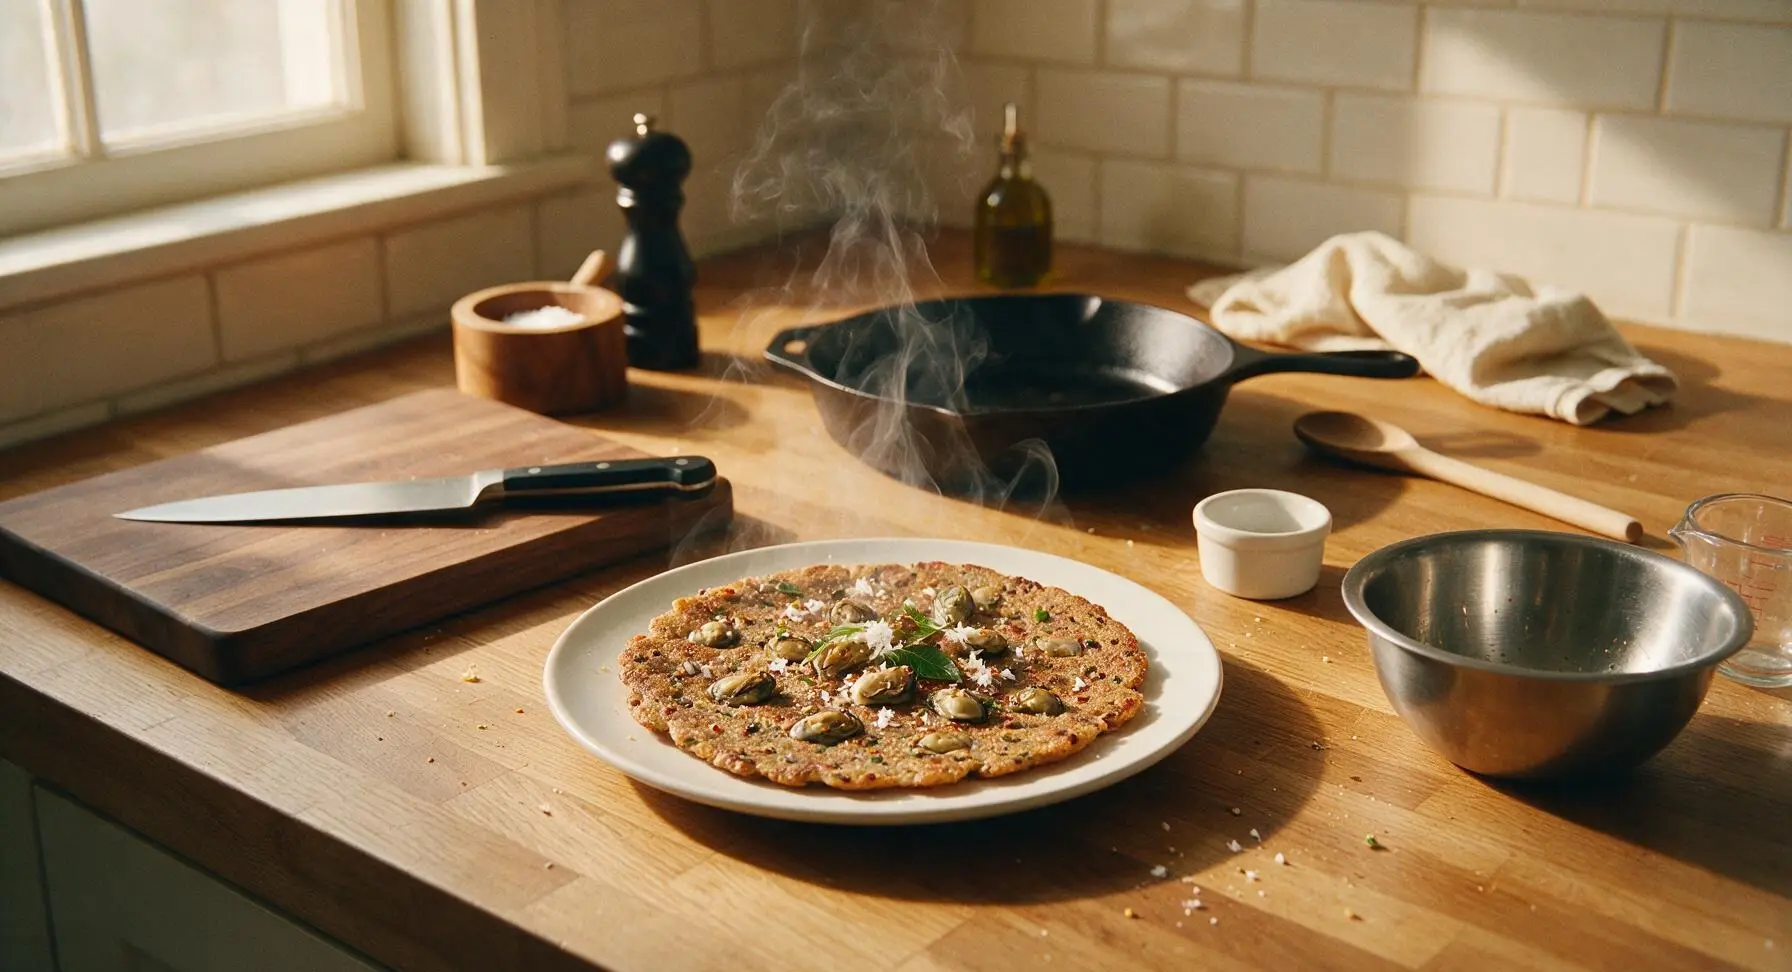
Crisp, gluten-free ragi flatbreads studded with briny fresh oysters, aromatic coastal spices, and fresh coconut—beloved Konkan coastal comfort food, perfect for sharing.
Ingredients
Steps
Rinse and Prep Oysters
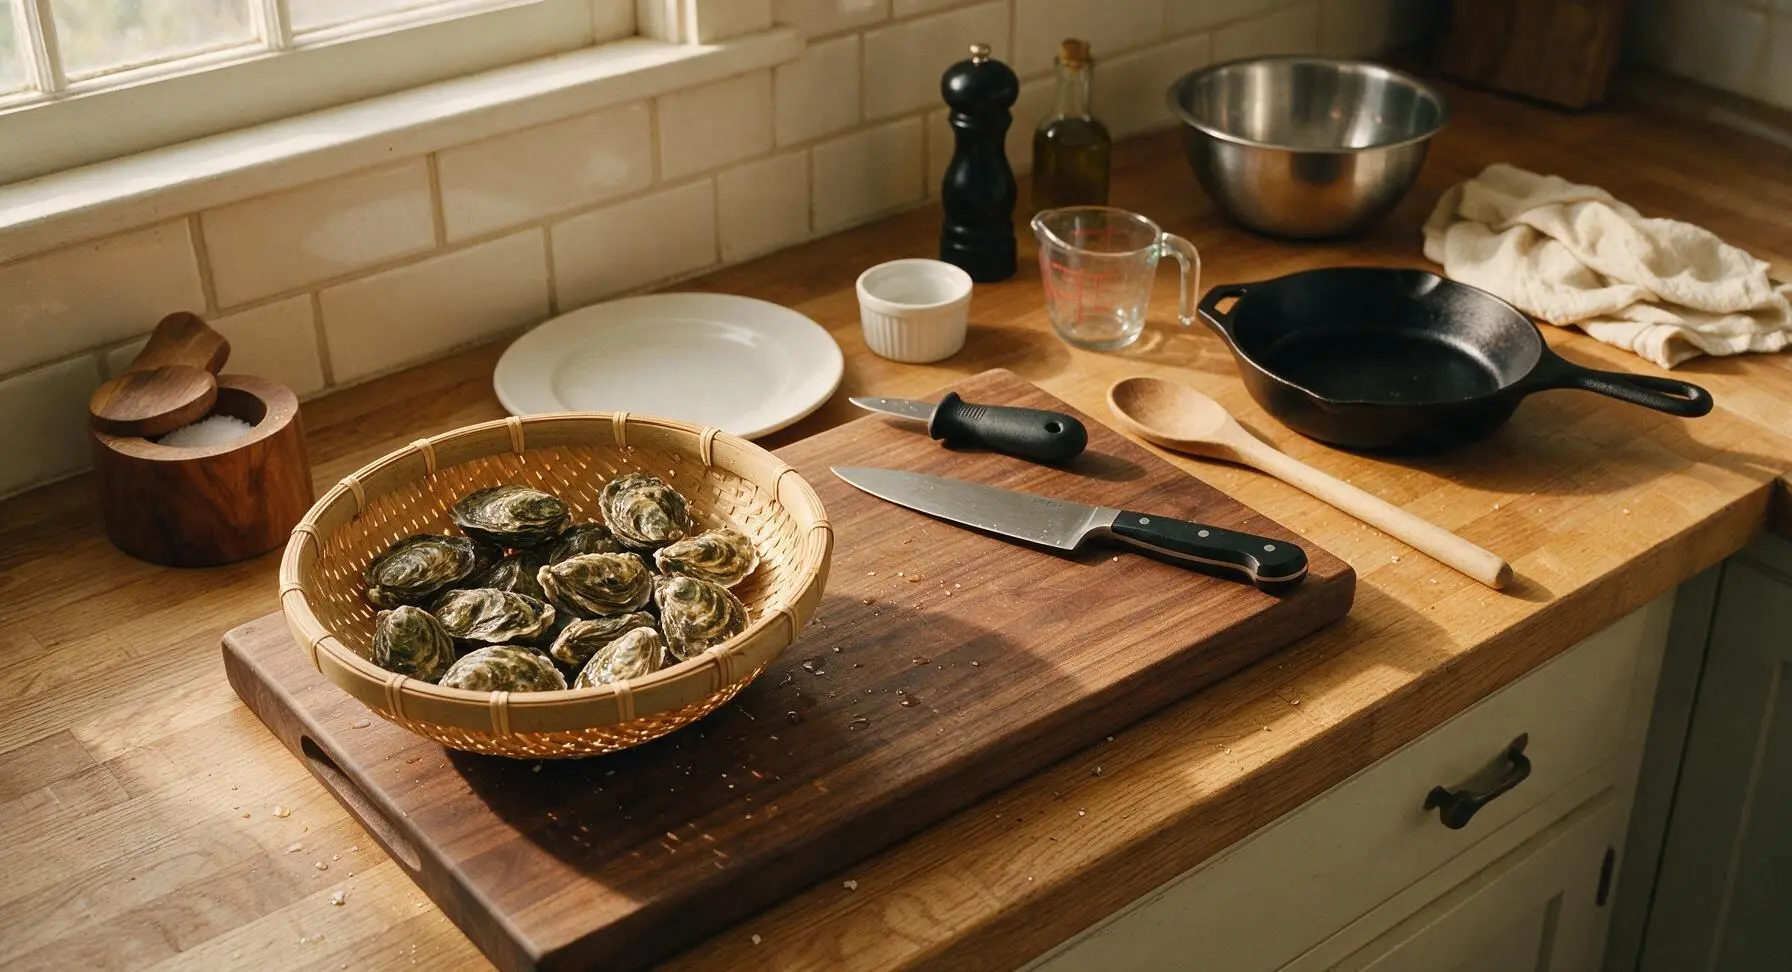
Place the 12 fresh oysters in the bamboo colander, rinse under cold running water to remove any surface mud or shell debris. Pat shells dry lightly with the edge of the cream kitchen towel before shucking. Discard any oysters that are already open and do not close when tapped, as these are unsafe to eat.
Shuck and Chop Oysters
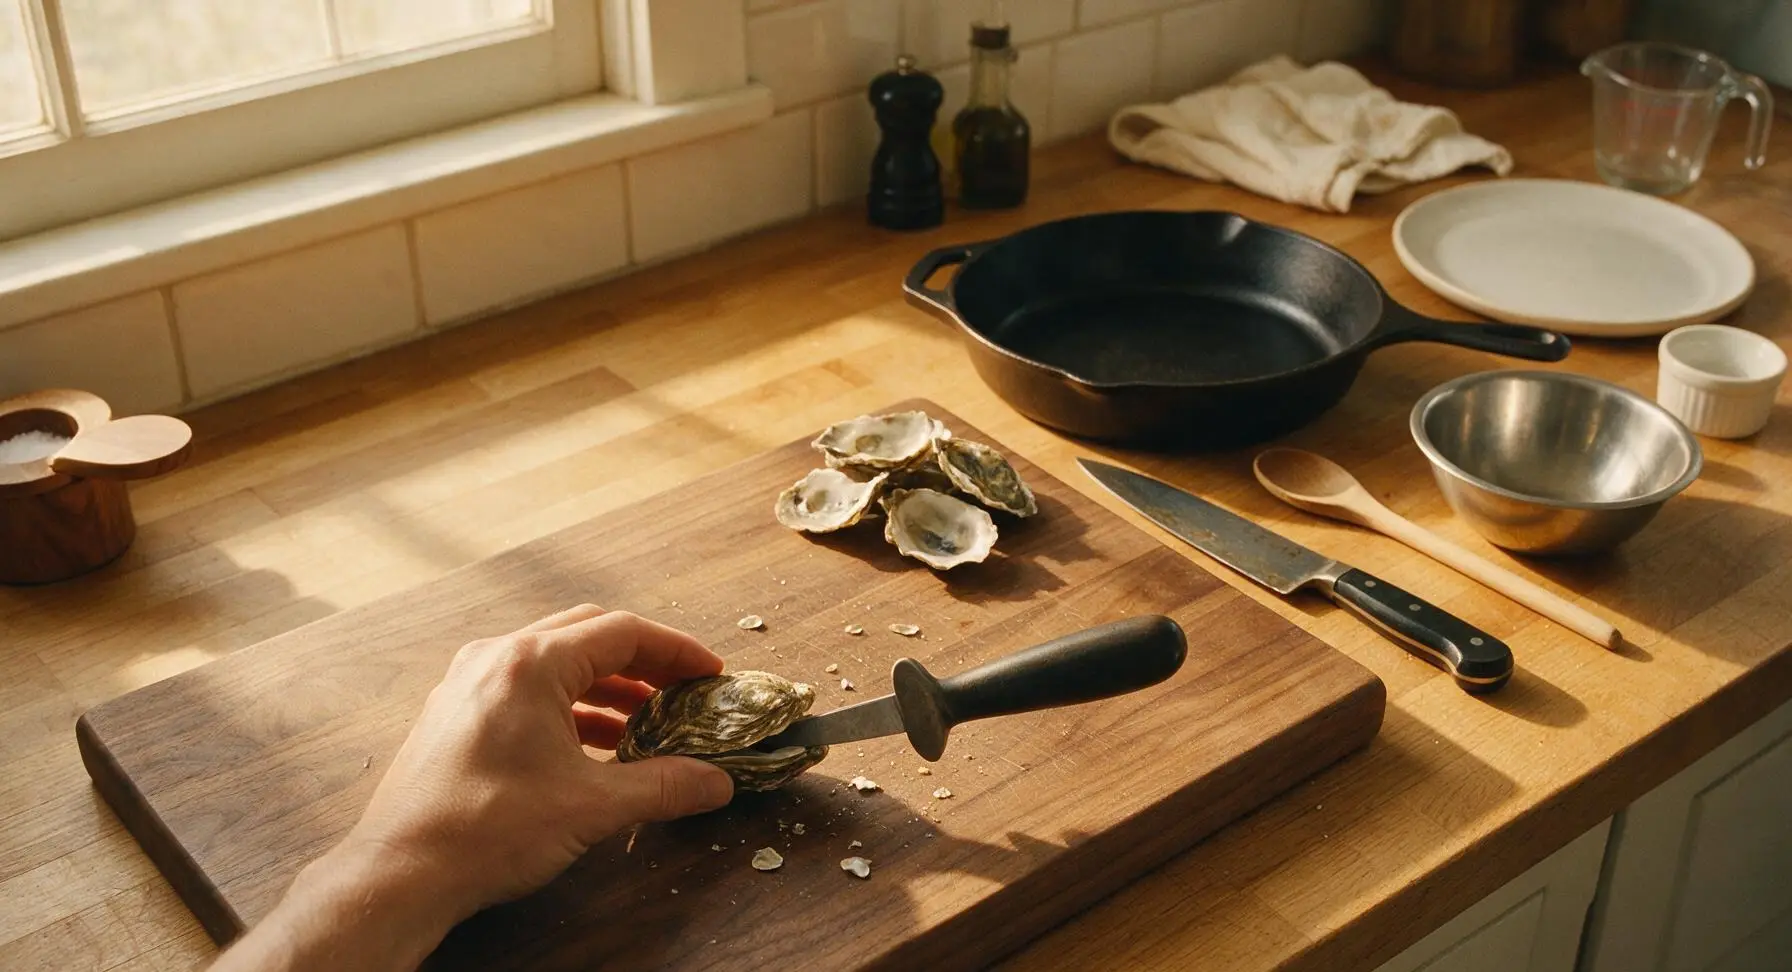
Hold each oyster firmly on the mango wood cutting board, insert the oyster shucking knife at the shell hinge, twist to pop the shell open, and slide the knife under the oyster meat to release it from the shell. Reserve 2 tablespoons of the natural oyster liquor from the shells, then roughly chop the oyster meat into 1cm pieces. Transfer chopped oysters and reserved liquor to a clean spot on the cutting board while you prep the dough.
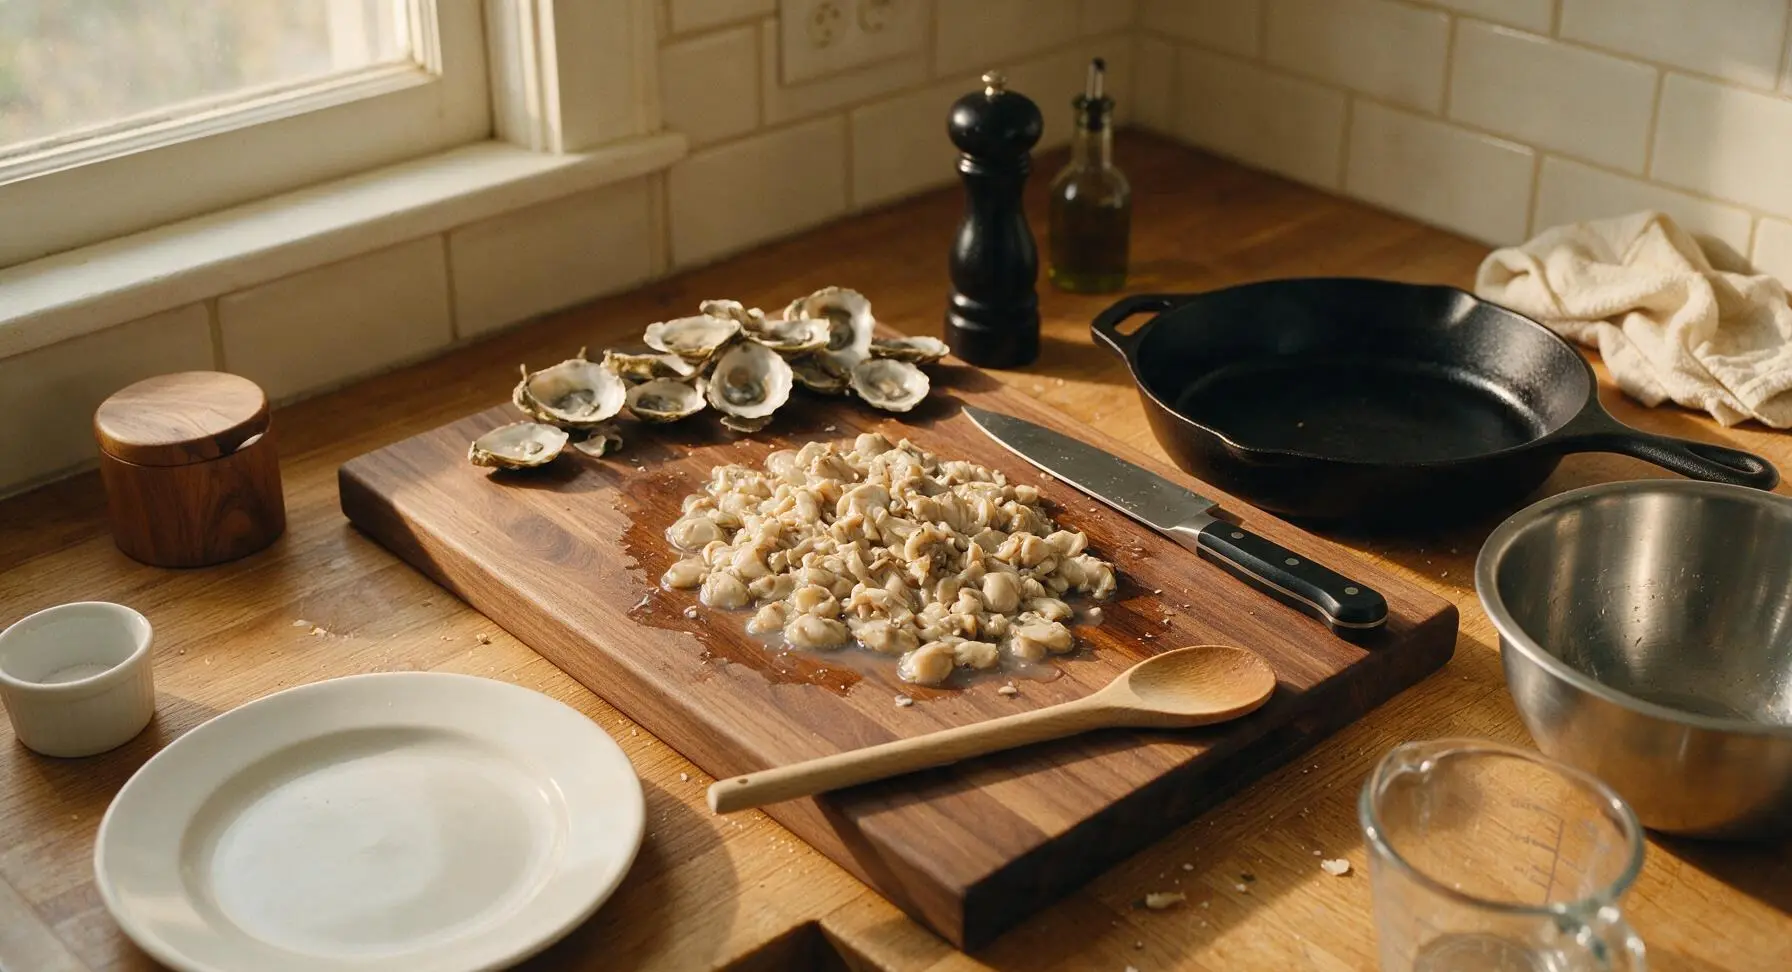
Mix Dry Dough Base
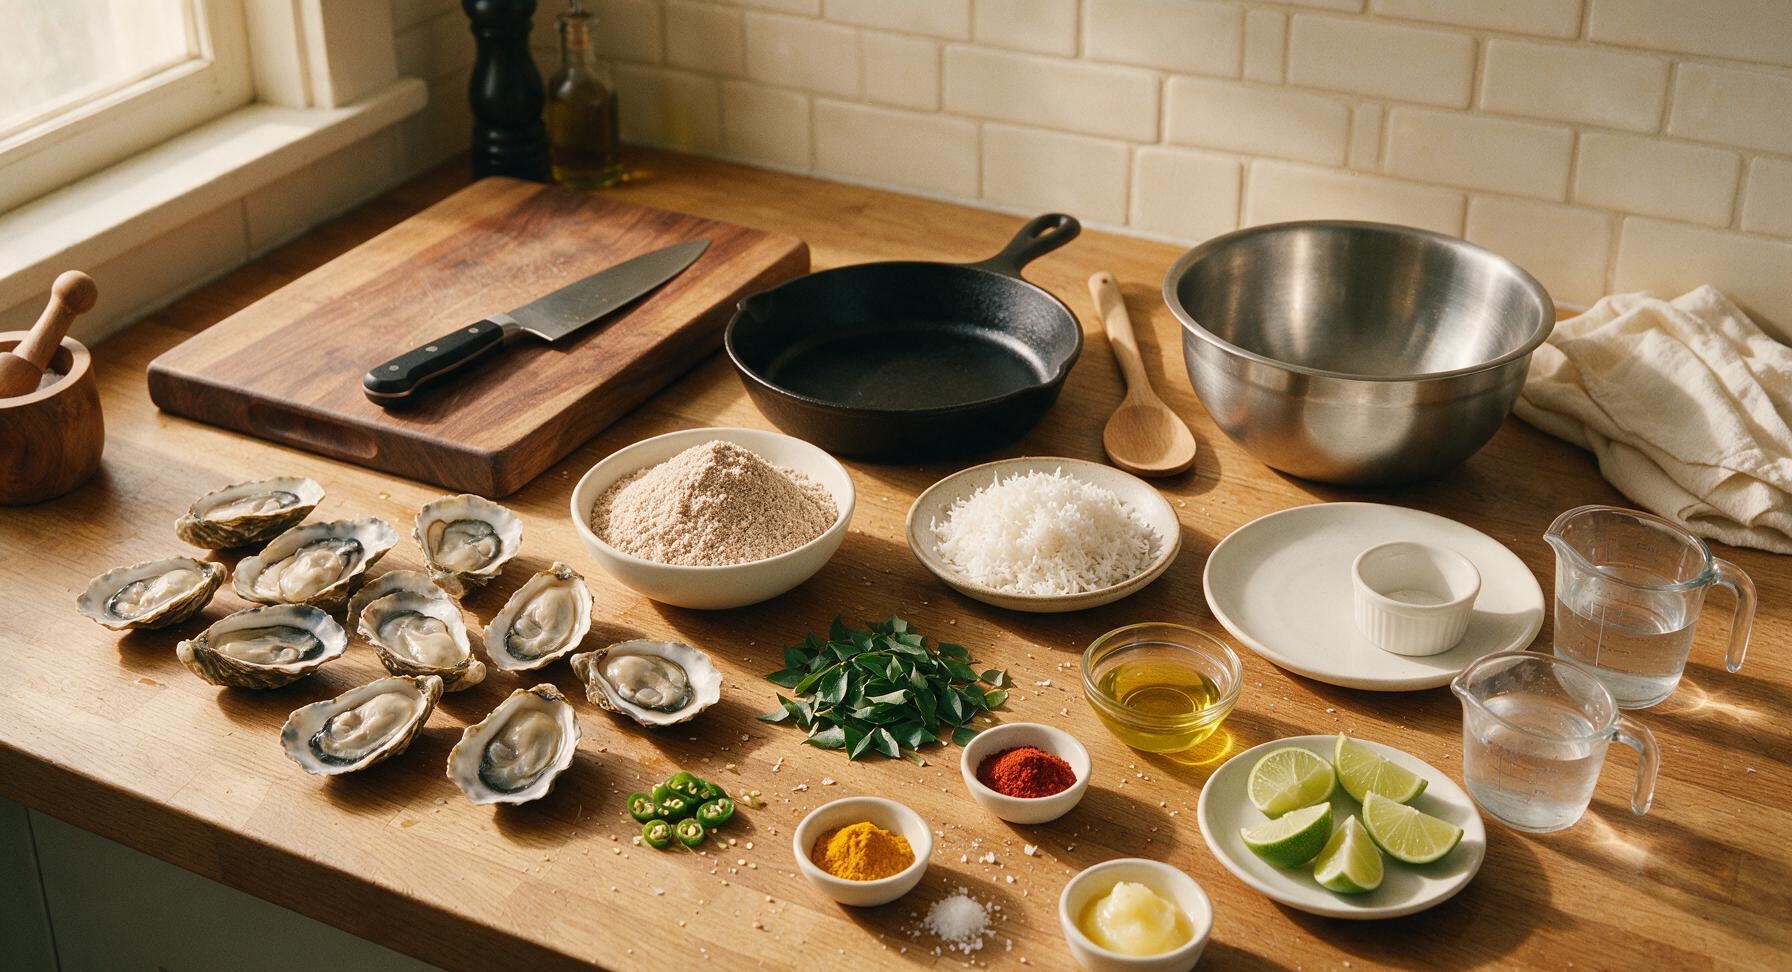
Add the 2 cups (240g) ragi flour, 1 tsp kosher salt, 1/2 tsp turmeric powder, 1 tsp red chilli powder, finely chopped curry leaves, minced green chilli, and 1/2 cup grated fresh coconut to the medium stainless steel mixing bowl. Stir with your fingertips to evenly distribute spices and coconut through the flour, breaking up any lumps of coconut until the mixture is a uniform pale brown with visible flecks of green and red.
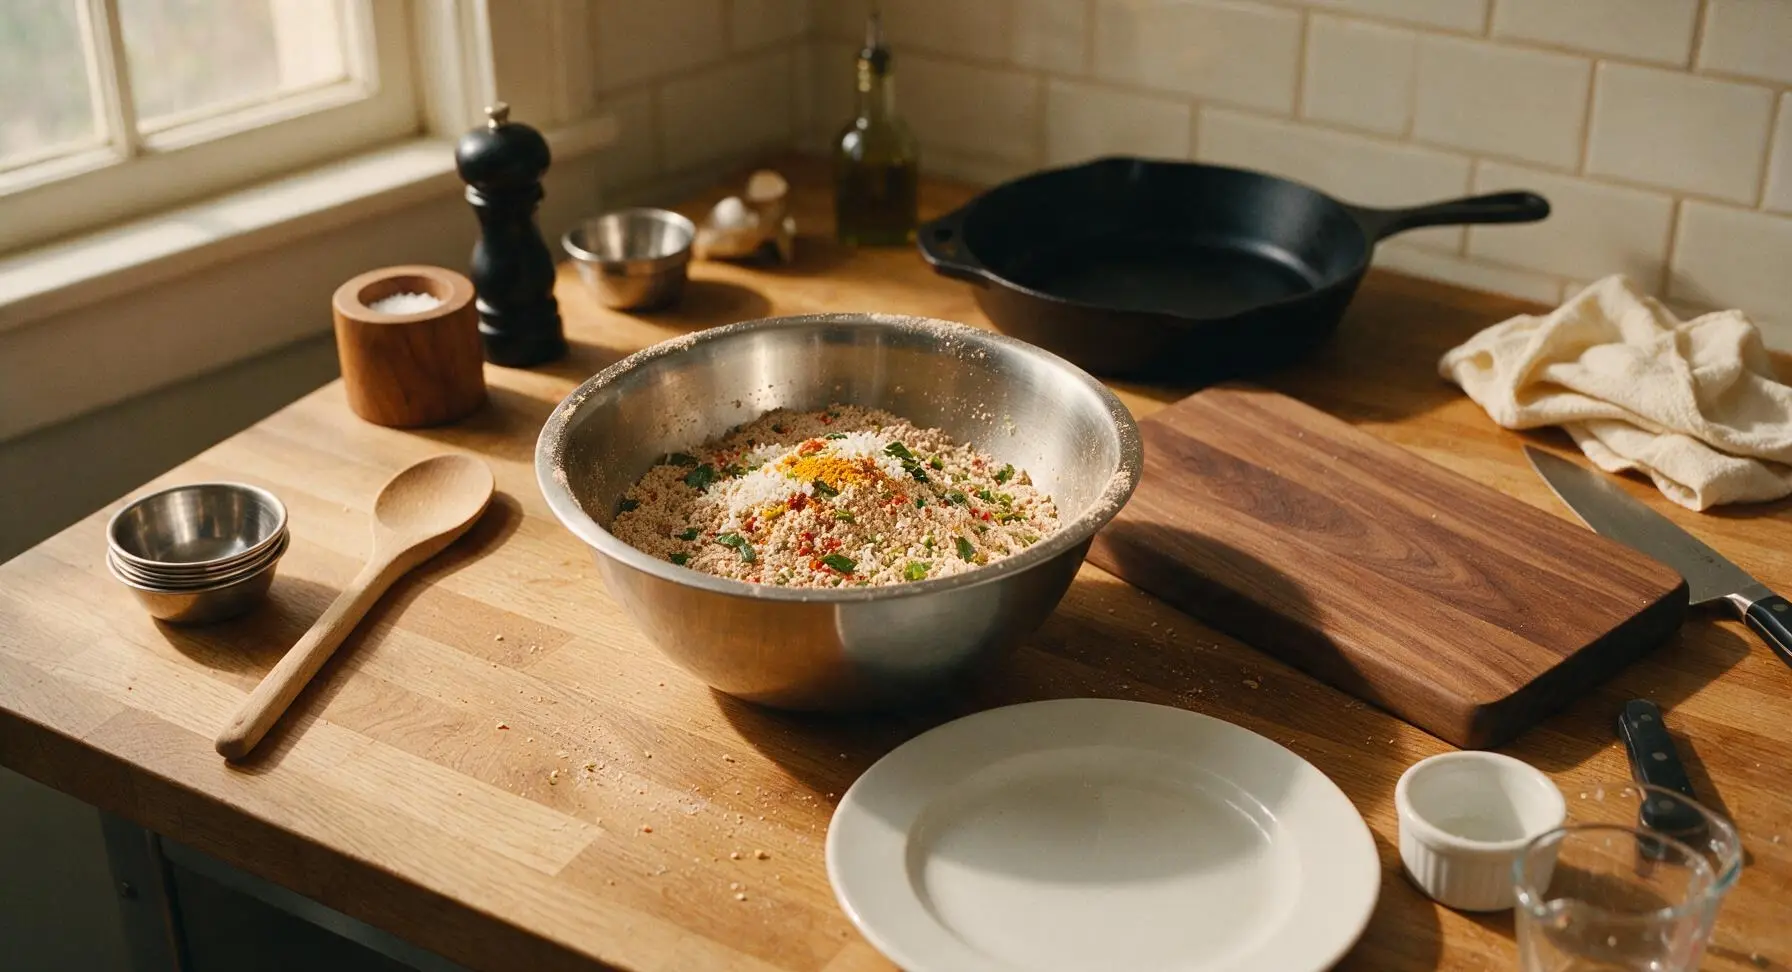
Knead Oyster Dough
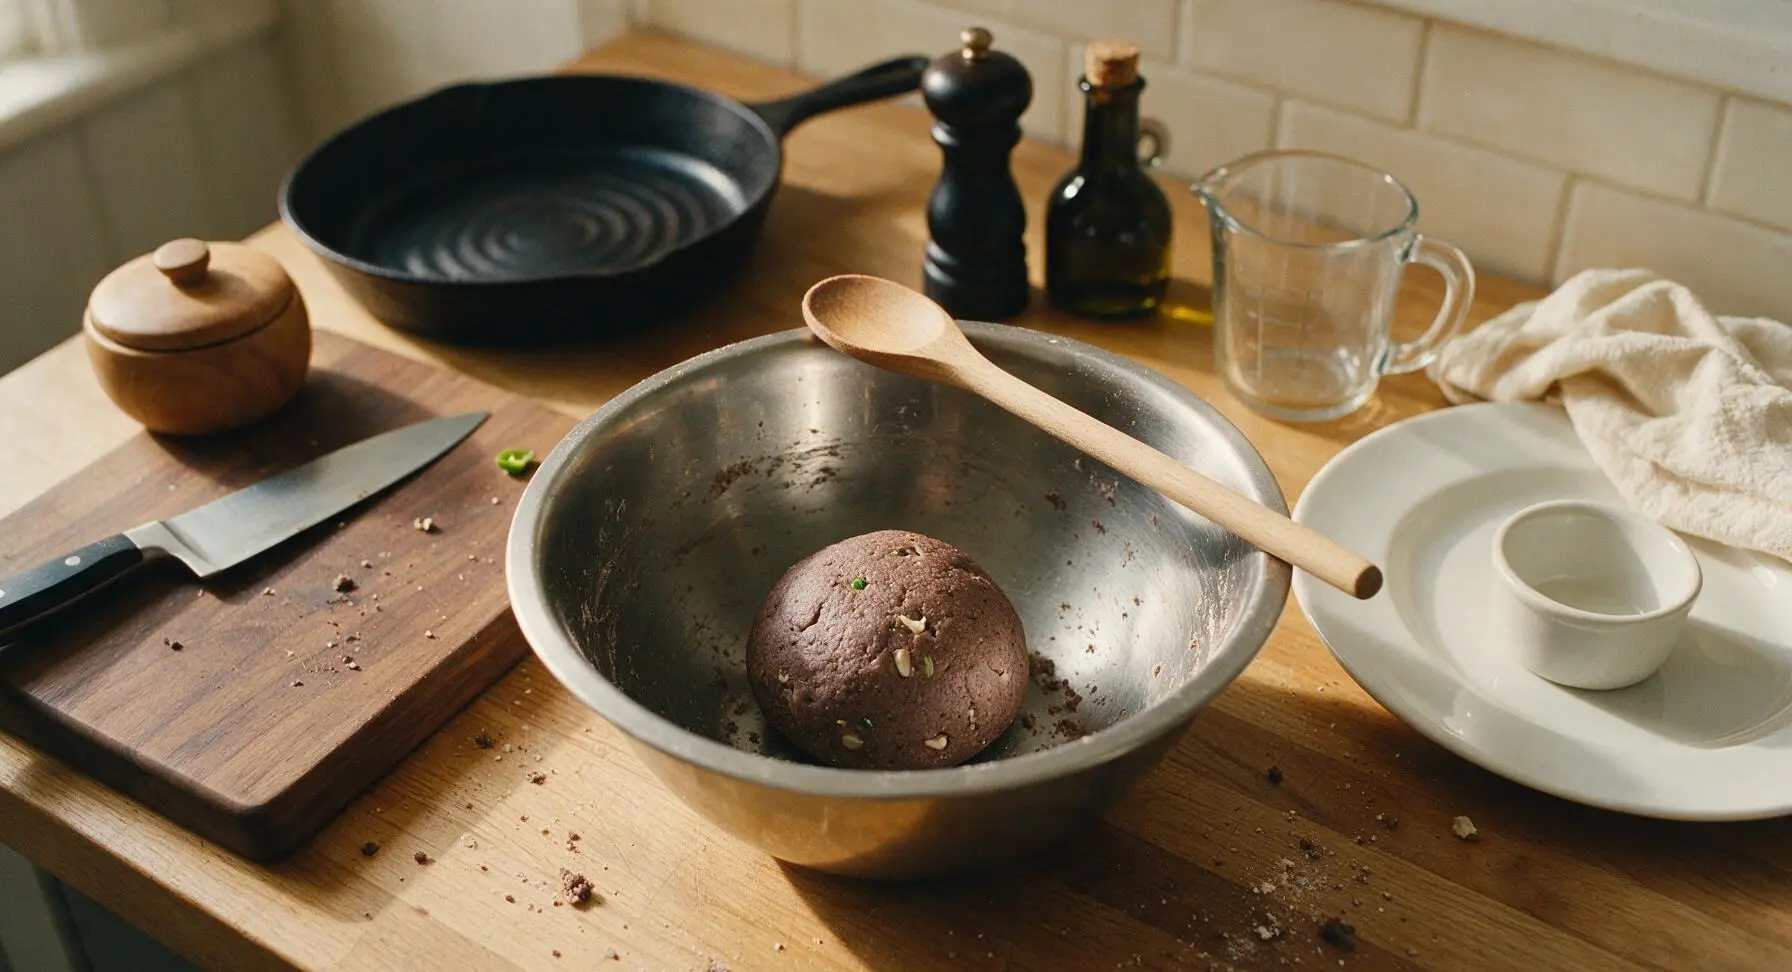
Add the chopped oysters and reserved oyster liquor to the dry flour mixture, stir gently to combine. Gradually pour in 3/4 cup warm water, 2 tablespoons at a time, mixing with your hand as you pour, until the dough comes together into a firm, pliable ball that does not stick to your fingers. Knead gently for 2 minutes, being careful not to overwork the dough—over-kneading will make the finished bhakris tough. Adjust consistency as needed: add 1 extra tablespoon ragi flour if sticky, 1 teaspoon warm water if crumbly.
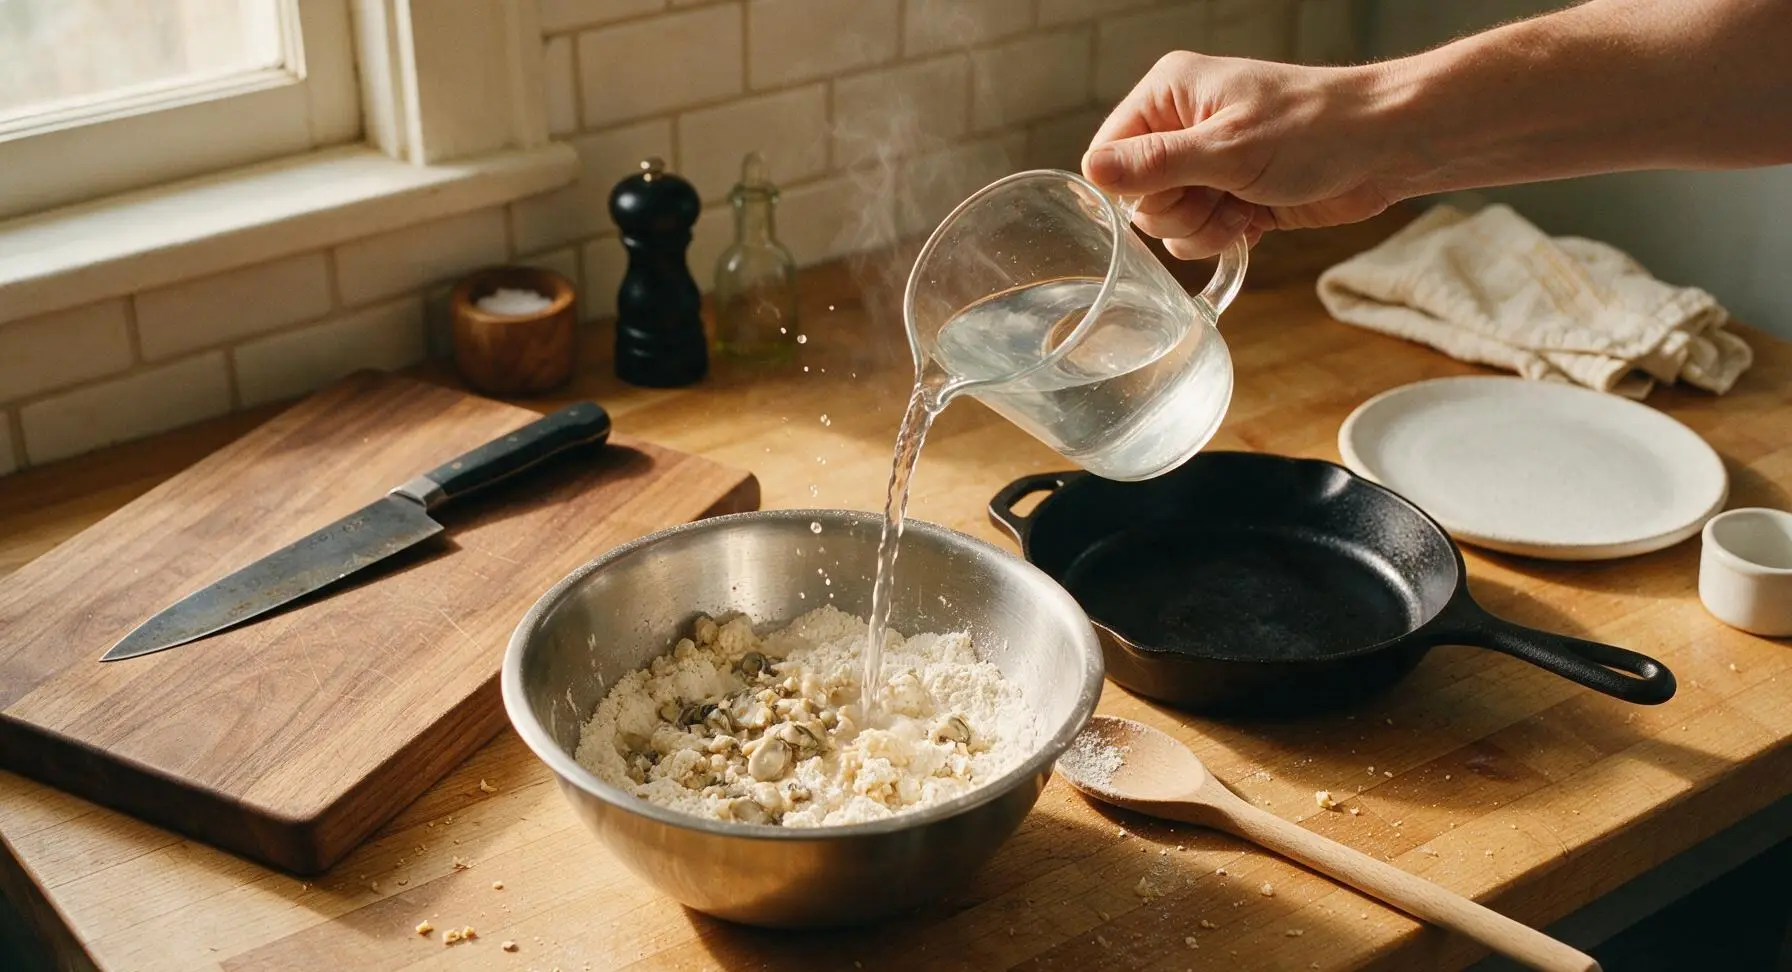
Shape Dough Portions
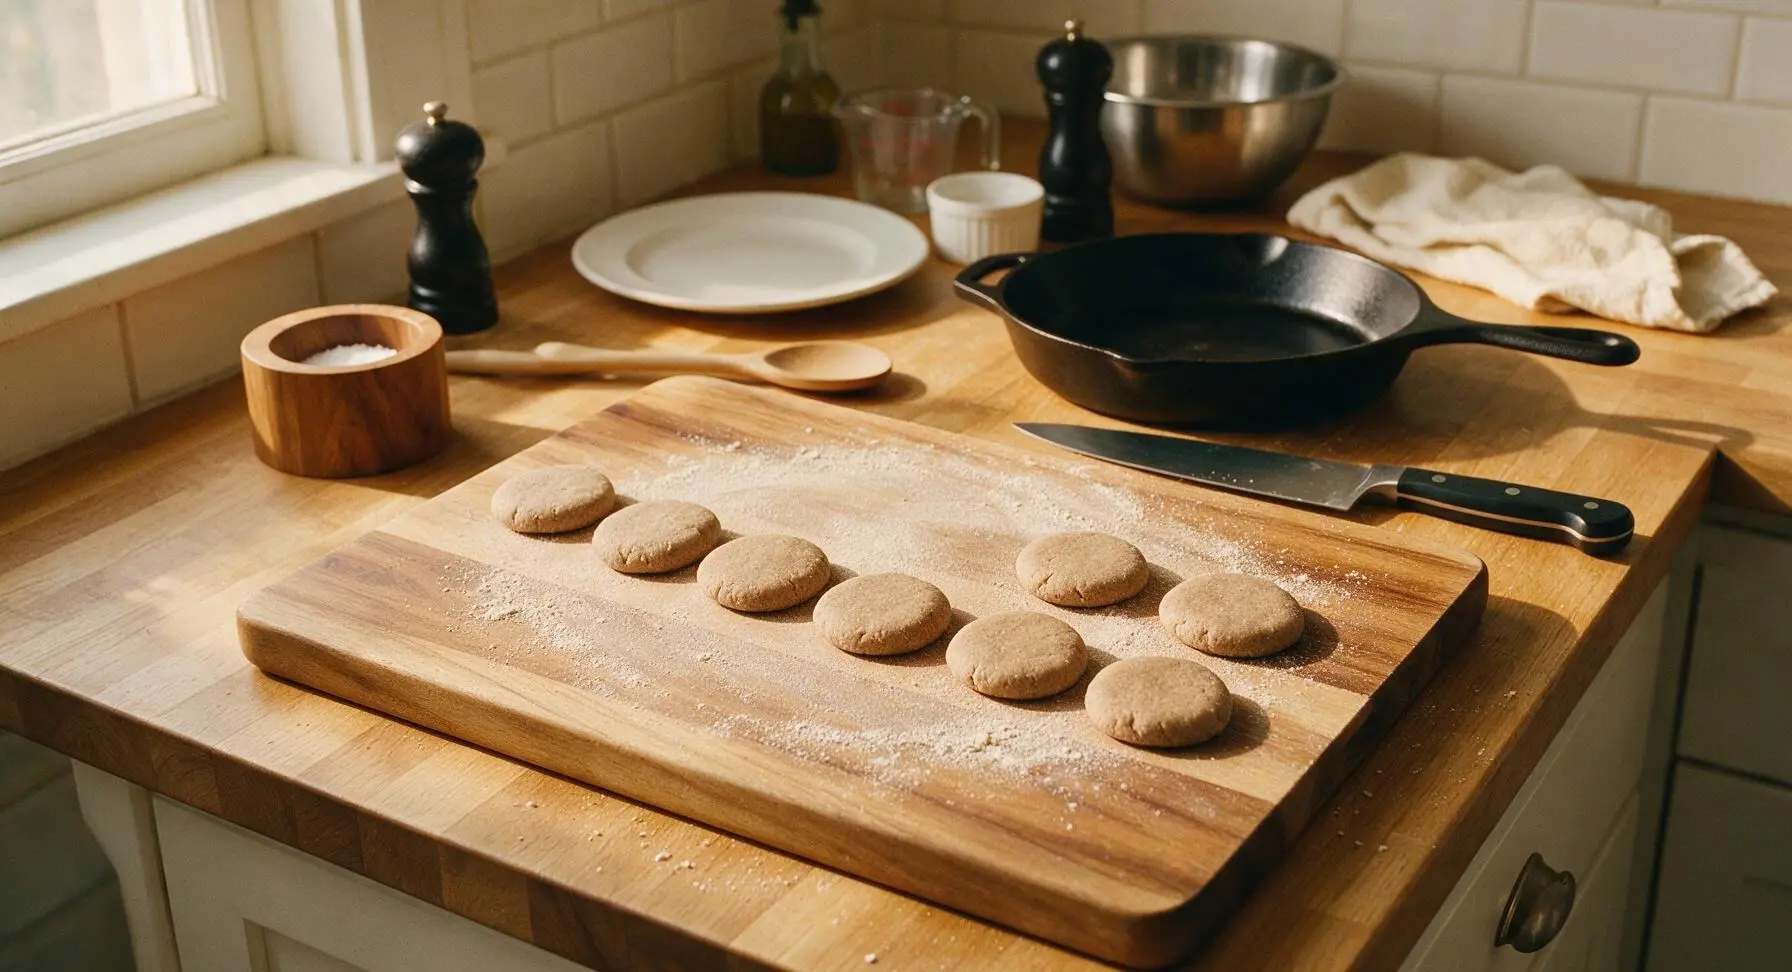
Lightly dust the mango wood cutting board with a pinch of ragi flour to prevent sticking. Divide the dough into 8 equal portions, each roughly the size of a small lime (about 40g each). Flatten each ball slightly between your palms to form a 1cm thick patty, placing them in a single row on the floured edge of the cutting board as you work. Do not stack the patties, as they will stick together.
Cook First Bhakri Side
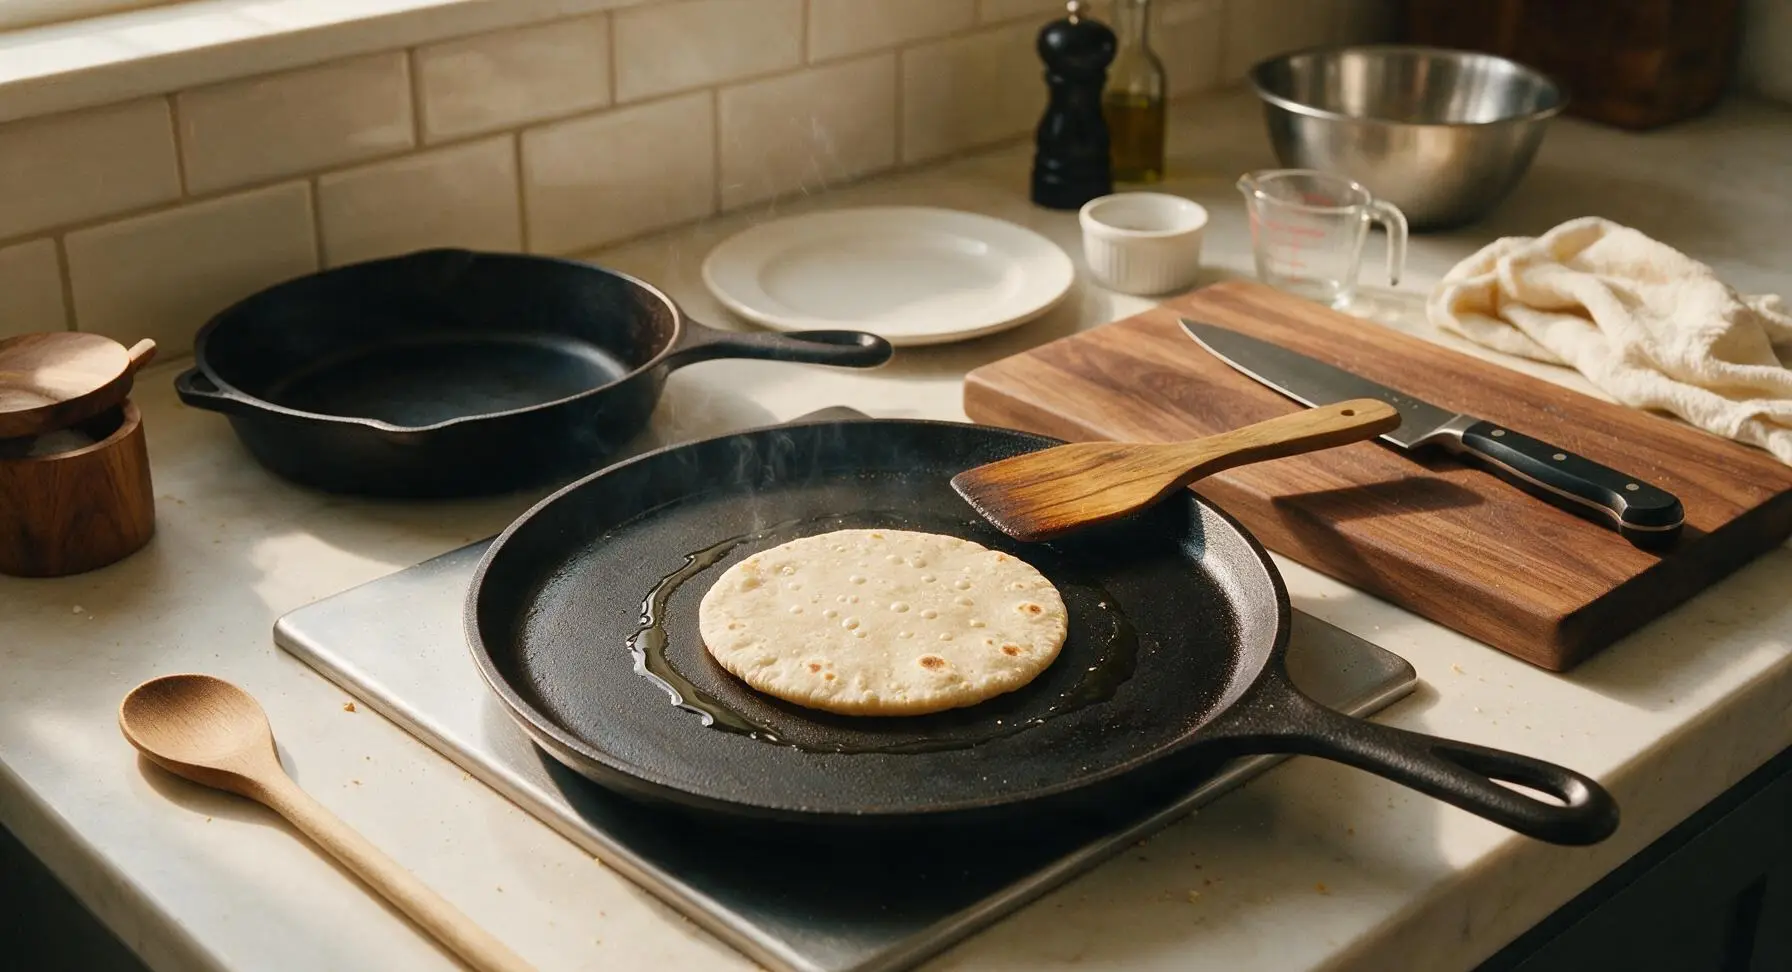
Place the seasoned cast iron tava on the stovetop over medium heat, let it preheat for 3 minutes until a pinch of flour dropped on the surface sizzles and turns light golden in 10 seconds. Place one flattened dough patty on the center of the tava, drizzle 1/4 teaspoon of coconut oil around the edge. Cook for 2 minutes, until the bottom side develops light golden brown spots and the edges start to lift slightly from the griddle surface.
Flip and Press Bhakri
Use the neem wood spatula to carefully flip the bhakri to the second side. Drizzle another 1/4 teaspoon coconut oil around the edge. Place the unbleached cotton muslin cloth over the top of the bhakri, press gently in a circular motion with the spatula to spread the bhakri slightly to 10cm diameter, ensuring even contact with the griddle. Cook for another 2 to 3 minutes, until the second side is crisp with deep golden brown spots, and no raw dough remains at the center. Repeat the cooking process with the remaining 7 dough portions.
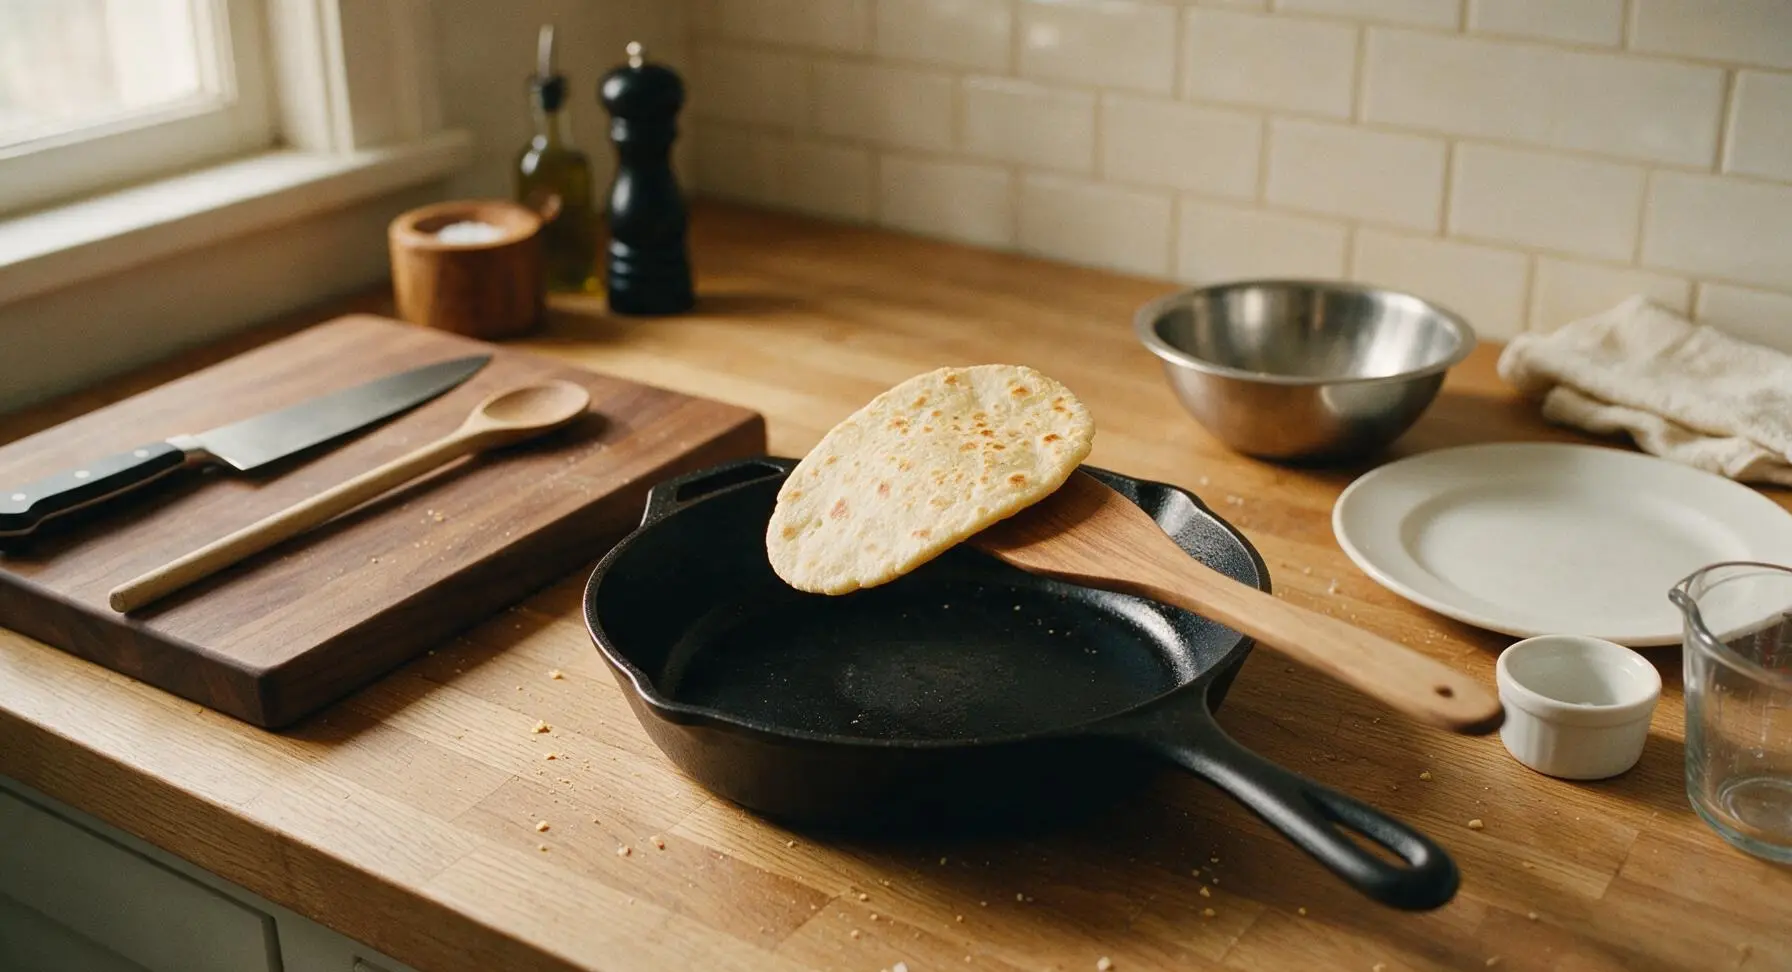
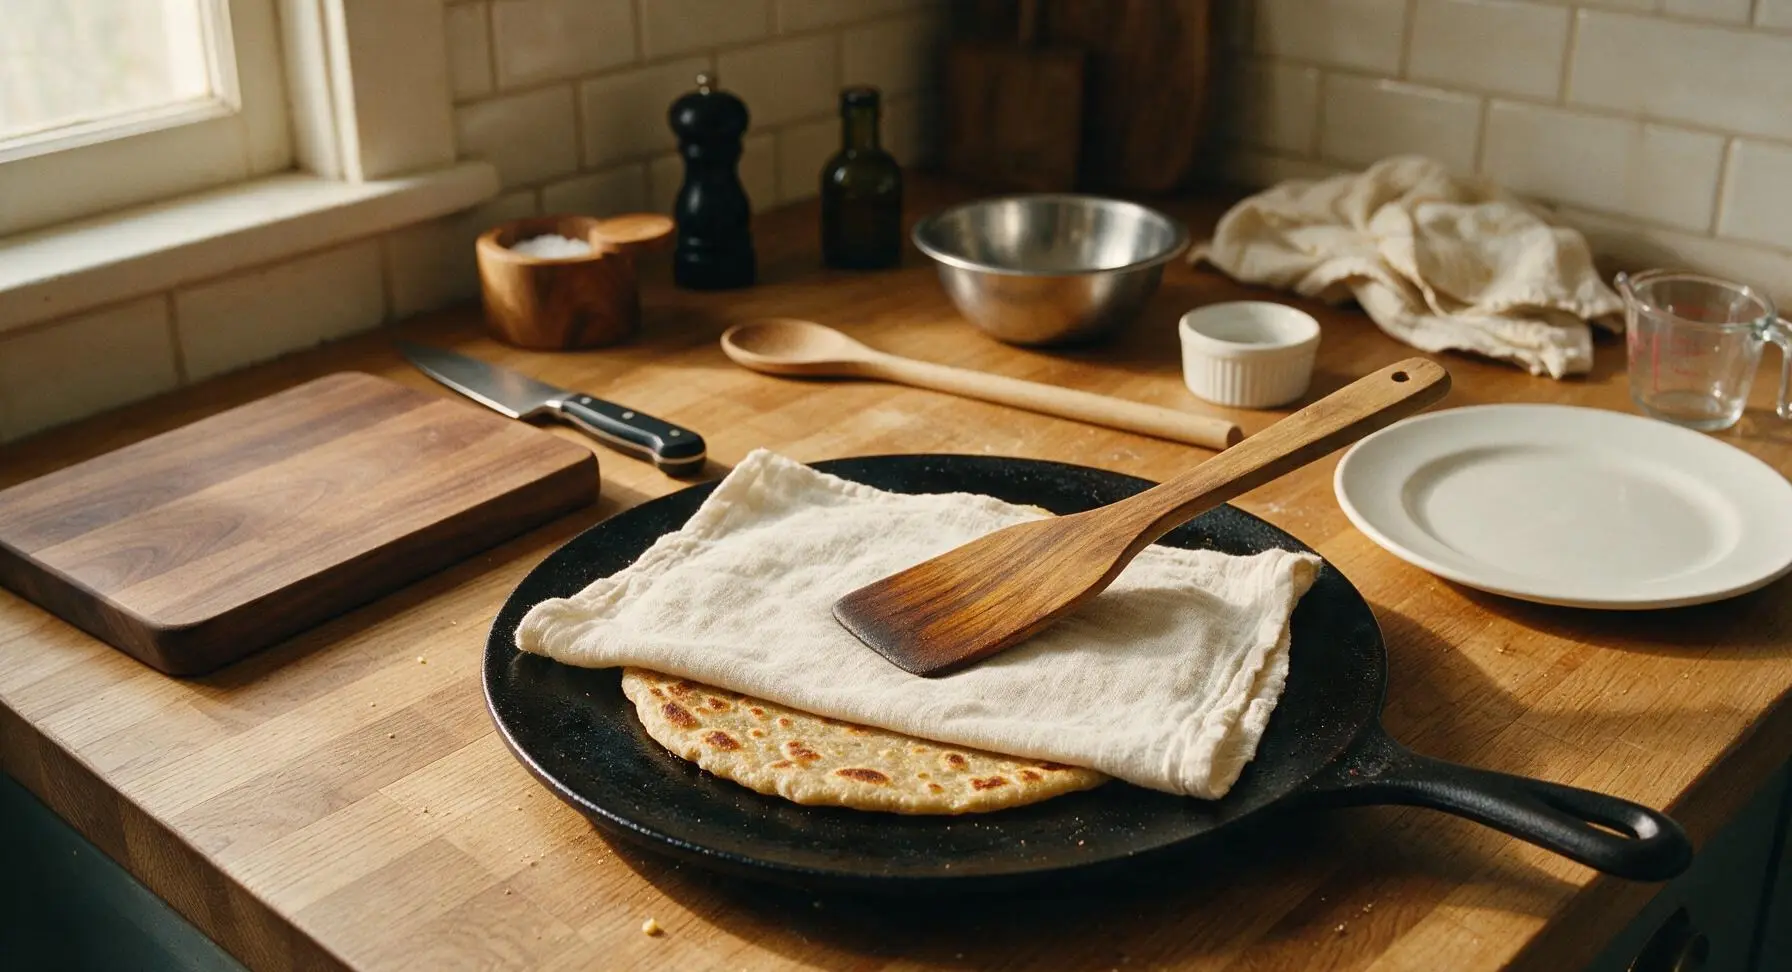
Plate and Serve Hot
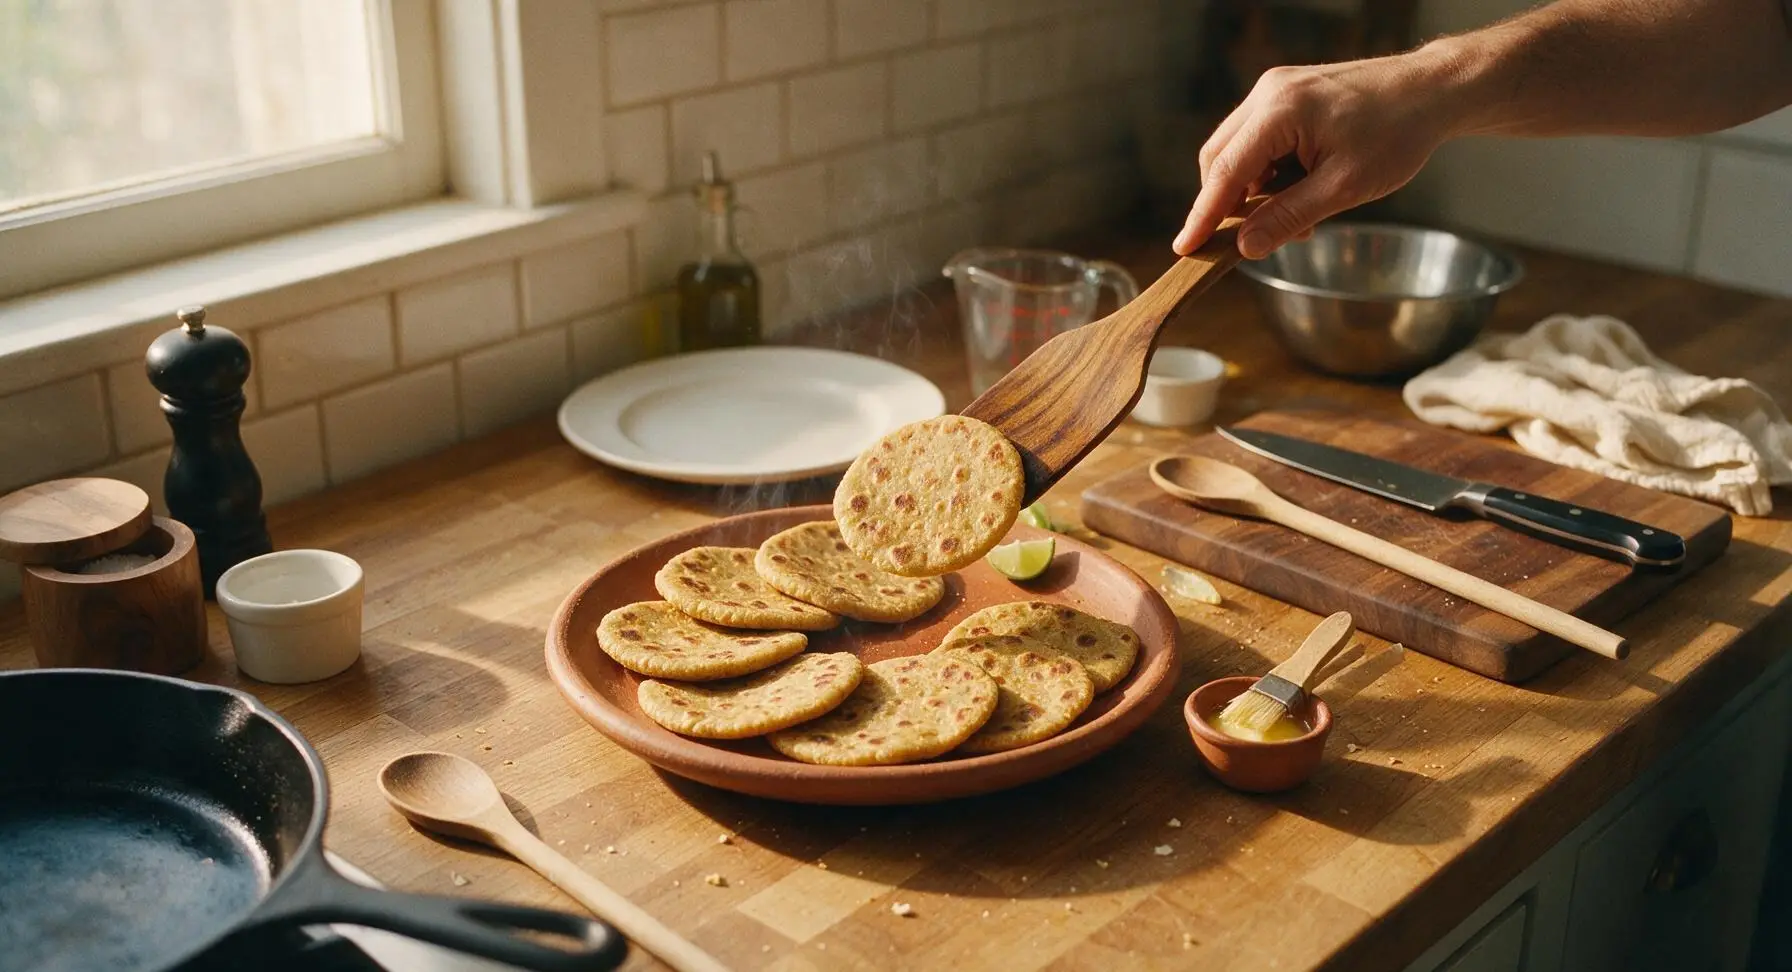
Transfer each cooked bhakri directly to the hand-thrown terracotta serving platter as it finishes cooking. Lightly brush the top of each hot bhakri with a tiny amount of ghee for extra richness. Arrange the bhakris in a slightly overlapping circular pattern, tuck lime wedges along the platter rim, and serve immediately while hot and crisp.
Tips
2.Always preheat your cast iron tava fully before adding dough: a cold griddle causes bhakri to stick and turn soggy instead of developing the signature crisp, nutty crust. Test heat by sprinkling a pinch of ragi flour—if it turns light golden in 10 seconds, the tava is at the perfect temperature.
3.Use the muslin cloth to press bhakris while cooking instead of pressing directly with a spatula: the cloth creates a non-stick barrier that prevents tearing the soft millet dough, and helps spread the flatbread evenly for uniform crispness across the entire surface, a common beginner misstep.






I was skeptical about combining oysters with bhakri at first, but holy cow this is SO good! I brought a batch to my office potluck yesterday and people were asking for the recipe before I even left. The only swap I made was adding a tiny extra pinch of red chili flakes because my household loves heat. 10/10 will make again.
Wait, how tricky is the bhakri part for someone who’s never made any kind of Indian flatbread before? I’m a total beginner when it comes to working with millet flour, I don’t want to mess up the oysters because those are pricy where I live!
My kids loved it! I was worried the brininess of the oysters would be too much for their picky palates, but I chopped the oysters up extra fine and mixed in a little extra garlic butter, and they devoured two pieces each before asking for dessert. Will absolutely be adding this to our monthly meal prep rotation.
Made this last night with fresh oysters I picked up from the fish market on the coast, and wow, the flavors transported me straight back to the beach shack meals I had growing up in Goa. Only thing is, my bhakri came out a little softer than I expected – did I cook it on too low heat?
Does this hold up well for meal prep? I’m trying to find high-protein seafood recipes that I can pack for my husband’s work lunches throughout the week, but I don’t want it to get soggy in the fridge.
25 minute cook time is no joke! I got home late from spin class, threw this together, and was sitting down to eat before my takeout order would’ve even arrived. The spice level is perfect as written, but I tossed a handful of chopped cilantro on top for extra freshness. Chefs kiss!
Brought this to my neighborhood block party last weekend and it was the first dish gone! People kept guessing what was in the filling, no one could believe how well the briny oysters paired with the nutty millet flour. Already got three texts from neighbors asking for the link.
Wait, is this naturally gluten free? I have celiac so I’m super careful about cross contamination, but if it’s just millet flour and oysters and spices that would be perfect for my diet!
Okay, I almost burned my first bhakri because I got distracted answering a work call, but even the slightly charred one tasted amazing? The oyster filling is so flavorful, it covers up all my little cooking mistakes. Definitely adding this to my beginner recipe list.
I usually only eat oysters raw or fried, so this was such a fun new way to prepare them! The earthy bhakri balances out the brininess so well, I didn’t even feel like I was eating a heavy seafood meal. Pairing with a cold lager was chef’s kiss, highly recommend.
Made this with my 10 year old for our weekly father-kid cooking night, and we had a blast! It was easy enough for them to help mix the filling and press the dough, though we did make a little bit of a flour mess on the counter. The only problem is now they’re asking to make it every weekend.
I used canned smoked oysters for this because fresh oysters are out of my grocery budget right now, and it still turned out incredible! I was worried canned would taste too fishy, but mixing it with the garlic and spices in the filling mellowed it right out. Such a flexible recipe.
I’ve had oyster bhakri at a few local Indian restaurants near my place, and this recipe is spot on, if not better! The ratio of oyster to spices is perfect, no weird overwhelming fishy aftertaste like some restaurant versions have. Saved this to my permanent recipe folder.
Wait, medium difficulty is totally fair for this! I thought it’d be way harder because I’ve never made bhakri before, but the step by step instructions are so clear. I overstuffed my first one and the oyster filling oozed out a little while cooking, but it was still delicious. No regrets.