
Pain au chocolat
intro
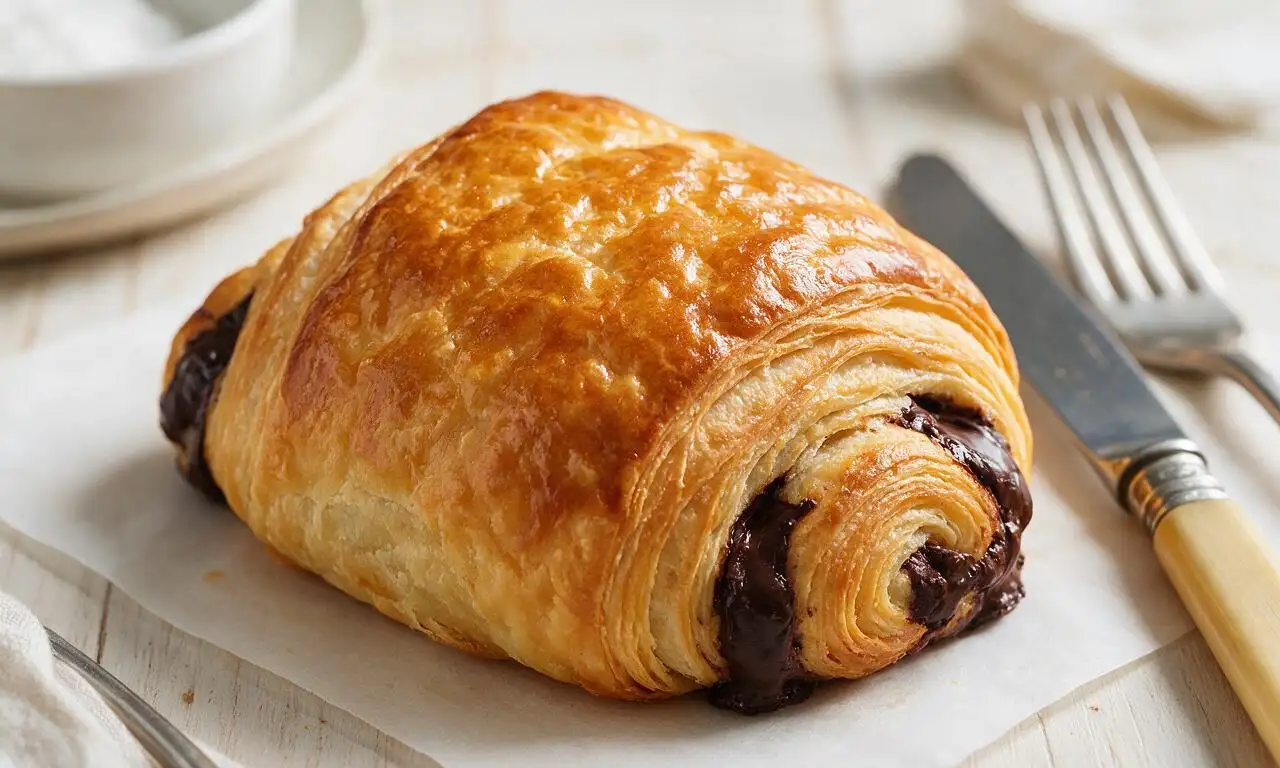
Buttery, flaky laminated French pastry wrapped around rich dark chocolate, a warm, indulgent bakery-style treat perfect for slow, cozy mornings.
Ingredients
Steps
Mix the base dough
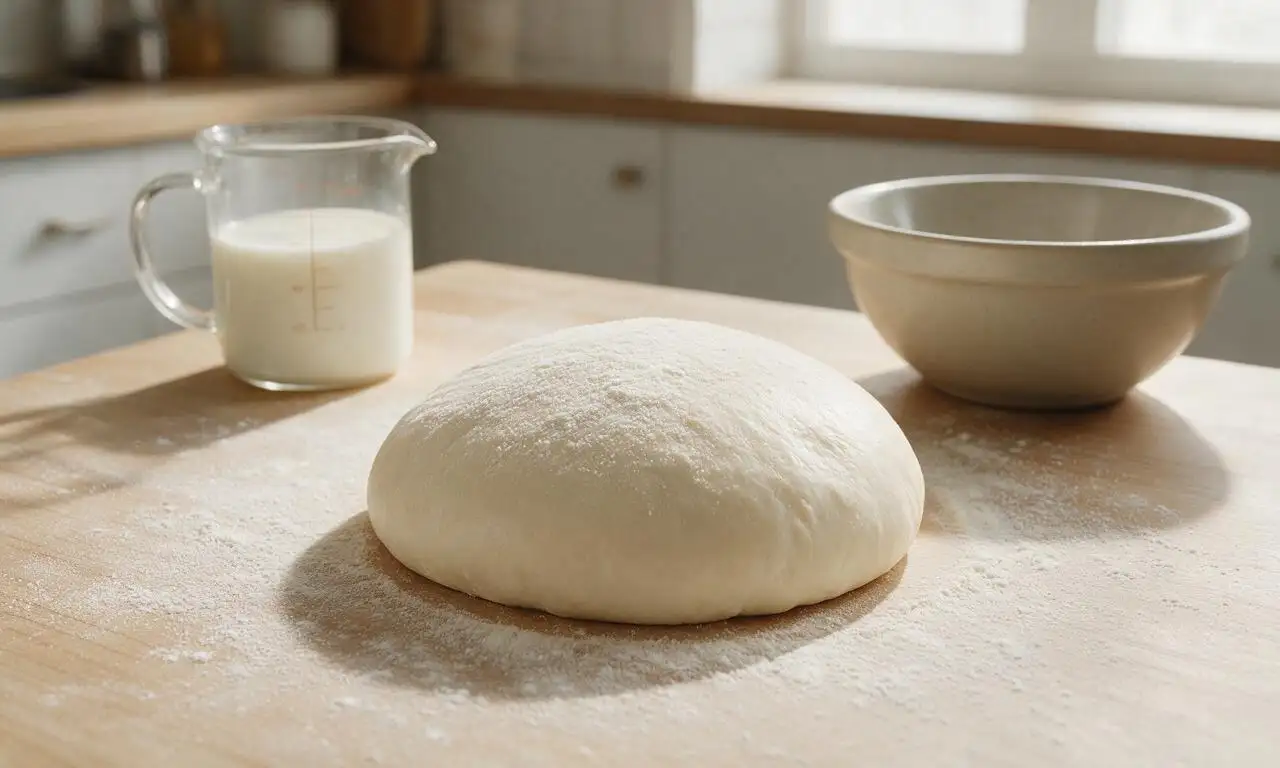
In a large mixing bowl, whisk together 500g all-purpose flour, 7g instant dry yeast, 10g fine sea salt, and 50g granulated sugar until evenly combined. Pour in 280ml lukewarm (32°C/90°F) whole milk, stir with a wooden spoon until a shaggy, slightly sticky dough forms. Knead by hand on a lightly floured work surface for 5 minutes until smooth and elastic, shape into a 20cm (8in) square, wrap tightly in plastic wrap, and chill in the refrigerator for 1 hour.
Prep lamination butter
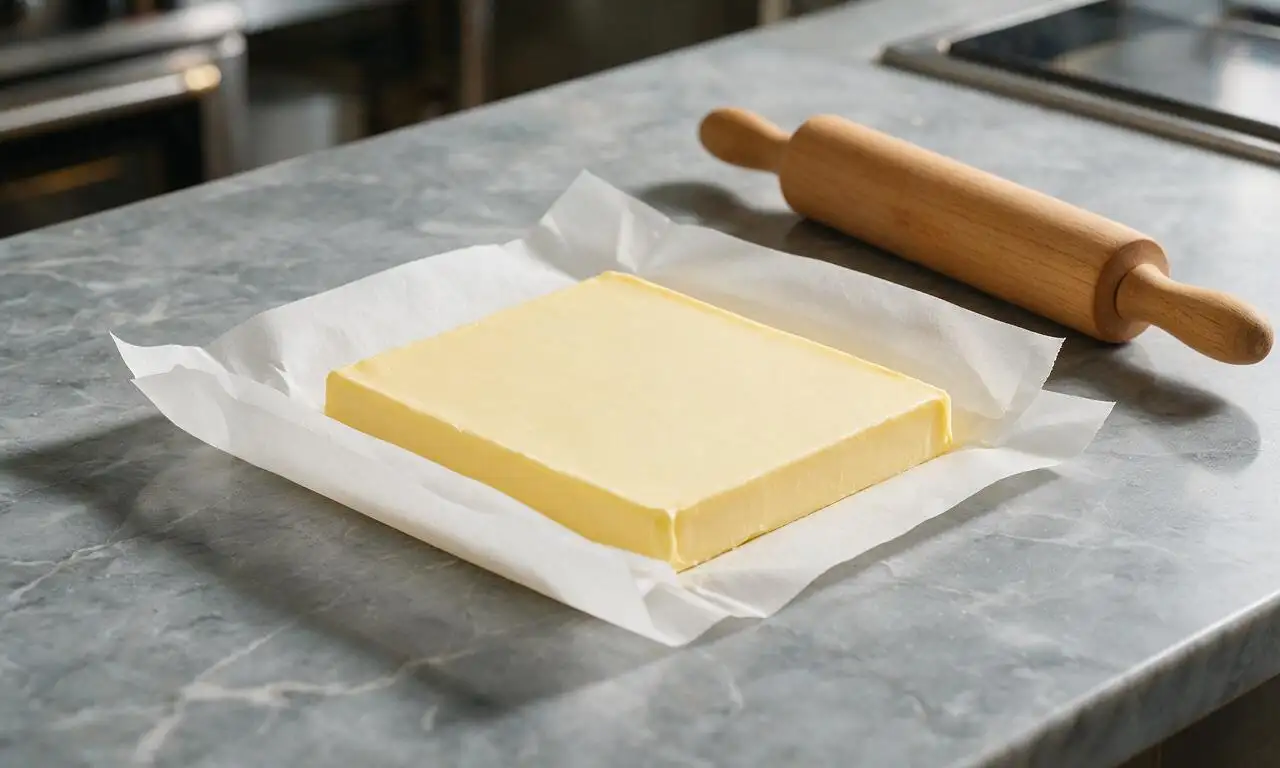
Place 250g cold unsalted butter between two sheets of parchment paper. Use a rolling pin to pound and roll the butter into an even 19cm (7.5in) square, 1cm thick. Chill the butter square in the refrigerator for 10 minutes so it remains firm but pliable, matching the consistency of the chilled dough for even lamination.
Laminate the dough
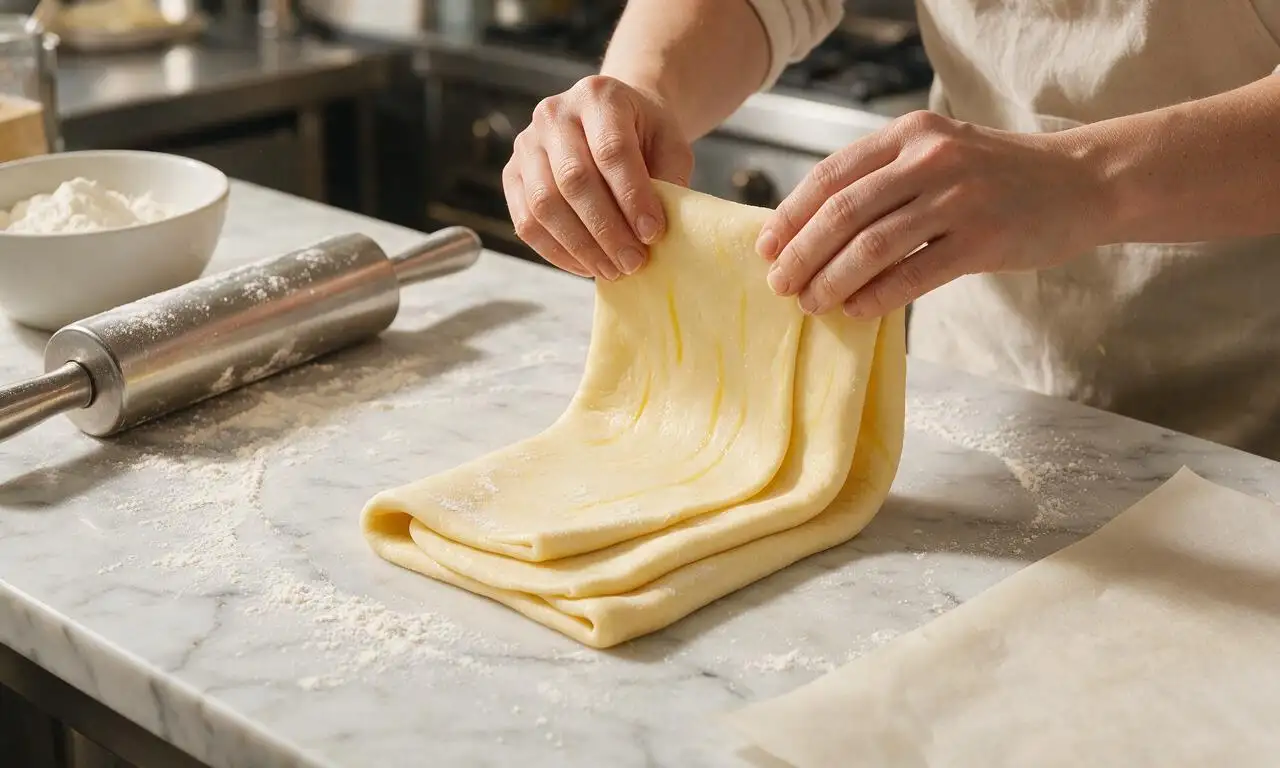
Roll the chilled dough out to a 40cm (16in) square, place the cold butter square diagonally in the center, then fold the dough corners over the butter to seal completely like an envelope, pinching edges to prevent butter leaks. Roll the sealed dough out to a 60cm x 20cm (24in x 8in) even rectangle, then fold the top third down and bottom third up like a business letter to complete one single fold. Wrap tightly, chill for 30 minutes, then repeat this roll-and-fold process 3 more times, chilling for 30 minutes between each fold to keep butter from melting into the dough.
Cut and fill dough
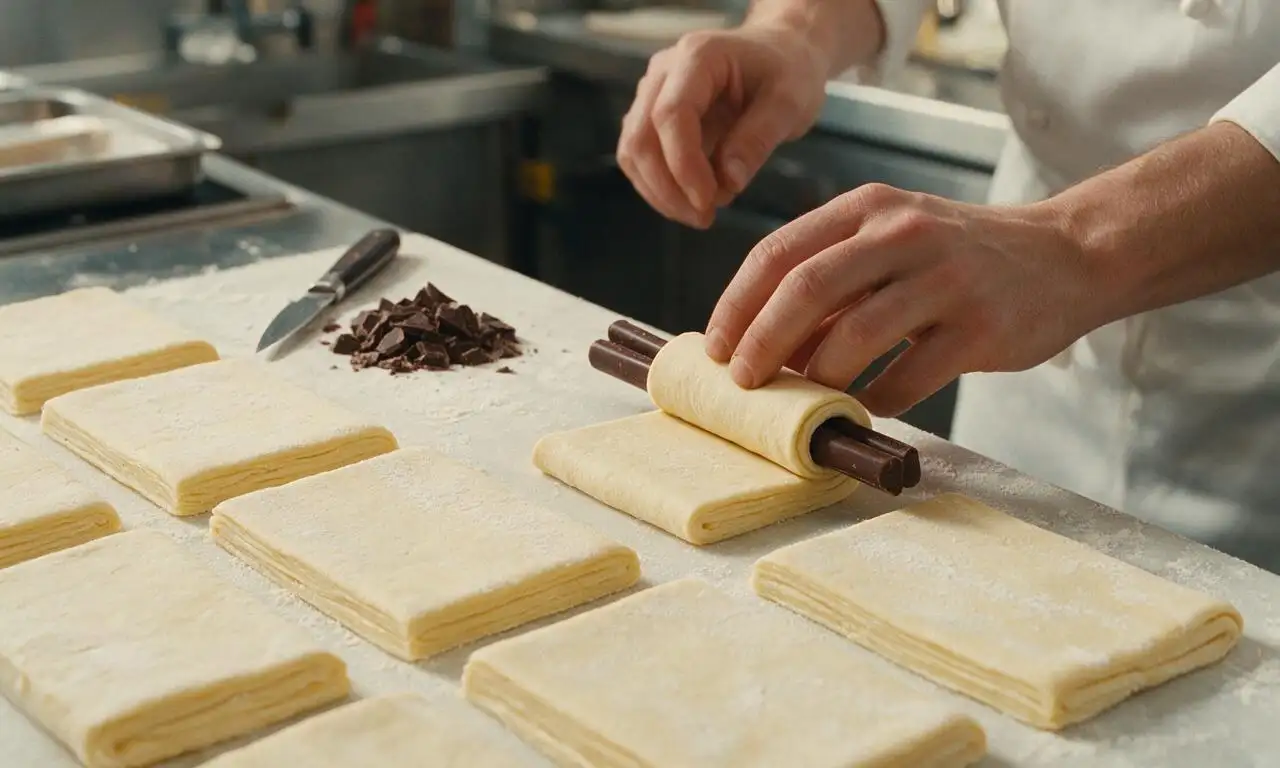
After the final 30-minute chill, roll the laminated dough out to a 40cm x 32cm (16in x 12.5in) rectangle, 3mm thick. Use a sharp knife to trim uneven ragged edges, then cut the dough into 8 equal 10cm x 16cm (4in x 6in) rectangles. Place 2 dark chocolate batons 2cm in from the short edge of each rectangle, then roll the dough tightly over the chocolate to form a neat cylindrical log, tucking the seam side underneath to prevent unrolling during baking.
Proof shaped pastries
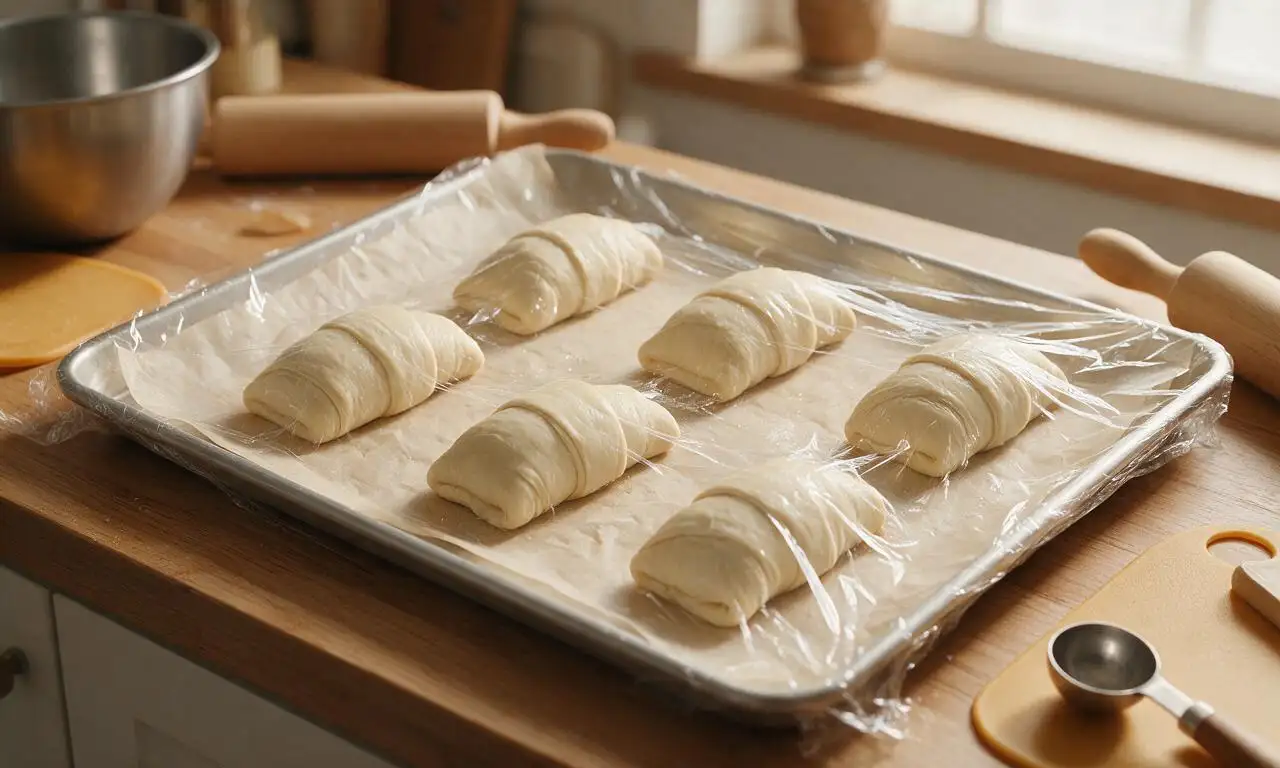
Arrange the rolled pastry logs seam-side down on a parchment-lined baking sheet, leaving 5cm (2in) of space between each to allow for expansion. Cover loosely with oiled plastic wrap to prevent sticking, then let proof in a warm, draft-free spot (24°C/75°F) for 1.5 to 2 hours, until pastries are puffy, jiggle slightly when the tray is tapped, and have nearly doubled in size.
Bake to golden finish
Preheat oven to 200°C/400°F, with a rack positioned in the middle of the oven. Gently brush the top of each fully proofed pastry with egg wash (1 large egg beaten with 15ml whole milk), taking care not to drip egg wash onto the laminated cut edges, which would prevent layers from rising. Bake for 18 to 20 minutes, until pastries are deep golden brown all over, with distinct flaky visible layers. Let cool on the tray for 5 minutes before serving warm.

Tips
2.Always trim the ragged, pressed edges of the laminated dough before shaping: sealed, uncut edges prevent the dough layers from puffing properly in the oven, so trimmed edges ensure maximum rise and flakiness.
3.For the best filling, use high-quality 70% cacao dark chocolate; avoid chocolate chips, as they contain stabilizers that prevent smooth melting, and will not create the signature oozing chocolate center.






OMG, these turned out better than the ones I get at my local French bakery! I was nervous about the lamination step since I’m pretty new to laminated doughs, but the step-by-step instructions were so clear. My kids devoured half the batch before they even fully cooled, and my husband asked if I could make these every Sunday for family brunch. 10/10, game changer recipe!
Made these for my office potluck last week and people were begging me for the recipe! I will say, block off the full 5 hours because rushing the dough rest steps leads to less flaky layers — I learned that the hard way on my test batch. They’re perfectly buttery, the chocolate melts just right, and they feel so fancy even though the instructions are straightforward for a medium-difficulty bake.
Wait, has anyone tried adapting this with a gluten free bread flour blend? I’ve been craving good pain au chocolat since going GF and this recipe looks so good, but I don’t want to waste all that butter if the blend won’t hold up to lamination.
Uh oh, my first batch came out a little dense instead of light and flaky? I think my kitchen was too warm when I was rolling out the dough because the butter kept oozing out while I was folding. They still tasted amazing (like, I ate three in one sitting amazing) but I want that perfect puff next time!
I used dark chocolate 70% cacao bars instead of the standard baking chocolate sticks and it was CHEF’S KISS. The slight bitterness cuts through all that buttery dough so perfectly. I brought these to my book club meetup and everyone thought I picked them up from a fancy patisserie.
5 hours is a big time commitment for a weekend bake, but let me tell you — it’s so worth it. I set timers and did chores around the house between the chill steps so it didn’t even feel like I was spending all day in the kitchen. My kids gave these two thumbs up, which is basically a Michelin star in my house.
Quick question — can I assemble these the night before and pop them in the oven first thing in the morning for brunch? I’m hosting a group for my mom’s birthday and want to serve them fresh without waking up at 4am to start the dough.
Has anyone tested this with vegan butter and plant-based milk? My daughter is dairy free and I’d love to make these for her graduation party, but I know vegan butter can behave differently when laminating.
I sprinkled a tiny bit of flaky sea salt on top right before baking and y’all — it takes these to a whole new level. The salt makes the chocolate taste richer and the butter taste nuttier, I will never make them without it again. SO good.
Tried making these in my tiny dorm oven last weekend and even with the janky temperature controls they turned out insane. I had to prop the oven door open a crack a couple times to keep it from getting too hot, but the end result was flaky, chocolatey, and made my entire hallway smell like a bakery. 10/10 would make again even with the wonky oven.
How many chocolate sticks do you all put per pastry? The recipe says two but I’m a total chocolate fiend and am tempted to do three — would that make them too messy to eat?
Quick heads up for new bakers — make sure your yeast is fresh! I used a jar that had been in my pantry for 8 months on my first go-round and the dough barely rose, so my pains au chocolat were super flat. Grabbed a new packet of yeast, tried again, and they were perfect, flaky, and fluffy just like the photos.
I made a double batch of these and froze half of them unbaked for quick breakfasts on busy school mornings. 20 minutes in the oven from frozen and they taste just as good as the fresh batch! Total meal prep game changer for weekdays when I don’t have time to cook a big breakfast.
I was worried this would be too hard for my skill level since it’s marked medium difficulty, but the instructions are broken down so well that even someone who’s never made laminated dough before can pull it off. My only note is that I’d add a tiny bit more sugar to the dough next time for my personal taste, but that’s just me!
I’ve been making laminated pastries for 40 years and this is hands down one of the best home cook pain au chocolat recipes I’ve ever tried. The ratios of butter to dough are perfect, the proofing instructions are spot on, and the end result is indistinguishable from what you’d get at a high-end bakery. Well done!