
Pain au Chocolat
intro
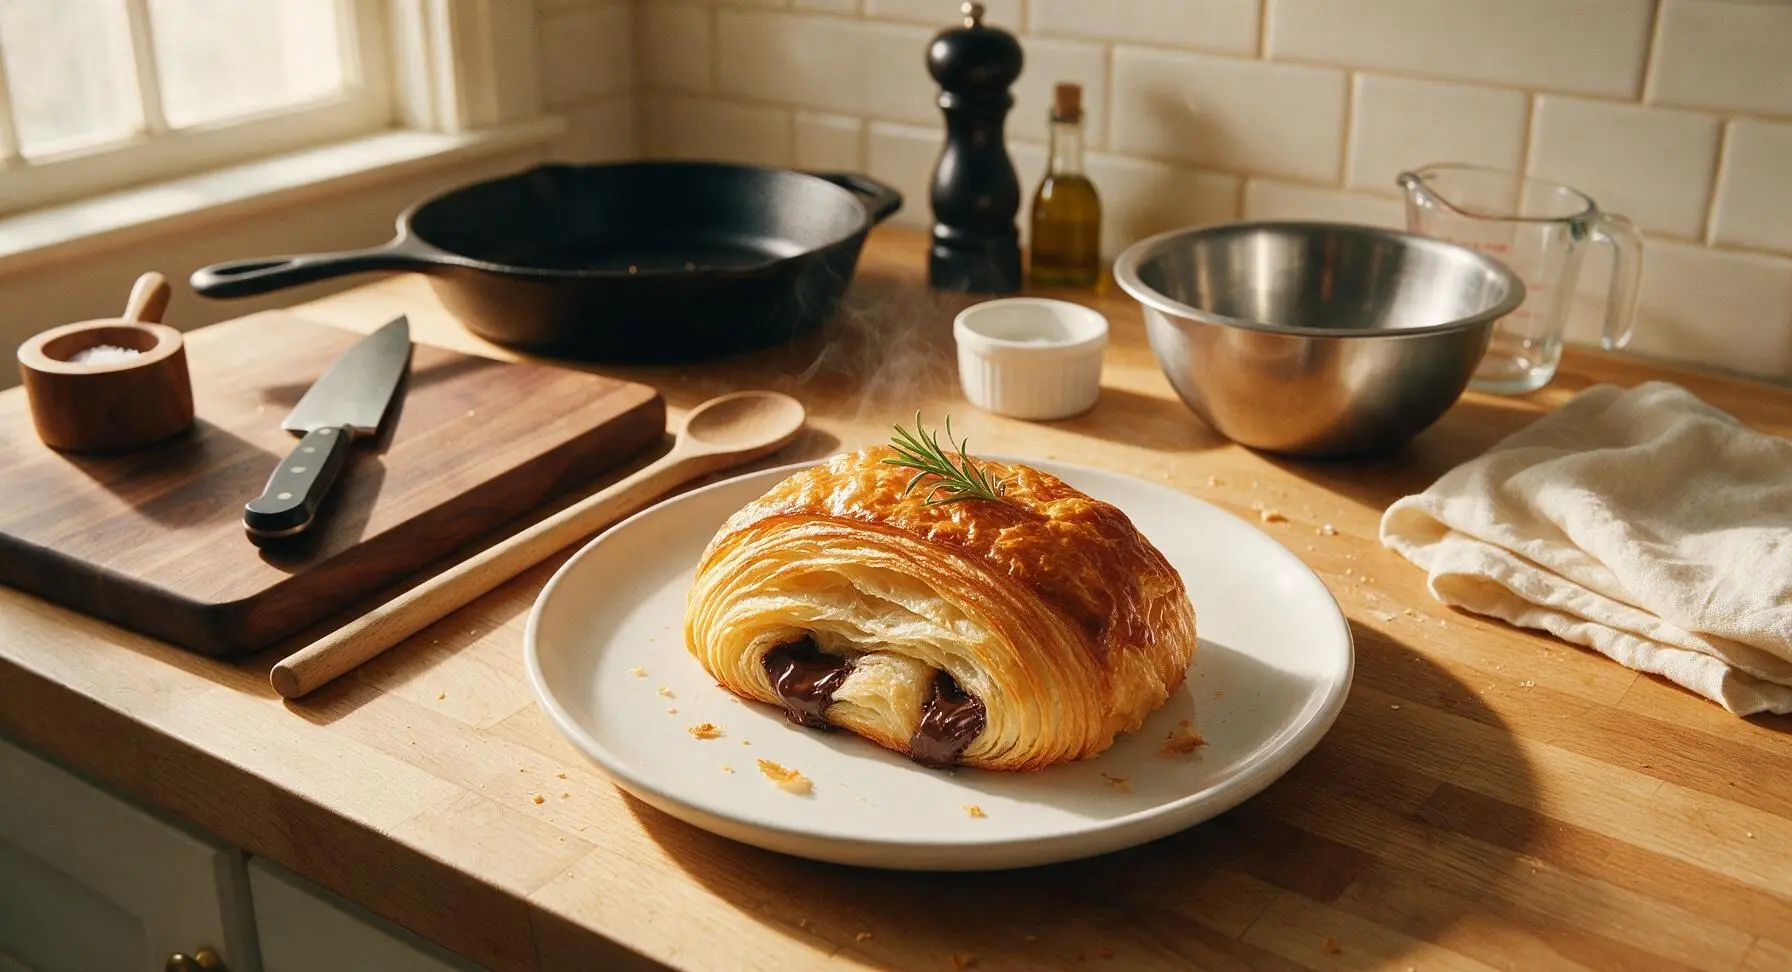
Buttery, shattery flaky laminated pastry wrapped around rich melted dark chocolate, with crisp golden edges and soft, airy layers—this classic French bakery treat is achievable for home bakers.
Ingredients
Steps
Mix the base dough
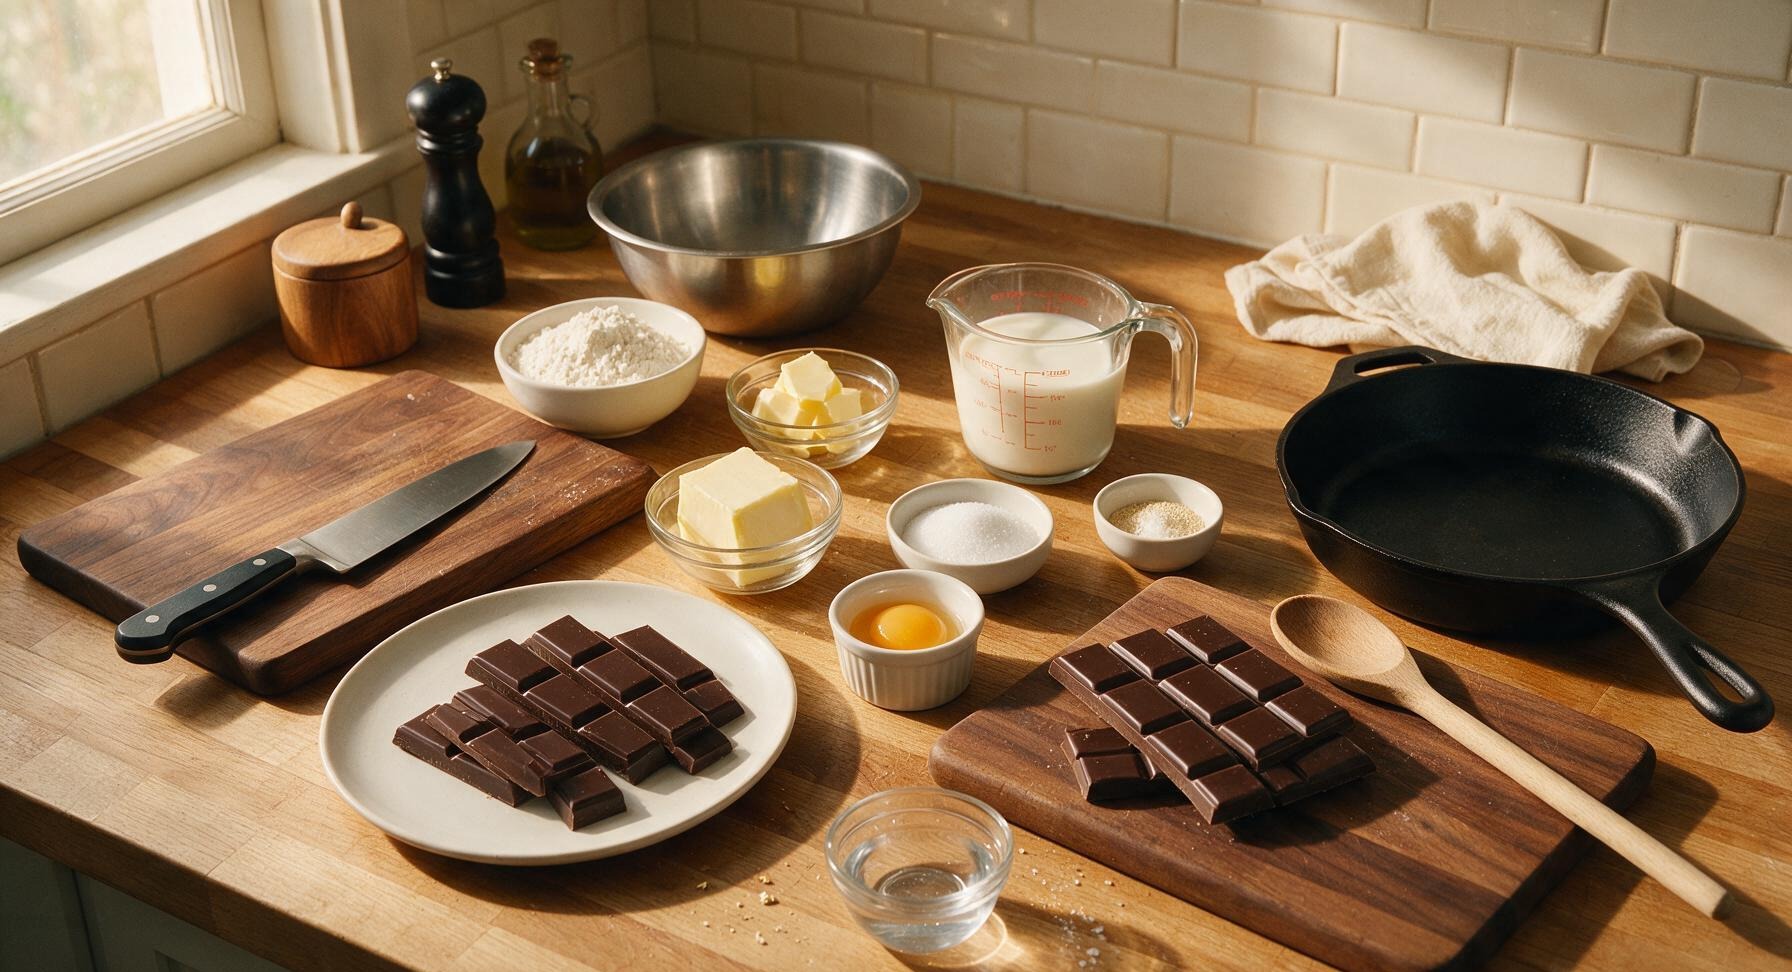
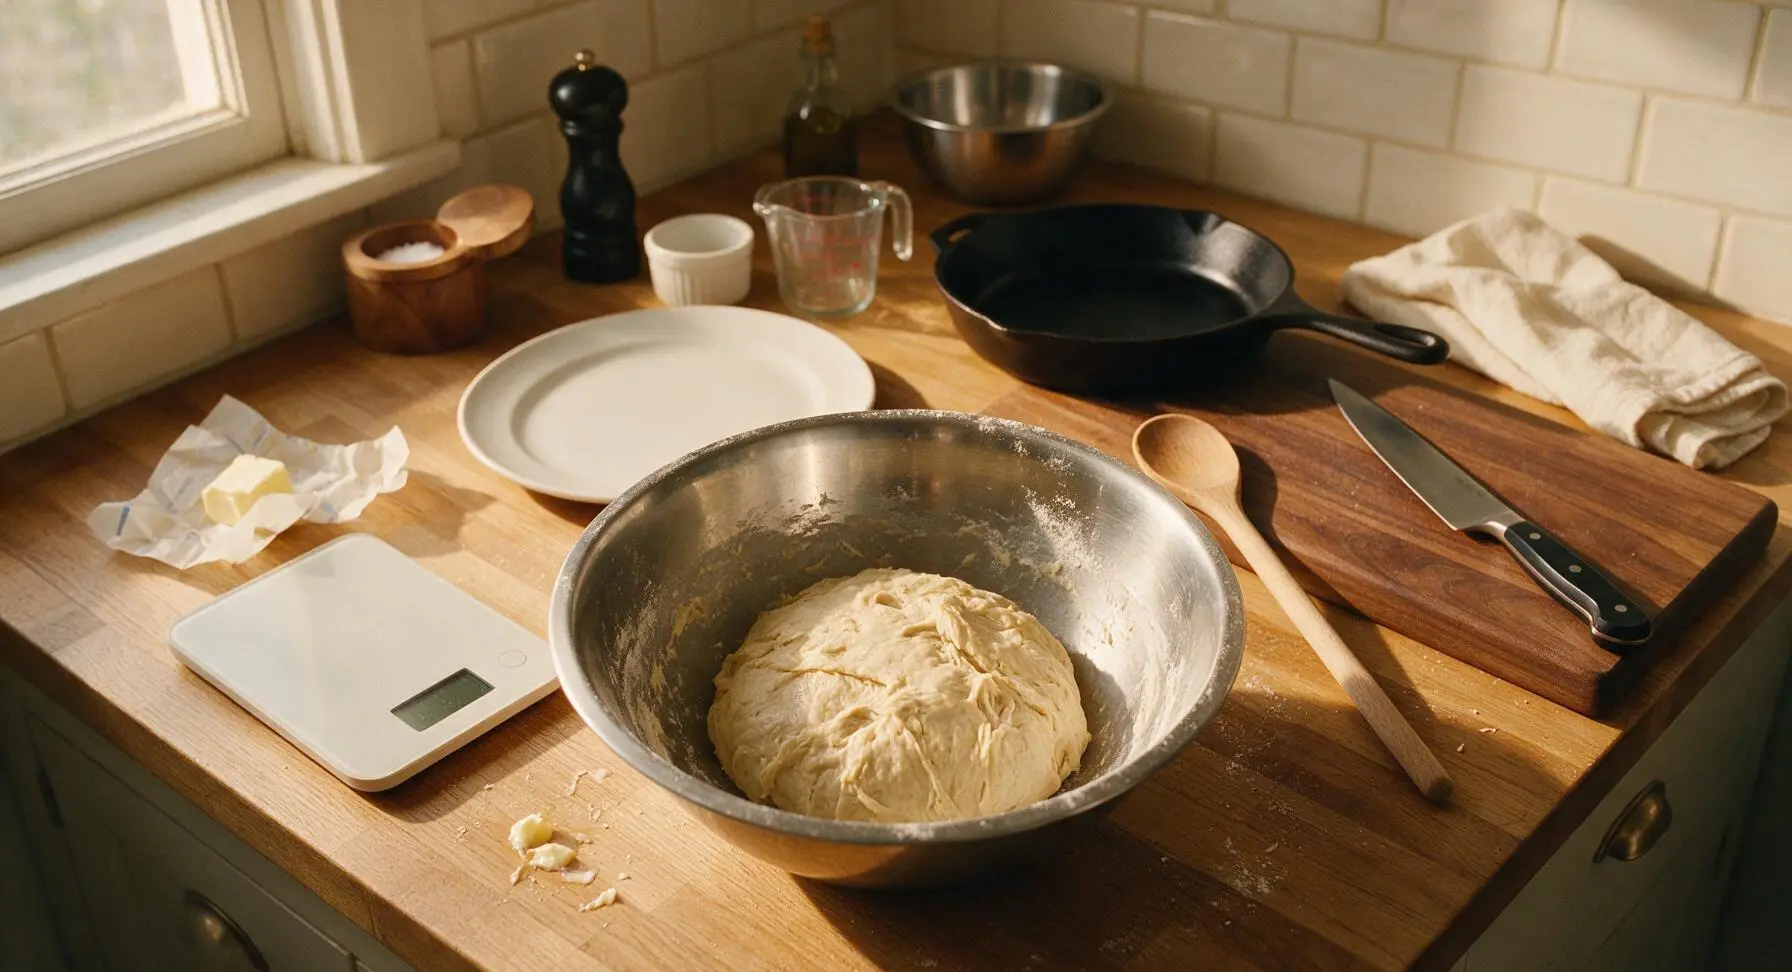
In the large stainless steel mixing bowl, combine 500g all-purpose flour, 50g granulated sugar, 10g fine sea salt, and 7g active dry yeast, stirring to distribute evenly. Cut 50g cold unsalted butter into small cubes, rub into the flour mixture until it resembles coarse, sandy crumbs. Pour in 250ml cold whole milk and 30ml cold water, mixing by hand until a shaggy, firm dough forms (do not over-knead, as this will make tough pastry). Shape the dough into a rough 20cm square, wrap tightly, and chill in the refrigerator for 30 minutes.
Shape the butter block
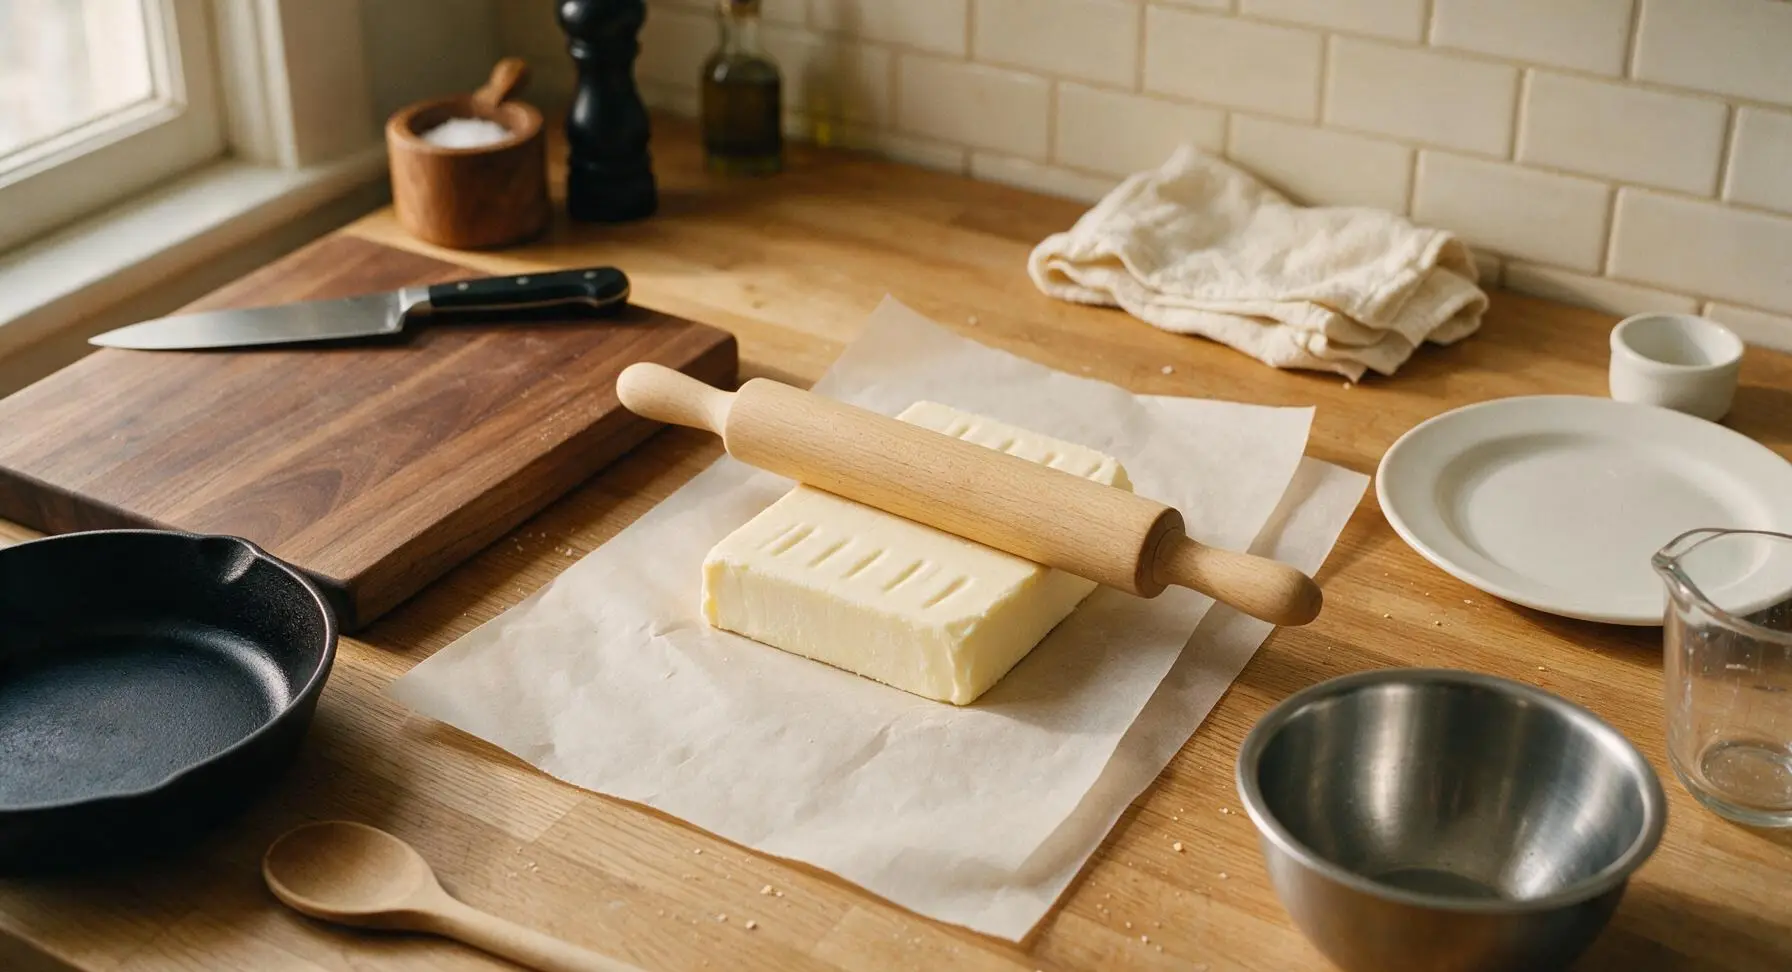
While the dough chills, place 280g cold unsalted butter between two sheets of unbleached parchment paper. Use the beech wood rolling pin to firmly pound the butter into a uniform 19cm square, 1cm thick, with straight, even edges. The butter should remain firm and cool to the touch, with no soft or greasy spots; if it warms and softens, chill for 10 minutes before proceeding. Set the shaped butter block in the refrigerator until ready to use.
Complete first laminate fold
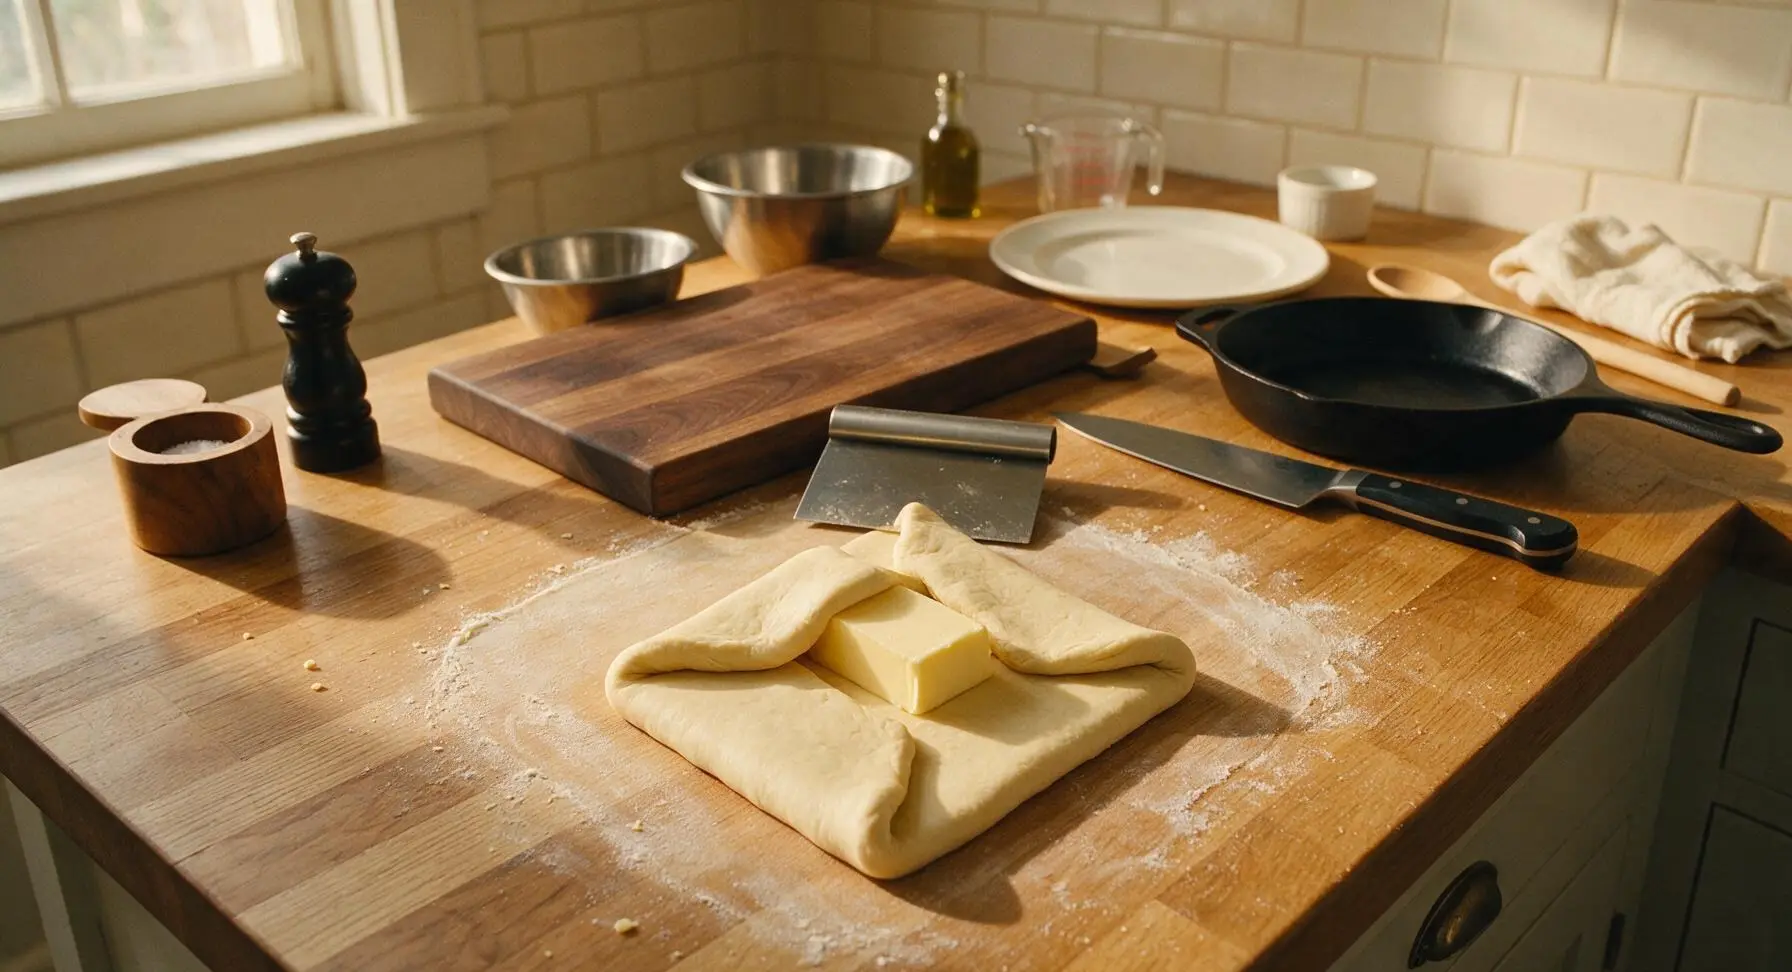
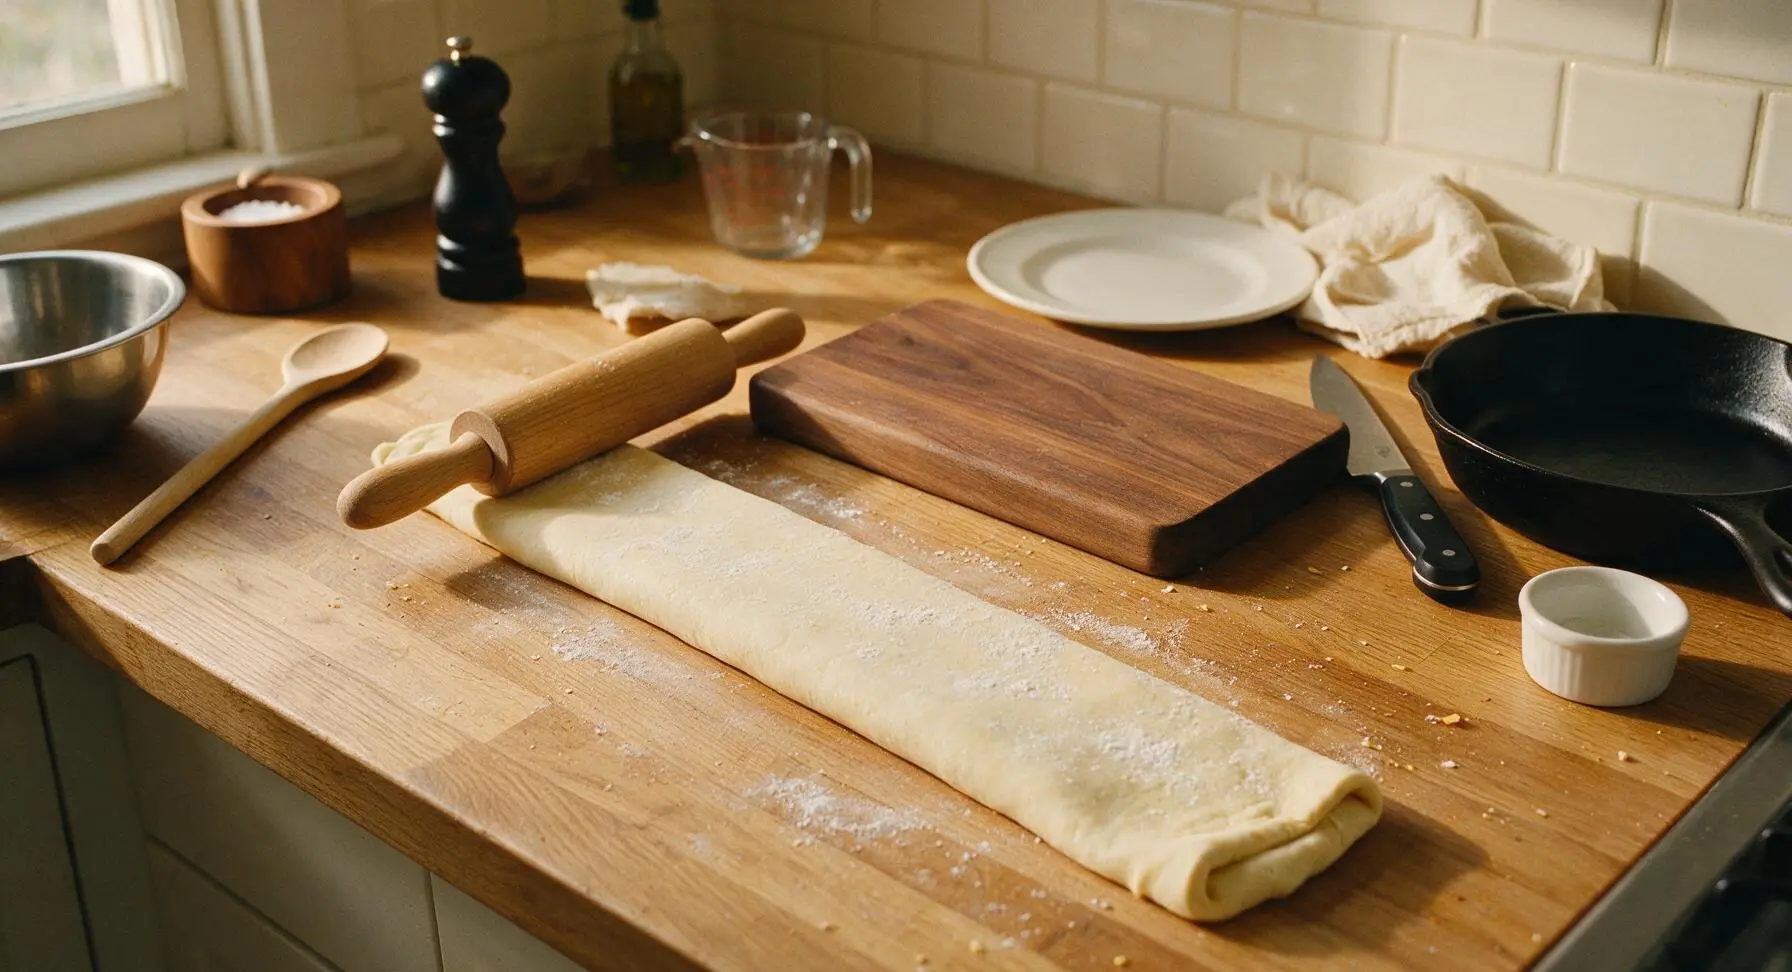
Remove the chilled dough from the refrigerator, place on a lightly floured section of counter, and roll out to a 40cm square, 5mm thick. Place the cold butter square diagonally in the center of the dough, so the butter corners point to the midpoints of each dough edge. Fold each dough corner over the butter to meet in the center, pinching all seams tightly to fully enclose the butter with no gaps (to prevent butter leaks during baking). Roll the sealed dough packet out to a 20x60cm uniform rectangle, then fold into thirds like a business letter (bottom third folded up, top third folded down) to form a 20cm square. Wrap tightly and chill for 30 minutes.
Do remaining laminate turns
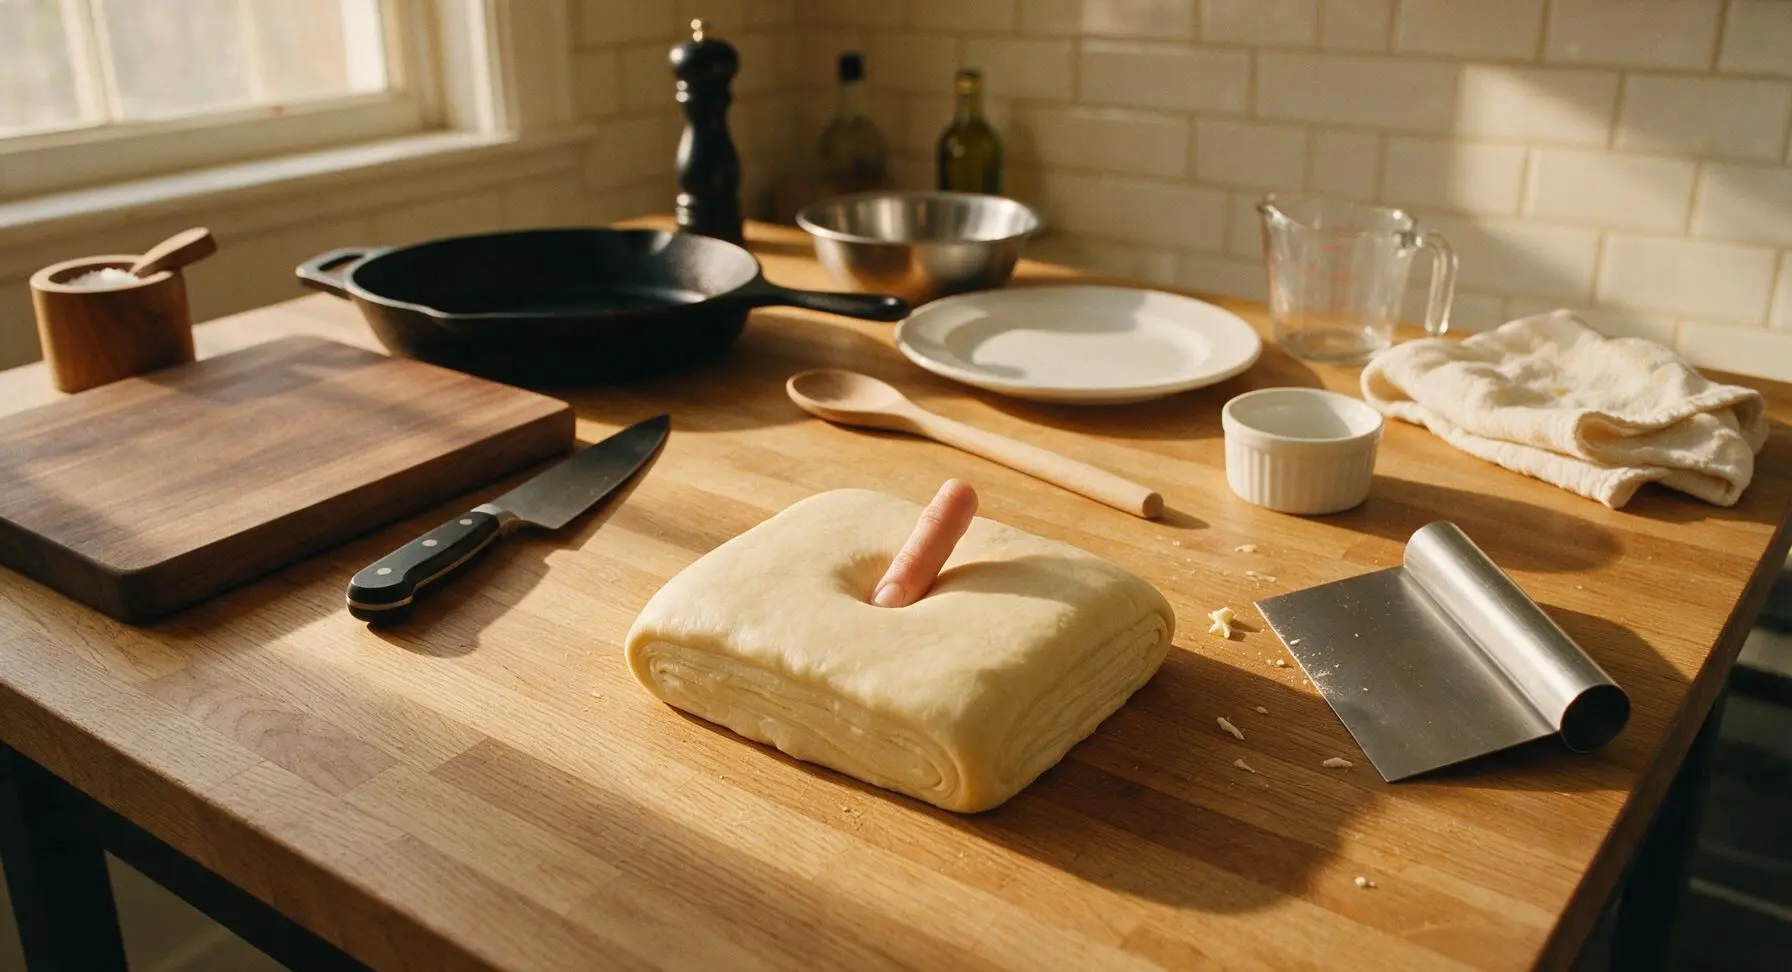
Repeat the roll-and-fold process three more times, for a total of four letter folds: for each turn, roll the chilled dough to a 20x60cm rectangle, fold into thirds, wrap tightly, and chill for 30 minutes between folds. If butter breaks through the dough surface or feels soft at any point, stop and chill for an extra 15 minutes to prevent melting. After the final fold, chill the dough block for a minimum of 2 hours (or up to overnight) before shaping, to relax gluten and firm the butter.
Cut and fill dough
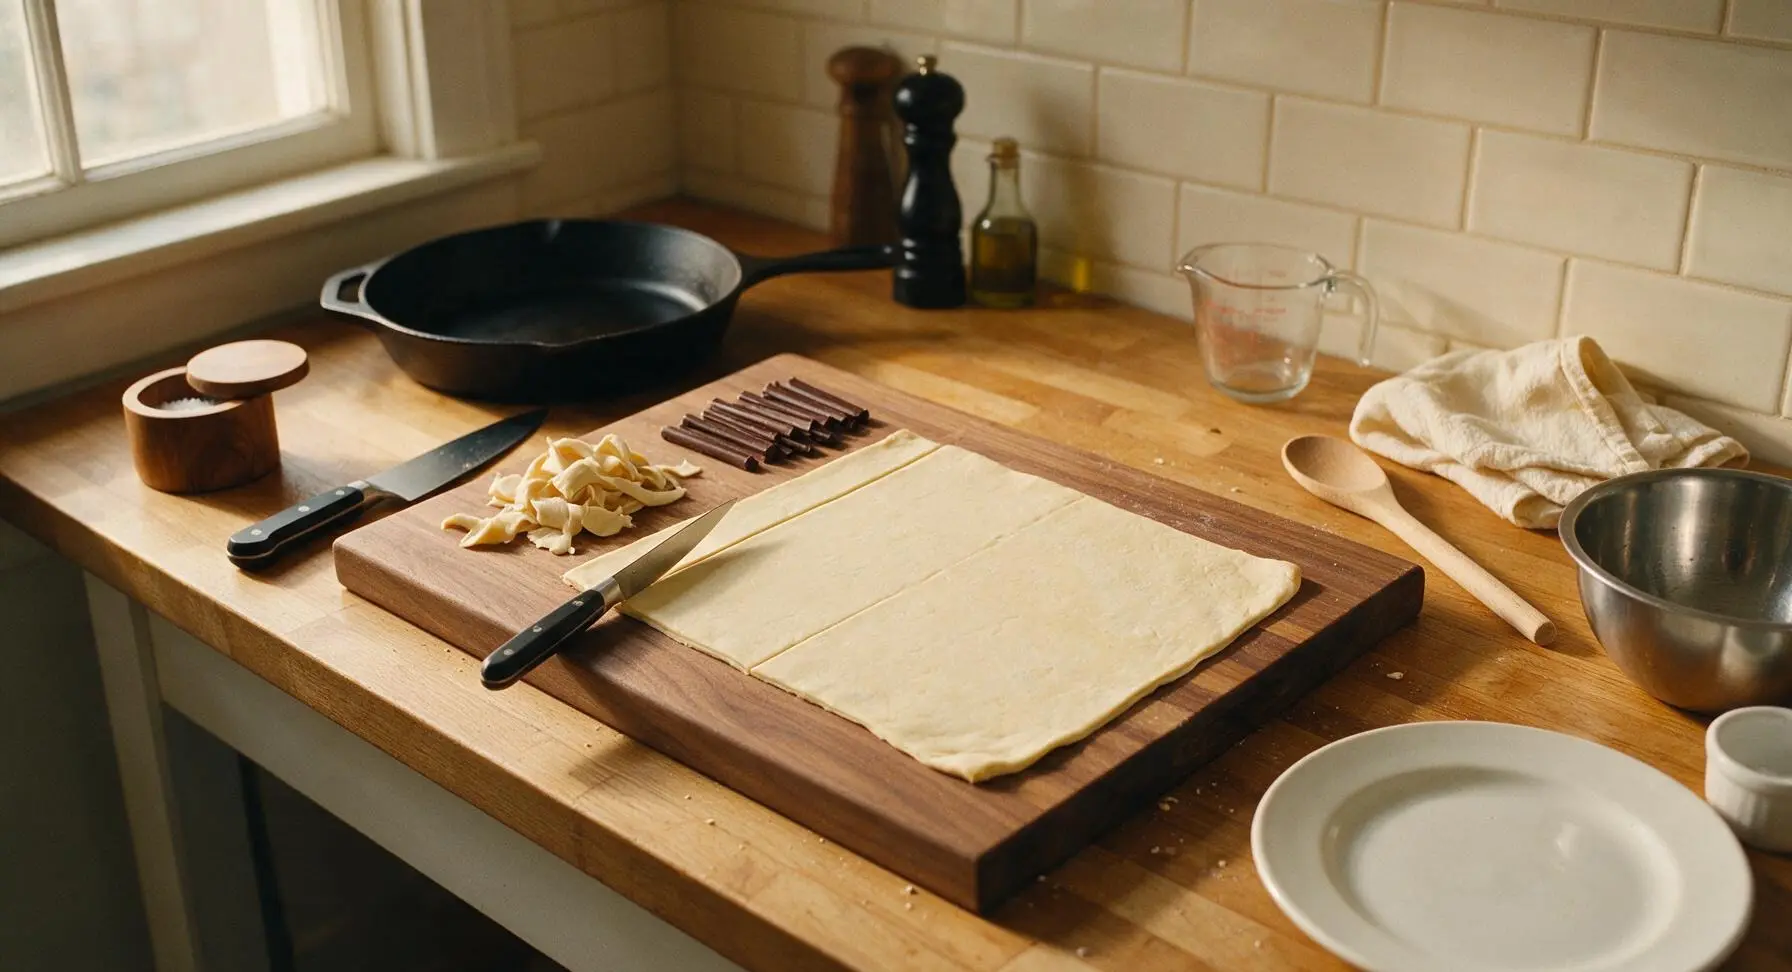
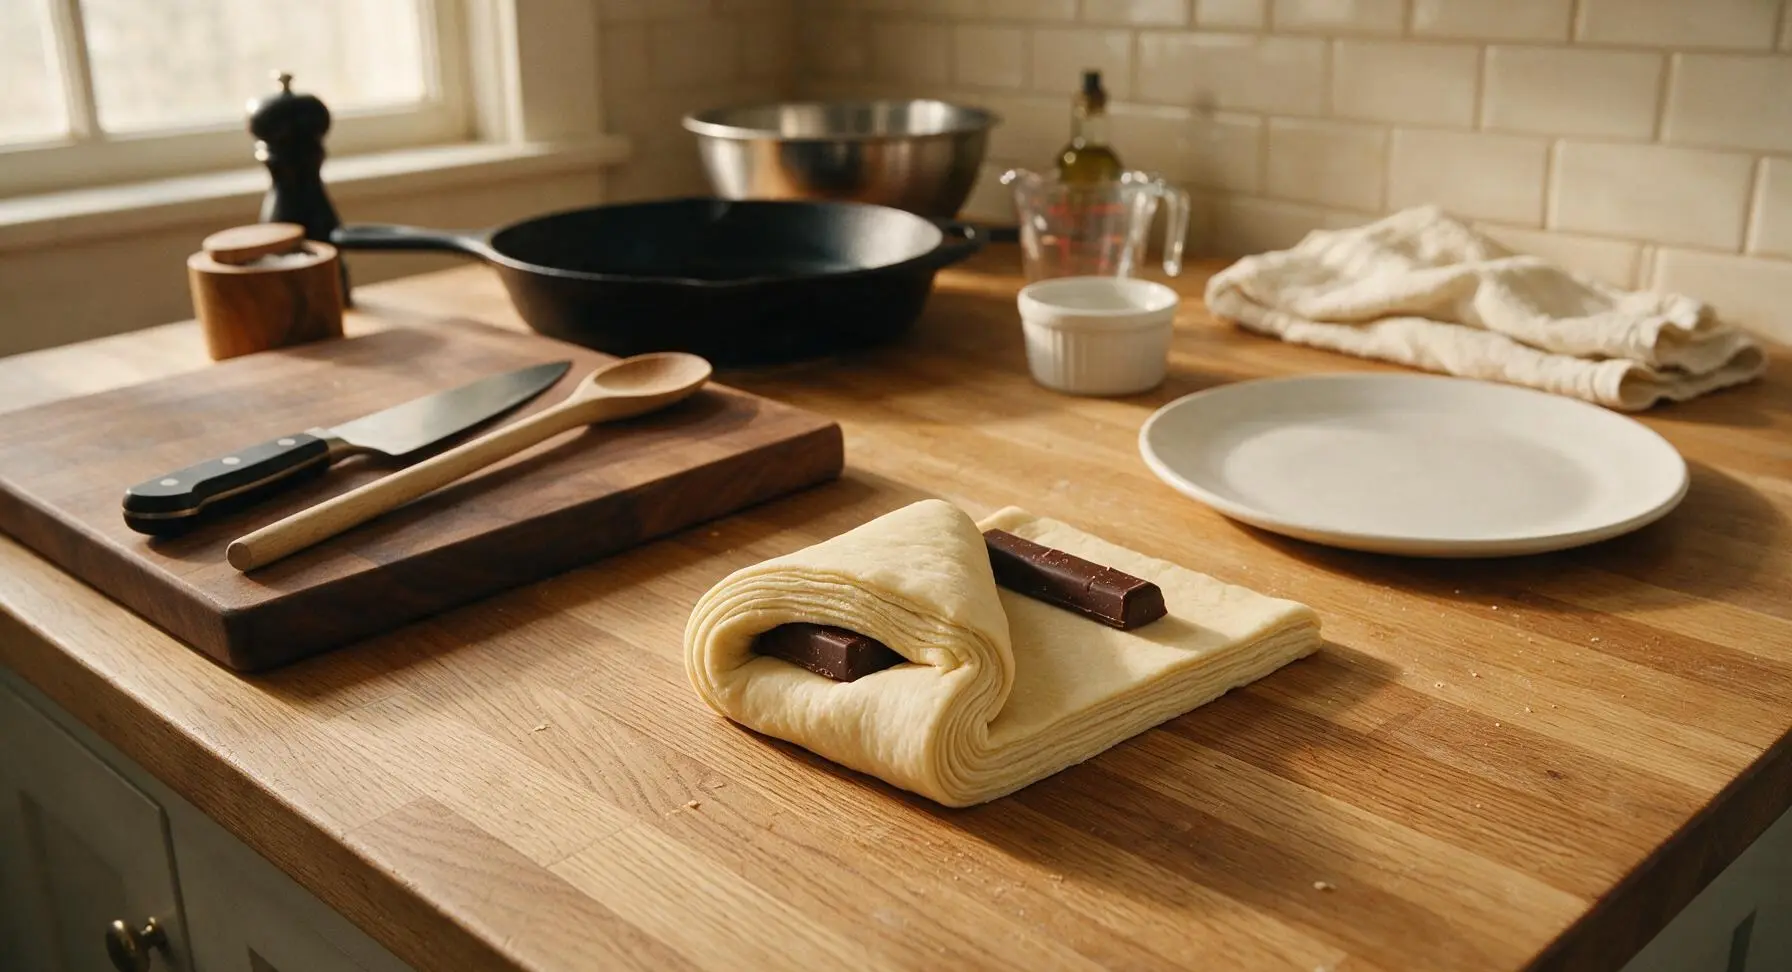
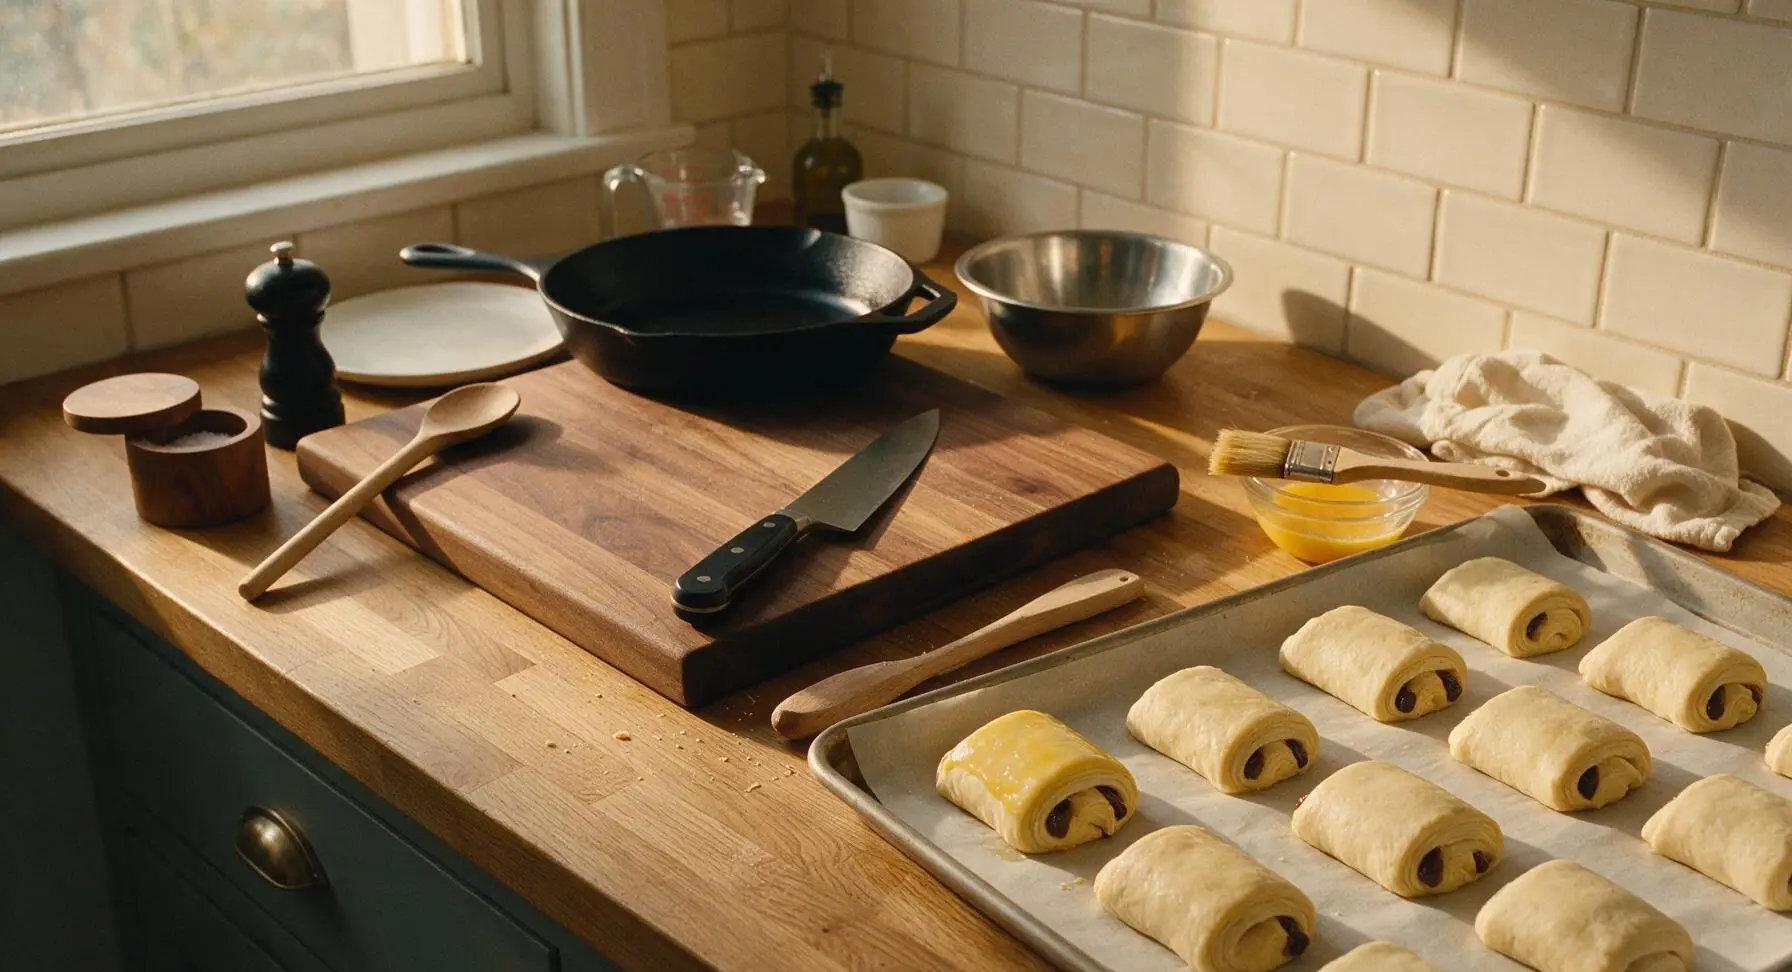
Remove the fully chilled dough from the refrigerator, roll out to a 3mm thick, 32x40cm rectangle, trimming ragged edges with the paring knife to create clean, straight sides. Cut the dough evenly into 8 rectangles, each 8cm wide and 20cm long. Place one dark chocolate stick 2cm from the short edge of each rectangle, fold the dough over the chocolate to cover it completely, place a second chocolate stick on top of the folded edge, then roll the dough tightly into a smooth log, placing it seam-side down on the parchment-lined rimmed baking sheet. Space pastries 5cm apart to allow room for rising.
Proof and apply egg wash
Loosely cover the shaped pastries on the baking sheet with plastic wrap, and let proof in a warm (24C / 75F), draft-free spot for 1.5 to 2 hours, until pastries are visibly puffed, jiggly when the sheet is gently tapped, and distinct layers are visible along the cut edges. Whisk 1 large egg with 5ml cold water in the small clear glass bowl to make egg wash. Use the pastry brush to gently coat the top and sides of each proofed pastry with egg wash, taking care not to brush the cut layered edges (this will seal layers and prevent rise).
Bake until flaky golden
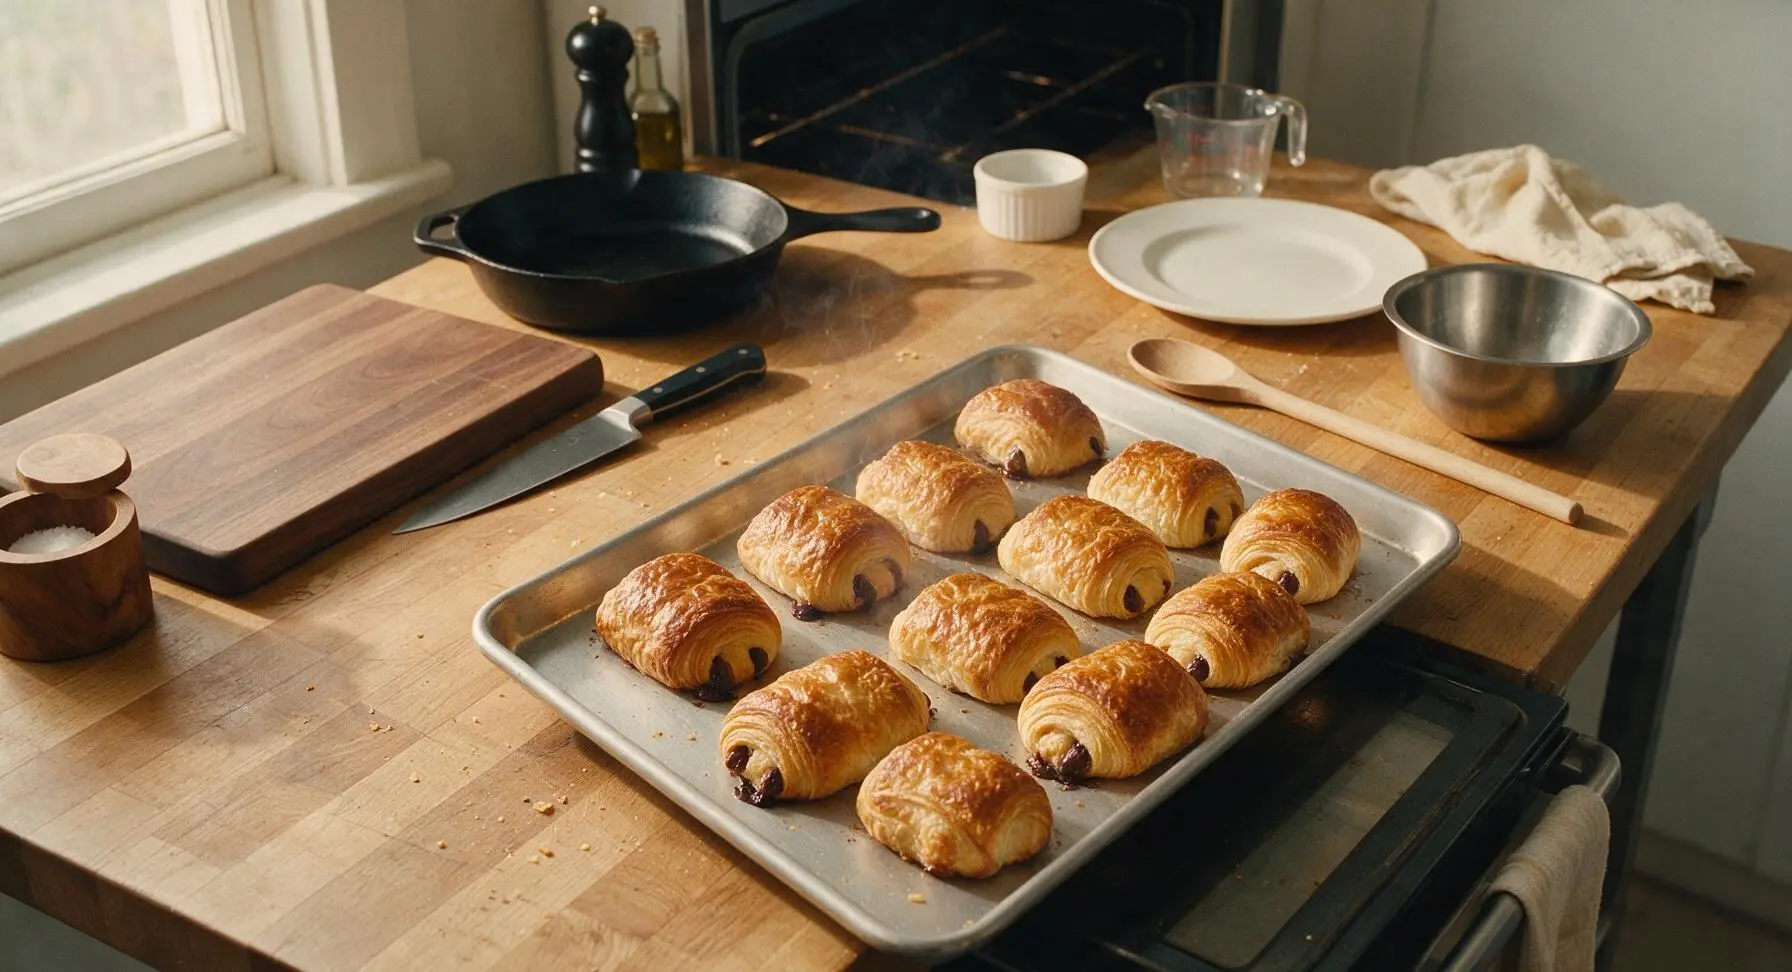
Preheat oven to 200C / 400F. Once proofed, bake the pastries for 18-22 minutes, rotating the baking sheet halfway through cooking, until tops are a deep, even golden brown (not pale blonde) and layers are fully set. If tops brown too quickly, tent loosely with a sheet of foil after 12 minutes of baking. Do not underbake: pale pastries will be doughy inside and collapse as they cool.
Cool slightly before serving
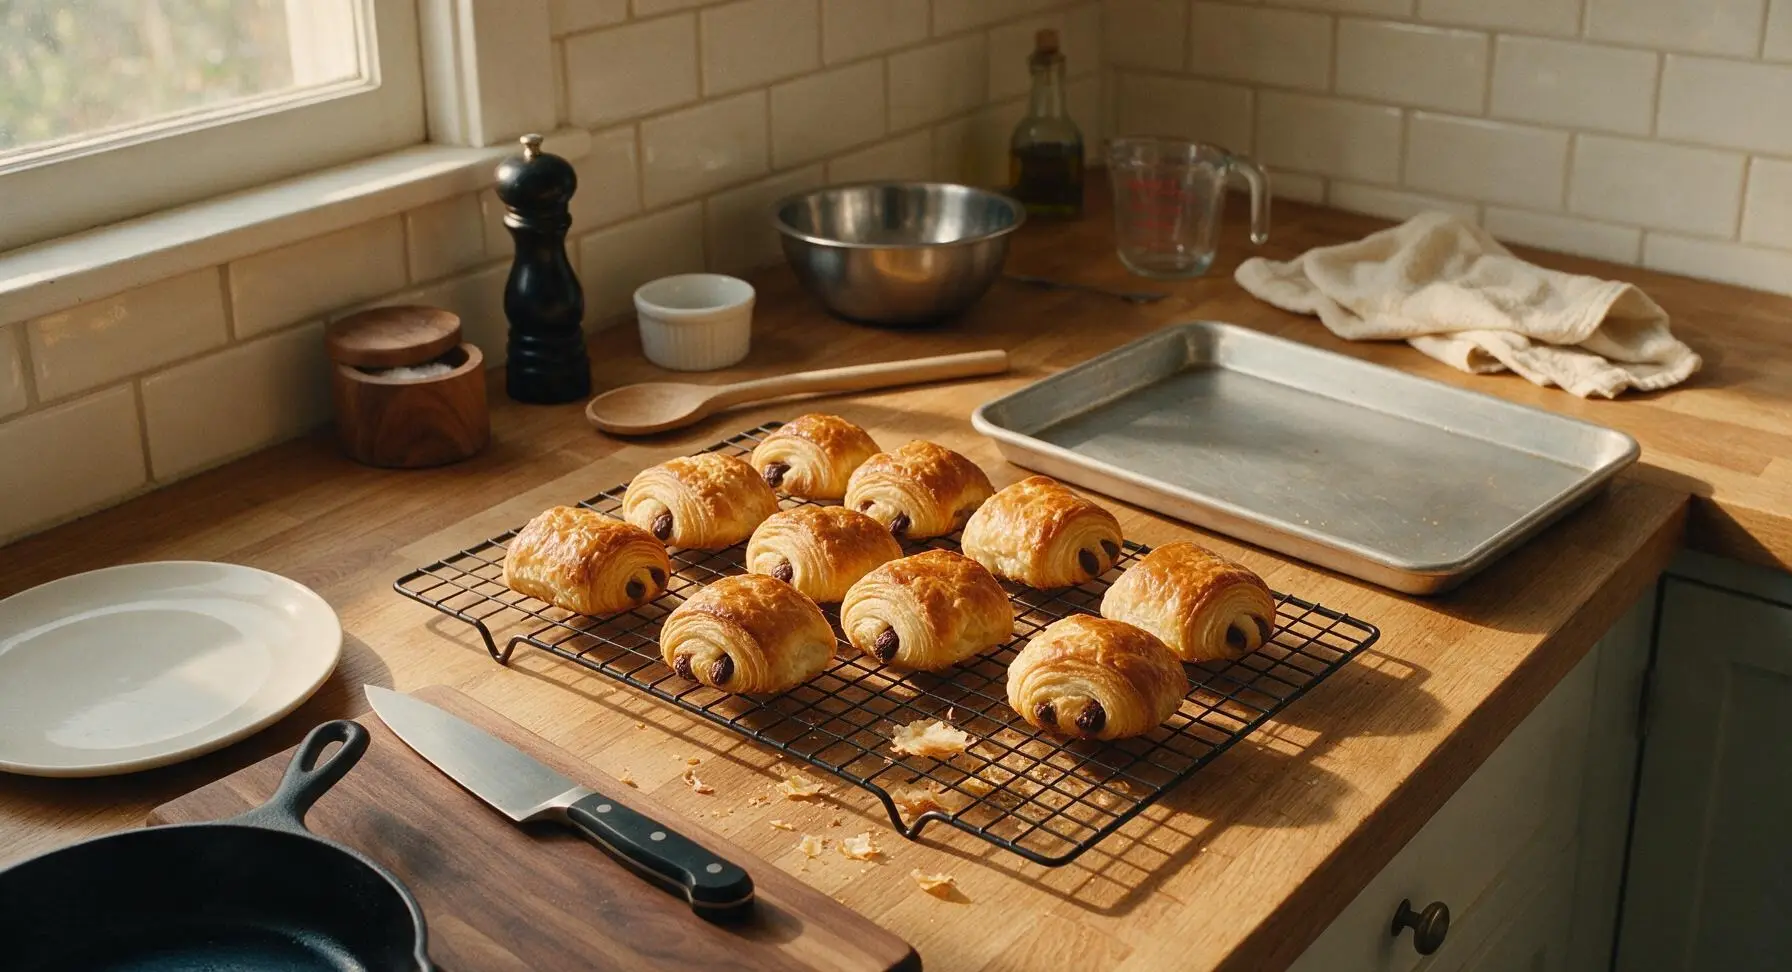
Use the dough scraper to transfer the hot baked pastries from the baking sheet to the matte black wire cooling rack, and let cool for 5 to 10 minutes (the melted chocolate inside will be extremely hot straight from the oven). Serve warm, while layers are crisp and chocolate is smooth and melted.
Tips
2.Do not skip or shorten chill time between folds. Chilling relaxes gluten in the dough to prevent shrinkage when rolling, and keeps butter firm enough to maintain the distinct layers that create the pastry’s signature flake.
3.Avoid brushing egg wash onto the cut edges of shaped pastries. Egg wash acts as an adhesive that will glue layers together, preventing the pastry from rising fully and opening into light, crisp layers in the oven.






OMG these came out SO good! I was nervous about the laminated dough since I’ve only ever made regular dinner rolls before, but the step-by-step instructions made it totally doable. My kids devoured half the batch before they even fully cooled down. 10/10 will be making these for weekend brunch from now on!
Game changer for my morning work routine! I prepped a batch on Sunday, froze the uncooked pastries, and baked one fresh every morning this week. Tastes exactly like the ones I get from my favorite French bakery down the street, minus the $5 price tag per pastry. So worth the effort!
Made these for our neighborhood potluck last weekend and everyone was asking for the recipe! I used dark chocolate 70% cacao instead of milk chocolate and it added the perfect rich, not-too-sweet balance. Will absolutely be making these again for our next family gathering.
Okay, full transparency: my first batch turned out a little lopsided because I messed up the butter block temperature when laminating, but they still tasted incredible! Even my picky roommate who hates homemade baked goods ate two. Definitely going to give it another go this weekend to nail the even layers.
Brought these on our weekend camping trip last week (wrapped tight in foil, obviously) and they were the perfect sweet pick-me-up with our morning camp coffee. The flaky layers held up way better than I expected, even after being jostled around in the cooler. So tasty!
I swapped the all-purpose flour for a high-quality gluten free bread flour blend and these still came out so flaky and delicious! My gluten-eating husband couldn’t even tell the difference. Thank you for such a reliable base recipe!
Quick question! I only have salted butter on hand right now—can I use that instead of unsalted for the dough and the butter block, or will that make the pastries too salty?
Wait, the cook time says 20 minutes but I had to leave mine in for almost 28 minutes to get that perfect golden brown top? Maybe my oven runs cool, just a heads up for other bakers to keep an eye on them after the 18 minute mark instead of pulling them right at 20!
I hosted a fancy bridal brunch for my best friend last weekend and made these as the main pastry offering. People were literally taking photos of them before they ate! The chocolate oozes out just the right amount when you break them open, and the layers are so buttery and crisp. Absolute home run.
Ugh, my first batch didn’t get those big puffy flaky layers like the photos—my butter kept leaking out while I was rolling and folding the dough. Any idea what I did wrong? I followed the steps exactly as written!
I couldn’t find those fancy chocolate baking sticks at my grocery store so I just chopped up a bar of semi-sweet chocolate into thick chunks and it worked perfectly! Saved me a special trip to the specialty baking shop.
How long do these keep in the freezer after you shape them but before baking? I want to stock up for busy school mornings for my teens but don’t want them to get freezer burn.
My 8 year old begged to help me make these this weekend, and even though we got flour all over the kitchen and half the chocolate got eaten before it made it into the dough, we had the best time. The pastries that actually made it to the oven were incredible, too!
I used to work at a French bakery in college and made hundreds of these a week, and I swear this recipe is just as good as the one we used at the shop. The butter ratio is perfect, and the proofing time is spot on—no sad, flat pastries here!
I tried making these vegan by swapping the butter for a vegan block butter and using almond milk for the egg wash, and they were pretty good but the layers weren’t as crisp as I wanted. Any tips for vegan adjustments?
I added a little smear of Nutella along with the chocolate sticks in half the batch for my Nutella-obsessed teenager, and those were the first ones to disappear at our family dinner last Sunday. Such a fun easy twist!
I’ve avoided laminated dough recipes for YEARS because I thought they were way too fussy for a casual home baker, but this recipe was so straightforward! I followed every direction to the letter and got perfect, buttery, flaky pastries on my first try. I feel like a professional baker now, honestly.
Full disclosure: I made a full batch of these yesterday and told myself I’d freeze half for later, but I’ve already eaten four of them in 24 hours. They’re just so good warm out of the oven with a cup of coffee, I can’t stop myself. Send help (and more butter).