
pampered chef bubble waffle

title 1
pampered chef bubble waffle
⏱️ cook time 12 minutes
🍽️ servings 4
⚡ Difficulty easy

intro

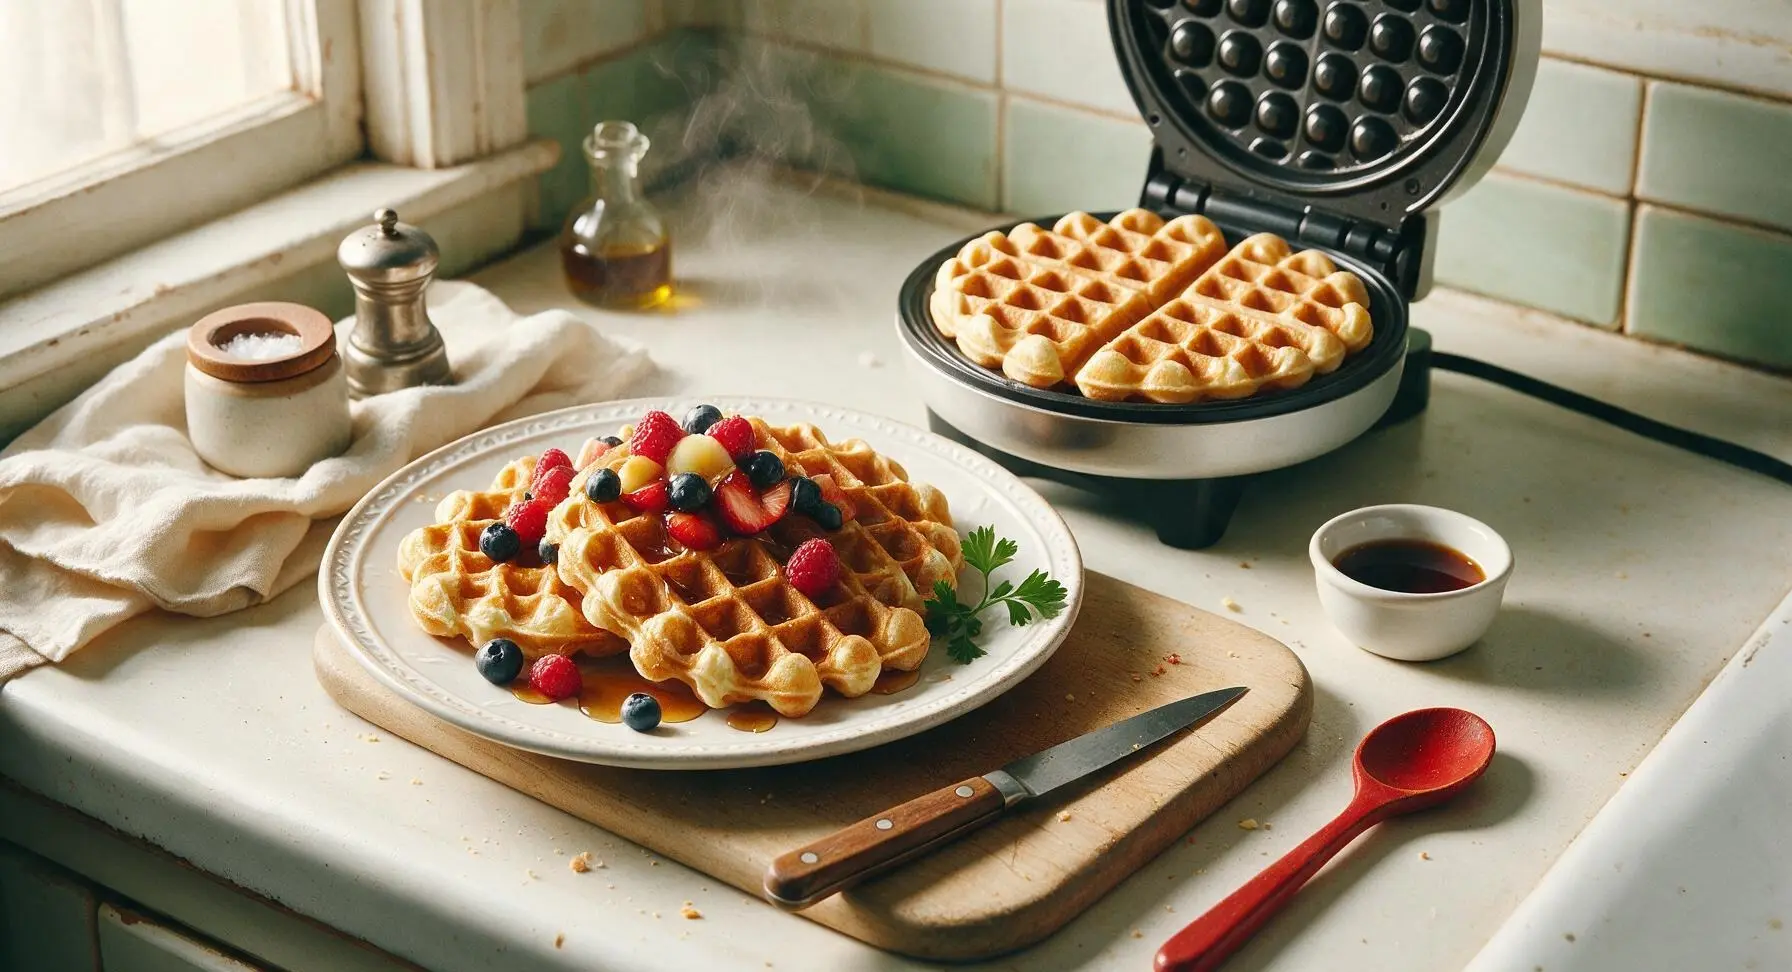
Crisp, golden honeycomb-textured bubble waffles made simple with the Pampered Chef stovetop pan: light, fluffy inside, perfect for topping with fresh fruit and maple syrup for a cozy family meal.

Ingredients
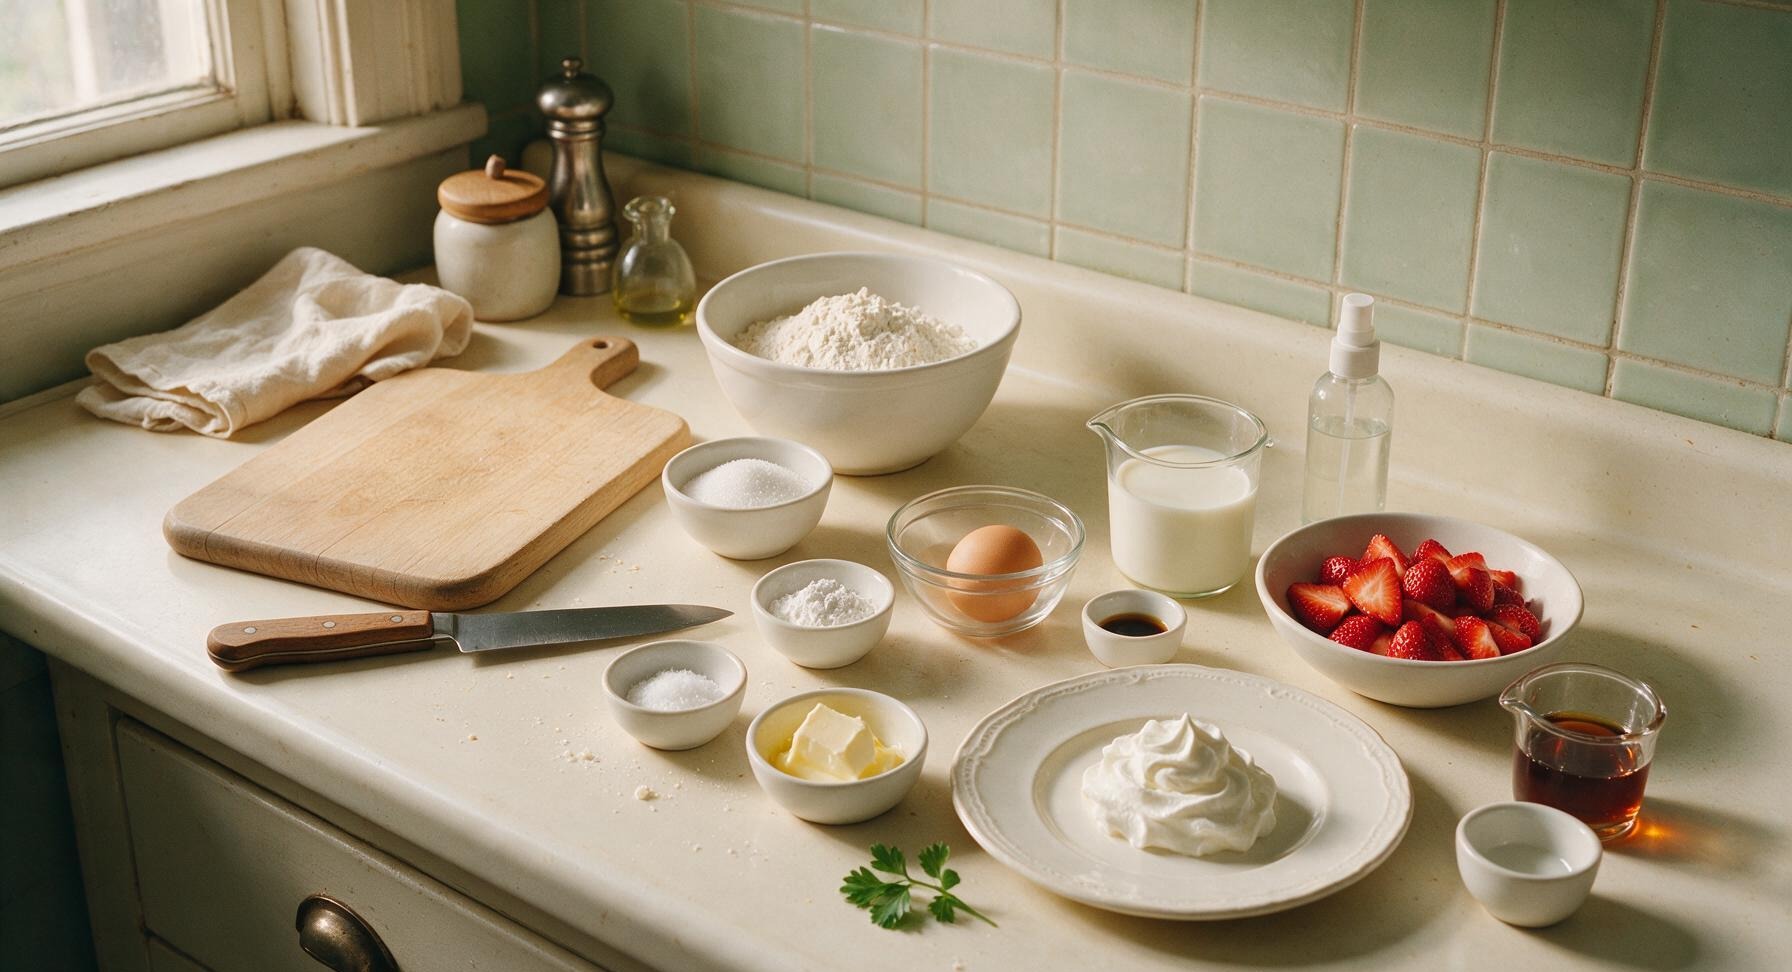
All-purpose flour 1 ½ cups (180g)
Large eggs 2
Whole milk 1 cup (240ml)
Unsalted butter, melted and cooled 3 tbsp (42g)
Granulated sugar 2 tbsp (25g)
Baking powder 1 ½ tsp
Fine sea salt ¼ tsp
Pure vanilla extract 1 tsp
Non-stick cooking spray 1 short burst
Powdered sugar 2 tbsp
Fresh strawberries, hulled and sliced 1 cup (150g)
Pure maple syrup ¼ cup (60ml)
Whipped cream, for serving ¼ cup (60ml)

Steps

1

Combine Dry Ingredients

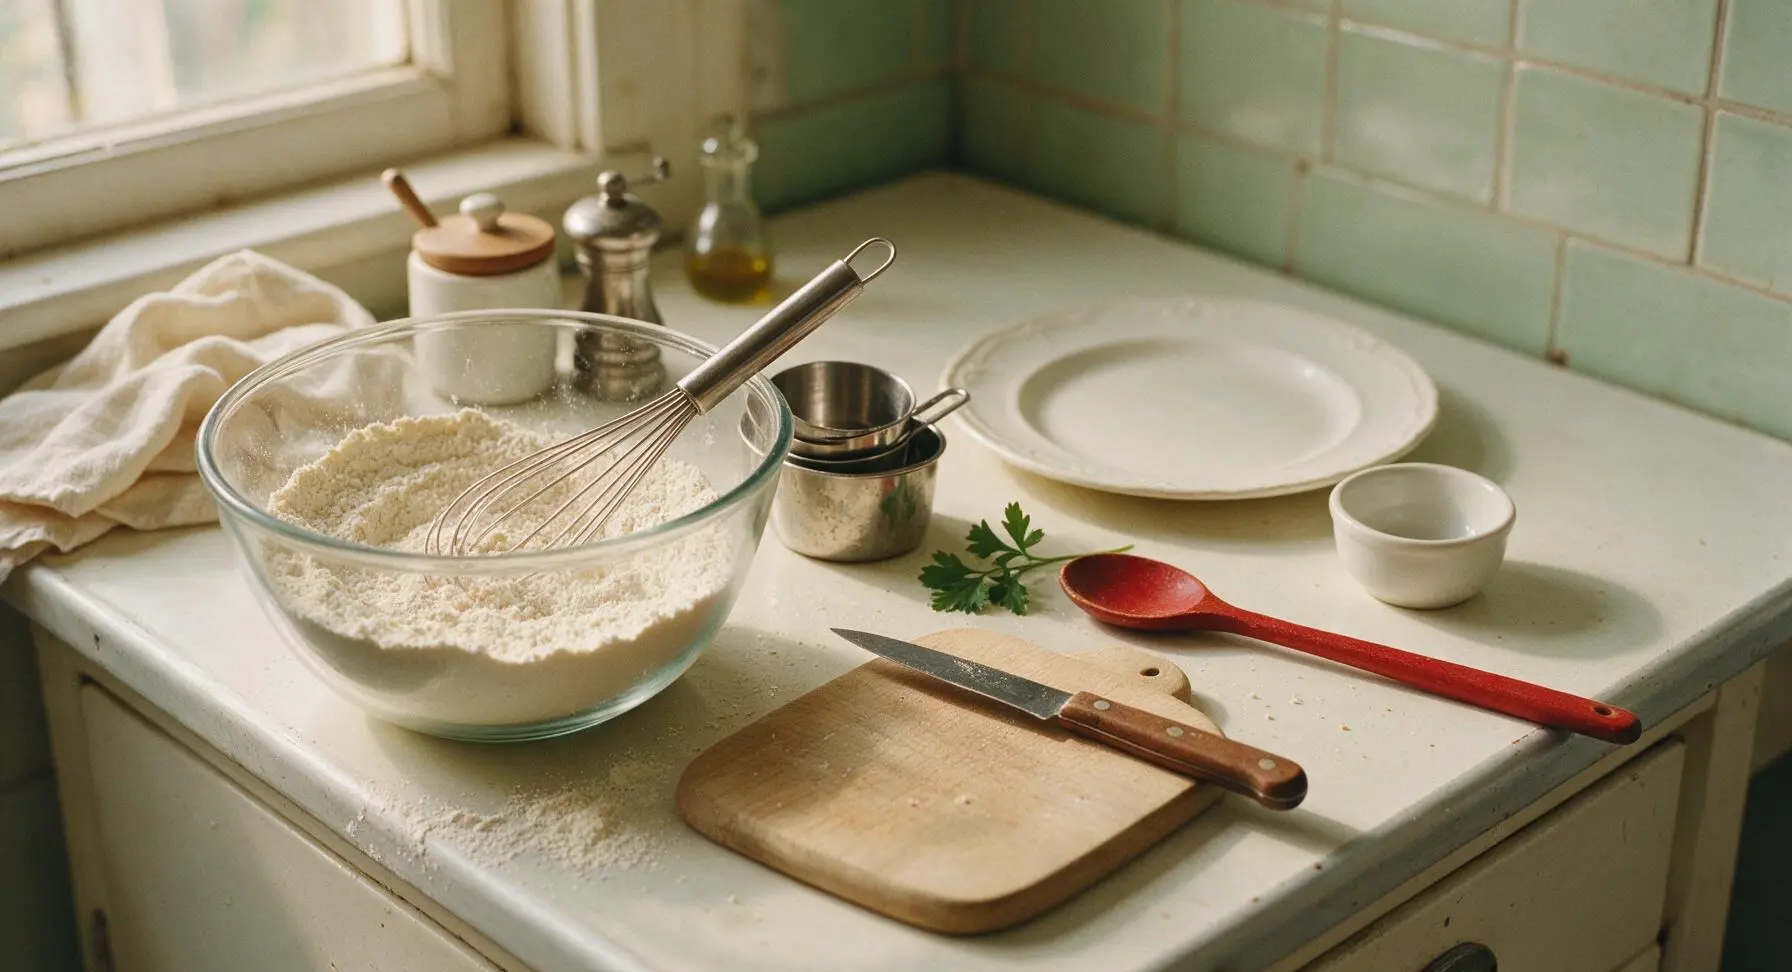
Place the clear glass mixing bowl in its fixed left counter position. Add 1 ½ cups all-purpose flour, 2 tbsp granulated sugar, 1 ½ tsp baking powder, and ¼ tsp fine sea salt to the bowl. Use the stainless steel wire whisk to stir the dry ingredients for 30 seconds until fully combined, with no visible clumps of baking powder or salt. The mixture should be a uniform pale off-white color.
Step 1
step1:Combine Dry Ingredients
2

Whisk Wet Ingredients

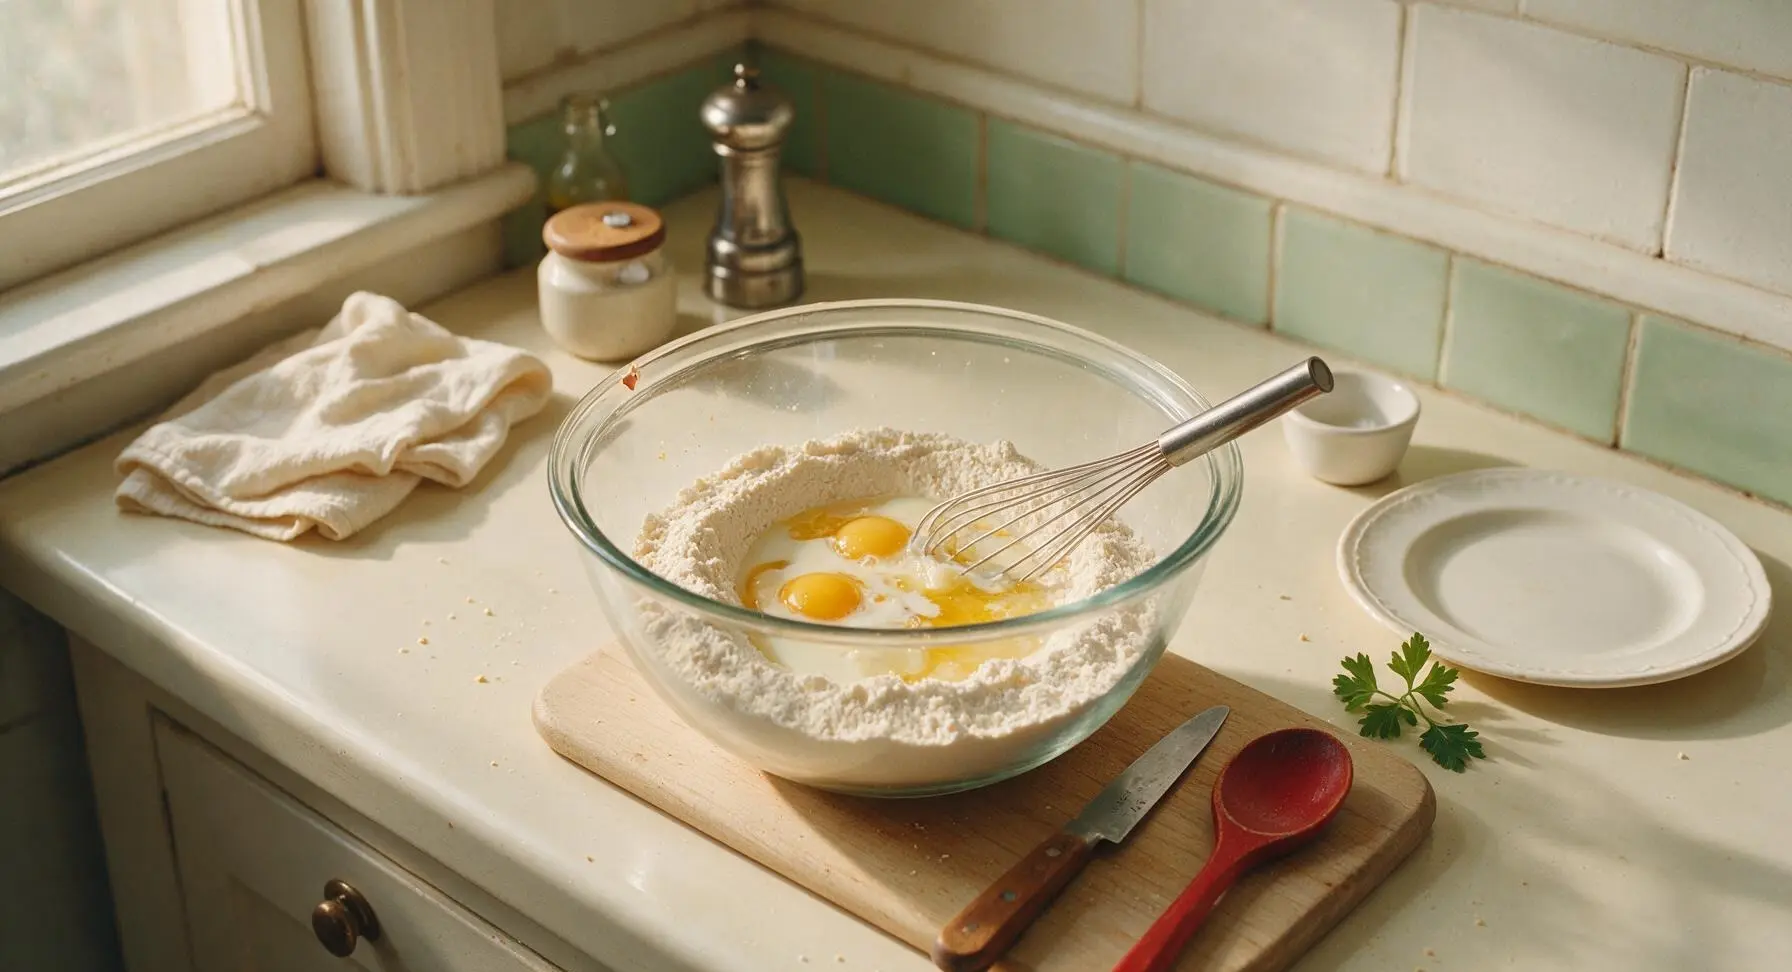
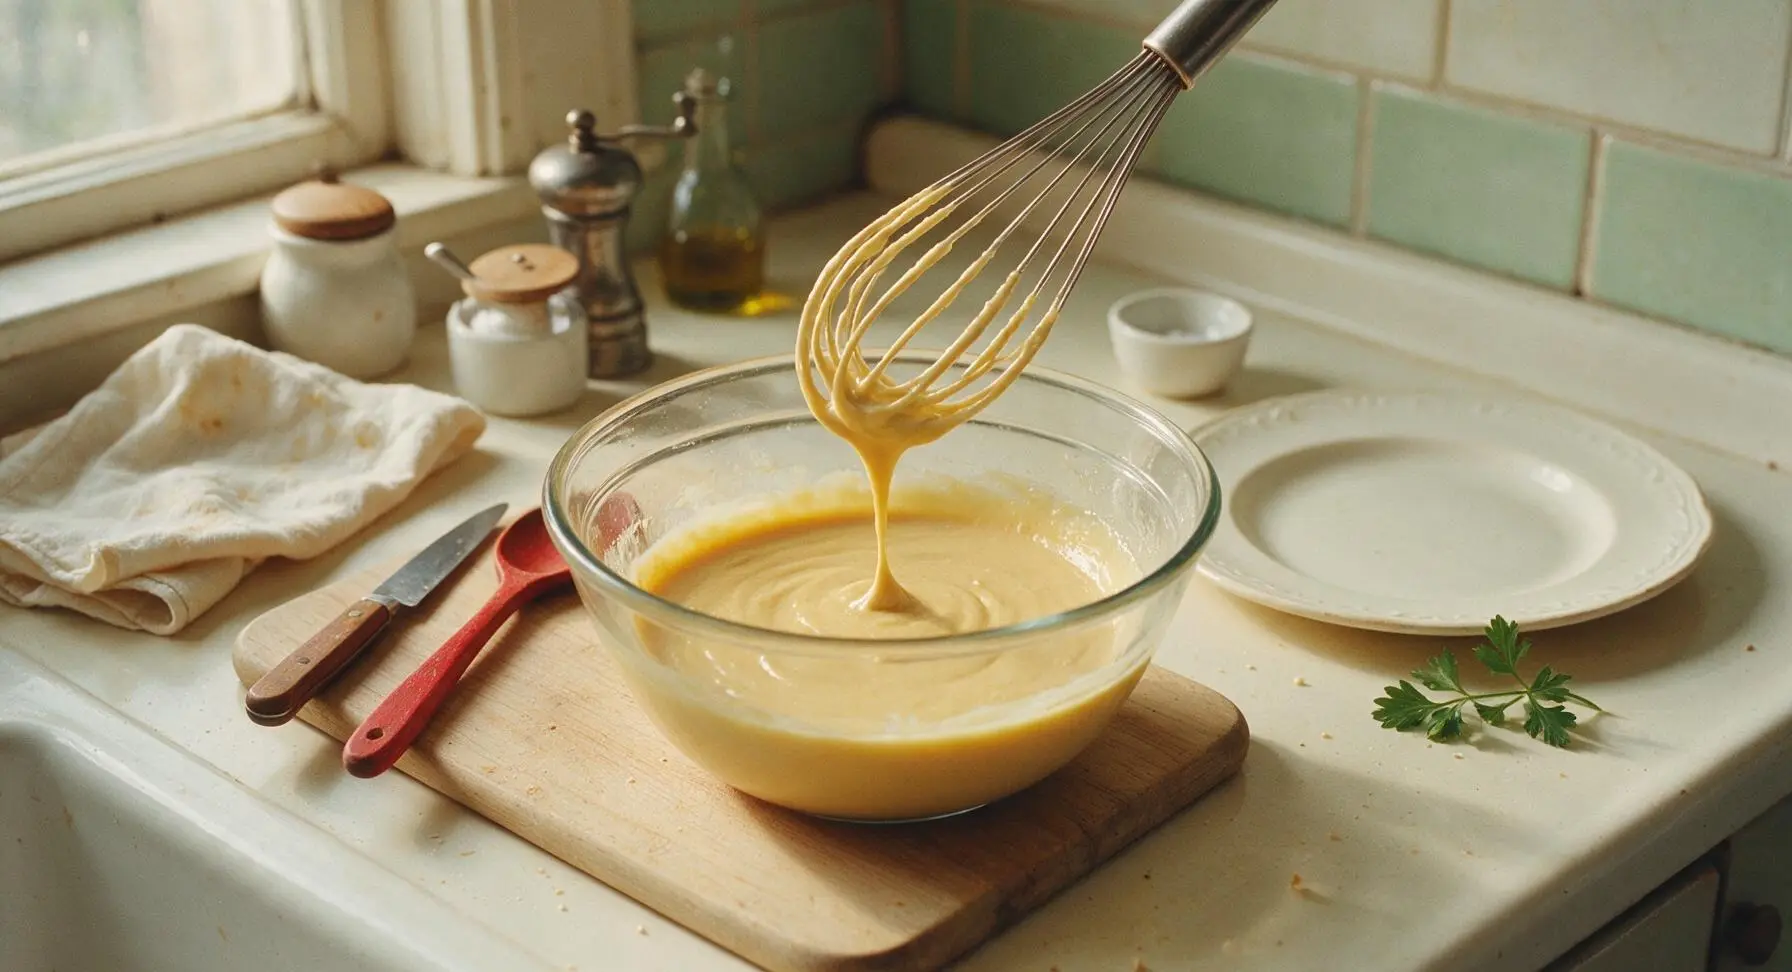
Make a small well in the center of the dry ingredient mixture. Crack the 2 large eggs into the well, then add 1 cup whole milk, 3 tbsp cooled melted butter, and 1 tsp pure vanilla extract. Whisk slowly at first to incorporate dry ingredients from the edges of the well, then increase speed to whisk for 1 full minute until the batter is completely smooth, with no lumps. The finished batter should be the consistency of heavy cream, thick enough to coat the back of a spoon but thin enough to pour easily. Let the batter rest for 5 minutes at room temperature to allow the baking powder to activate.
Step 2
step2:Whisk Wet Ingredients
Step 2
step2:Whisk Wet Ingredients
3

Preheat Waffle Pan

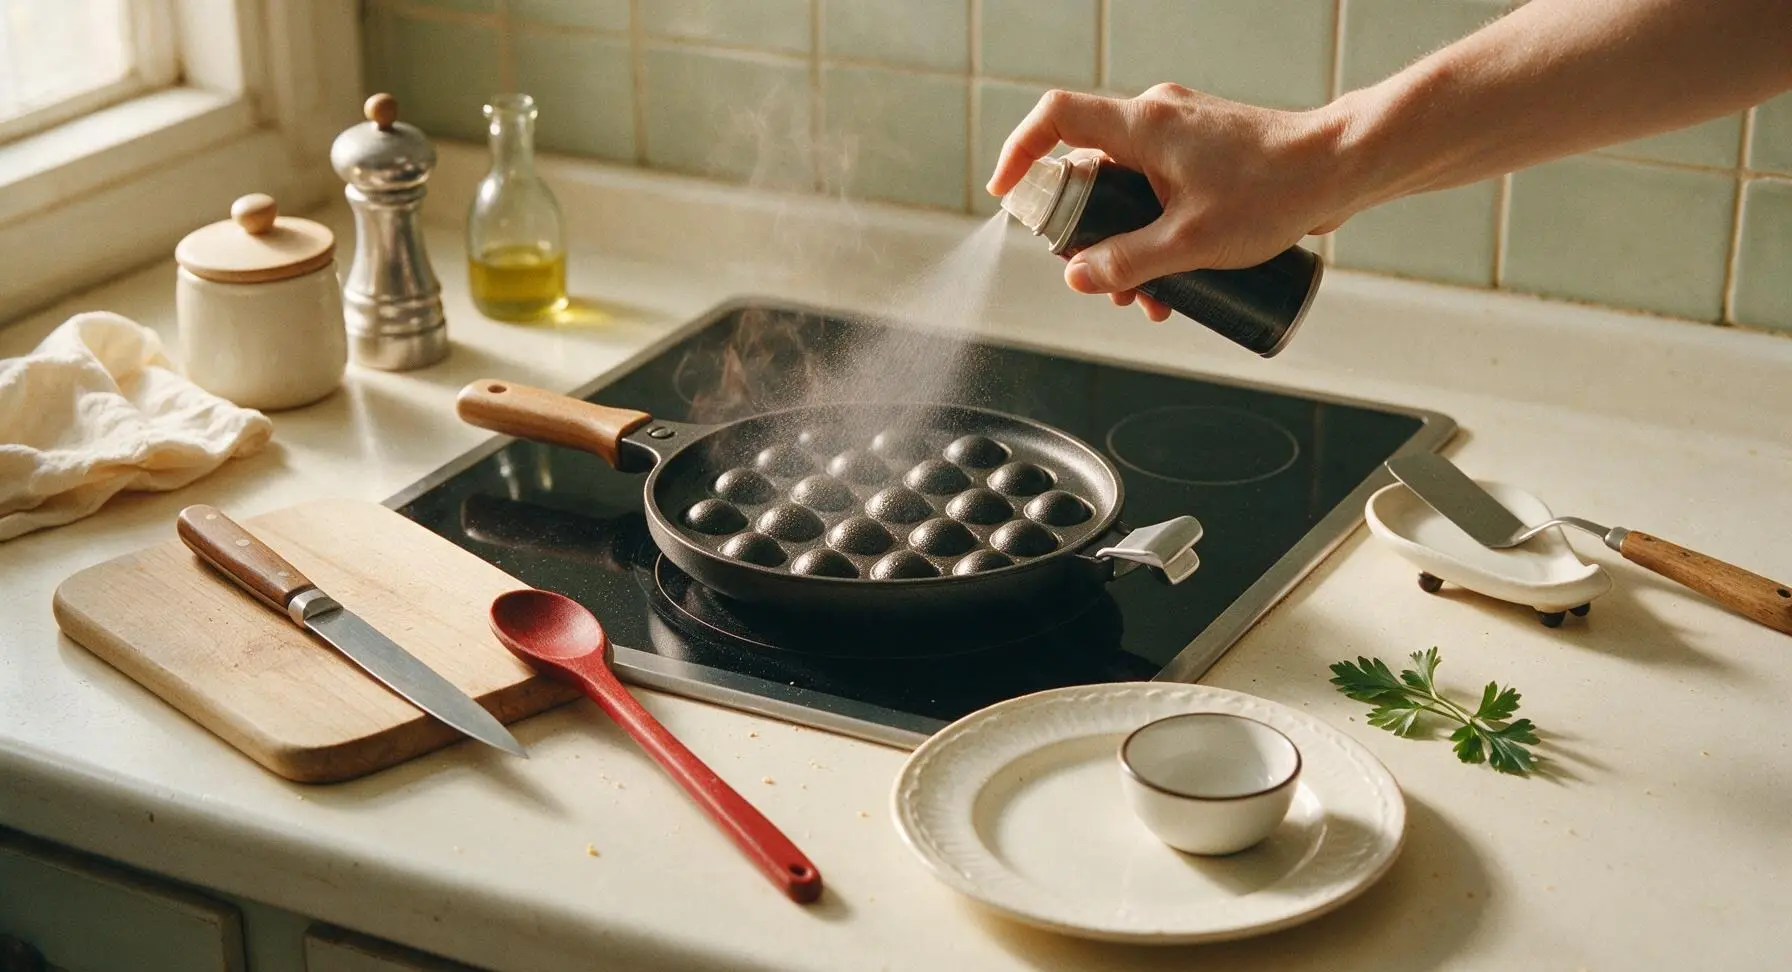
Move the Pampered Chef bubble waffle pan from its rear right storage position to the center induction burner. Turn the burner to medium heat (375°F / 190°C). Preheat both sides of the pan for 2 minutes, flipping the pan once halfway through to ensure both plates heat evenly. Spray both the top and bottom bubble plates lightly with non-stick cooking spray once preheated, holding the spray 6 inches away to avoid over-saturating the surface.
Step 3
step3:Preheat Waffle Pan
4

Pour Batter Into Pan

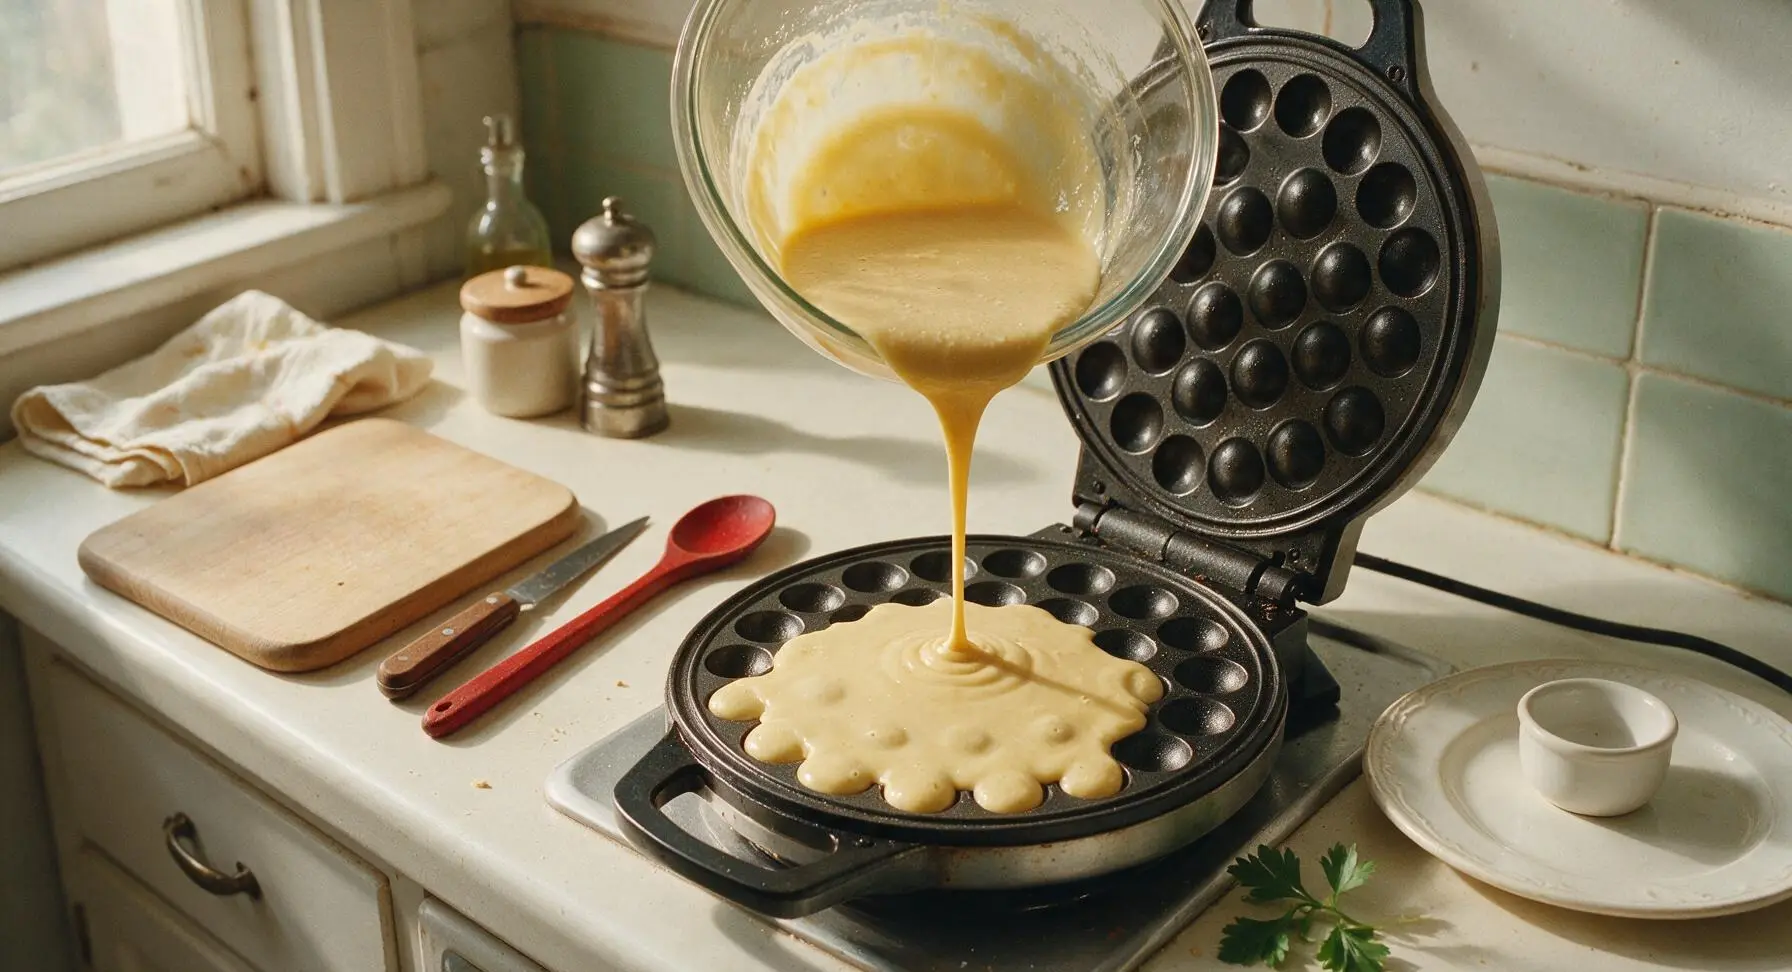
Pour ¾ cup of the rested batter evenly into the bottom plate of the preheated waffle pan, starting in the center and letting the batter flow out to fill approximately ⅔ of the bubble molds. Do not overfill the pan – excess batter will leak out when the pan is closed and burn. Immediately close the top plate of the waffle pan and latch the handles securely.
Step 4
step4:Pour Batter Into Pan
5

Cook Waffle Until Golden

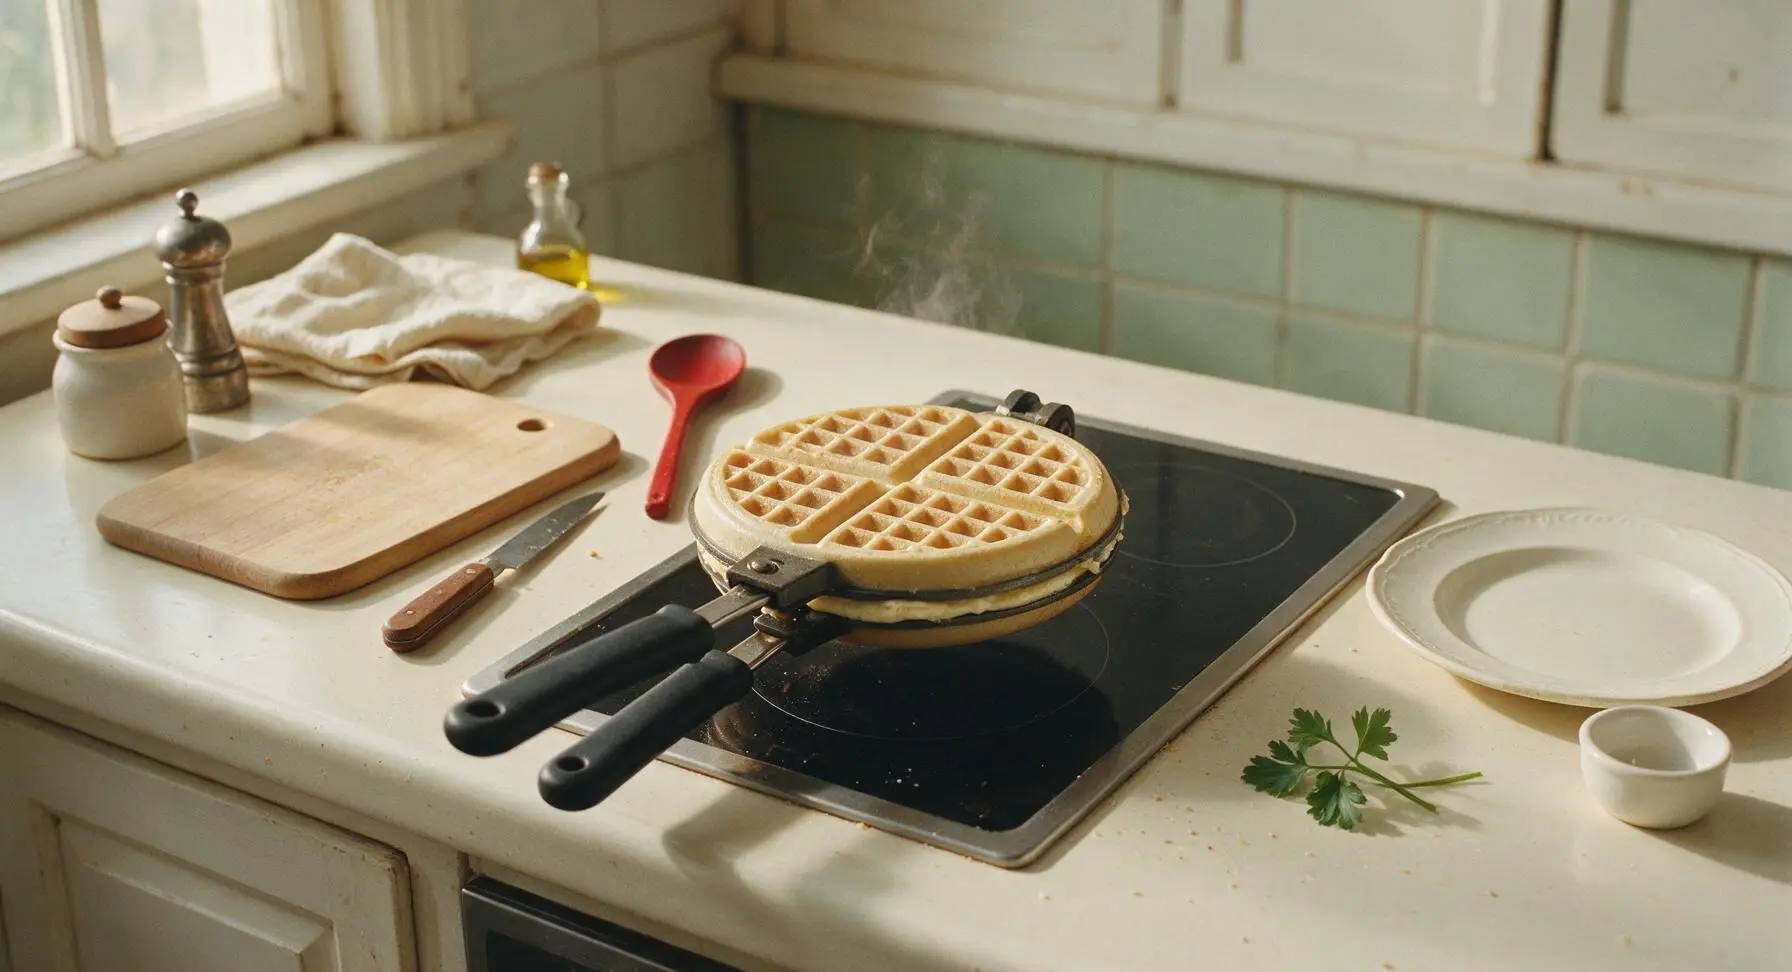
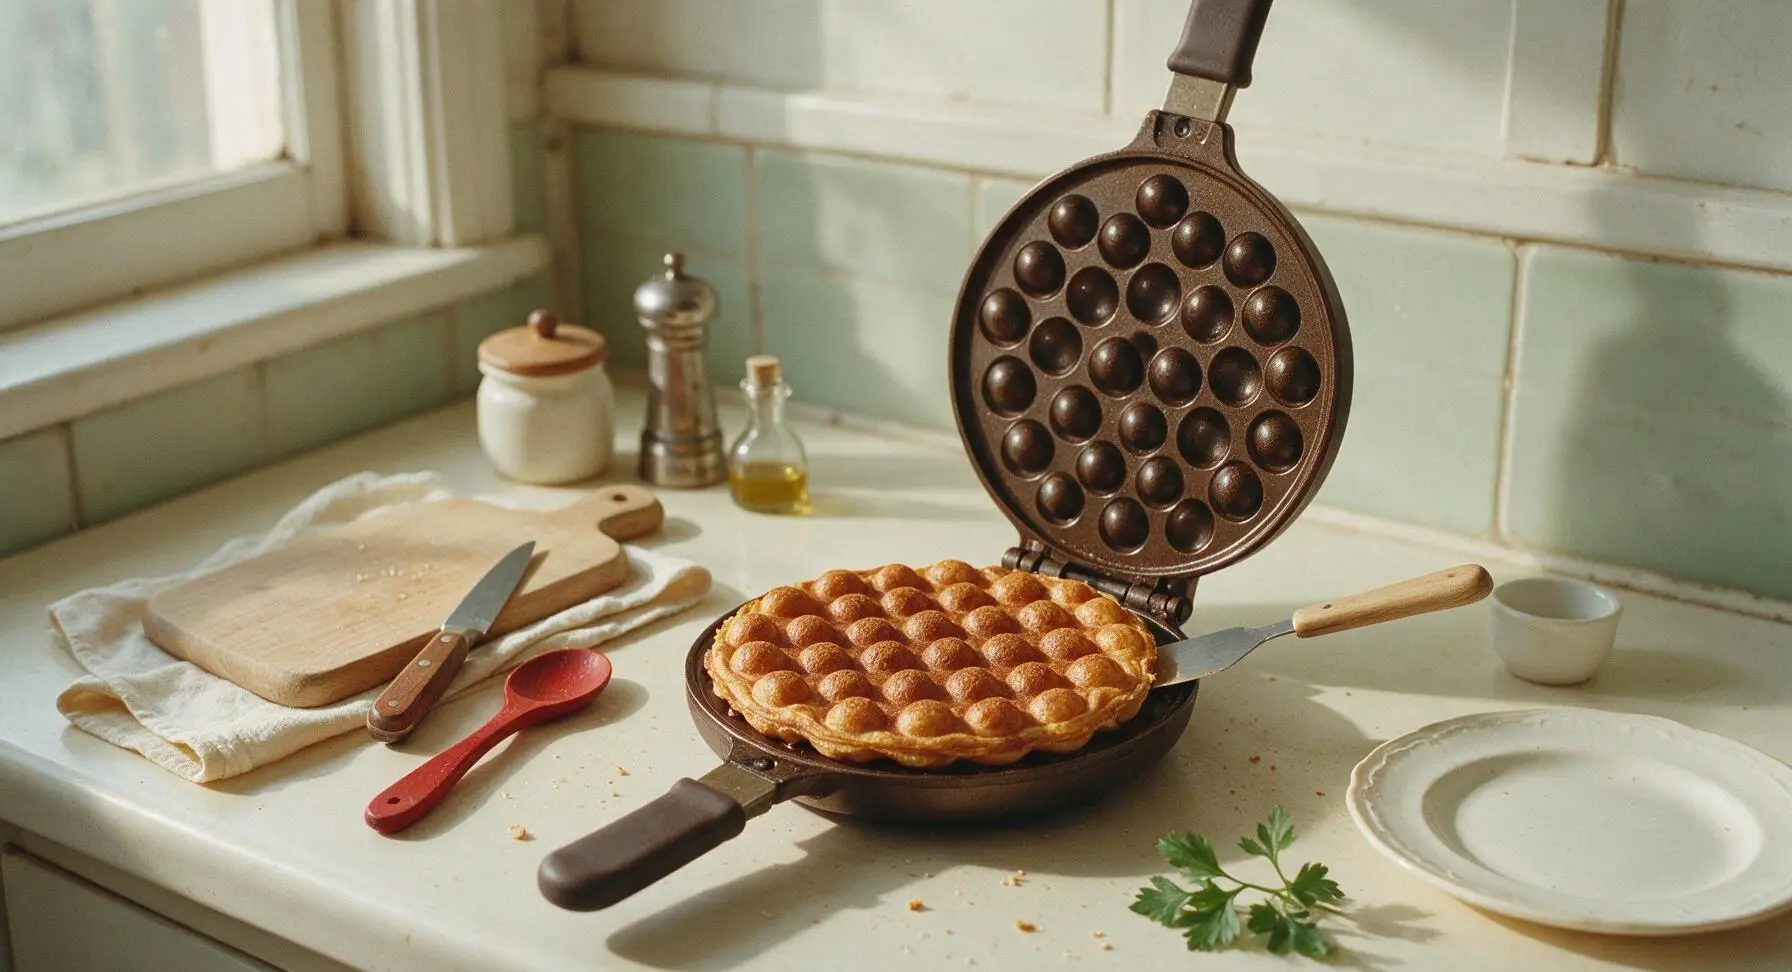
Cook the waffle for 1 minute on the first side, then use the silicone handles to flip the entire pan over. Cook for an additional 2 to 2 ½ minutes on the second side, then flip back to the first side for 30 seconds. The waffle is done when it is deep golden brown, pulls away easily from the non-stick surface, and feels crisp around the edges. Total cook time per waffle is 3.5 to 4 minutes. Adjust heat slightly to medium-low if the waffle browns too quickly before the center sets.
Step 5
step5:Cook Waffle Until Golden
Step 5
step5:Cook Waffle Until Golden
6

Remove Cooked Waffle

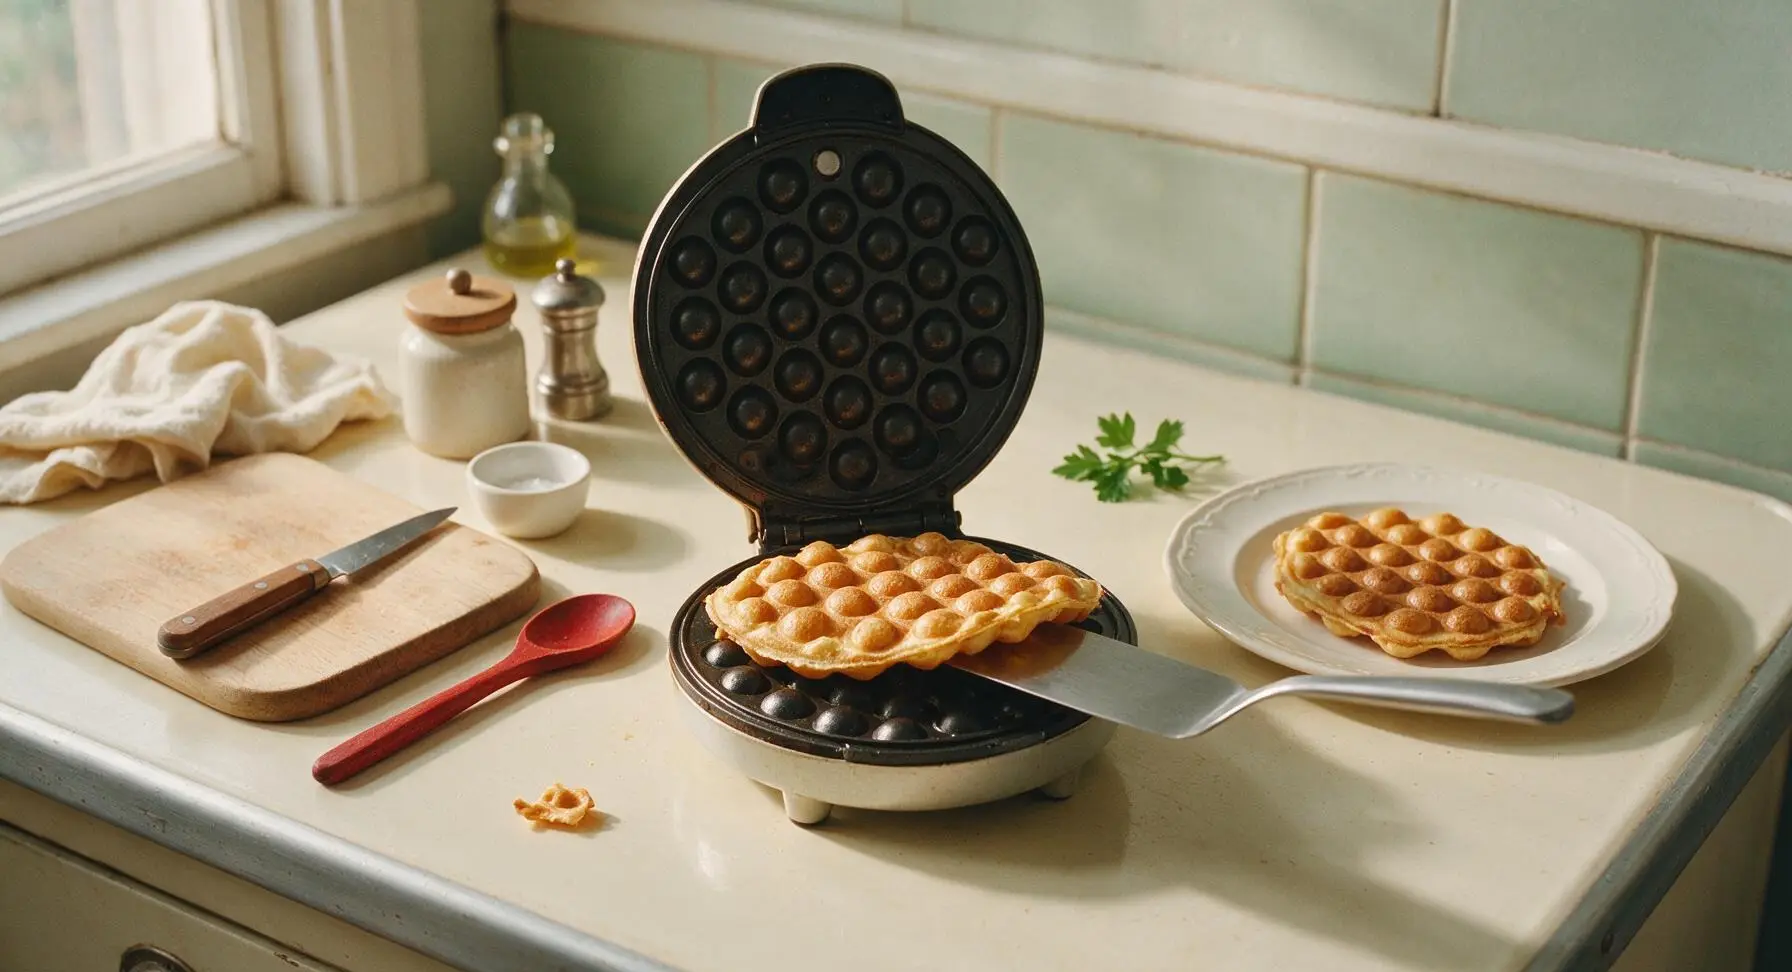
Use the stainless steel offset spatula to gently lift the edge of the cooked waffle out of the pan, then transfer it to the cream white ceramic serving platter. Repeat the pouring and cooking process with the remaining batter to make 3 total waffles, respraying the pan lightly between every other waffle to prevent sticking. Let the cooked waffles rest on the platter for 1 minute before serving – this allows the edges to crisp up further instead of getting soggy from trapped steam.
Step 6
step6:Remove Cooked Waffle
7

Top and Serve Waffles

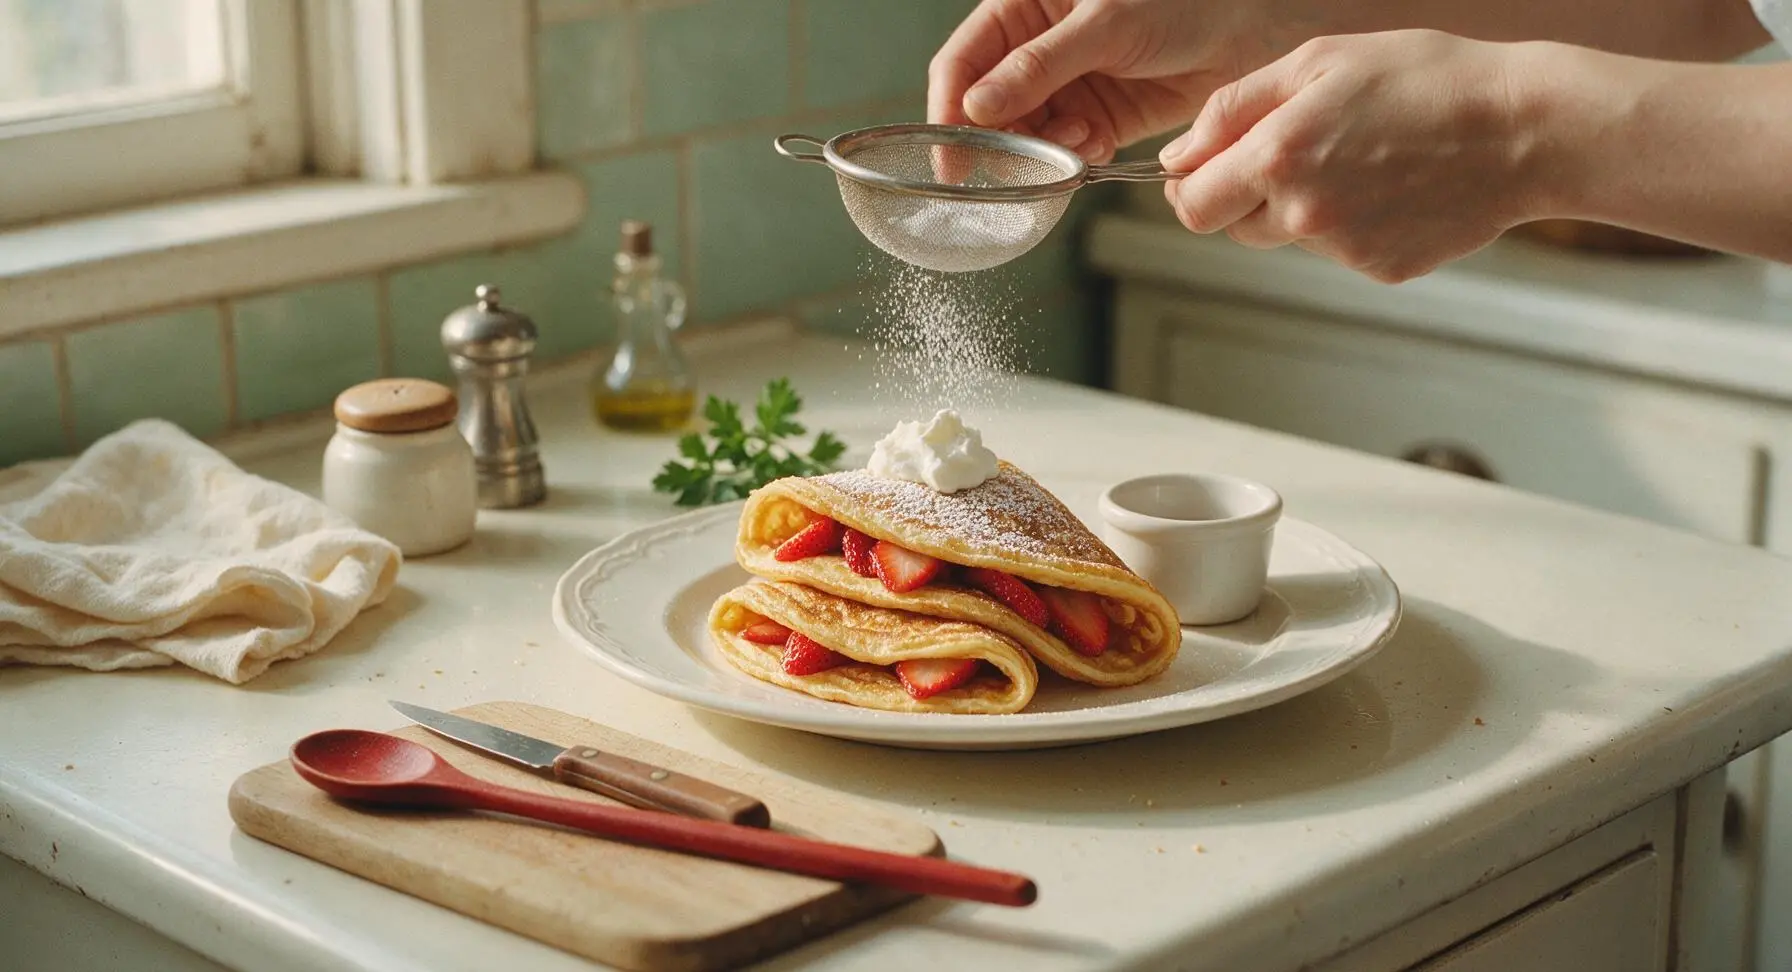
Fold each warm waffle into a loose cone or half-moon shape, arranging them slightly overlapping on the cream white ceramic platter. Dust lightly with 2 tbsp powdered sugar using a small fine sieve, tuck sliced fresh strawberries between the waffles, add a small dollop of whipped cream to the top of the stack, and pour ¼ cup pure maple syrup into one of the small white ramekins to serve on the side. Serve immediately while warm for the crispiest texture.
Step 7
step7:Top and Serve Waffles

Tips

1.Avoid overfilling the waffle pan: pouring more than ¾ cup of batter (filling molds only ⅔ full) prevents batter from leaking out the pan edges when closed, which causes burnt residue on the pan exterior and dense, undercooked waffles that cannot rise properly.
2.Let the mixed batter rest for 5 full minutes before cooking: this resting period relaxes gluten strands formed during whisking and activates the baking powder, resulting in lighter, airier bubble interiors instead of tough, dense waffles.
3.Do not open the waffle pan during the first 3 minutes of cook time: opening the pan too early causes the partially set waffle to split and stick to the top plate, ruining the signature raised bubble texture. Wait until steam escaping from the pan edges slows significantly before checking for doneness.


✨ You May Also Like

Breakfast
🍜 United States

Crisp-edged, fluffy lard griddle cakes are a nostalgic homestyle staple, with rich savoriness from rendered lard, perfect topped with maple syrup or savory gravy.

⏱️ 25 minuteBreakfast ★ 4.8
Breakfast
🍜 United States

Flaky, buttery homemade buttermilk biscuits smothered in creamy, peppery pork sausage gravy: a beloved, hearty Southern American comfort food classic.

⏱️ 35 minuteBreakfast ★ 4.8
Breakfast
🍜 United States

Golden, custardy brioche stuffed with sweet cream cheese and fresh berries, pan-fried to crisp perfection. An indulgent, cozy breakfast perfect for slow weekend mornings.

⏱️ 30 minuteBreakfast ★ 4.7
Breakfast
🍜 United States

Flaky, buttery Southern-style biscuits stuffed with savory salty country ham, a portable, satisfying classic perfect for casual on-the-go meals.

⏱️ 25 minuteBreakfast ★ 4.8
Breakfast
🍜 United States

Iconic puffy baked pancake popularized in Seattle, with crisp golden edges and soft custardy center, served warm with classic sweet toppings.

⏱️ 35 minuteBreakfast ★ 4.6
Breakfast
🍜 United States

Fluffy, golden pancakes studded with juicy peak-summer mixed berries, drizzled with maple syrup for a bright, comforting, crowd-pleasing family breakfast.

⏱️ 25 minuteBreakfast ★ 4.7

pampered chef bubble waffle:Frequently Asked Questions

1.Do I have to use the official Pampered Chef stovetop bubble waffle pan to make this recipe, or will a standard waffle maker work? ▾
This recipe is calibrated specifically for the Pampered Chef stovetop bubble waffle pan to deliver that signature crisp honeycomb exterior and light, fluffy interior. A standard Belgian or thin waffle maker will not produce the iconic bubble shape, and you’ll need to adjust cook times by 1–2 minutes if you substitute, though results will vary.
2.How do I keep my bubble waffles from sticking to the Pampered Chef pan? ▾
First, ensure your cooled, melted unsalted butter is fully mixed into the batter, and give the pan’s bubble molds a light extra brush of butter before cooking your first waffle. Preheat the pan fully on medium-low for 2 minutes per side before adding batter, and never pry a waffle early—if it resists lifting, give it 30 more seconds to set.
3.Can I make this bubble waffle batter ahead of time for quick weekday breakfasts? ▾
Absolutely! You can mix the full batter (made with all-purpose flour, large eggs, whole milk, cooled melted butter, and granulated sugar) up to 24 hours in advance, stored tightly covered in the fridge. Give it a gentle stir before pouring, as flour may settle, and add 10–15 seconds of extra cook time to account for cold batter.
4.Why are my bubble waffles coming out dense instead of light and fluffy inside? ▾
Dense, tough waffles usually stem from two common missteps: overmixing the batter, or cooking on too-high heat. Stir the batter just until no dry flour streaks remain—small lumps are totally fine, as overworking the flour develops tough gluten. Keep heat at medium-low to cook the interior fully before the exterior burns.
5.How much batter should I pour per waffle to avoid messy stovetop overflow? ▾
For the standard Pampered Chef stovetop bubble waffle pan, ¾ cup of batter is the ideal amount. Pour it centered on the lower pan plate, then immediately close, latch, and flip the pan to let batter spread evenly into every bubble mold. Adding more than ¾ cup will cause batter to seep out the edges as it cooks and expands.
6.Can I swap in lower-fat dairy or gluten-free flour for this recipe? ▾
You can swap whole milk for 2% milk with only a minor drop in richness, but skim milk will produce noticeably less tender waffles. For a gluten-free version, use a 1:1 all-purpose gluten-free baking blend with added xanthan gum; avoid single flours like almond or coconut, which will throw off the texture balance.
7.How do I keep cooked waffles crisp while I make a full batch for my family? ▾
Skip stacking waffles directly on a plate, which traps steam and turns crisp exteriors soggy fast. Instead, set cooked waffles on a wire rack placed over a baking sheet in a 200°F oven while you cook the rest. This lets air circulate around each waffle, keeping them crisp and fluffy for up to 30 minutes, perfect for family meals.
8.What toppings work well with these bubble waffles besides fresh fruit and maple syrup? ▾
Their pocketed, crisp texture holds all kinds of toppings beautifully, beyond the classic fresh fruit and maple syrup! Try whipped cream and chocolate chips, a dusting of powdered sugar with lemon curd, or even a scoop of vanilla ice cream for a fun dessert twist. Just skip overly watery toppings, which will make the crisp exterior turn soggy quickly.
9.How long should I cook each waffle on the stovetop to get that perfect golden finish? ▾
Once your pan is fully preheated, pour in the batter, close and latch the pan, then cook for 1.5 minutes on the first side before flipping. Cook for another 1 to 1.5 minutes on the second side, until the waffle is deep golden and releases easily when you open the pan latch, for a total of 2.5–3 minutes per waffle.
10.Can I freeze leftover bubble waffles for quick future meals? ▾
Yes, these freeze extremely well! Let cooked waffles cool completely to room temperature first, then stack them between sheets of parchment paper to prevent sticking, and store in a sealed freezer bag for up to 3 months. Reheat directly from frozen in a toaster or 350°F oven for 3–4 minutes to bring back their signature crisp texture.

Comments (3)

2 days ago

OMG these bubble waffles are SO good! I made them for my kids’ after-school snack yesterday and they begged for a second batch before I even finished cleaning the waffle maker. 12 minute cook time is no joke too—super quick to throw together even on busy school nights. Tossed some rainbow sprinkles and a drizzle of Nutella on top and it felt like a fancy treat without the hassle. 10/10 will be making these every weekend from now on!

yesterday

Wait did you use the regular Pampered Chef stovetop bubble waffle pan or the electric model? I’ve been eyeing the pan version but wasn’t sure if it works well on my gas stovetop, I’ve heard mixed reviews about uneven heating!

2 hours ago

Great question, SnackQueen99! Both the stovetop pan and electric waffle maker work perfectly for this easy recipe—just keep your stovetop heat at medium if using the pan version to get those crispy, golden bubbles without burning, and you’ll be all set! So glad your family loved the waffles, MamaBear2020!

1 week ago

Total game changer for my weekly meal prep! I was worried bubble waffles would be fussy but this recipe is so easy even I didn’t mess it up, and I’m definitely not a professional baker. I made a big batch on Sunday, stored them in the freezer, and just pop them in the toaster for 30 seconds on busy mornings for a quick breakfast. Took a batch to my office potluck last week and three people asked for the recipe before I even left. Can’t recommend enough!

5 days ago

Love that you’re prepping these for busy weekdays! Pro tip: separate frozen waffle layers with small sheets of parchment paper before stashing them in the freezer to keep them from sticking together, it makes grabbing one on the go even easier. So happy these were a hit at your potluck!

5 minutes ago

Wait I’ve been making bubble waffles wrong this whole time?? This recipe is so straightforward I almost didn’t believe it would turn out, but the texture was perfect—crispy on the outside, soft and chewy in all the little bubble pockets. I topped mine with fresh strawberries and whipped cream for my partner’s birthday breakfast and they said it was better than the ones we got at our favorite dim sum spot in Chinatown last month. Only tiny hack: I added a tiny splash of vanilla extract to the batter and it kicked the flavor up a notch, highly recommend! Will absolutely be making this again!



