
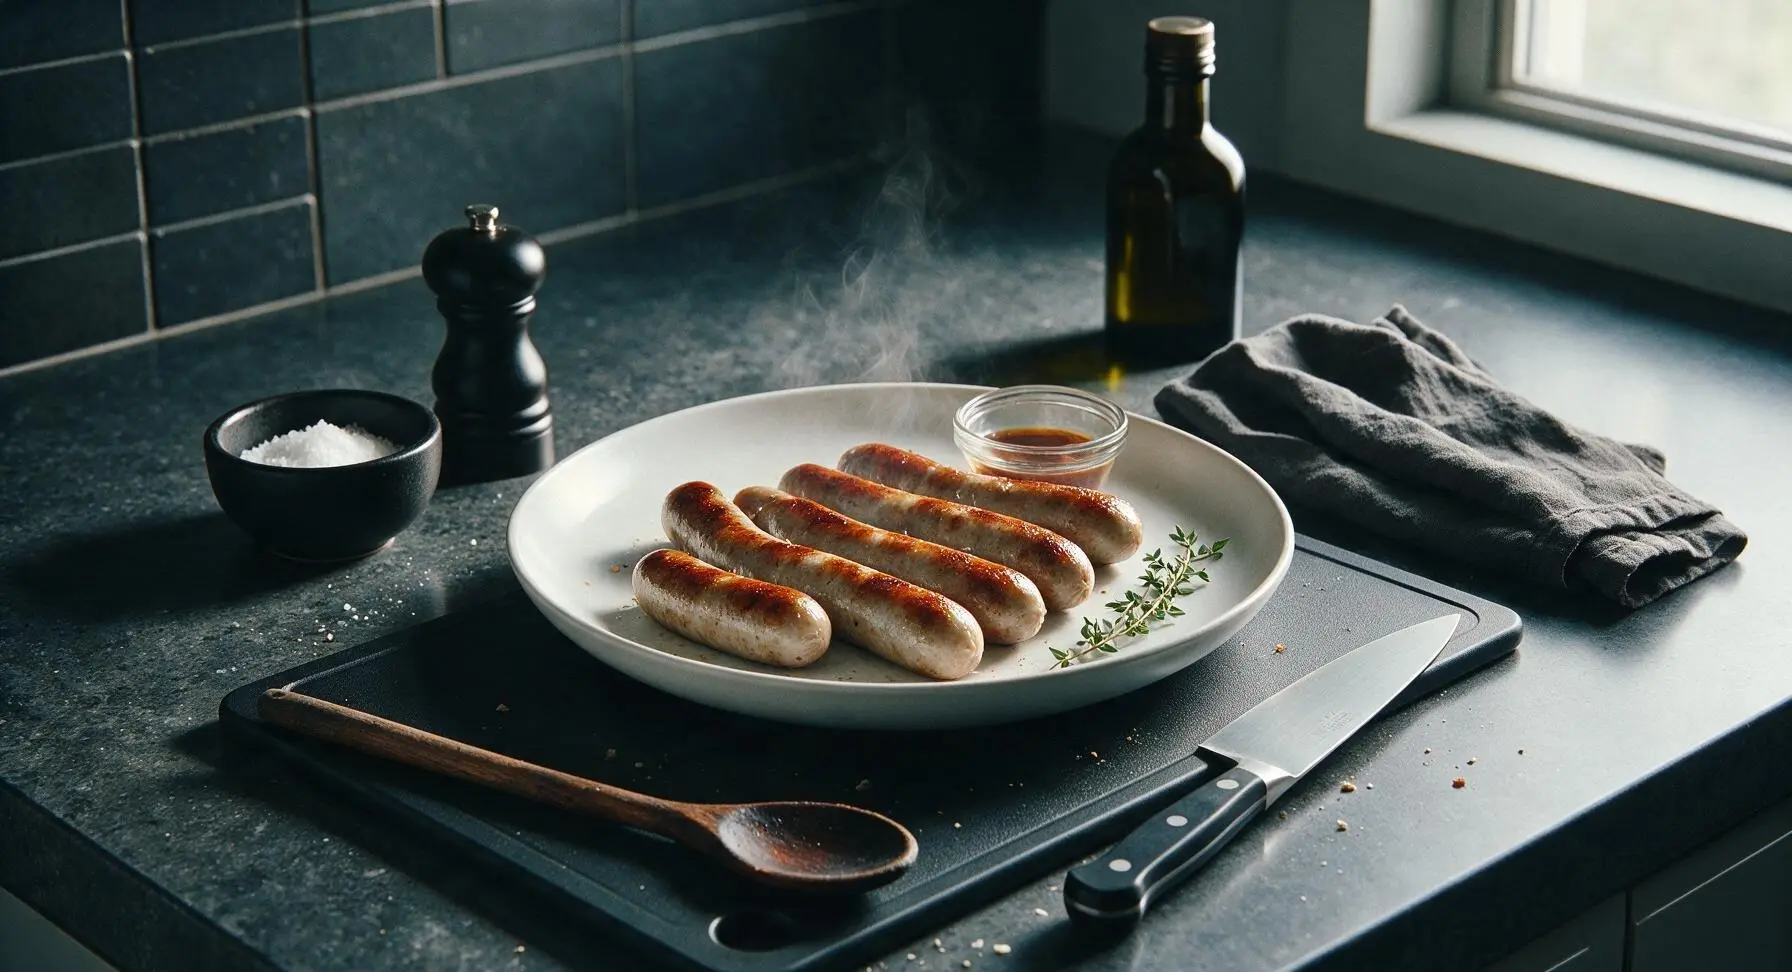
pan cooked hot dogs

title 1
pan cooked hot dogs
⏱️ cook time 10 minutes
🍽️ servings 4
⚡ Difficulty easy

intro

Juicy, snappy pan-seared hot dogs with crisp golden edges, ready in 10 minutes for a no-fuss, satisfying weeknight meal the whole family loves.

Ingredients
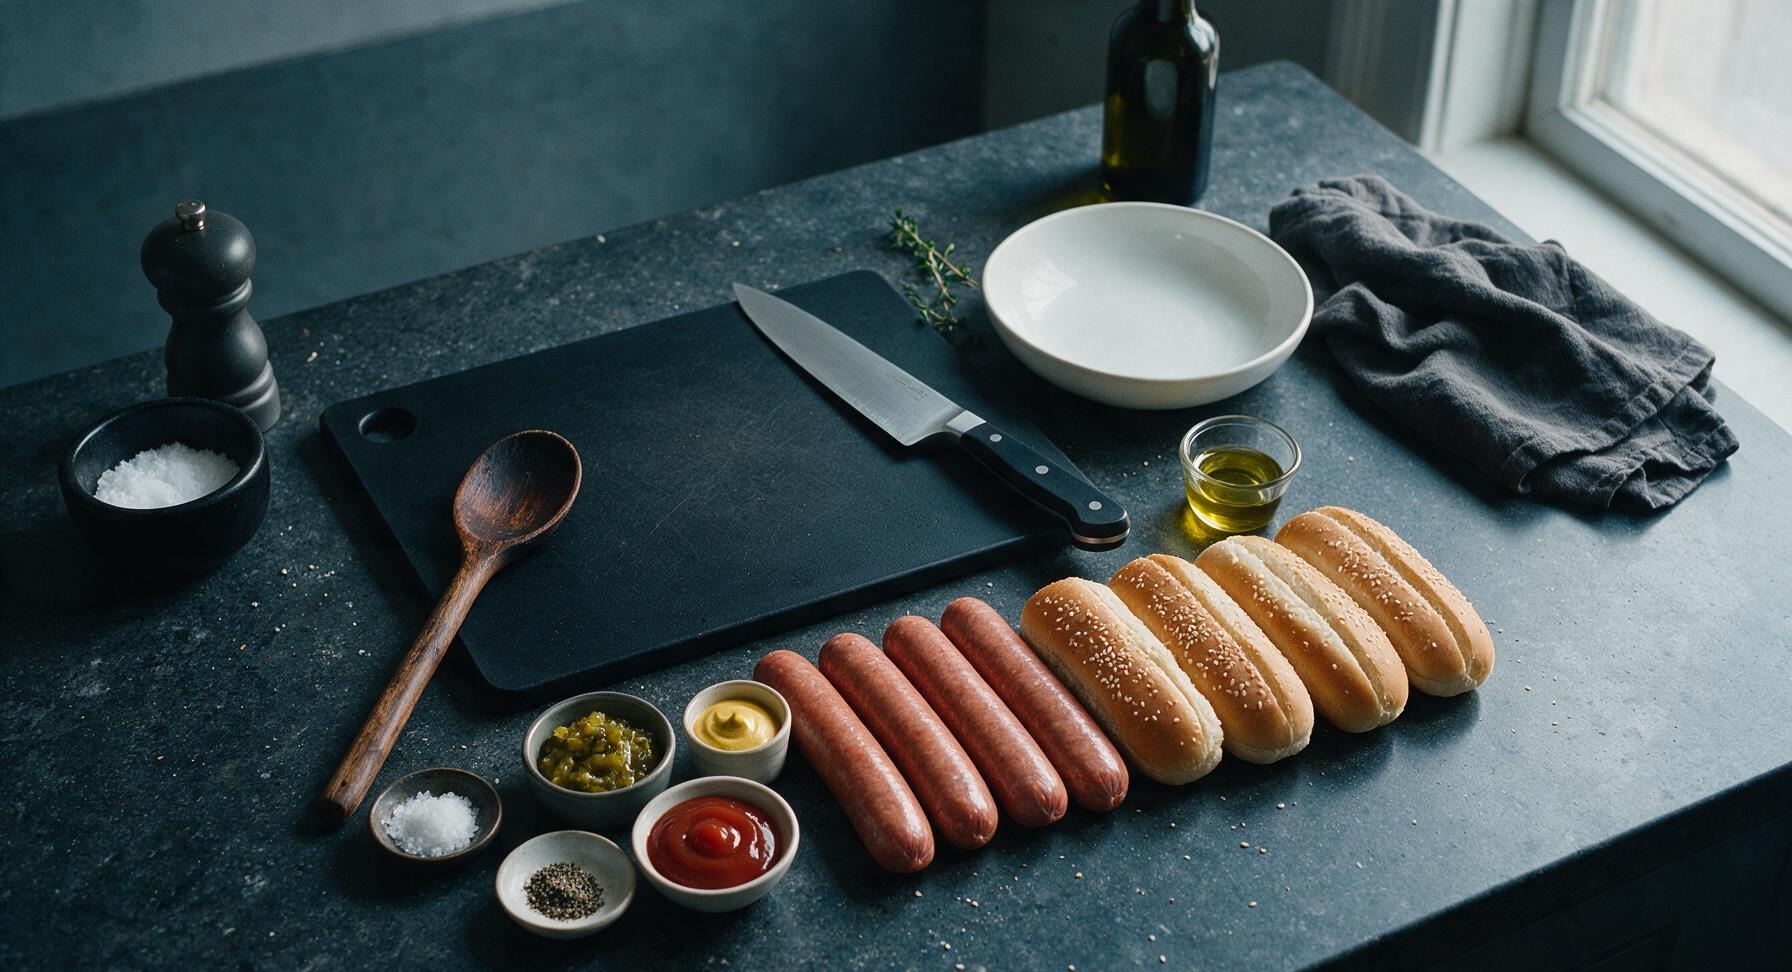
Natural-casing all-beef hot dogs 4 count (240g total, 60g each)
Split-top white sesame seed hot dog buns 4 count
Extra-virgin olive oil 1 tablespoon
Yellow mustard 2 tablespoons
Tomato ketchup 2 tablespoons
Sweet green pickle relish 2 tablespoons
Coarse kosher salt 1/4 teaspoon
Freshly ground black pepper 1/8 teaspoon

Steps

1

Score and prep hot dogs

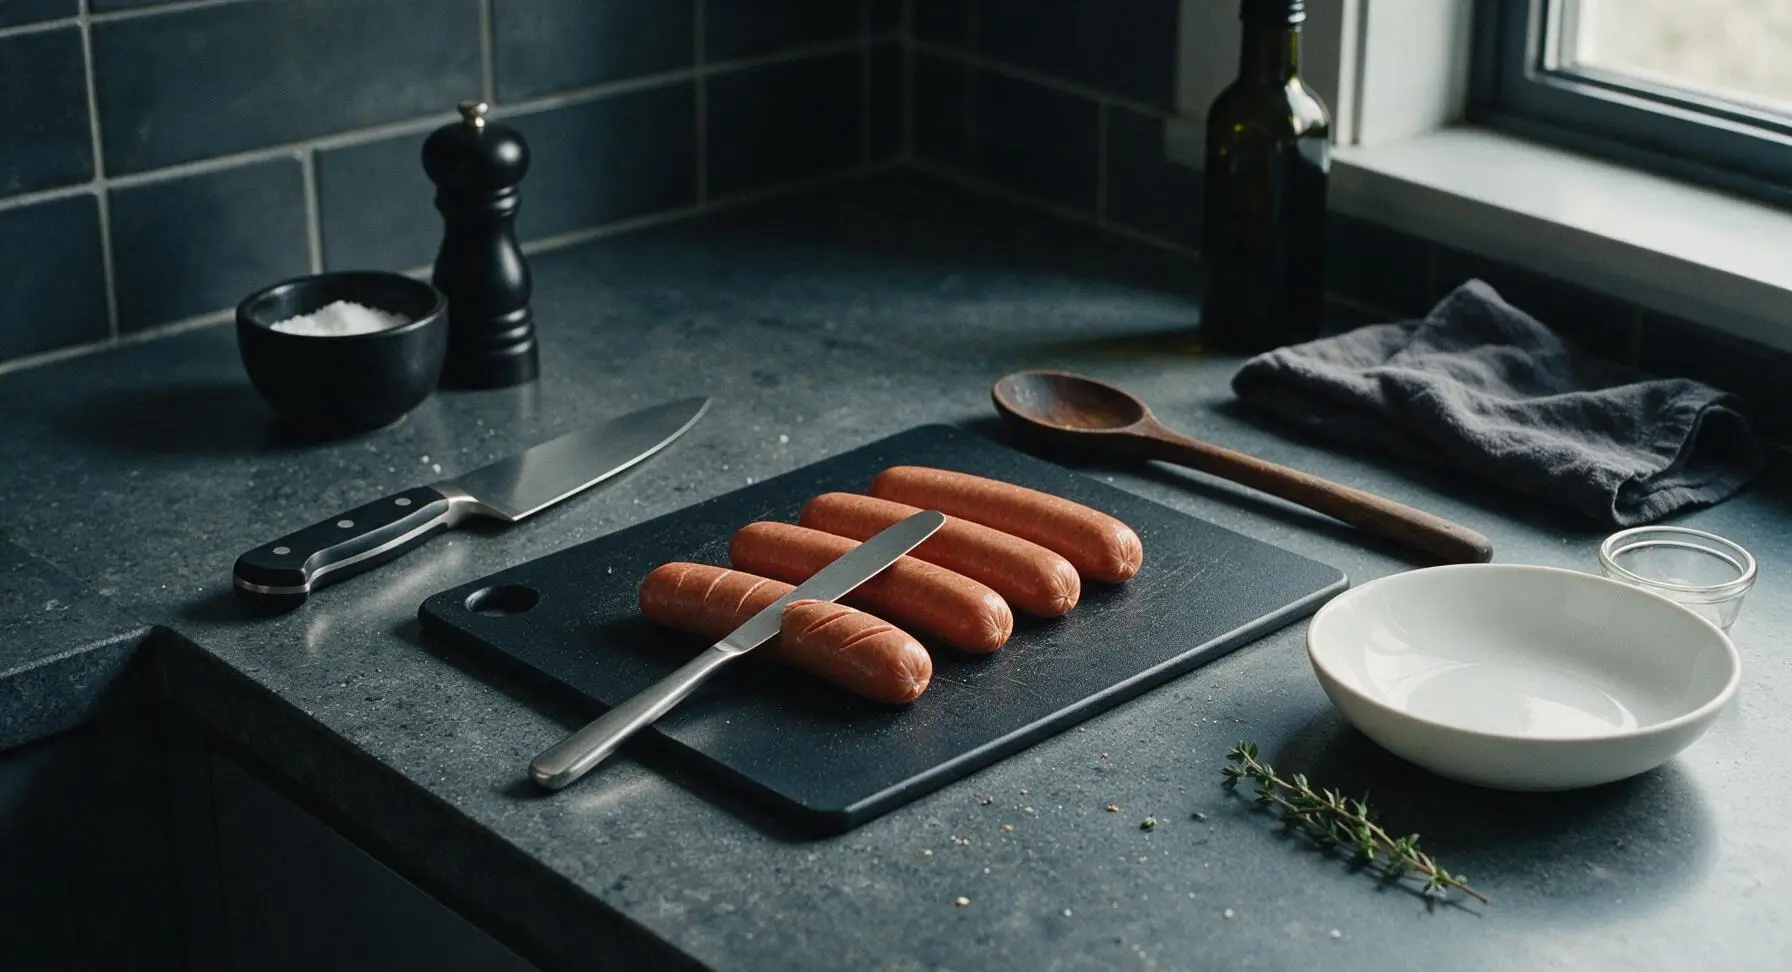
Remove the 4 natural-casing all-beef hot dogs from their packaging (discard packaging off camera), pat completely dry with a corner of the pale blue cotton towel to remove excess surface moisture (this ensures a crisp, snappy sear instead of steaming). Use the stainless steel butter knife to make 3 shallow, diagonal 1/4-inch deep scores across each hot dog, spaced 1 inch apart. This prevents the casings from bursting while cooking and creates crisp, caramelized edges. Do not cut all the way through the hot dogs.
Step 1
step1:Score and prep hot dogs
2

Preheat the skillet

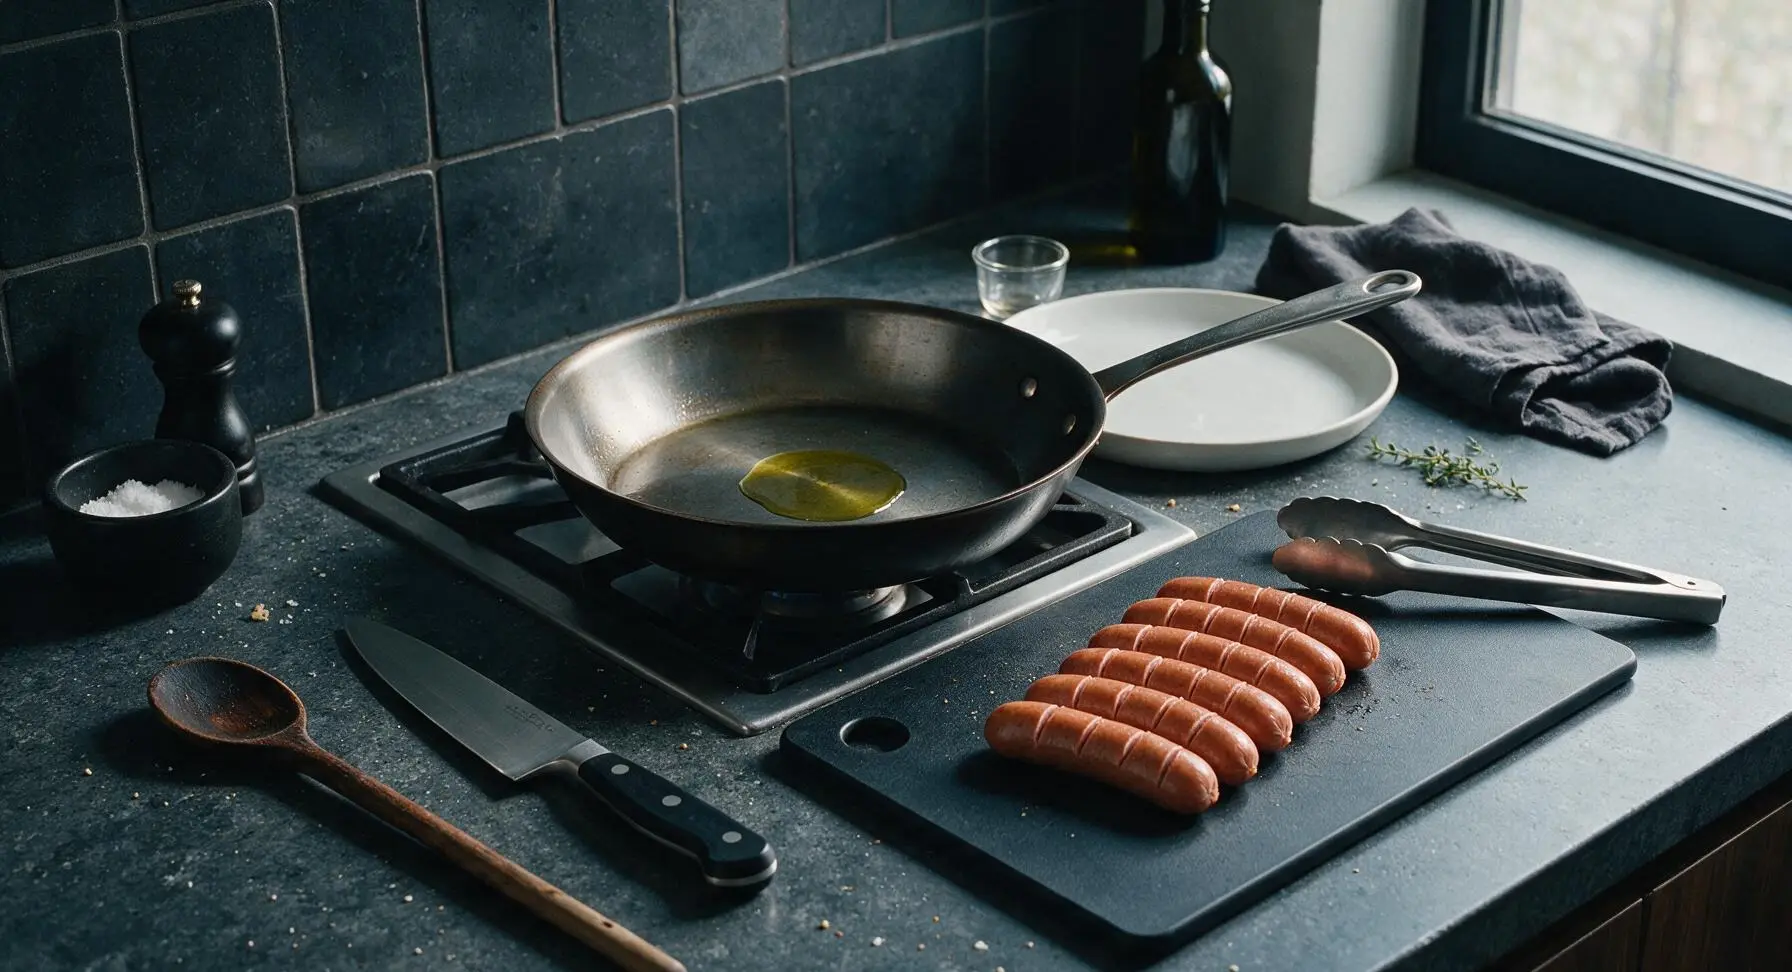
Place the 12-inch carbon steel skillet on the center stovetop burner, turn heat to medium, and add 1 tablespoon of olive oil. Heat the oil for 2 minutes, until it shimmers slightly and moves easily across the pan surface when tilted. Do not let the oil smoke, as this will burn the hot dog exterior before the interior warms through.
Step 2
step2:Preheat the skillet
3

Sear first hot dog side

Use the stainless steel tongs to carefully place the scored hot dogs in the preheated skillet in a single layer, leaving 1/2 inch of space between each. Do not overcrowd the pan. Cook for 3 minutes on the first side, until the downward-facing side develops deep golden, slightly blistered crisp edges.
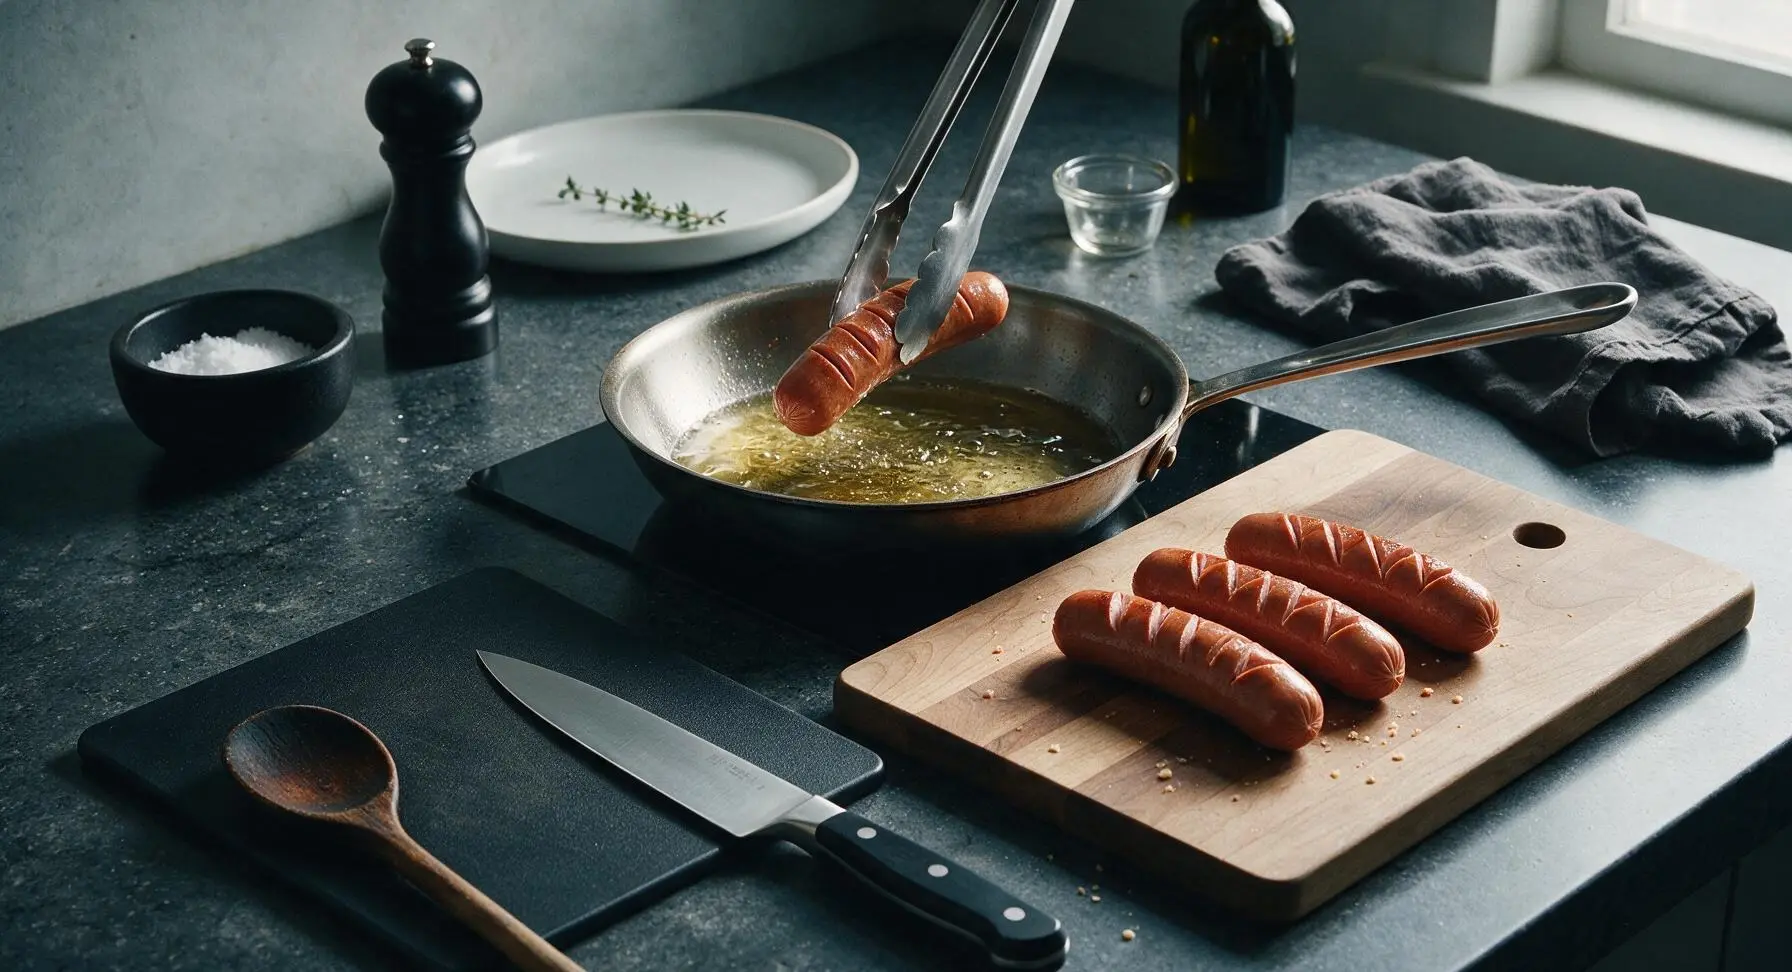
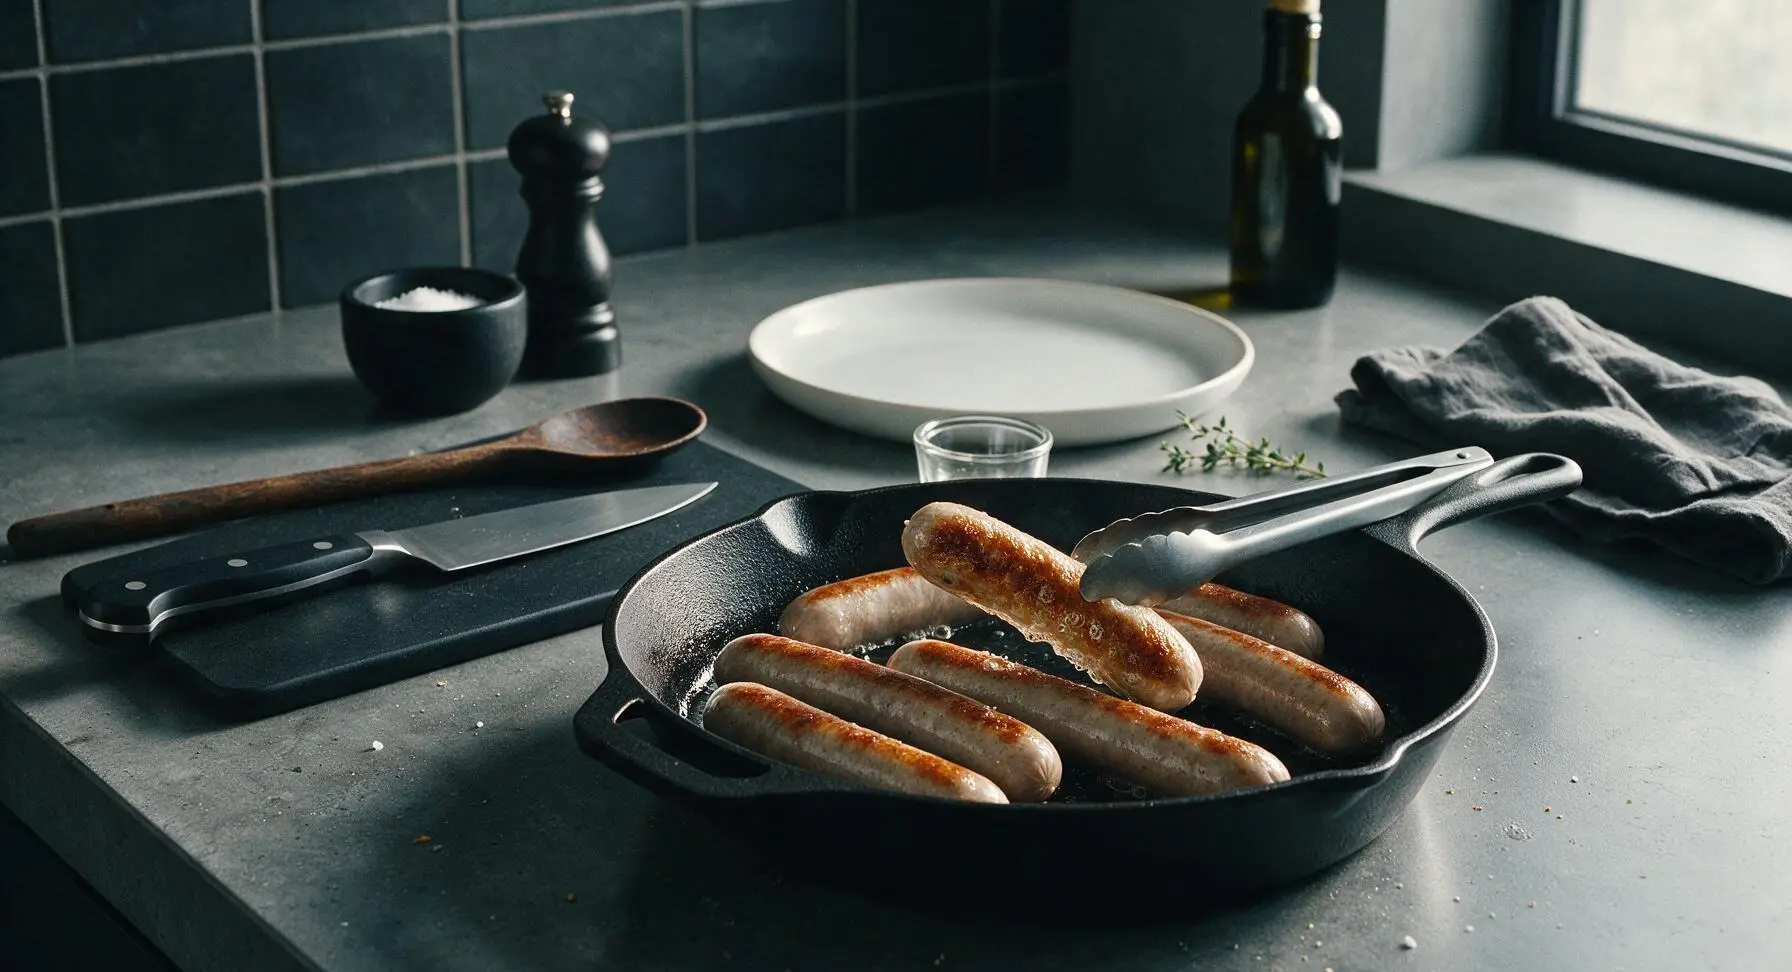
Step 3
step3:Sear first hot dog side
Step 3
step3:Sear first hot dog side
4

Rotate for even cooking

Use the tongs to rotate each hot dog a quarter turn every 2 minutes, cooking for a total of 7-8 minutes total cook time for the hot dogs, until all sides are golden blistered, the scores have opened slightly to create crispy ridges, and the internal temperature reaches 160°F (71°C) on an instant-read thermometer. Adjust heat to medium-low if the hot dogs start to char too quickly.
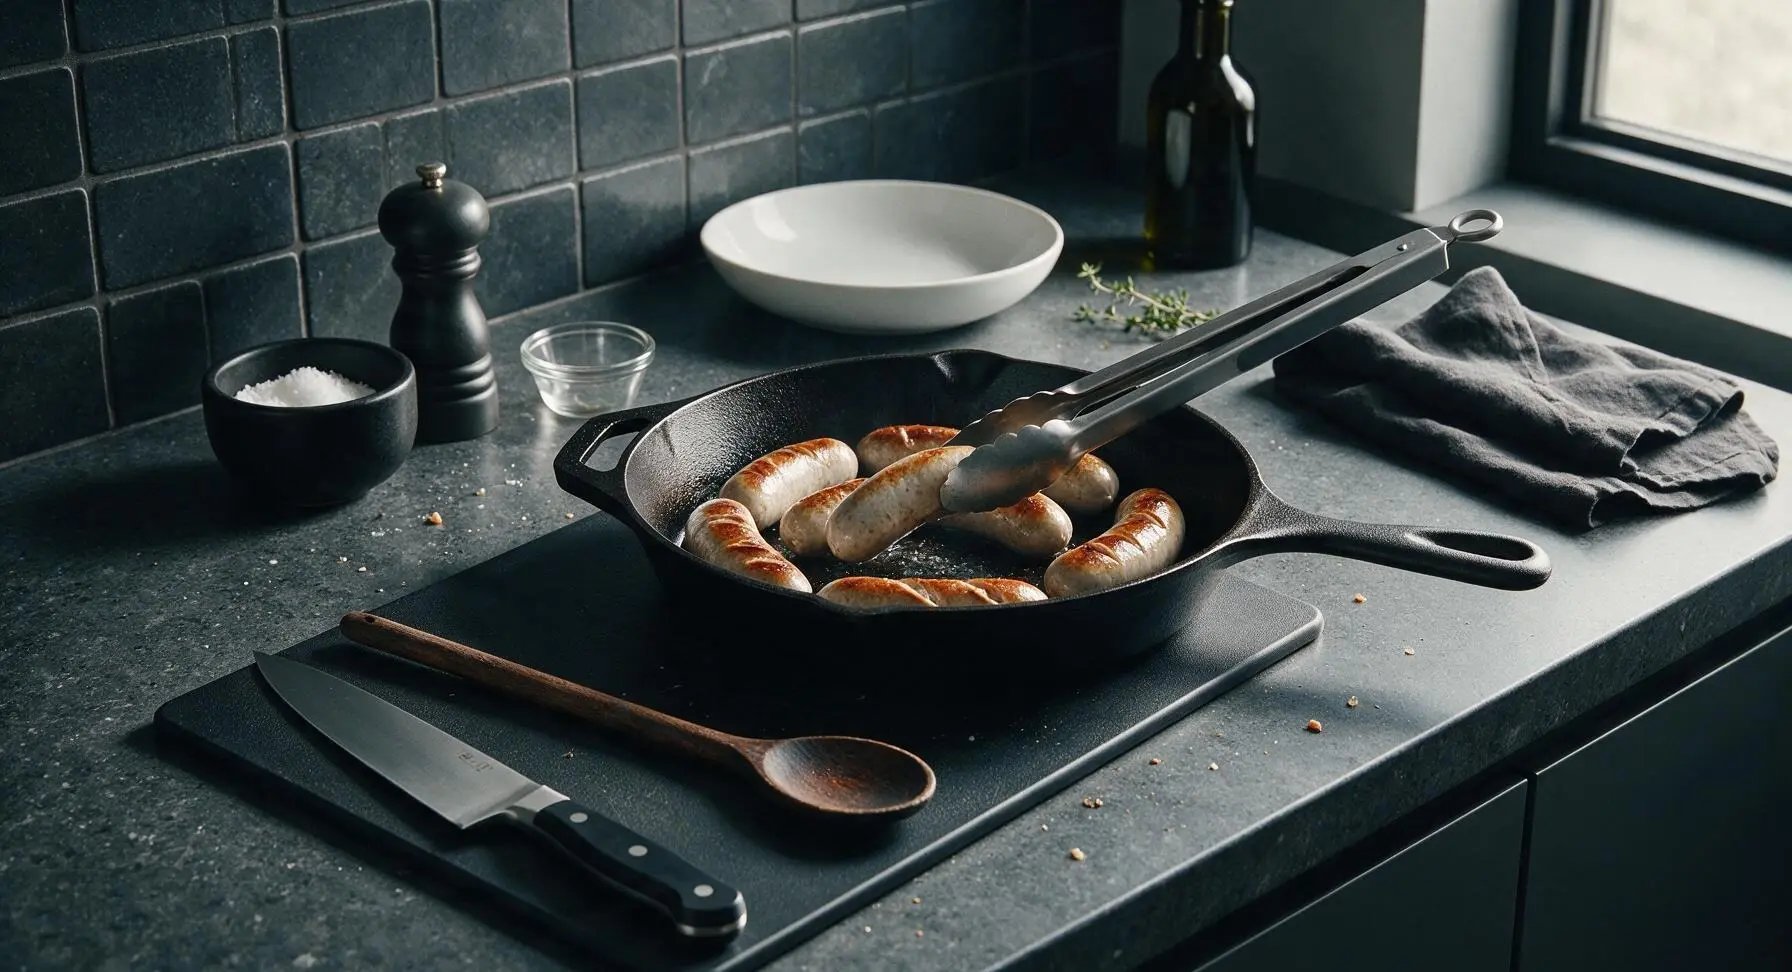
Step 4
step4:Rotate for even cooking
5

Toast the hot dog buns

Once the hot dogs are fully cooked, use tongs to move them to the inner edge of the skillet, leaning them against the pan side to stay warm. Place the split cut sides of the 4 sesame seed hot dog buns face-down in the remaining oil and rendered hot dog fat in the center of the skillet. Toast for 45-60 seconds, until the cut surface is light golden and slightly crisp, taking care not to burn the bread.
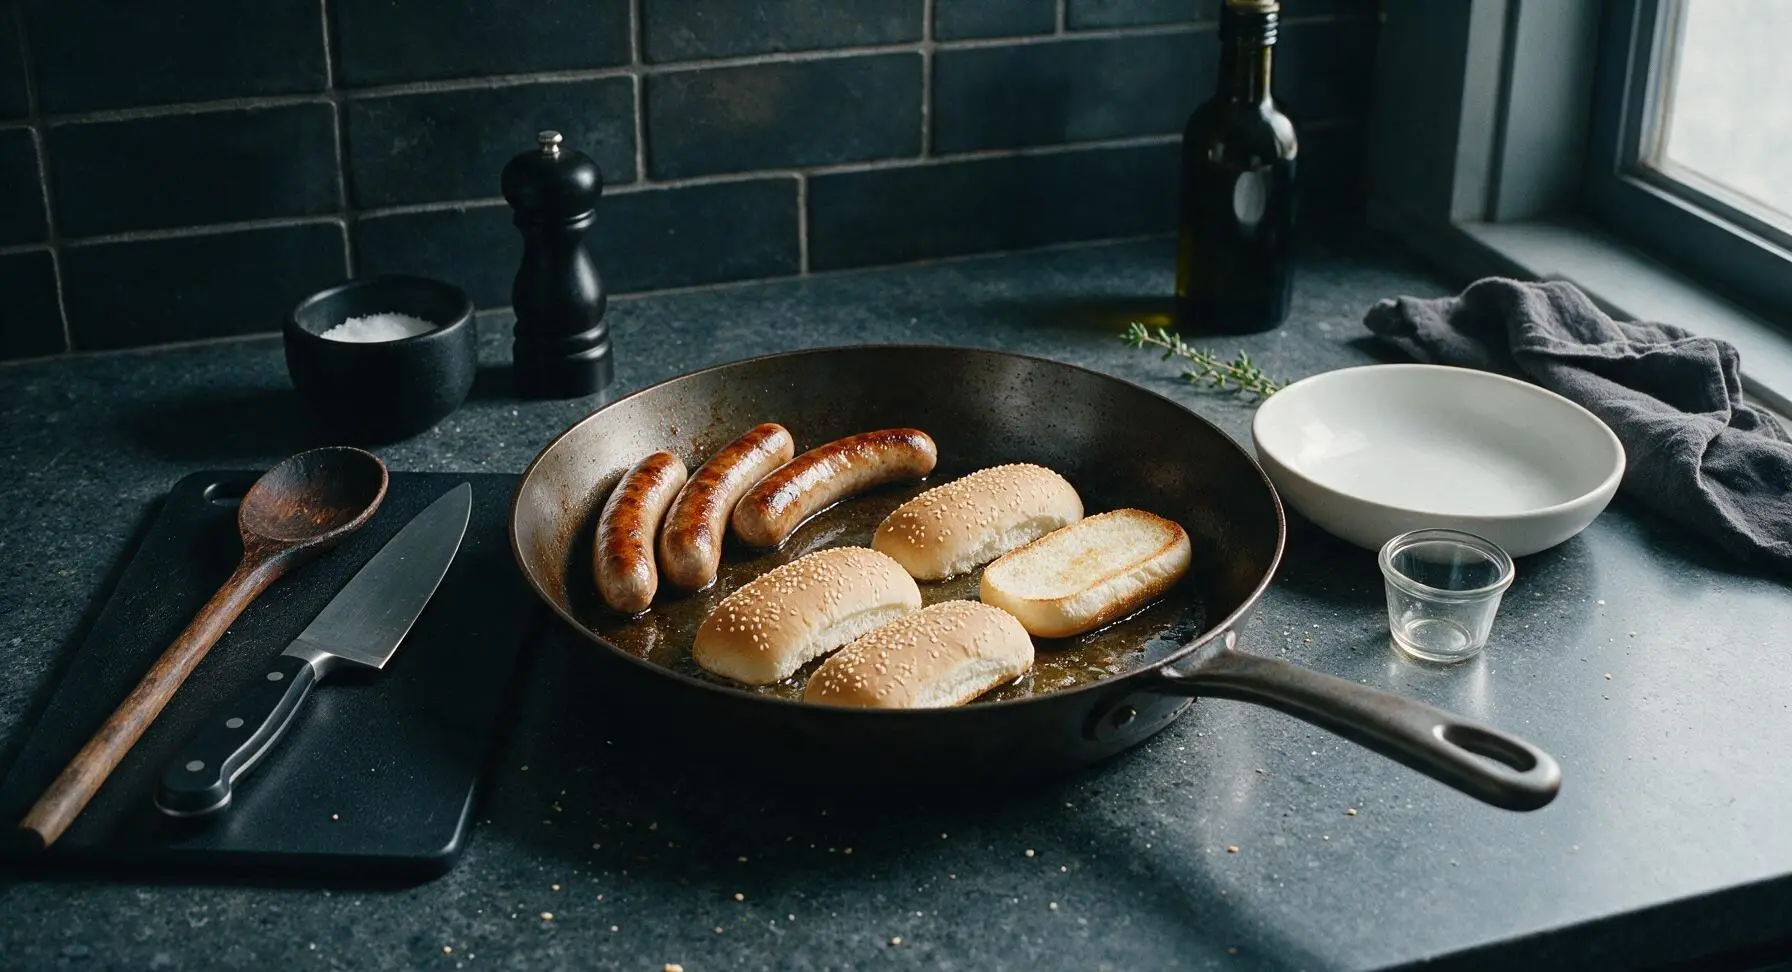
Step 5
step5:Toast the hot dog buns
6

Assemble on platter

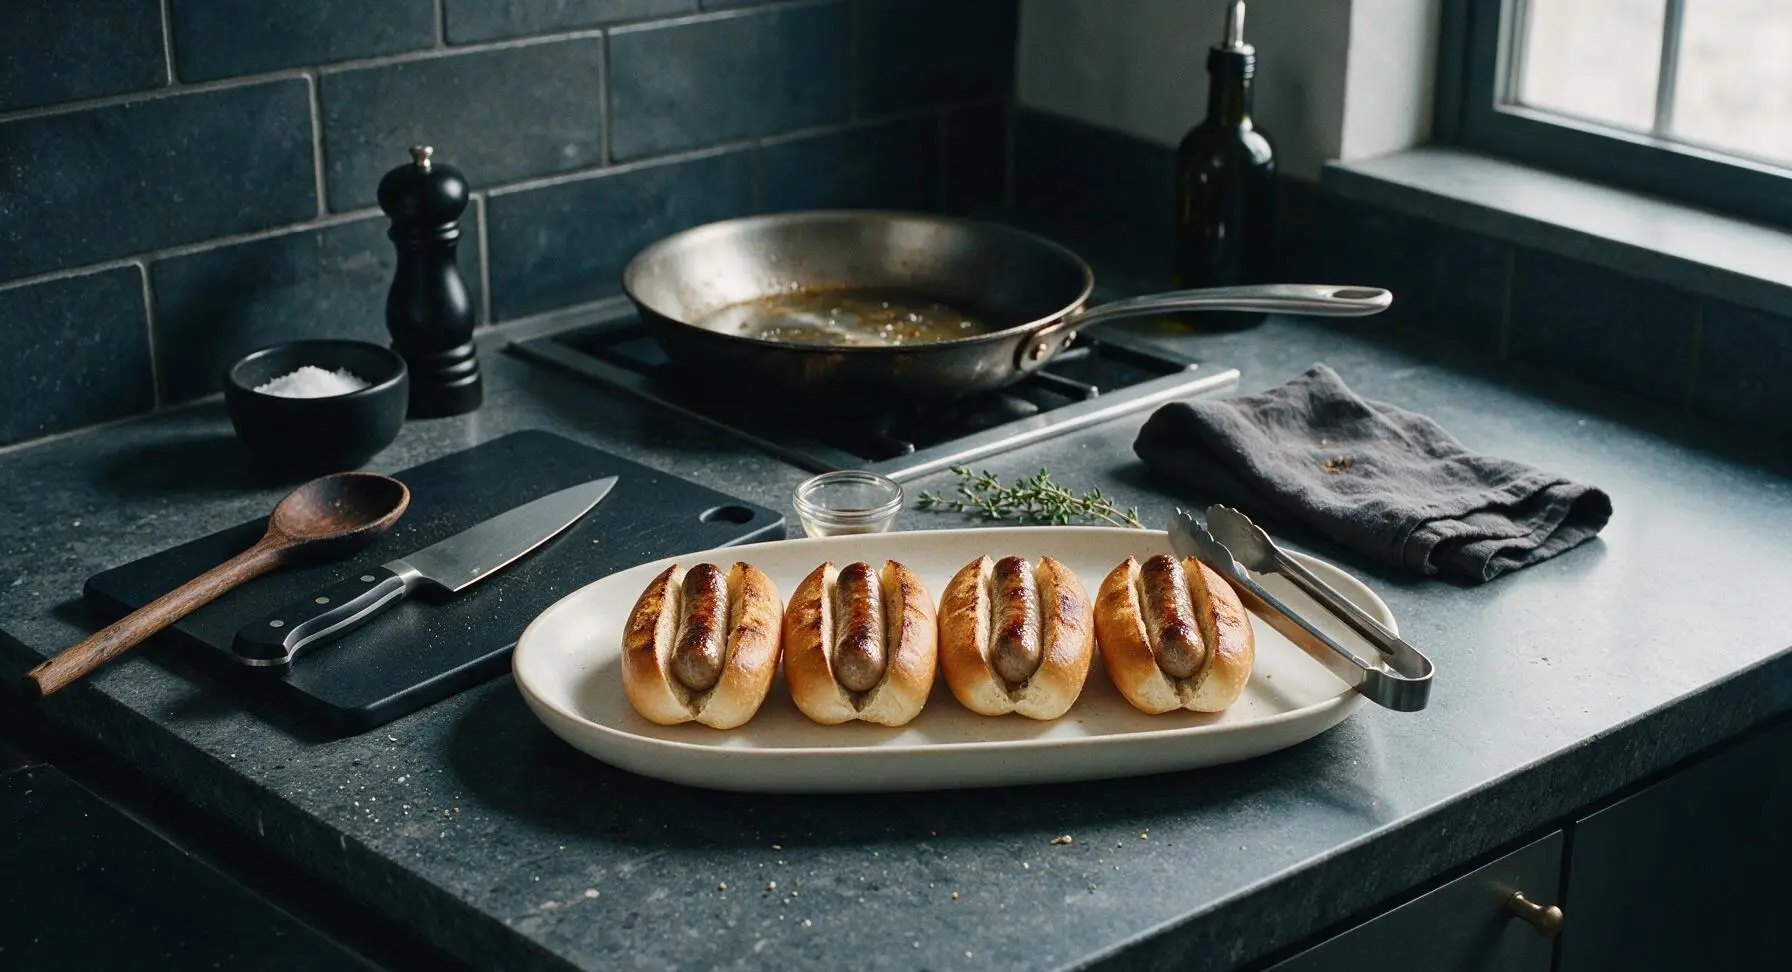
Use tongs to lift the toasted buns from the skillet, placing each split-side up on the matte cream white oblong ceramic serving platter. Nestle one cooked hot dog into each toasted bun, arranging them in a neat, evenly spaced row. Do not add toppings yet, as adding wet condiments too early will make the crisp toasted buns soggy.
Step 6
step6:Assemble on platter
7

Add toppings and serve

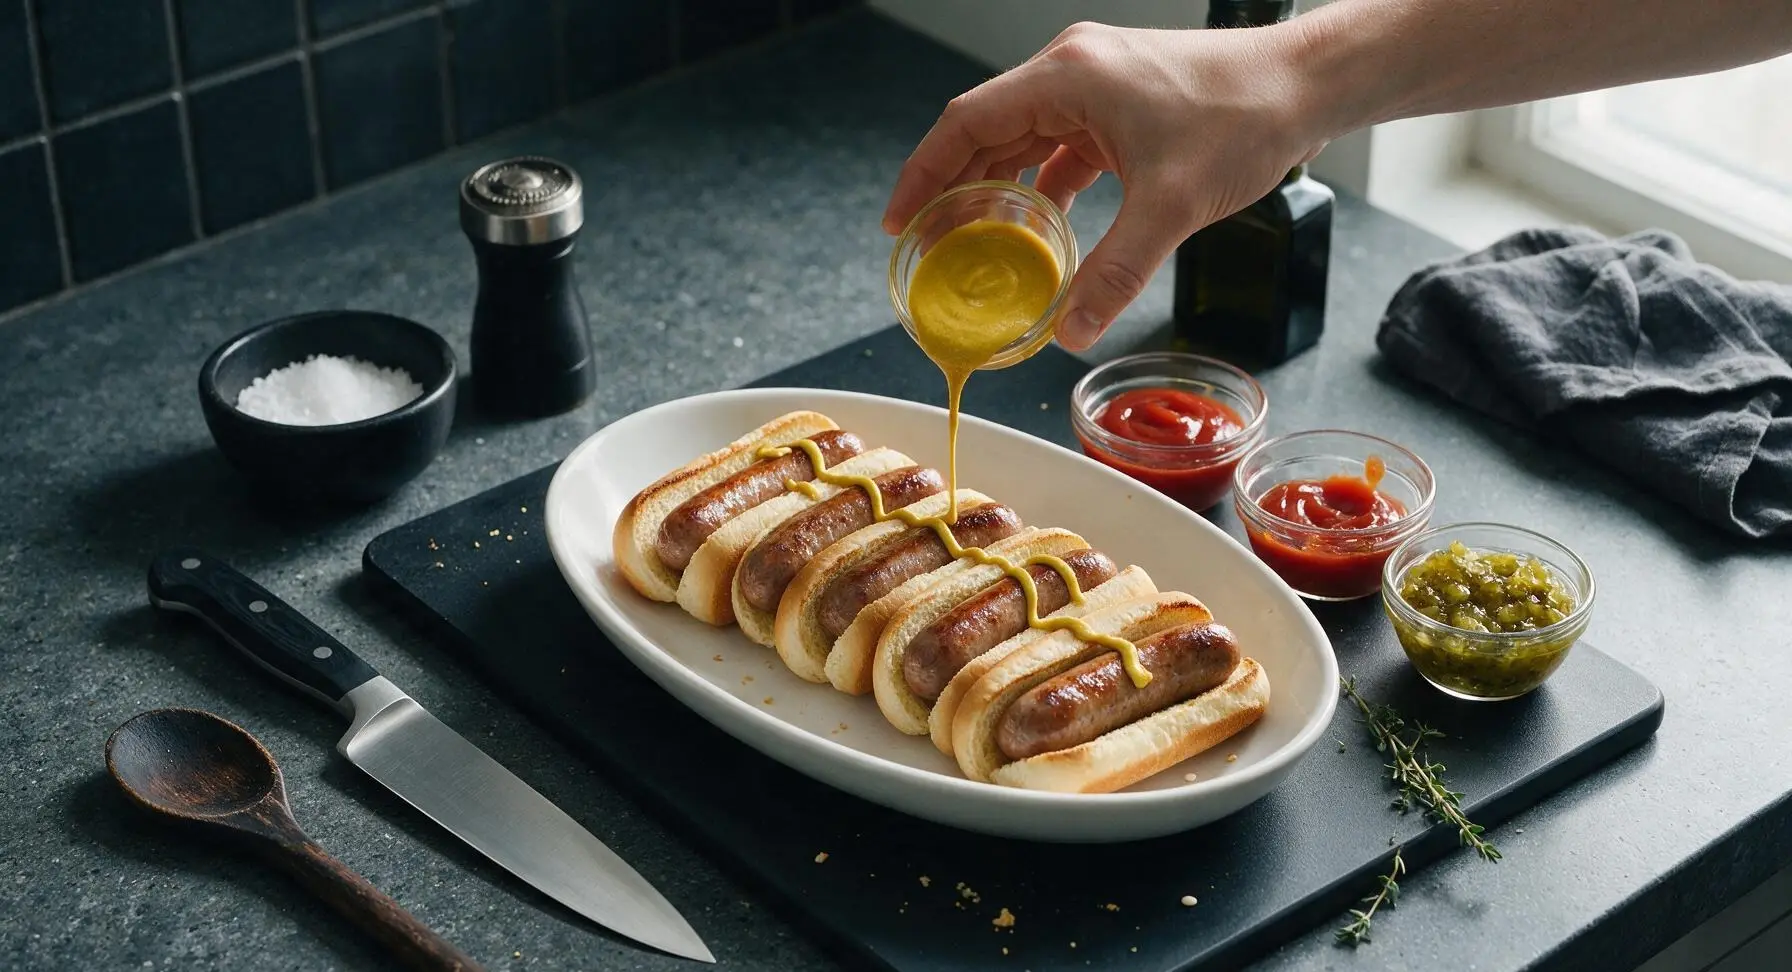
Drizzle yellow mustard and ketchup in thin zig-zags across the hot dogs, top with a small spoonful of sweet green relish across each. Sprinkle with a tiny pinch of kosher salt and a light grind of black pepper if desired. Serve immediately while hot, while the casings are snappy and the buns are warm and crisp.
Step 7
step7:Add toppings and serve

Tips

1.Always pat hot dogs completely dry with a towel before searing: excess surface moisture will cause hot oil to splatter and make the hot dogs steam instead of developing the coveted crisp, snappy, blistered exterior that makes pan-cooked hot dogs better than boiled ones.
2.Use shallow diagonal scores instead of pricking hot dogs all over with a fork: the shallow cuts prevent casings from bursting during cooking while trapping flavorful juices inside, whereas deep fork pricks let all the fat and moisture leak into the pan, leading to dry, bland hot dogs.
3.Toast buns directly in the same pan after cooking the hot dogs: the rendered hot dog fat and residual oil adds rich, savory flavor to the buns that plain butter toasting can’t match, and the crisp toasted surface creates a barrier that prevents soggy buns from wet condiment moisture.


✨ You May Also Like

Main Course
🍜 United Kingdom

A showstopping classic of tender seared beef, savory mushroom duxelles, and crisp prosciutto wrapped in flaky golden puff pastry, baked to juicy perfection.

⏱️ 2 hours 1Main Course ★ 4.7
Main Course
🍜 India

Tender charred marinated chicken simmered in a rich, spiced creamy tomato sauce, this iconic Anglo-Indian curry pairs perfectly with basmati rice or warm naan.

⏱️ 50 minuteMain Course ★ 4.6
Main Course
🍜 Thailand

Classic tangy, sweet, and savory Thai stir-fried rice noodles with shrimp, tofu, and crunchy garnishes, balancing all five core Thai flavor profiles.

⏱️ 30 minuteMain Course ★ 4.5
Main Course
🍜 United Kingdom

Crispy golden beer-battered cod and fluffy double-fried chips, served with tangy tartar sauce and malt vinegar: the timeless, beloved British pub comfort classic.

⏱️ 45 minuteMain Course ★ 4.7
Main Course
🍜 Mexico

Smoky, chile-marinated pork tacos with caramelized pineapple, fresh cilantro, and lime: a beloved classic Mexican street food perfect for casual summer gatherings.

⏱️ 1 hour 45Main Course ★ 4.8
Main Course
🍜 United States

Crunchy Fritos corn chips layered with savory beef chili and melted cheddar, topped with cool, zesty fixings for a beloved, cozy Tex-Mex comfort food.

⏱️ 35 minuteMain Course ★ 4.8

pan cooked hot dogs:Frequently Asked Questions

1.Why use natural casing hot dogs instead of skinless ones for this pan-cooked recipe? ▾
Natural casing hot dogs deliver that iconic, satisfying ‘snap’ when you bite into them that skinless versions can’t match, and they hold in juiciness far better during pan searing. The casing crisps up to create perfect golden, textured edges without splitting easily when cooked over medium heat, making them ideal for this quick method.
2.Do I need to boil natural casing hot dogs before pan-cooking them? ▾
No, you never need to boil them first! Pre-boiling leaches out that rich, beefy flavor and makes the casing rubbery instead of snappy. A slow pan cook with a touch of oil is all you need to heat the dogs evenly, crisp the casing, and lock in all that juicy, savory flavor without extra, unnecessary steps.
3.What heat setting should I use to keep the casings from splitting while cooking? ▾
Stick to consistent medium heat the whole time! High heat shocks the natural casing, making it burst before the inside is fully heated, and can burn the outside before you get that nice golden crisp. Medium heat lets fat render slowly, heats the dogs evenly, and gives you perfect snappy, non-split casings every time.
4.Can I use a different type of oil instead of extra-virgin olive oil? ▾
Absolutely! Extra-virgin olive oil adds a nice subtle fruity note, but you can swap it for neutral oils like canola, avocado, or even a tiny bit of melted unsalted butter if you prefer. Just avoid heavily flavored oils like toasted sesame oil, which will overpower the classic savory hot dog flavor you want for this meal.
5.How do I get crisp, golden edges on the hot dogs without burning them? ▾
First, pat the hot dogs dry with a paper towel before adding them to the pan—excess surface moisture will steam them instead of searing. Roll them every 1 to 2 minutes as they cook so every side gets even contact with the hot oil, and cook 6 to 8 minutes total until you see deep golden, slightly blistered edges all around.
6.Should I score or slice slits in the hot dogs before pan-cooking them? ▾
Skip the scoring entirely for natural casing dogs! Cutting slits into the casing lets all the juicy, rendered fat leak out into the pan as they cook, leaving you with a dry, less snappy dog. The natural casing holds in all that moisture over medium heat, and you’ll get a far better texture without any cuts.
7.What’s the best way to toast the split-top sesame seed buns for this recipe? ▾
Once your hot dogs are done cooking, set them aside on a plate and turn the pan heat to low. Place the split sides of the buns face-down in the leftover hot dog fat and oil in the pan, and toast for 30 to 45 seconds until they’re lightly golden, soft on the inside, with a crisp, flavorful cut edge.
8.Can I make these hot dogs ahead of time for meal prep or a party? ▾
These are best served fresh right out of the pan for the snappiest casing, but you can prep them up to 2 days ahead if needed. Cook them fully, let them cool completely, then store in an airtight container in the fridge. Reheat them in a dry pan over low heat for 2 to 3 minutes, rolling often, to crisp the casing back up.
9.My hot dogs keep curling in the pan as they cook—what am I doing wrong? ▾
Curling happens when one side of the hot dog heats faster than the other, usually because your pan is too hot, or the dogs went straight from the cold fridge into the pan. Let the hot dogs sit at room temp for 5 minutes before cooking, keep the heat at medium, and roll them frequently to keep them straight and evenly cooked.
10.Are the hot dogs safe to eat if the casing splits a little while cooking? ▾
A tiny split here and there is totally safe and won’t ruin your meal! It just means a little bit of the juicy fat rendered out, which is no big deal. If you notice frequent splitting across all your dogs, turn your heat down a touch for the next batch, since high heat is the most common cause of burst casings.
11.What other toppings work well besides yellow mustard and ketchup? ▾
Classic yellow mustard and ketchup are always a crowd-pleaser, but you can customize toppings to fit your taste! Try sweet relish, diced white onion, sauerkraut, sport peppers for a Chicago-style twist, chili and shredded cheese for a chili dog, or spicy mayo for a little kick—all pair perfectly with these snappy, beefy dogs.
12.Can I use turkey or plant-based natural casing hot dogs for this recipe? ▾
You absolutely can! Just adjust your cook time slightly, since turkey and plant-based dogs often have lower fat content than all-beef versions. Cook them over medium-low heat instead of medium, roll them frequently, and pull them once they’re heated through and golden on the outside to avoid drying them out or making the casing tough.
13.How do I know when the hot dogs are fully cooked and ready to serve? ▾
These are pre-cured, fully cooked hot dogs, so you’re just heating them through and crisping the casing, not cooking raw meat. They’re ready when they’re plump, have golden blistered edges all around, and reach an internal temperature of 140°F on an instant-read thermometer, which usually takes 6 to 8 minutes over medium heat.

Comments (5)

30 minutes ago

OMG, I’ve been grilling natural casing dogs for years and never thought to pan cook them! Total game changer. Got that perfect snappy bite every single time, no burnt outsides from grill flare ups. Made these for our Sunday family dinner and everyone went back for seconds. SO good, even my picky 8 year old ate two!

5 minutes ago

Right?! I made these for our neighborhood potluck last weekend and people were asking where I bought the fancy gourmet dogs! No one believed I just cooked them in a regular pan on my stovetop.

just now

Love hearing that! The pan method locks in that juicy snap so much better than people expect, and it’s perfect for days when you don’t feel like dragging the grill out. Thanks for giving the recipe a try!

yesterday

Super easy weeknight meal win! I paired these with air fryer tater tots and homemade chili for our weekly chili dog night. Only tiny misstep was I had the heat a touch too high on my first dog and the casing split a little, oops. Still tasted amazing though, I’ll definitely turn the burner down to medium like the recipe says next time!

20 hours ago

So glad these worked out for your chili dog night! Medium heat really is the sweet spot to avoid split casings—it’s low enough to let the fat render inside without blowing the casing, but hot enough to get that crispy golden outside. Hope your crew loved the tater tot side too!

just now

Dude, 10 minute cook time is exactly what I need between classes and evening study sessions. I used to boil hot dogs all the time because I thought it was the fastest method, but these taste 100x better. Meal prepped a pack to eat throughout the week with sauerkraut and spicy brown mustard, zero regrets.

1 week ago

My kids loved it! I’ve been searching for a way to make hot dogs that have that same ballpark snap without having to drive 45 minutes to the nearest MLB stadium. These hit the nail on the head! I set out a topping bar with relish, diced onions, shredded cheese, and chili and let the kids build their own, total hit.

5 days ago

The topping bar idea is genius! I’m stealing that for my son’s upcoming 7th birthday party, these dogs will be perfect for a crowd of rowdy kids running around the yard.

2 weeks ago

Total game changer! I grew up eating natural casing franks from the corner deli back in Brooklyn and thought I’d never get that same perfect snap after moving upstate. Grabbed a pack of the good franks from my local grocery store, cooked ‘em in my cast iron skillet per this recipe, and wow—tastes exactly like what I grew up with. No more sad boiled hot dogs in this house!

1 week ago

Fellow New York transplant here! I’ve been missing those corner deli dogs so bad since moving from Queens, I’m grabbing a pack of natural casing franks on my grocery run tomorrow. Quick question—do you use oil or butter in the cast iron for these?

6 days ago

Great question! A thin layer of neutral oil like canola or vegetable works best—butter can burn too quickly at the heat needed to crisp the casing properly. So stoked this recipe brought back those classic deli memories for you!



