
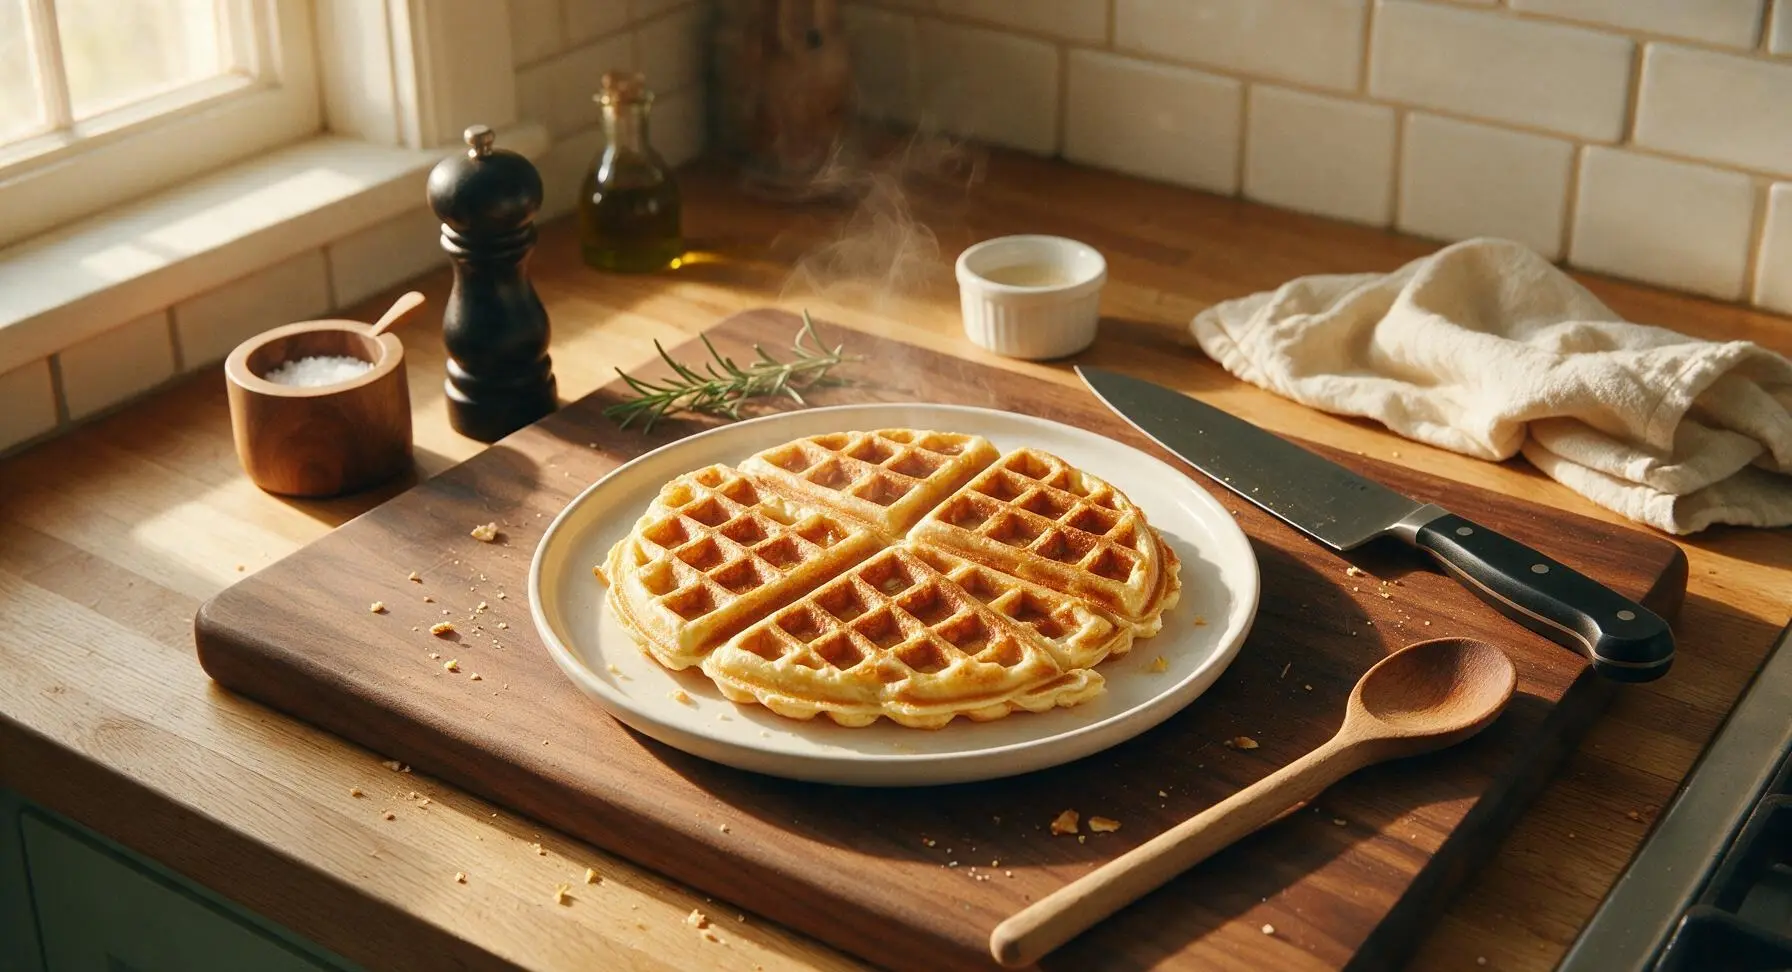
pan waffle

title 1
pan waffle
⏱️ cook time 15 minutes
🍽️ servings 4
⚡ Difficulty easy

intro

Crisp-edged, fluffy-centered pan waffles made without a specialty waffle iron—golden, buttery, and ready in minutes for cozy, no-fuss meals.

Ingredients
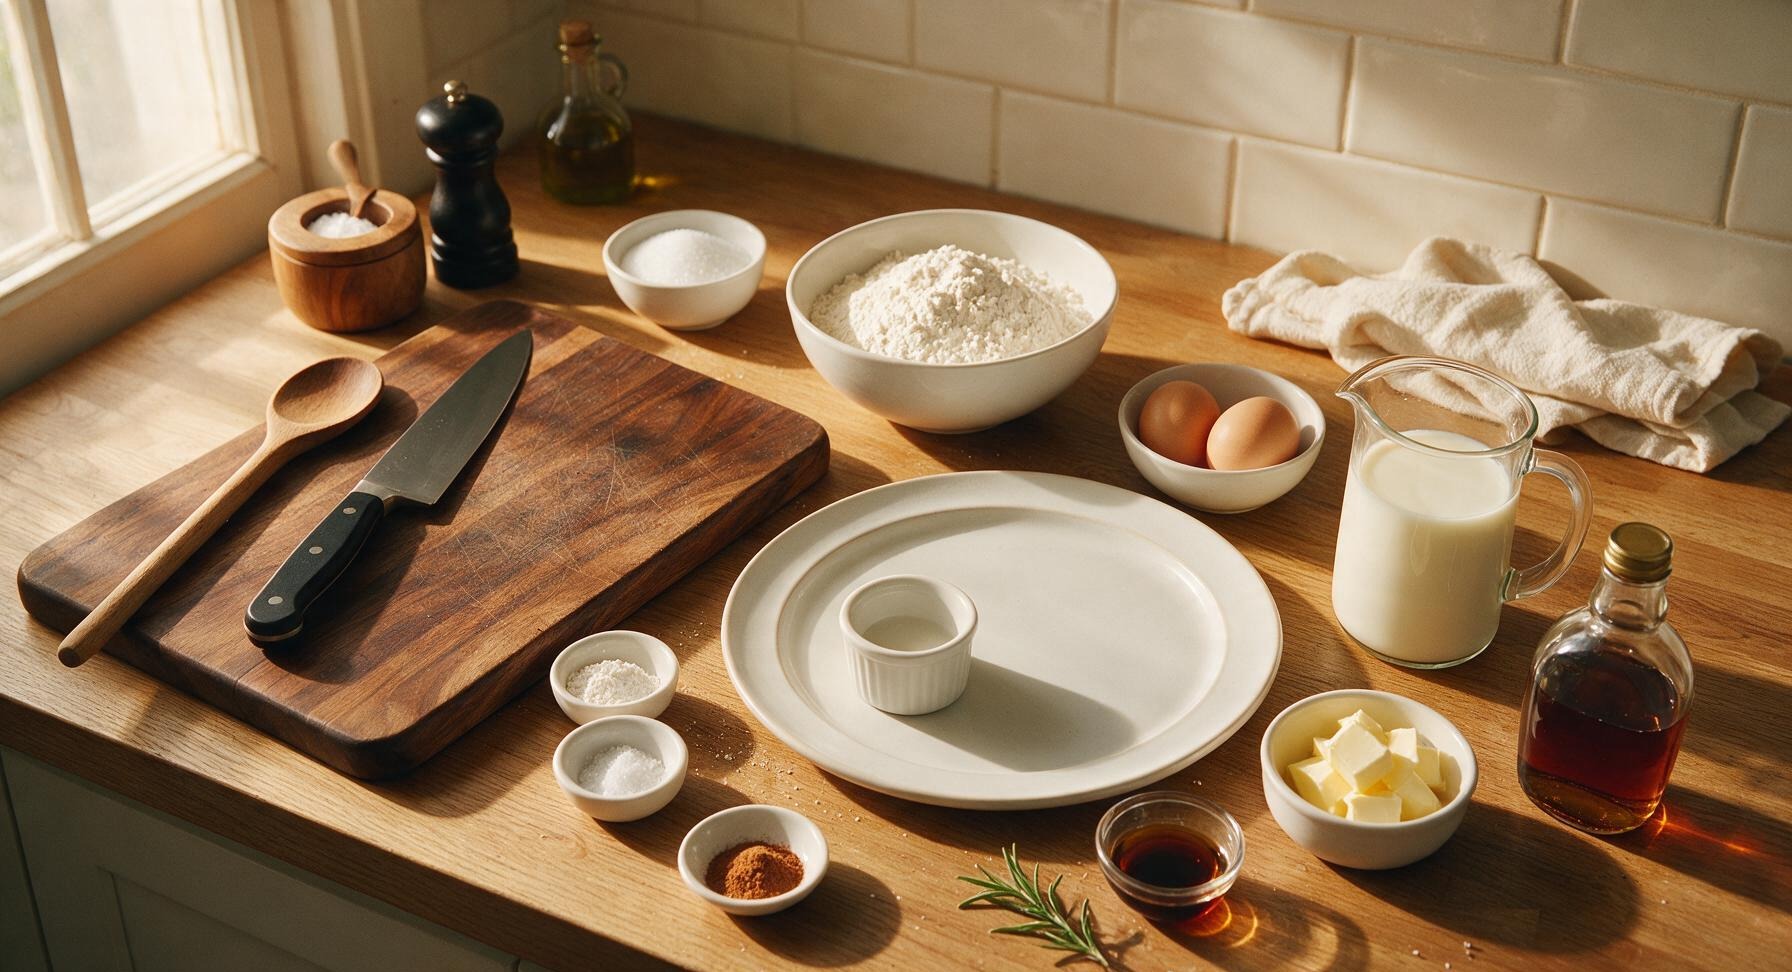
All-purpose flour 2 cups (240g)
Granulated sugar 2 tbsp
Baking powder 2 tsp
Ground cinnamon 1/2 tsp
Fine sea salt 1/4 tsp
Large eggs 2
Whole milk 1 3/4 cups (420ml)
Unsalted butter 3 tbsp (42g), plus 1 tsp for cooking
Pure vanilla extract 1 tsp
Maple syrup 1/2 cup, for serving

Steps

1

Whisk Dry Ingredients

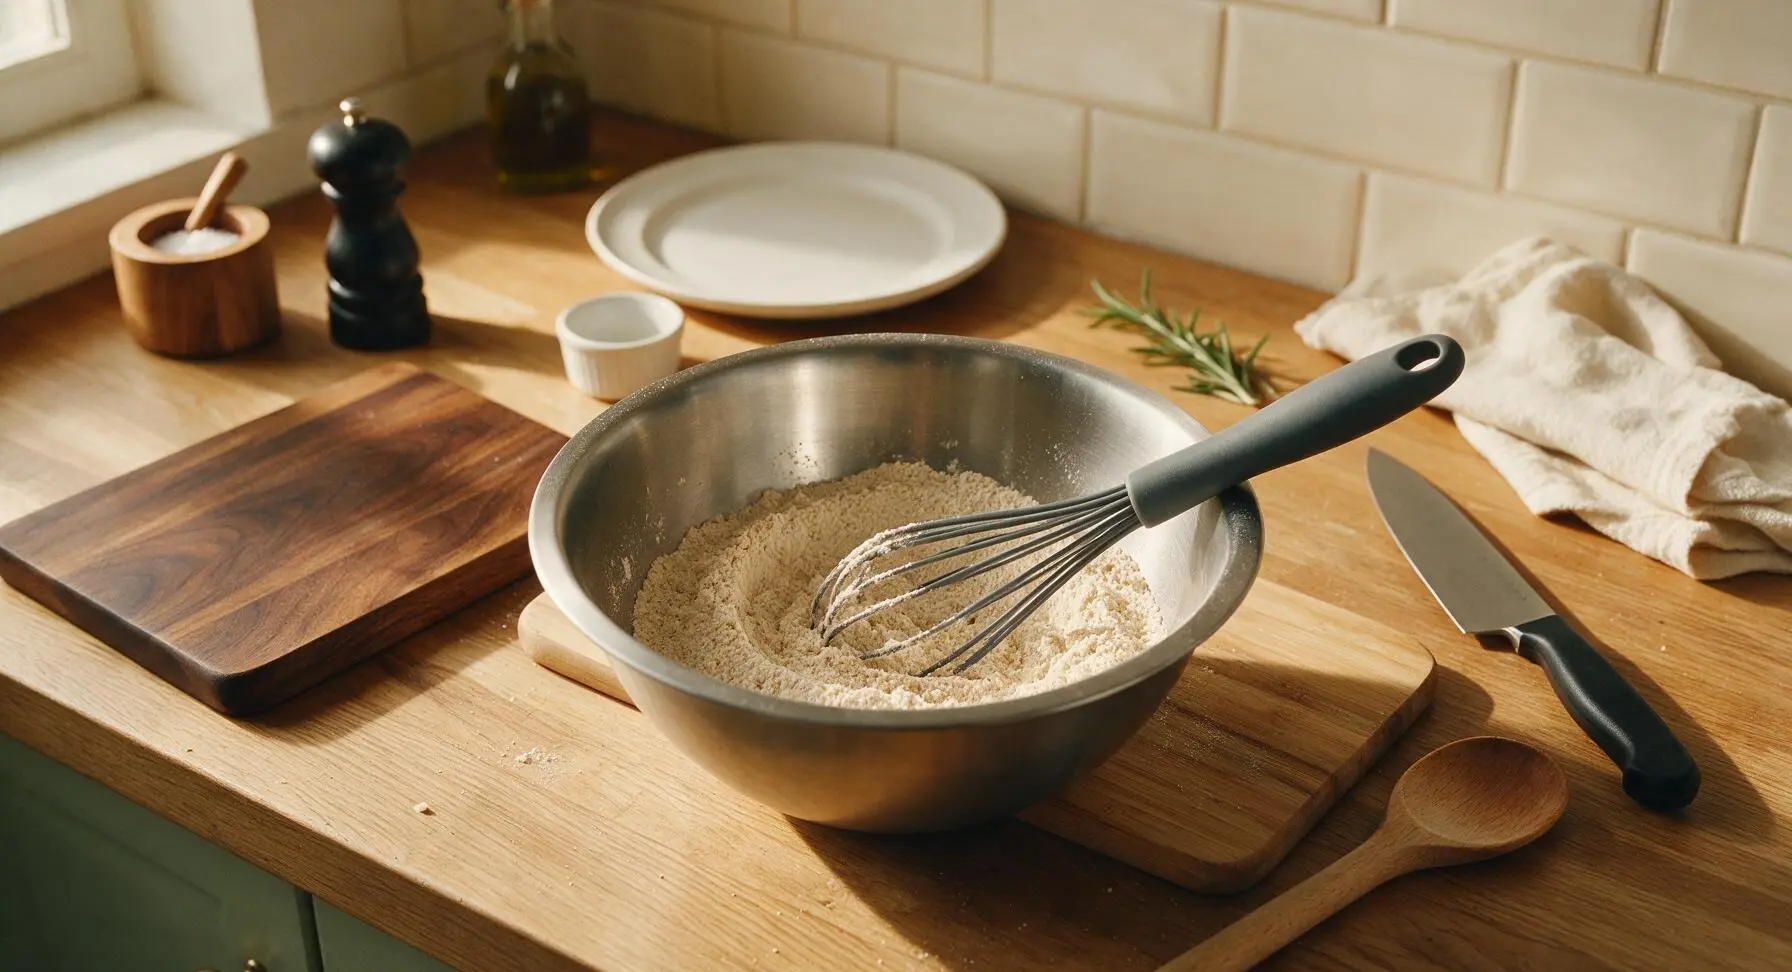
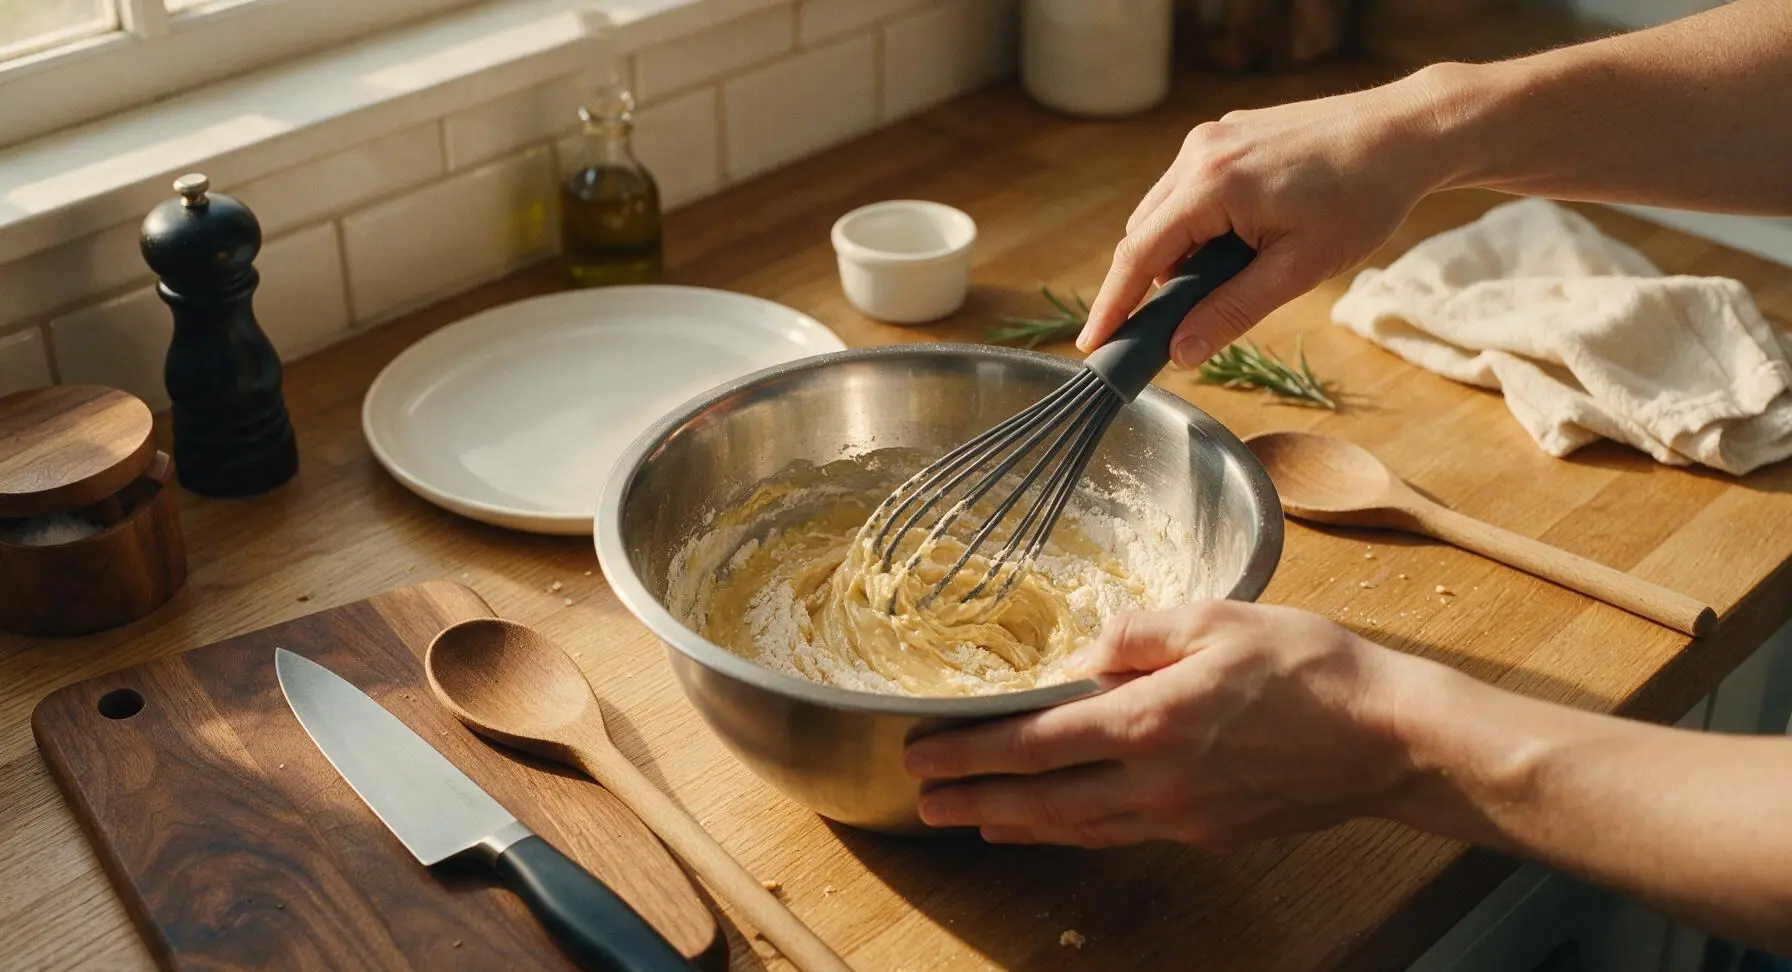
Add the 2 cups (240g) all-purpose flour, 2 tbsp granulated sugar, 2 tsp baking powder, 1/2 tsp ground cinnamon, and 1/4 tsp fine sea salt to the 10-inch matte stainless steel mixing bowl. Use the charcoal gray silicone whisk to stir for 30 seconds until all dry ingredients are evenly combined, with no visible clumps of baking powder or cinnamon. Evenly mixed dry ingredients ensure consistent rise and balanced flavor in every waffle.
Step 1
step1:Whisk Dry Ingredients
2

Combine Wet Ingredients

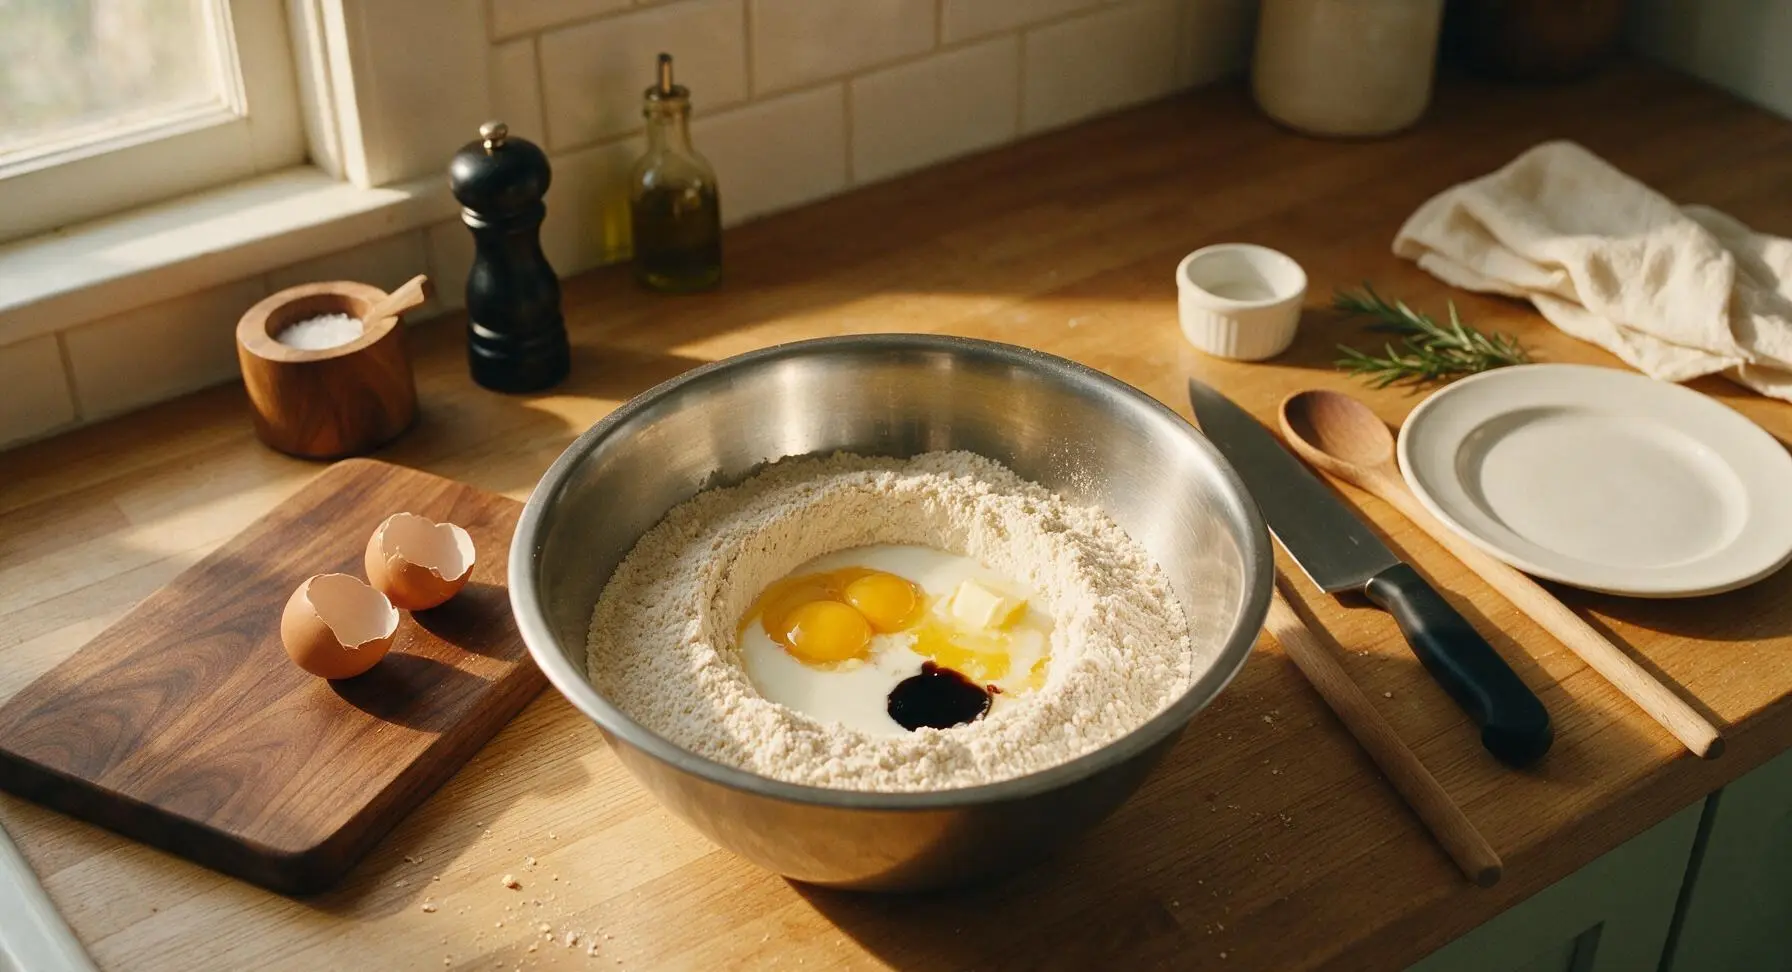
Make a 2-inch wide well in the center of the dry ingredient mixture. Crack the 2 large eggs into the well, then pour in the 1 3/4 cups (420ml) whole milk, 3 tbsp (42g) melted and cooled unsalted butter, and 1 tsp pure vanilla extract. Do not stir yet—creating a well for wet ingredients prevents loose flour from flying out of the bowl when mixing begins.
Step 2
step2:Combine Wet Ingredients
3

Mix Smooth Waffle Batter

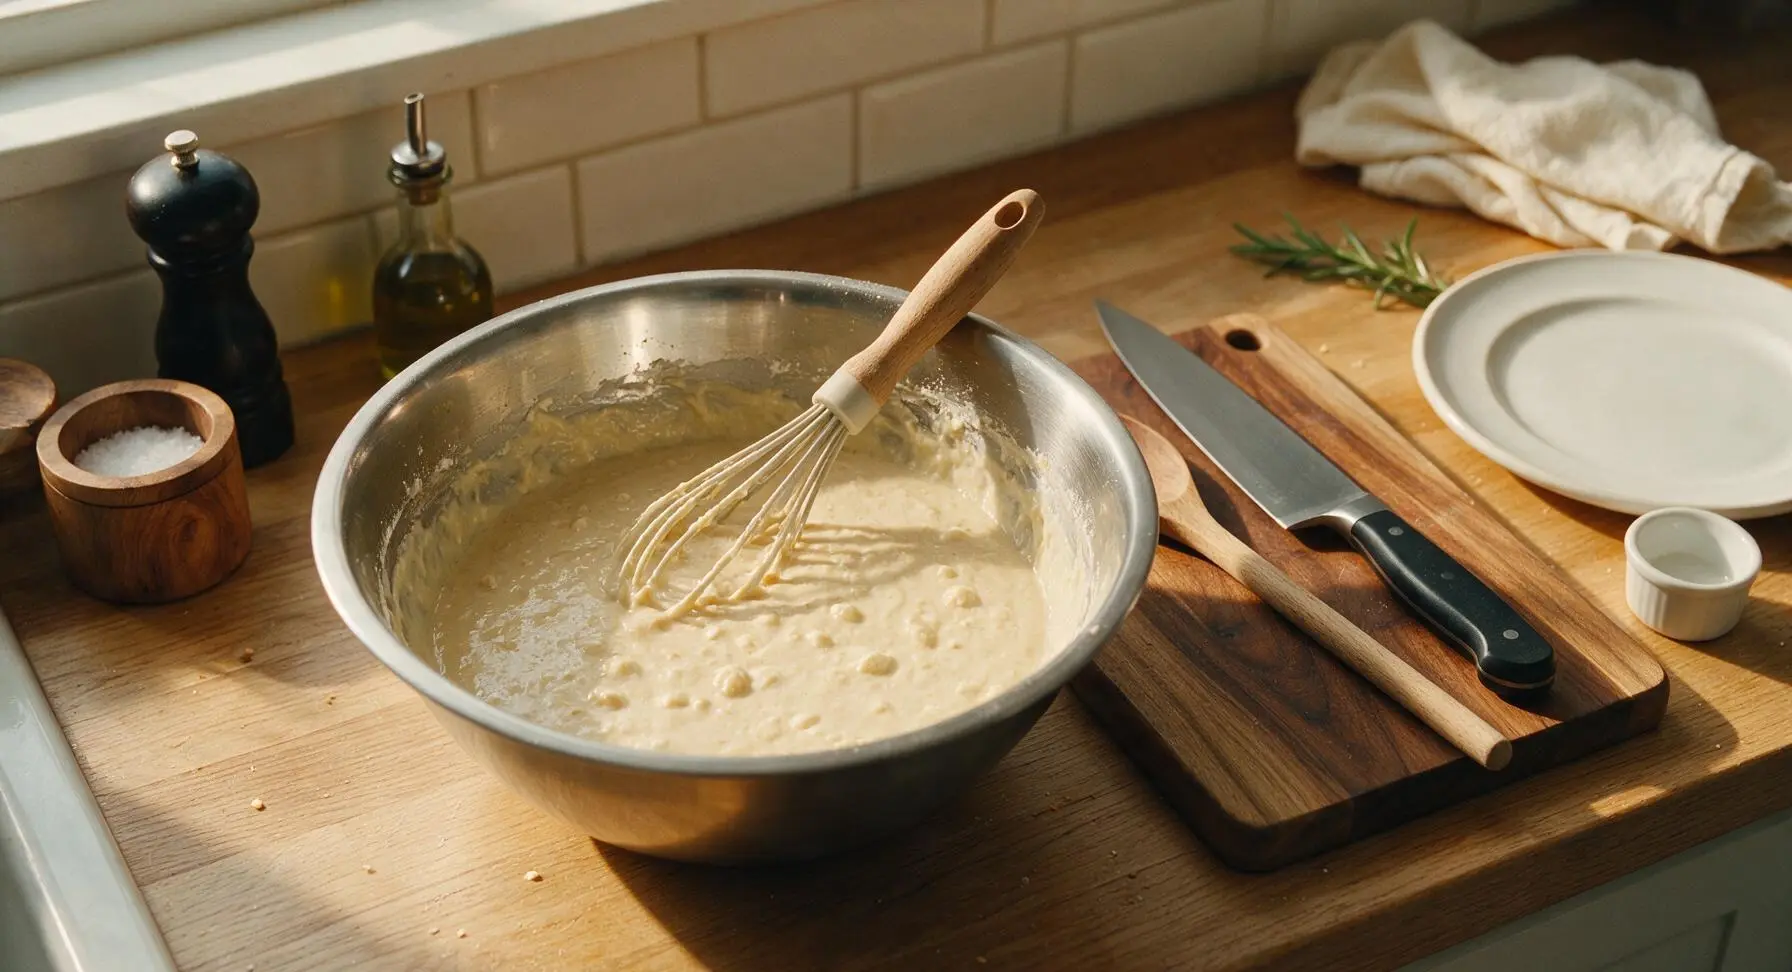
Use the silicone whisk to gently stir the wet ingredients into the dry, mixing just until no large dry flour clumps remain. Stop stirring after about 45 seconds as soon as the batter comes together—small, pea-sized lumps are normal and desirable, as overmixing develops gluten and leads to tough, chewy waffles. The finished batter should be thick but slowly pourable, with a consistency similar to loose pancake batter.
Step 3
step3:Mix Smooth Waffle Batter
Step 3
step3:Mix Smooth Waffle Batter
4

Preheat Nonstick Skillet

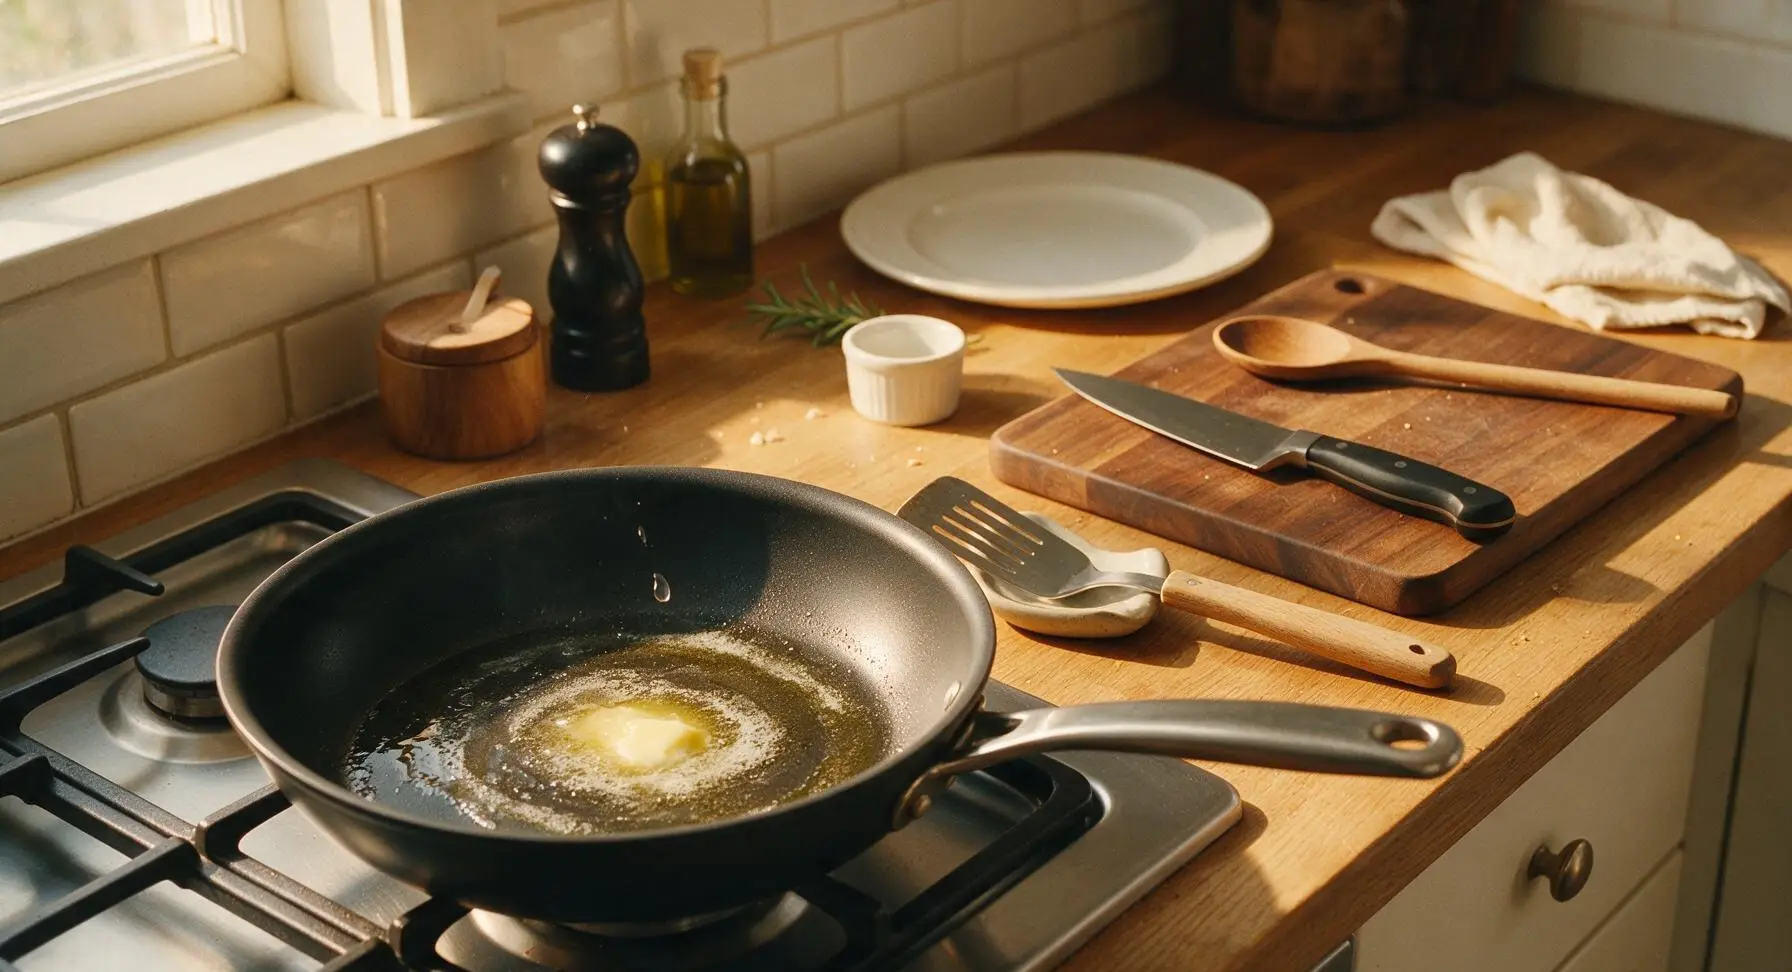
Move the 10-inch matte black nonstick skillet from the back stovetop burner to the front burner set to medium-low heat. Add 1/4 tsp of the reserved butter to the skillet, swirling to coat the light gray nonstick interior evenly once melted. Wait 2 minutes for the pan to heat evenly, then test temperature by sprinkling a single drop of water: it should sizzle and dance across the surface immediately, not evaporate instantly (too hot) or sit without bubbling (too cold).
Step 4
step4:Preheat Nonstick Skillet
5

Cook First Waffle Side

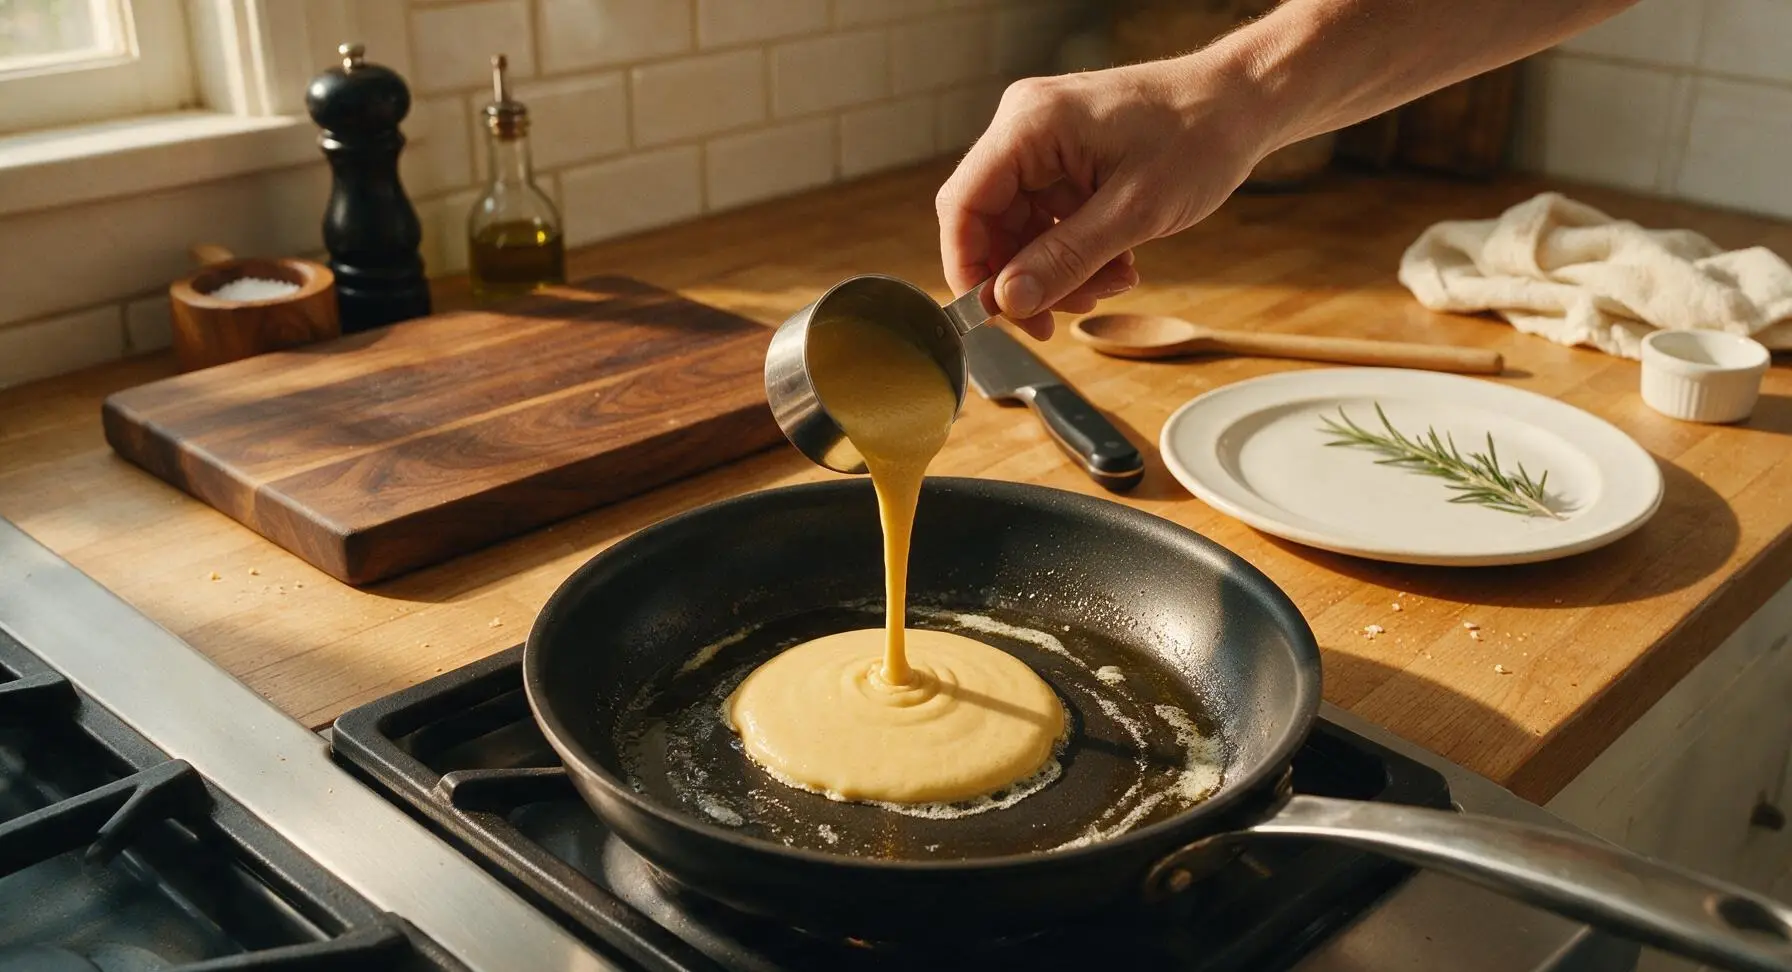
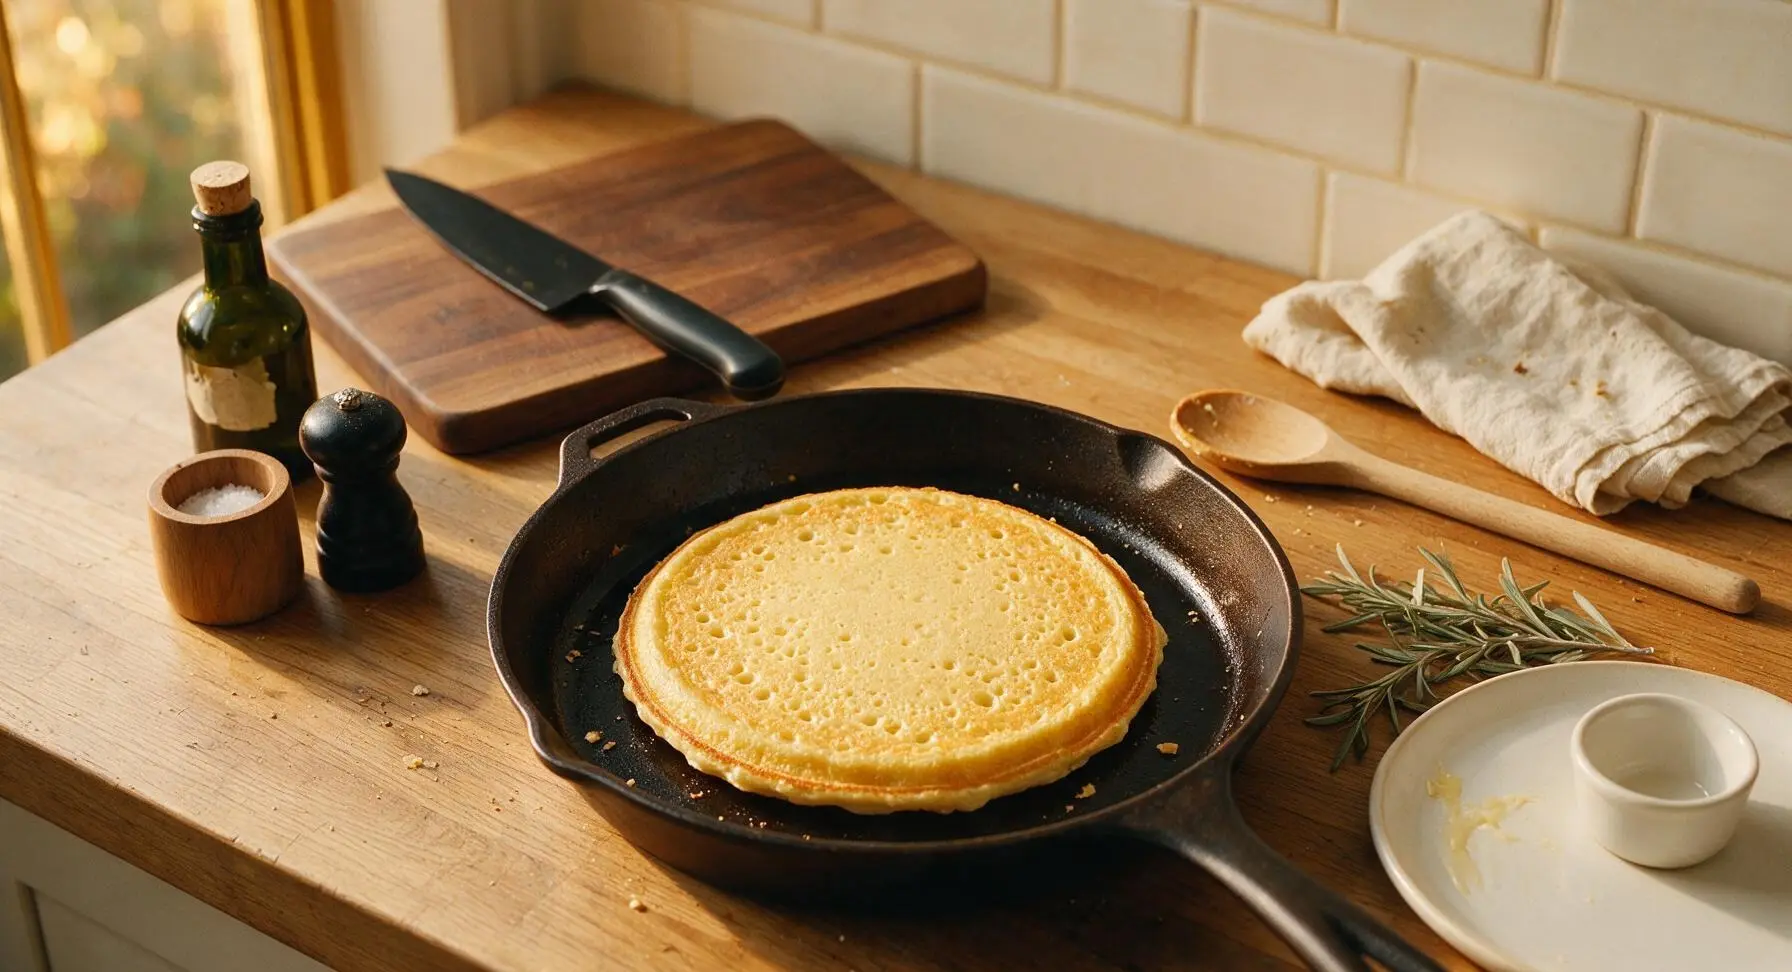
Use the 1/4 cup polished stainless steel measuring cup to scoop two 1/4 cup portions (1/2 cup total) of batter, pouring it directly into the center of the preheated skillet. Do not spread the batter—it will spread naturally into a 6-inch round. Let cook for 3 to 4 minutes, until the edges are deep golden brown, small bubbles have formed and popped across the entire top surface, and the top looks matte rather than wet and shiny. Do not lift the waffle early, as this will tear the delicate crisp edge.
Step 5
step5:Cook First Waffle Side
Step 5
step5:Cook First Waffle Side
6

Flip and Cook Through

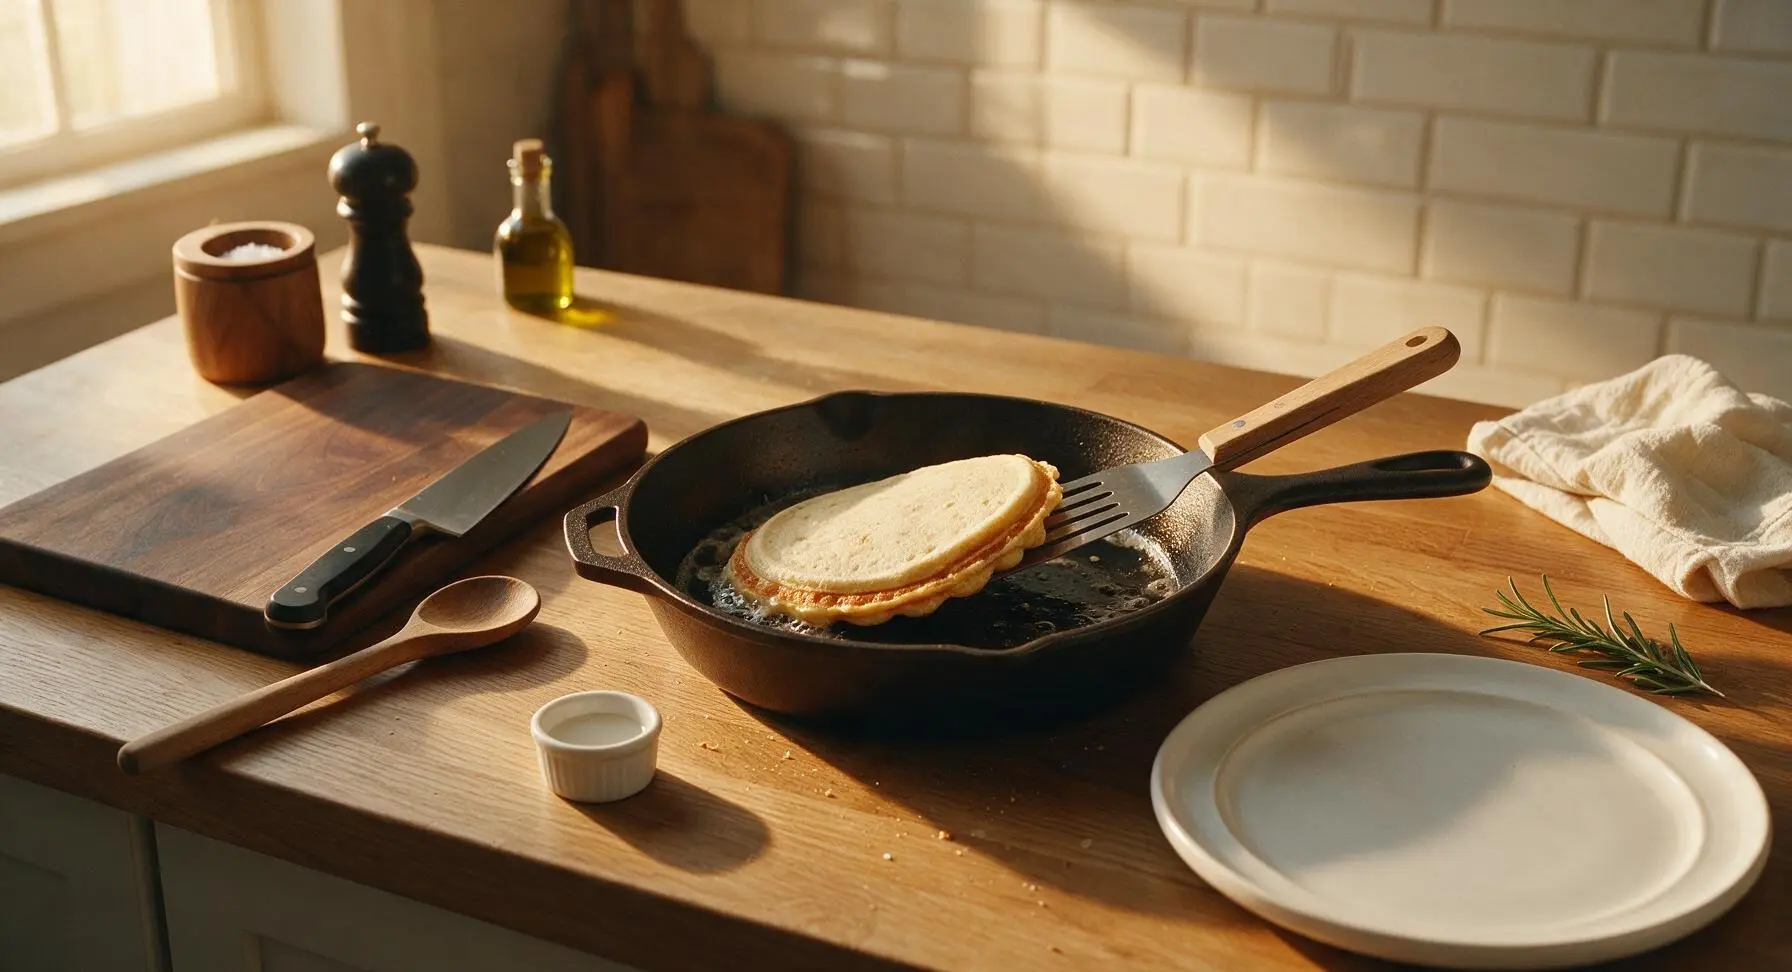
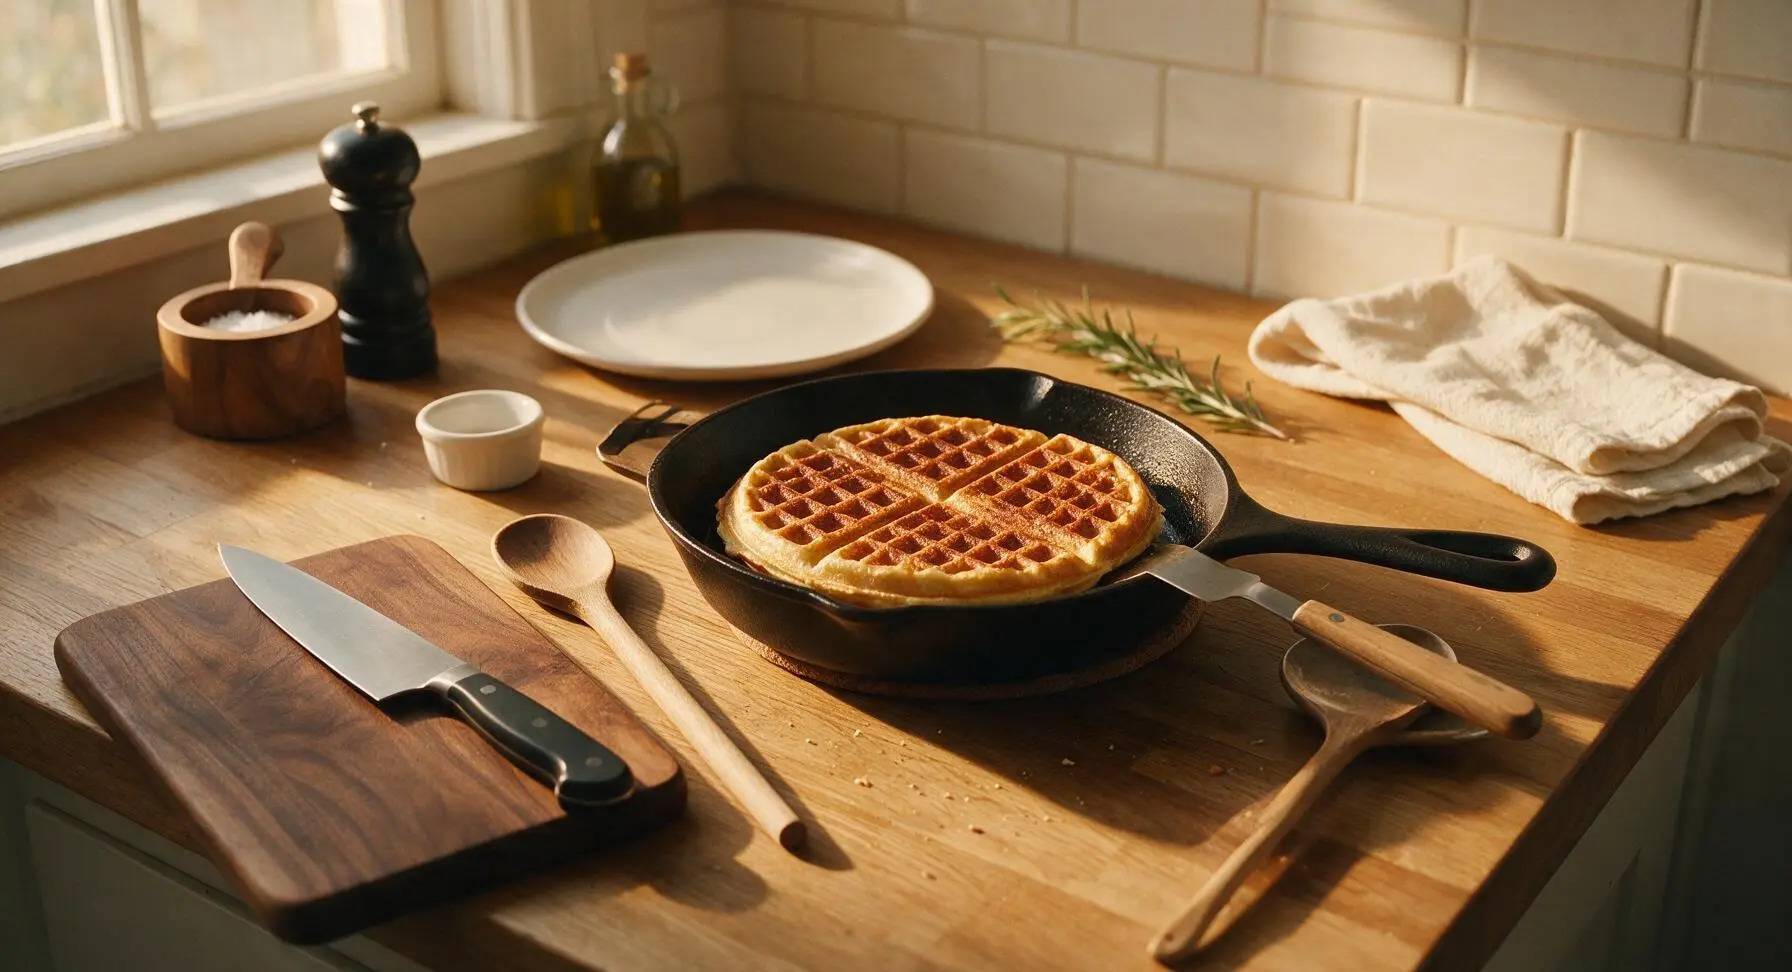
Slide the beech-handle metal spatula fully under the center of the waffle, then flip it quickly and confidently in one smooth motion. Cook the second side for 2 to 3 minutes, until it is evenly golden brown and the waffle feels firm when pressed lightly in the center with the spatula. Transfer the finished waffle to the cream stoneware dinner plate, and repeat with the remaining batter, adding 1/4 tsp butter to the skillet between each waffle to prevent sticking and build crisp edges. You will make 4 total waffles.
Step 6
step6:Flip and Cook Through
Step 6
step6:Flip and Cook Through
7

Plate and Serve Warm

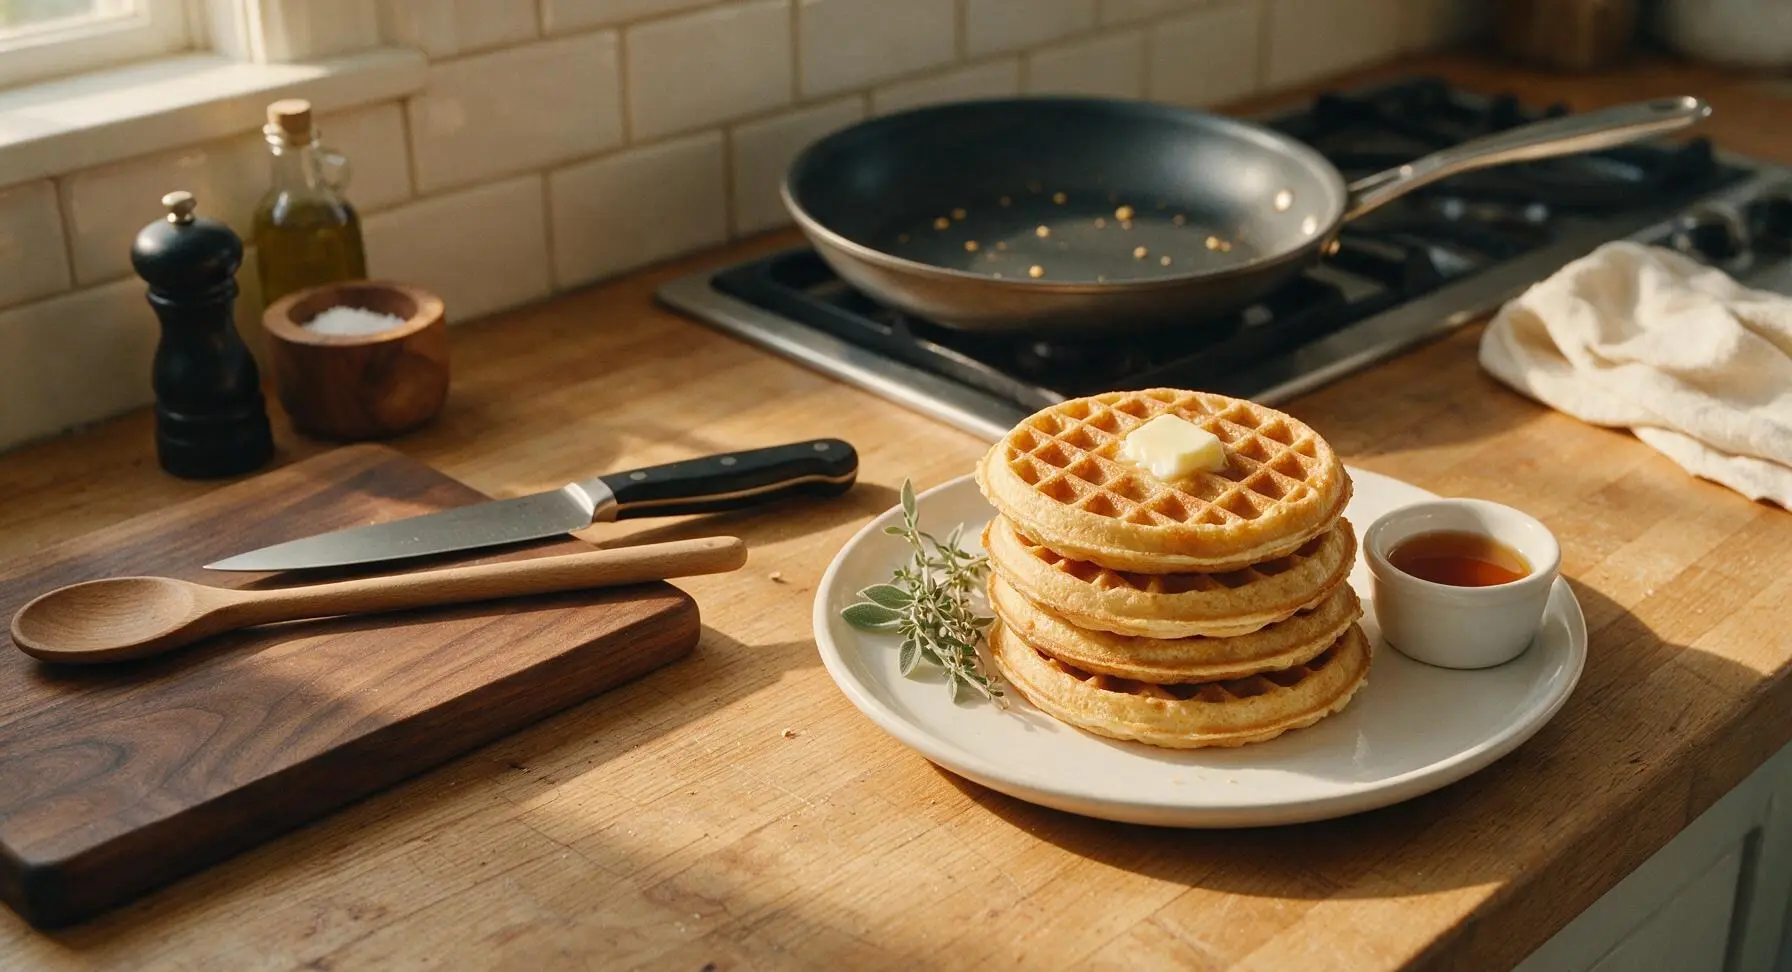
Arrange the finished waffles on the cream stoneware dinner plate, cutting each into 4 wedges for easy serving if desired. Top with a 1 tsp pat of salted butter, and set the small cream stoneware ramekin of maple syrup beside the plate for drizzling. Tuck a small sprig of fresh thyme next to the stack for a subtle, earthy garnish, and serve immediately while the waffles are hot and edges are crisp.
Step 7
step7:Plate and Serve Warm

Tips

1.Let the mixed batter rest for 5 minutes at room temperature before cooking if you have extra time: this allows the baking powder to fully activate and the flour to absorb moisture, resulting in lighter, fluffier waffles with taller, crispier edges.
2.Avoid using high heat to speed up cooking: medium-low heat ensures the edges crisp fully without burning before the waffle’s center cooks through, preventing raw, doughy centers and acrid burnt edges.
3.Keep finished waffles on a wire rack set over a baking sheet in a 200°F (95°C) oven while cooking remaining batches: stacking hot waffles directly on a plate traps steam, which softens crisp edges and leads to soggy waffles before serving.


✨ You May Also Like

Breakfast
🍜 United States

Crisp-edged, fluffy lard griddle cakes are a nostalgic homestyle staple, with rich savoriness from rendered lard, perfect topped with maple syrup or savory gravy.

⏱️ 25 minuteBreakfast ★ 4.8
Breakfast
🍜 United States

Flaky, buttery homemade buttermilk biscuits smothered in creamy, peppery pork sausage gravy: a beloved, hearty Southern American comfort food classic.

⏱️ 35 minuteBreakfast ★ 4.8
Breakfast
🍜 United States

Golden, custardy brioche stuffed with sweet cream cheese and fresh berries, pan-fried to crisp perfection. An indulgent, cozy breakfast perfect for slow weekend mornings.

⏱️ 30 minuteBreakfast ★ 4.7
Breakfast
🍜 United States

Flaky, buttery Southern-style biscuits stuffed with savory salty country ham, a portable, satisfying classic perfect for casual on-the-go meals.

⏱️ 25 minuteBreakfast ★ 4.8
Breakfast
🍜 United States

Iconic puffy baked pancake popularized in Seattle, with crisp golden edges and soft custardy center, served warm with classic sweet toppings.

⏱️ 35 minuteBreakfast ★ 4.6
Breakfast
🍜 United States

Fluffy, golden pancakes studded with juicy peak-summer mixed berries, drizzled with maple syrup for a bright, comforting, crowd-pleasing family breakfast.

⏱️ 25 minuteBreakfast ★ 4.7

pan waffle:Frequently Asked Questions

1.Do I really not need a waffle iron to make these stovetop pan waffles? ▾
You absolutely don’t! All you need is a regular nonstick or cast iron skillet on your stovetop. This recipe is formulated to get that signature crisp, golden edge and fluffy, tender center without the specialty appliance, so you skip extra storage clutter and messy post-cook cleanup entirely.
2.What size pan works best for these stovetop pan waffles? ▾
An 8 to 10-inch skillet is ideal for making single-serving waffle portions that cook evenly edge to edge. If you use a larger 12-inch pan, your waffles will be thinner and extra crispy overall, so stick to a ⅓ cup batter pour per waffle to maintain that perfect fluffy thickness.
3.Can I swap the all-purpose flour for a gluten-free blend? ▾
Yes, you can! Use a 1:1 gluten-free all-purpose baking blend that contains xanthan gum for the closest texture match to regular AP flour. Skip blends made mostly with bean flours, as they can leave an odd, earthy aftertaste that clashes with the warm cinnamon and buttery waffle flavor.
4.Why is ground cinnamon included in this waffle recipe? ▾
The small amount of ground cinnamon adds warm, cozy depth without making the waffles taste overly spiced or overpowering. It complements the golden, buttery cooked notes of the batter and pairs perfectly with classic waffle toppings like maple syrup, fresh berries, or a dollop of whipped cream.
5.How do I get that signature crisp waffle edge without a waffle iron? ▾
Two key tricks do the work: first, preheat your pan over medium heat and melt a thin pat of butter before pouring batter, so edges sizzle the second they hit the pan. Second, don’t flip too early—wait until the top is dotted with popped bubbles, just like for pancakes, for a crisp, set edge.
6.Can I make this waffle batter ahead of time for quick weekday breakfasts? ▾
You can mix the dry ingredients together in an airtight container up to 3 months ahead for instant homemade waffle mix. If you mix full wet and dry batter, store it covered in the fridge for up to 2 days—just add a tiny pinch of extra baking powder right before cooking to restore lost lift for fluffier results.
7.What stovetop heat setting should I use to avoid burnt waffles? ▾
Stick to medium heat for the most consistent results. If your stovetop runs hot, dial it to medium-low: too high heat will burn the buttery edges before the center cooks through, and too low heat will make your waffles pale, soggy, and dense instead of light and fluffy with a golden crisp crust.
8.How much batter should I pour per individual pan waffle? ▾
For an 8 to 10-inch pan, pour ⅓ cup of batter right in the center of the preheated, buttered pan. It will spread out on its own to a perfect 4 to 5-inch round that’s thick enough to stay fluffy in the center, with enough exposed pan surface to crisp edges evenly without spreading too thin.
9.Can I add mix-ins like chocolate chips or blueberries to the batter? ▾
Absolutely! Fold up to ½ cup of your favorite mix-ins into the batter right before cooking—think mini chocolate chips, fresh blueberries, chopped toasted pecans, or even diced banana. If using frozen fruit, toss it in a tiny bit of flour first to keep it from sinking to the bottom as waffles cook.
10.Why does the recipe call for fine sea salt instead of regular table salt? ▾
Fine sea salt dissolves more evenly into the dry batter than coarser kosher salt, so you get consistent, balanced salty-sweet flavor in every bite instead of random salty pockets. If you only have table salt on hand, cut the measurement by 25% because table salt is denser and more intensely salty than fine sea salt.
11.How do I keep cooked waffles warm and crisp while I make the whole batch? ▾
Set your oven to its lowest warm setting (around 200°F) and place cooked waffles directly on the oven rack set over a baking sheet. Don’t stack them on a plate, as trapped steam will make crisp edges go soggy. This method keeps waffles crisp and warm for up to 30 minutes while you cook the rest.
12.Is there an easy way to make these pan waffles dairy-free? ▾
Yes, it’s a simple swap! Replace the melted butter used in the batter and for greasing the pan with melted vegan butter or refined coconut oil, and swap dairy milk for unsweetened oat or almond milk if your batter includes it. The texture and flavor will stay nearly identical, with the same crisp edges and fluffy center.
13.How do I know when the waffle is ready to flip? ▾
Wait 2 to 3 minutes after pouring the batter, until the top surface is covered in small, popped bubbles and the edges look set and lightly golden. Use a thin, flexible spatula to slip under the waffle and flip it in one quick motion, then cook another 1 to 2 minutes on the second side until golden all over.
14.Can I freeze leftover cooked pan waffles for quick future meals? ▾
Absolutely! Let cooked waffles cool completely to room temperature, then stack them between sheets of parchment paper and store in a sealed freezer bag for up to 3 months. Reheat them directly in a toaster or 350°F oven for 3 to 4 minutes until crisp and warmed through, no thawing required.

Comments (7)

2 hours ago

OMG these are a total game changer!!! I don’t have a waffle iron and have been craving waffles for weeks, so I almost screamed when I saw this recipe. Made them this morning for my two toddlers and they devoured every bite, even asked for seconds! Cook time was spot on 15 minutes too, perfect for chaotic school mornings. Will be adding these to our weekly breakfast rotation for sure, SO good.

30 minutes ago

Wait do they actually get that crispy waffle texture in a regular pan? I’ve tried other stovetop waffle recipes before and they just turn out like weird pancakes lol

5 minutes ago

So glad your kids loved them! If you want extra crisp, make sure your pan is fully preheated over medium heat before pouring the batter in, and don’t flip too early — wait until the edges look golden and set, that helps get that classic waffle crunch without an iron!

yesterday

Meal prepped a batch of these on Sunday and they reheated perfectly in the toaster all week! I threw in a handful of chocolate chips to half the batter for my pickiest eater, and even my husband who swears he “only likes restaurant waffles” said these are better. No fancy equipment needed, zero cleanup hassle, 10/10.

2 hours ago

Love the chocolate chip hack! Reheating in the toaster is such a smart move — that’s my go-to for quick weekday breakfasts too, so glad this worked for your whole family!

3 days ago

Brought these to a neighborhood brunch potluck last weekend and everyone was asking for the recipe! I topped mine with fresh strawberries and a drizzle of maple syrup, only knock is I wish I’d made a double batch because they were gone in 10 minutes. Super easy to throw together even when you’re running late to an event.

5 days ago

These were okay, but I think I messed up the heat on my stovetop? Mine came out a little gummy in the middle even after cooking for the full 15 minutes. Flavor was good though, I’ll probably try again with lower heat next time so I don’t burn the outside before the inside cooks.

3 days ago

I had the same issue my first try! Turned out I was using too thick of a batter layer — if you spread it thinner in the pan it cooks way more evenly, no gummy center at all

2 days ago

Sorry to hear the first batch didn’t turn out perfectly! The key here is medium-low heat (not high!) and spreading the batter to about ¼ inch thickness, like the other commenter said. If you give it another go, that should fix the gummy center issue — let us know how it turns out!

1 week ago

Why did I never think to make waffles in a regular pan before??? I was this close to dropping $100 on a fancy waffle maker when this recipe popped up on my feed. Saved me so much money, and the texture is exactly like the waffles my grandma used to make. Crispy edges, soft fluffy center, absolute perfection.

5 days ago

Right?! I almost bought a waffle iron last month too, so glad I held off. These taste just as good and I don’t have another bulky appliance taking up cabinet space

2 weeks ago

Really solid base recipe! I added a pinch of cinnamon and a dash of vanilla extract to the batter and it tasted incredible. My only complaint is that they don’t have those little waffle pockets to hold extra syrup, but honestly that’s such a tiny issue for how quick and easy these are. Will make again.

1 week ago

The cinnamon and vanilla addition sounds amazing, I’ll have to try that next time I make them! If you want little syrup pockets, you can score the top of the batter lightly with a knife right before flipping — it’s not exactly the same as an iron, but it does help hold extra syrup!

just now

Just made these for a quick late night snack after my shift and WOW. I didn’t have any maple syrup so I topped mine with peanut butter and banana slices and it hit the spot. 15 minutes start to finish, minimal dishes, exactly what I needed on a tired weeknight. Can’t wait to make these for my roommates this weekend!



