1.Why does this recipe call for boneless skinless chicken thighs instead of chicken breast?
▾
Chicken thighs stay juicy and tender during gentle simmering, thanks to their slight marbling, and their rich, savory flavor perfectly complements the nutty, creamy curry. Lean chicken breast easily dries out and turns rubbery in simmered sauce, but if you do use it, cut pieces slightly larger and pull them the second they hit 165°F internal to avoid toughness.
2.Can I use light coconut milk instead of full-fat for this recipe?
▾
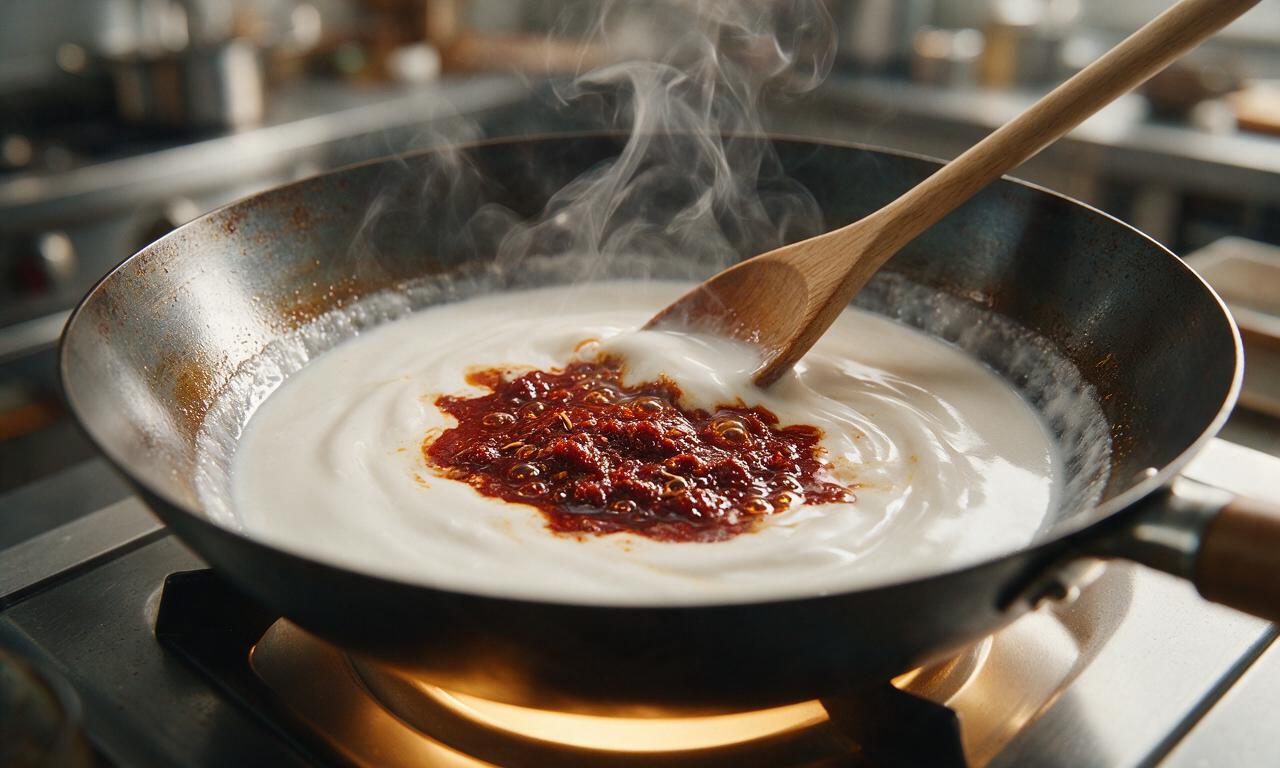
I don’t recommend it for an authentic, luxe texture. Light coconut milk is diluted with water and stabilizers, which leads to thin, watery, or grainy sauce that easily separates when simmered. Full-fat coconut milk delivers that signature velvety mouthfeel, and the thick cream that rises to the top of the can is ideal for frying curry paste to release its aromatic oils.
3.How do I keep my Panang curry from turning out watery?
▾
Start by not shaking your coconut milk can before opening—scoop the thick top cream out first to fry the curry paste, then add the thinner milk later. Don’t overcook your bell pepper, which releases excess water as it breaks down, and simmer uncovered for 3 to 4 minutes after adding chicken to let extra liquid evaporate to a rich, coating consistency.
4.Is Panang curry paste the same as regular red curry paste?
▾
They are not interchangeable! Panang paste is nuttier, sweeter, and milder than standard red curry paste, with added roasted cumin, coriander, and peanut notes that define the dish’s signature profile. If you only have red curry paste on hand, stir in 1 tablespoon of unsweetened smooth peanut butter and a pinch of ground cumin to mimic Panang’s flavor in a pinch.
5.How spicy is Panang curry, and can I adjust the heat level?
▾
Traditional Panang curry is mild to medium heat, far less fiery than Thai red or green curry. You can easily tweak it to your taste: start with 2 tablespoons of paste for mild, 3 to 4 tablespoons for medium heat, and mellow out too-spicy curry with an extra splash of coconut cream, or cut heat by scraping dried chili seeds out of the paste before cooking.
6.Why do I need to rinse jasmine rice before cooking it for serving?
▾
Rinsing jasmine rice washes off excess surface starch that would make cooked rice gummy, clumpy, or overly sticky instead of light, fluffy, and separate— the ideal texture to soak up every bit of creamy curry sauce. Rinse rice under cool running water until the water runs almost completely clear, usually 3 to 4 quick rinses, before cooking via your preferred method.
7.Does this curry work well for weekly meal prep?
▾
Absolutely! This curry holds up beautifully for 3 to 4 days stored in an airtight container in the fridge, and its flavors actually meld and deepen as it sits. For the best texture, keep bell pepper slightly crisp when prepping, or add fresh pepper when reheating to avoid mush. Reheat gently on the stovetop over low heat, stirring occasionally, to prevent coconut milk separation.
8.What size should I cut the chicken for even, consistent cooking?
▾
Cut boneless, skinless chicken thighs into uniform 2.5cm (1-inch) pieces, as the recipe specifies. This size cooks through in 6 to 7 minutes of gentle simmering without getting tough, stays juicy, and is perfectly bite-sized to eat with rice. Avoid cutting pieces too small, which overcook quickly, or too large, which leads to uneven cook times and dry spots.
9.My coconut milk separated while cooking—did I mess up the recipe?
▾
A little separation is totally normal! Frying thick coconut cream with curry paste until a little oil separates (a traditional step called “cracking” the cream) actually helps release the paste’s full aroma, so it’s not a mistake. If your sauce looks overly curdled, stir in 2 to 3 tablespoons of cold extra coconut cream and whisk gently over low heat to restore a smooth, creamy texture.
10.Can I add other vegetables besides red bell pepper to the curry?
▾
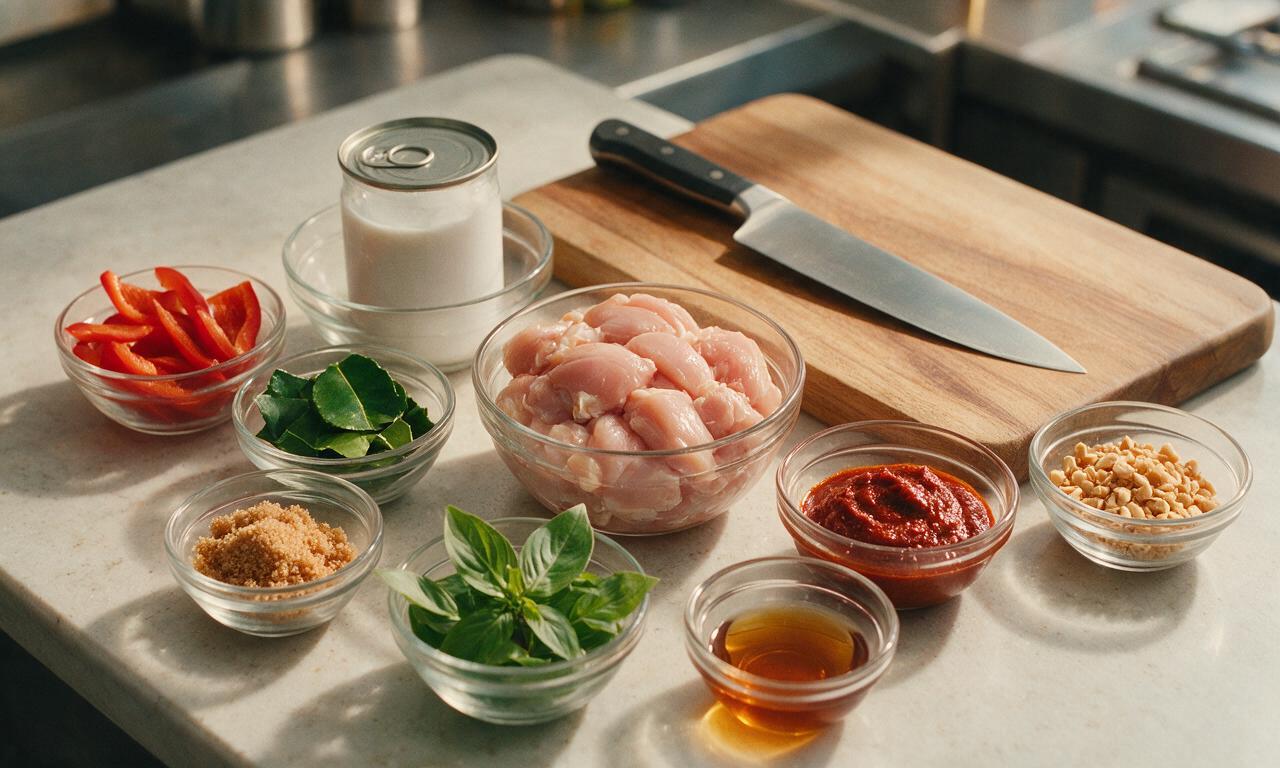
Definitely, though red bell pepper’s bright, crisp sweetness pairs perfectly with the nutty curry. Great add-ins include thinly sliced Thai basil, canned bamboo shoots, sugar snap peas, diced zucchini, or baby corn. Add heartier veggies a few minutes earlier, and delicate, quick-cooking veggies in the last 2 to 3 minutes of simmering to keep them crisp-tender, not mushy.
11.Do I need to add extra fish sauce or sugar to the curry?
▾
Most store-bought Panang curry paste already has balanced salt, umami, and sweet notes, but always taste after simmering and adjust to your preference. A 1-teaspoon splash of fish sauce adds bright umami, ½ teaspoon of light brown sugar amplifies the curry’s nutty sweetness, and a tiny squeeze of fresh lime cuts through richness if the sauce feels too heavy.
12.Why does the recipe call for cutting red bell pepper into 1cm thick strips?
▾
That 1cm thickness is perfectly calibrated for this dish: it’s thin enough to cook to crisp-tender in 2 to 3 minutes, so it holds a pleasant snap instead of turning mushy, but thick enough that its bright, sweet flavor doesn’t get lost in the rich, creamy sauce. Thinner strips turn soggy, while thicker chunks stay undercooked and unpleasantly crunchy.
13.Can I make this Panang curry with a protein other than chicken?
▾
Of course! This creamy, nutty sauce pairs beautifully with crispy pan-fried tofu, large shrimp (add them in the last 3 minutes of cooking to avoid rubbery texture), thinly sliced pork loin, or even rinsed chickpeas for a plant-based version. Adjust cook times to match your protein: seafood cooks fast, while plant-based proteins can simmer longer to soak up sauce flavor.
14.How long should I fry the curry paste in coconut cream for the best flavor?
▾
Fry Panang curry paste in the thick, scooped coconut cream over medium-low heat for 1 to 2 minutes, stirring constantly, until you can smell the warm, aromatic spices wafting up. Don’t cook it longer over high heat, because the paste can burn and turn bitter, which will throw off the dish’s balanced, nutty, sweet, and savory flavor profile entirely.
15.Can I freeze leftover Panang curry for later?
▾
You can, though the coconut milk texture will shift slightly when thawed, becoming a little grainier. Freeze in airtight, freezer-safe containers for up to 3 months, and thaw overnight in the fridge before reheating. Whisk gently over low heat as it warms, and add a splash of fresh coconut cream if needed to smooth the sauce back out; add fresh bell pepper post-thaw for crispness.
16.What’s the most traditional way to serve this Panang curry?
▾
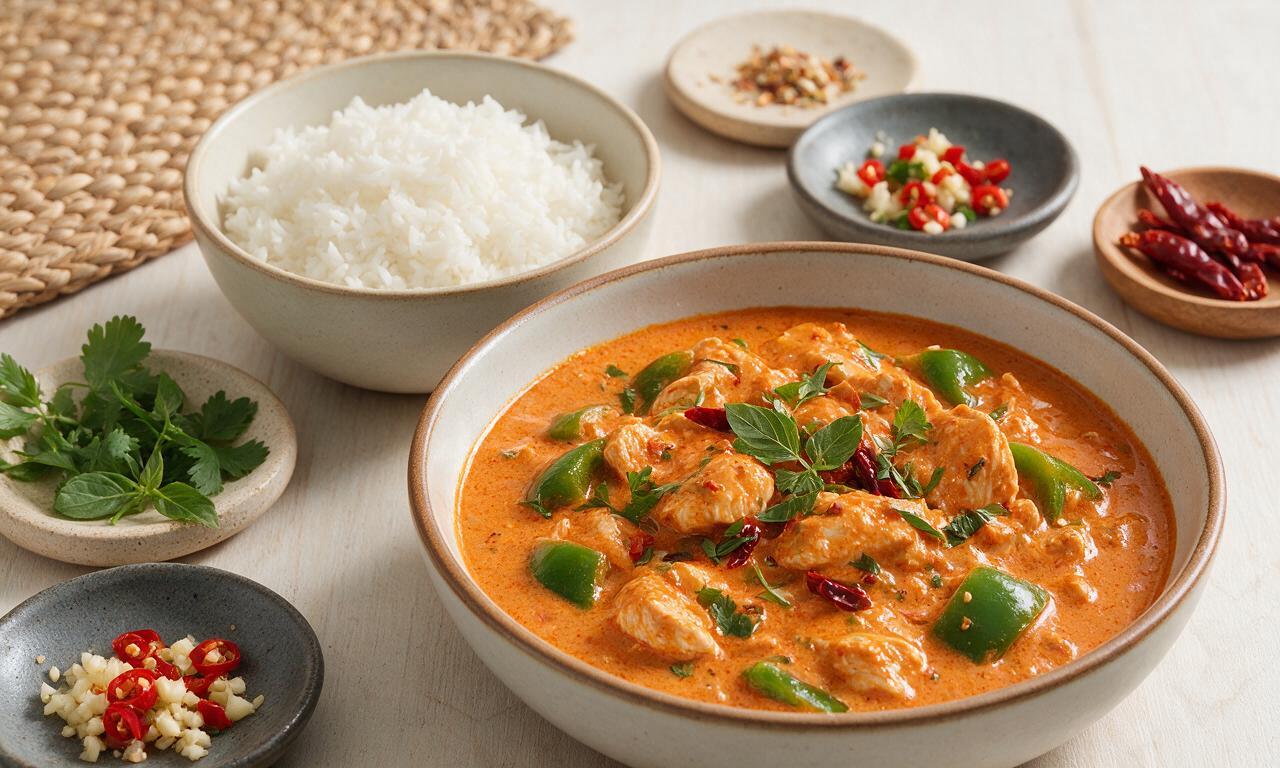
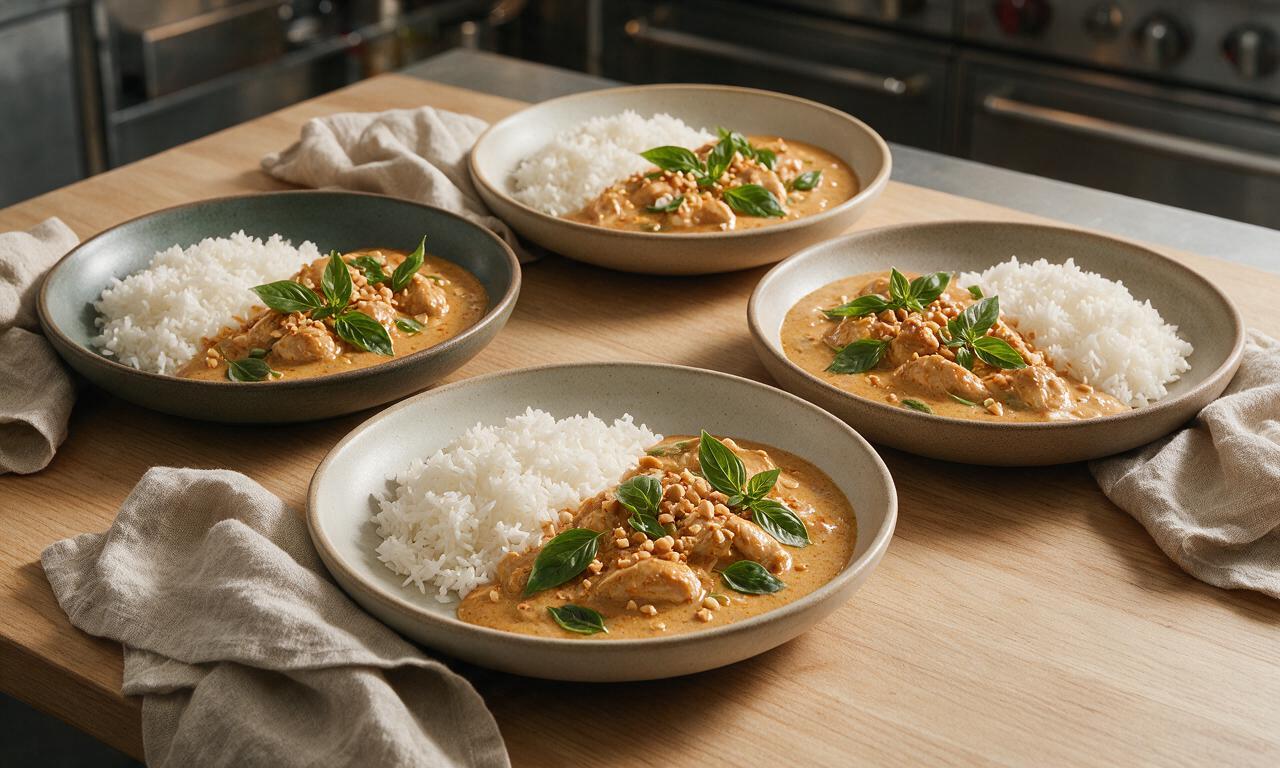
Spoon hot curry over fluffy, freshly cooked jasmine rice, as the mild, starchy rice balances the rich, creamy sauce and soaks up every bit of flavor. Garnish with a sprinkle of thinly sliced kaffir lime leaves, a few crushed roasted peanuts, or a sprig of fresh Thai basil for extra aroma, and set out lime wedges for anyone who wants a bright, tangy kick.
17.I have a peanut allergy—can I still make this Panang curry safely?
▾
Most traditional Panang curry pastes include roasted peanuts for depth, so first check your paste label to make sure it doesn’t contain peanuts or cross-contamination warnings. If it does, swap it for mild red curry paste, skip any added peanut butter, and add a pinch of extra roasted ground coriander and cumin to get that warm, nutty depth without the allergen.
18.How do I avoid tough, rubbery chicken in my curry?
▾
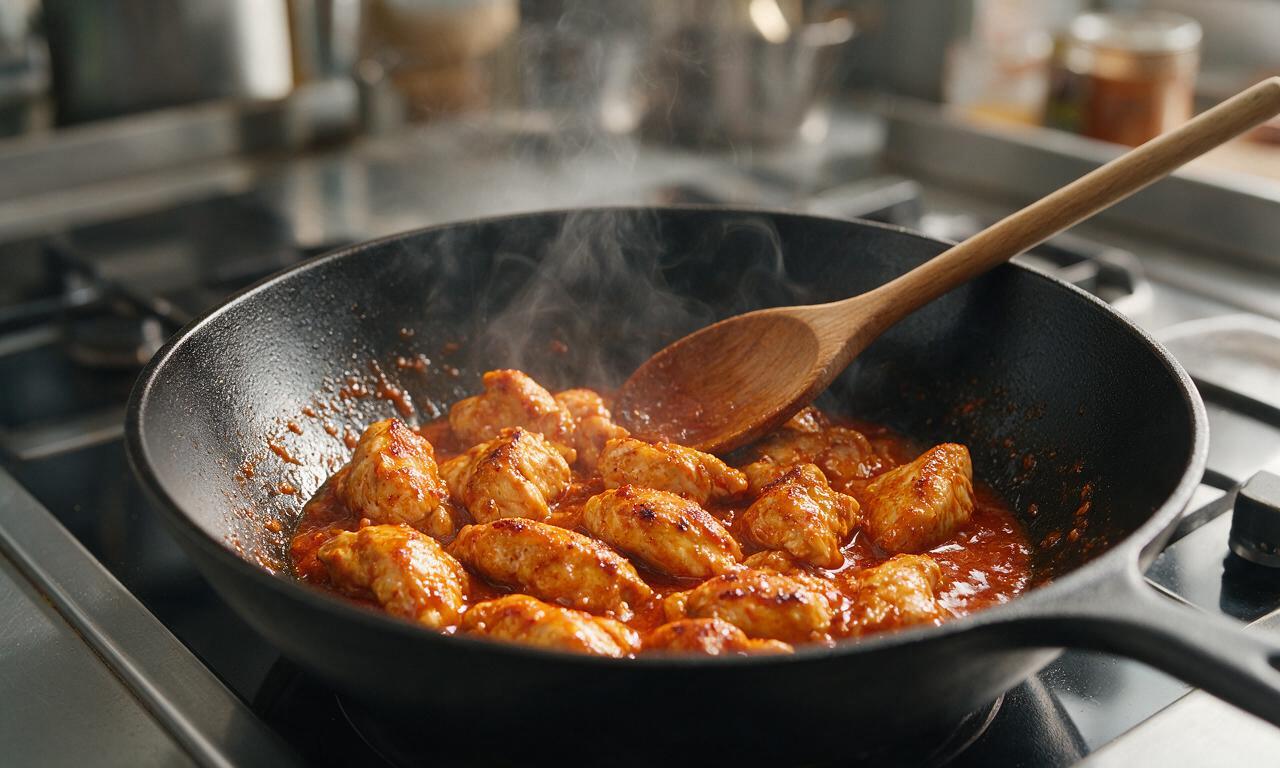
First, stick with boneless skinless chicken thighs, which have enough marbled fat to stay tender even with gentle simmering, instead of ultra-lean breast. Don’t boil the curry at a high rolling heat once you add chicken—keep it at a low, gentle simmer, and cook just until chicken hits 165°F internal, about 6 to 7 minutes, since overcooking is the top cause of rubbery chicken.







OMG this was SO good!!! I was scrambling for a quick weeknight dinner earlier this week after soccer practice ran late, and this came together in literally 30 minutes flat like the recipe says. My two picky kids went back for seconds, even the one who swears he 'hates curry'! Served it with jasmine rice and a side of steamed broccoli, total game changer for our family dinner rotation. Already added the ingredients to my weekly meal prep list so I can make a double batch this Sunday!
Super easy recipe, came out great on my first try! I was a little nervous because I’ve never made Panang curry from scratch before (usually just get takeout) but the steps were so straightforward. Only thing I adjusted was adding a tiny extra squeeze of lime at the end because I love that tang. Just finished my first bowl 30 minutes back and had to hop on and leave a review – will definitely be making this instead of ordering takeout from now on, saves so much money!
Brought this to my office potluck earlier today and people were begging me for the recipe before we even finished lunch! I used chicken thighs instead of breast because I think they stay juicier in curry, and it was so creamy and flavorful. Zero leftovers, that’s always the sign of a hit. Even my gluten-free coworker could eat it no problem, which was a win! Just walked in the door 5 minutes ago and had to leave a review immediately.
Really tasty base recipe! I gave it 4 stars because I wish there was a little note about how spicy the Panang curry paste is out of the jar – I added the full 3 tablespoons the recipe calls for and it was a little too hot for my partner who can’t handle much spice. Other than that, the creaminess was perfect, the chicken cooked up super tender, and it was so fast to throw together after work.
This is going straight into my weekly meal prep rotation! I’ve been searching for a curry recipe that holds up well for work lunches, and this one checks every box. Made a big batch today, portioned it out with rice, and the test bite I had was incredible – so creamy, way better than the takeout I usually get. Super easy, minimal cleanup, 10/10. Can already tell this is going to be a staple.
Made this for my boyfriend for our at-home date night a couple weeks back and he thought I ordered it from our favorite Thai place! The curry was so rich and creamy, the chicken was perfectly seasoned, and it looked so fancy even though it only took me 30 minutes. Paired it with a crisp white wine and it was better than any restaurant meal we’ve had in months. 10/10 will make again for guests!