
panko oven fried chicken
intro
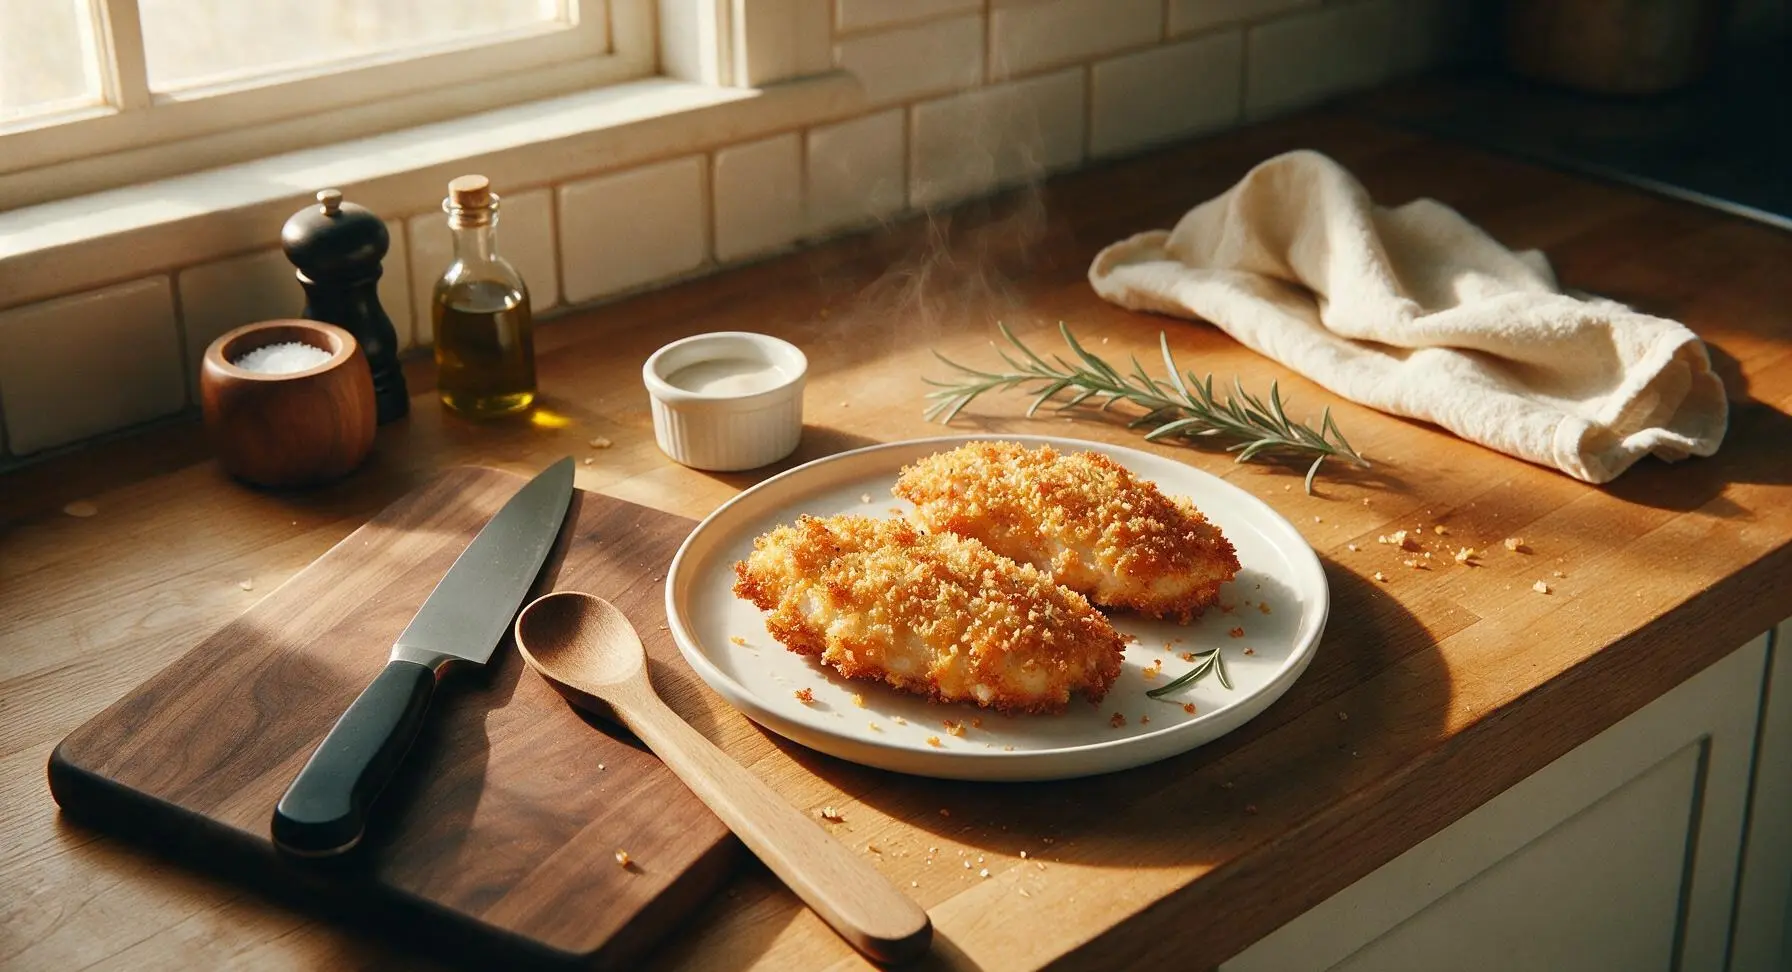
Shatteringly crisp panko-crusted chicken baked to juicy perfection, no deep frying required. Golden outside, tender inside, with minimal cleanup for a satisfying, crowd-pleasing meal.
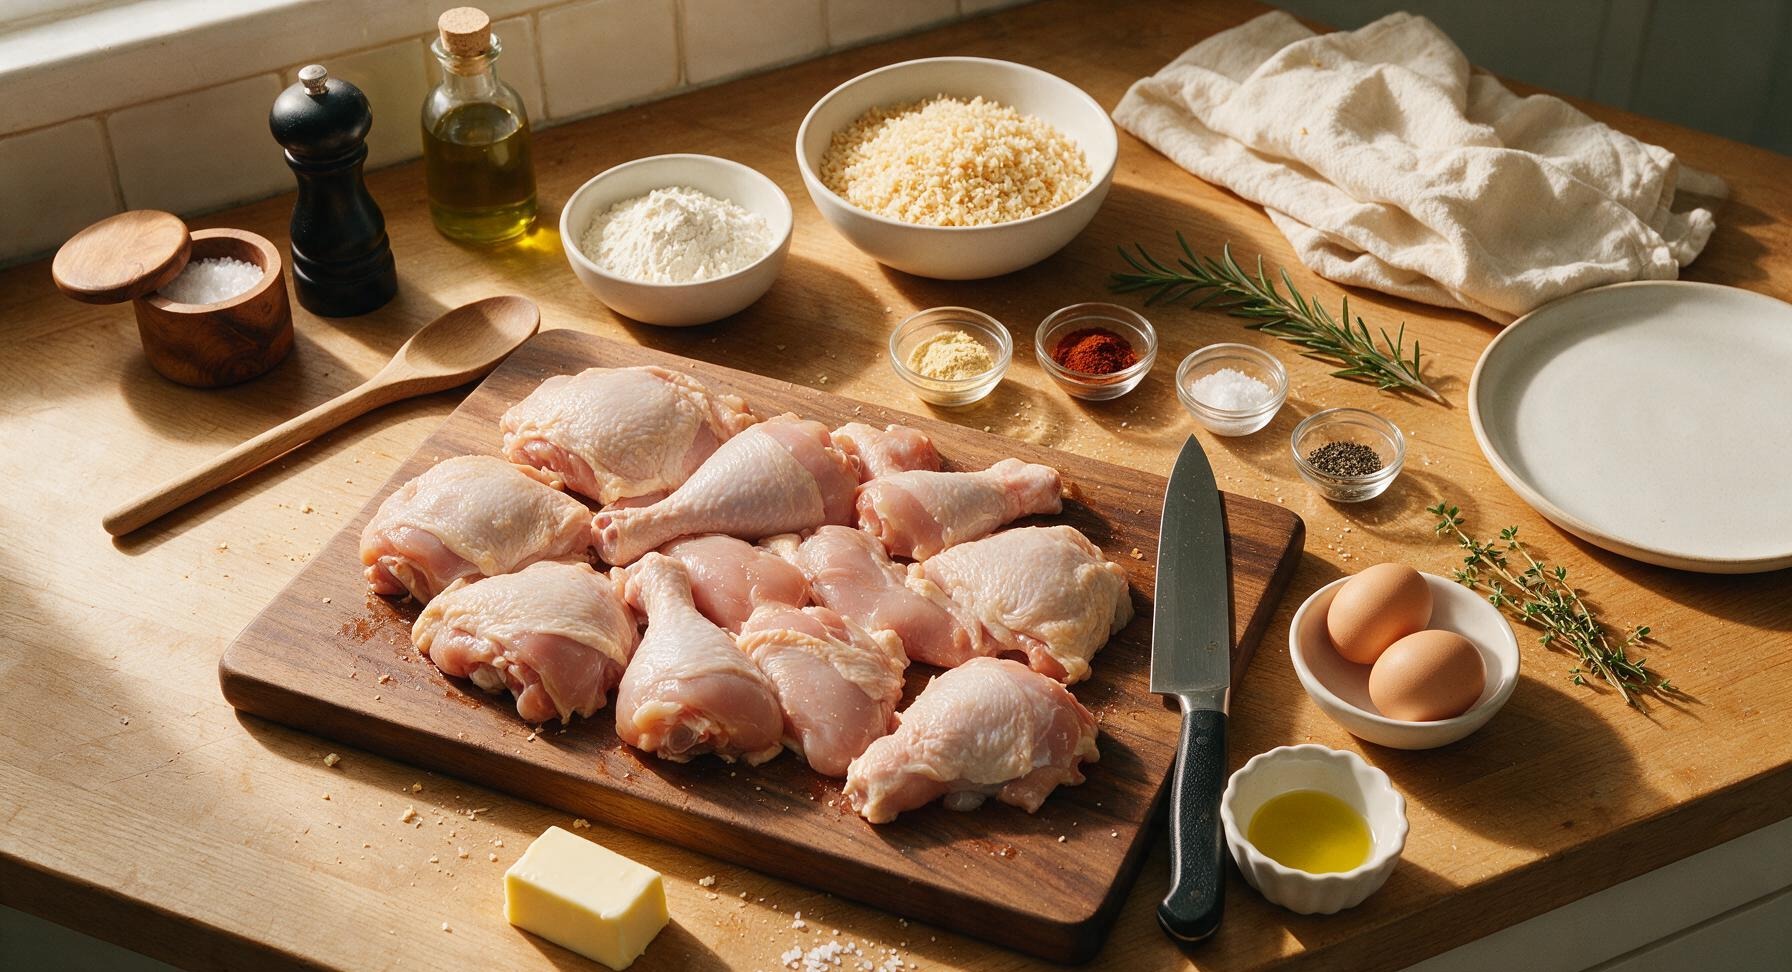
Ingredients
Steps
Prep Oven and Chicken
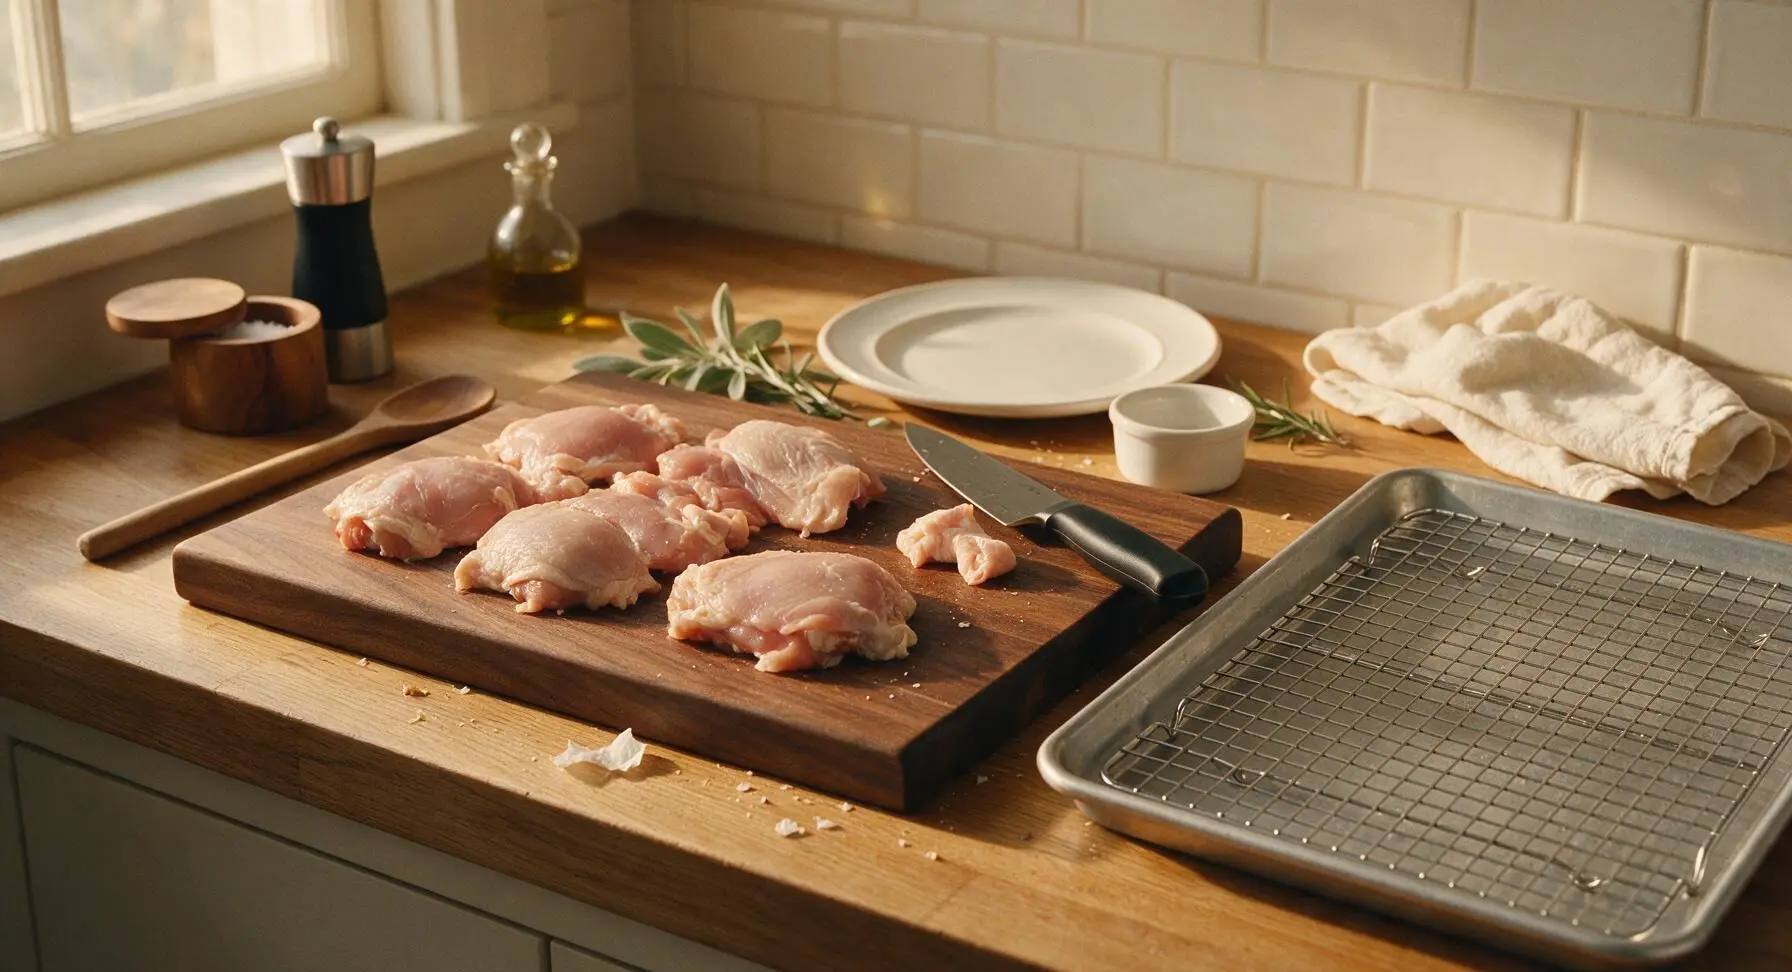
Preheat oven to 220°C (425°F). Pull the rimmed aluminum baking sheet and chrome wire rack from their stored positions, place the rack inside the baking sheet, and set the assembled tray near the cutting board. Pat all chicken pieces completely dry with paper towels (discard used towels off-frame) – dry skin is non-negotiable for a crisp crust. Use the 8-inch chef knife on the acacia cutting board to trim any loose, hanging skin or thick hard fat deposits from the chicken pieces.
Toast Panko Crumbs
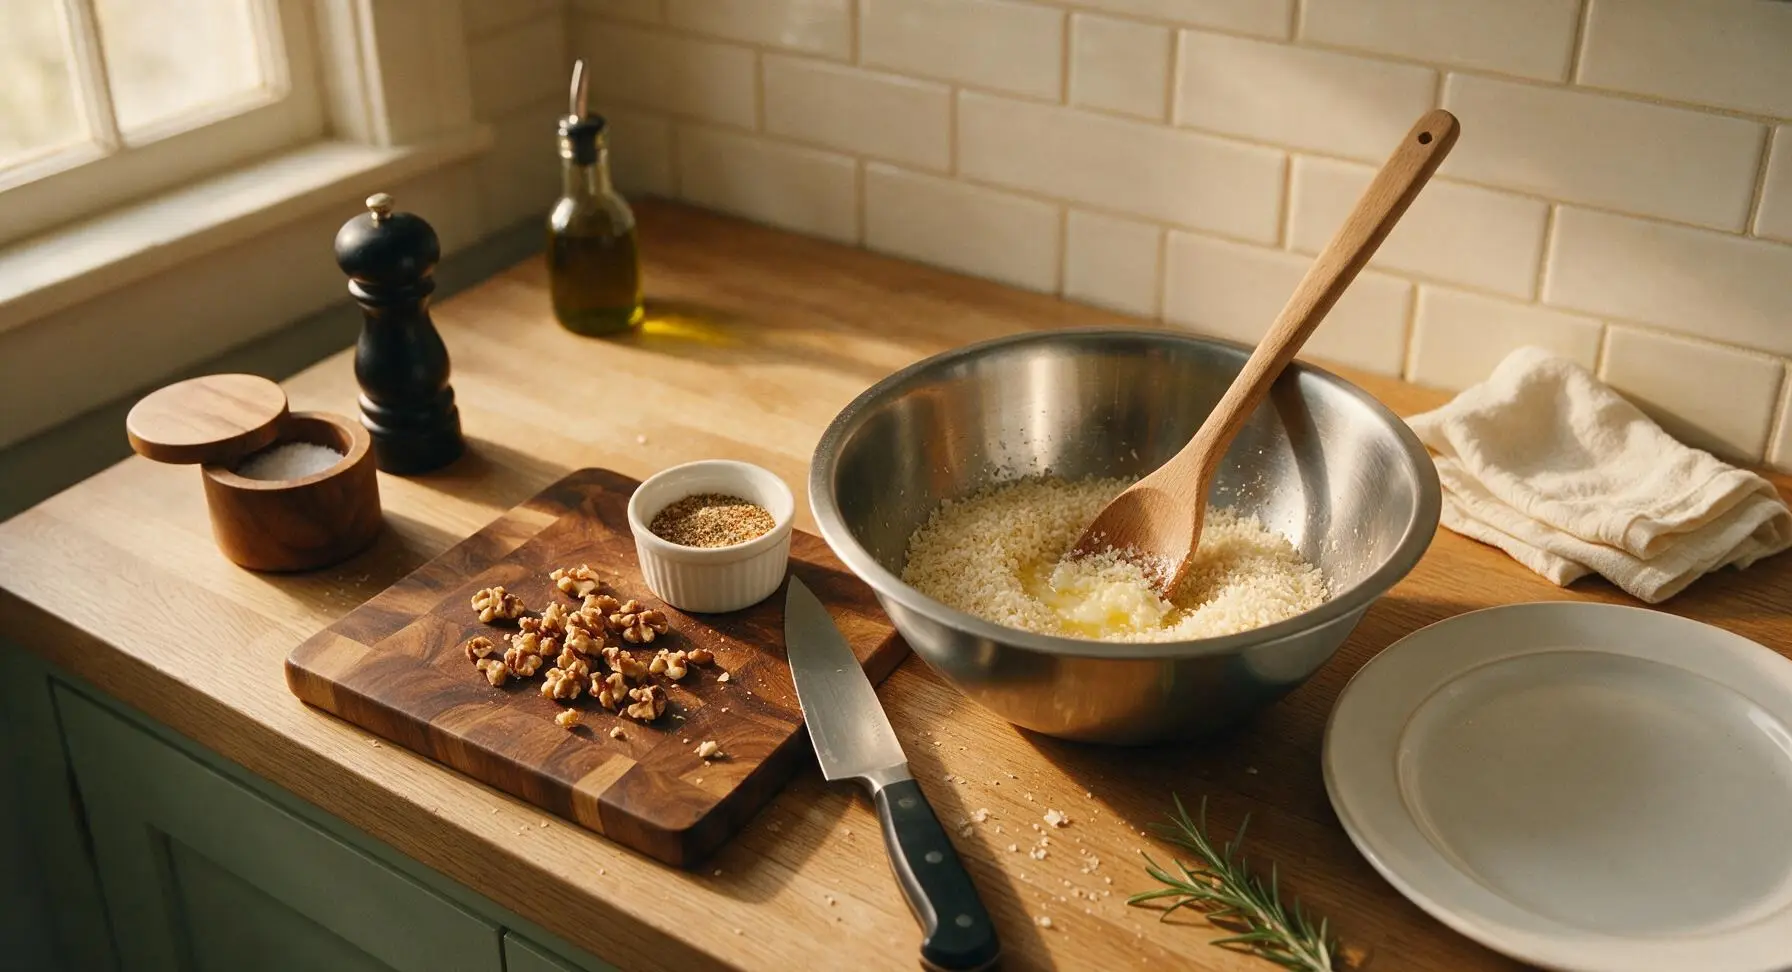
Melt 2 tablespoons unsalted butter in the largest stainless steel mixing bowl, then add 2 cups panko breadcrumbs, stirring with the long beech wood spoon until crumbs are evenly coated in butter. Spread panko in a thin, even layer on one end of the assembled baking sheet, toast in the preheated oven for 3-4 minutes until light golden brown, watching closely to prevent burning. Return toasted panko to the large mixing bowl, then stir in garlic powder, smoked paprika, ½ teaspoon kosher salt, and black pepper until evenly distributed.
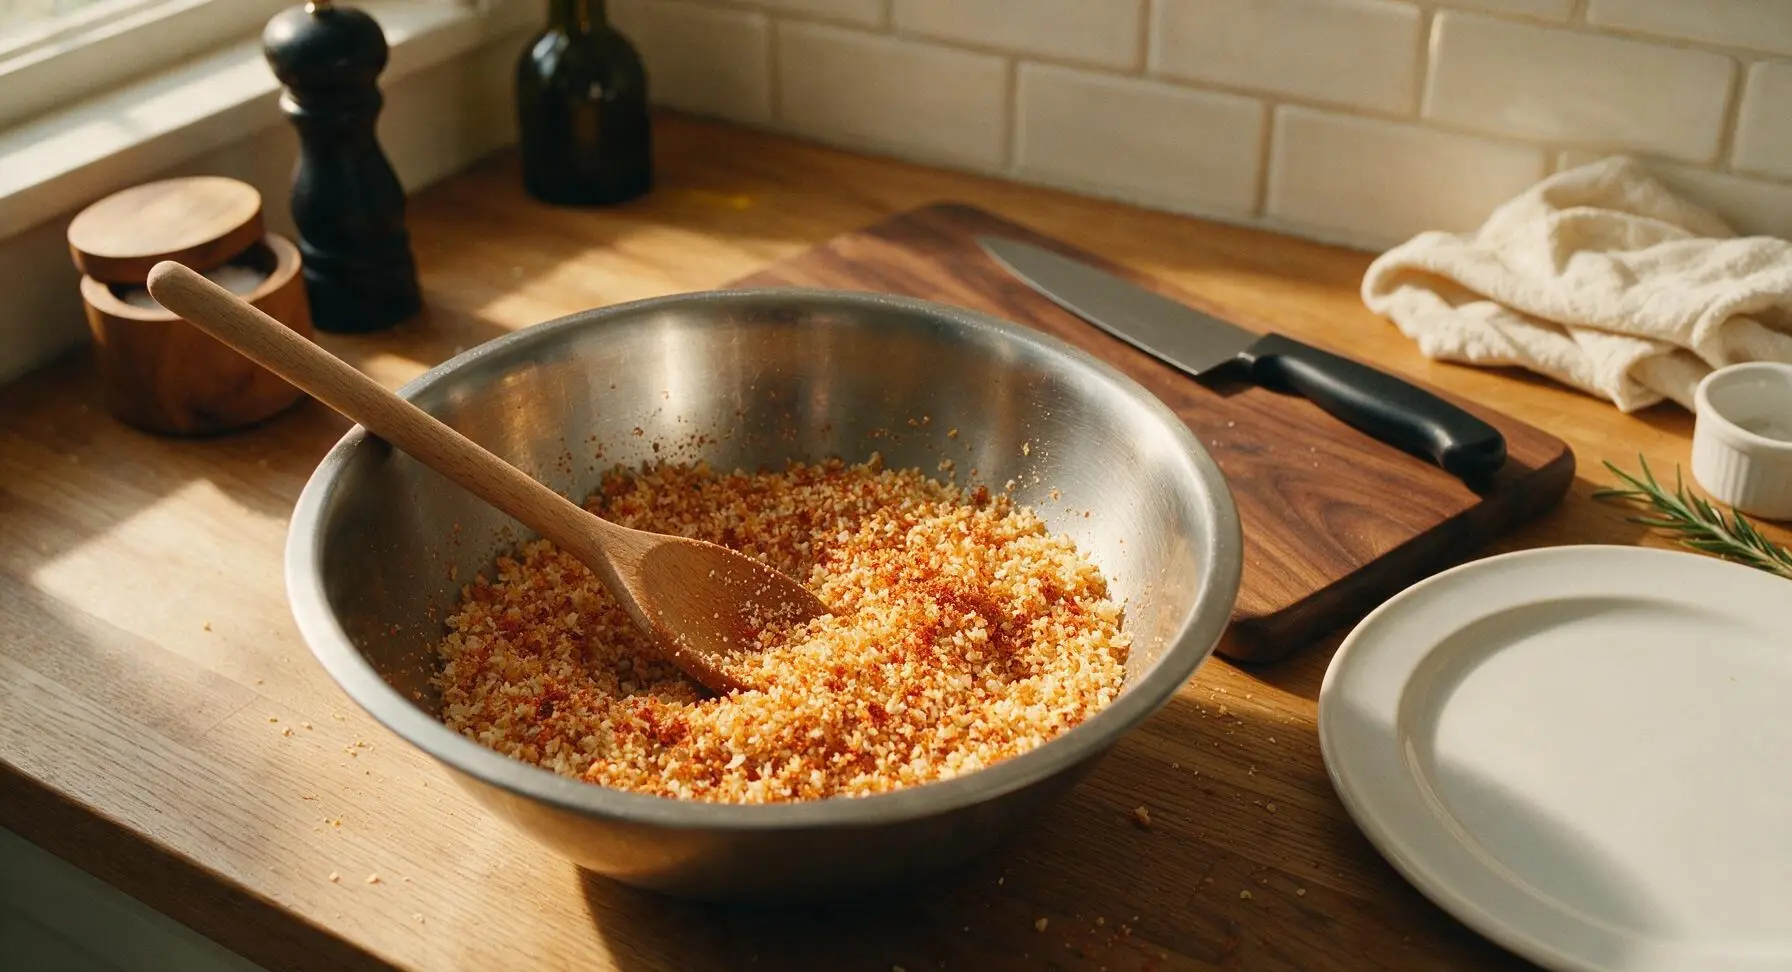
Arrange Breading Station
Arrange the three stainless steel mixing bowls in a straight left-to-right line next to the cutting board to create a low-mess one-way breading flow: place the medium bowl with ½ cup all-purpose flour mixed with the remaining ½ teaspoon kosher salt on the left, the small bowl with 2 large eggs beaten until completely smooth (no streaks of egg white remaining) in the middle, and the large bowl of seasoned toasted panko on the right.
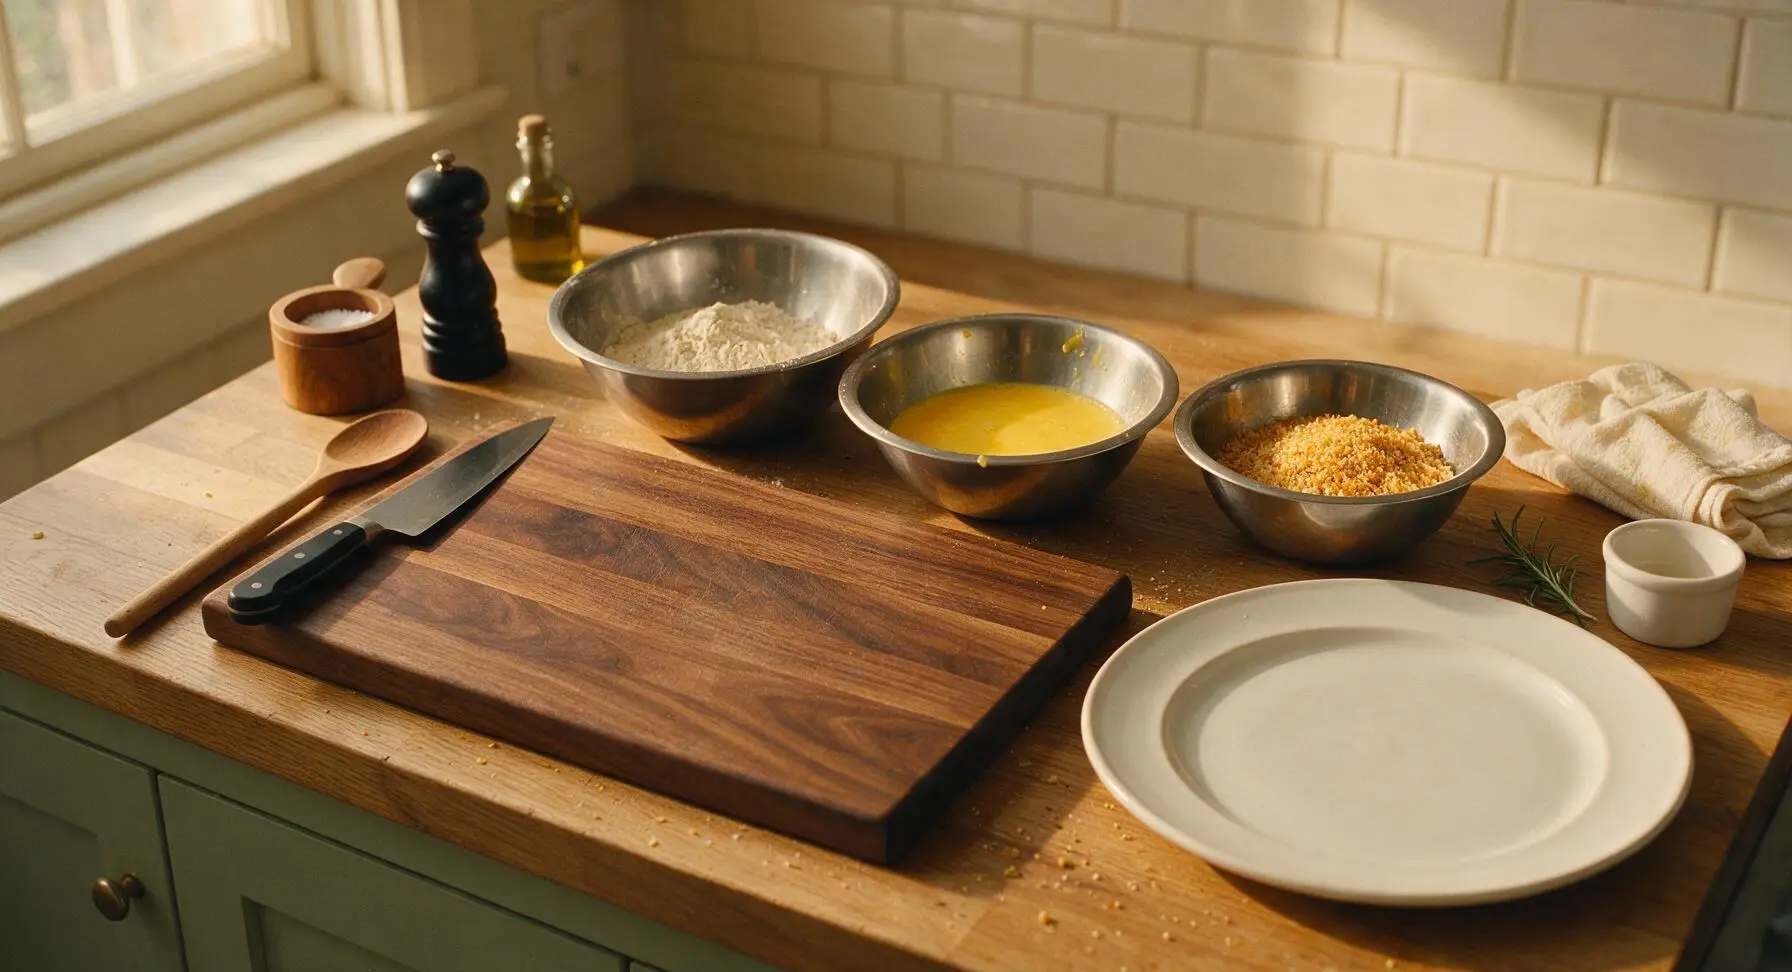
Coat Chicken Evenly
Working one piece at a time to avoid clumpy breading: dredge a chicken piece first in the seasoned flour, shaking off all excess so only a thin, even dusting remains. Dip the floured chicken fully into the beaten egg, letting excess egg drip off for 2 full seconds to avoid heavy, soggy crust. Press the chicken firmly into the panko crumbs on all sides, making sure crumbs adhere to every surface, pressing gently to build a thick, uniform crust. Set fully breaded pieces on a small clean section of the cutting board as you work.
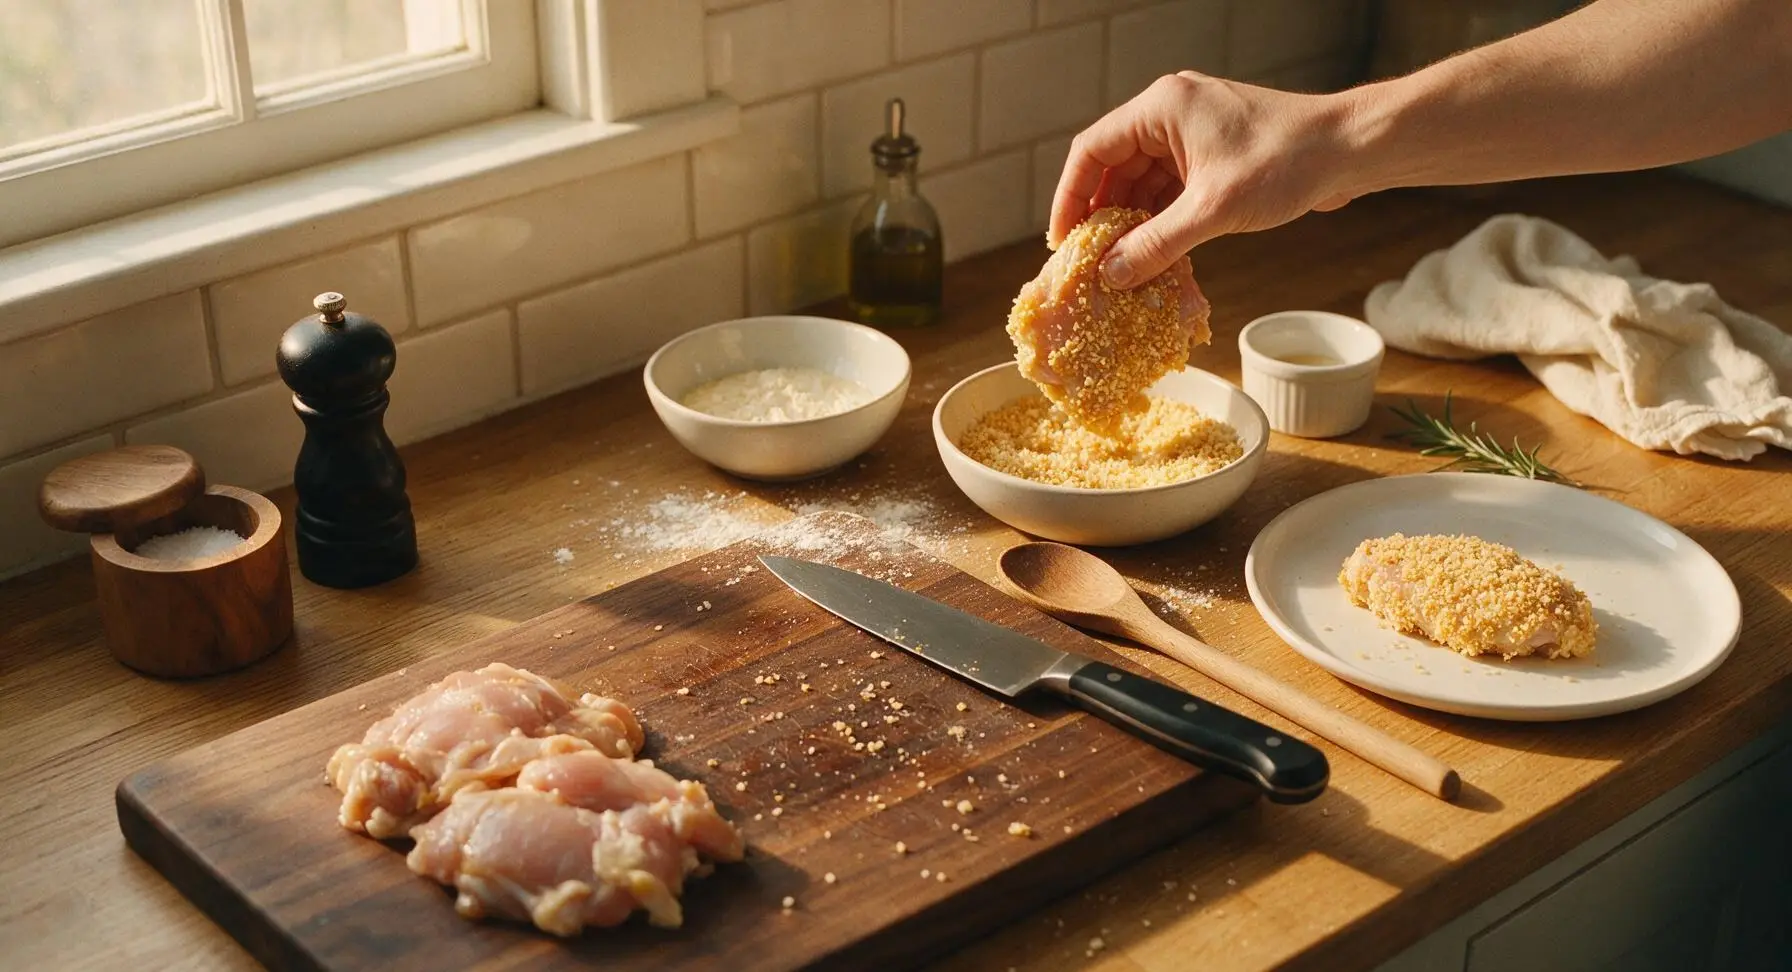
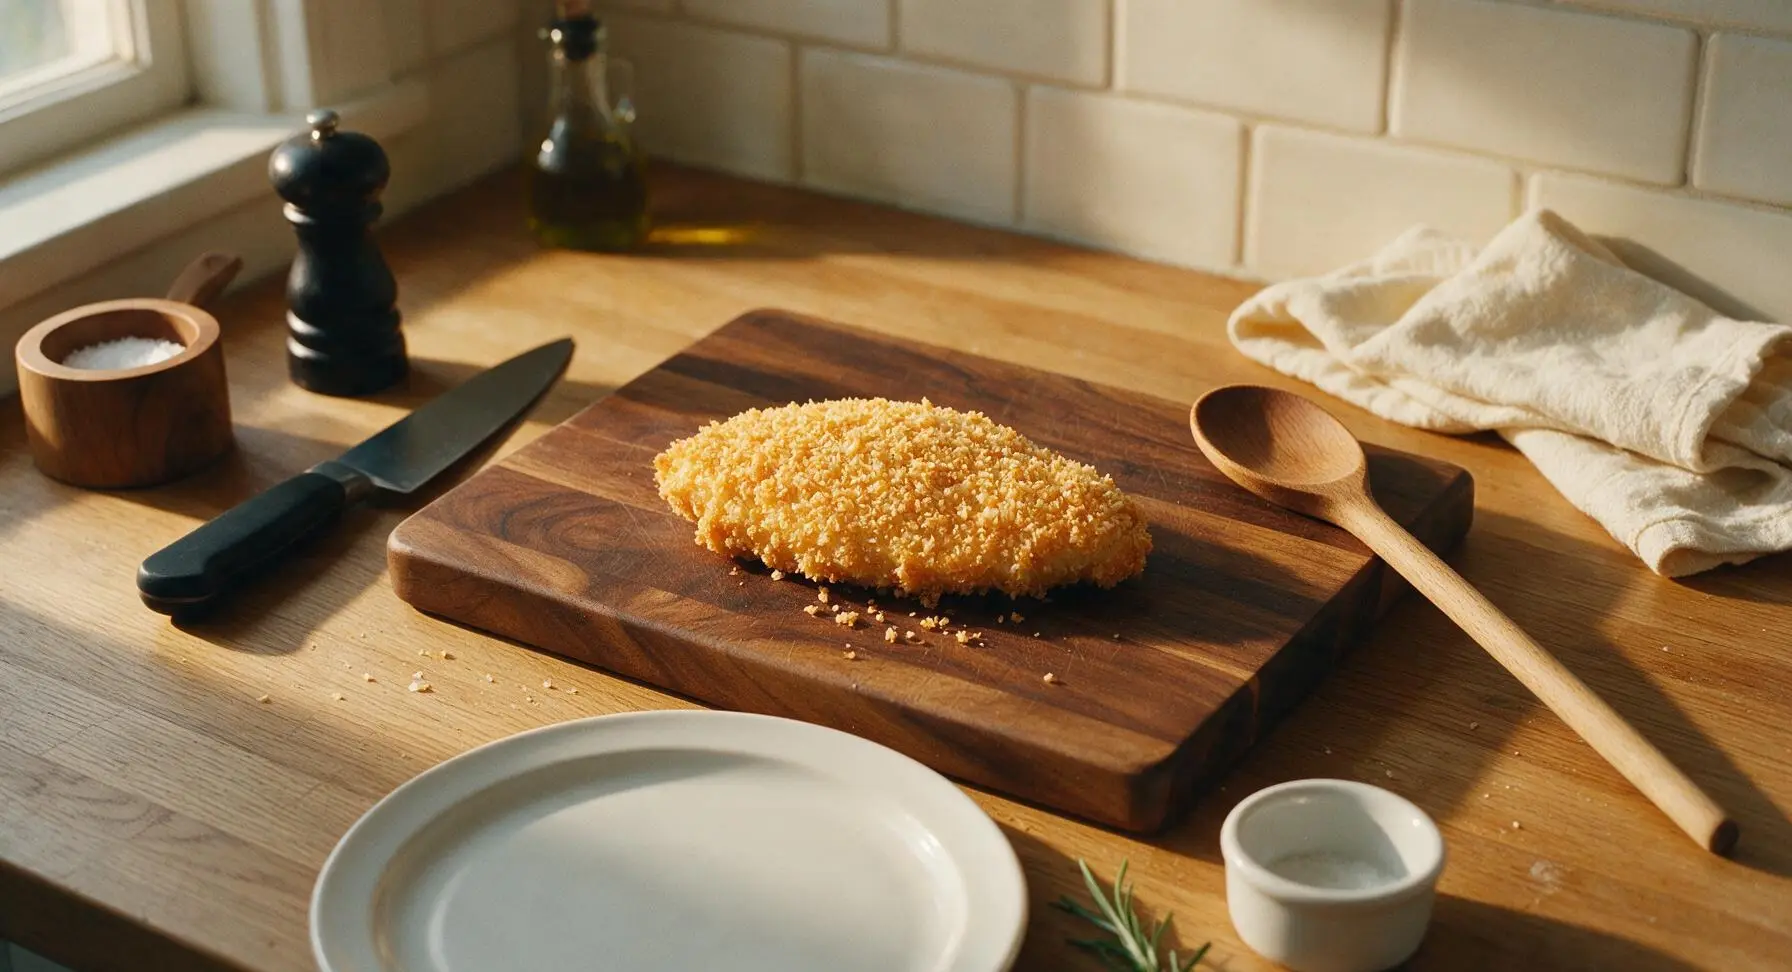
Arrange on Baking Rack
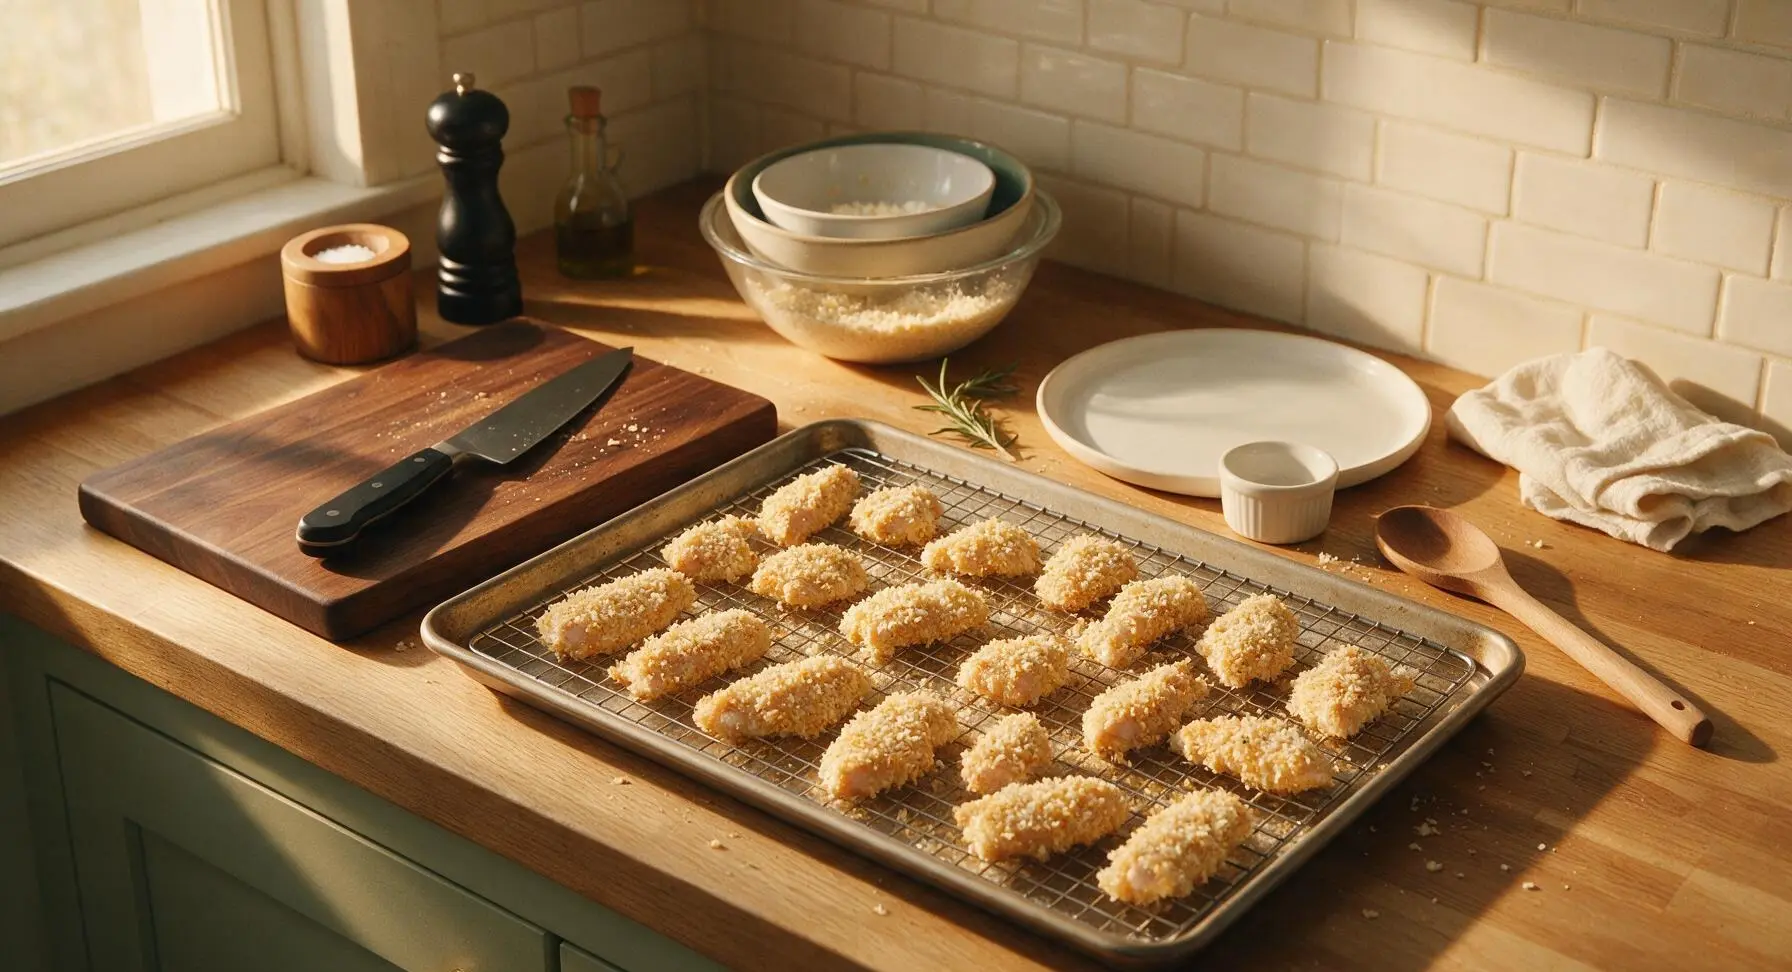
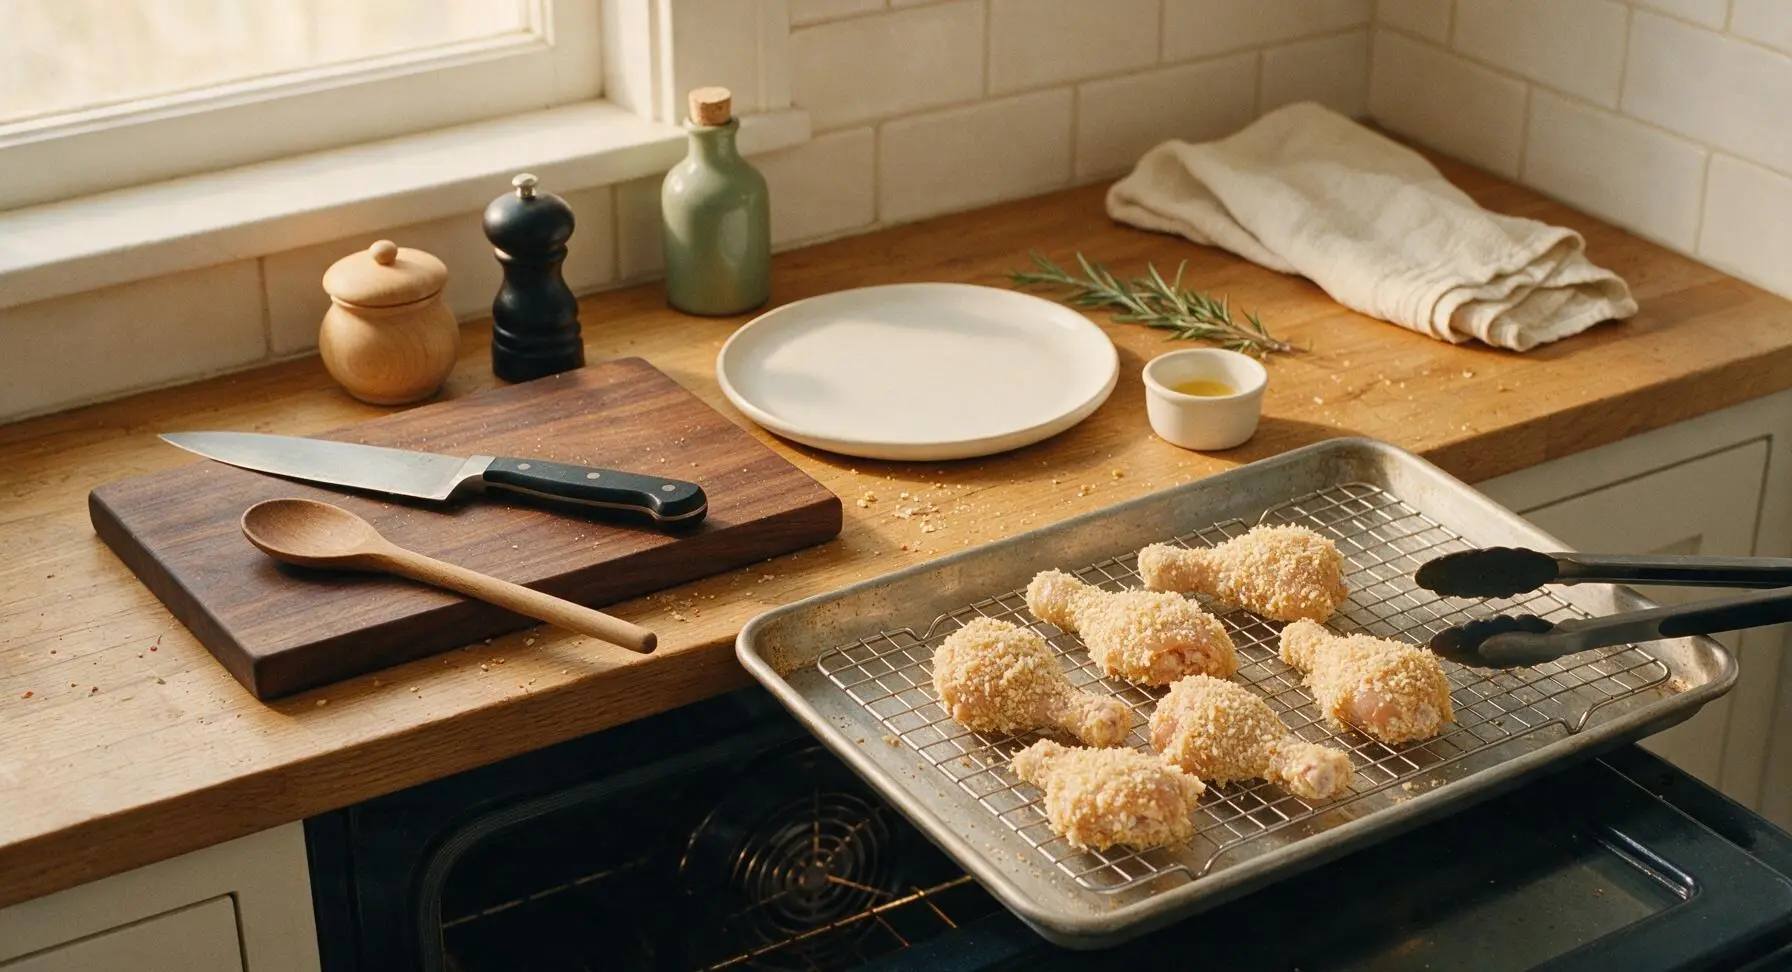
Lightly coat the chrome wire rack on the baking sheet with olive oil cooking spray to prevent sticking. Use tongs to place all breaded chicken pieces on the rack, leaving 1 inch of open space between each piece to allow hot air to circulate. Lightly spritz the top of each breaded chicken piece with a thin layer of cooking spray to encourage even browning.
Bake Until Crisp Juicy
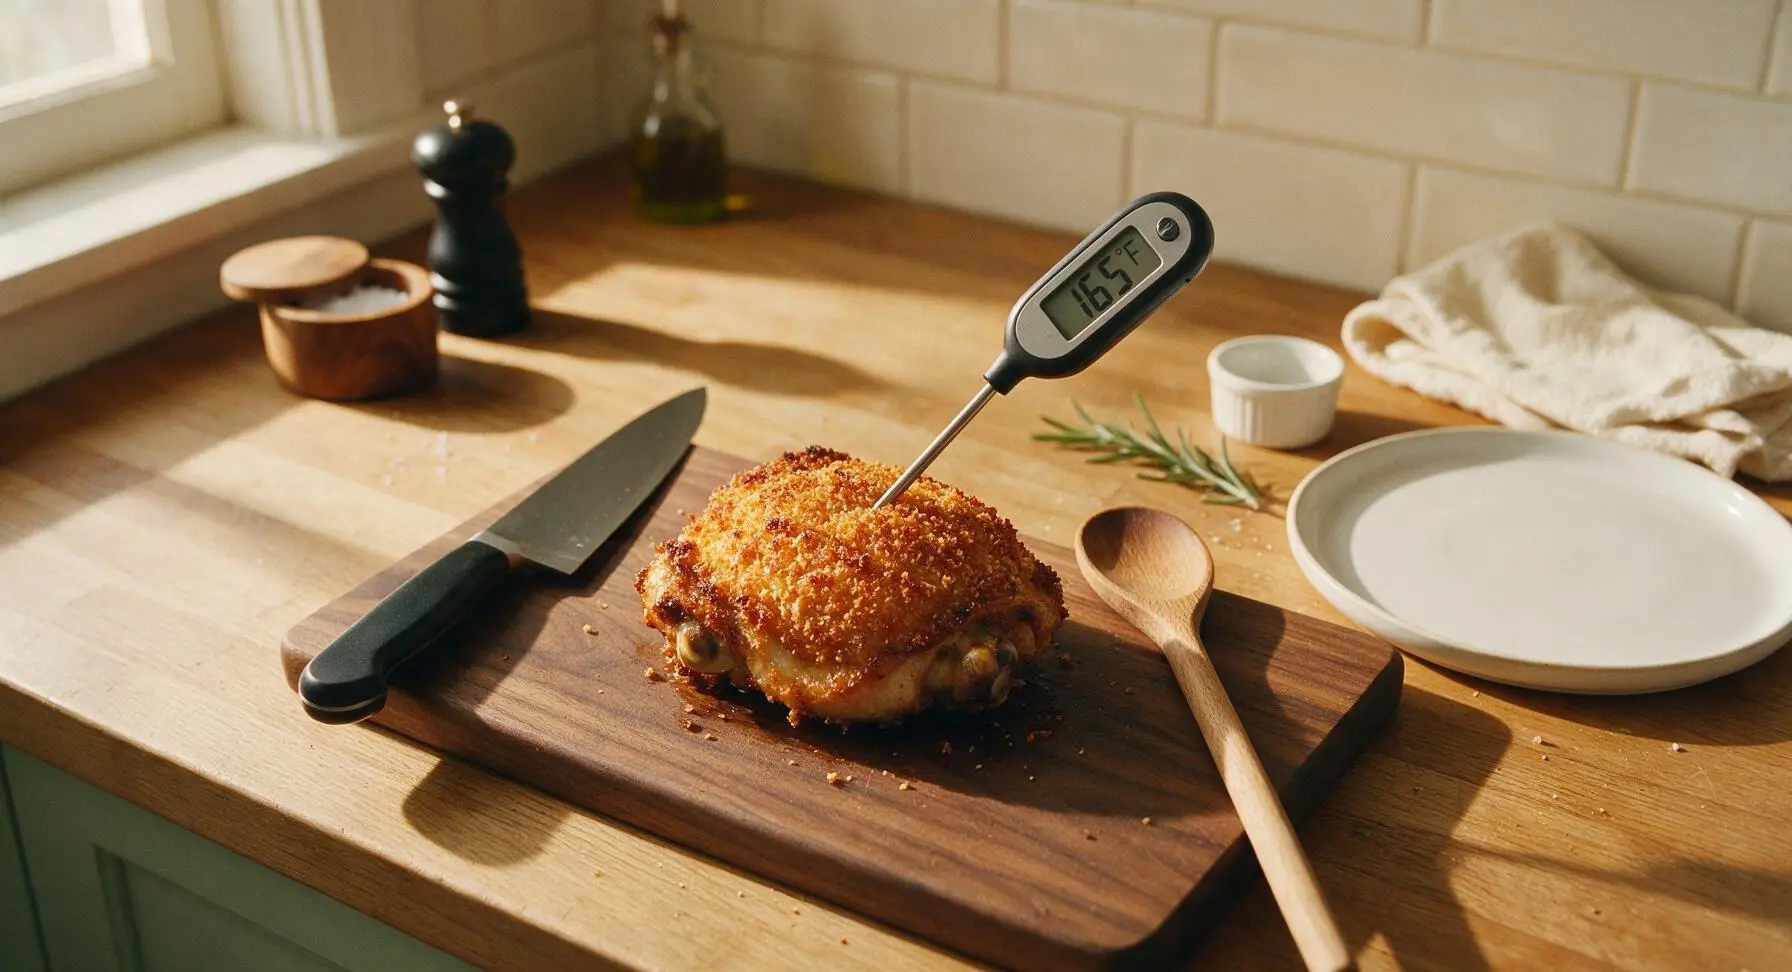
Carefully slide the baking sheet onto the middle rack of the preheated oven. Bake for 30-32 minutes, until the panko crust is deep golden brown and crispy across the entire surface. Check doneness by inserting the digital instant-read thermometer into the thickest part of the largest chicken piece (avoid touching bone, which gives a false high reading) – chicken is done when internal temperature reaches 75°C (165°F). No flipping is required thanks to the elevated wire rack.
Rest and Finish
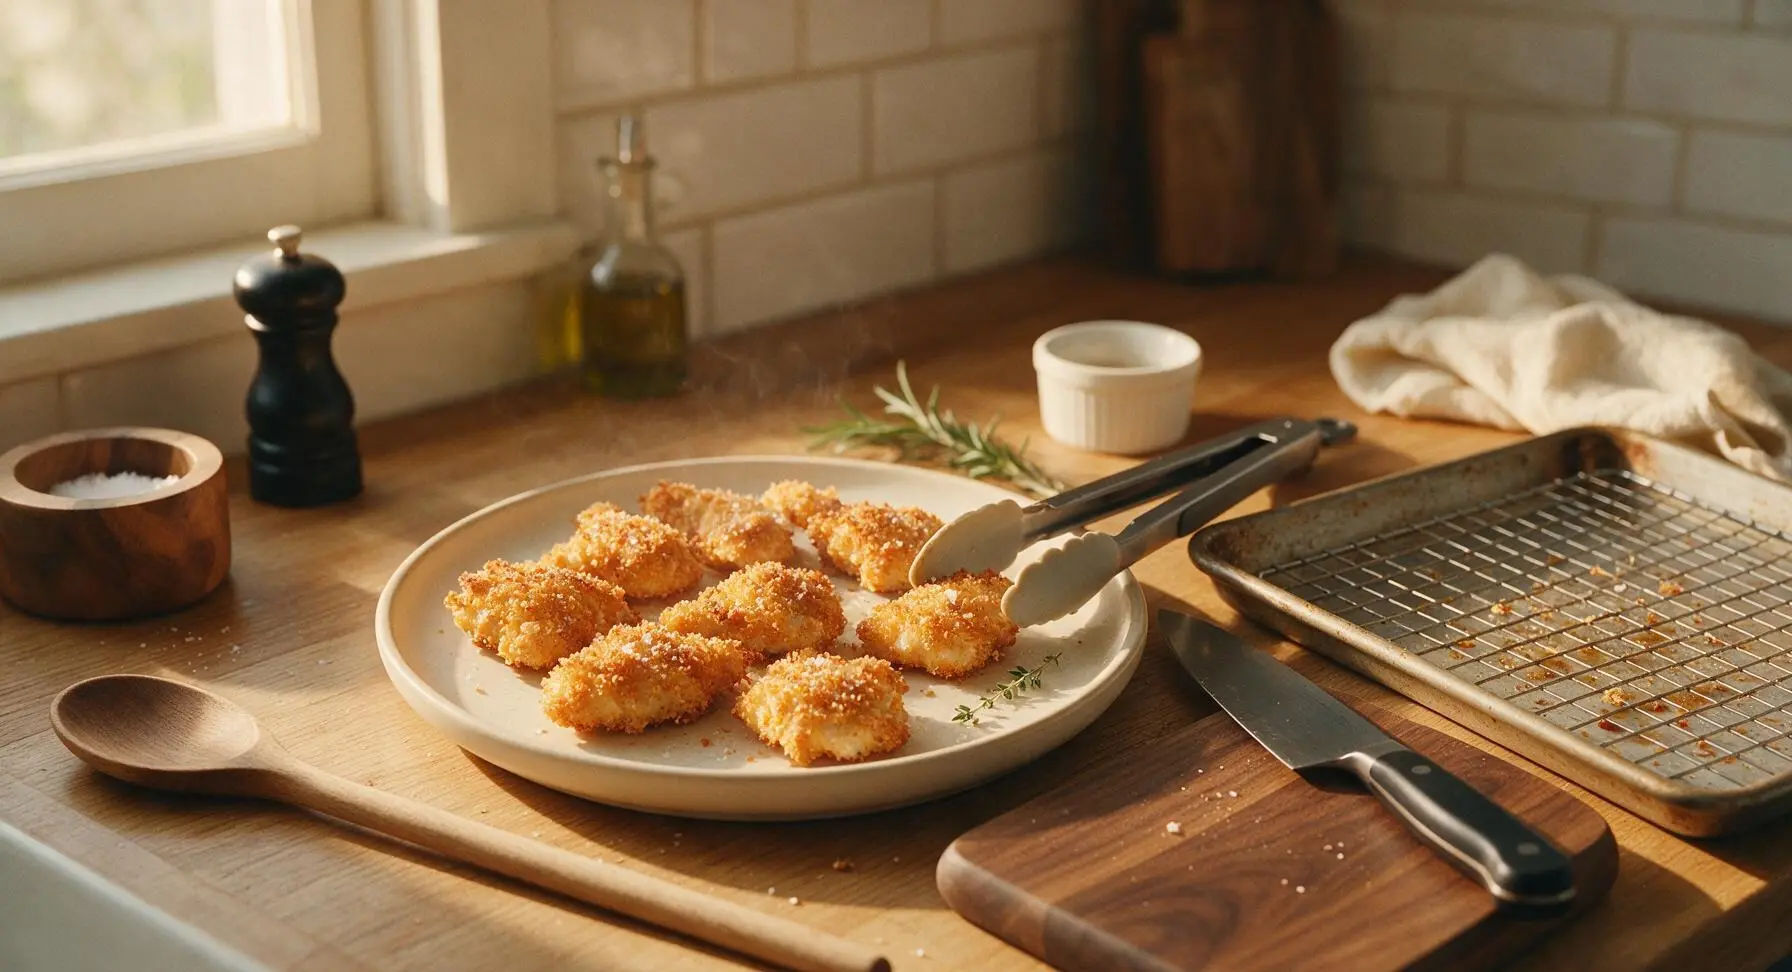
Use the silicone-tipped tongs to transfer cooked chicken pieces to the top matte cream ceramic dinner plate. Let chicken rest for 5 minutes to allow juices to redistribute back into the meat, which prevents dry chicken and juice running all over the plate when serving. Sprinkle lightly with flaky sea salt immediately after removing from the oven so the salt sticks to the hot, crispy crust, then tuck a small thyme sprig on the plate for garnish.
Tips
2.Never skip drying the chicken: Any residual moisture on the chicken skin creates steam under the panko crust, which causes crumbs to slide off and creates soft, soggy spots. Patting dry helps the flour adhere tightly, creating a sealed base for the egg and panko layers.
3.Use an elevated wire rack: Placing breaded chicken directly on a baking sheet traps steam against the bottom crust, making it soggy. The rack allows hot oven air to circulate 360 degrees around every piece, creating even crispness on all sides with no need to flip halfway through baking.
4.Leave space between chicken pieces: Overcrowding the rack traps steam between pieces, leading to soft crusts. The 1-inch gap between pieces ensures air flows freely, so every bite is evenly crispy.






OMG this was a total game changer for our weeknight family dinner! I was so sick of soggy oven fried chicken, but the panko crisped up perfectly even without frying. My 3 kids devoured 2 pieces each and asked when we’re having it again. Total cook time was exactly 35 minutes like the recipe said, no extra fuss. 10/10!
LOVE how easy this is! I made a big batch on Sunday for meal prep for the week, and the chicken stayed crispy even after reheating in the air fryer for a couple minutes. Way healthier than drive thru fried chicken, and way less mess than deep frying at home. Will be making this biweekly for sure.
Brought this to our neighborhood block party potluck last weekend and it was gone in 15 minutes flat! Only reason I’m knocking off one star is I wish I’d seasoned the panko a little more — I added a pinch of paprika and garlic powder extra next time, which was chef’s kiss. Still a huge hit!
As someone who burns basically everything I try to cook, this was foolproof! Super easy, minimal ingredients, no fancy equipment needed. The chicken was juicy on the inside and crispy outside, my roommates thought I ordered takeout lmao
Wait, is there a way to make this gluten free? My partner has celiac and I’ve been searching for a good GF fried chicken dupe that doesn’t require a million specialty ingredients.
Was skeptical of oven fried chicken because I’m a diehard deep fry guy, but my wife begged me to try this to cut down on oil mess in the kitchen. Color me impressed — the crunch is legit, and the chicken didn’t dry out at all. Even made my famous hot honey to drizzle on top, *chef’s kiss*
Taste was great, but my panko didn’t get as crispy as the photos look. Maybe my oven runs cool? I cooked it an extra 7 minutes and it got closer, but still not the crunch I was hoping for. Flavor was solid though, might try again on a higher rack next time.
This is now our go-to Sunday dinner staple! I serve it with mac and cheese and collard greens just like my grandma used to make, but this version is so much lighter. My 82 year old mom even said it’s better than the fried chicken she made for us growing up (don’t tell her I told you all that 😂)
Has anyone tried making this in an air fryer instead of the oven? I barely use my regular oven anymore since I got my air fryer, and I’d love to adapt this recipe if possible!
Y’all. My 7 year old who refuses to eat any protein other than chicken nuggets ate THREE whole thighs of this last night. He kept asking for “more crunchy chicken” — I almost cried. No weird processed nugget ingredients, just real food, and he loved it. Thank you for this recipe!
Made these for our football watch party last Sunday and they were a bigger hit than the wings I usually make! Crunch held up even after sitting out for a couple hours, which I was worried about. Dipped them in ranch and buffalo sauce, *chef’s kiss*
Made this last night and the leftovers made the best chicken sandwich for lunch today! Toasted a brioche bun, added pickles, mayo, and a slice of tomato, and it was better than any fast food chicken sandwich I’ve had in months. Will be making extra just for leftovers from now on.
Quick question — do I need to use a wire rack on the baking sheet, or can I just put the chicken straight on parchment paper? I don’t have a wire rack that fits my sheet pan right now.
This recipe is a staple in our house! I love that it’s not greasy like traditional fried chicken, so I don’t feel guilty serving it to my toddler. I usually swap regular breadcrumbs for whole wheat panko when I have it, works just as well.
The seasoning blend for the panko is *perfect* — not too salty, just the right amount of garlic and paprika. I was worried it would be bland since it’s oven fried, but no, every bite was packed with flavor. Even my partner who douses everything in hot sauce ate it plain!
Super quick and easy to throw together after work, which is exactly what I needed on a busy Tuesday. Only note is I wish the recipe specified how thick the chicken pieces should be — I cut my breasts a little too thick so they needed extra time in the oven. Still turned out tasty, just took longer than 35 minutes for me.
I’ve been making fried chicken for over 40 years, and this oven version is one of the best recipes I’ve tried in a long time. The panko gives such a satisfying crunch without all the splatter and oil waste from deep frying. Shared this recipe with all my friends at the senior center, everyone’s been raving about it!