
paula patton chicken

title 1
paula patton chicken
⏱️ cook time 40 minutes
🍽️ servings 4
⚡ Difficulty medium

intro

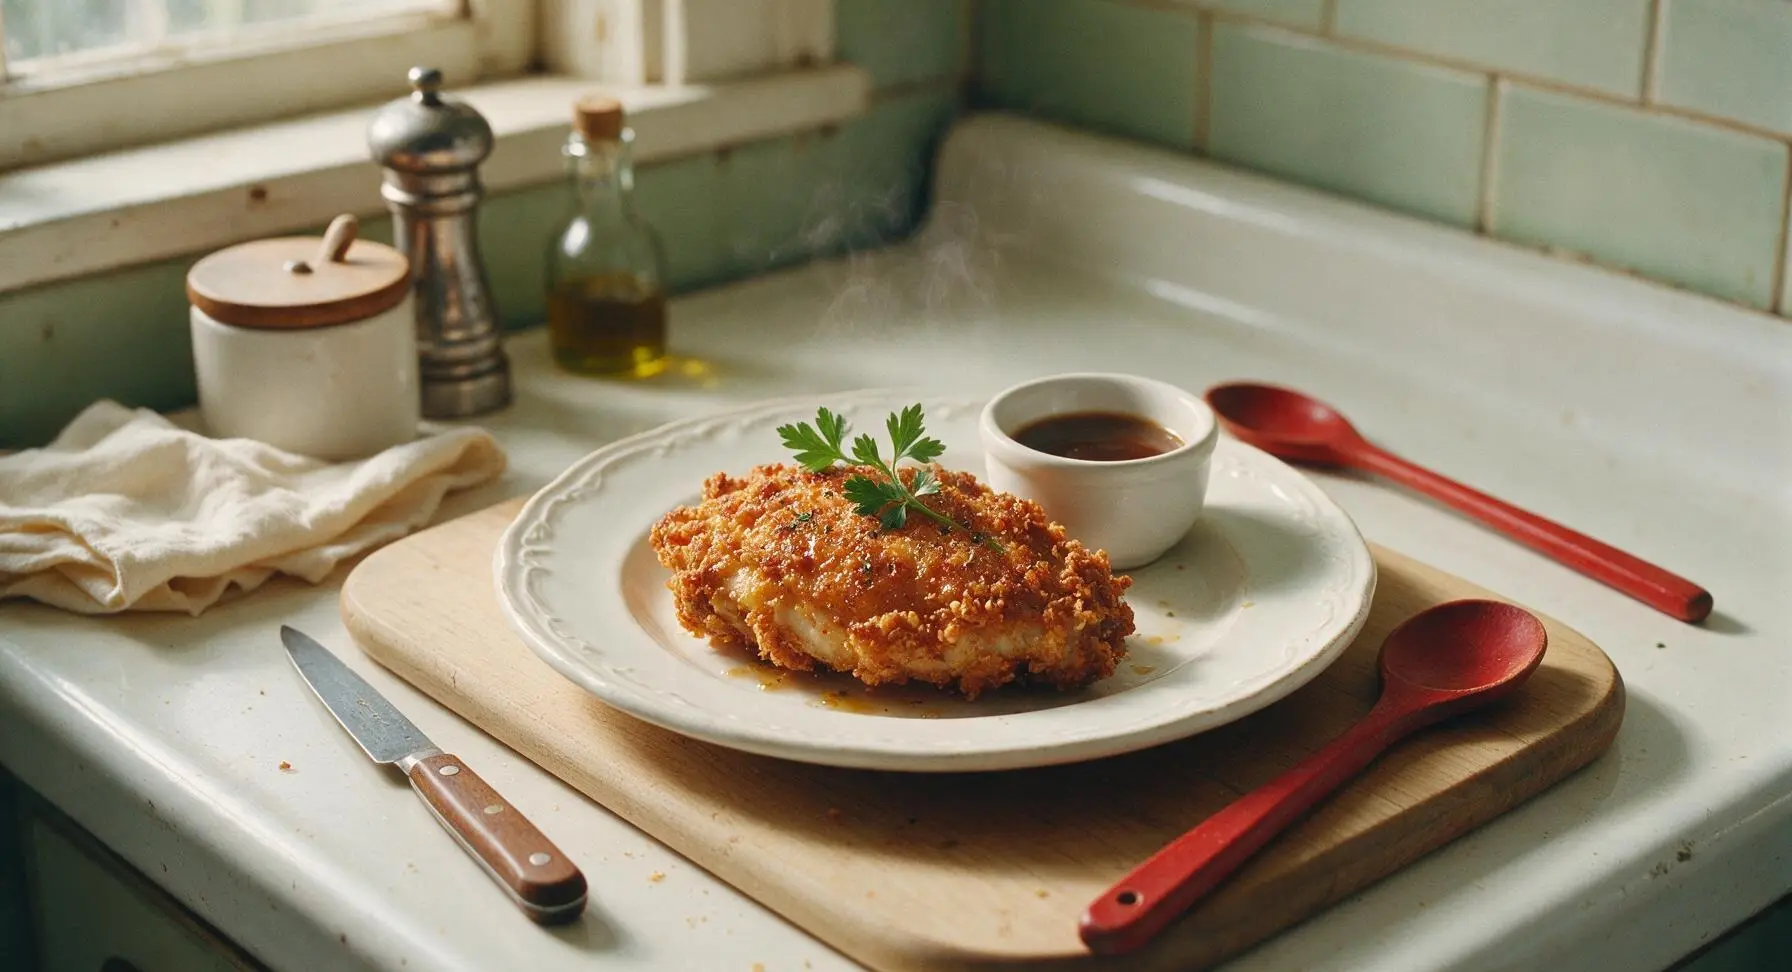
Paula Patton’s viral Southern-style buttermilk chicken features shatteringly crisp crust, juicy tender meat, and a subtle honey-thyme glaze, perfect for shared family meals.

Ingredients
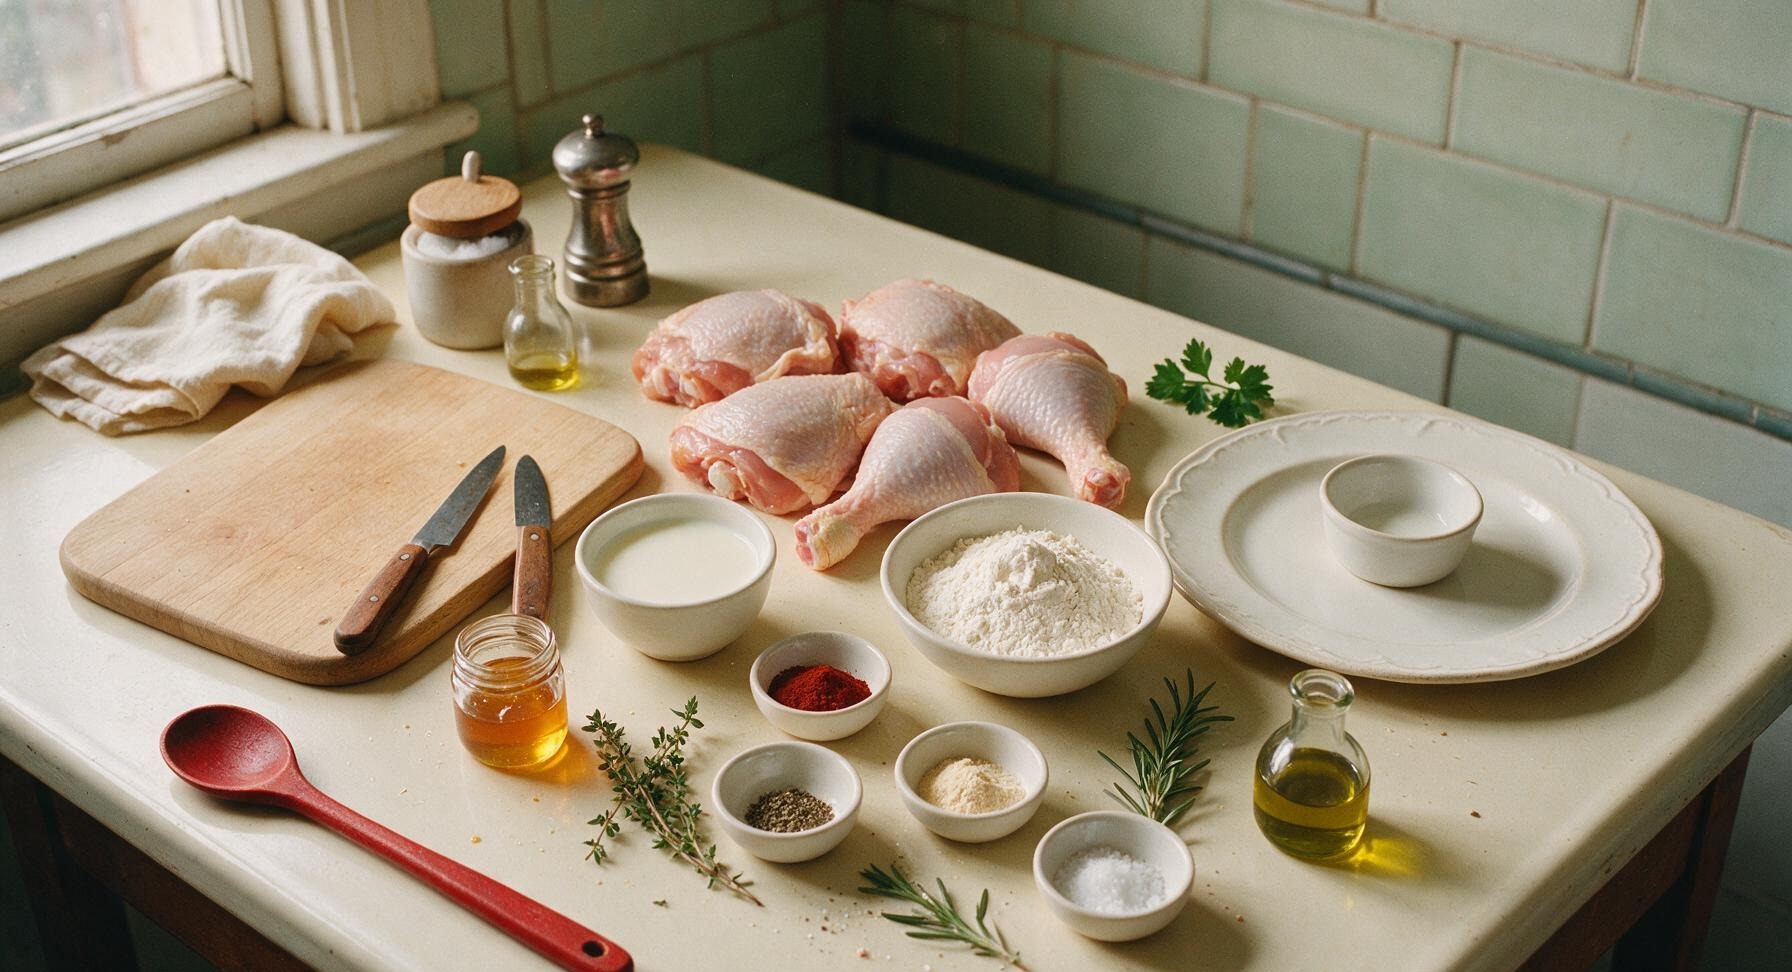
Bone-in, skin-on chicken thighs and drumsticks 1.2kg (approx 4 pieces: 2 thighs, 2 drumsticks)
Full-fat buttermilk 2 cups
All-purpose flour 1 cup
Baking powder 1 tsp
Smoked paprika 1 tbsp
Garlic powder 1 tsp
Onion powder 1 tsp
Dried thyme 1 tsp
Kosher salt 2 tsp (divided)
Freshly cracked black pepper 1 tsp
Raw honey 2 tbsp
Fresh thyme 3 sprigs
Fresh rosemary 1 sprig
Olive oil 1 tbsp

Steps

1

Season and Brine Chicken

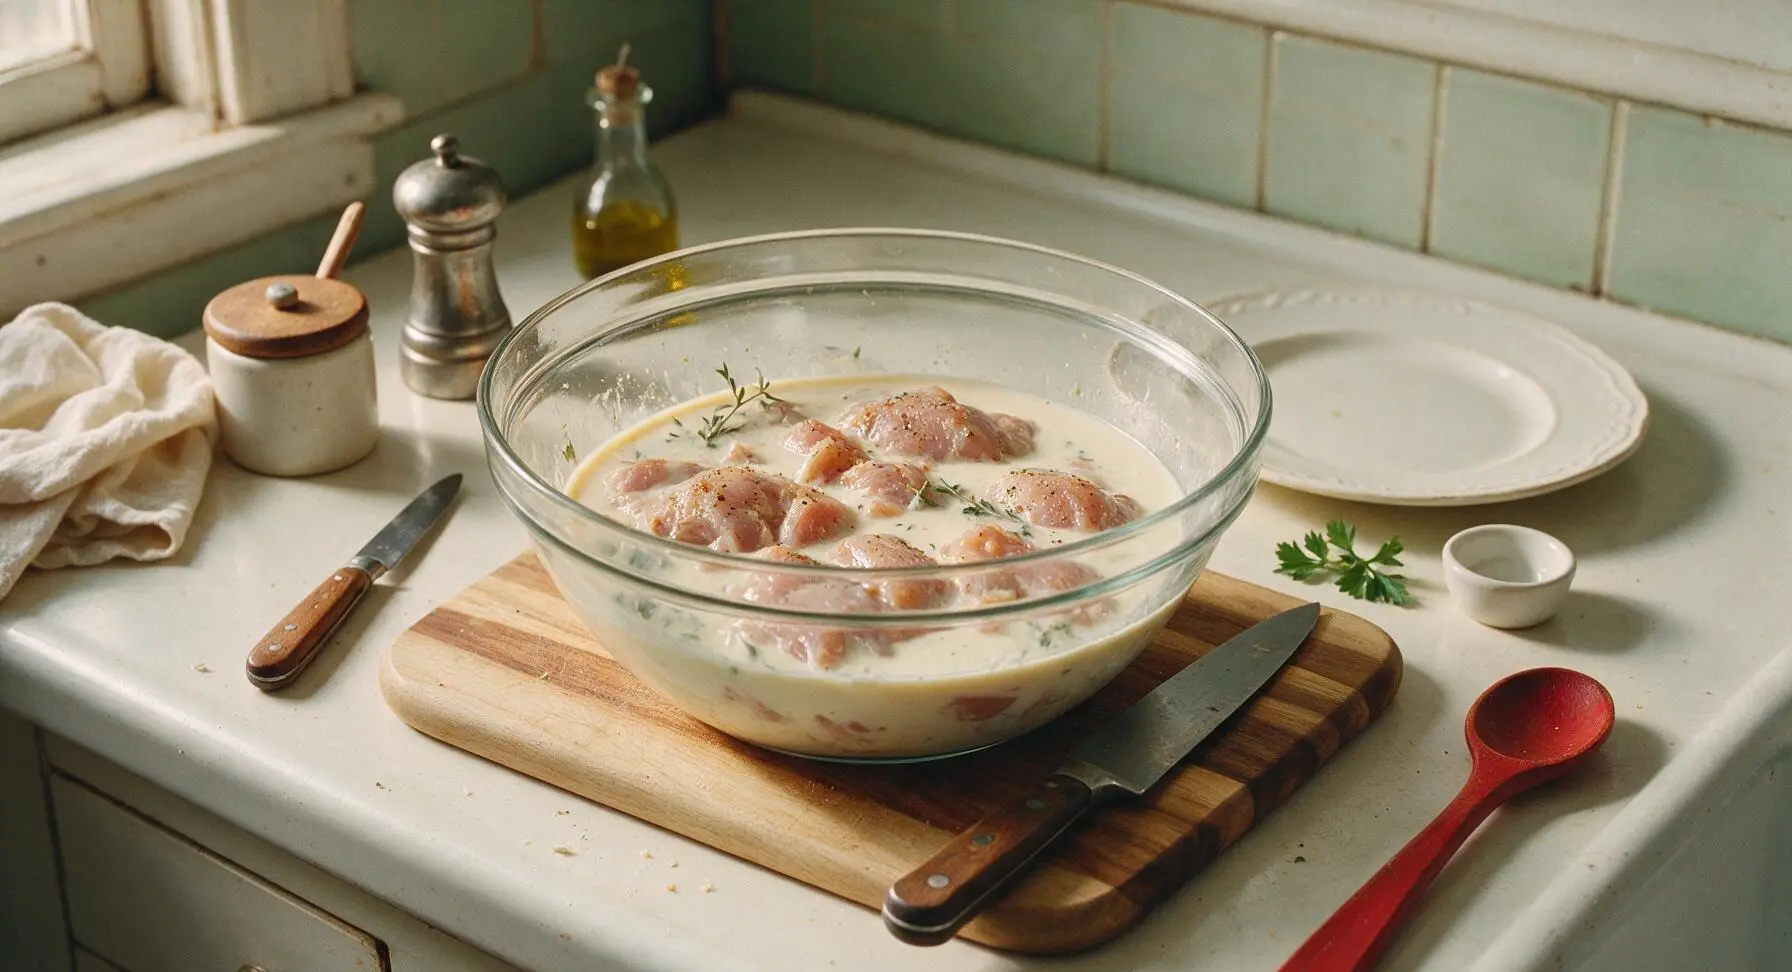
Pat chicken pieces completely dry with paper towels, rub all over with 1 teaspoon of kosher salt. Place chicken in the 3-quart clear glass mixing bowl, pour 2 cups buttermilk over top to fully cover every piece, tuck in the rosemary sprig and 2 sprigs of fresh thyme. Cover the bowl and refrigerate for 2–8 hours; remove from the fridge 20 minutes before cooking to bring to room temperature for even cooking.
Step 1
step1:Season and Brine Chicken
2

Prep Coating and Pan

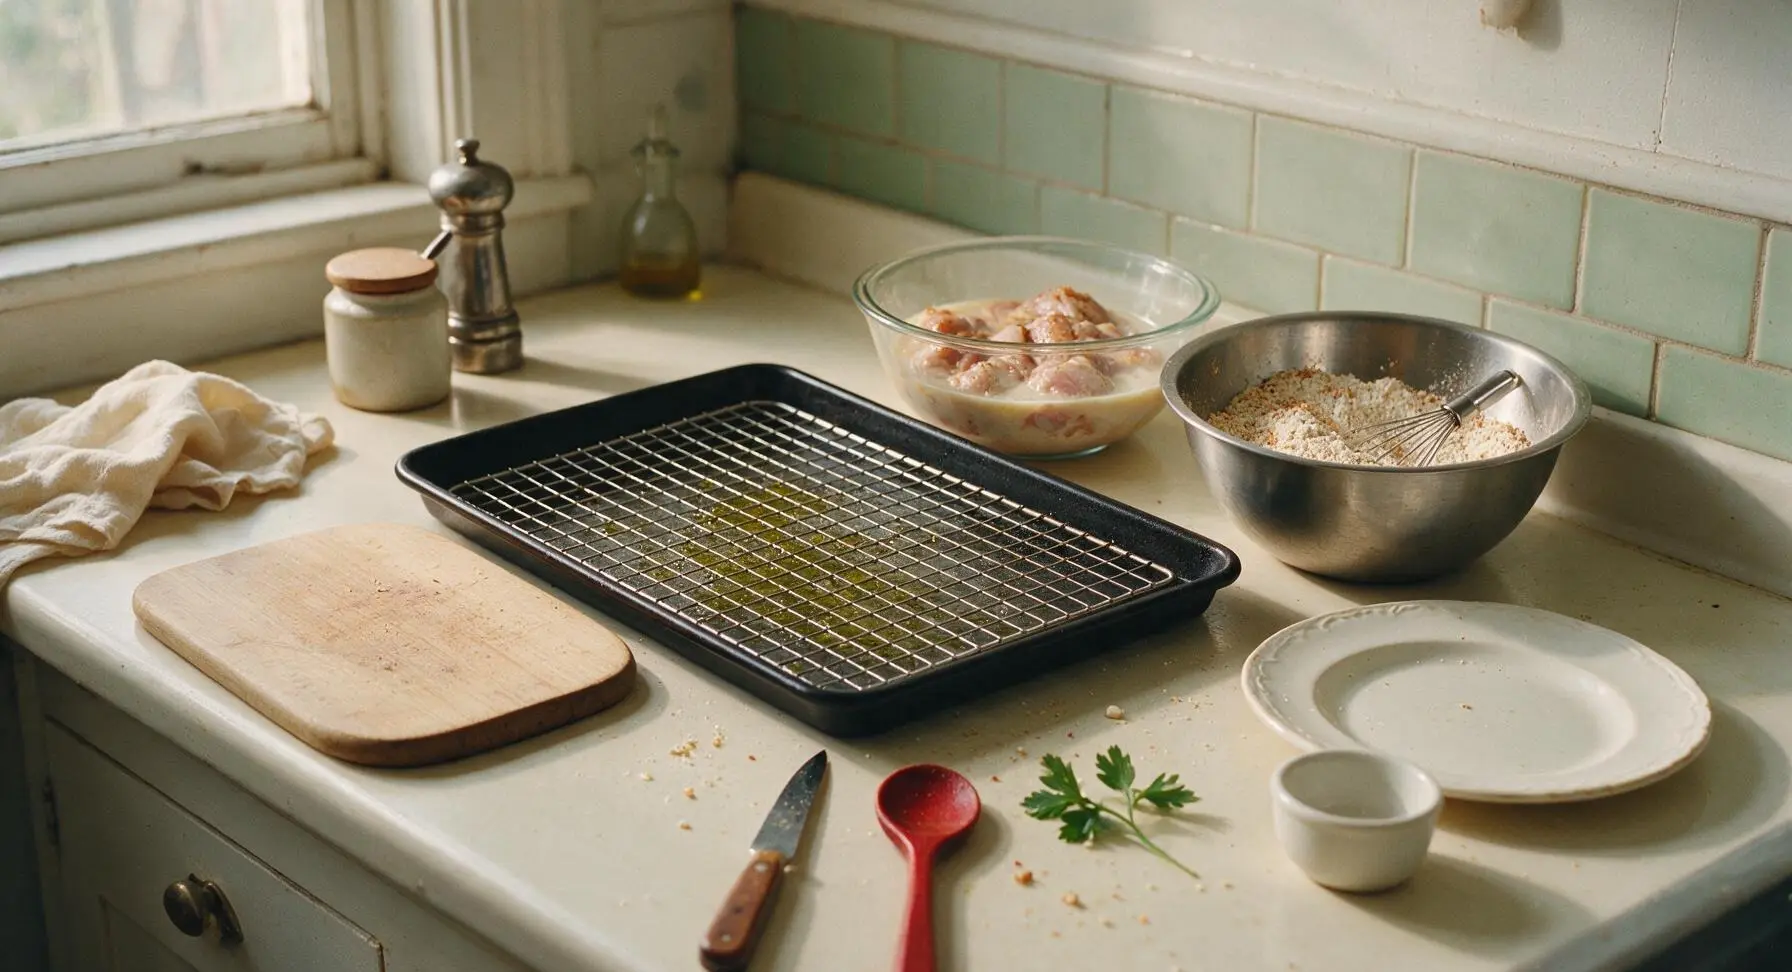
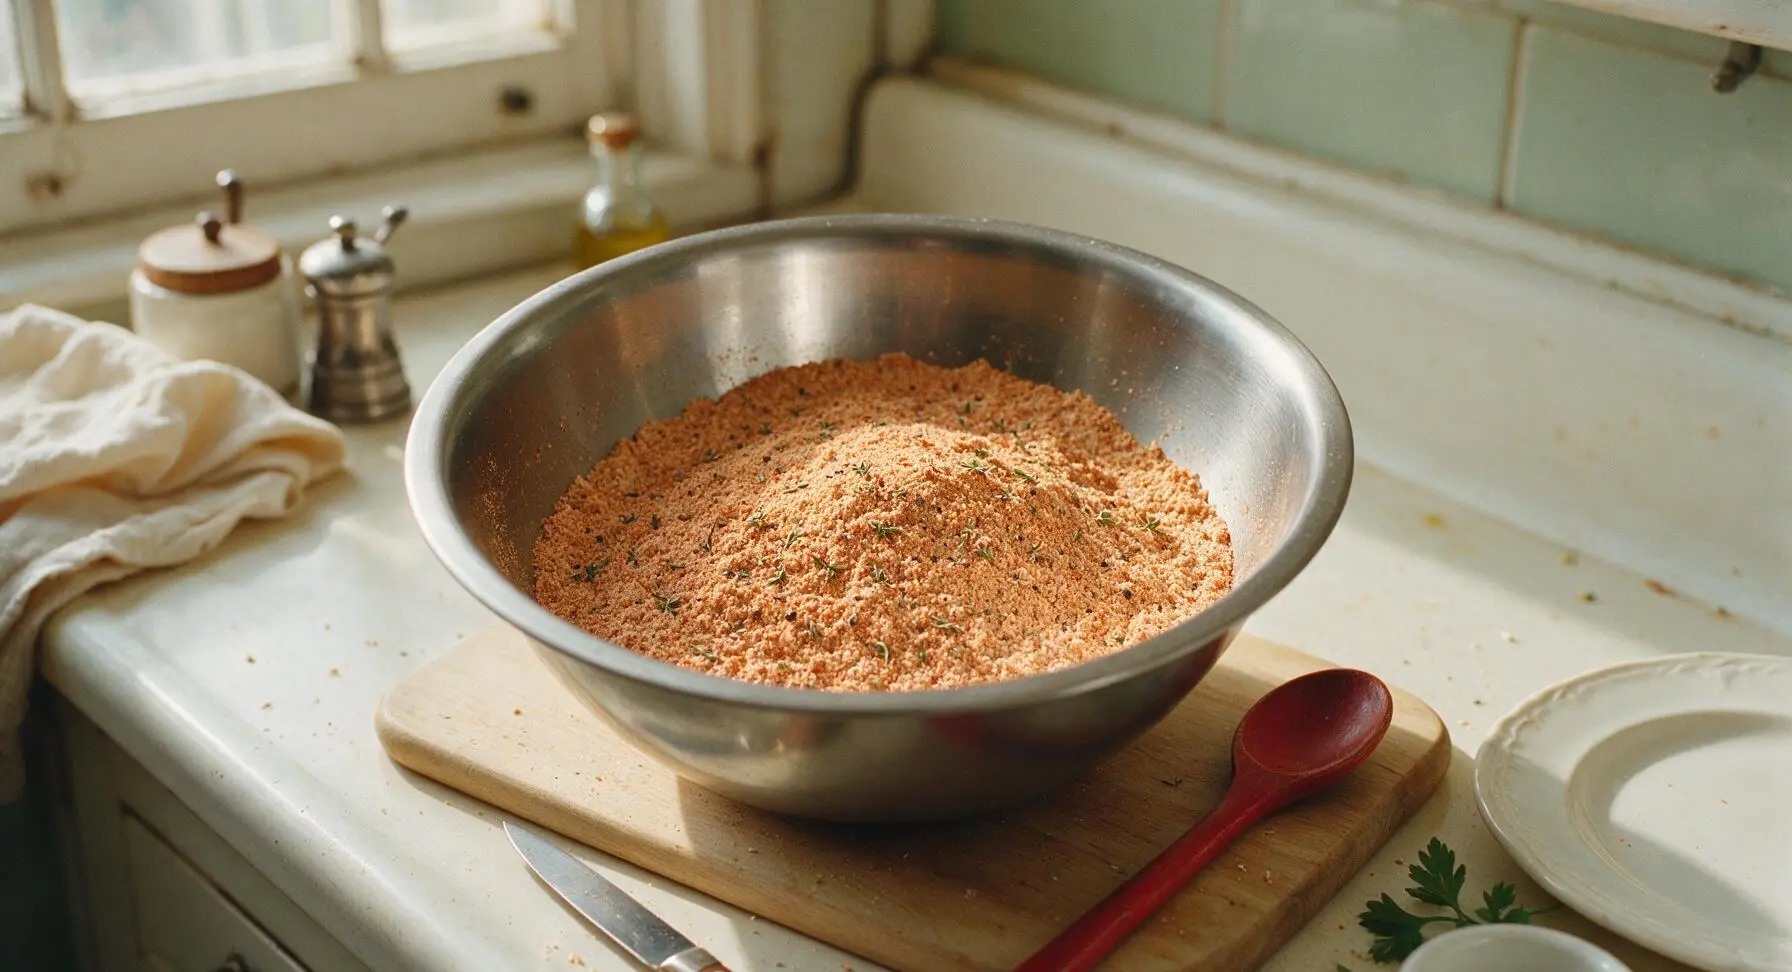
Preheat oven to 425°F (220°C). In the 1-quart brushed stainless steel dry ingredient bowl, combine all-purpose flour, baking powder, smoked paprika, garlic powder, onion powder, dried thyme, remaining 1 teaspoon kosher salt, and cracked black pepper. Whisk thoroughly to evenly distribute spices, breaking up any flour clumps. Retrieve the matte black carbon steel baking sheet and stainless steel wire rack from below the counter, set the rack inside the sheet, and lightly brush the rack with olive oil to prevent sticking.
Step 2
step2:Prep Coating and Pan
Step 2
step2:Prep Coating and Pan
3

Coat Chicken Evenly

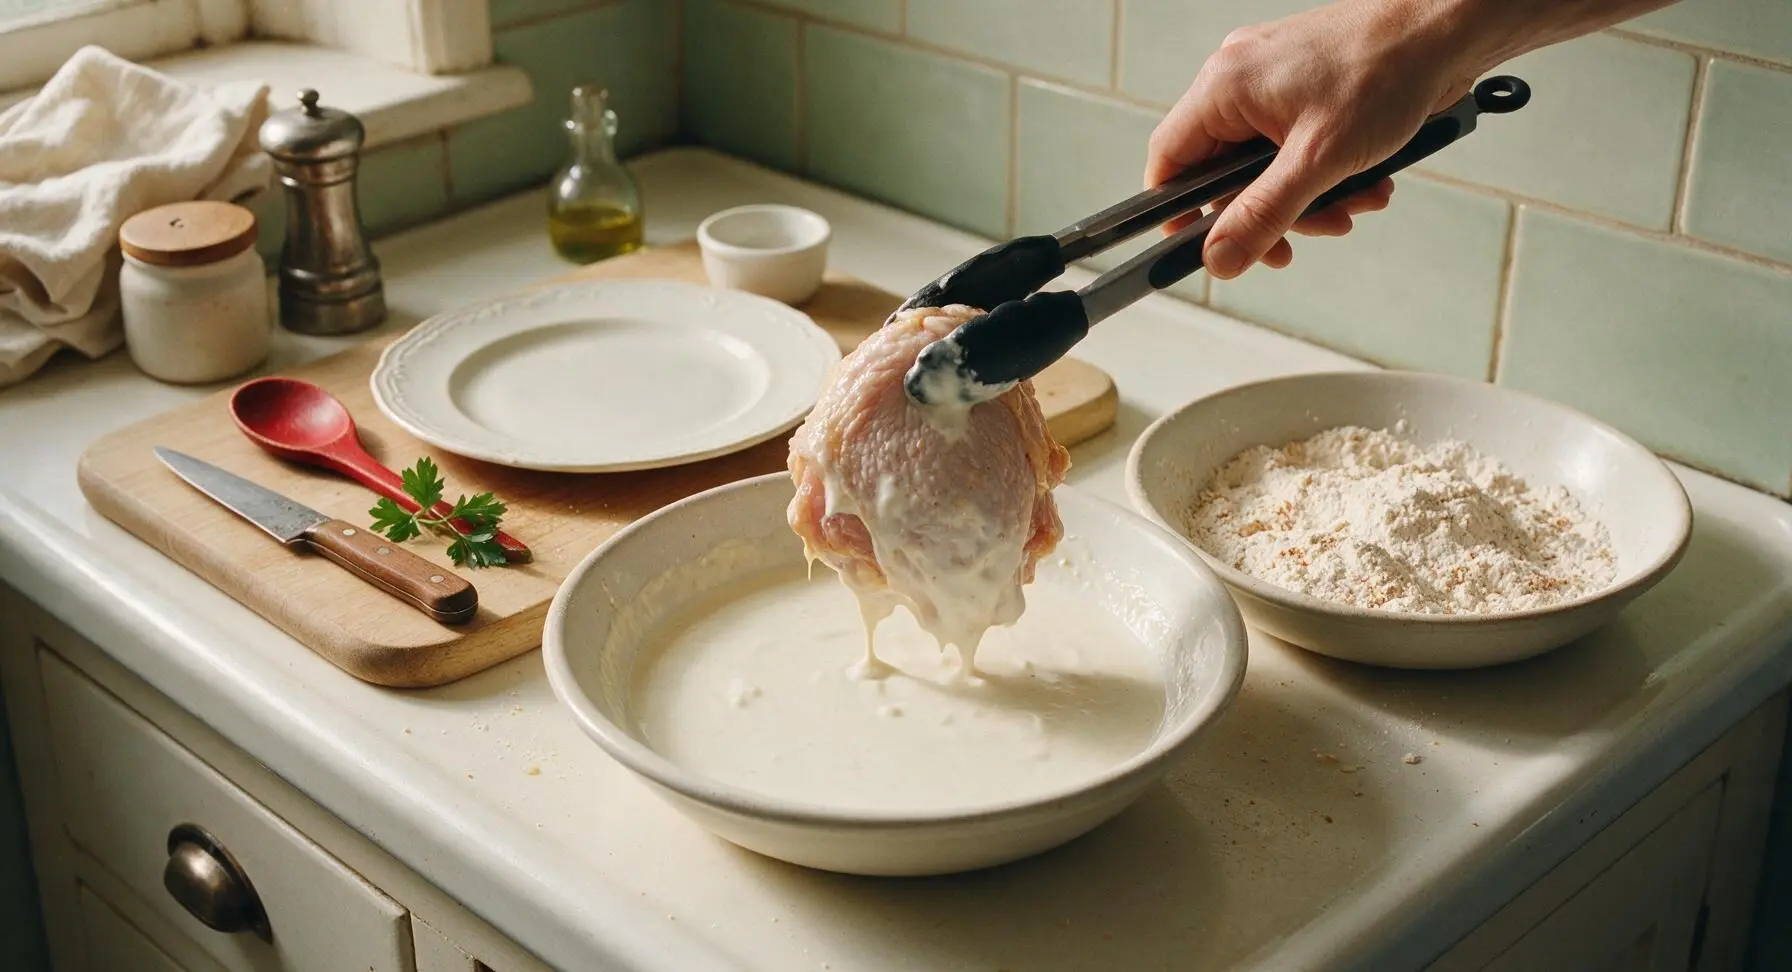
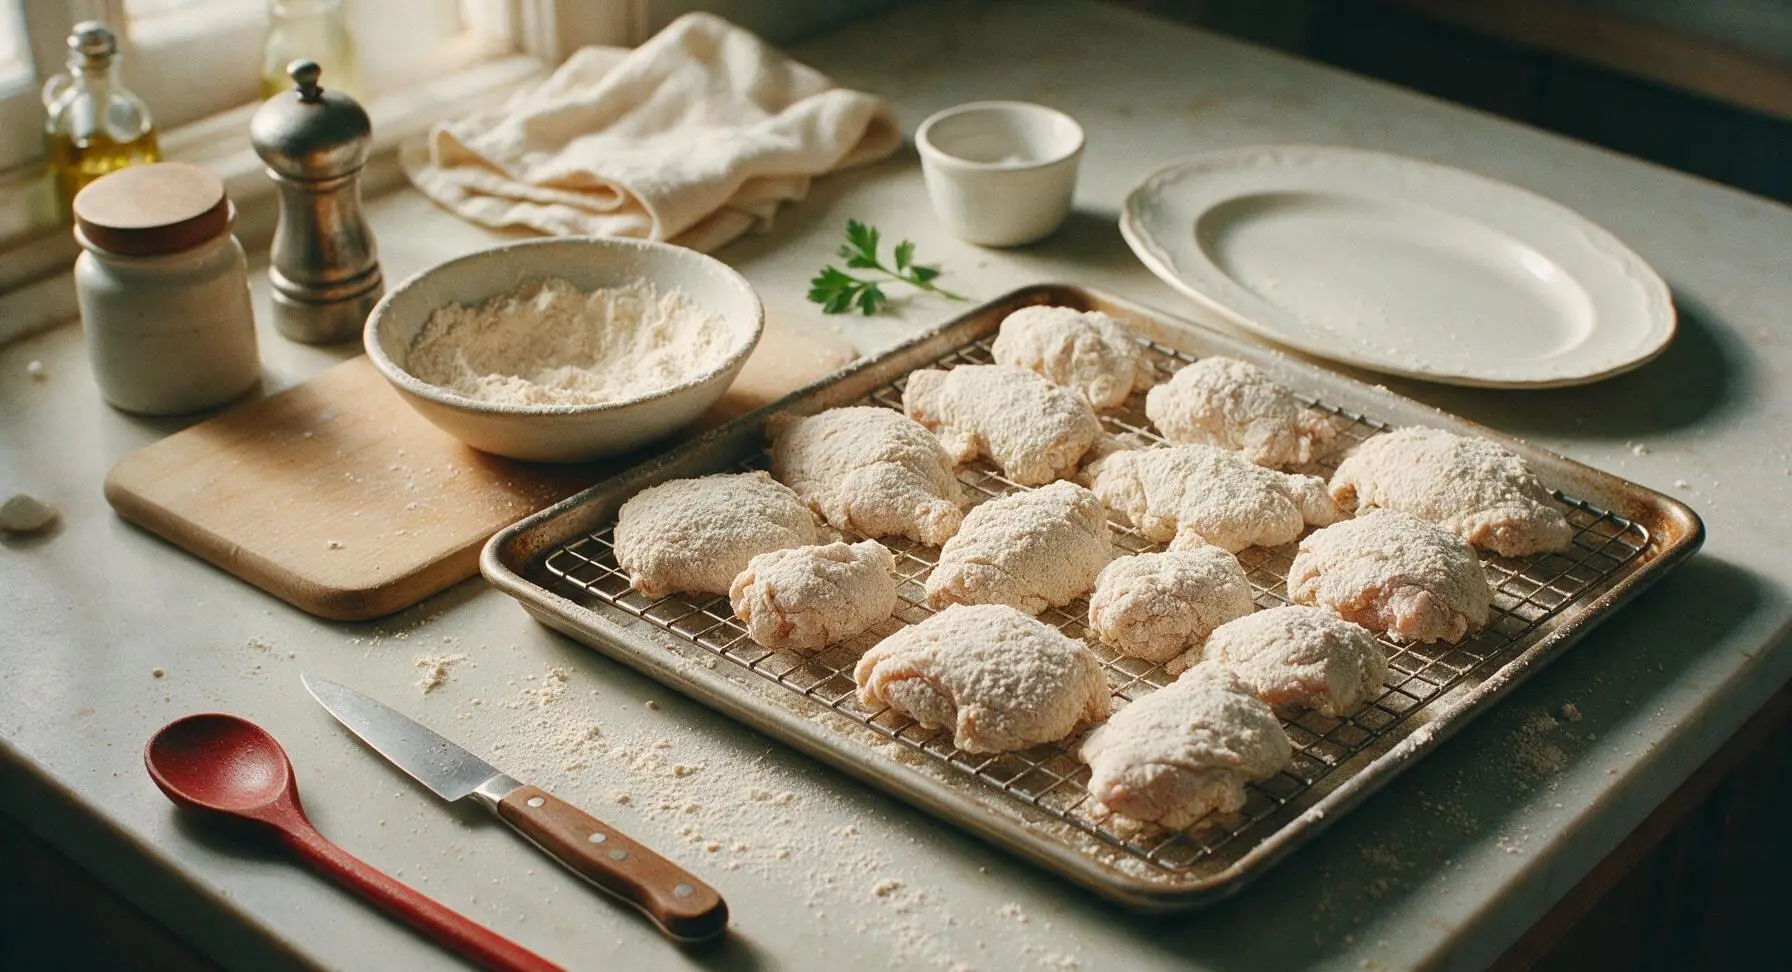
Remove chicken pieces one at a time from the buttermilk brine, letting excess buttermilk drip off for 2–3 seconds. Dredge each piece thoroughly in the flour-spice mix, pressing firmly to ensure coating adheres to every skin crevice. Gently shake off excess flour, then place coated pieces on the oiled wire rack, leaving 1 inch of space between each piece to allow hot air circulation.
Step 3
step3:Coat Chicken Evenly
Step 3
step3:Coat Chicken Evenly
4

Bake Until Crisp

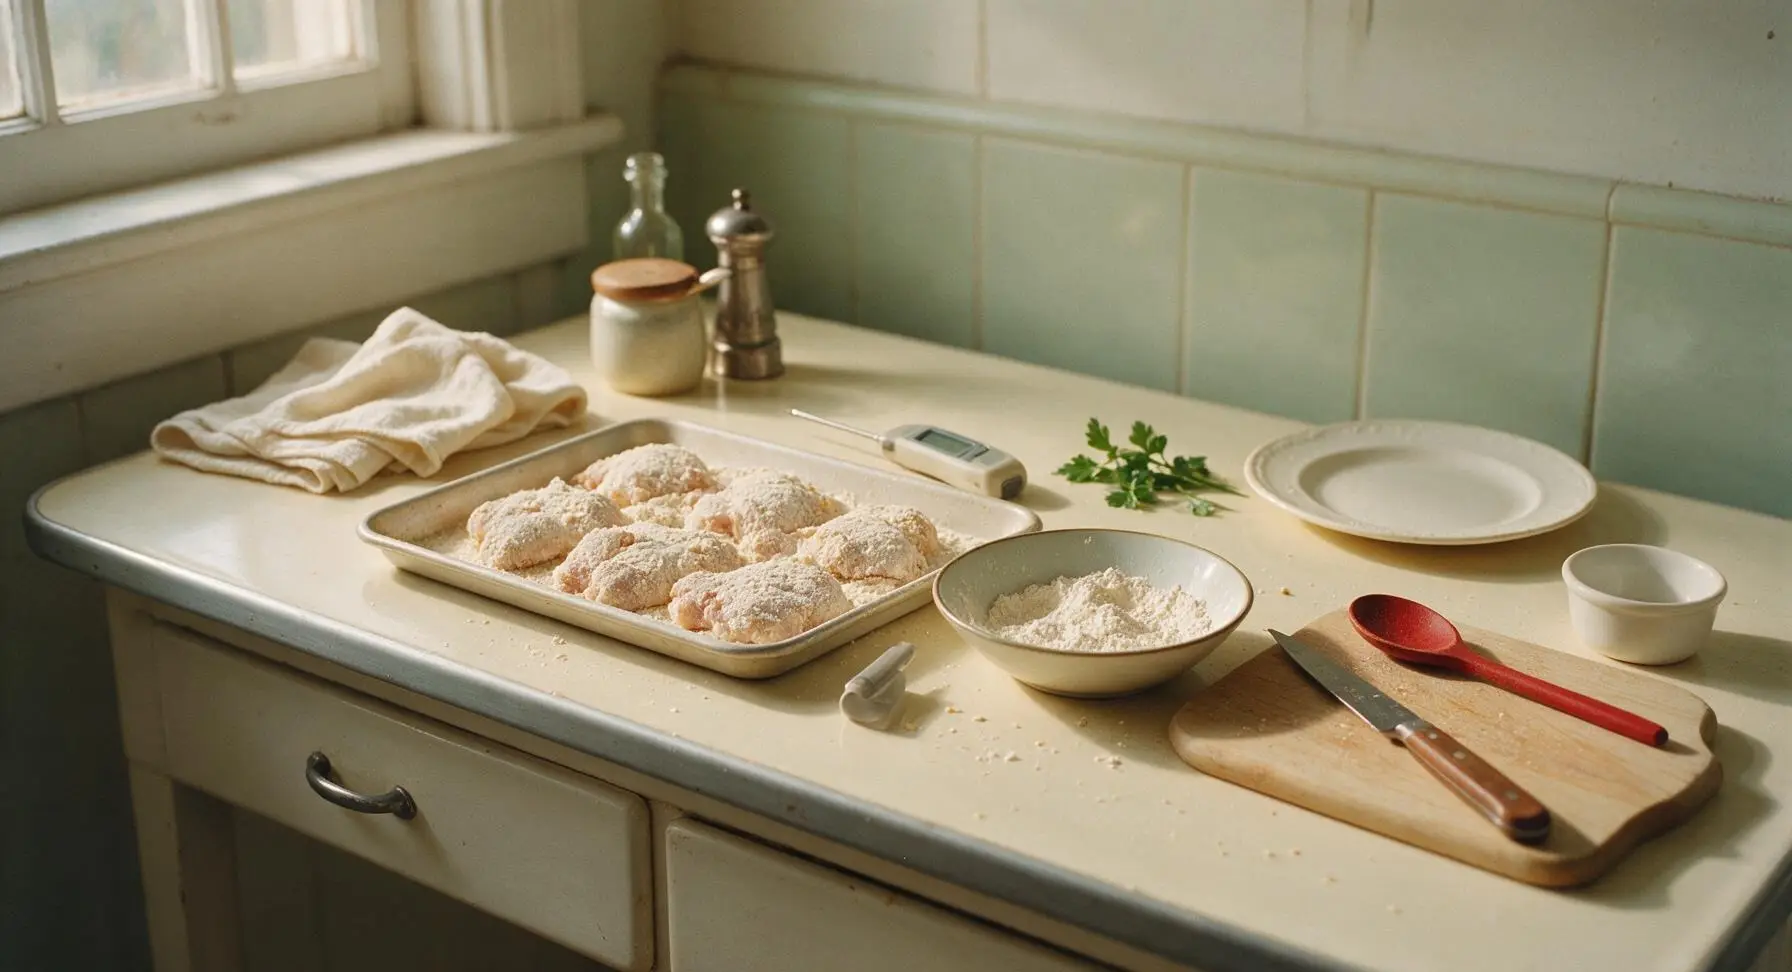
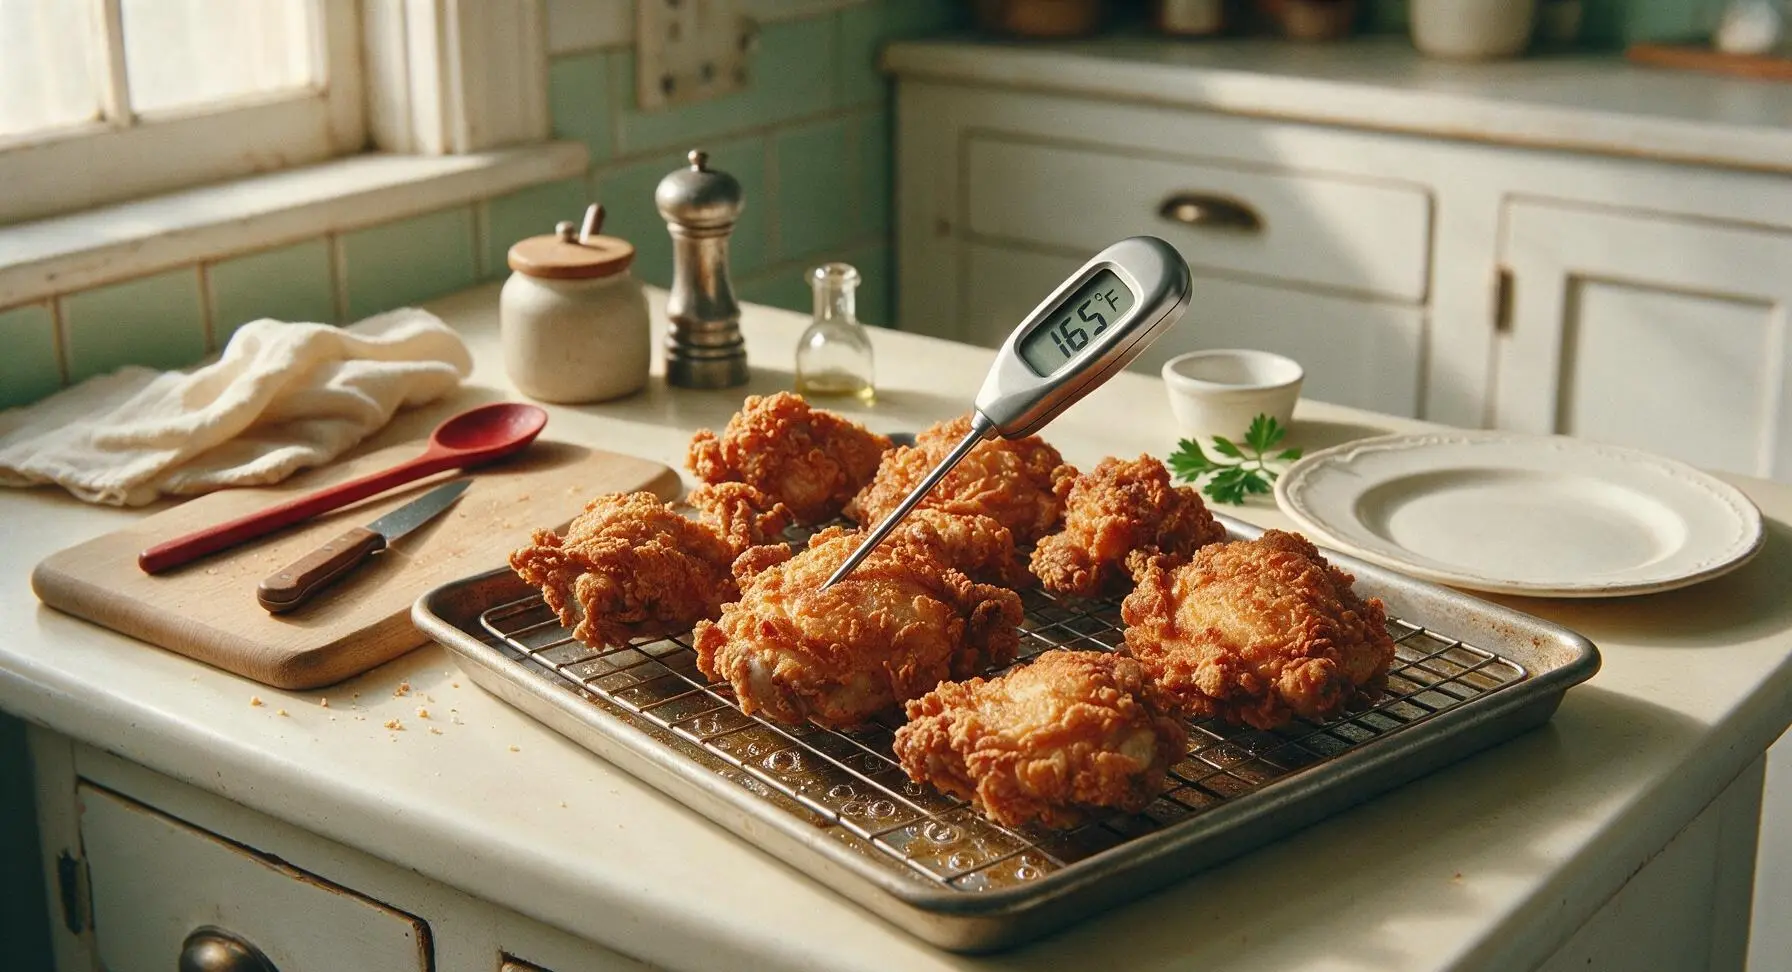
Place the baking sheet on the middle oven rack, bake for 40 minutes total. After 25 minutes, use tongs to carefully flip each chicken piece to ensure even browning on all sides. Chicken is fully cooked when the crust is deep golden and crackled, and the internal temperature at the thickest part of the meat reads 165°F (74°C) on the digital meat thermometer.
Step 4
step4:Bake Until Crisp
Step 4
step4:Bake Until Crisp
5

Mix Honey Thyme Glaze

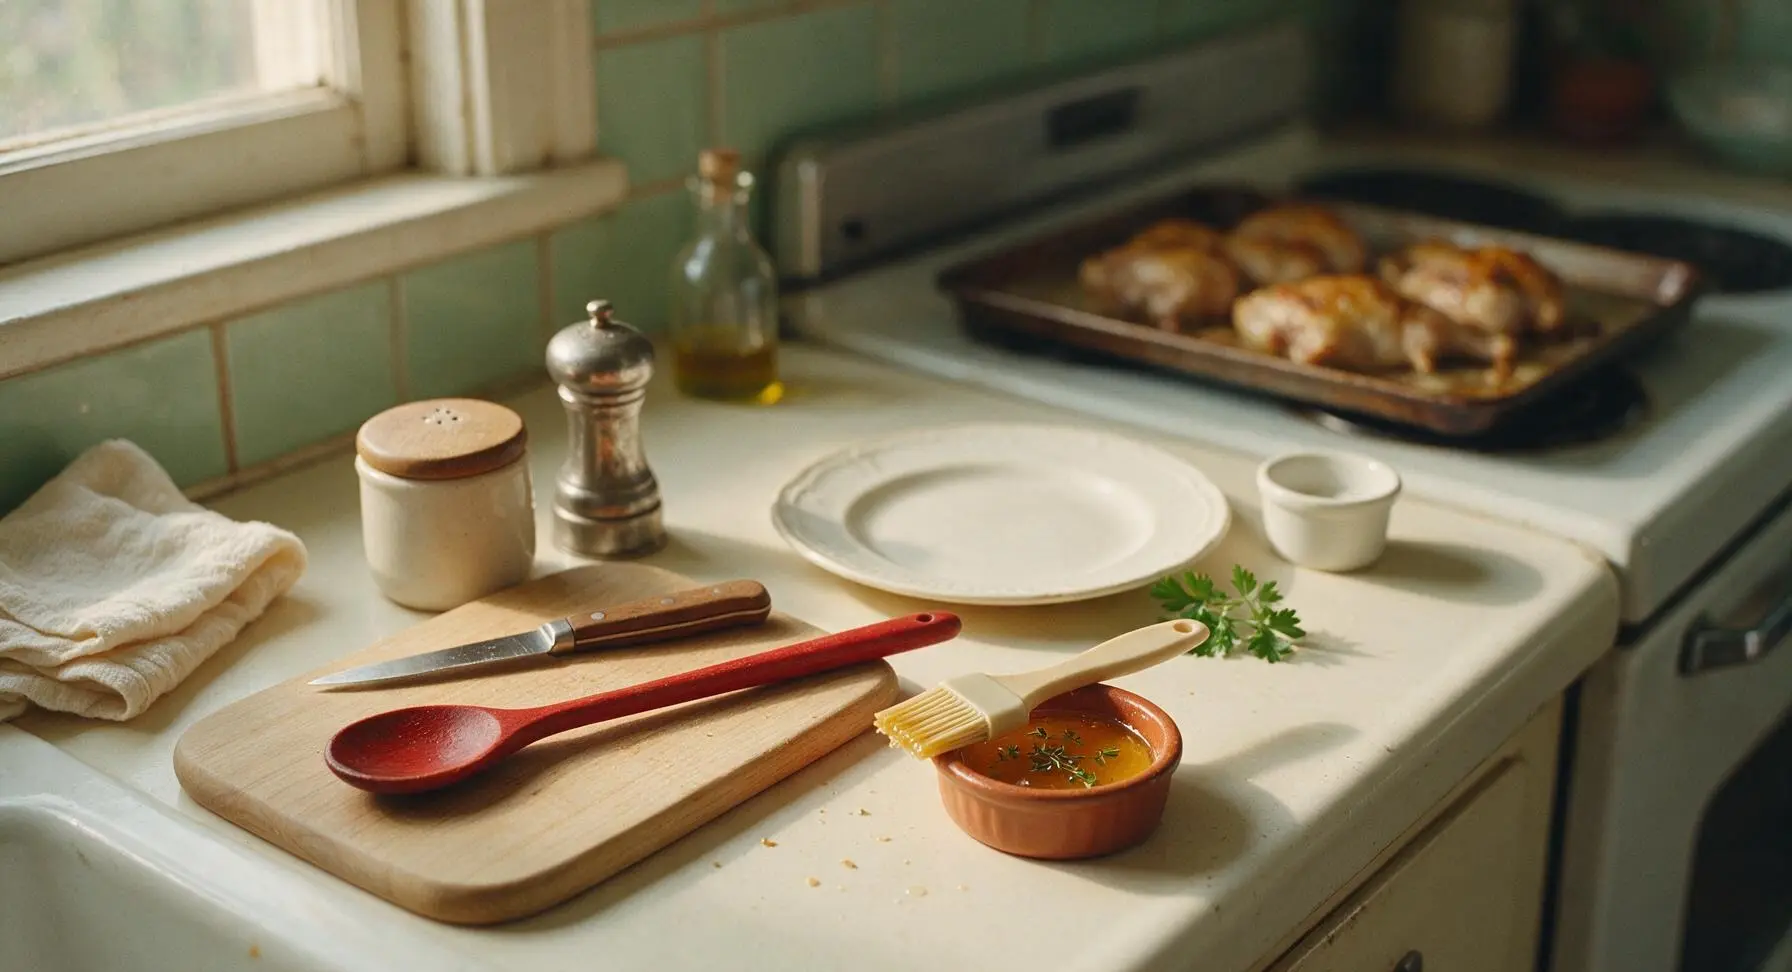
While chicken bakes, add raw honey and leaves stripped from the remaining 1 sprig of fresh thyme to the small terracotta ramekin. Stir gently to combine; warm for 10 seconds in the microwave if honey is too thick to brush easily, taking care not to overheat it to a runny consistency.
Step 5
step5:Mix Honey Thyme Glaze
6

Glaze and Rest Chicken

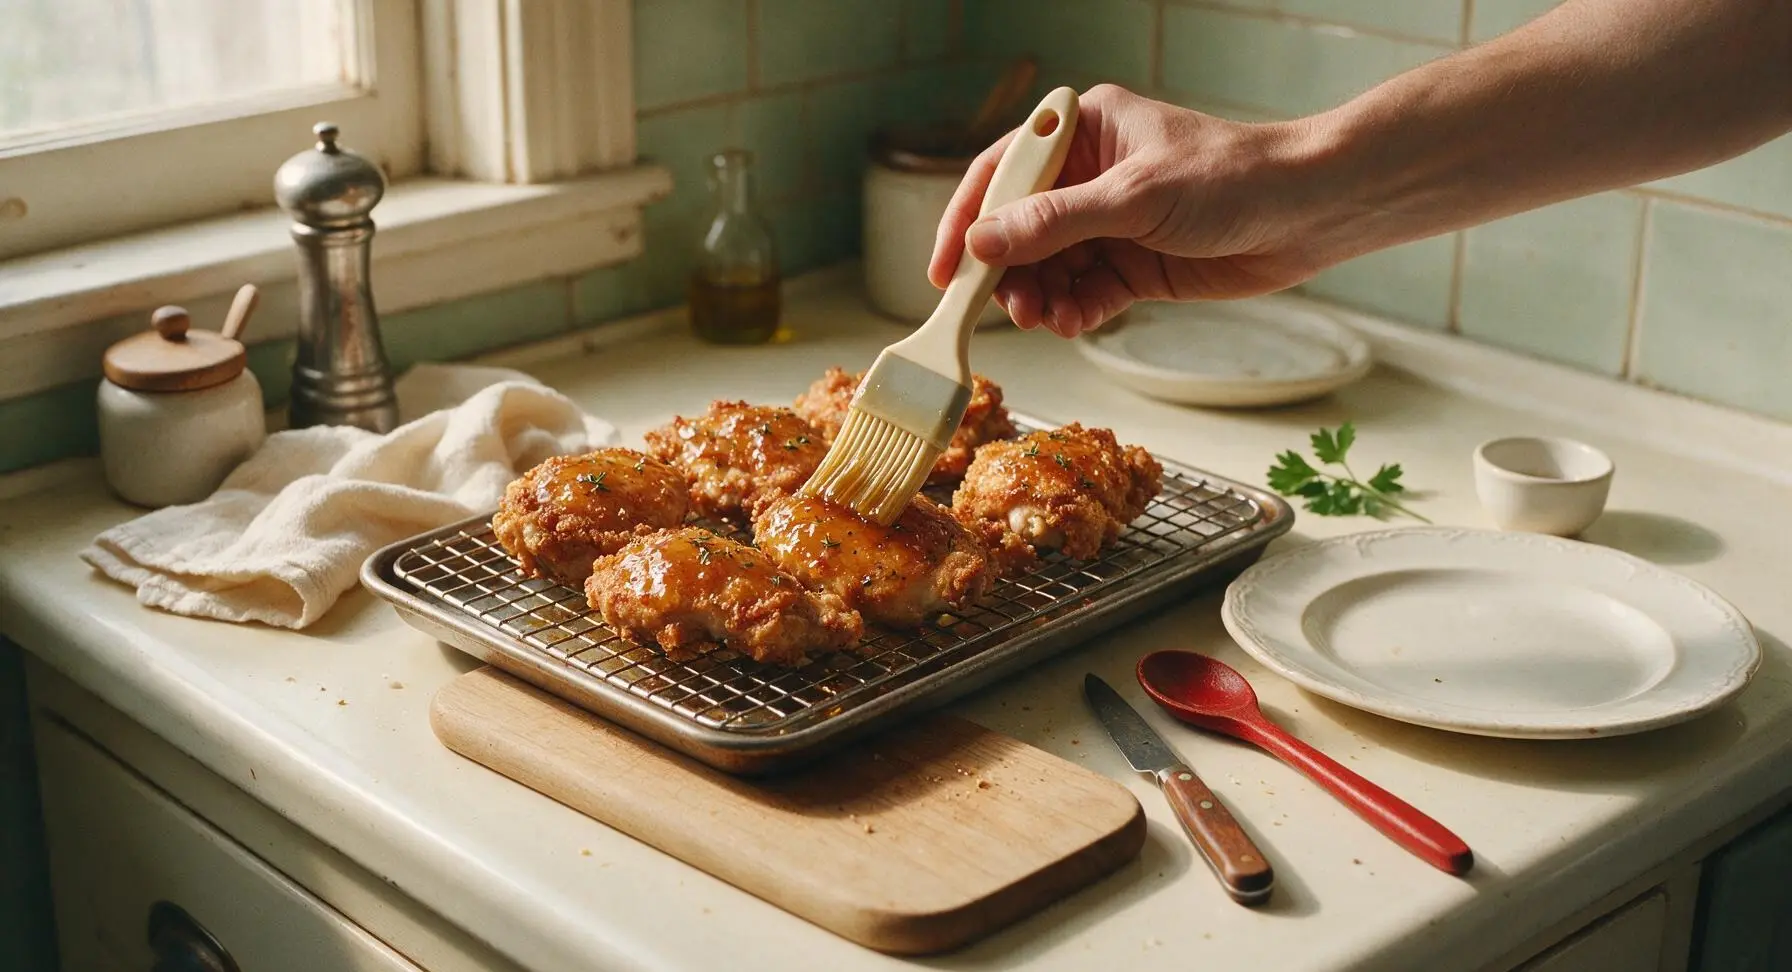
Once chicken reaches the correct internal temperature, remove the baking sheet from the oven. Use the basting brush to spread a thin, even layer of honey-thyme glaze over the top of each crispy chicken piece. Let chicken rest on the wire rack for 5 minutes to allow the crust to set and juices to redistribute, which prevents sogginess when plating.
Step 6
step6:Glaze and Rest Chicken
7

Plate and Serve

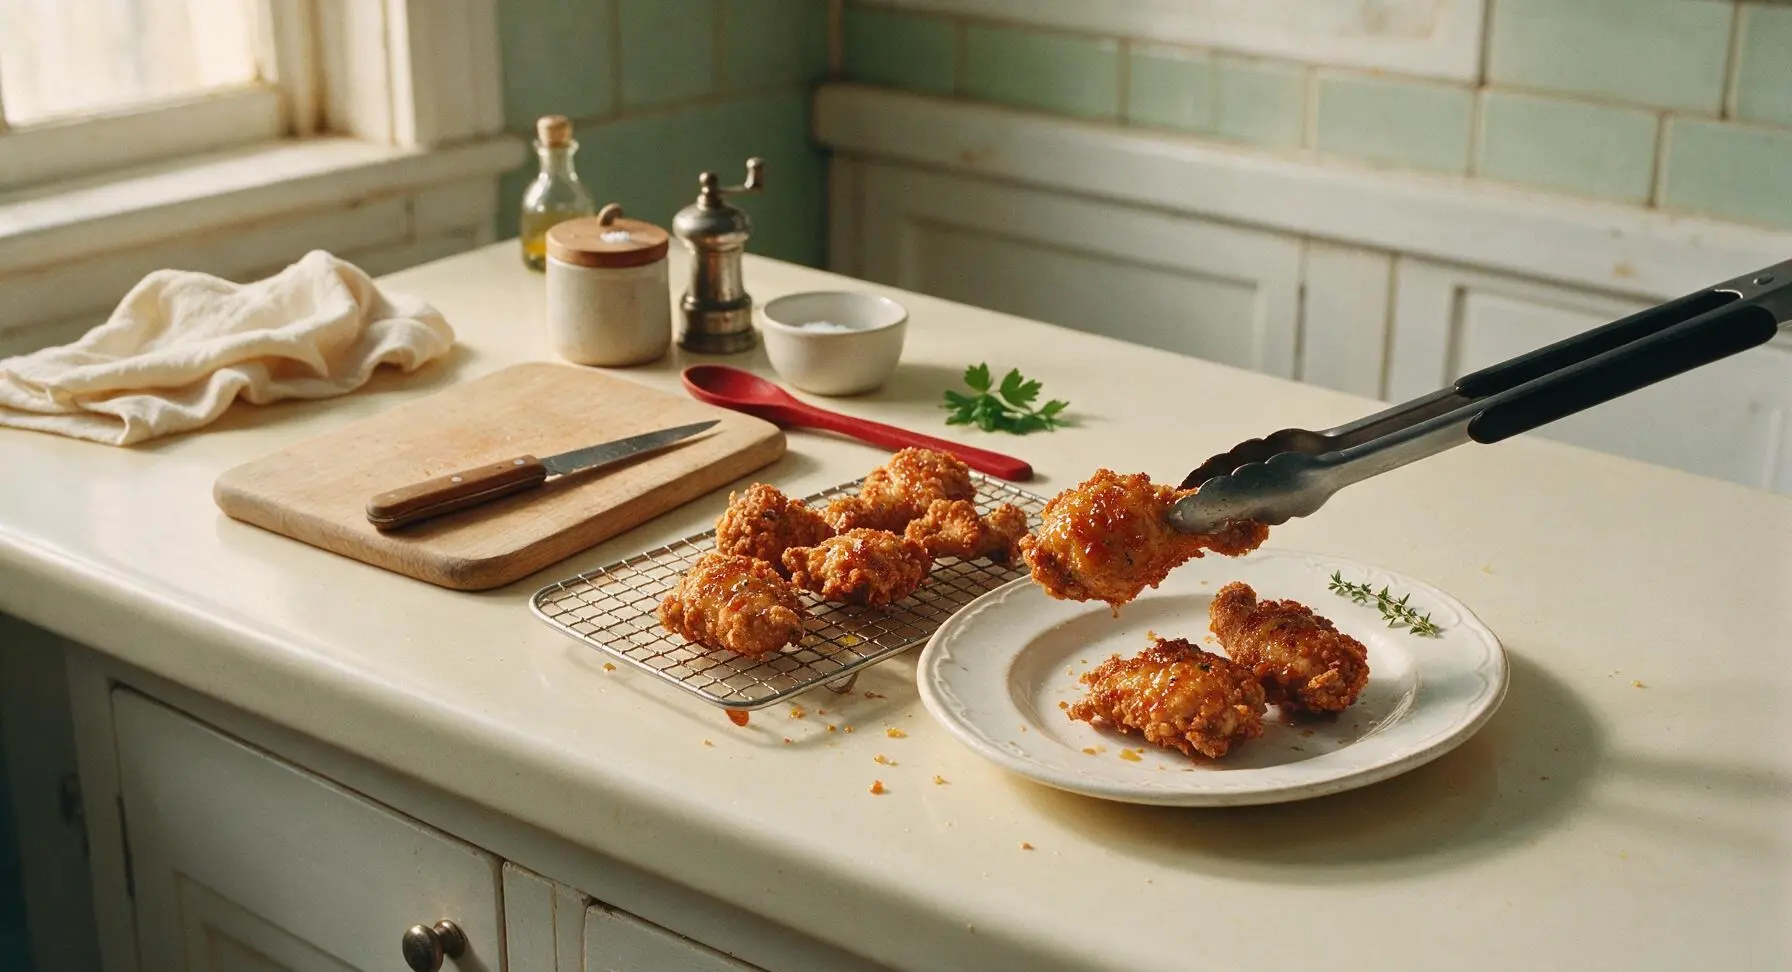
After the 5-minute rest, use tongs to transfer chicken pieces to the matte cream ceramic dinner plate, piling pieces loosely, and tuck a small fresh thyme sprig at the edge for garnish. Serve immediately, with extra glaze on the side if desired.
Step 7
step7:Plate and Serve

Tips

1.Don’t skip bringing the brined chicken to room temperature for 20 minutes before baking: cold chicken hitting a hot oven will cook unevenly, leading to overcooked edges and a crust that doesn’t crisp uniformly across every piece.
2.Always set chicken on a wire rack over the baking sheet instead of placing it directly on the sheet pan: this allows hot oven air to circulate under every piece, eliminating soggy bottom crust and creating all-around shatteringly crisp skin.
3.Apply the honey glaze in a very thin layer: brushing on too much honey will soften the crispy flour crust, as the moisture in the honey will seep into the coating as it rests. You only need enough to add a subtle sweet, herby top note.


✨ You May Also Like

Main Course
🍜 United Kingdom

A showstopping classic of tender seared beef, savory mushroom duxelles, and crisp prosciutto wrapped in flaky golden puff pastry, baked to juicy perfection.

⏱️ 2 hours 1Main Course ★ 4.7
Main Course
🍜 India

Tender charred marinated chicken simmered in a rich, spiced creamy tomato sauce, this iconic Anglo-Indian curry pairs perfectly with basmati rice or warm naan.

⏱️ 50 minuteMain Course ★ 4.6
Main Course
🍜 Thailand

Classic tangy, sweet, and savory Thai stir-fried rice noodles with shrimp, tofu, and crunchy garnishes, balancing all five core Thai flavor profiles.

⏱️ 30 minuteMain Course ★ 4.5
Main Course
🍜 United Kingdom

Crispy golden beer-battered cod and fluffy double-fried chips, served with tangy tartar sauce and malt vinegar: the timeless, beloved British pub comfort classic.

⏱️ 45 minuteMain Course ★ 4.7
Main Course
🍜 Mexico

Smoky, chile-marinated pork tacos with caramelized pineapple, fresh cilantro, and lime: a beloved classic Mexican street food perfect for casual summer gatherings.

⏱️ 1 hour 45Main Course ★ 4.8
Main Course
🍜 United States

Crunchy Fritos corn chips layered with savory beef chili and melted cheddar, topped with cool, zesty fixings for a beloved, cozy Tex-Mex comfort food.

⏱️ 35 minuteMain Course ★ 4.8

paula patton chicken:Frequently Asked Questions

1.Why does this recipe call for bone-in, skin-on chicken thighs and drumsticks instead of boneless, skinless cuts? ▾
Dark meat cuts stay far juicier through the high-heat cooking needed for that shatteringly crisp crust, and the attached skin renders out fat to amp up crunch as it cooks. The bone also adds subtle, savory depth to the meat as it cooks. If you swap in boneless cuts, reduce cook time by 3-4 minutes to avoid dry, tough chicken.
2.Can I use low-fat or non-fat buttermilk instead of full-fat buttermilk for the marinade? ▾
I strongly recommend sticking to full-fat buttermilk for the juiciest, most tender results. The higher fat content coats the chicken to lock in moisture, and its lactic acid gently tenderizes meat without making it mushy. Low-fat or non-fat buttermilk is thinner and watery, so it won’t cling as well, leading to less flavorful, drier chicken and a weaker crust bond.
3.How long should I marinate the chicken in buttermilk for the best texture and flavor? ▾
For ideal tenderness and tangy flavor, marinate the chicken for a minimum of 4 hours, and up to 24 hours, covered in the fridge. Any less than 2 hours and the buttermilk won’t have time to tenderize the meat or infuse its signature tang. Don’t marinate longer than 24 hours, though, as lactic acid can break meat down too much and make it mushy.
4.What purpose does baking powder serve in the flour coating? ▾
Baking powder is the secret to that signature shatteringly crisp, non-greasy crust! It raises the pH of the flour coating to speed up browning, and creates tiny air bubbles as it heats that make the crust light and crunchy instead of dense, hard, or doughy. Be careful not to swap in baking soda by mistake, as it will leave a bitter, soapy aftertaste.
5.Can I adjust this recipe to make the chicken gluten-free? ▾
Absolutely! Swap the all-purpose flour for a 1:1 gluten-free all-purpose flour blend that contains xanthan gum to help the coating stick and crisp up properly. Double check that your baking powder and smoked paprika are certified gluten-free to avoid cross-contamination, then follow all the same coating, rest, and cooking steps for equally crispy, juicy results.
6.Do I really need to let the coated chicken rest before cooking it? ▾
Yes, always let your coated chicken rest on a wire rack for 15 to 20 minutes before cooking. This rest time lets the flour and buttermilk meld into a thick, craggy coating that won’t slide off the chicken while it cooks, and it helps create that extra-crunchy, shattery texture instead of a thin, flaky crust that falls away at the first bite.
7.What type of oil works best for frying this chicken to get a crisp, non-greasy crust? ▾
Use a neutral, high-smoke-point oil like canola, peanut, or vegetable shortening for frying, and heat it to a steady 350°F before adding chicken. Oils with low smoke points, like extra-virgin olive oil, will burn at frying temperature, leaving a bitter off-flavor. Avoid overcrowding the pot, which drops oil temp and leads to soggy, oil-soaked chicken.
8.How do I make sure the chicken is cooked through without burning the outer crust? ▾
Use a clip-on candy thermometer to keep your oil steady at 350°F, and cook thighs and drumsticks for 12 to 15 minutes total, flipping halfway. For perfect doneness without guesswork, insert an instant-read thermometer into the thickest part of the meat (away from bone) — it should read 165°F. If crust browns too fast, lower the oil temp slightly.
9.When should I add the honey-thyme glaze to avoid making the crispy crust soggy? ▾
Wait to brush or toss the chicken in the warm honey-thyme glaze immediately after you pull it out of the fryer (or oven, if baking) and let it drain for 2 minutes on a wire rack. Adding glaze too early, while chicken is still dripping excess oil, will make crust soggy. Don’t douse it—a light, even coating is all you need for perfect sweet-savory balance.
10.Can I bake this chicken instead of frying it for a lighter preparation? ▾
You absolutely can! Arrange the rested, coated chicken on a wire rack set over a baking sheet, spritz lightly with cooking oil, and bake at 425°F for 35 to 40 minutes, flipping halfway, until the internal temp hits 165°F and crust is golden crisp. The wire rack lets air circulate all around so the crust stays crunchy instead of getting soggy on the pan bottom.
11.What does smoked paprika add to the recipe, and can I substitute regular paprika? ▾
Smoked paprika adds a deep, warm, subtly smoky flavor that pairs perfectly with sweet honey and earthy thyme, balancing the richness of the buttermilk and fried crust. You can swap in regular sweet paprika if you don’t have smoked, but you’ll miss that signature Southern smoky depth—add a tiny pinch of cayenne if you want subtle heat to make up for it.
12.How do I get the flour crust to stick to the chicken instead of sliding off while cooking? ▾
First, don’t wipe excess buttermilk off the chicken before dredging—it should be well-coated but not dripping wet. Dredge firmly in the flour mixture, pressing flour into every crevice of the chicken, then let it rest on a wire rack for 15 to 20 minutes before cooking. Skipping that rest step is the number one reason crust slides off mid-cook.
13.How should I store leftover chicken, and how do I reheat it to keep the crust crisp? ▾
Store leftover chicken in an airtight container in the fridge for up to 3 days. To reheat and bring back that signature crisp crust, arrange pieces on a wire rack over a baking sheet and bake at 400°F for 10 to 12 minutes, until heated through. Skip the microwave—it will turn the crust soggy and rubbery, and make the meat dry out fast.
14.Can I use this same recipe to make honey-thyme crispy chicken wings for game day? ▾
Absolutely! This crispy, honey-thyme coating works beautifully on chicken wings. Cut wings into drumettes and flats, marinate in buttermilk for 2 to 4 hours (wings are smaller, so they don’t need as long to tenderize), dredge, rest, and fry at 350°F for 8 to 10 minutes before tossing in glaze. They make a perfect crowd-pleasing game day bite.
15.How can I adjust the honey-thyme glaze if I prefer less sweet, more savory flavor? ▾
Of course! If you want a less sweet glaze, cut the honey amount by 1/3 and add a pinch of flaky sea salt, a tiny splash of apple cider vinegar, and an extra pinch of smoked paprika to the warm glaze. The salt and acid balance the honey’s sweetness without overpowering the earthy thyme or the savory, crispy chicken crust.
16.Can I use dried thyme instead of fresh thyme for the glaze and coating? ▾
Dried thyme works perfectly as a swap for fresh thyme in both the coating and the glaze—use 1/3 the amount called for, since dried herbs are far more concentrated than fresh. Rub dried thyme between your fingers before adding it to release its aromatic oils, and you’ll get that same warm, earthy note that pairs so well with sweet honey and smoky paprika.

Comments (17)

3 days ago

OMG made this for my family’s Sunday dinner earlier this week and my kids literally asked for second helpings before they even finished their first! The honey-thyme glaze is chef’s kiss, not too sweet, and the crust stayed crispy even after I tossed it in the sauce. Total game changer for our weeknight rotation too!

2 days ago

Wait did you use bone-in thighs or breasts? My kids are weird about dark meat but I want that crispy crust

2 days ago

So thrilled your kids loved this! Both cuts work great, just adjust cook time by 5-7 minutes if using boneless breasts to make sure they hit 165°F without drying out. For extra crust adhesion, let the dredged chicken rest 10 minutes before frying!

1 week ago

Took this to my neighborhood potluck last weekend and every single piece was gone in 10 minutes. People were hunting me down for the recipe! I did add a tiny pinch of cayenne to the flour mix to cut the sweetness a little, would 10/10 recommend that tweak.

5 days ago

Oh that cayenne tweak is genius! I made this last month and it was a little too sweet for my taste, definitely trying that next time

5 days ago

Love that customization! A little heat pairs so perfectly with the honey and earthy thyme – we might even have to add that as a variation note on the recipe. So glad it was a potluck hit!

3 days ago

Okay full transparency, I’m terrible at frying chicken – it always comes out soggy or burnt on the outside and raw in the middle. But this recipe? It actually turned out perfectly crispy on the first try! My roommate said it’s better than the fried chicken from our favorite spot down the street. Only thing is I didn’t have fresh thyme so I used dried, still worked great.

2 days ago

Wait how much dried thyme did you use? I never have fresh herbs on hand either and always mess up the conversion

2 days ago

That’s such a win, so proud this worked out for your first successful fry! Dried herbs are totally fine – use 1 teaspoon dried thyme for every tablespoon of fresh the recipe calls for, since dried is more concentrated. Keep up the great cooking!

5 days ago

Does anyone know how well this holds up for meal prep? I want to make a big batch on Sunday to eat for lunches all week, but I’m worried the crust will get soggy in the fridge. This looks so good I don’t want to waste it!

3 days ago

I made a batch last week! I stored the chicken separate from the glaze, heated the chicken up in the air fryer at 400 for 5 minutes, then tossed in the glaze right before eating. Stayed perfectly crispy!

2 days ago

Great question! As the commenter above mentioned, storing the glaze separately and reheating in an air fryer (or even a toaster oven) is the best way to keep that crunch. If you don’t have an air fryer, reheat on a wire rack over a baking sheet in the oven at 375°F for 10 minutes – skip the microwave!

yesterday

Made this for my girlfriend’s birthday dinner last night and she said it’s the best thing I’ve ever cooked for her. I paired it with roasted garlic mashed potatoes and roasted green beans, whole meal felt like a fancy restaurant dinner for a fraction of the cost. 10/10 will be making this for every special occasion from now on.

30 minutes ago

Aww that’s so sweet! What oil did you use for frying? I’ve been using canola but it always leaves a weird aftertaste

5 minutes ago

That makes our day so happy to hear! The whole menu sounds incredible. Peanut oil or vegetable oil works best for high-heat frying here, they have a neutral flavor and high smoke point that gives you that perfect golden crust without any off taste. Happy birthday to your girlfriend!

2 weeks ago

Wait, Paula Patton’s recipe? I was skeptical at first because celebrity recipes are often hit or miss, but this honey thyme buttermilk brine is no joke. The chicken is so juicy even the white meat didn’t dry out! I used my cast iron skillet like I do for all my fried chicken and it came out perfect.

1 week ago

We get the skepticism with celebrity recipes too! The cast iron is such a perfect choice here, it holds heat so evenly for that consistent golden crust. So glad you gave it a shot!

1 week ago

This was good but I wish it had a little more depth of flavor. Next time I make it I’m going to add a couple cloves of minced garlic to the honey glaze and maybe a splash of apple cider vinegar to brighten it up. Crunch was perfect though, zero complaints about the texture.

5 days ago

I did the apple cider vinegar thing last time I made it! It cuts the richness so well, you’re gonna love it

3 days ago

Cook time says 40 minutes but it took me closer to an hour from start to finish because I had to do three batches in my small fry pan. Don’t get me wrong, it was SO good, but just a heads up for people with tiny kitchens like mine to budget a little extra time!

2 days ago

That’s such a great note for other home cooks! The listed cook time is active cooking time once your oil is up to temp, but batch frying does add a little extra time for smaller setups. We’ll add that tip to the recipe card to help folks plan!

2 hours ago

I tried making this with a 1:1 gluten free all purpose flour blend last night and it came out SO crispy! I was fully expecting the crust to slide right off the chicken, but the buttermilk helped it stick perfectly. No weird gritty texture either, my non-GF husband didn’t even notice the difference!

30 minutes ago

Oh thank god for this review! I’ve been scared to waste good chicken on GF fried chicken experiments, I’m picking up buttermilk on my way home tonight

5 days ago

Tried making this in my air fryer instead of deep frying because I hate dealing with hot oil. Sprayed the basket with oil, cooked at 380 for 22 minutes flipping halfway, then brushed the glaze on at the end. It wasn’t *quite* as crispy as deep fried but it was still really good, way less mess!

3 days ago

That’s such a smart lower-mess swap! We tested an air fryer version during recipe development and found that spritzing the chicken really well with oil right before cooking helps amp up that crisp factor even more. Thanks for sharing your hack!

2 days ago

Made this in my tiny dorm kitchen with a cheap electric hot plate and it still slapped! Used pre-cut chicken tenders because they were cheaper at the campus grocery store, cut the cook time down by like 10 minutes. My floor mates all smelled it and showed up at my door begging for a bite lmao

yesterday

Wait this is so inspirational, I thought my hot plate was only good for ramen! I’m definitely making this next weekend when my RA isn’t on floor duty

1 week ago

I was worried the honey glaze would be cloyingly sweet since I don’t like super sweet savory food, but the thyme balances it out so nicely! It’s just a hint of sweetness, not like eating chicken covered in pancake syrup or something. So pleasantly surprised, will be making this again.

5 days ago

We totally get the sweet-savory hesitation! The earthy thyme and little bit of black pepper in the crust are specifically there to balance the honey so it never feels too sugary. So happy it exceeded your expectations!

2 weeks ago

Made this for my grandkids when they visited last weekend and they ate more chicken than I’ve ever seen them eat in one sitting. My oldest granddaughter said it’s better than the fried chicken we get at the county fair. High praise coming from her, let me tell you.

just now

I had honey-thyme fried chicken at a restaurant in Nashville last year and have been chasing that flavor ever since. This recipe is even better than what I had there! The buttermilk brine makes the chicken so juicy, I’ll never use another fried chicken recipe again.

3 days ago

Medium difficulty is a fair rating, I wouldn’t recommend this for a total beginner because getting the oil temp right is tricky, but if you’ve fried a thing or two before it’s super straightforward. Turned out great, served with coleslaw and cornbread for a classic Southern meal.

2 hours ago

The leftovers made the best chicken sandwich the next day! Toasted a brioche bun, added a little pickles and spicy mayo, piled high with crispy chicken leftover from last night’s dinner, it was better than any fast food chicken sandwich I’ve ever had. 10/10 worth making extra just for the sandwiches.

yesterday

I skipped the extra black pepper in the flour mix because I can’t handle any spice at all, and it was still so flavorful! The honey and thyme are the real stars here, you don’t need a ton of extra seasonings for this to taste amazing. Even my super picky toddler ate two whole tenders with no complaints.



