
paula patton fried chicken

title 1
paula patton fried chicken
⏱️ cook time 25 minutes
🍽️ servings 4
⚡ Difficulty medium

intro

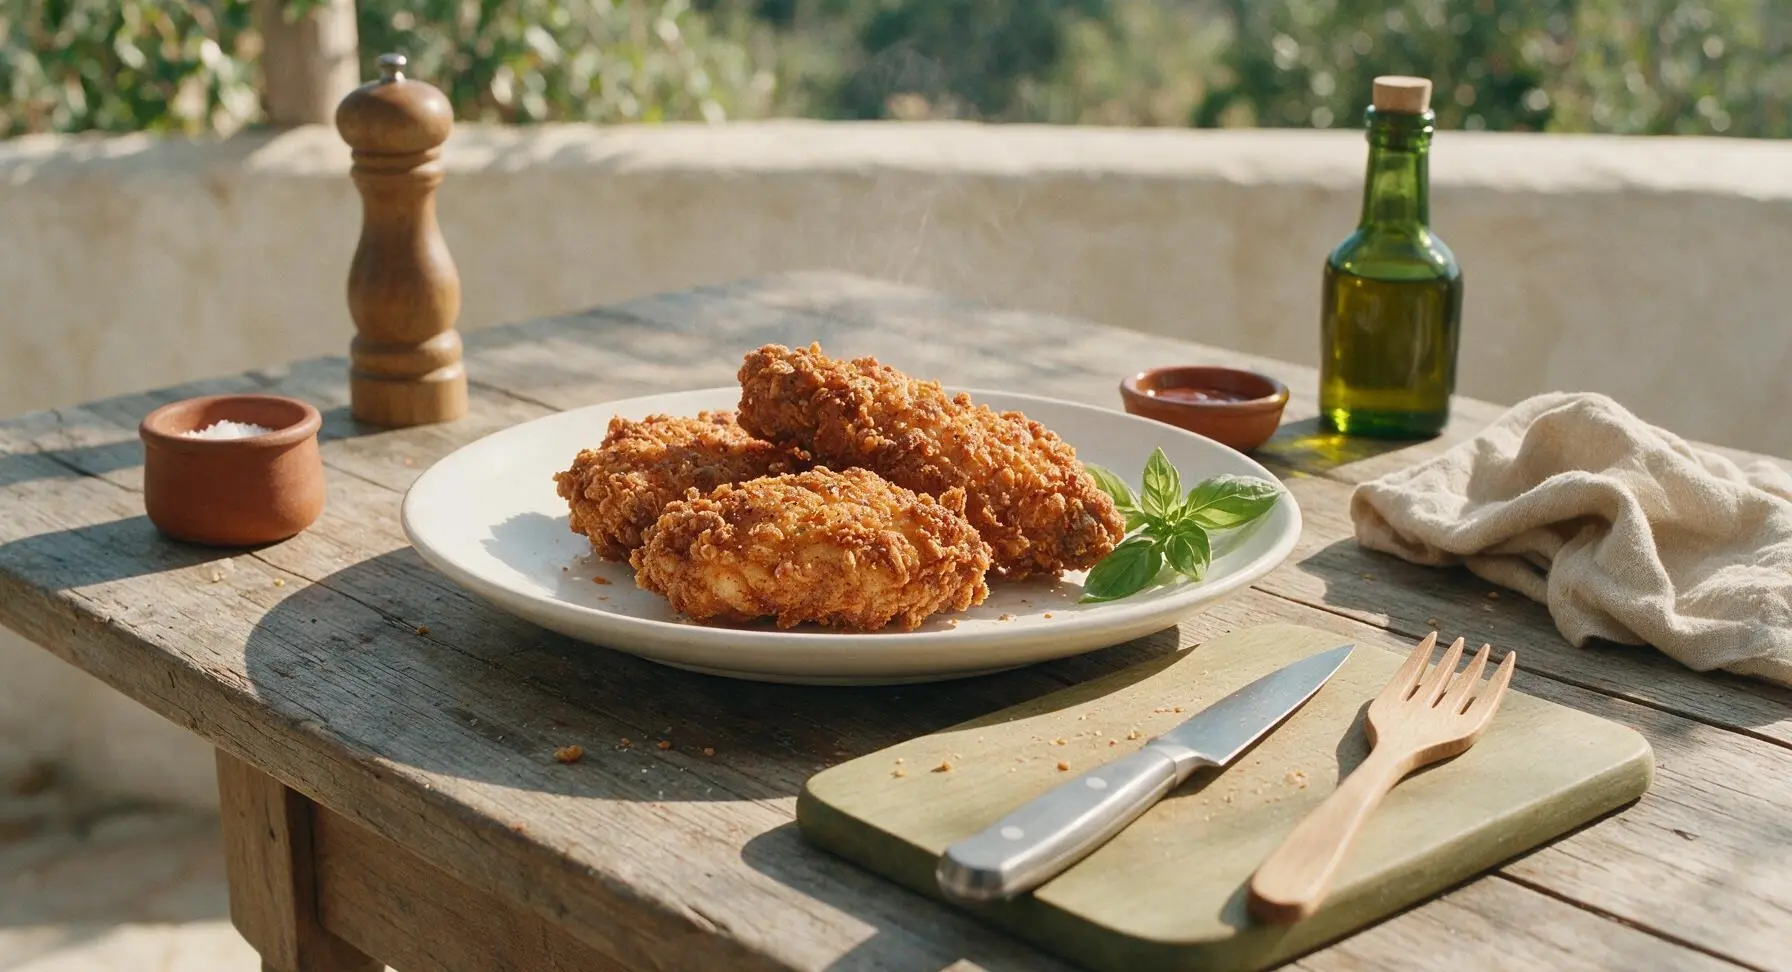
Paula Patton’s iconic Southern fried chicken features a shaggy, crisp seasoned crust and juicy, buttermilk-brined meat, made for gathering loved ones around the Sunday table.

Ingredients
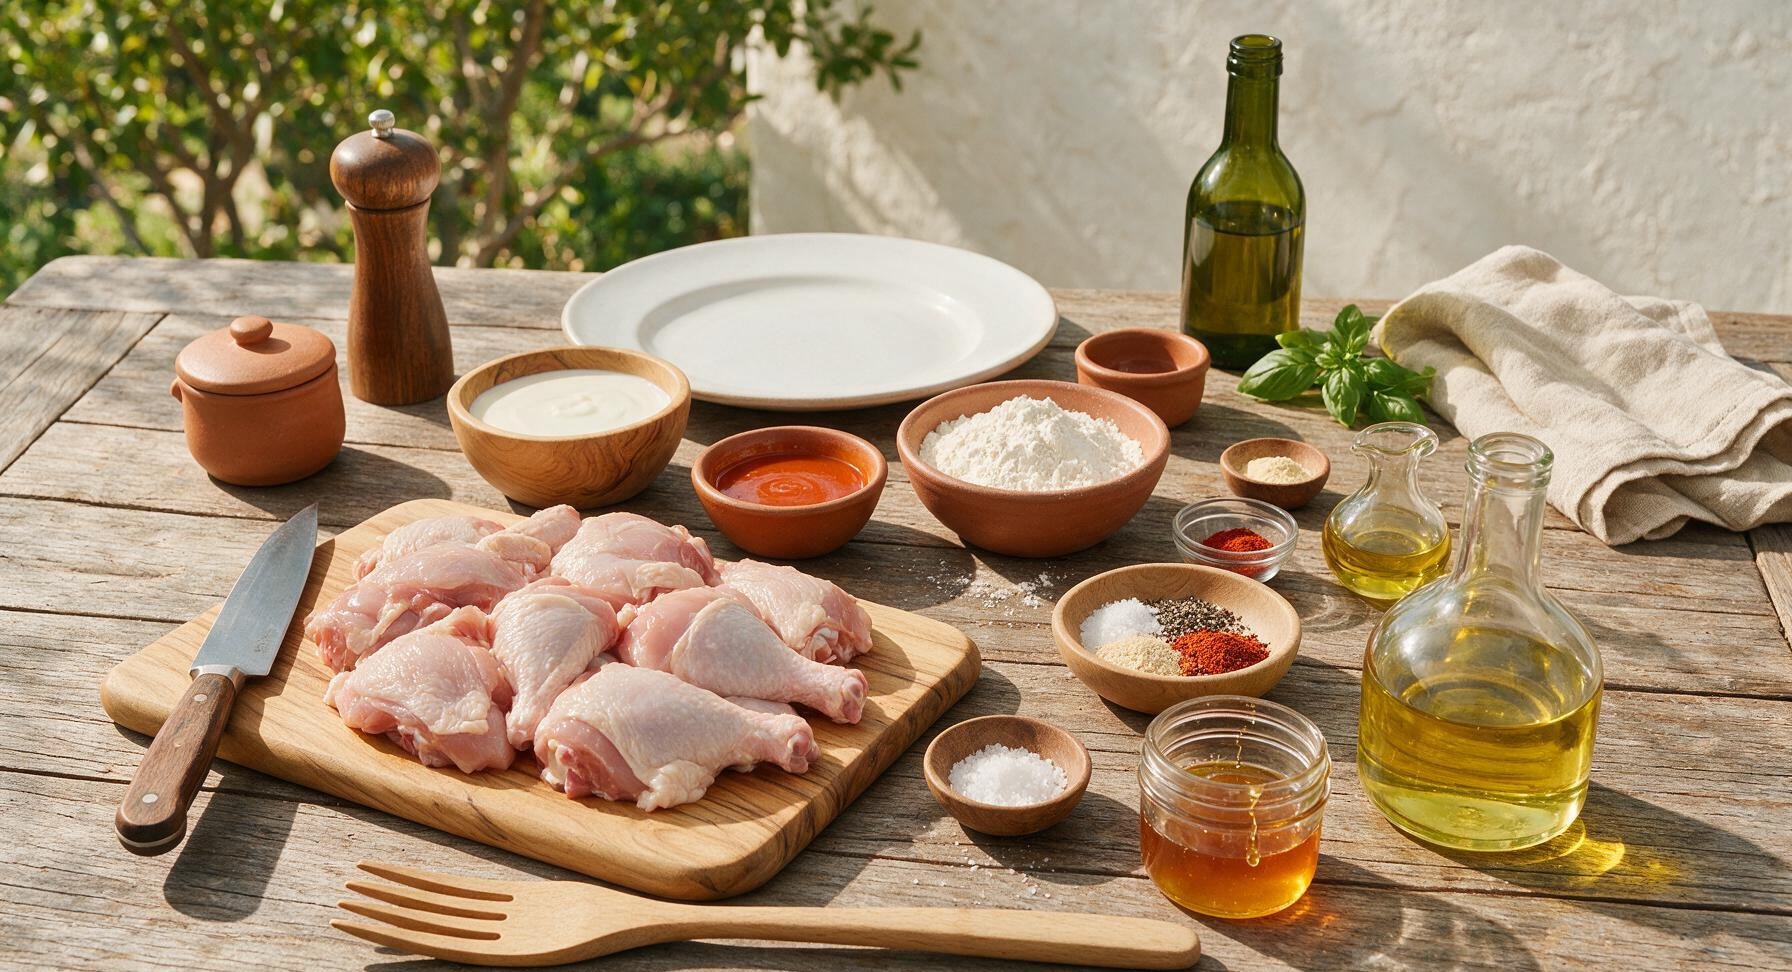
Bone-in, skin-on chicken pieces (thighs, drumsticks, halved breasts) 1.2kg (2.6 lbs)
Full-fat buttermilk 2 cups (480ml)
Louisiana-style hot sauce 2 tbsp
All-purpose flour 2 cups (240g)
Kosher salt 1 tbsp
Freshly ground black pepper 2 tsp
Garlic powder 1 tsp
Smoked paprika 1 tsp
Cayenne pepper 1/2 tsp
Canola oil (for frying) 1 quart (950ml)
Flaky sea salt (for finishing) 2 tsp
Hot honey (for serving) 1/4 cup (60ml)

Steps

1

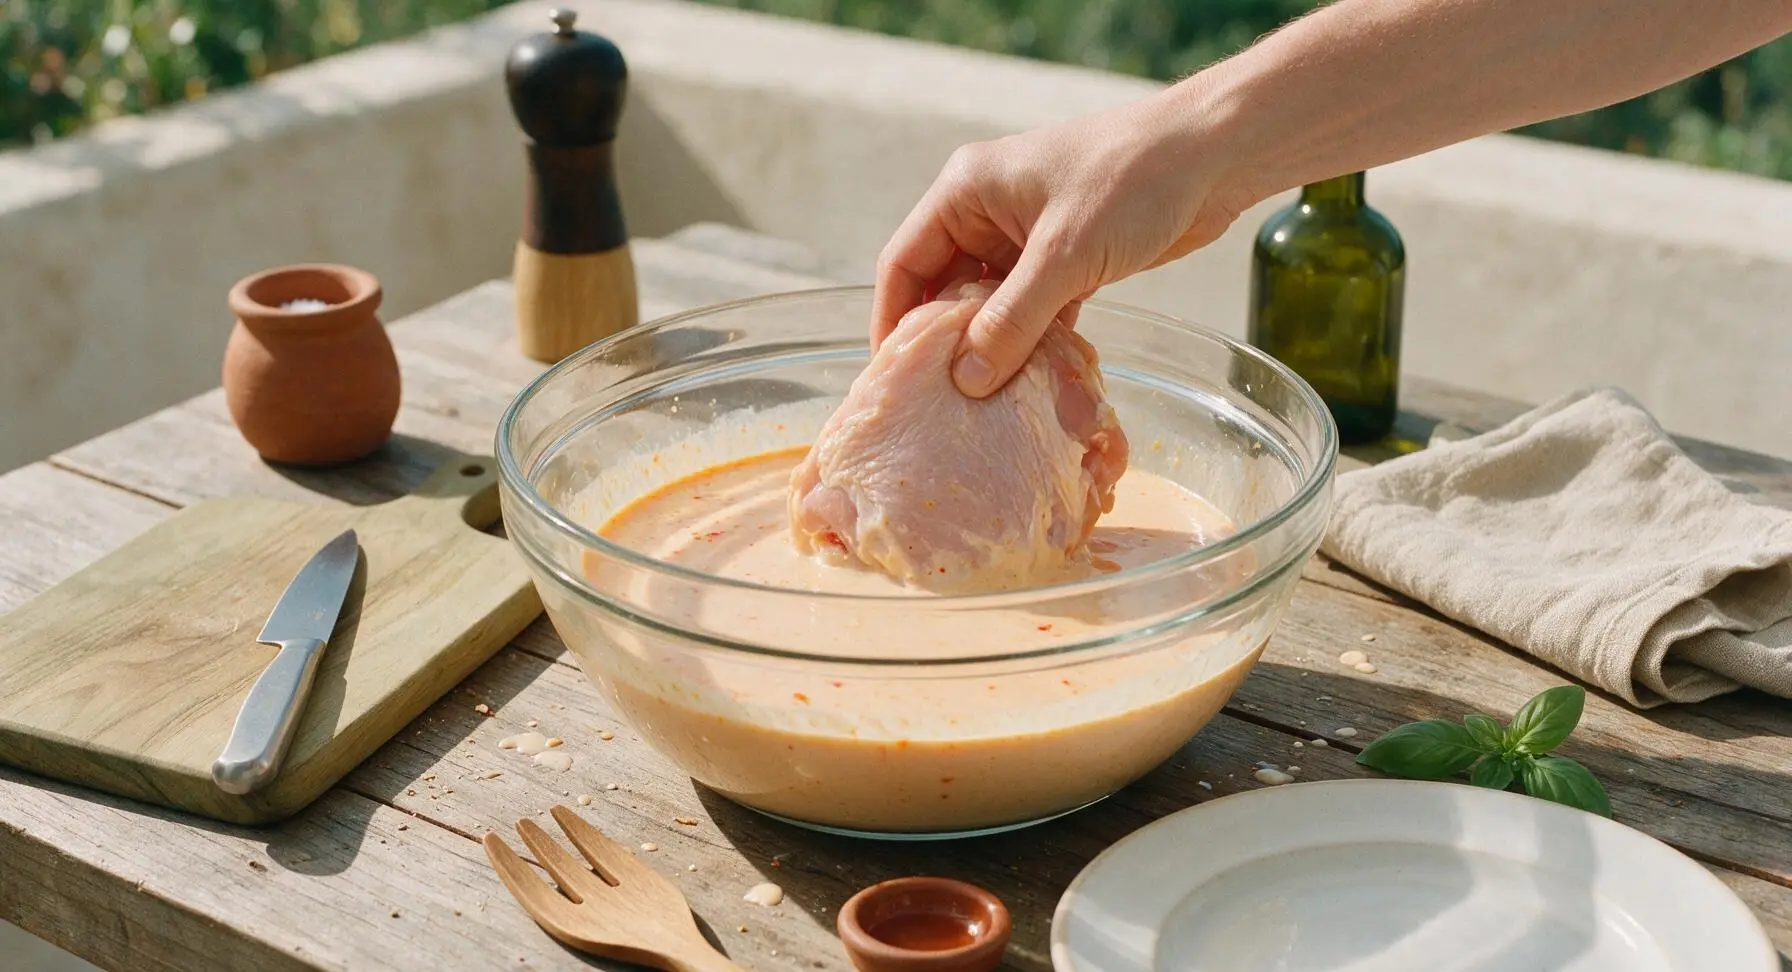
Mix Buttermilk Brine

Place the large 4L clear glass mixing bowl in the center of the counter. Pour in 2 cups full-fat buttermilk and 2 tablespoons Louisiana-style hot sauce, whisking gently to combine into a pale, faintly orange brine. Pat all chicken pieces dry with paper towels, then add them to the bowl, turning to coat fully. Ensure at least 3/4 of each piece is submerged in brine, then cover the bowl and refrigerate for 4–12 hours to tenderize the meat.
Step 1
step1:Mix Buttermilk Brine
2

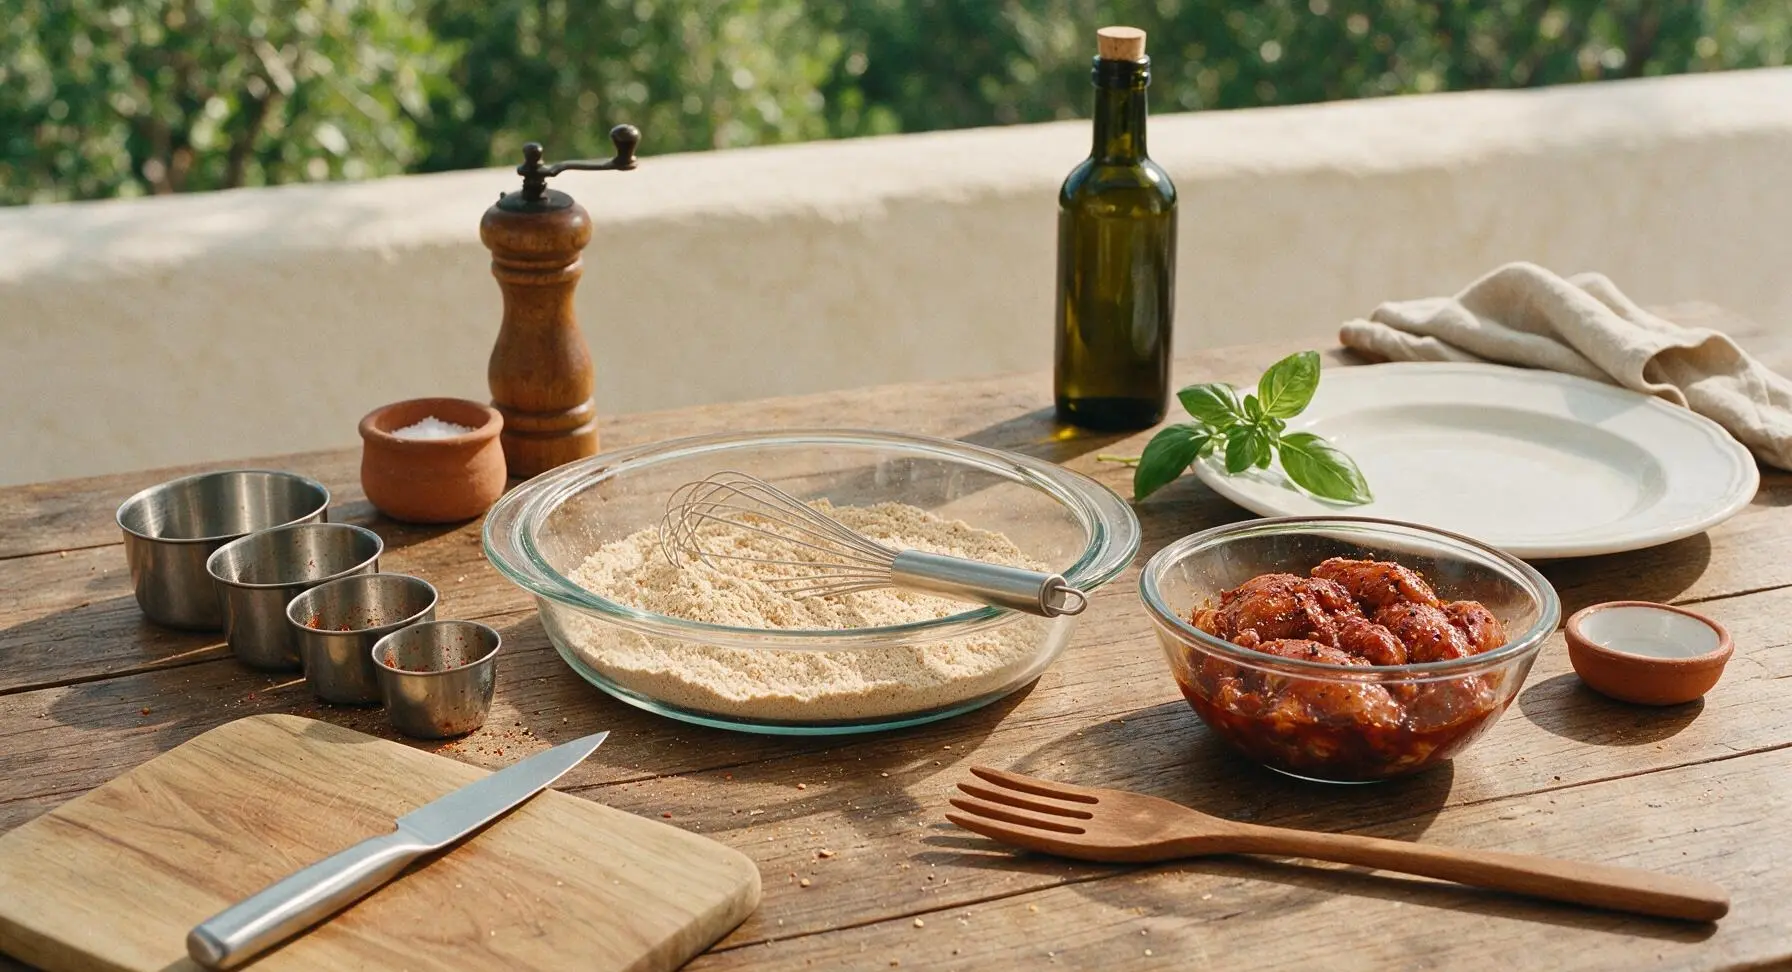
Mix Seasoned Flour Dredge

After removing the brined chicken from the fridge to temper for 30 minutes at room temperature, place the 3L shallow clear glass baking dish in the center of the counter. Add 2 cups all-purpose flour, 1 tablespoon kosher salt, 2 teaspoons black pepper, 1 teaspoon garlic powder, 1 teaspoon smoked paprika, and 1/2 teaspoon cayenne pepper to the dish, whisking thoroughly to evenly distribute spices. The finished dredge should be a uniform pale tan color, with no clumps of concentrated spice visible.
Step 2
step2:Mix Seasoned Flour Dredge
3

Dredge Chicken Pieces

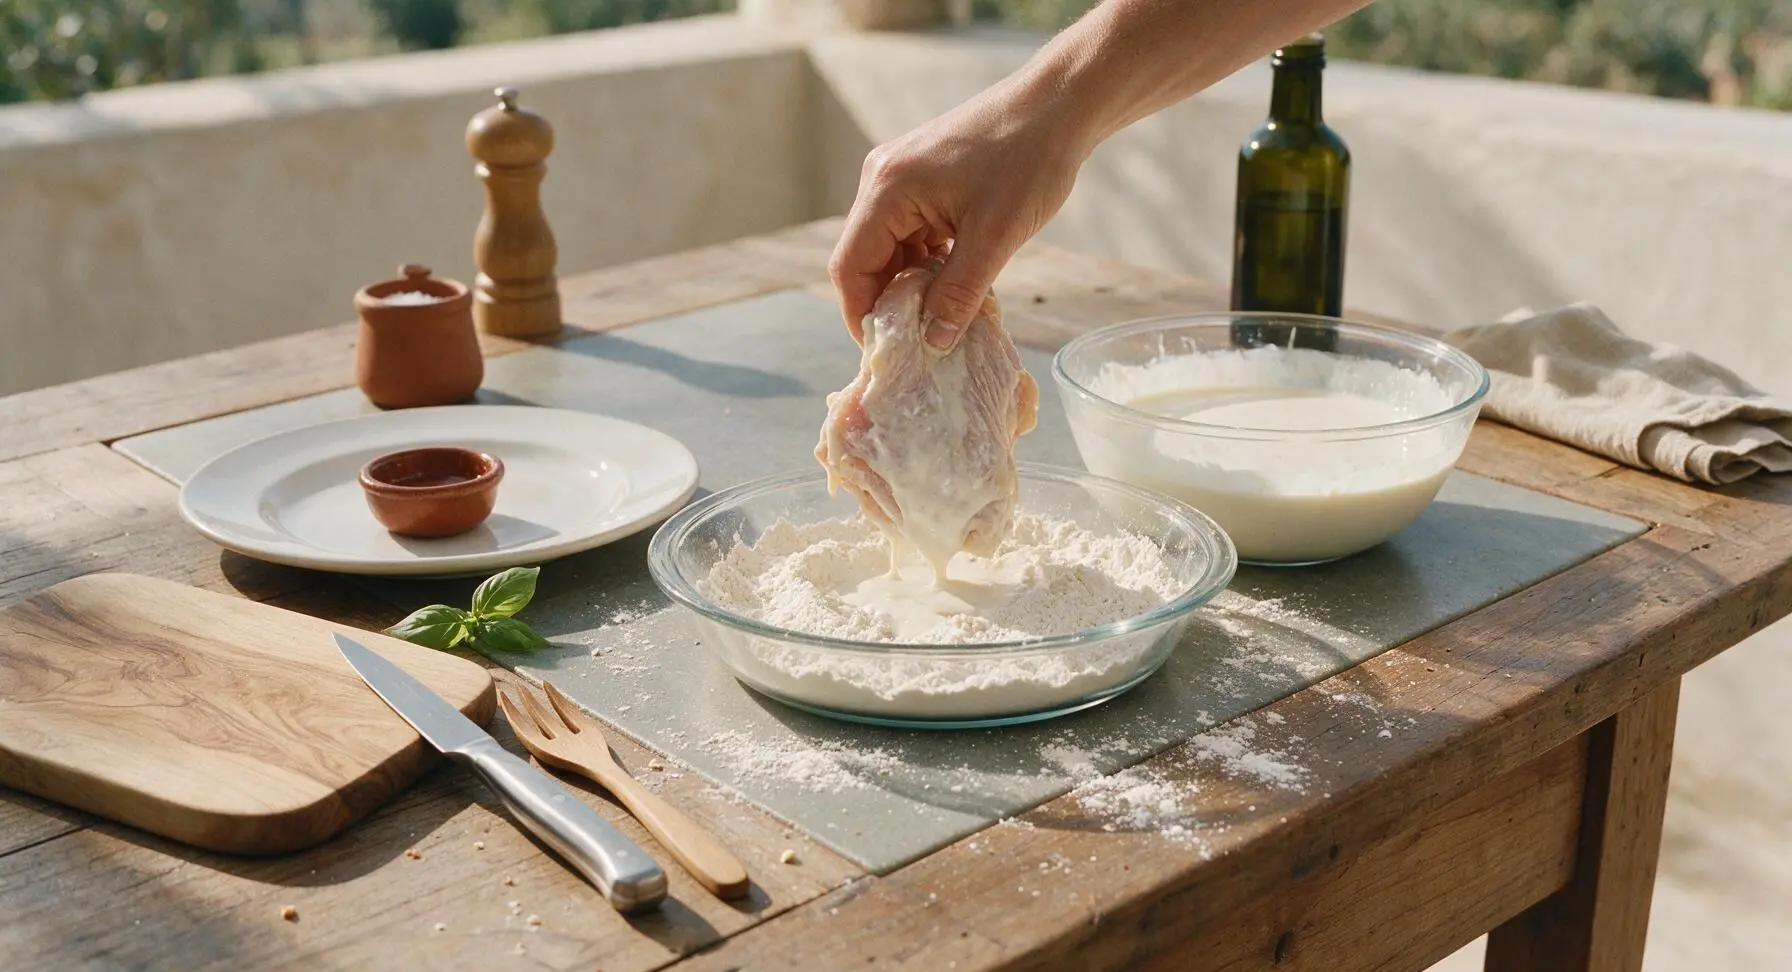
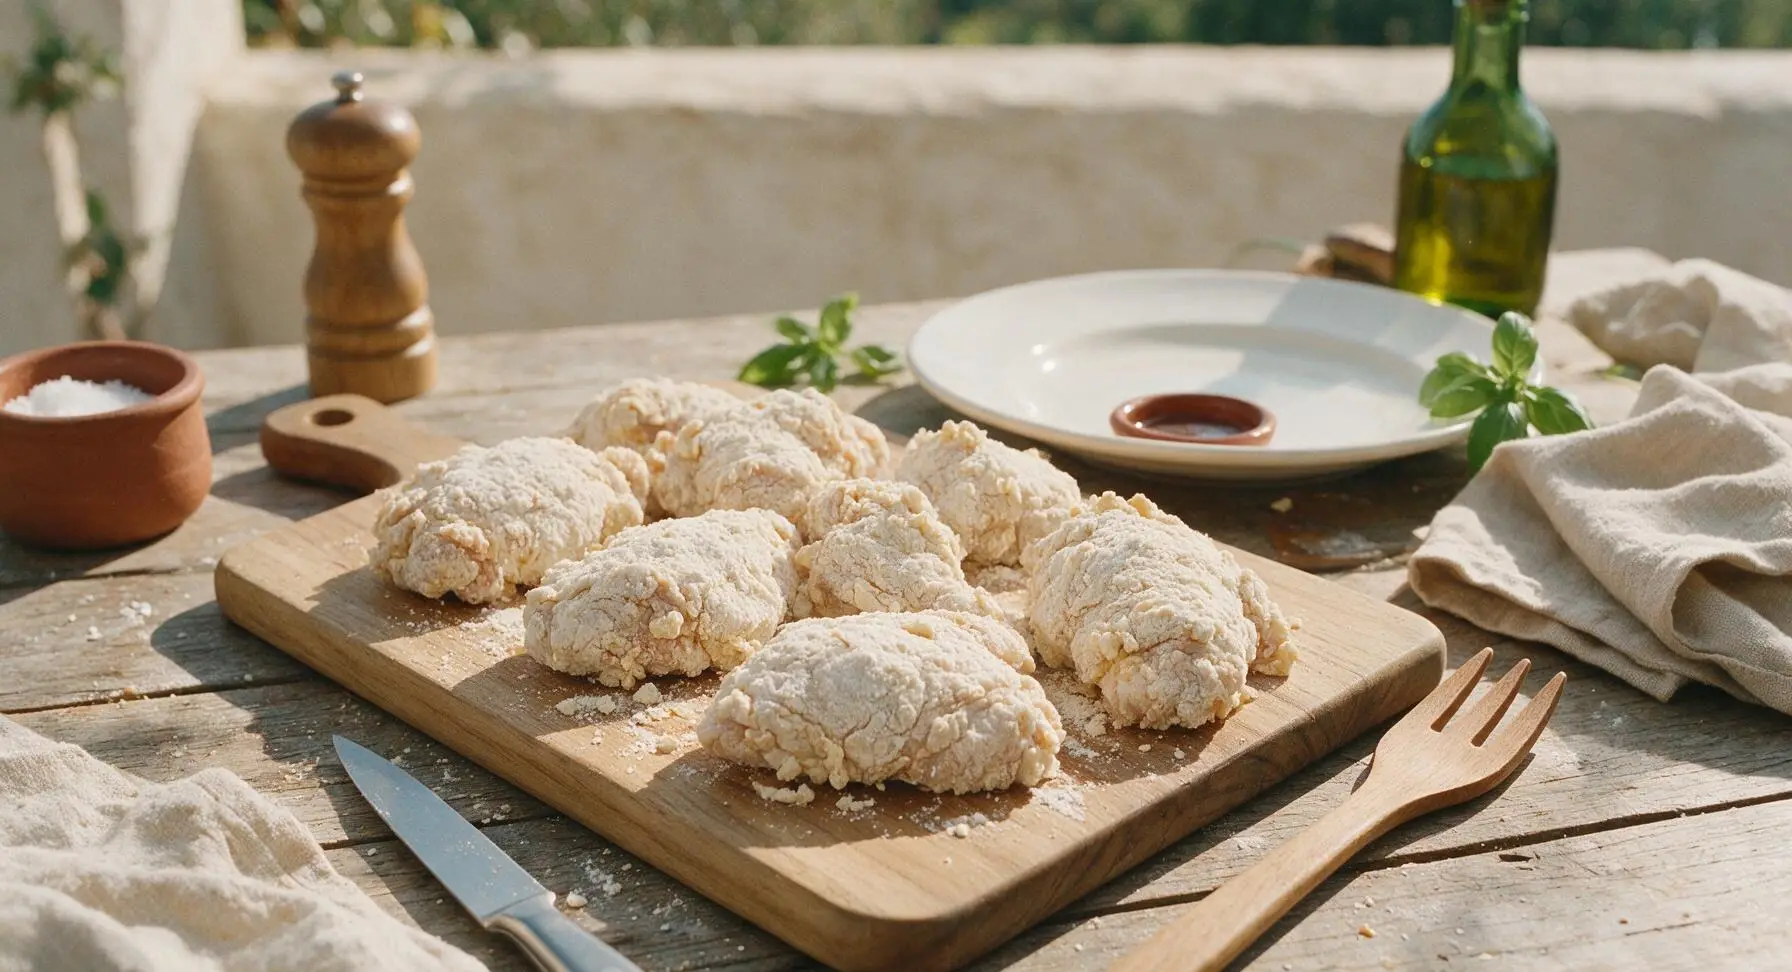
Working one piece at a time, lift chicken from the buttermilk brine, letting excess buttermilk drip off for 2–3 seconds. Press the chicken firmly into the seasoned flour in the baking dish, turning to coat every surface, then pack extra flour onto the skin to create thick, craggy clumps. Place fully dredged pieces on the light maple cutting board to rest for 15 minutes before frying; this rest period allows the flour to adhere to the buttermilk, preventing crust separation during cooking. The coated chicken should have a shaggy, uneven flour surface, not a thin, smooth dusting.
Step 3
step3:Dredge Chicken Pieces
Step 3
step3:Dredge Chicken Pieces
4

Heat Oil in Skillet

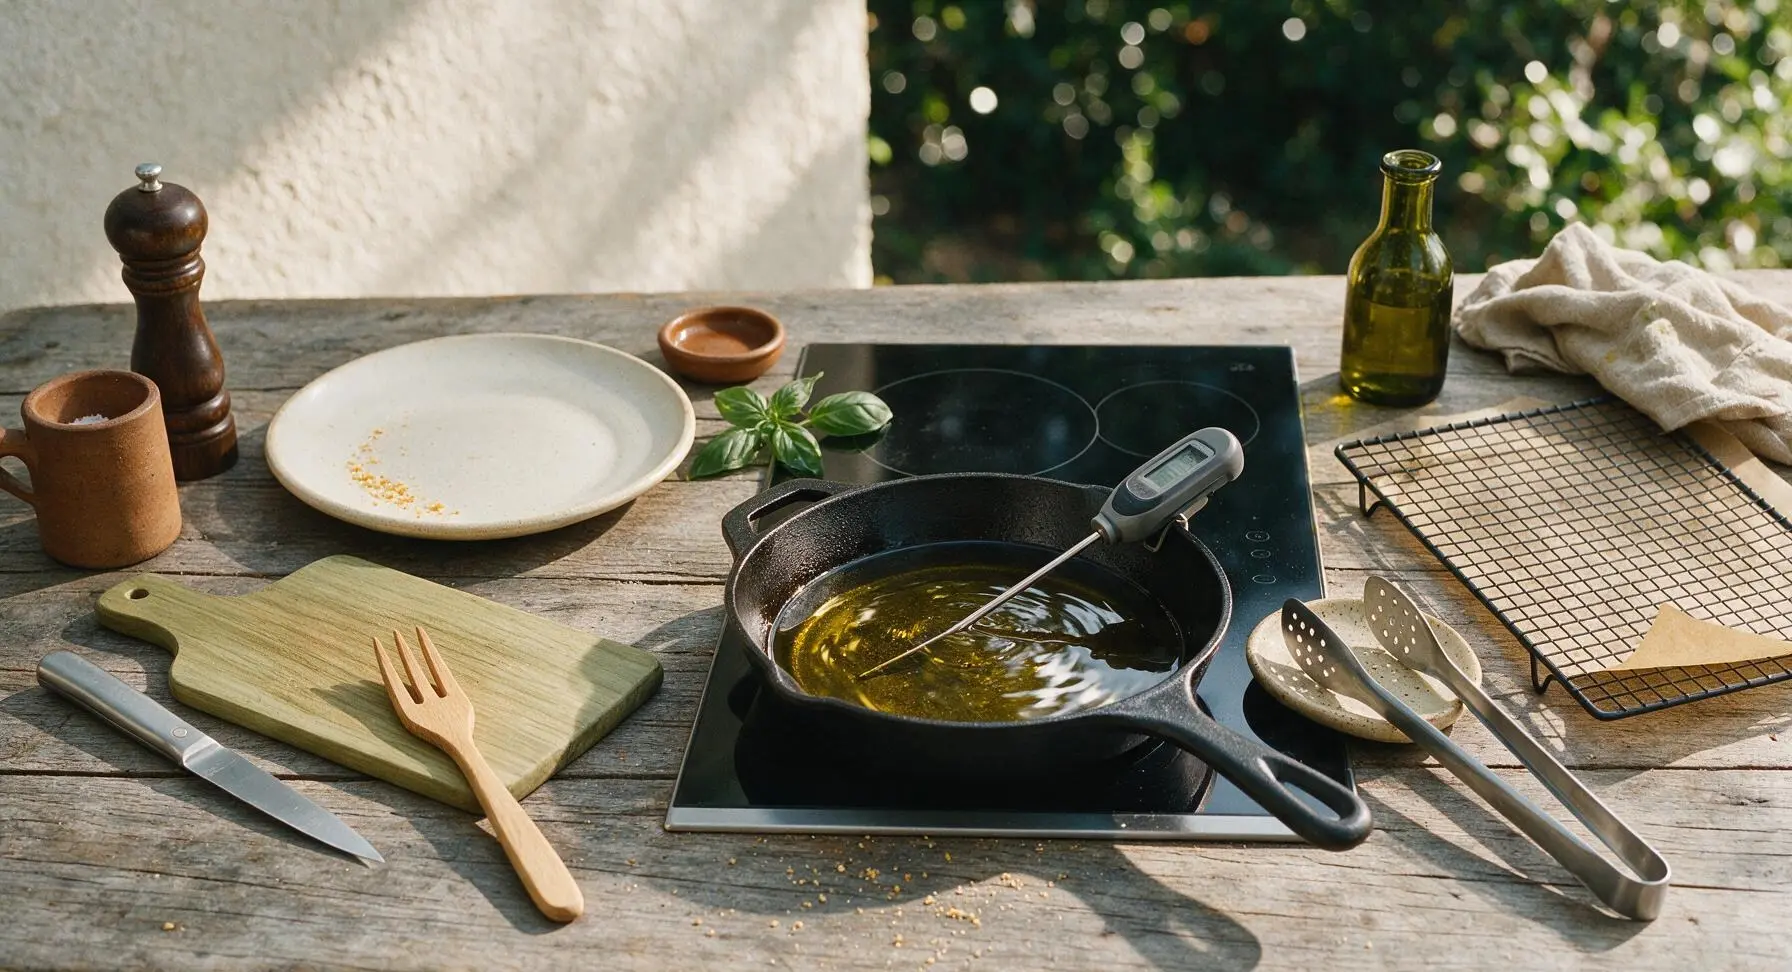
Place the 12-inch matte black cast iron skillet on the center-right induction burner, then pour in 1 quart canola oil until the oil reaches 1 1/2 inches up the pan sides. Heat oil over medium heat until it reaches a steady 350°F (175°C), verified with the digital instant-read thermometer. If the oil begins to smoke, it has exceeded 375°F; turn the heat down and let it cool 2–3 minutes before adding chicken.
Step 4
step4:Heat Oil in Skillet
5

Fry Chicken in Batches

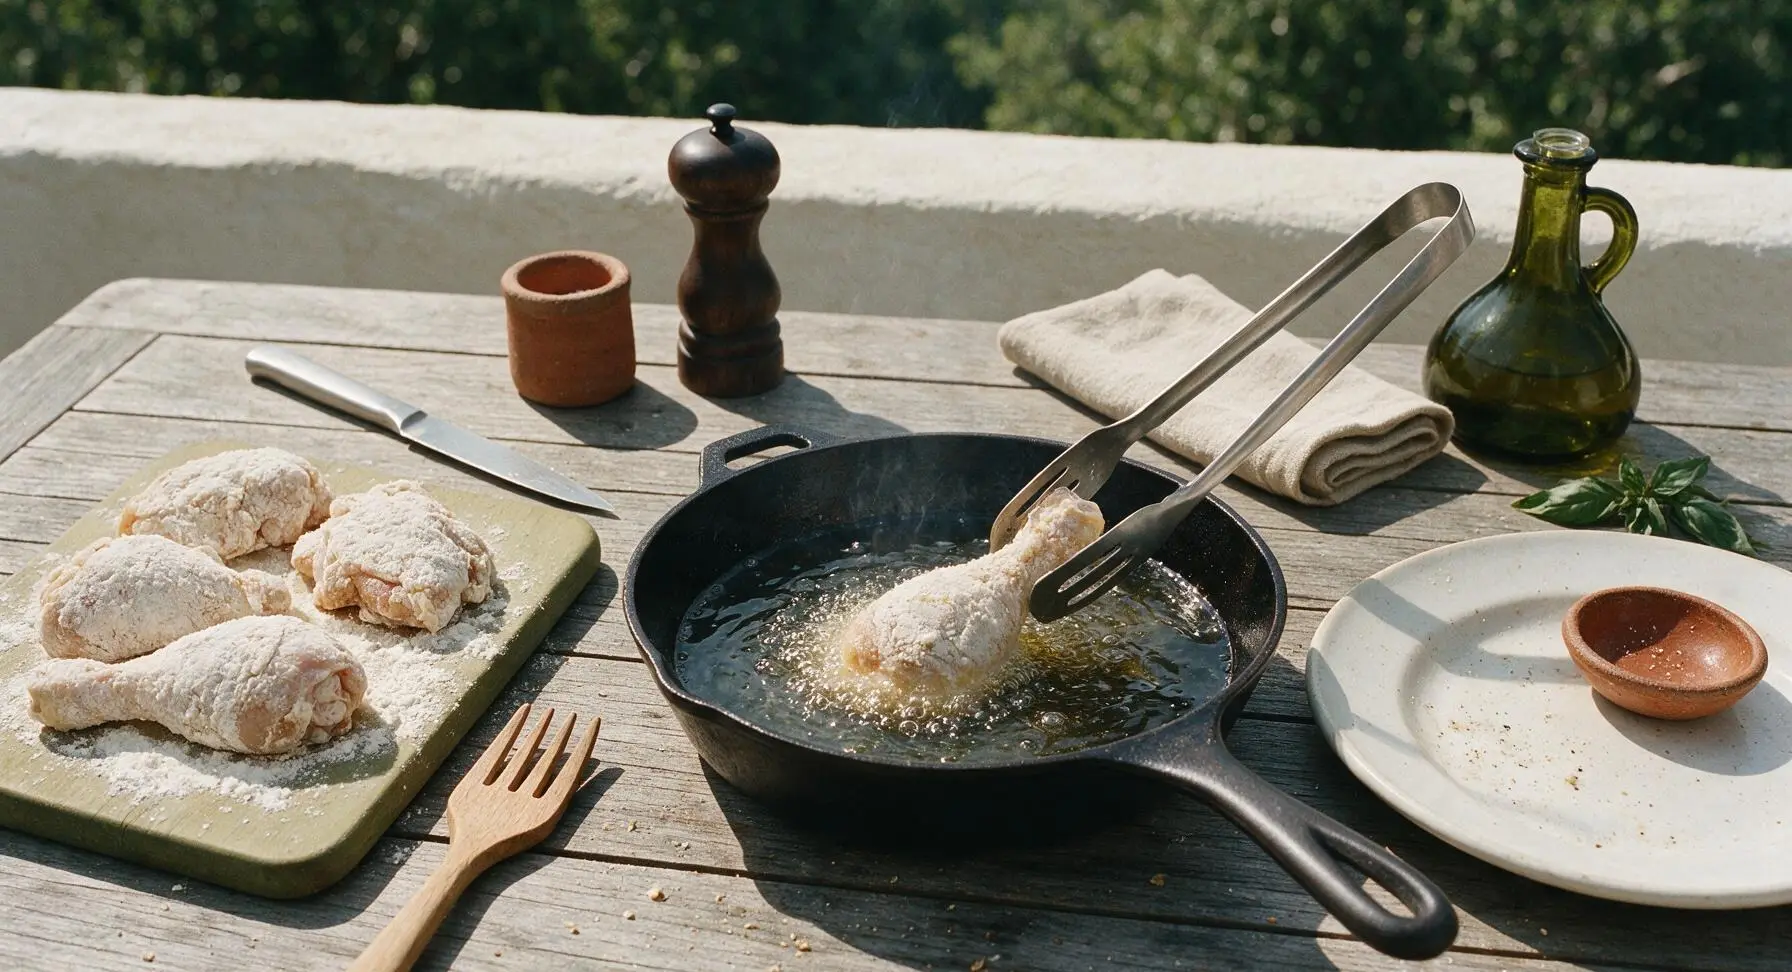
Using the slotted stainless steel tongs, carefully lower 2–3 pieces of dredged chicken into the hot oil, skin-side down. Do not overcrowd the pan, as this drops oil temperature and causes soggy crust. Fry for 12–14 minutes total, turning pieces every 3–4 minutes, until the crust is a deep, even golden brown and the chicken reaches an internal temperature of 165°F (74°C) at the thickest point. Dark meat (thighs, drumsticks) will take 1–2 minutes longer than breast meat.
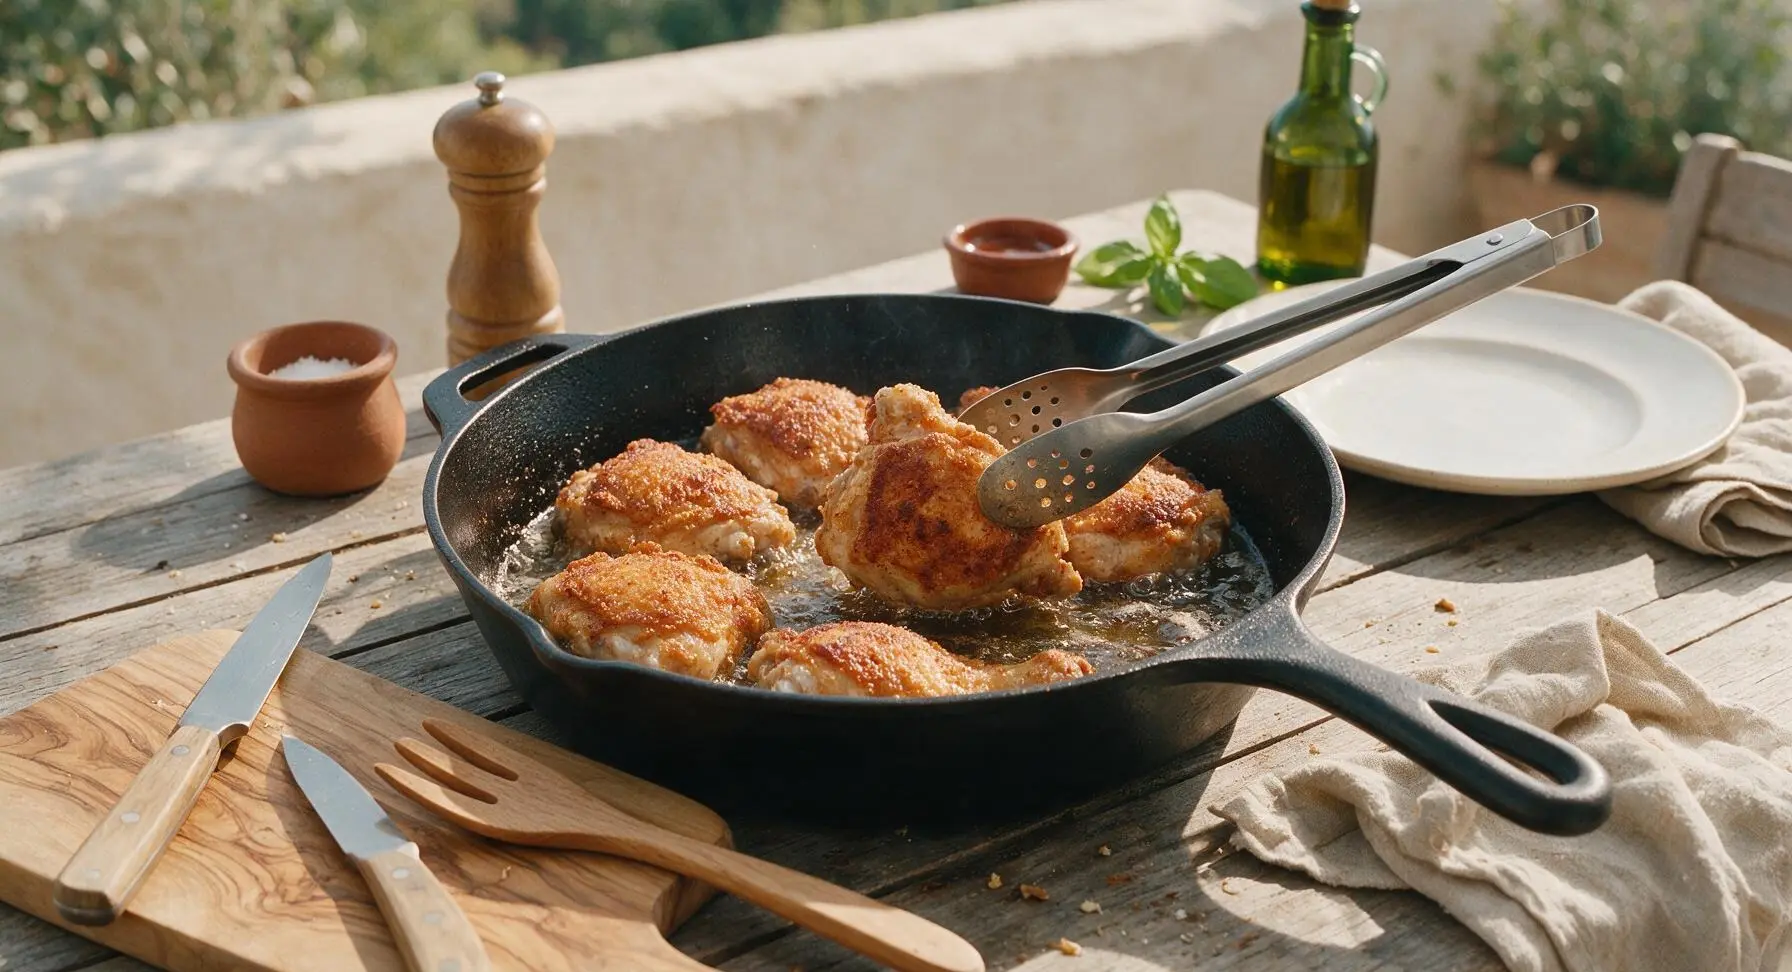
Step 5
step5:Fry Chicken in Batches
Step 5
step5:Fry Chicken in Batches
6

Drain and Season Chicken

Once chicken reaches the correct internal temperature and crust color, use tongs to lift each piece from the oil, letting excess oil drip back into the skillet for 2 seconds. Transfer pieces to the black wire cooling rack lined with brown paper. Immediately sprinkle the hot crust lightly with flaky sea salt, so the salt adheres to the glistening oil. Let chicken rest for 8–10 minutes to allow juices to redistribute; do not rest on paper towels, as this traps steam and sogs the crust.
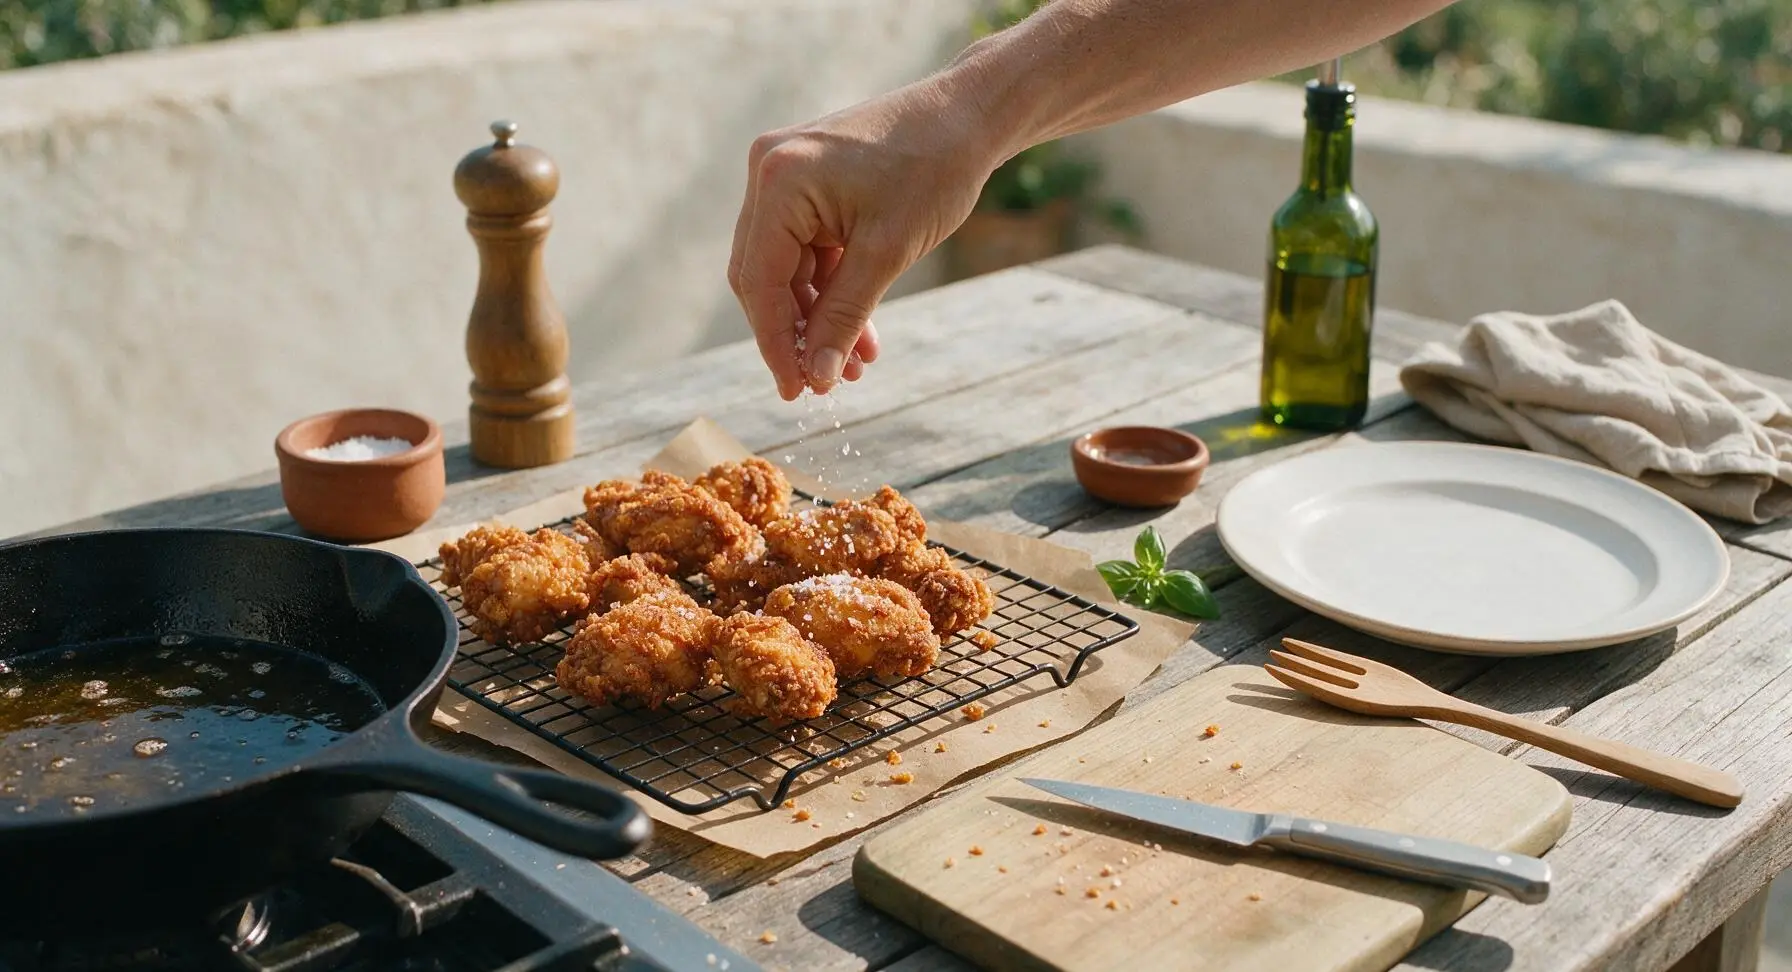
Step 6
step6:Drain and Season Chicken
7

Plate and Serve Hot

After the chicken has rested, arrange pieces casually on the vintage cream white ceramic dinner plate. Place the small matching cream ramekin of hot honey next to the plate for dipping. Serve immediately, while the crust is still crisp; the chicken will stay crisp for 20–30 minutes at room temperature, making it ideal for family-style passing.
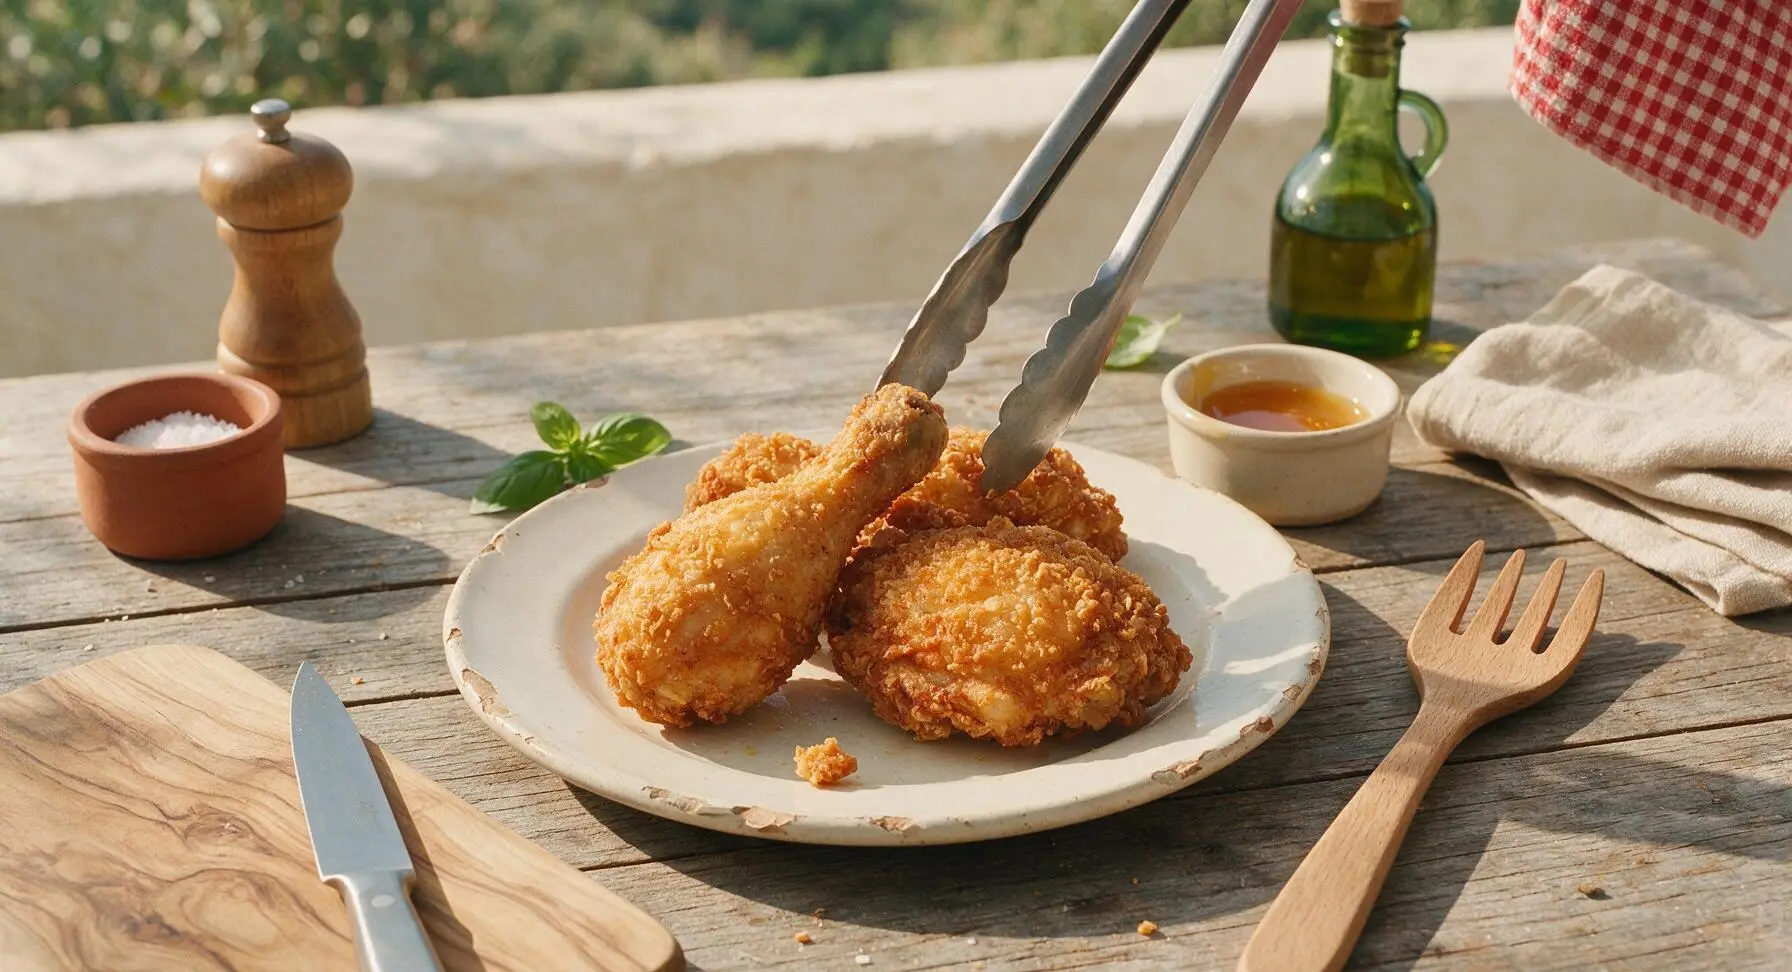
Step 7
step7:Plate and Serve Hot

Tips

1.Let dredged chicken rest 15 minutes before frying: This pause lets the flour and buttermilk form a sticky, adhesive layer that creates a shaggy, crisp crust that won’t slide off when you flip the chicken, fixing one of the most common fried chicken mistakes.
2.Hold oil steady at 350°F throughout frying: Oil that is too cool makes chicken absorb excess grease and turn soggy, while oil that is too hot burns the crust before the meat cooks through to the safe 165°F internal temperature. Check the temperature between batches and adjust heat as needed.
3.Drain chicken on an elevated wire rack instead of stacked paper towels: Resting chicken directly on paper towels traps steam against the bottom crust, turning it soggy in minutes. The rack lets air circulate around all sides, keeping crust crisp while excess oil drains onto the brown paper below.


✨ You May Also Like

Main Course
🍜 United Kingdom

A showstopping classic of tender seared beef, savory mushroom duxelles, and crisp prosciutto wrapped in flaky golden puff pastry, baked to juicy perfection.

⏱️ 2 hours 1Main Course ★ 4.7
Main Course
🍜 India

Tender charred marinated chicken simmered in a rich, spiced creamy tomato sauce, this iconic Anglo-Indian curry pairs perfectly with basmati rice or warm naan.

⏱️ 50 minuteMain Course ★ 4.6
Main Course
🍜 Thailand

Classic tangy, sweet, and savory Thai stir-fried rice noodles with shrimp, tofu, and crunchy garnishes, balancing all five core Thai flavor profiles.

⏱️ 30 minuteMain Course ★ 4.5
Main Course
🍜 United Kingdom

Crispy golden beer-battered cod and fluffy double-fried chips, served with tangy tartar sauce and malt vinegar: the timeless, beloved British pub comfort classic.

⏱️ 45 minuteMain Course ★ 4.7
Main Course
🍜 Mexico

Smoky, chile-marinated pork tacos with caramelized pineapple, fresh cilantro, and lime: a beloved classic Mexican street food perfect for casual summer gatherings.

⏱️ 1 hour 45Main Course ★ 4.8
Main Course
🍜 United States

Crunchy Fritos corn chips layered with savory beef chili and melted cheddar, topped with cool, zesty fixings for a beloved, cozy Tex-Mex comfort food.

⏱️ 35 minuteMain Course ★ 4.8

paula patton fried chicken:Frequently Asked Questions

1.How long should I brine the chicken in buttermilk for the juiciest results? ▾
For the juiciest, most tender results, brine your bone-in, skin-on chicken pieces in full-fat buttermilk mixed with Louisiana hot sauce for a minimum of 4 hours, and ideally 12 to 24 hours in the fridge. Don’t brine longer than 36 hours, as lactic acid can break down meat too much and leave it mushy instead of tender.
2.Can I use low-fat or non-fat buttermilk instead of full-fat for this recipe? ▾
Skip low-fat or non-fat buttermilk here—full-fat is non-negotiable for that rich, tangy depth and reliable tenderizing power that makes this chicken iconic. The extra fat also helps the flour coating adhere better for that signature shaggy, crisp crust, rather than sliding off or turning soggy mid-fry.
3.What cuts of chicken work best for this fried chicken recipe? ▾
Stick to the recipe’s recommended bone-in, skin-on pieces: thighs, drumsticks, and halved bone-in breasts. Bone-in cuts stay juicier through frying, and the skin is key for that crispy, fatty, flavorful base under the crust. Boneless cuts cook faster but won’t have the same depth of flavor or juicy texture.
4.How much Louisiana-style hot sauce should I add to the buttermilk brine? ▾
Start with 2 to 3 tablespoons of Louisiana-style hot sauce per 4 cups of full-fat buttermilk for a subtle, tangy heat that doesn’t overpower the chicken. You can bump it up to ¼ cup if you love a spicier brine, but avoid adding so much that it thins the buttermilk too much to stick to pieces.
5.Why isn’t my fried chicken getting that signature shaggy, crispy crust? ▾
The most common culprit is letting floured chicken sit too long before frying, which makes the coating gummy. After dredging pieces in seasoned AP flour, let them rest on a wire rack for just 10 to 15 minutes so the coating sets, then fry in 350°F oil—don’t crowd the pot, which drops oil temp and sogs out crust.
6.What type of oil is best for frying this chicken to get a perfect crisp? ▾
Reach for neutral, high-smoke-point oils like peanut, canola, or vegetable shortening for this recipe. These won’t add off-flavors as you fry, and they hold a steady 350°F temperature well, which is key to getting that golden, shaggy crust without burning it before the chicken cooks through to the bone.
7.Do I need extra seasonings in the all-purpose flour dredge beyond kosher salt? ▾
Kosher salt is the core seasoning for the dredge, but you can add small pinches of garlic powder, onion powder, smoked paprika, and black pepper to the AP flour to amp up savoriness without straying from the classic Southern profile. Just don’t overdo it—you want the buttermilk tang and hot sauce kick to shine.
8.How do I know when the fried chicken is fully cooked without cutting into it? ▾
The most reliable method is to use an instant-read thermometer stuck into the thickest part of each piece, avoiding contact with bone. Dark meat (thighs, drumsticks) should hit 175°F, and halved bone-in breasts should hit 165°F. If crust browns too fast, lower oil temp slightly to avoid burning.
9.Can I prep this chicken ahead of time for a Sunday family gathering? ▾
You can brine the chicken in the buttermilk and hot sauce mixture up to 24 hours ahead of time, stored covered in the fridge, to cut down on day-of work. Wait to dredge in seasoned flour until right before you fry, though—pre-dredged chicken gets gummy and won’t develop that signature shaggy crisp crust.
10.Why does the crust fall off my chicken while it fries? ▾
Crust slippage usually happens if the chicken is too wet when you dredge it, or if the oil isn’t hot enough when you add pieces. Pat brined chicken lightly before coating in flour, press the flour firmly into every crevice of the skin, and make sure oil holds a steady 350°F before lowering pieces in gently.
11.Can I use boneless, skinless chicken for this recipe if that’s what I have on hand? ▾
You can, but know you won’t get the exact classic texture or flavor. Boneless, skinless cuts cook much faster (in 8 to 12 minutes, depending on thickness) and lack the fatty, rich skin that helps crust adhere and adds depth. You’ll also miss out on the extra juiciness bone-in cuts deliver.
12.How much kosher salt should I use for well-seasoned chicken, not bland or too salty? ▾
Use 1 tablespoon of kosher salt per 4 cups of buttermilk brine to season the meat all the way through, then add 1 more teaspoon of kosher salt per 2 cups of AP flour for the dredge. This two-layer seasoning means you won’t end up with bland meat under a salty crust, a common fried chicken misstep.
13.Should I cover the pot while frying to help the chicken cook faster? ▾
Skip covering the pot for most of the fry time, as trapped steam will turn that crispy, shaggy crust soggy and soft instead of light and crisp. You can cover the pot for the first 2 to 3 minutes if you’re worried about oil splatters, but remove the lid after that to let moisture escape.
14.What’s the best way to keep fried chicken crispy while cooking batches for a crowd? ▾
Set a wire rack inside a rimmed baking sheet, and keep cooked chicken pieces in a 200°F oven as you finish frying batches. Don’t stack the chicken or wrap it in foil, as trapped moisture will make the crust soggy. This method keeps chicken crisp and hot for up to 45 minutes, perfect for group gatherings.
15.Can I make this fried chicken in an air fryer instead of deep frying? ▾
You can adapt it for an air fryer, though you won’t get the exact same shaggy, deep-fried crust. Spray floured chicken pieces generously with oil, then air fry at 375°F for 20 to 25 minutes, flipping halfway, until internal temp hits the right mark. The crust will be lighter and less craggy than the traditional version.
16.Is Louisiana-style hot sauce different from other hot sauces for this brine? ▾
Yes—Louisiana-style hot sauce is fermented, vinegar-forward, and milder than thicker, hotter sauces like habanero blends or sriracha. It adds bright tang and subtle, balanced heat to the buttermilk brine without overpowering the chicken, rather than adding a thick, sweet or overly fiery kick that throws off the classic flavor.
17.How should I halve bone-in chicken breasts for even cooking with dark meat? ▾
If using whole bone-in, skin-on breasts, cut them crosswise into two equal pieces (a thinner rib portion and a thicker lobe portion) so they cook at the same rate as thighs and drumsticks. Aim for pieces roughly 1 ½ to 2 inches thick, so they don’t burn on the outside before cooking through on the inside.
18.Can I reuse the frying oil after making this chicken? ▾
Yes, if you strain it properly. Let the oil cool completely after frying, then pour it through a fine-mesh sieve lined with cheesecloth to remove all burnt flour and chicken bits. Store strained oil in a sealed, dark container in a cool spot for up to 3 months, and discard it if it smells rancid or smokes at low heat.
19.Why is my finished fried chicken greasy instead of light and crispy? ▾
Greasy fried chicken almost always comes from frying at too low of an oil temperature. If your oil drops below 325°F when you add chicken, the crust will absorb excess oil instead of sealing immediately and crisping up. Let oil come back to 350°F between batches, and don’t overcrowd the pot, to cut down on greasiness.
20.What should I serve with this crispy buttermilk fried chicken for a classic Sunday meal? ▾
Stick to classic Southern sides that complement the tangy, crispy chicken: creamy mac and cheese, braised collard greens, flaky buttermilk biscuits, tangy coleslaw, and dill pickles. Set out extra Louisiana-style hot sauce for drizzling, and the spread will feel perfectly cozy for gathering friends and family around the table.

Comments (9)

2 days ago

OMG this fried chicken was a total game changer for our Sunday family dinner! My kids devoured every piece and asked for seconds before I even sat down. The crust was so perfectly crispy, not greasy at all, and the buttermilk brine made the chicken so juicy I couldn’t believe it. 10/10 will be making this for our next neighborhood potluck too!

yesterday

So glad your family loved it, MamaBear2020! For extra crunch at your potluck, try reheating pieces on a wire rack in the oven instead of the microwave — it keeps the crust perfectly crisp. Enjoy!

3 days ago

I’ve tried a dozen fried chicken recipes over the years and this one is top tier. The spice blend in the flour is perfectly balanced — not too salty, just enough kick. Only note is I added a little extra paprika because my family likes a smokier flavor, and it turned out chef’s kiss. Cook time was right at 25 minutes like the recipe said, no guesswork.

2 days ago

Fellow Texan here — the extra paprika tip is genius! I’m gonna try that this weekend when I make this for my college football watch party. Thanks for the hack!

yesterday

Made this for my roommate’s birthday dinner last night and we were both blown away. I was worried it would be too messy for our tiny apartment kitchen, but the process was way simpler than I expected for medium difficulty. The crispy crust stayed crunchy even after we let it rest on paper towels for 10 minutes. SO good, already sent the recipe to my whole group chat.

2 hours ago

Wait, quick question — I tried making this yesterday for my weekly meal prep and the crust fell off half the pieces when I flipped them in the oil. Did I do something wrong? Flavor was still incredible, just sad I didn’t get that perfect crispy look on every piece!

30 minutes ago

I had the same problem my first try! Turns out I was putting the chicken in the oil too soon after breading — let it sit on a wire rack for 10-15 minutes after coating so the flour sticks better, no more falling crust! Total game changer.

5 minutes ago

Great tip from HomeCook101! Also, make sure your oil is holding a steady 350°F before you add the chicken — if it’s too cold, the crust will slide right off. Hope that helps for your next meal prep batch!

1 week ago

Brought this to my office potluck on Wednesday and people were asking me for the recipe before we even finished lunch. I used boneless thighs instead of bone-in because that’s what I had in the fridge, and it still turned out perfectly juicy and crispy. Even my gluten-free coworker was jealous, I might try making it with GF flour blend next time for her!

5 days ago

Love the boneless thigh swap, that’s such a great time-saver! If you test it with a 1:1 GF flour blend for your coworker, be sure to let us know how it turns out — we’ve had great feedback from other readers who’ve tried it!

3 days ago

I made this with a 1:1 gluten free flour blend a couple weeks ago for my celiac best friend and it turned out perfectly! No weird gritty texture, just as crispy and flavorful as the regular version. Highly recommend giving it a try for your coworker!

3 days ago

Let me be real — I was skeptical that a celebrity recipe would actually live up to the hype, but this one did. The buttermilk brine with the hot sauce and garlic adds such a nice depth of flavor, it’s not just plain crispy chicken. I ate two pieces straight out of the fryer standing over my stove, no shame. Will be in my regular dinner rotation for sure.

5 days ago

First time ever frying chicken and I was so nervous I’d mess it up, but this recipe was so easy to follow! I didn’t have a deep fryer so I used my cast iron skillet on the stovetop, and it worked perfectly. My girlfriend said it was better than the fried chicken we get at our favorite diner down the street. Win for me!

3 days ago

Cast iron is the move for fried chicken, way better than a countertop deep fryer in my opinion! Congrats on nailing it your first try, that’s such a huge win.

2 days ago

Way to go, Jake! Cast iron works amazing for this recipe because it holds heat so evenly, which is key for getting that shatteringly crisp crust without burning. So glad you two enjoyed it!

2 weeks ago

I’ve been making fried chicken for over 50 years and I’m always open to a new take, and this one did not disappoint. The secret to the crisp is definitely letting the buttermilk soak for a full 4 hours like the recipe says — I know a lot of folks rush that step, but it makes all the difference for tender, flavorful meat. My grandkids begged me to make it again next weekend.

5 minutes ago

This is such a perfect weeknight meal if you do the buttermilk brine the night before! I threw the chicken in the buttermilk mix before I left for work, came home, breaded it, and it was done in 25 minutes just like the recipe said. No fuss, no long cook time, perfect for busy school nights. My whole family cleaned their plates.

just now

Thanks for the make-ahead brine tip! I’m always scrambling to get dinner on the table right after my kids’ soccer practice, so prepping the night before is gonna be a total lifesaver. Can’t wait to make this tomorrow!



