
Pickle Brined Fried Chicken

title 1
Pickle Brined Fried Chicken
⏱️ cook time 30 minutes
🍽️ servings 4
⚡ Difficulty medium

intro

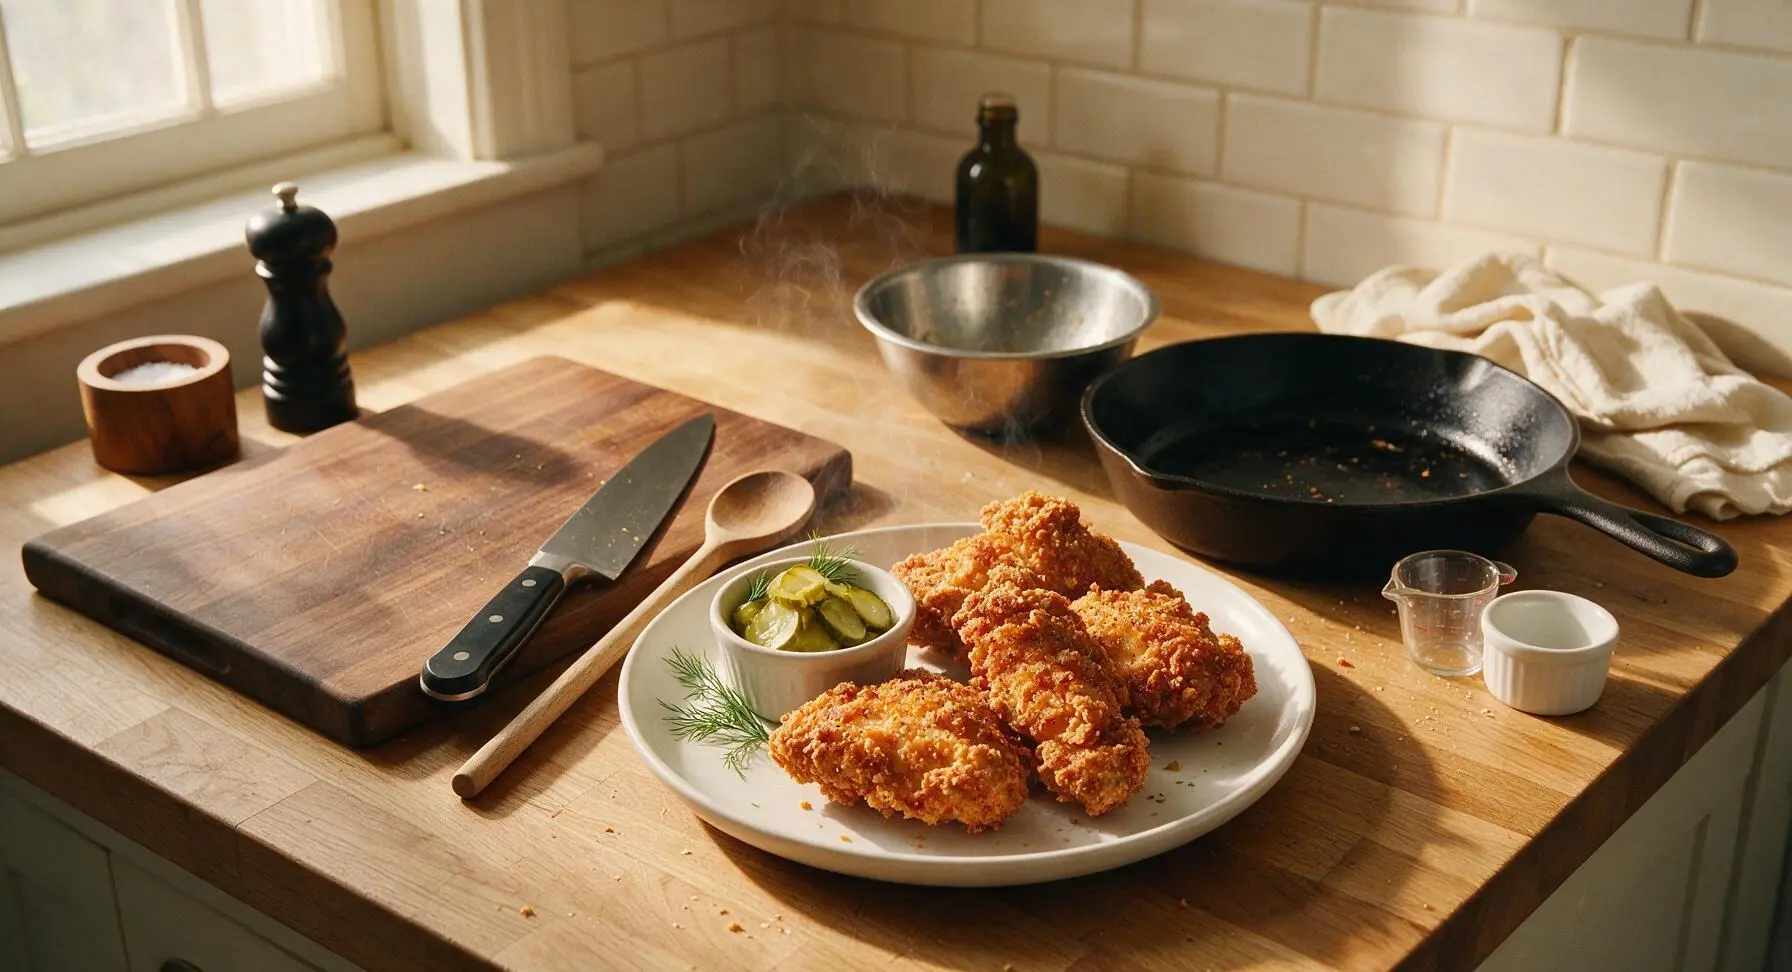
Shatteringly crisp, tangy fried chicken brined in dill pickle juice for juiciness and bright savoriness, with a golden seasoned crust that locks in every drop of flavor.

Ingredients
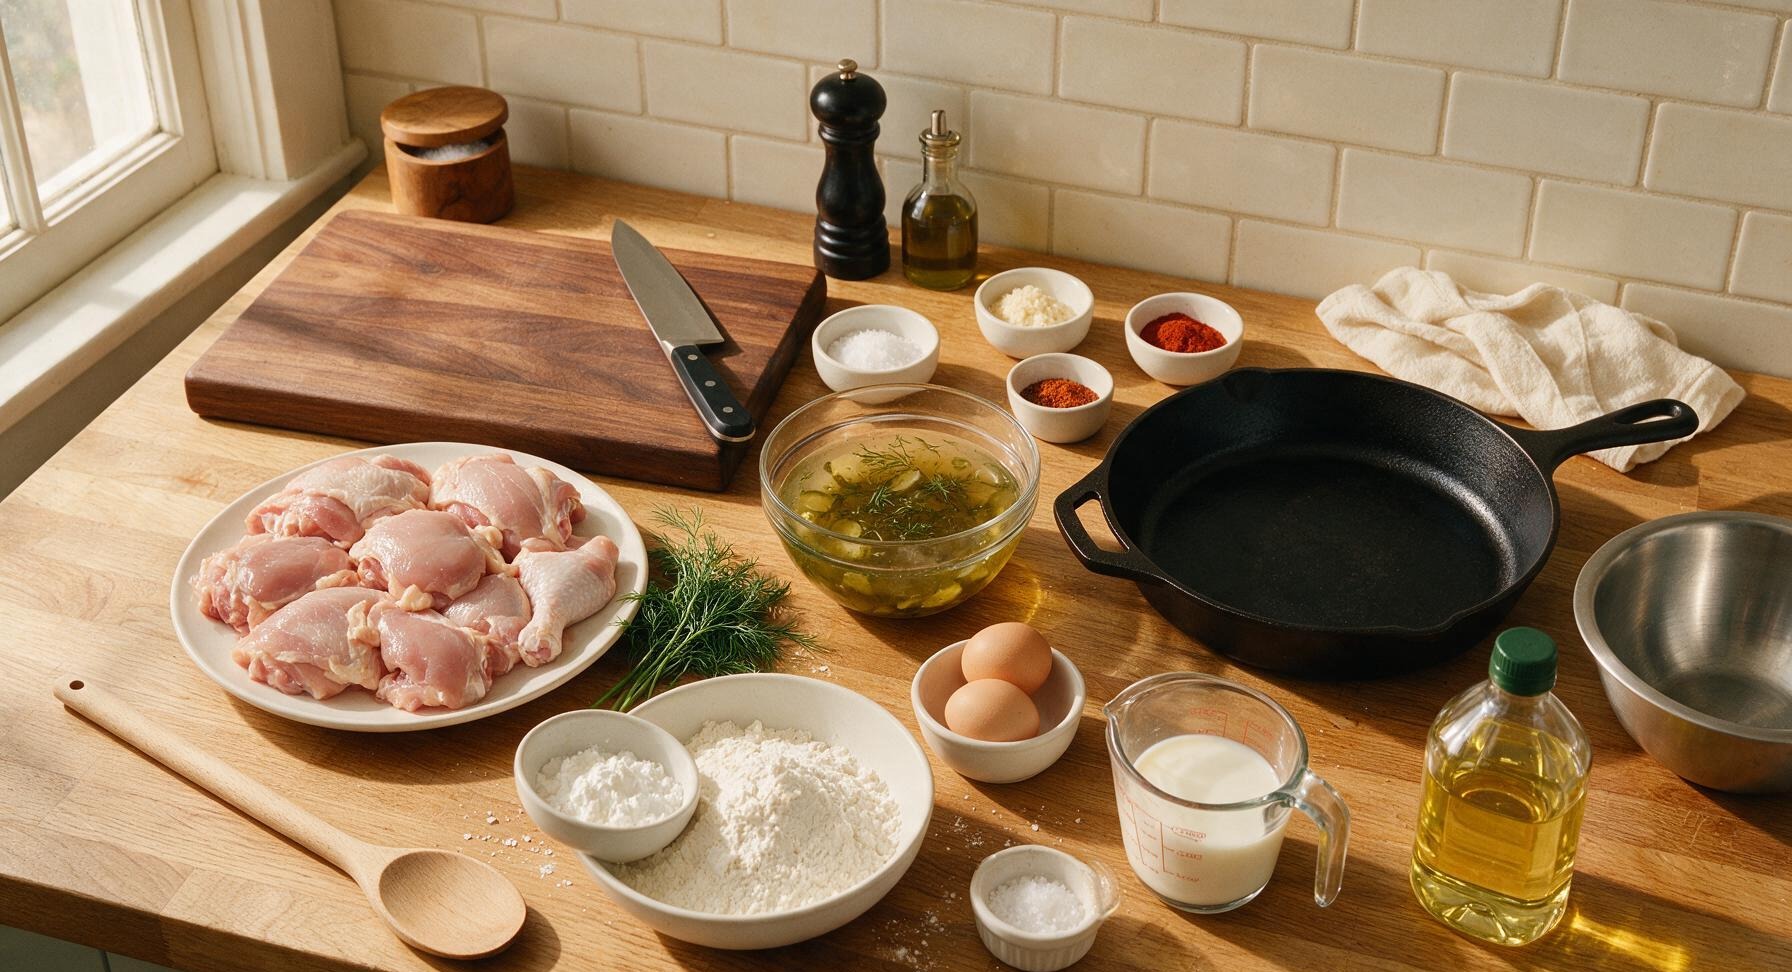
Bone-in, skin-on chicken pieces (thighs, drumsticks, tenderloins) 1.3kg (3 lbs)
Unsweetened dill pickle brine (from jarred dill pickles) 2 cups
Kosher salt 2 tsp
Granulated garlic 2 tbsp
Smoked paprika 1 tbsp
Cayenne pepper 1 tsp
Freshly ground black pepper 1 tsp
All-purpose flour 2 cups
Cornstarch 1/2 cup
Buttermilk 1/2 cup
Large eggs 2
Neutral canola oil (for frying) 1 liter
Fresh dill (for garnish) 1 small bunch
Flaky sea salt (for finishing) 1 tsp

Steps

1

Brine Chicken in Pickle Juice

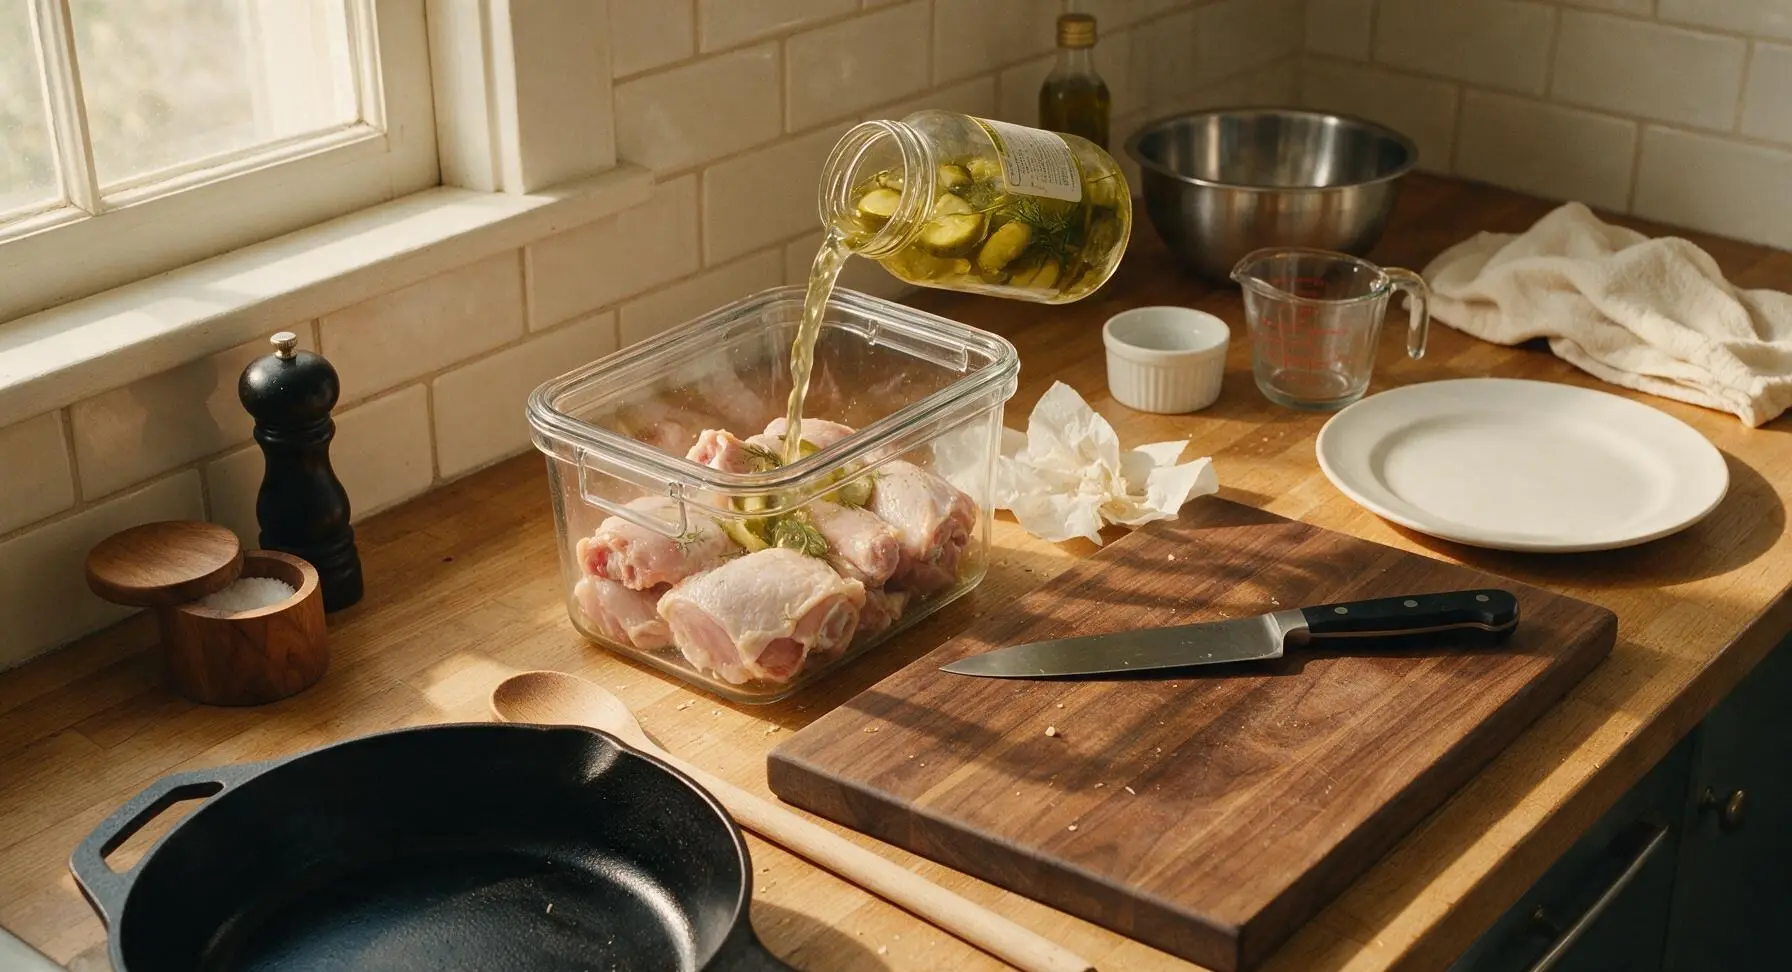
Pat 1.3kg of bone-in, skin-on chicken pieces dry with paper towels, then place them in the large 4L clear glass food storage container. Pour 2 cups of unsweetened dill pickle brine over the chicken until every piece is fully submerged, stir in 1 tsp kosher salt to dissolve. Seal the container with its airtight lid and refrigerate for 8–12 hours (minimum 4 hours for lighter brine) to infuse tangy pickle flavor; do not brine longer than 14 hours, as the meat will become overly salty.
Step 1
step1:Brine Chicken in Pickle Juice
2

Set Up Dredge Station

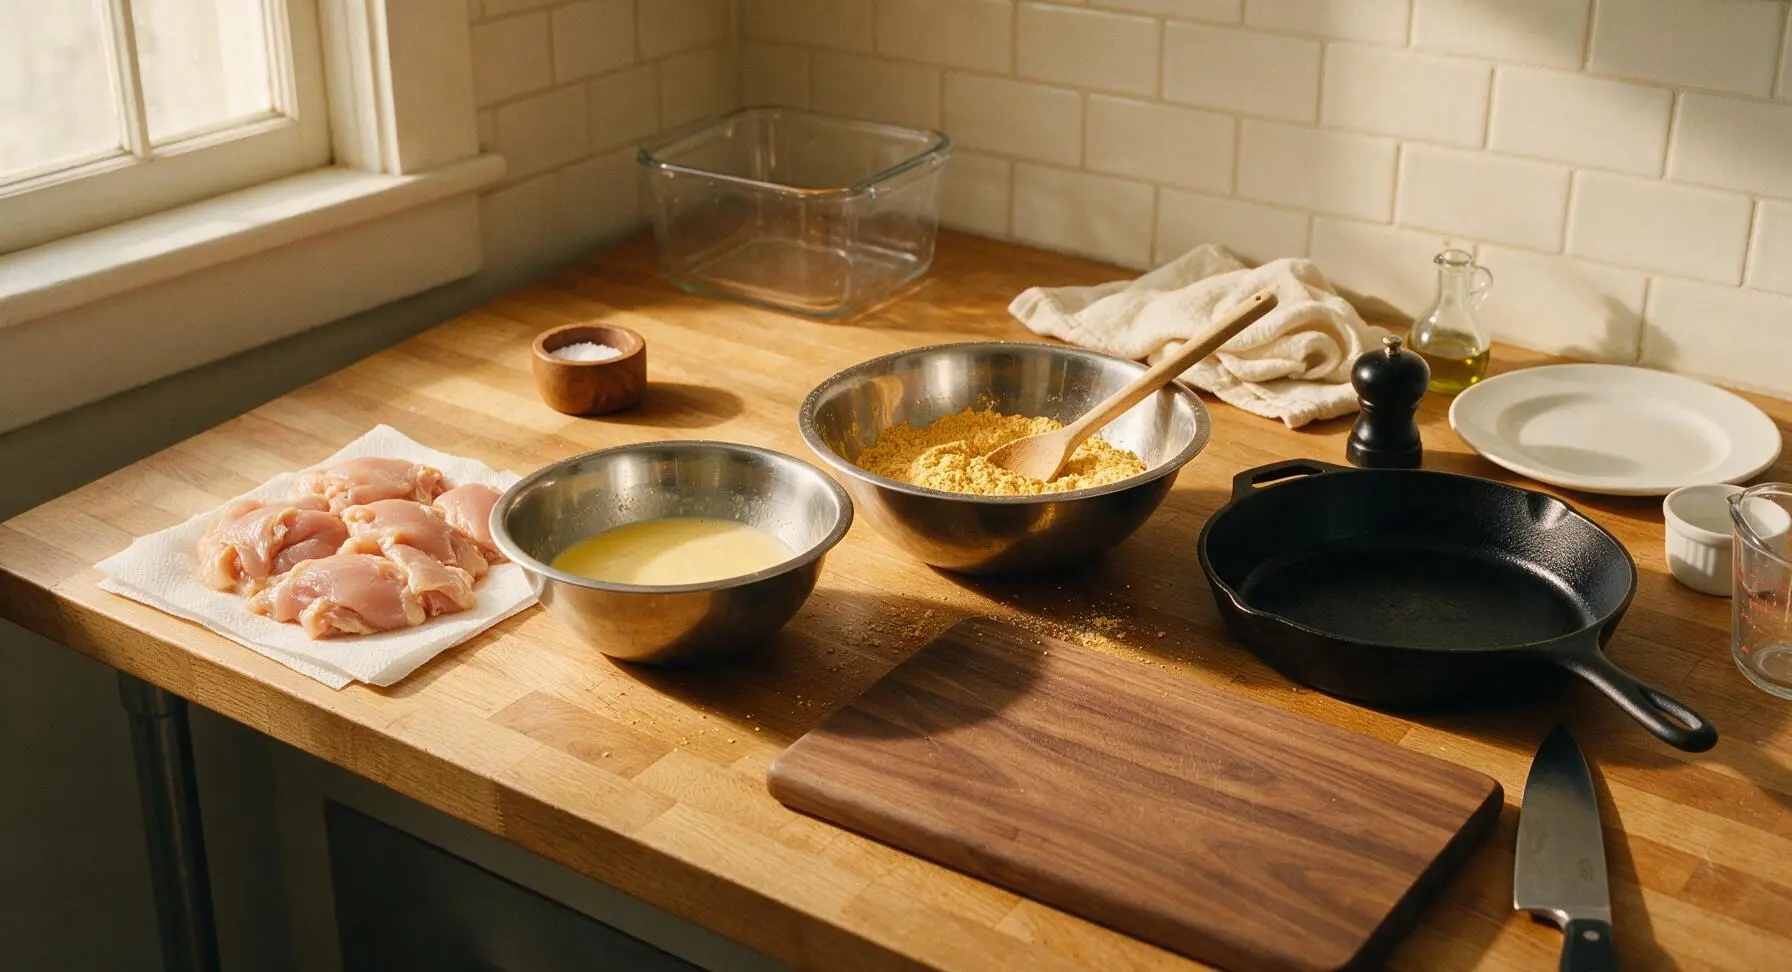
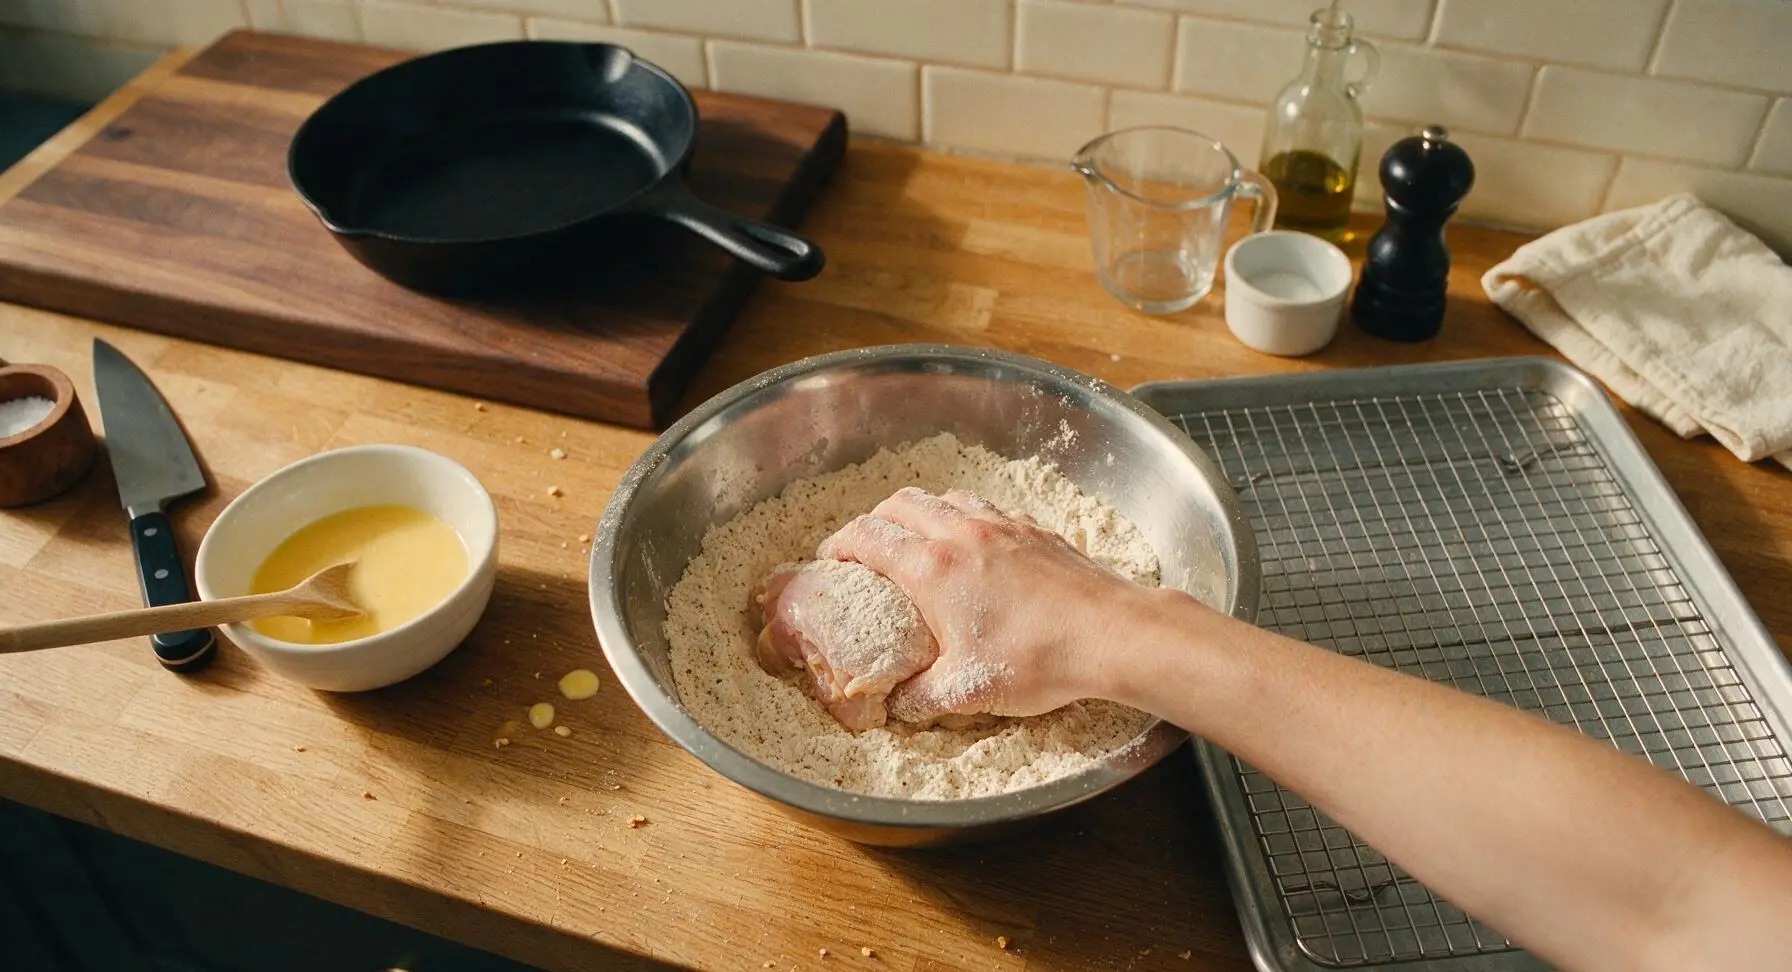
Remove brined chicken from the refrigerator, drain excess brine, and pat pieces lightly with paper towels (do not rinse, as this removes surface flavor). In the medium stainless steel mixing bowl, whisk 2 large eggs and 1/2 cup buttermilk until completely smooth. In the large stainless steel mixing bowl, whisk 2 cups all-purpose flour, 1/2 cup cornstarch, remaining 1 tsp kosher salt, 2 tbsp granulated garlic, 1 tbsp smoked paprika, 1 tsp black pepper, and 1 tsp cayenne pepper until spices are evenly mixed into the flour. Arrange items in a work line: drained chicken, egg wash bowl, seasoned flour bowl, leading to the stovetop.
Step 2
step2:Set Up Dredge Station
3

Coat Chicken in Dredge

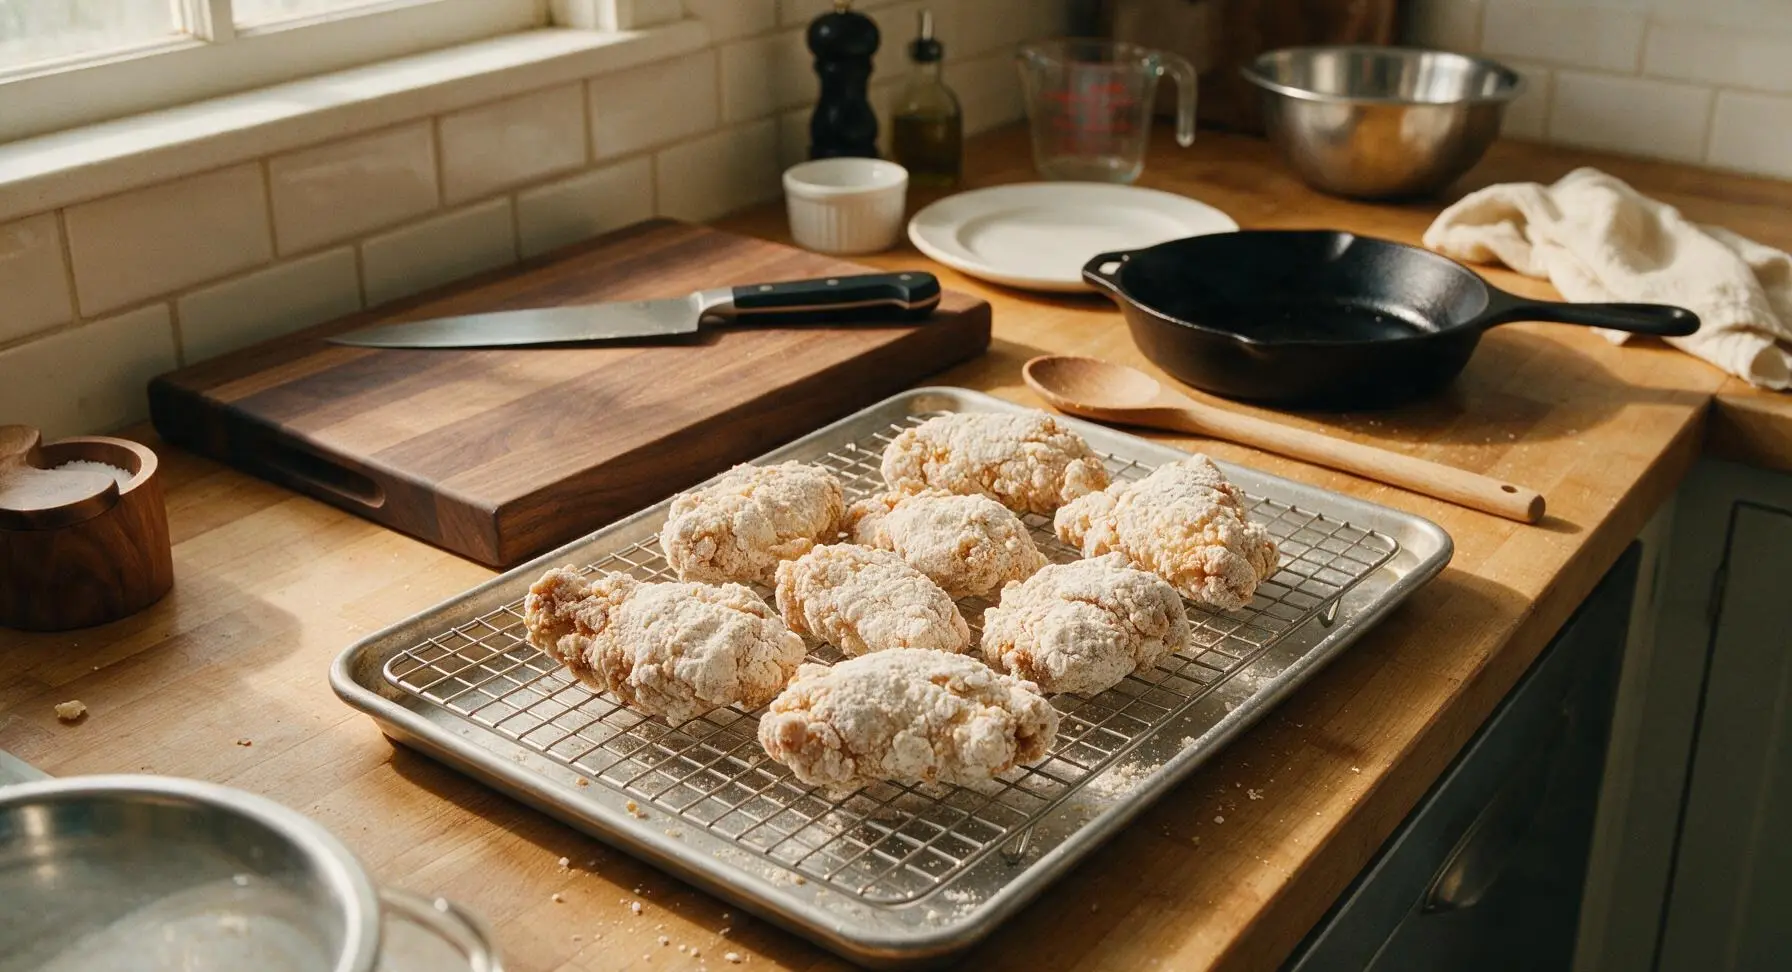
Working one piece at a time, dip chicken into the egg wash, turning to coat all surfaces, and let excess egg drip off for 2 seconds. Transfer egg-coated chicken to the seasoned flour bowl, pressing firmly to pack flour into every skin crevice, turning to coat all sides. Lift chicken out, shake off excess flour, and set coated pieces on the chrome wire cooling rack set over the rimmed aluminum baking sheet. Let coated chicken rest 15 minutes at room temperature before frying; this resting period lets the flour adhere to form a shatterproof, non-sloughing crust.
Step 3
step3:Coat Chicken in Dredge
Step 3
step3:Coat Chicken in Dredge
4

Heat Frying Oil

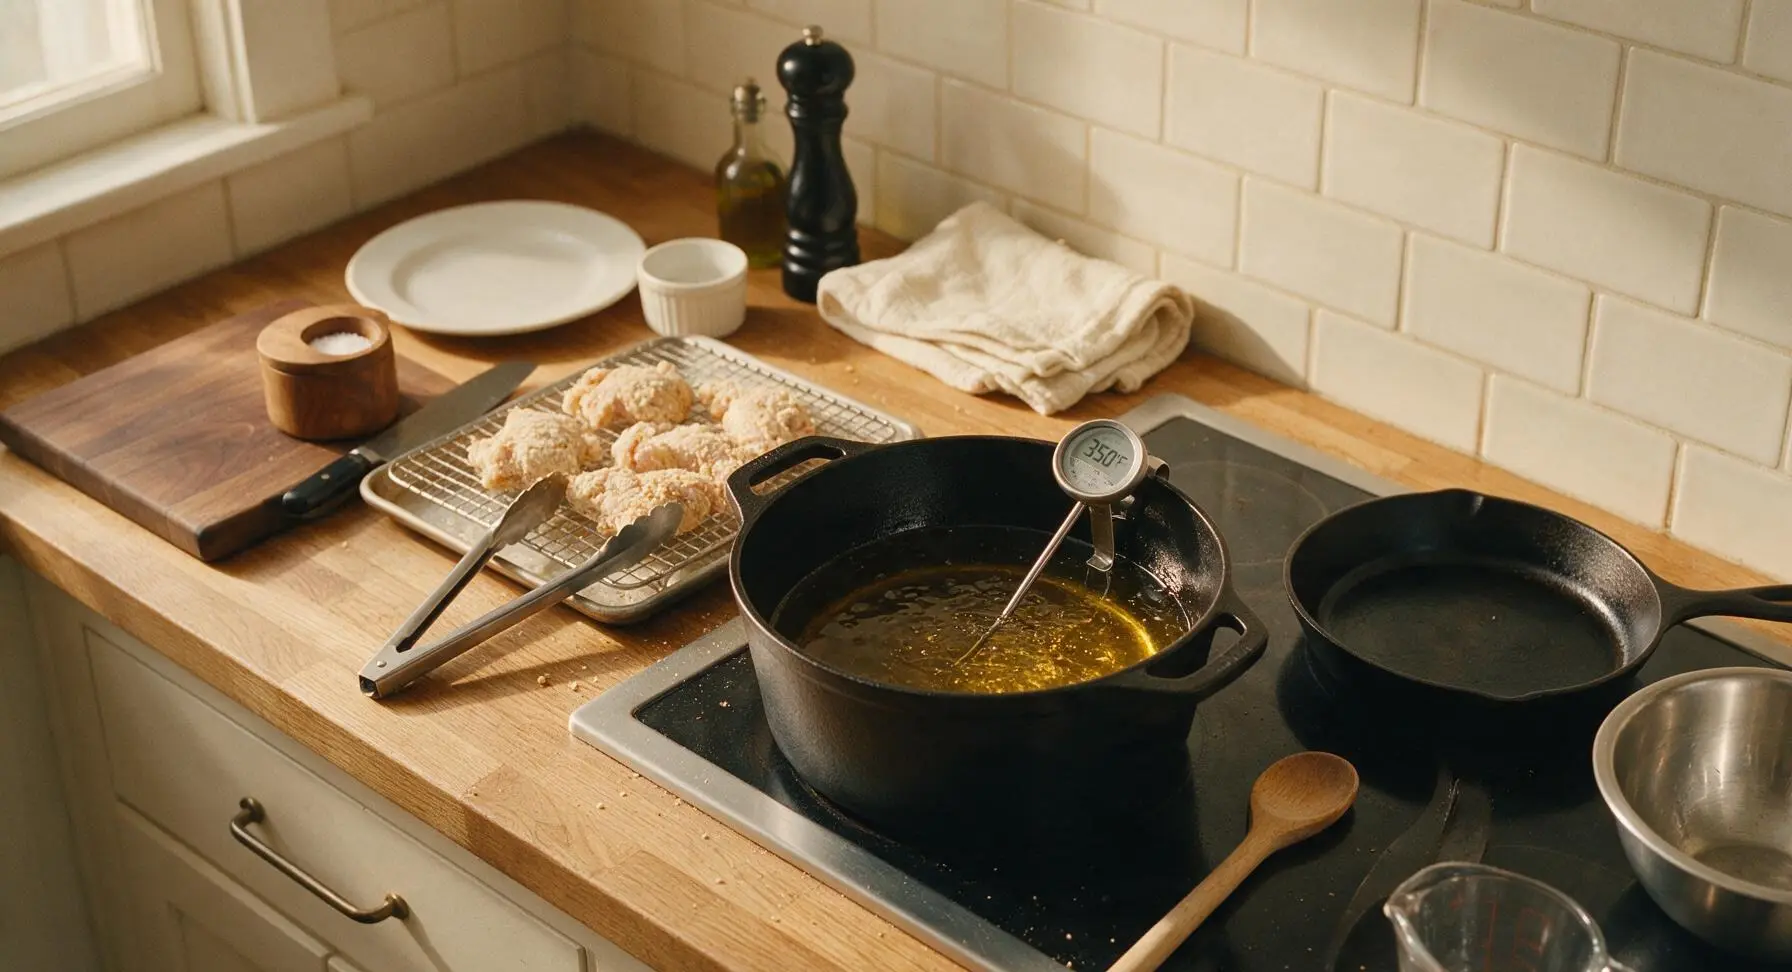
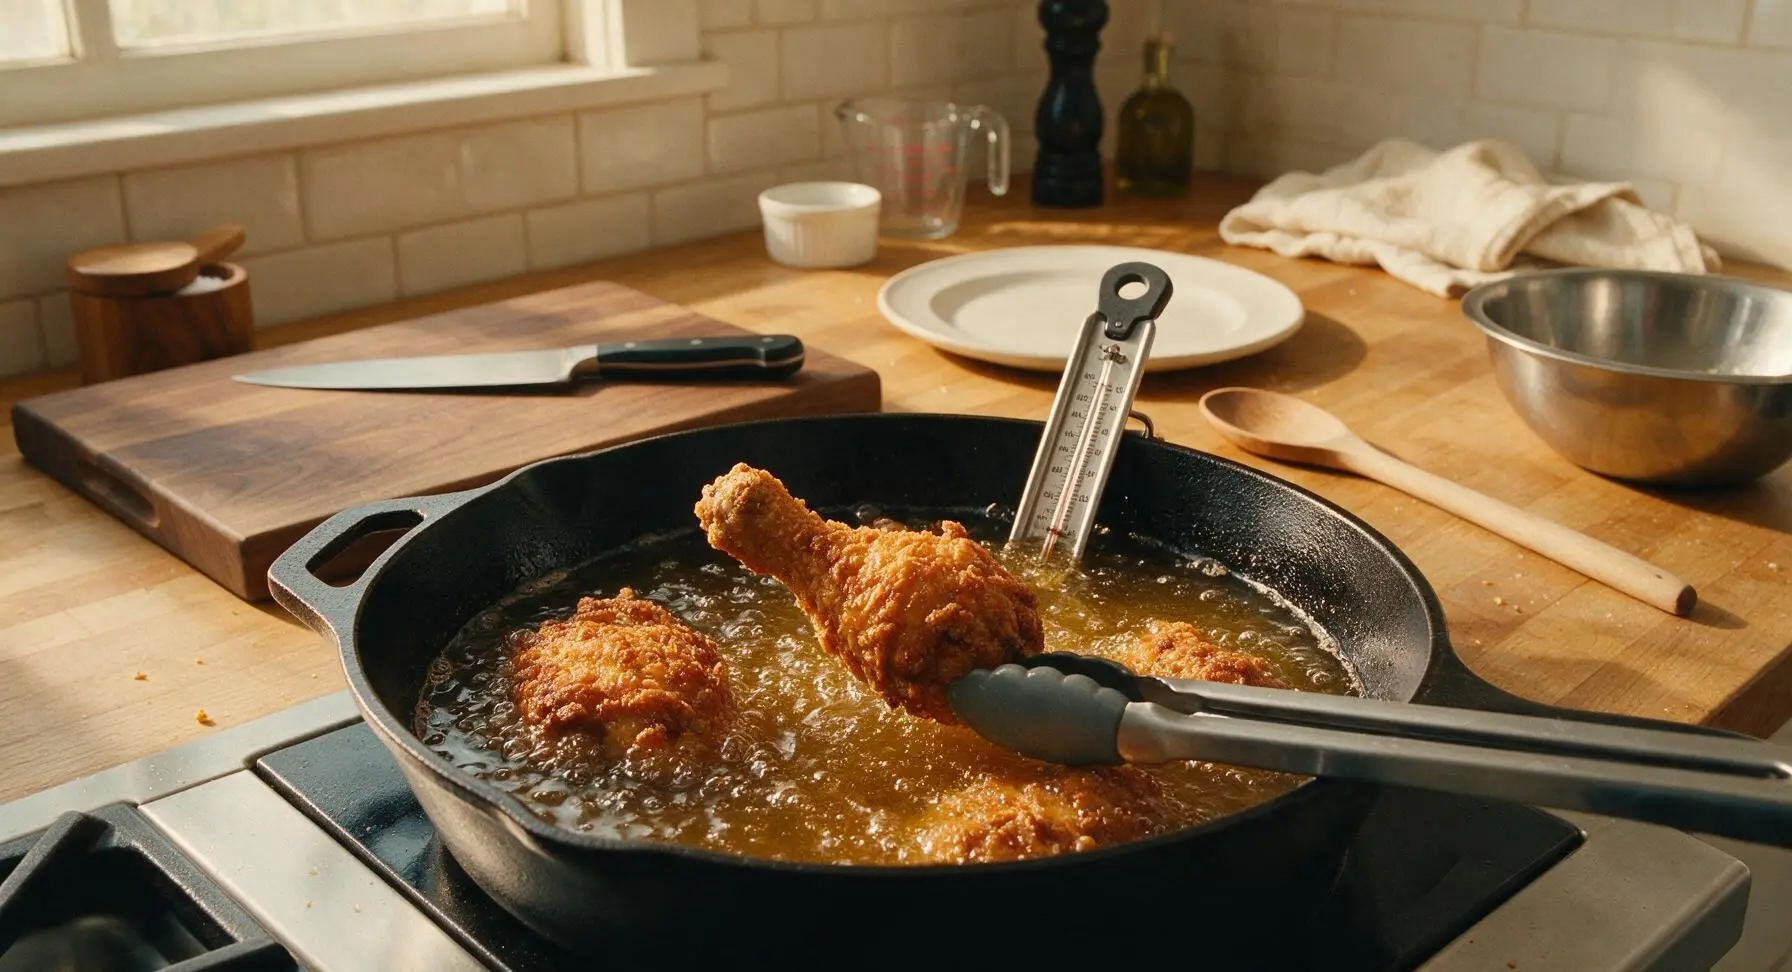
Pour 1 liter of neutral canola oil into the 12-inch matte black cast iron Dutch oven, set over medium heat. Clip the digital instant-read thermometer to the pot side, ensuring the probe is submerged in oil but not touching the pot bottom. Heat oil to a steady 175°C (350°F), adjusting burner heat as needed to maintain temperature; do not let oil exceed 185°C (365°F), as this will burn the crust before chicken cooks through.
Step 4
step4:Heat Frying Oil
5

Fry Chicken in Batches

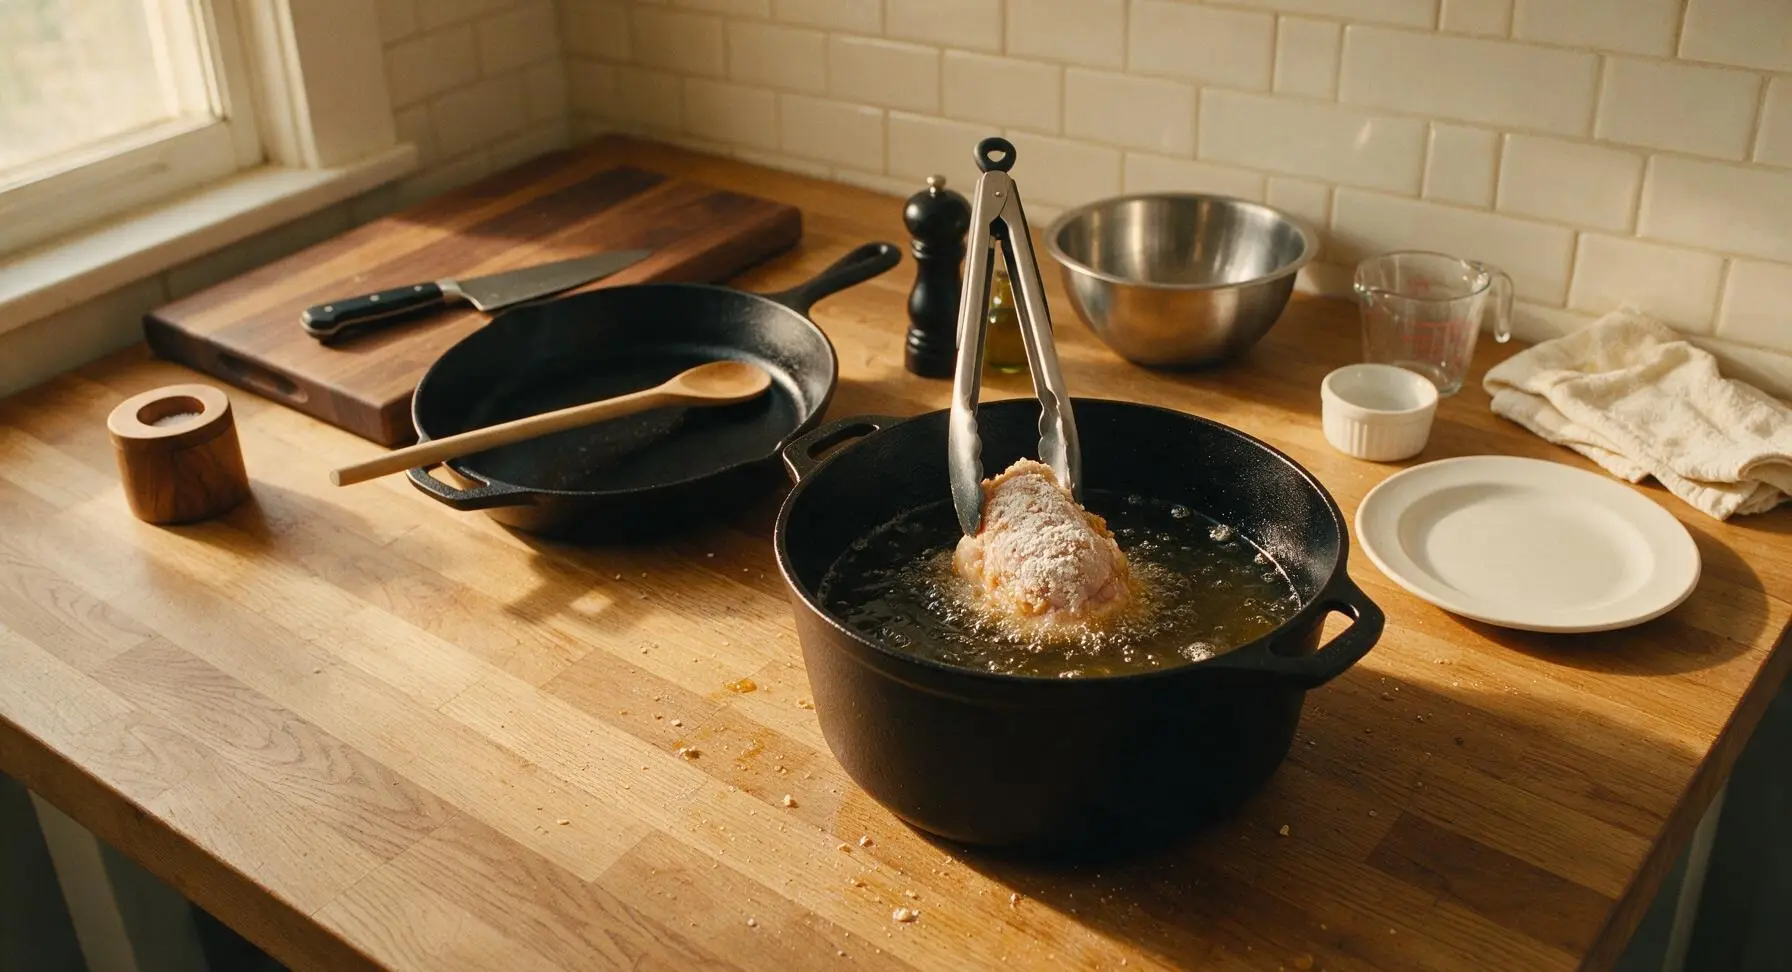
Using the silicone-tipped stainless steel tongs, carefully lower 2–3 chicken pieces into hot oil at a time, taking care not to overcrowd the pot (overcrowding drops oil temperature and causes soggy crust). Fry 12–14 minutes total, turning pieces every 4 minutes, until crust is a deep even golden brown and chicken reaches an internal temperature of 75°C (165°F) at the thickest part, away from bone. Maintain oil temperature between 160–175°C (325–350°F) throughout frying.
Step 5
step5:Fry Chicken in Batches
Step 5
step5:Fry Chicken in Batches
6

Drain and Season Chicken

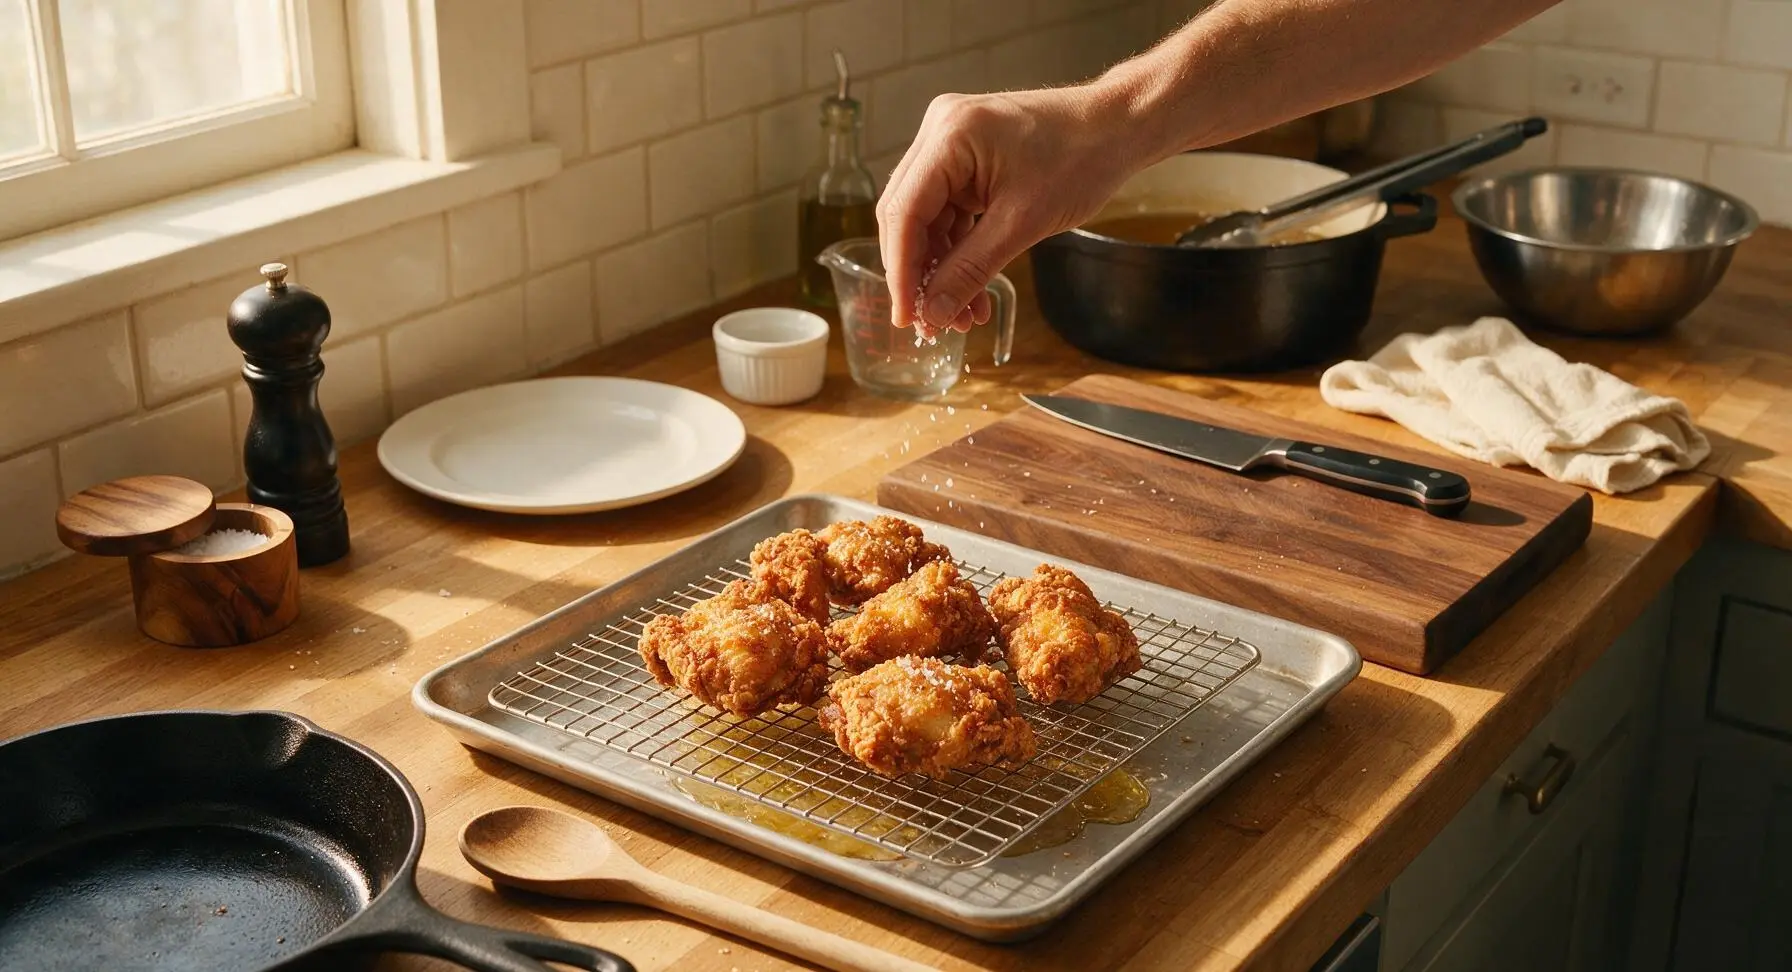
Once chicken reaches correct temperature and crust color, use tongs to lift pieces from oil, letting excess oil drip back into the pot for 3 seconds. Transfer fried chicken back to the wire cooling rack over the baking sheet. Immediately sprinkle hot crust lightly with flaky sea salt while oil is still hot, so salt adheres properly. Let chicken rest 5 minutes before serving; this allows excess oil to drain and juices to redistribute, preventing juice runoff when bitten.
Step 6
step6:Drain and Season Chicken
7

Plate and Garnish Chicken

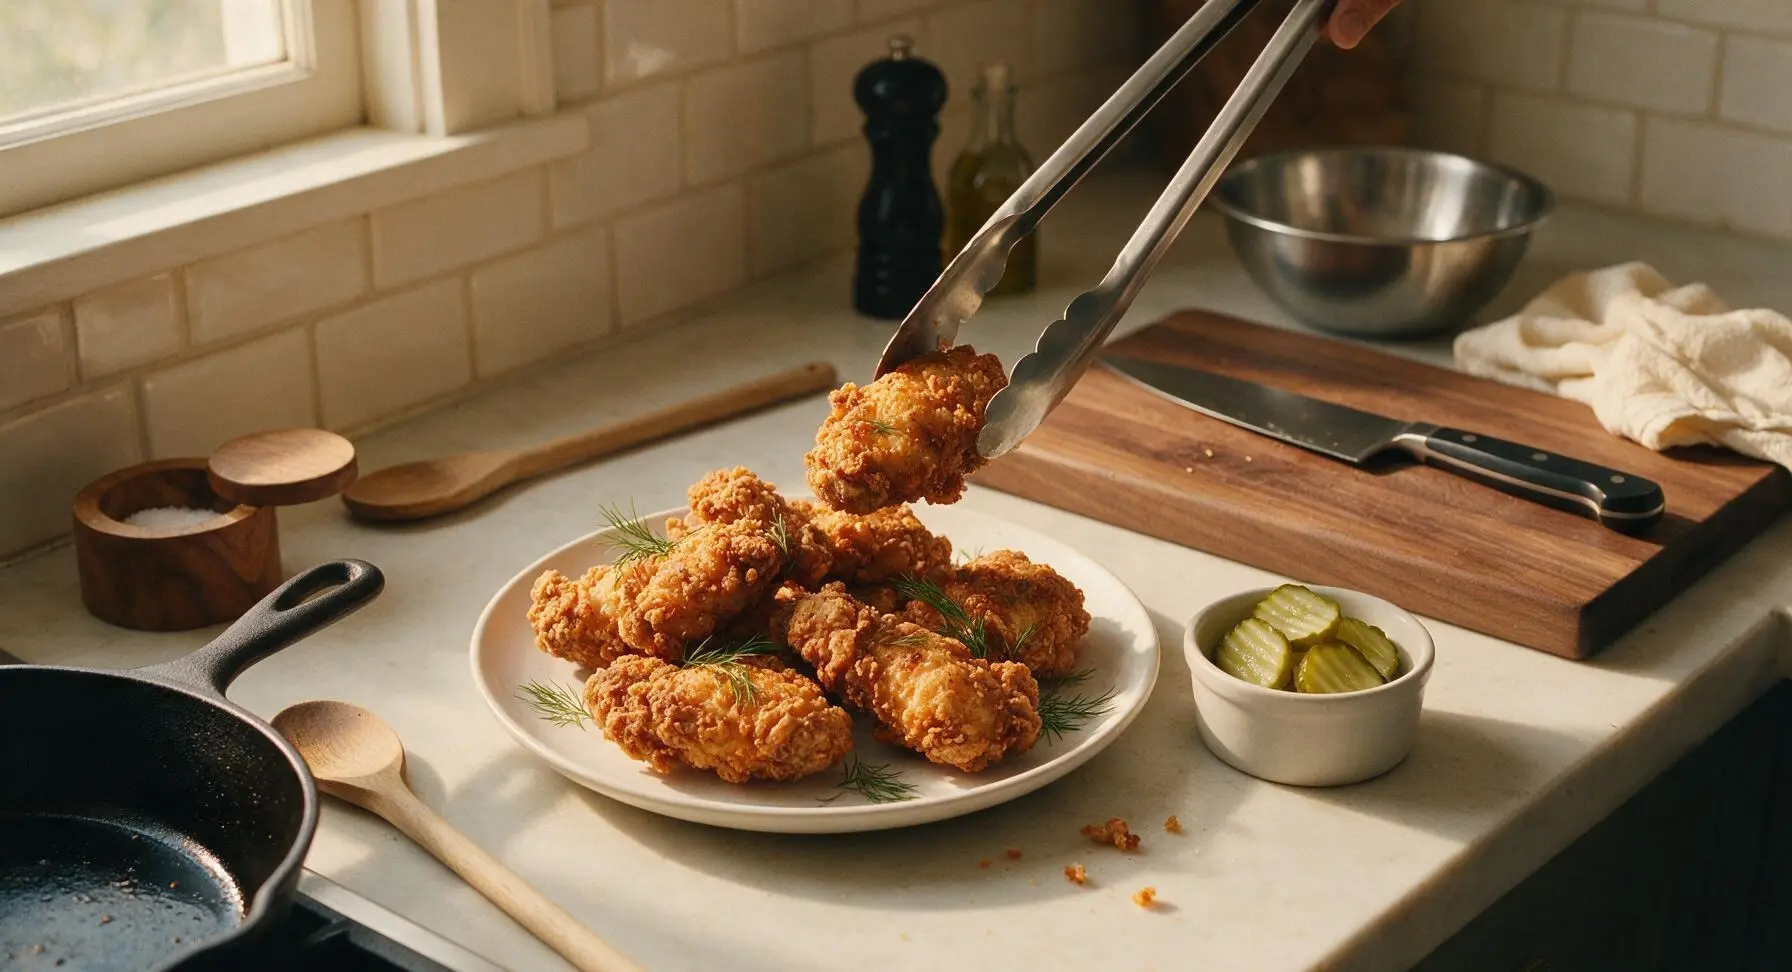
Arrange rested fried chicken in a loose, inviting pile on the cream-colored stoneware dinner plate. Tuck fresh dill fronds between chicken pieces for bright color and herbal aroma, and place 3–4 crinkle-cut dill pickle slices in the small matte white ceramic ramekin set to the side of the plate. Serve immediately while crust is shatteringly crisp.
Step 7
step7:Plate and Garnish Chicken

Tips

1.Do not skip the 15-minute rest after coating chicken in flour: this allows the flour to hydrate and form a tight seal with the egg wash, preventing the crust from falling off during frying and creating the signature shatteringly crisp texture.
2.Maintain a steady oil temperature between 325–350°F while frying: oil that is too hot will burn the crust before the chicken cooks through, while oil that is too cool will seep into the crust, leaving it greasy and soggy. Let oil recover to 350°F for 2 minutes between batches.
3.Resist the urge to stack fried chicken on paper towels to drain: resting chicken on a raised wire rack allows air to circulate around all sides, keeping the crust crisp instead of trapping steam that makes the bottom of the chicken soggy. Paper towels will steam the crust within 30 seconds of contact.


✨ You May Also Like

Main Course
🍜 United Kingdom

A showstopping classic of tender seared beef, savory mushroom duxelles, and crisp prosciutto wrapped in flaky golden puff pastry, baked to juicy perfection.

⏱️ 2 hours 1Main Course ★ 4.7
Main Course
🍜 India

Tender charred marinated chicken simmered in a rich, spiced creamy tomato sauce, this iconic Anglo-Indian curry pairs perfectly with basmati rice or warm naan.

⏱️ 50 minuteMain Course ★ 4.6
Main Course
🍜 Thailand

Classic tangy, sweet, and savory Thai stir-fried rice noodles with shrimp, tofu, and crunchy garnishes, balancing all five core Thai flavor profiles.

⏱️ 30 minuteMain Course ★ 4.5
Main Course
🍜 United Kingdom

Crispy golden beer-battered cod and fluffy double-fried chips, served with tangy tartar sauce and malt vinegar: the timeless, beloved British pub comfort classic.

⏱️ 45 minuteMain Course ★ 4.7
Main Course
🍜 Mexico

Smoky, chile-marinated pork tacos with caramelized pineapple, fresh cilantro, and lime: a beloved classic Mexican street food perfect for casual summer gatherings.

⏱️ 1 hour 45Main Course ★ 4.8
Main Course
🍜 United States

Crunchy Fritos corn chips layered with savory beef chili and melted cheddar, topped with cool, zesty fixings for a beloved, cozy Tex-Mex comfort food.

⏱️ 35 minuteMain Course ★ 4.8

Pickle Brined Fried Chicken:Frequently Asked Questions

1.How long should I brine the chicken in dill pickle juice for the best flavor and texture? ▾
For bone-in, skin-on chicken pieces, aim for 8–12 hours of brining in the fridge, fully submerged in unsweetened dill pickle brine. Don’t brine longer than 24 hours, as the brine’s salt and acid will make the texture mushy and overly salty. Always pat chicken completely dry before breading to get that signature shatteringly crisp crust.
2.Can I use sweet dill pickle brine instead of unsweetened for this recipe? ▾
I strongly recommend sticking to unsweetened dill pickle brine for the classic bright, tangy, savory profile. Sweet brine adds an unexpected sugary note that clashes with the smoked paprika and granulated garlic seasoning, and can make the crust brown too fast during frying, leaving chicken undercooked inside. If that’s all you have, cut it with ¼ cup plain water per cup of brine to dilute excess sugar.
3.Do I need to add extra salt to the brine if I’m using low-sodium pickle juice? ▾
Yes, you’ll want to adjust for low-sodium pickle brine to make sure the chicken stays juicy and well-seasoned all the way through. Add 1 teaspoon of kosher salt per cup of low-sodium brine, stirring to fully dissolve before adding your chicken. Skip this adjustment if you’re using standard jarred dill pickle brine, as it already has enough salt to properly brine the meat.
4.What oil temperature gives the best crisp crust without burning the seasoning? ▾
Hold your frying oil at a steady 350°F (175°C) for the best results. Too hot, and the smoked paprika and granulated garlic in your crust will burn before the chicken cooks through; too cool, and the crust will absorb excess oil and turn soggy instead of shatteringly crisp. Use a clip-on candy thermometer to monitor temp, and don’t overcrowd the pot, which drops oil temp fast.
5.Can I use boneless, skinless chicken instead of the recommended bone-in, skin-on pieces? ▾
You absolutely can, but you’ll need to adjust brining and frying time. Boneless, skinless cuts only need 2–4 hours of brining, since they don’t have bone and skin to slow salt penetration, and will cook in 6–8 minutes total instead of 12–15. Keep in mind you won’t get quite the same depth of juiciness or crisp skin texture as the classic bone-in version.
6.Why does my fried chicken crust turn out soggy instead of crisp after brining? ▾
Soggy crust almost always traces back to two easy-to-fix missteps: not patting the brined chicken completely dry before breading, or frying at too low an oil temperature. Any leftover surface brine on the chicken creates steam under the breading as it cooks, turning the crust soft. Always pat pieces dry with paper towels until no dampness remains, and hold oil steady at 350°F.
7.Do I need to rinse the pickle brine off the chicken before breading it? ▾
Skip rinsing the brine off—you’ll wash away all that tangy, savory flavor that makes this recipe special! Instead, remove chicken from the brine, let any excess brine drip off, then pat the surface very dry with paper towels. Rinsing also adds extra surface moisture that will make your breading slide off or turn soggy during frying, so it’s a lose-lose step.
8.How do I make sure the chicken is fully cooked without drying out the brined meat? ▾
The most reliable method is to use an instant-read meat thermometer, inserted into the thickest part of each piece (avoid touching bone) to check for an internal temp of 165°F. The pickle brine helps lock in moisture, so you won’t dry out the meat even if you hit temp exactly. Let chicken rest 5 minutes after frying to let juices redistribute before serving.
9.Is it possible to brine the chicken for too long, and what happens if I do? ▾
You absolutely can over-brine this chicken! If you leave bone-in pieces in dill pickle brine for longer than 24 hours, the acid and salt will break down muscle proteins too much, leaving meat with a mushy, overly salty, almost pickled texture that’s not ideal for fried chicken. If you accidentally over-brine, soak pieces in cold plain water for 30 minutes to draw out excess salt before cooking.
10.How should I season the flour crust to complement the pickle brine flavor? ▾
Stick to simple, bold seasonings that let the pickle tang shine: mix 1 tablespoon granulated garlic, 1 ½ teaspoons smoked paprika, and 1 teaspoon kosher salt per 2 cups of all-purpose flour for your breading. Skip heavy, warm spices like cinnamon or allspice here—they’ll overpower the bright, tangy brine note that makes this chicken stand out.
11.Can I make this pickle brined fried chicken in an air fryer instead of deep frying? ▾
You can, though you won’t get quite the same shatteringly crisp crust as the deep-fried version. Pat brined chicken very dry, coat lightly in seasoned flour, spritz all over with neutral oil, then air fry at 375°F for 20–25 minutes, flipping halfway, until internal temp hits 165°F. Spray the air fryer basket well first to prevent the crust from sticking.
12.Is it safe to reuse leftover pickle brine after brining raw chicken? ▾
Never reuse brine that has come into contact with raw chicken for any food purpose, as it can harbor harmful bacteria from the raw meat. If you have leftover unused pickle brine that never touched raw chicken, you can save it for future brines, salad dressings, or marinades, but discard any brine that held raw chicken immediately after use to avoid cross-contamination.
13.Why does the breading fall off my chicken when I fry it? ▾
Breading slip usually happens when the chicken is too wet when you apply the flour coating, or if you move pieces too soon after adding them to hot oil. After patting brined chicken dry, press the seasoned flour firmly onto every surface, then let pieces rest 10 minutes on a wire rack before frying so the coating adheres. Don’t nudge or flip pieces for the first 4 minutes to let the crust set.
14.How should I store leftover pickle brined fried chicken to keep the crust crisp? ▾
Store leftover chicken in an airtight container lined with paper towels in the fridge for up to 3 days. Don’t seal it while the chicken is still warm, as trapped condensation will make the crust soggy. To reheat, place pieces on a wire rack set over a baking sheet and bake at 400°F for 10–12 minutes, until crust is crisp again; skip the microwave, which turns crust rubbery.
15.Do I need to add buttermilk to the brine or breading for this recipe? ▾
You don’t need buttermilk for this recipe! The tangy dill pickle brine already provides all the acid and tenderizing power buttermilk would add, plus that signature bright pickle savoriness. Adding buttermilk will mute the pickle flavor and can make the crust heavier instead of light and shatteringly crisp, so stick to the simple seasoned flour coating for best results.

Comments (15)

2 days ago

OMG y’all, this pickle brined fried chicken is a total game changer! I made it for our Sunday family dinner and even my super picky 7 year old asked for seconds. The brine gives it the perfect tang that cuts through the crispy crust, I’ll never make regular fried chicken again!

yesterday

Wait did you use dill pickle brine or the sweet bread and butter kind? I’ve been nervous to try this because I hate sweet pickles!

yesterday

Great question! We recommend regular dill pickle brine for that classic savory tang, but if you like a little sweet-savory kick you can mix in 2 tbsp of bread and butter brine too!

1 week ago

Took this to our neighborhood potluck last weekend and people were begging for the recipe! The crust stayed crispy even after sitting out for an hour and a half, which is always my biggest struggle with fried chicken. Only note: I added a little extra paprika to the breading because my family loves a smoky kick.

5 days ago

Did you brine it for the full 8 hours like the recipe says? I’m short on time tomorrow and wondering if 4 hours would work!

5 days ago

So glad it was a potluck hit! 4 hours will work if you’re crunched for time, but the longer brine (up to 12 hours!) really locks in that juicy, tangy flavor so we recommend it if you can plan ahead.

3 days ago

Wait a second, this is SO good even cold? I made a big batch on Sunday for meal prep, stored the pieces in the fridge, and ate a cold thigh for lunch today and it was still juicy and flavorful. 10/10, adding this to my weekly rotation for sure.

2 days ago

Wait how did you reheat it if you didn’t eat it cold? I always mess up reheating fried chicken and it gets soggy :(

2 days ago

We’re so happy it works for your meal prep! For best reheating results, pop pieces on a wire rack over a baking sheet and bake at 375F for 10-12 minutes—no sogginess, promise!

5 days ago

Okay I was skeptical because I’ve had bad pickle-flavored things before, but this knocked my socks off! The brine doesn’t make it taste like a straight pickle, it just makes the chicken so tender and adds that perfect little zing. Made it for my partner’s birthday dinner and he said it’s better than the fancy fried chicken spot down the street.

3 days ago

Did you use boneless or bone-in chicken? The recipe calls for bone-in but I only have boneless thighs in the fridge right now, wondering if that’ll mess up the cook time.

2 days ago

Boneless thighs work great! Just reduce the cook time by about 5-7 minutes to make sure you don’t dry them out, and check for an internal temp of 165F before pulling them out of the oil.

2 weeks ago

Followed the recipe exactly and it turned out perfect! The crust is shatteringly crisp, the chicken is juicy all the way through, and that pickle tang is chef’s kiss. Only thing I did different was use peanut oil for frying because that’s what my grandpa always used for fried chicken.

1 week ago

Peanut oil is such a great call! It has a high smoke point and adds such a wonderful nutty depth to the crust, we love that you put a family spin on it.

yesterday

Wait I’m not usually a fried chicken person but my roommate made this and I stole two pieces off their plate. Who am I even??? The tang is so addictive, I’m going to have to make a batch for myself this weekend. Do you think this brine would work for chicken tenders for my little cousin’s birthday party?

yesterday

It works amazing for chicken tenders! Just cut the brine time down to 4 hours so the smaller pieces don’t get too salty, and fry for 6-8 minutes until golden and cooked through. Hope the party loves them!

1 week ago

Made this for our post-beach cookout last week and it was gone in 10 minutes flat! I was worried the humidity would make the crust soggy but it held up perfectly. We served it with coleslaw and potato salad and it was the ideal summer meal.

5 days ago

Oh I feel this, humidity in Florida kills every fried food I try to make outside! What oil temp did you keep it at while frying? I always let my oil drop too low and end up with greasy chicken.

2 weeks ago

Took me two tries to get the breading to stick right the first time I made it, but once I followed the tip about patting the chicken dry after brining it came out perfect! The second batch was so good my roommate ate three thighs in one sitting. Worth the extra effort for sure, even for a medium-difficulty recipe.

1 week ago

So glad you stuck with it! Patting the chicken dry is such a key step to getting that shaggy, crispy crust that doesn’t slide off—great call sticking to the tips!

3 days ago

I used spicy dill pickle brine for an extra kick and OH MY GOD it was incredible. We had this with waffles for brunch last Sunday and it was the best sweet-savory combo I’ve made in months. 10/10 will be making this for every brunch from now on.

2 days ago

Wait serving it with waffles is genius! Did you drizzle hot honey over top too? That sounds like it would be insane with the tangy chicken.

5 days ago

Made this before a big camping trip last weekend and it was the perfect trail food! We ate it cold on our hike day 2 and it was still flavorful and not greasy at all. So much better than the sad protein bars I usually pack. Already planning to make it for our next trip.

3 days ago

What a brilliant camping hack! We never would’ve thought to pack this for trail food, that sounds so much better than standard hiking snacks. Thanks for sharing the idea!

2 days ago

Tried this last night for game night with the guys and it was a total hit! We paired it with some cold IPAs and everyone was raving about how juicy the chicken was. The pickle brine keeps it from tasting bland, even the white meat was moist which is a miracle for someone who always overcooks chicken breast like me.

30 minutes ago

I was worried this would be too salty from the pickle brine but it was perfectly balanced! I made sure to rinse the chicken a little after brining like the recipe note said, and it was just the right amount of tang. My golden retriever even sat by the oven the whole time it was cooking begging for a bite, haha.

5 minutes ago

Medium difficulty my foot! I’m a total beginner and I pulled this off without burning it or making a huge mess. The instructions are super clear, and the step about heating the oil to 350F before dropping the chicken in saved me from the usual greasy mess I make when frying. So proud of how this turned out!

1 week ago

I’ve been making fried chicken for 40 years and this pickle brine trick is a new favorite! I added a little garlic powder and cayenne to the brine like I do with my regular recipe, and it gave it that little extra something. My grandkids went crazy for it when they visited last weekend, asked if I could make it for their graduation party next month.

just now

Made this in my tiny apartment kitchen with a tiny dutch oven and it still came out amazing! My whole apartment smelled like fried chicken for two days but it was 100% worth it. The 30 minute cook time was way faster than my grandma’s old fried chicken recipe that takes forever to fry, which is perfect for my busy class schedule. The only thing I’ll do differently next time is make a bigger batch because I only had enough for two meals instead of the four I planned for, oops.



