1.What exactly makes Roman-style pinsa different from regular pizza?
▾
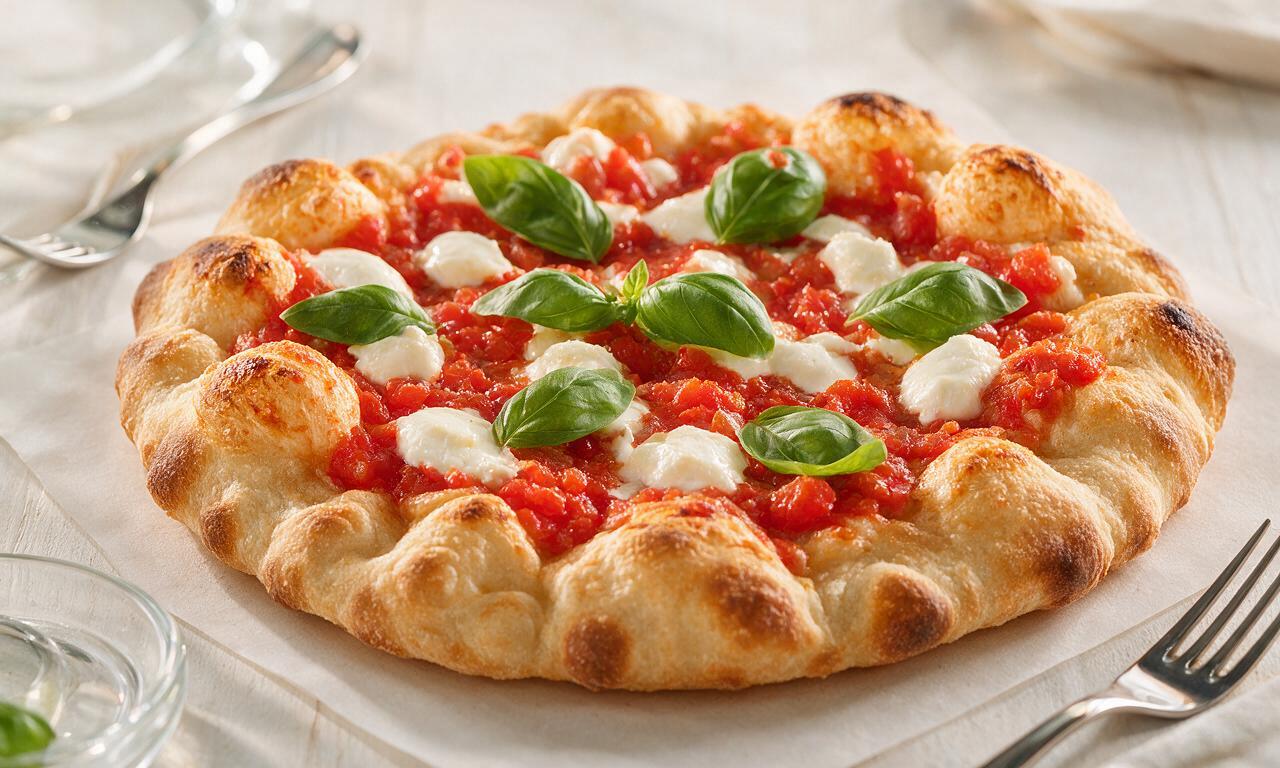
Great question! Unlike denser, chewier Neapolitan or foldable New York-style pizza, pinsa uses a signature blend of 00 wheat, rice, and soy flour, plus a long cold fermentation with high-hydration dough. This creates a lighter, airier, ultra-crispy bubbly crust that’s less heavy on the stomach, with a delicate crunch instead of a thick, bready chew.
2.Why do you use rice flour and soy flour in the dough instead of just all-purpose or 00 flour?
▾
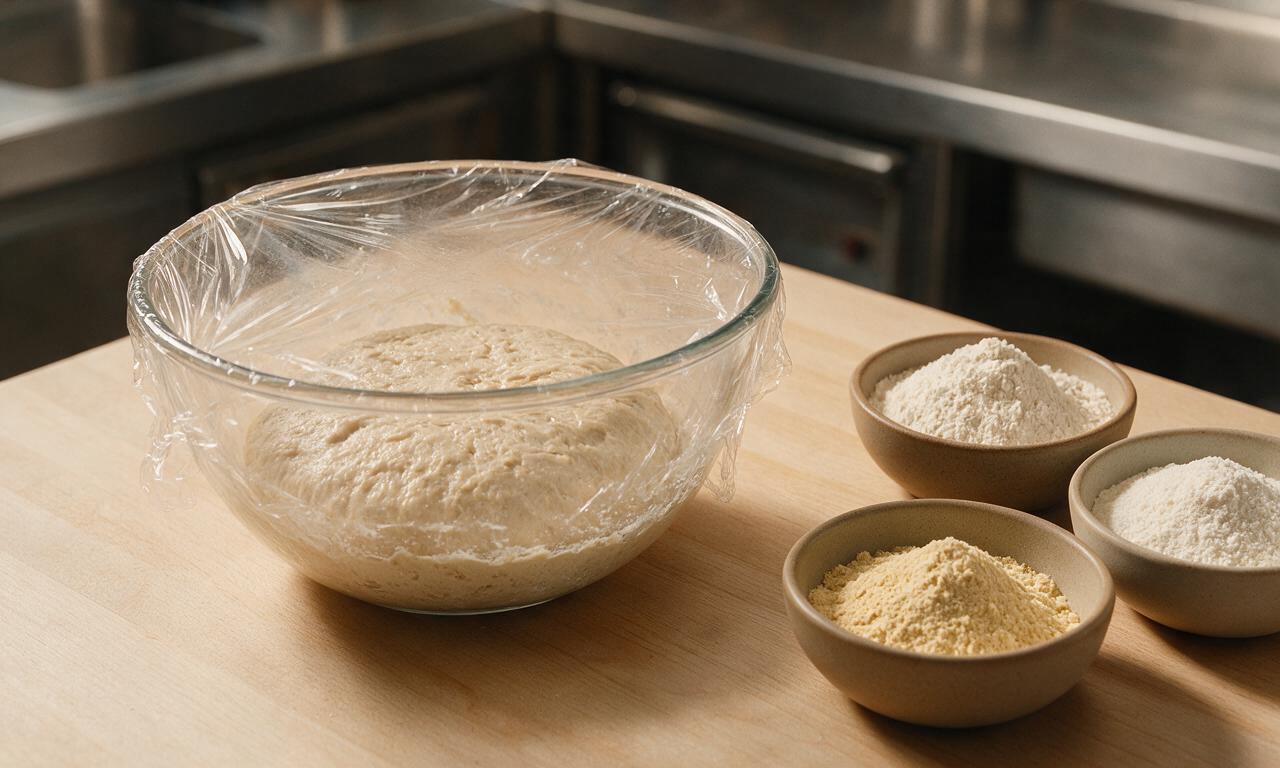
That blend is non-negotiable for authentic pinsa texture! Rice flour cuts excess gluten development to boost that shattery crispness without making the crust tough, while a small amount of soy flour adds subtle nutty depth, helps the crust brown evenly, and creates that light, non-bready crumb you won’t get from wheat flour alone.
3.The recipe calls for cold filtered water for the dough—don’t you usually use warm water to activate yeast?
▾
Warm water speeds up yeast activity, but we want a slow, long cold ferment for perfect pinsa! That’s why the recipe uses cold filtered water: it slows yeast action to develop deep, nutty dough flavor, build those signature large air bubbles, and prevent a dense, bready crust. The instant dry yeast works perfectly with cold water, no warm activation needed.
4.How long do I need to ferment the pinsa dough to get that signature light, bubbly crust?
▾
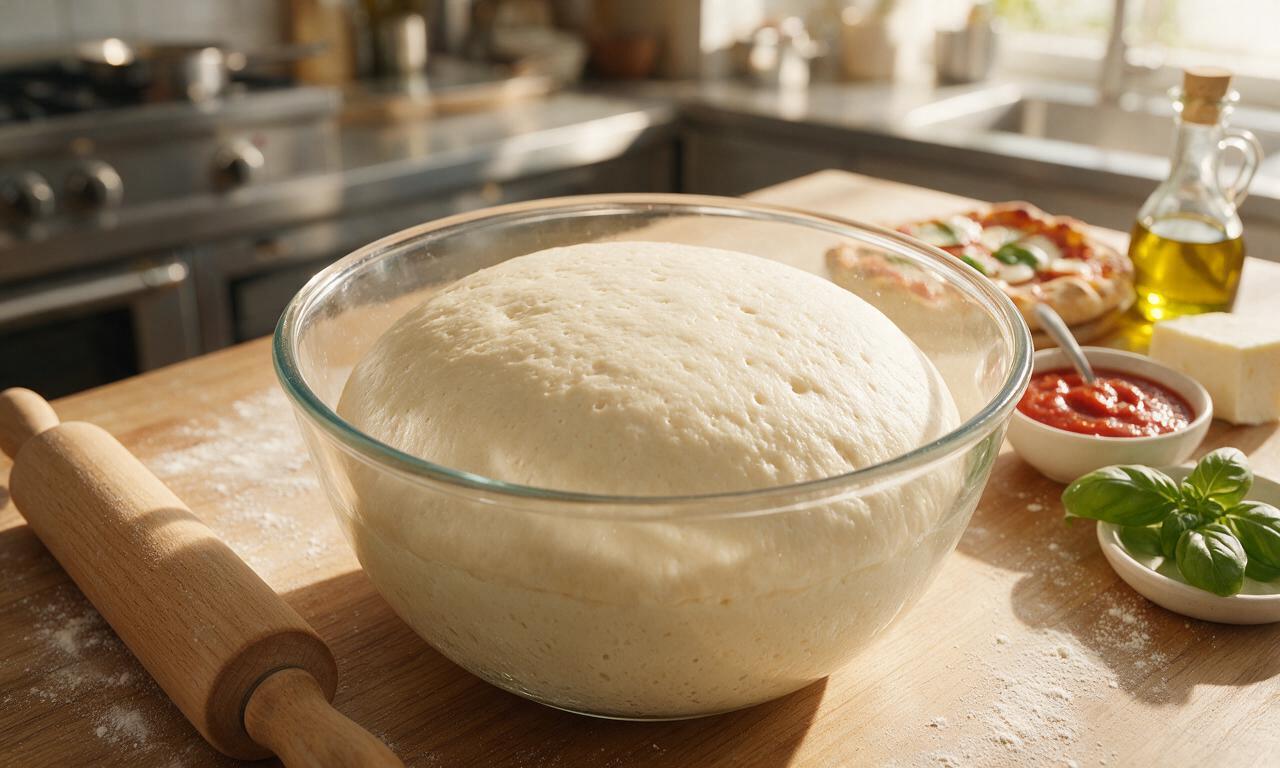
For the best texture and flavor, plan for a 48 to 72 hour cold ferment in your refrigerator after mixing the dough. That slow rise gives yeast time to create trapped air pockets, breaks down hard-to-digest gluten for a lighter feel, and builds that complex, toasty crust flavor you can’t get with a quick room-temperature rise.
5.I’m short on time—can I skip the long cold ferment and make the dough same-day?
▾
You can, but you won’t get that signature crispy, light pinsa texture. If you’re in a pinch, let the dough rise for 4 hours at cool room temperature (around 65°F) after mixing, but know the crust will be slightly chewier, less bubbly, and missing that deep, nutty fermented flavor the long cold rise delivers. It’ll still be tasty, just not authentic.
6.Do I need a fancy wood-fired pizza oven to make crispy pinsa at home, or will my regular oven work?
▾
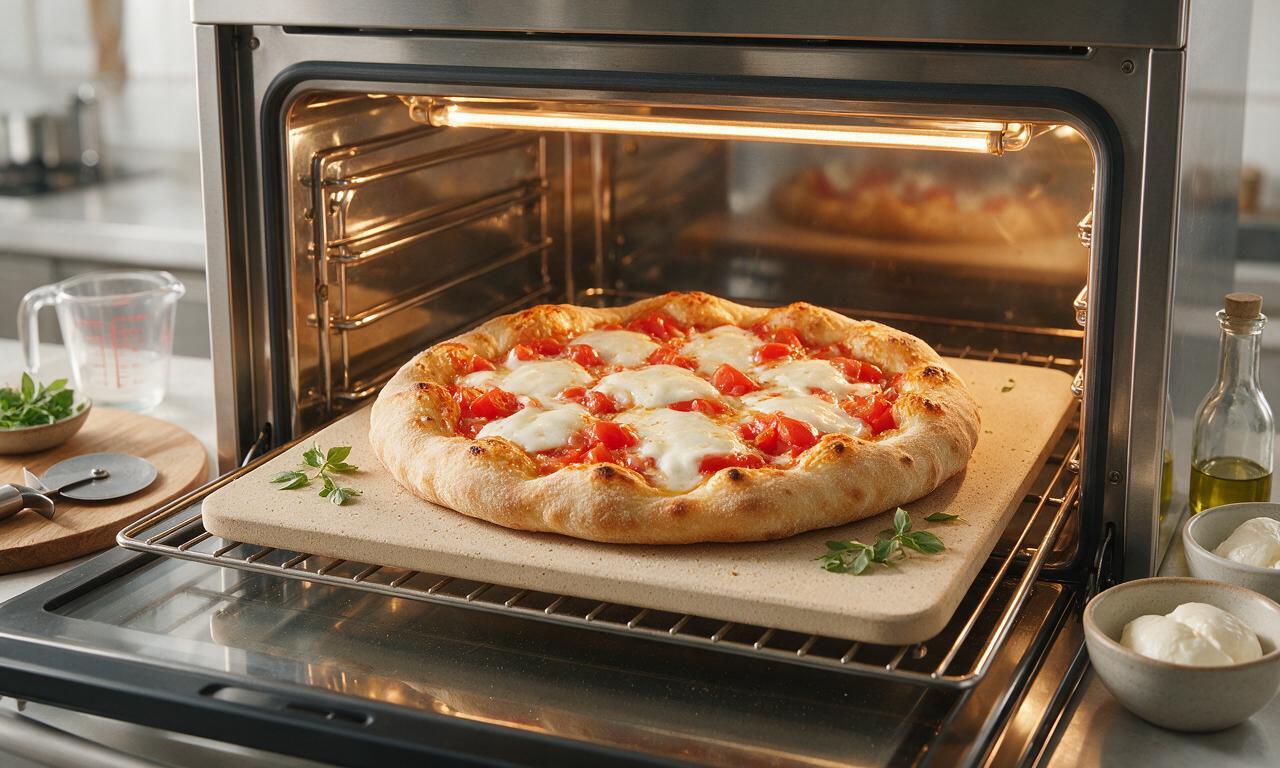
You absolutely don’t need a specialty wood-fired oven! Preheat a baking steel or thick pizza stone on your oven’s highest setting (usually 500–550°F) for at least 45 minutes before baking. That blazing hot surface mimics pizzeria heat, giving you that shattery, bubbly crisp crust in just 7 to 9 minutes of total bake time.
7.What type of mozzarella should I use to keep my pinsa crispy instead of soggy?
▾
Skip brine-packed fresh mozzarella if you hate soggy crust—opt for low-moisture, part-skim mozzarella, or drain fresh mozzarella extremely well by patting it dry with paper towels and letting it sit in a colander for 2 hours before using. Excess water from cheese will seep into the crust and ruin that signature crispness, even with perfect dough.
8.Can I mix the pinsa dough ahead of time and freeze it for quick weeknight meals?
▾
Absolutely! After the dough finishes its first 24 hours of cold ferment in the fridge, portion it into individual 8-ounce balls, wrap each tightly in plastic wrap, and freeze for up to 3 months. Thaw the dough in the fridge for 24 hours before you plan to bake, and it will turn out just as crispy and bubbly as fresh-made dough.
9.How thin should I stretch the pinsa dough before adding toppings?
▾
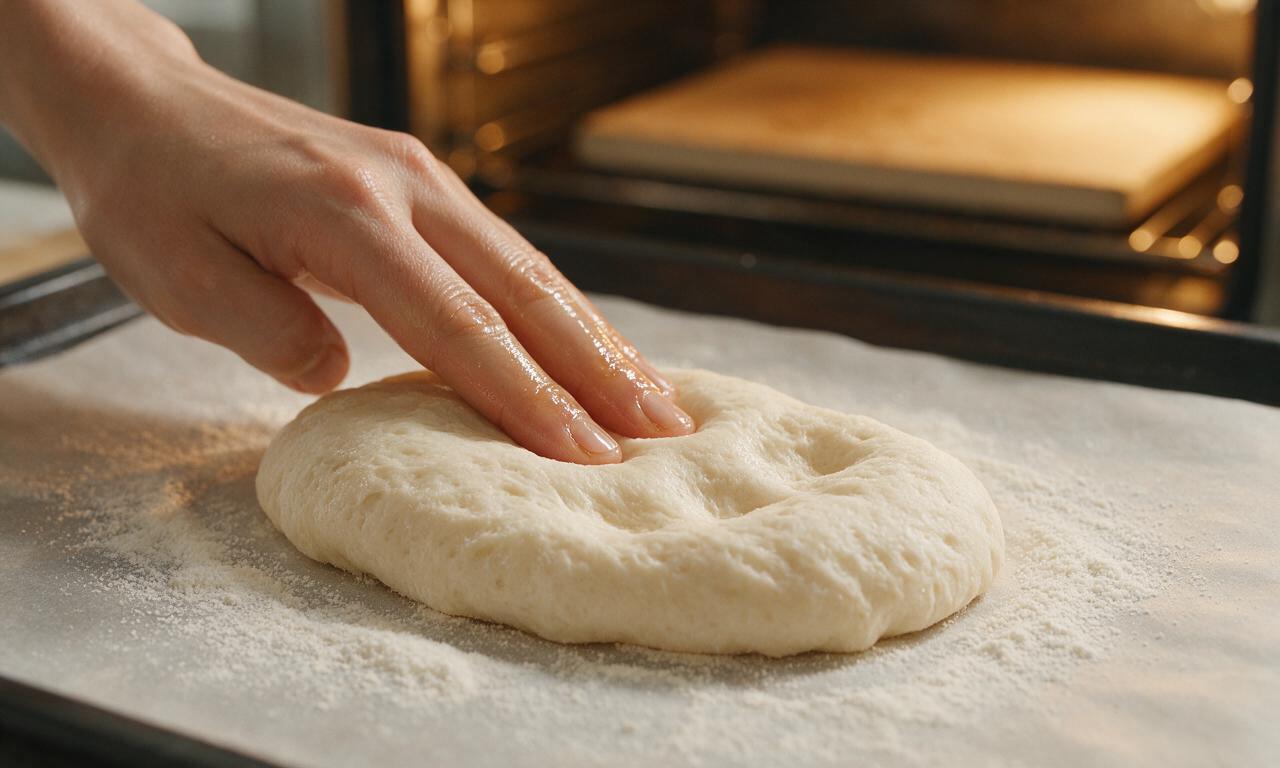
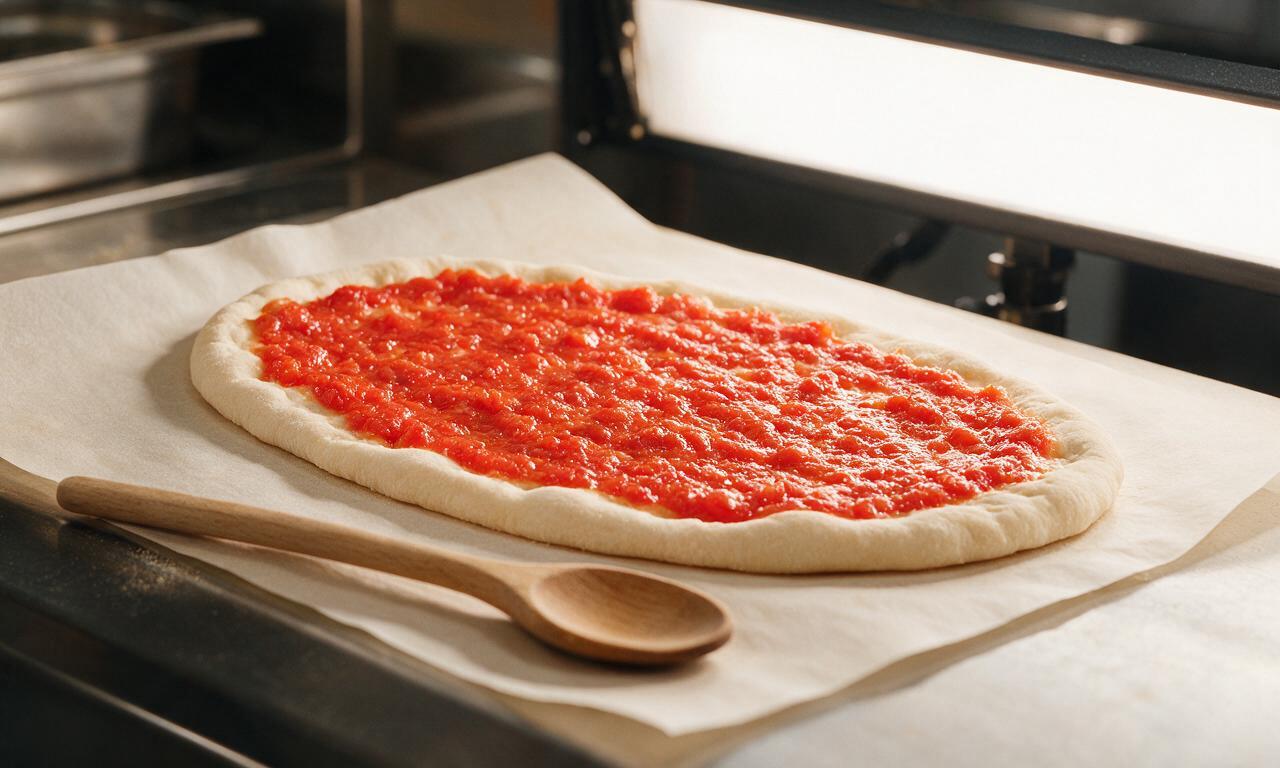
Aim for an oblong shape (traditional for Roman pinsa, not a perfect round!) that’s roughly ¼-inch thick in the center, with a slightly thicker, ½-inch puffy edge. Don’t use a rolling pin—that will pop all the precious air bubbles you built during fermentation. Stretch it gently with your hands to keep the crust light and bubbly.
10.Do I need to par-bake the pinsa crust before adding tomato and cheese to keep it crispy?
▾
If you’re using a properly preheated baking steel or stone, you don’t need to par-bake! The high heat will set the bottom crust instantly when you slide the topped pinsa onto the hot surface. Par-baking will actually make the crust tough and dry out the crumb, so skip that step as long as your oven surface is fully preheated and toppings are low-moisture.
11.What kind of tomato base works best for a classic Pinsa Margherita?
▾
Skip thick, slow-cooked pizza sauce for authentic pinsa! Use high-quality crushed San Marzano tomatoes, lightly seasoned with a pinch of sea salt and a tiny splash of extra virgin olive oil, no cooking required. Keep the sauce layer thin—too much heavy sauce will weigh down the airy crust and make it soggy, just like overly wet cheese.
12.When should I add the fresh basil so it doesn’t burn or turn bitter in the hot oven?
▾
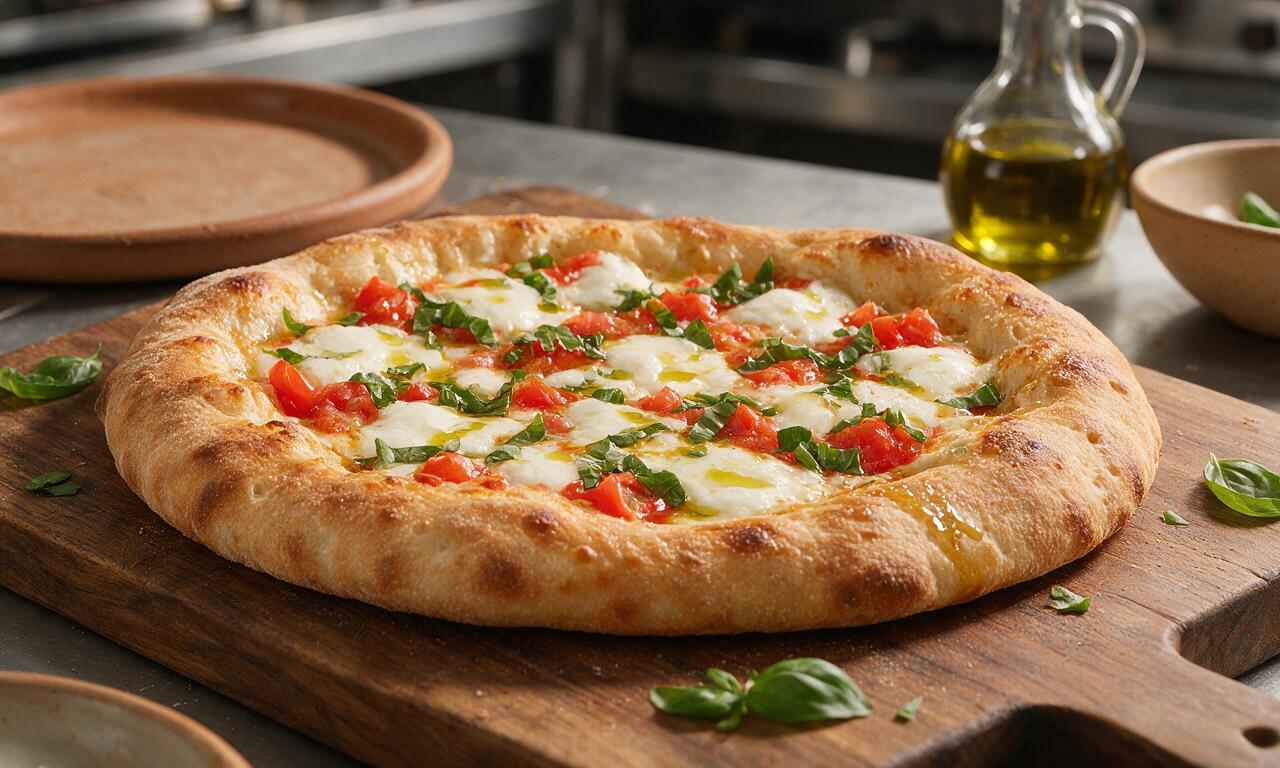
Add the fresh basil immediately after you pull the pinsa out of the oven! The residual heat from the hot crust and melted cheese will gently wilt the basil, bringing out its bright, sweet aroma without turning it black, bitter, or crispy. Drizzle a tiny bit of good extra-virgin olive oil over the top with the basil for that classic Margherita finish.
13.I don’t have rice flour or soy flour on hand—can I substitute them with other flours?
▾
If you need to swap, use fine cornstarch in place of rice flour for that same crisp, low-gluten bite, and swap the soy flour for an equal amount of finely ground chickpea flour for a similar nutty, browning boost. Avoid swapping in extra 00 or all-purpose flour for both, as that will make the crust chewy and dense like regular pizza instead of light and crispy.
14.How can I tell when my pinsa is perfectly baked and crispy, not underdone or burnt?
▾
Look for three key signs of doneness: the bottom crust is deep golden brown with small, charred bubbly spots, the cheese is fully melted with just a few light brown blisters, and the raised crust edge is puffed up, golden, and crisp to the touch, not pale and doughy. At 525°F, that usually takes 7 to 8 minutes total, so watch closely after 6 minutes.
15.I’ve heard pinsa is lighter than regular pizza—is that actually true, or just marketing?
▾
It’s not just marketing! The long cold fermentation breaks down much of the hard-to-digest gluten, so it feels less heavy in your stomach than thick, bready pizza crust. The flour blend also creates a crisp, airy crumb rather than a dense one, so a similarly sized slice has less overall dough weight, making it feel lighter without skimping on satisfying crunch.







Game changer! I’ve been chasing that perfect crispy Roman pizza crust for years and this recipe nails it. The 27 hour total wait sounds wild but 25 minutes of actual work? So doable even for someone who works full time. Topped it with a little fresh basil from my windowsill and my roommate thought I ordered takeout from that fancy new Italian spot downtown.
My kids loved it! I made this for our weekly family dinner and even my super picky 8 year old asked for seconds. I did add a tiny sprinkle of parmesan on top for extra savoriness, and the crust held up great even when we ate in front of the TV during our movie. Will absolutely be adding this to the regular rotation.
Brought this to a neighborhood potluck last weekend and it was gone in 10 minutes flat. Everyone kept asking where I got the recipe! The crisp on the crust is unreal, way better than any regular homemade pizza I’ve made before. Only note is make sure you pat your mozzarella dry really well or you might get a little soggy spot in the center, easy fix.
I prepped the dough ahead on Sunday and baked off a couple of these for quick weeknight dinners all week, it worked perfectly! The crust stays crispy even when I reheated slices in the toaster oven for lunch at work. Such a nice switch up from our usual taco Tuesday routine.
I was a little intimidated by the medium difficulty rating at first, but the instructions were so clear it was totally manageable! I’ve made pinsa a handful of times before and this one delivers the exact light, crispy, airy crust you want. I didn’t have fresh San Marzano tomatoes so I used a good quality canned variety and it still turned out great. Don’t skip the drizzle of good olive oil at the end, it makes all the difference.
Tried this last night for date night and my partner was seriously impressed. The crust had that perfect crackle when you bit into it, and the simple margherita toppings let that great dough flavor shine. We paired it with a crisp arugula salad and a bottle of chianti, felt like a fancy restaurant meal at home for a fraction of the price.
Wait, 27 hours cook time?? That sounds so long—do I really have to let the dough rest that whole time? I’m a total beginner to bread making and I’m nervous I’ll mess up the ferment if I leave it that long.
I live in Arizona where it’s super dry right now, any tips for making sure the dough doesn’t form a skin while it’s resting in the fridge?
Is there a way to make this dough without a stand mixer? I don’t have any fancy kitchen equipment, just a big bowl and my hands, and I really want to try this!
Has anyone tried making mini versions of these for a party appetizer? I’m hosting a game night next weekend and these sound perfect, just not sure if I should make one big pinsa or individual small ones.
I followed the recipe exactly but my crust came out a little softer than I expected, not as crispy as the photos. What did I do wrong? I used a regular baking sheet because I don’t have a pizza stone.
Just pulled my first pinsa out of the oven and OMG, the smell alone is worth the wait. I was skeptical about the long rise but I get the hype now. It’s so much lighter than regular pizza, I don’t feel bloated after eating two slices!
Can I freeze portions of the dough for later use? I love making dough ahead so I don’t have to mix it up every time I want a quick meal.
I added a little sliced pepperoni to half of mine for my meat-loving husband, and it worked so well on this crispy crust! No grease sogginess at all, the crust stayed crisp even under the pepperoni grease.
Wait, what even is the difference between pinsa and regular pizza? I’ve never had pinsa before but this looks so good I want to try it, I just don’t know what to expect texture-wise!
Game changer alert!!! I made this for my family last Sunday and every single person raved about it. My dad who swears no homemade pizza can beat his local takeout place asked for the recipe to make it himself. That’s the highest possible praise tbh.
How far in advance can I make the dough? I have a super busy work week coming up but I want to make this for my kid’s birthday dinner next Friday, is that too early to mix the dough?
First time making this I accidentally stretched the dough a little too thin in one spot and got a hole when I was putting it on the baking sheet, oops. But even with that little flaw, it was still SO good! The crispy edges were *chef’s kiss*, I’m already making another batch this weekend.
Has anyone tried making this with dairy free cheese? I’m lactose intolerant but I’ve been craving a good margherita-style pizza so bad, and this crust looks perfect for it.
Made this in my tiny dorm oven with a cheap baking sheet and it still turned out insane! I thought for sure my garbage dorm oven that runs 50 degrees too hot would ruin it, but I just turned the temp down a little and kept an eye on it, and the crust got so crispy. 10/10, even my floor mates who wandered in smelling it asked for slices.