
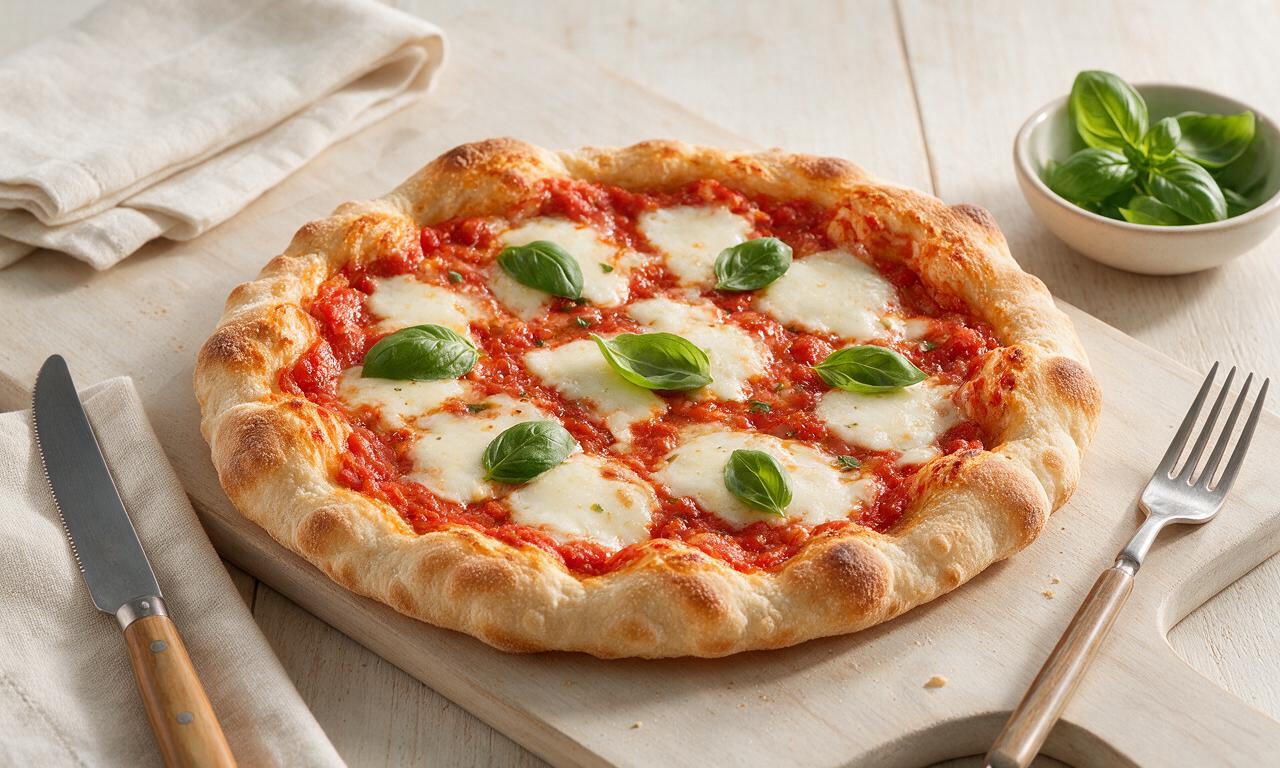
Pinsa

Pinsa
⏱️ cook time 25 hours total (20 minutes active prep, 11 minutes bake time)
🍽️ servings 4
⚡ Difficulty medium

intro

A light, crispy Roman ancestor of pizza, with an airy, bubbly crust topped with tangy tomato, melted mozzarella, and fresh basil, perfect for sharing.

Ingredients

00 all-purpose flour 300 grams
White rice flour 100 grams
Soy flour 50 grams
Instant dry yeast 3 grams (1 teaspoon)
Fine sea salt 8 grams (1.5 teaspoons)
Extra-virgin olive oil (for dough) 30 ml (2 tablespoons)
Cold filtered water 320 ml (1 1/3 cups)
Crushed San Marzano tomatoes 200 grams (3/4 cup)
Low-moisture fresh mozzarella, drained 150 grams
Grated Parmigiano-Reggiano cheese 30 grams (1/3 cup)
Fresh basil leaves 10 grams (~15 leaves)
Extra-virgin olive oil (for topping) 15 ml (1 tablespoon)

Steps

1

Mix the pinsa dough

In a large mixing bowl, whisk together 300g 00 all-purpose flour, 100g white rice flour, 50g soy flour, 3g instant dry yeast, and 8g fine sea salt until evenly combined. Slowly pour in 320ml cold filtered water and 30ml extra-virgin olive oil, stirring with a wooden spoon for 2 minutes until a shaggy, sticky dough forms with no visible dry flour pockets. Do not knead the dough at this stage.
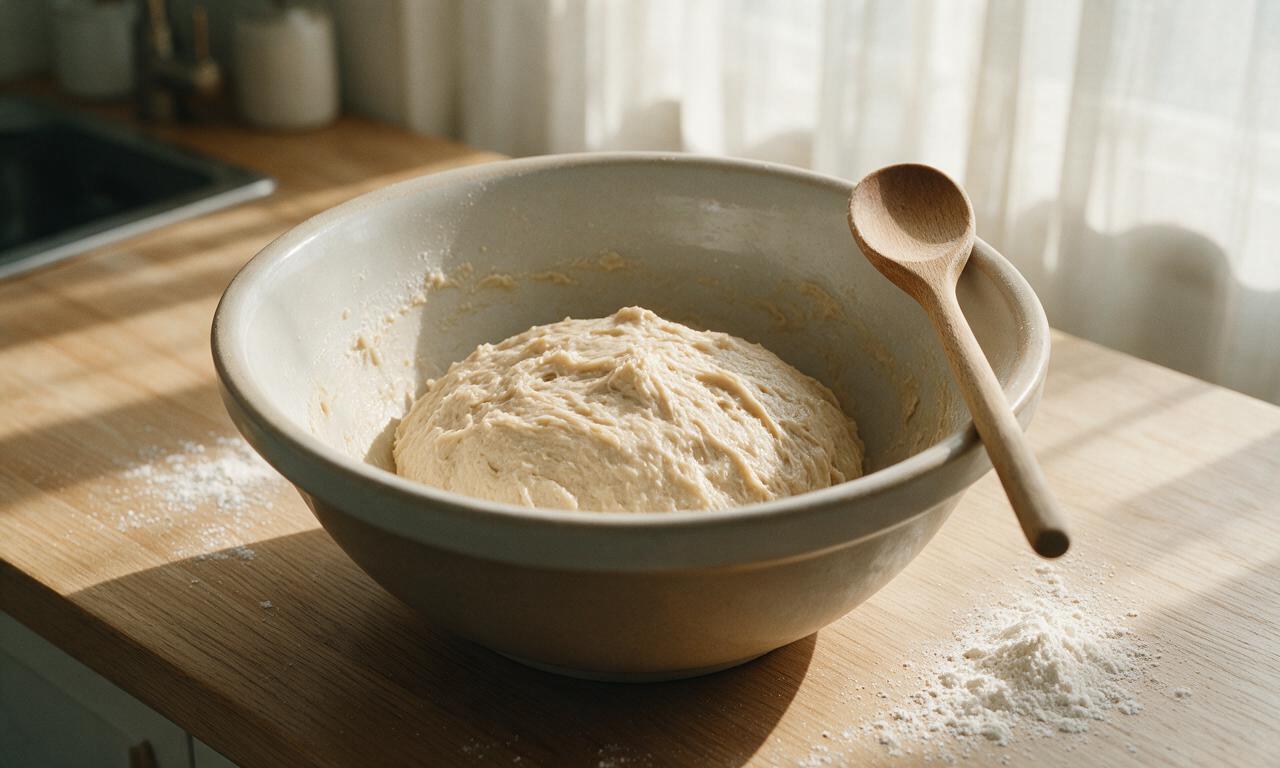
Step 1
step1:Mix the pinsa dough
2

Cold proof the dough

Cover the mixing bowl tightly with plastic wrap, then transfer it to a refrigerator set to 4°C (39°F) to cold ferment for 2 hours. After 2 hours, turn the dough out onto a lightly rice-floured surface, fold each of the four edges of the dough in toward the center to form a tight, smooth ball, return it to the bowl, re-cover, and let it rest in the fridge for an additional 22 hours (24 hours total cold proof for optimal light, bubbly texture; for a faster version, proof at room temperature (21°C / 70°F) for 3 hours until doubled in volume).
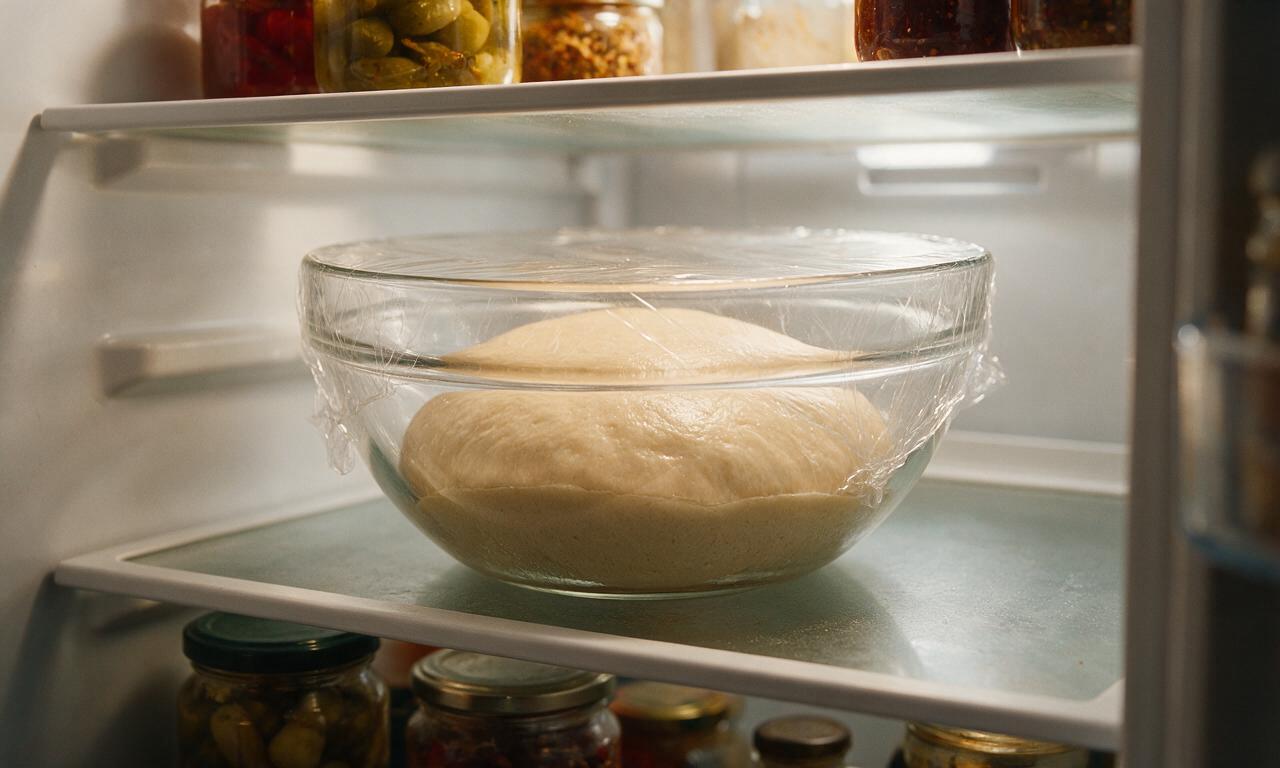
Step 2
step2:Cold proof the dough
3

Shape the pinsa crust

Remove the dough from the refrigerator 30 minutes before shaping to take off the chill. Place a heavy baking stone or rimmed baking sheet on the middle oven rack, then preheat the oven to 280°C (535°F) for 30 minutes. Lightly dust a sheet of parchment paper with rice flour, set the rested dough on the parchment, and use your fingertips to press and stretch the dough into an irregular 30cm x 40cm (12in x 16in) oval, leaving a 1cm (0.4in) thicker border for the crust. Do not use a rolling pin, as this will pop critical air bubbles in the dough.
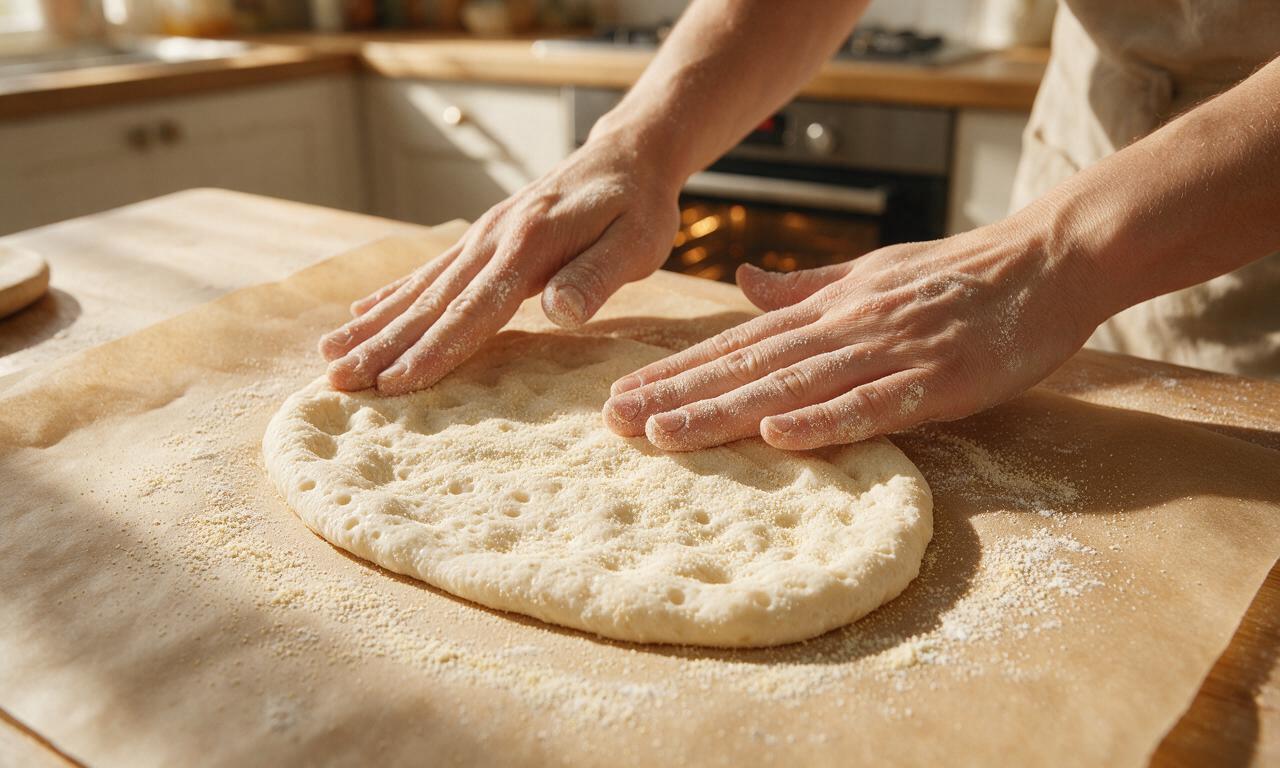
Step 3
step3:Shape the pinsa crust
4

Add base toppings

Spoon 200g crushed San Marzano tomatoes onto the center of the shaped dough, spreading it in a thin, even layer across the surface while leaving the 1cm crust border bare. Drizzle with 7ml (1.5 teaspoons) of the reserved topping olive oil, then sprinkle 30g grated Parmigiano-Reggiano evenly over the tomato layer. Avoid overloading the dough with toppings, as excess weight and moisture will create a soggy crust.
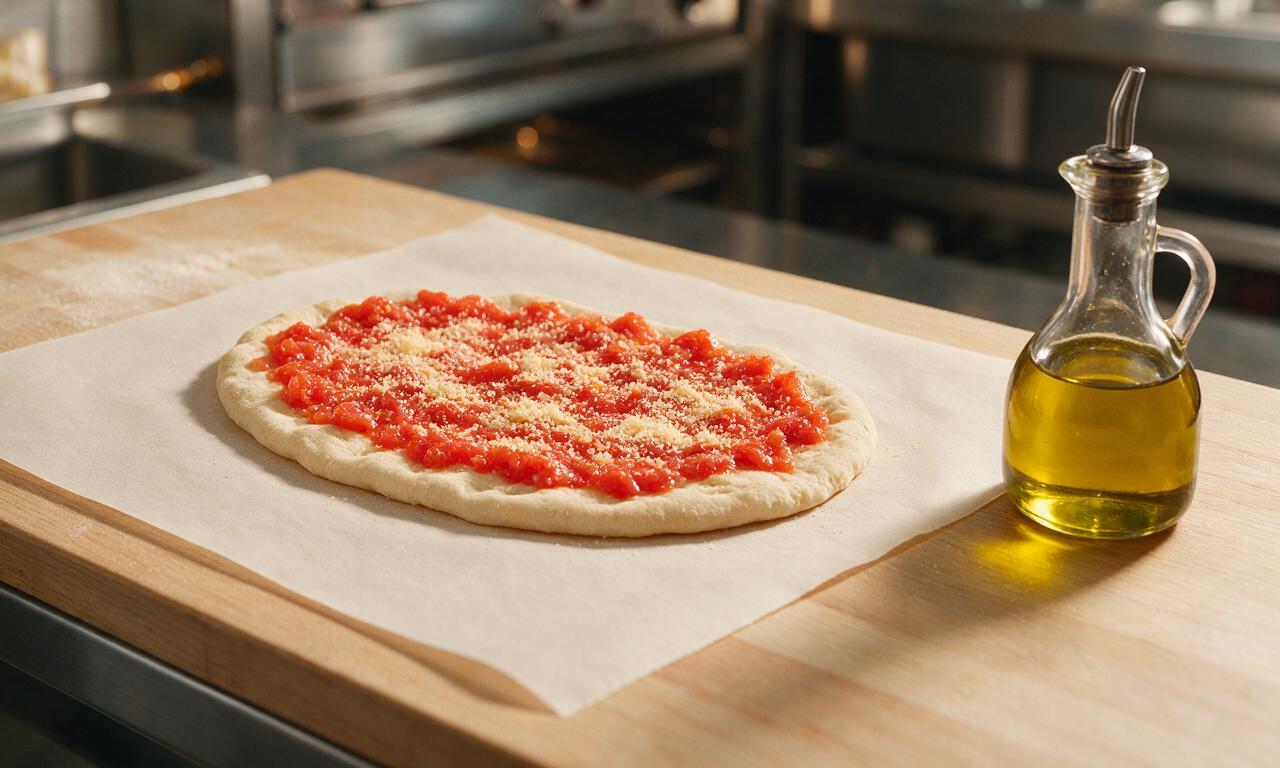
Step 4
step4:Add base toppings
5

Bake the pinsa

Carefully slide the parchment paper with the topped pinsa directly onto the preheated baking stone or sheet. Bake for 7 minutes at 280°C (535°F), then quickly pull the oven rack out, scatter 150g of torn, well-drained mozzarella pieces evenly across the pinsa, and bake for an additional 3 to 4 minutes. The pinsa is done when the crust is golden and crispy around the edges with small, slightly charred bubbly spots, and the cheese is fully melted and lightly bubbling.
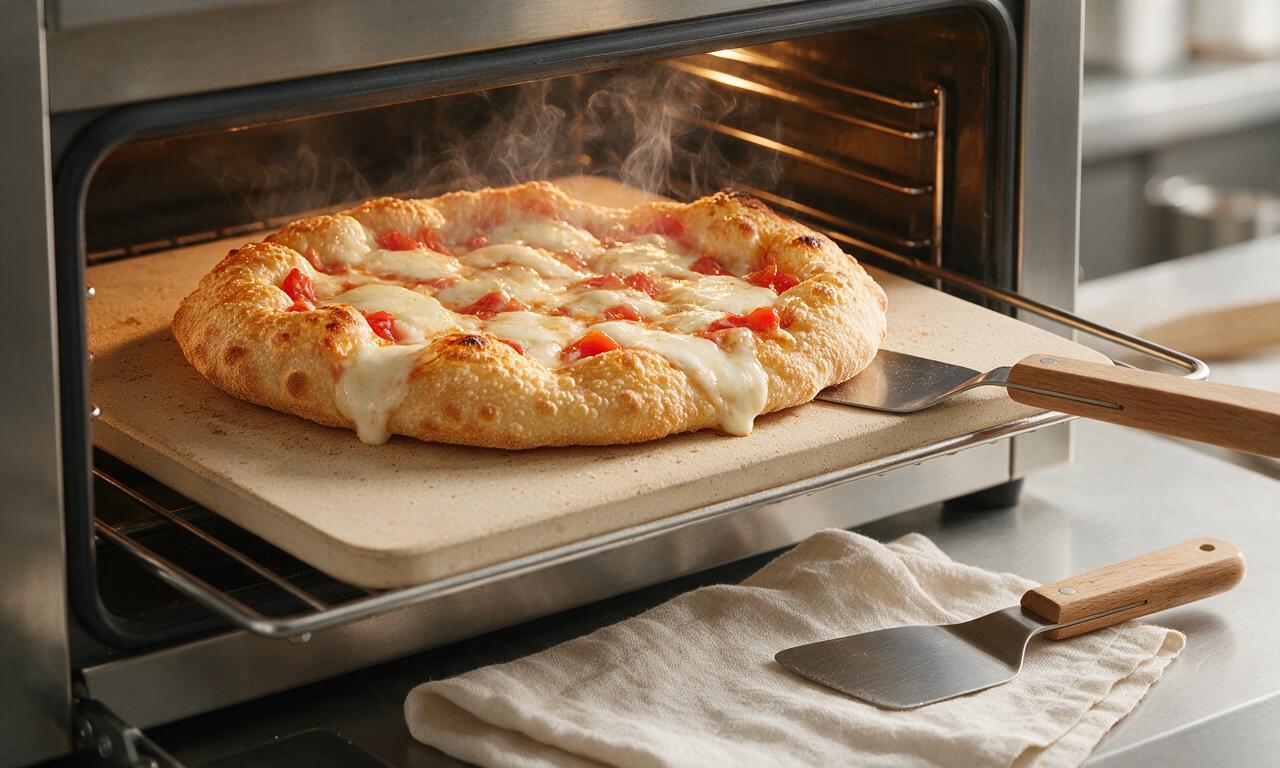
Step 5
step5:Bake the pinsa
6

Finish and serve

Remove the baked pinsa from the oven using a large metal spatula, and transfer it to a wooden cutting board. Drizzle with the remaining 8ml (1.5 teaspoons) of extra-virgin olive oil, scatter 10g of fresh basil leaves across the top, and let the pinsa rest for 2 minutes before slicing into 8 rectangular pieces to serve.
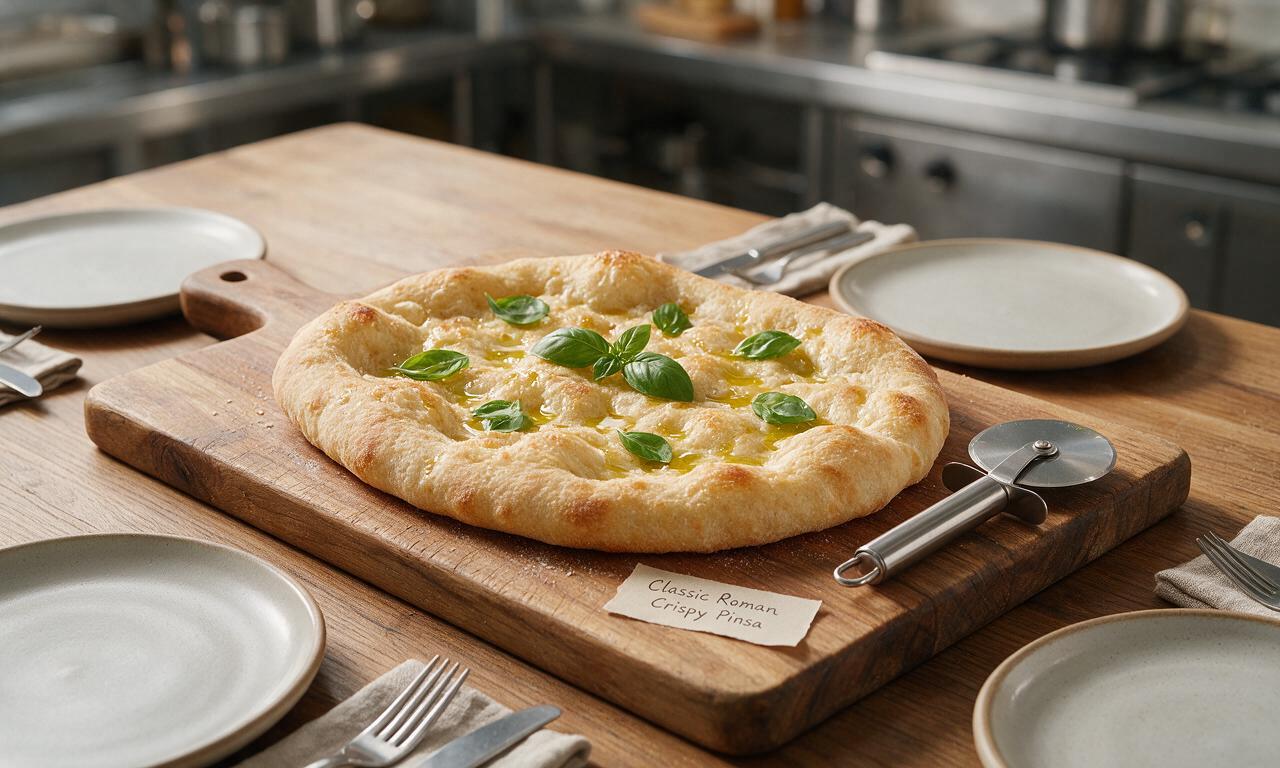
Step 6
step6:Finish and serve

Tips

1.Drain torn mozzarella on paper towels for 15 minutes before using—excess moisture from wet cheese will make the pinsa crust soggy instead of light and crisp.
2.Skip the rolling pin when shaping: pressing and stretching the dough with your fingertips preserves the air bubbles created during the long ferment, which give pinsa its signature light, open crumb texture.
3.If you do not have soy or rice flour for the traditional dough blend, substitute with an equal weight of 00 all-purpose flour, though the crust will be slightly denser and less crisp.


✨ You May Also Like

Main Course
🍜 United Kingdom

A showstopping classic of tender seared beef, savory mushroom duxelles, and crisp prosciutto wrapped in flaky golden puff pastry, baked to juicy perfection.

⏱️ 2 hours 1Main Course ★ 4.7
Main Course
🍜 India

Tender charred marinated chicken simmered in a rich, spiced creamy tomato sauce, this iconic Anglo-Indian curry pairs perfectly with basmati rice or warm naan.

⏱️ 50 minuteMain Course ★ 4.8
Main Course
🍜 Thailand

Classic tangy, sweet, and savory Thai stir-fried rice noodles with shrimp, tofu, and crunchy garnishes, balancing all five core Thai flavor profiles.

⏱️ 30 minuteMain Course ★ 4.6
Main Course
🍜 United Kingdom

Crispy golden beer-battered cod and fluffy double-fried chips, served with tangy tartar sauce and malt vinegar: the timeless, beloved British pub comfort classic.

⏱️ 45 minuteMain Course ★ 4.9
Main Course
🍜 Mexico

Smoky, chile-marinated pork tacos with caramelized pineapple, fresh cilantro, and lime: a beloved classic Mexican street food perfect for casual summer gatherings.

⏱️ 1 hour 45Main Course ★ 4.7
Main Course
🍜 United States

Crunchy Fritos corn chips layered with savory beef chili and melted cheddar, topped with cool, zesty fixings for a beloved, cozy Tex-Mex comfort food.

⏱️ 35 minuteMain Course ★ 4.9

Pinsa:Frequently Asked Questions

1.What makes classic Roman pinsa different from regular pizza styles like Neapolitan or New York pizza?
Great question! Unlike standard pizza, authentic pinsa uses a signature blend of 00 all-purpose, white rice, and soy flour for a lower-gluten, lighter base. It uses higher hydration and a long cold ferment to bake up extra crispy with random, airy bubbles, rather than the chewier, denser crust you get with most traditional pizza recipes.
2.Can I skip the rice flour and soy flour and just use all 00 flour if that’s what I have on hand?
I don’t recommend it if you want that signature pinsa texture! White rice flour boosts crunch and prevents the crust from getting soggy under toppings, while soy flour adds subtle nutty depth and promotes even browning. If you must swap, replace rice flour with fine semolina, but an all-00 blend will just make regular pizza crust, not pinsa.
3.Do I need to bloom the instant dry yeast in warm water before mixing the pinsa dough?
No need! Instant dry yeast is designed to mix directly into dry ingredients with no pre-activation. Just whisk it together with your 00, rice, and soy flours, plus fine sea salt, before adding cool water for the dough. Cool water slows fermentation for deeper, nuttier flavor, rather than warm water that makes the dough rise too fast and taste flat.
4.How long do I need to ferment the pinsa dough to get that perfect crispy, airy crust?
For the best texture and flavor, do a 24 to 48 hour cold ferment in the refrigerator after an initial 1-hour room temperature rise. This slow ferment, powered by the instant yeast, develops deep, toasty flavor, relaxes gluten for easy stretching, and creates those irregular, puffy air pockets that make pinsa feel light and not heavy.
5.Why does my pinsa crust turn out dense and chewy instead of light and crispy?
The most common culprits are too-low dough hydration, skipping the long cold ferment, or overworking the dough when stretching. Make sure your mixed dough is soft and slightly sticky, don’t knead it too aggressively, bake on a preheated pizza steel at 500°F or higher, and go light on wet toppings to avoid sogginess.
6.Do I need a fancy wood-fired pizza oven to make crispy Roman pinsa at home?
Nope, no special oven required! Preheat a heavy pizza steel or stone on your oven’s top rack to its highest setting (usually 500–550°F) for at least 45 minutes before baking. Cook the pinsa directly on the hot surface for 7 to 9 minutes, and you’ll get that perfectly blistered, crisp crust just like Roman street stalls.
7.How do I prevent my pinsa toppings from making the crust soggy?
Start with low-moisture mozzarella, and pat any fresh mozzarella completely dry with paper towels before adding it. Spread tangy tomato sauce in a thin, even layer—don’t douse it! Add delicate fresh basil right after pulling the pinsa out of the oven, and avoid piling on heavy, watery toppings that will seep into the crust.
8.Should I roll pinsa dough thin with a rolling pin, or stretch it by hand?
Always stretch pinsa by hand—never use a rolling pin! Shape it into an irregular, oblong shape about ¼-inch thick, leaving slightly thicker, puffy edges. Don’t press out all the air bubbles as you stretch; those little pockets create the light, bubbly, crisp crust. Rolling will deflate the dough and lead to a flat, tough final texture.

Comments (11)

2 days ago

OMG this pinsa is a total game changer for our weekly family dinner! I was nervous about the long ferment time but the 20 minutes active prep was so doable even with my two wild kids running around. It came out SO crispy, way better than the takeout pizza we usually get on Fridays. My kids both asked for second slices, even my picky 7 year old who turns his nose up at anything that isn’t chicken nuggets. Already planning to make this for our next neighborhood potluck!

yesterday

Wait I brought this to my office potluck last week and people were begging me for the recipe! The crispy crust holds up so much better than regular pizza even when it sits out for a couple hours, no soggy bottom at all.

yesterday

So glad the whole family loved it! The long cold ferment is totally the secret to that signature crispy, light crust, and we love that the active time is super low so it fits into busy family schedules. Hope it’s a hit at your potluck!

1 week ago

Took a stab at this after trying authentic pinsa on a trip to Rome last year, and honestly? This nails the texture I was chasing. That shatteringly crisp bottom, light airy crumb — I was worried I’d mess up the dough hydration but the instructions were super clear even for a medium difficulty recipe. 11 minutes on my preheated pizza stone at 500 degrees was perfect, no burnt edges at all. 10/10, will be my go-to pizza-adjacent recipe from now on.

5 days ago

Love to hear it! Using a preheated pizza stone is an absolute pro move, that helps get that restaurant-level crispness even in a home oven. Thanks for giving the recipe a go!

3 days ago

I was so excited to try this but I swapped the regular flour for my go-to gluten free all purpose blend, and the crust didn’t crisp up right at all. It was kind of dense and gummy, even after adding a couple extra minutes of bake time. Bummer because the flavor was good! Has anyone tried this with a GF flour blend that actually works?

30 minutes ago

Made this in my tiny dorm oven with a regular baking sheet since I don’t have a pizza stone, and it turned out way better than I expected! Only reason I’m not giving 5 stars is I forgot to oil the baking sheet so a little bit stuck to the pan, but the crust was still crispy around the edges. Perfect for late night study snacking with my roommates, we devoured the whole thing in 10 minutes.

2 weeks ago

I’ve been making homemade pizza for 40 years and I have to say, this pinsa recipe is top tier. The long ferment time develops such a nice, complex flavor you just don’t get with same-day dough. I topped mine with a little fresh mozz, prosciutto, and arugula like we had at the little pinseria we visited in Trastevere, and my wife said it was better than the ones we had on vacation. Will be adding this to my permanent recipe rotation.

5 days ago

Meal prep win! I split the dough into individual portions after the first rise and froze them, then pulled one out to thaw in the fridge the night before I wanted to make it. Baked up perfectly crispy every single time, no weird texture changes from freezing. Saves me so much time on busy weeknights when I don’t feel like cooking from scratch. So good!

3 days ago

Great tip on freezing the portioned dough! We’re so glad that worked out for you — it’s one of our favorite tricks for quick weeknight meals too, since you can have fresh, crispy pinsa with basically zero advance effort on a busy day.

yesterday

As a diehard deep dish fan I was skeptical about this thinner, crispy style, but I was pleasantly surprised! The crust has so much flavor even without piling on a ton of toppings. My only note is that I think next time I’ll add a tiny bit more salt to the dough, but that’s just my personal preference. Definitely a fun change of pace from our usual deep dish nights.

2 hours ago

I added an extra pinch of flaky salt on top right after it came out of the oven and that was perfect for me! Totally get the extra salt thing, I love a salty crust too.

2 hours ago

Just pulled this out of the oven 10 minutes ago and I’m already halfway through my first slice, OMG. That crunch is unreal! I topped mine with roasted garlic, mushroom, and a drizzle of hot honey, and the flavor combo is insane. I was intimidated by the 25 hour total time but it was mostly just waiting for the dough to ferment, zero hard work. Why did I wait so long to try pinsa?!

30 minutes ago

That hot honey and mushroom topping combo sounds absolutely delicious! We love how versatile the base dough is — it pairs perfectly with basically any topping you can dream up. So glad you gave it a shot!

5 minutes ago

Wait a second, I thought pinsa was supposed to be lower carb? Either way this is so much lighter than regular pizza crust, I didn’t feel bloated at all after eating three slices which is a miracle for me. The crust was crispy all the way through, no soggy middle even when I loaded it up with pepperoni and extra cheese. 100% making this every weekend from now on, total game changer.

just now

Right?! I love how light the crust is too! I ate two slices for lunch yesterday and didn’t have that heavy, sluggish feeling I get after regular takeout pizza. It’s the best.

just now

You’re totally right that traditional pinsa has a lighter, more digestible crust thanks to the long, slow fermentation and the blend of flours used! So glad you loved the texture — no post-pizza food coma is just an added bonus.

just now

I made this on my outdoor wood-fired pizza oven last weekend and cooked it at 700 degrees for about 4 minutes instead of the regular oven method, and it came out insane! The only thing is I think I stretched it a little too thin in one spot so there was a tiny hole, but all the toppings stayed on anyway. Next time I’ll be more careful stretching the dough. Great recipe!

just now

Cooking this in a wood fired outdoor oven is next level — great call! If your dough is springing back a lot when you stretch it, just let it rest for 5-10 minutes covered, that’ll relax the gluten so it stretches easier without tearing. Hope your next batch is perfect!

1 week ago

I brought this to my friend’s game night last weekend and everyone thought I ordered it from a fancy local Italian spot! I told them I made it from scratch and no one believed me, lol. The crust was so crispy and flavorful, I didn’t even need to put a ton of toppings on it to impress the group. Already sent the recipe to three of my friends who asked for it.

5 days ago

Girl, same! I brought this to my book club and people were going back for thirds, it’s the perfect crowd pleaser. No one believes how easy the active prep is either, they all think you spent hours slaving over dough.

3 days ago

We love hearing that it was a hit at game night! There’s nothing better than serving a dish that impresses a crowd without requiring a ton of active work. Thanks for sharing the recipe with your friends, that means the world to us!



