
pioneer gravy tater tot casserole
intro
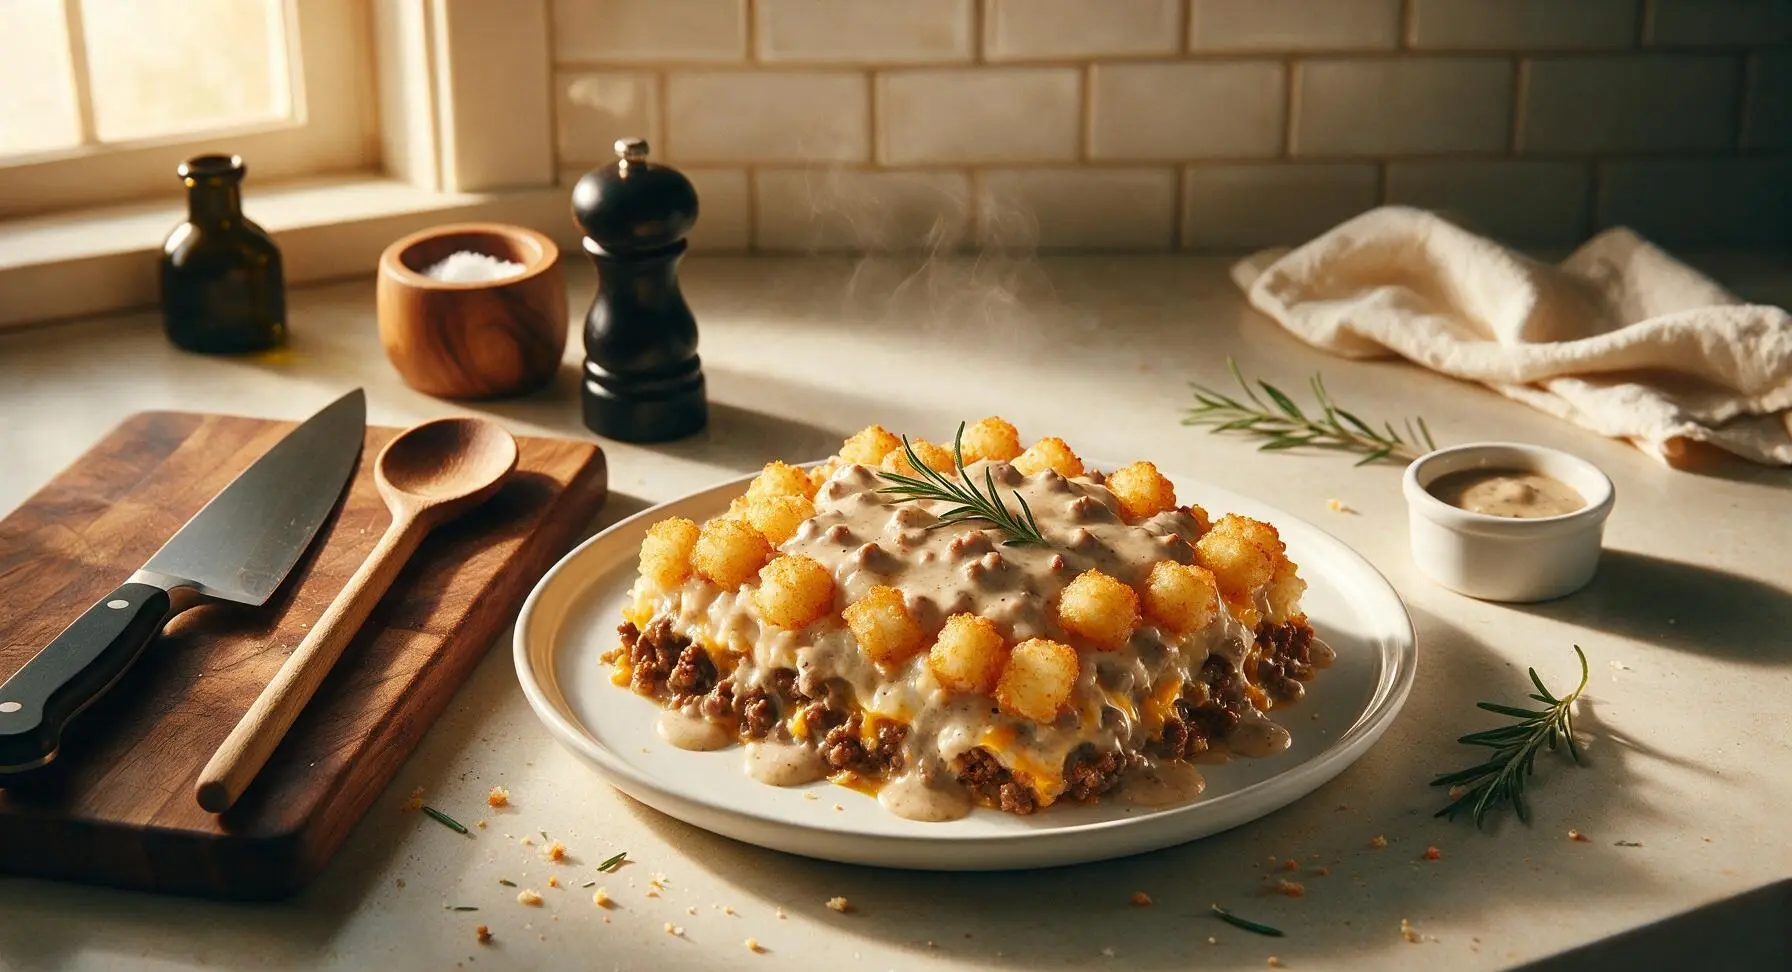
Creamy, peppered pioneer sausage gravy layered with seasoned ground beef, melted cheddar, and crispy golden tater tots: stick-to-your-ribs, cozy American comfort food at its finest.
Ingredients
Steps
Prep Ingredients and Oven
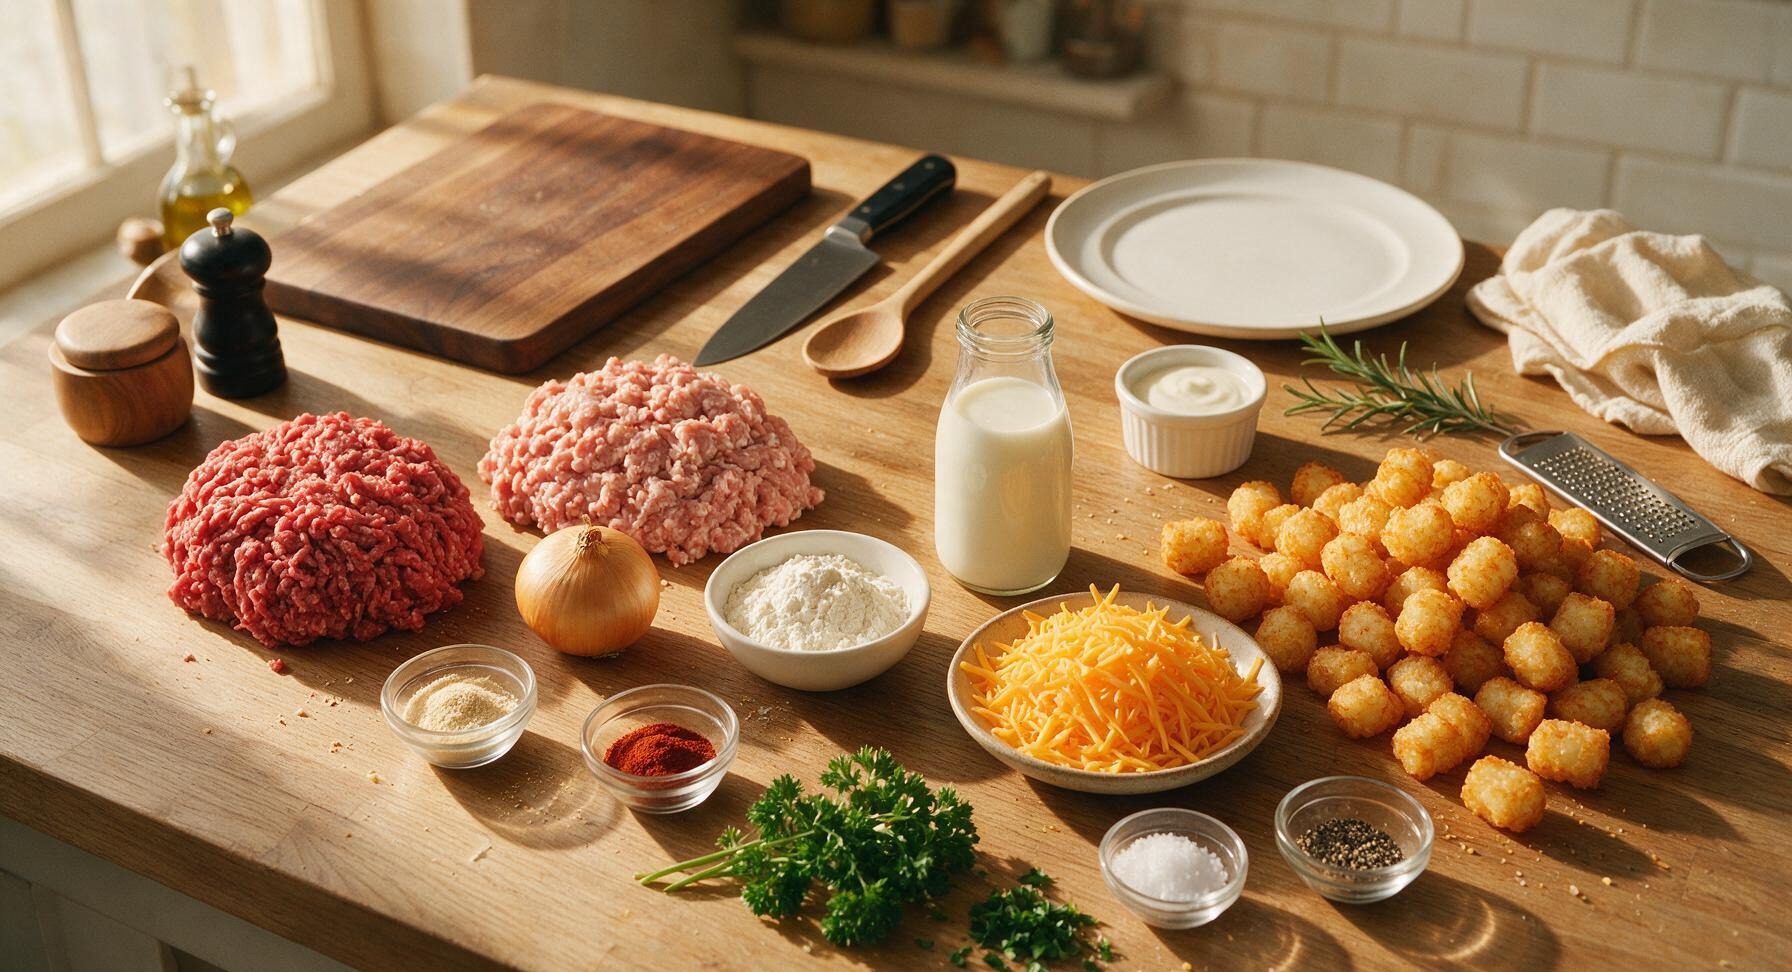
Preheat your oven to 375°F (190°C). Place the small yellow onion on the maple cutting board, use the chef knife to dice it into 1/4-inch pieces. Measure the all-purpose flour, garlic powder, smoked paprika, kosher salt, and black pepper into the stainless steel mixing bowl, stir briefly with the silicone spatula to combine, and set aside. Pull the 9x13 inch matte cream ceramic baking dish to the center of the counter; no greasing is needed, as the fatty meat and gravy will prevent sticking. Set the frozen tater tots near the dish to keep them accessible for later assembly.
Brown Meat and Onion
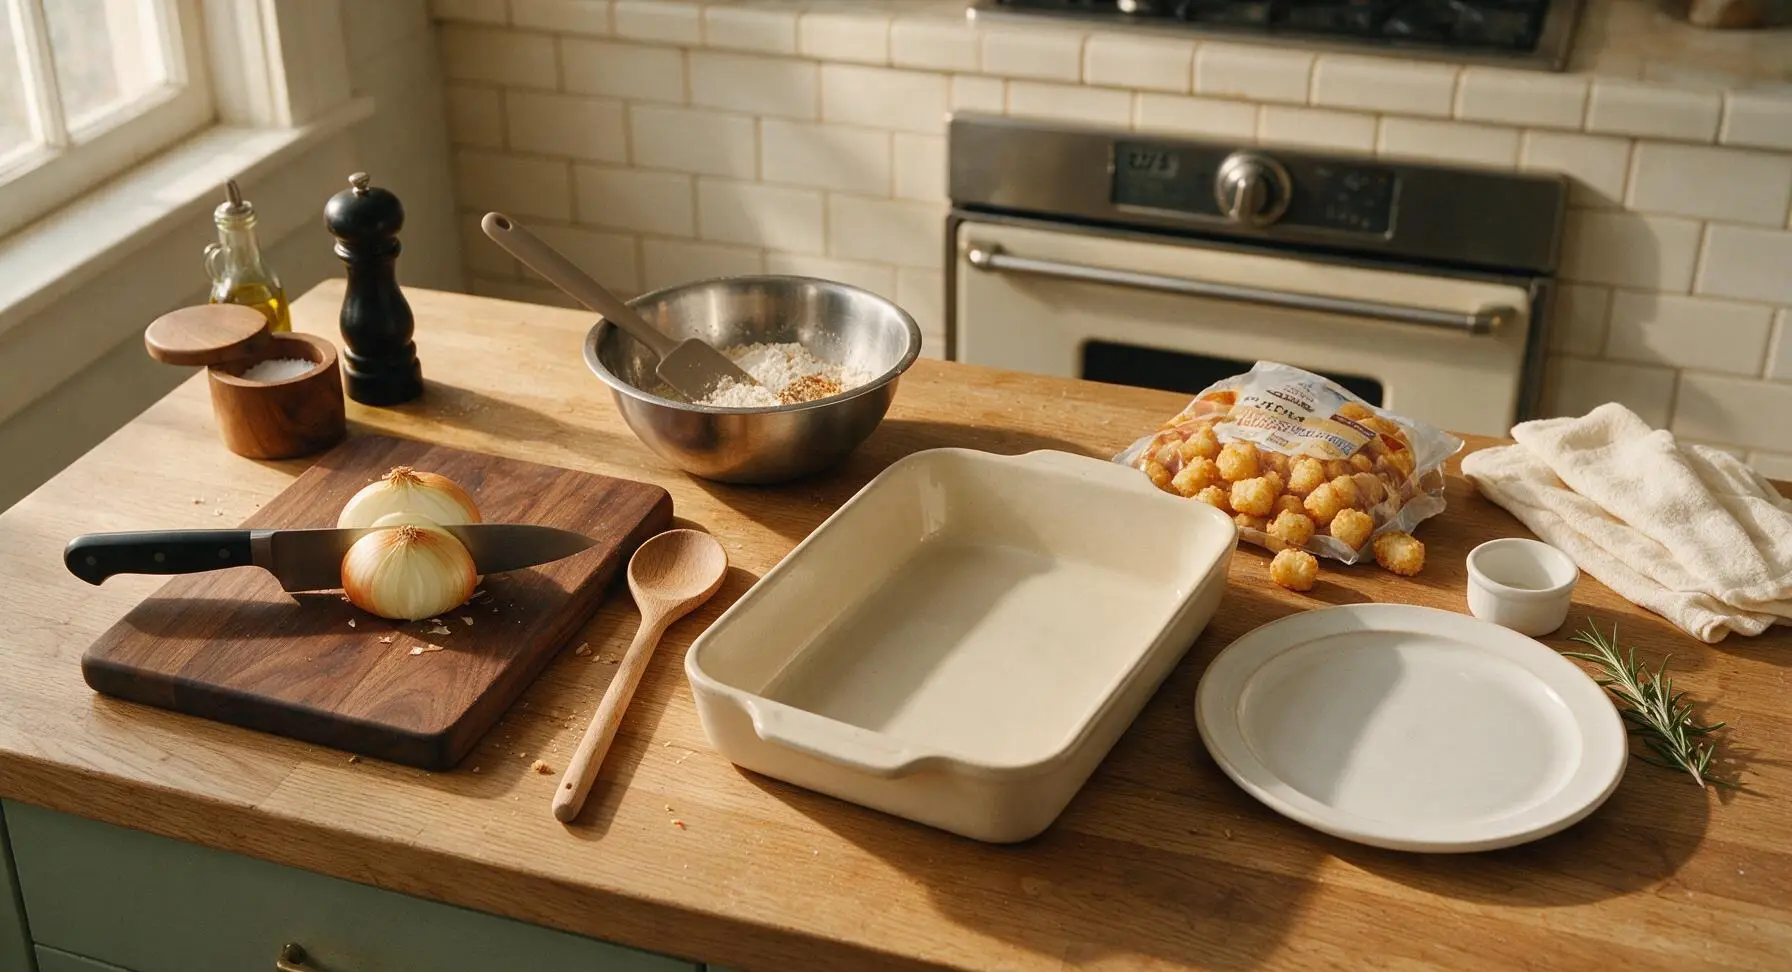
Place the 12-inch matte black cast iron skillet over medium heat. Add the ground beef, pork breakfast sausage, and the diced onion from the cutting board. Cook for 8-10 minutes, breaking the meat apart with the maple wood cooking spoon, until the meat is fully browned with no pink remaining and the onion is soft and translucent. Do not drain the fat—it will form the base of the pioneer gravy.
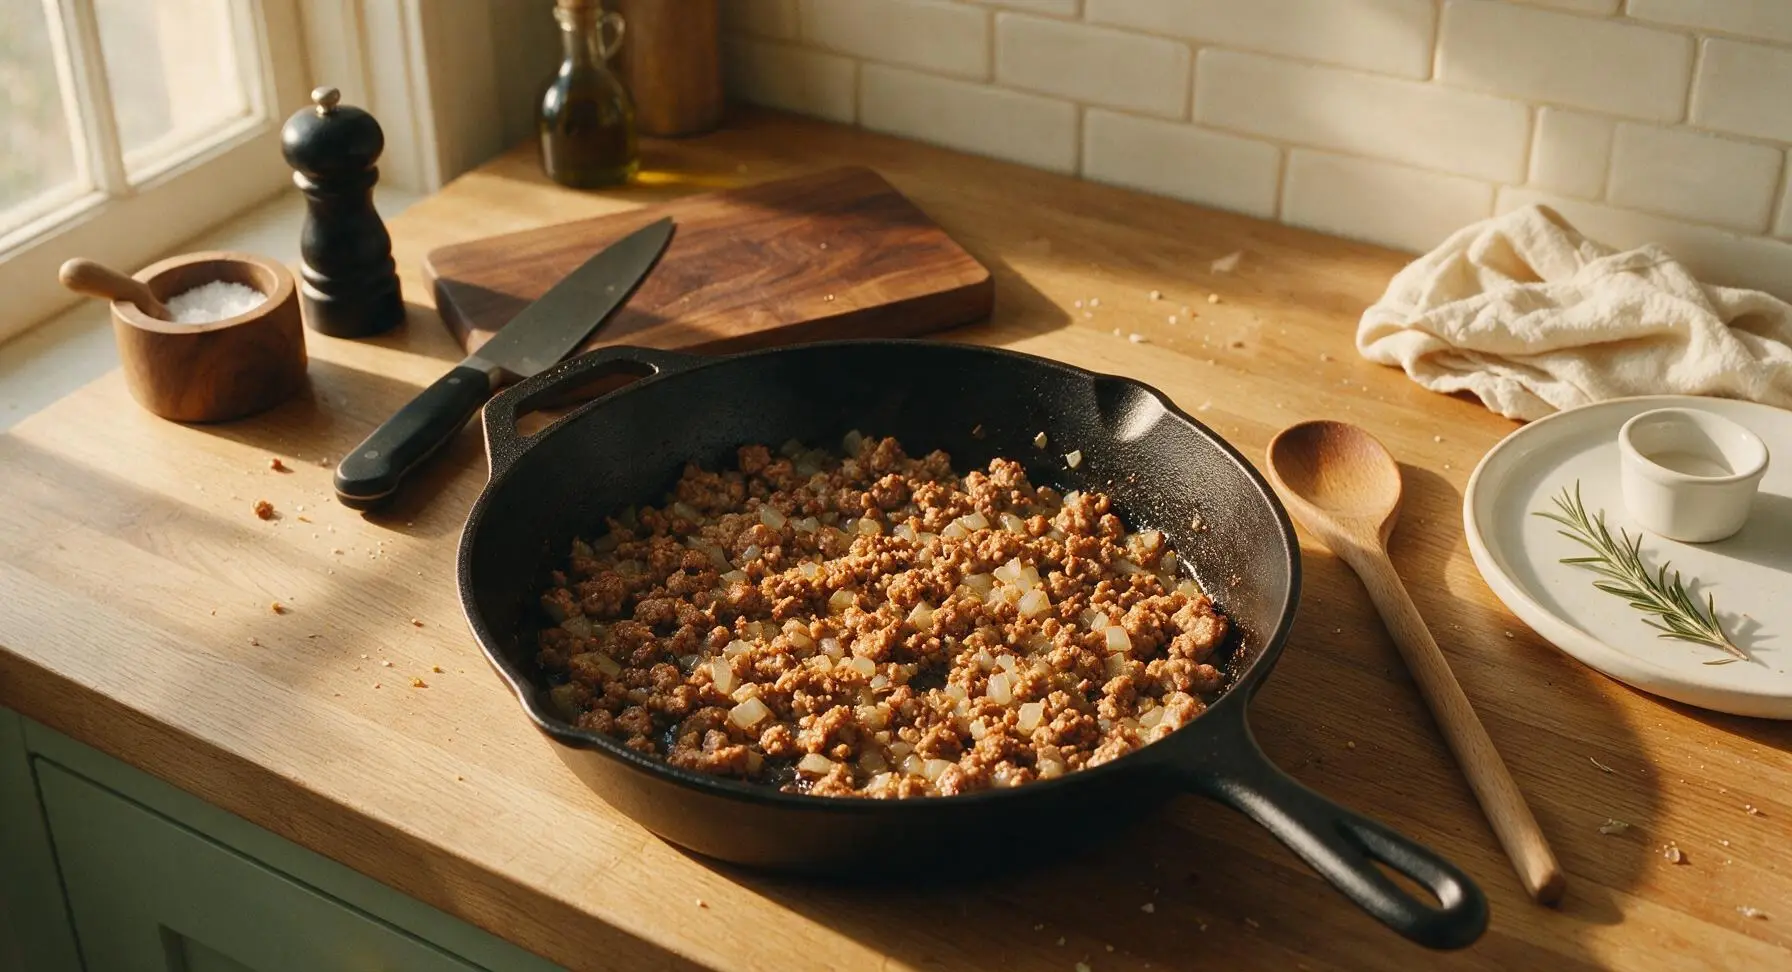
Make Creamy Gravy
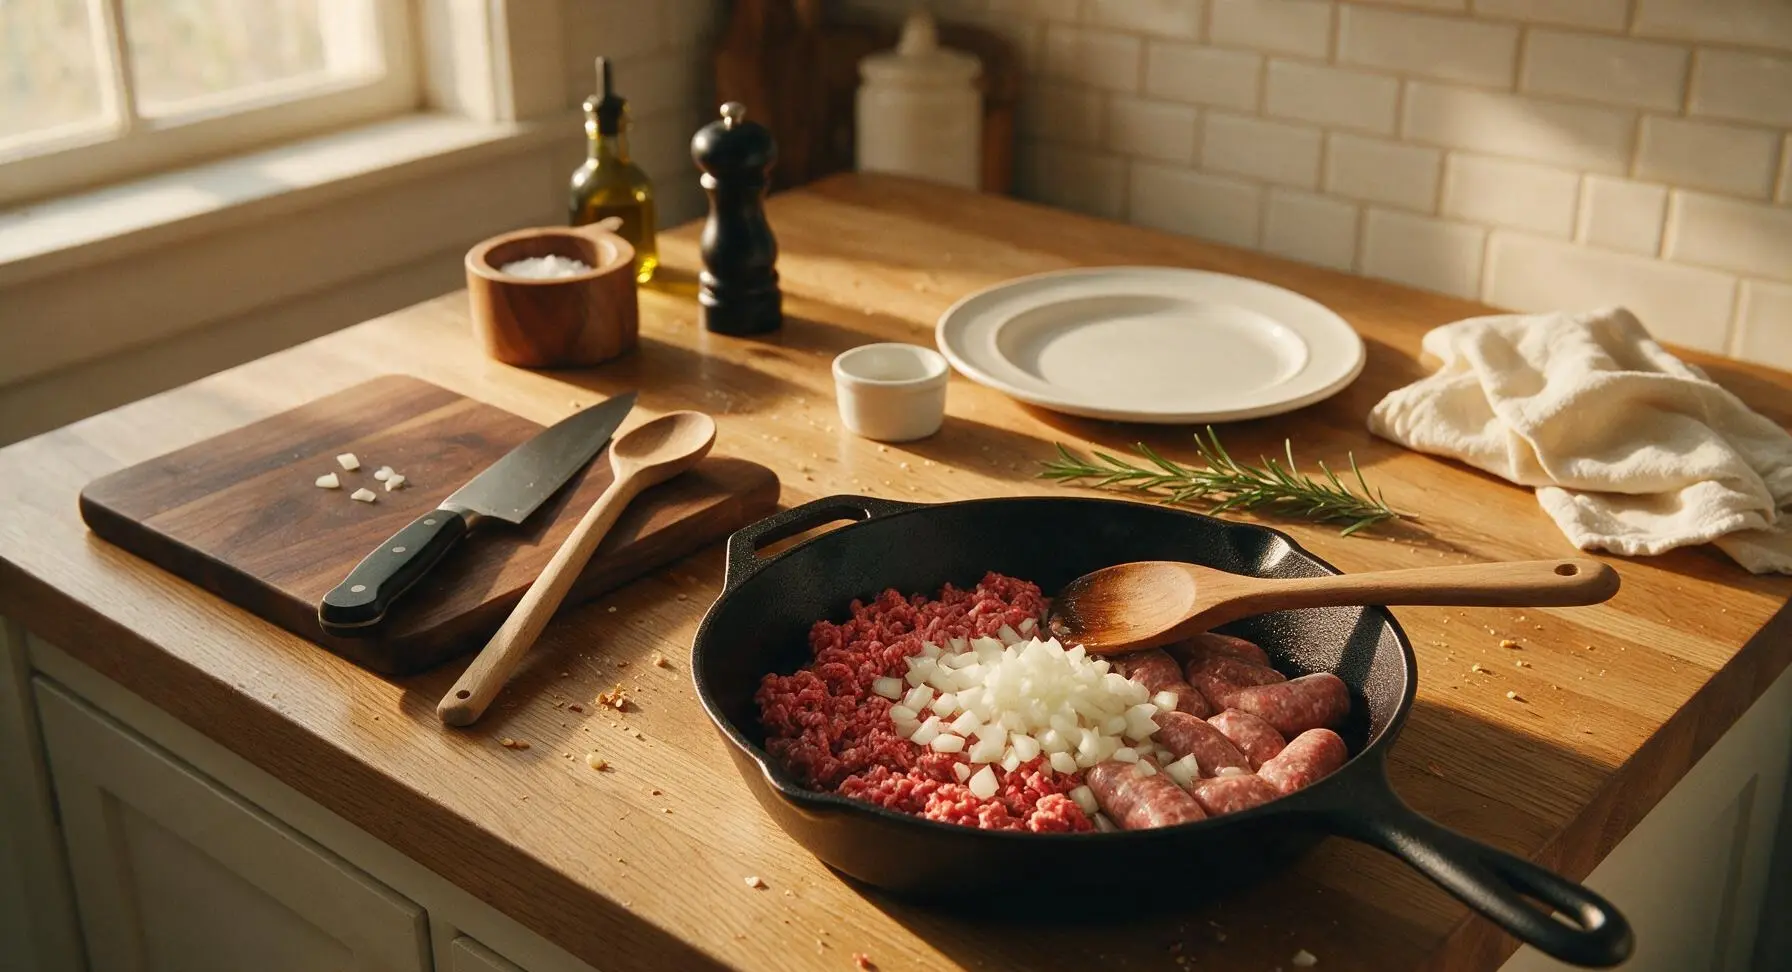
Sprinkle the pre-mixed flour and spice blend from the stainless steel mixing bowl evenly over the browned meat in the skillet. Stir constantly with the maple wood cooking spoon for 2 minutes, toasting the flour until it smells nutty and coats all the meat crumbles. Slowly pour in the whole milk, stirring constantly to avoid lumps. Bring the gravy to a gentle simmer, then cook for 3-4 minutes until it thickens enough to coat the back of a spoon, with no runny, watery texture remaining.
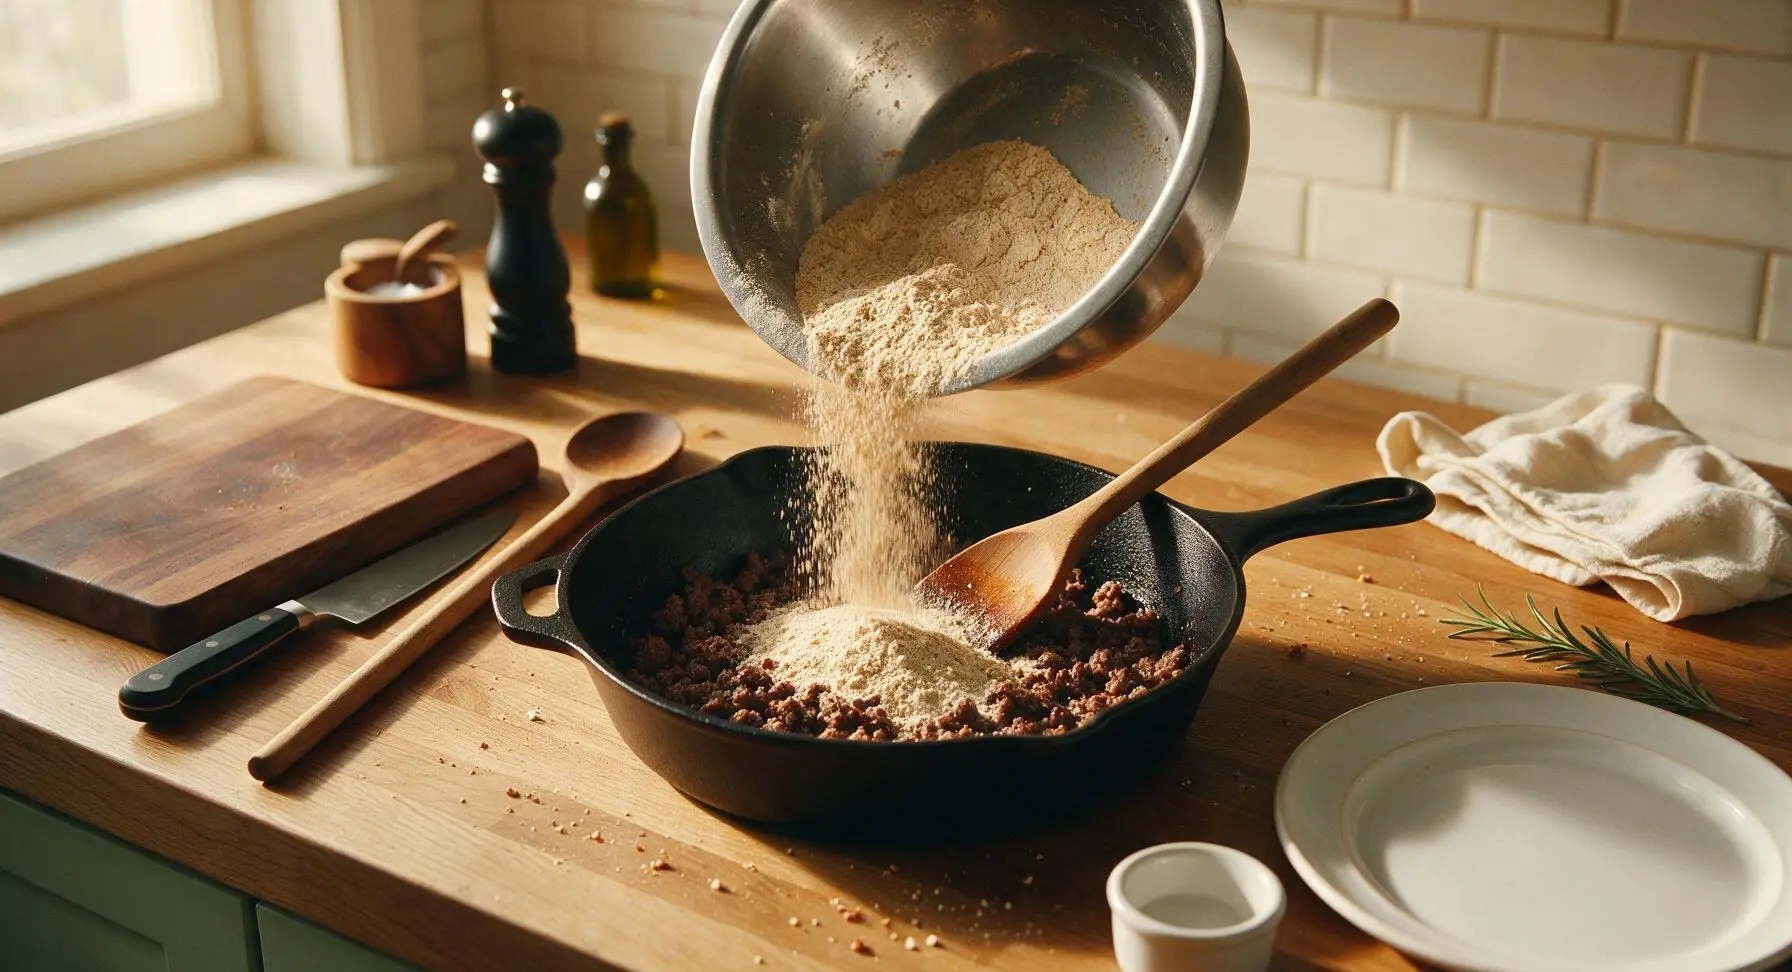
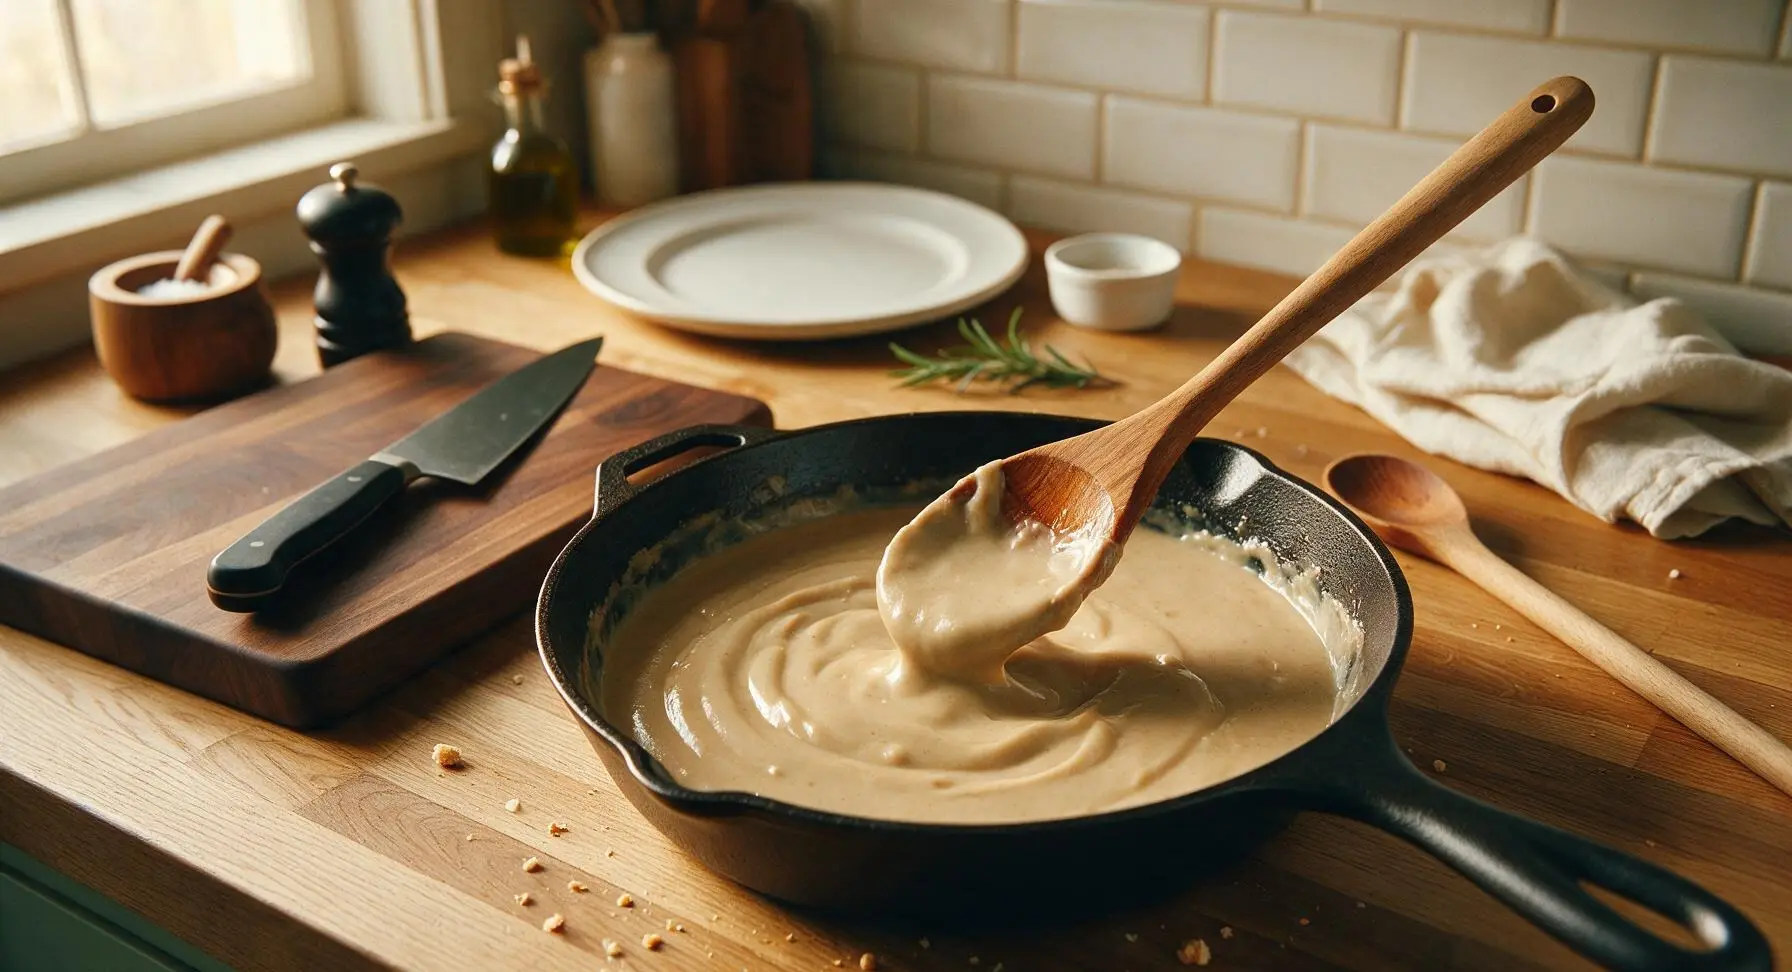
Layer Casserole Base
Pour the entire thick meat and gravy mixture from the cast iron skillet evenly into the waiting 9x13 inch ceramic baking dish, using the taupe silicone spatula to scrape every bit of gravy from the pan sides and bottom. Spread the mixture into a smooth, even layer across the bottom of the dish with the spatula.
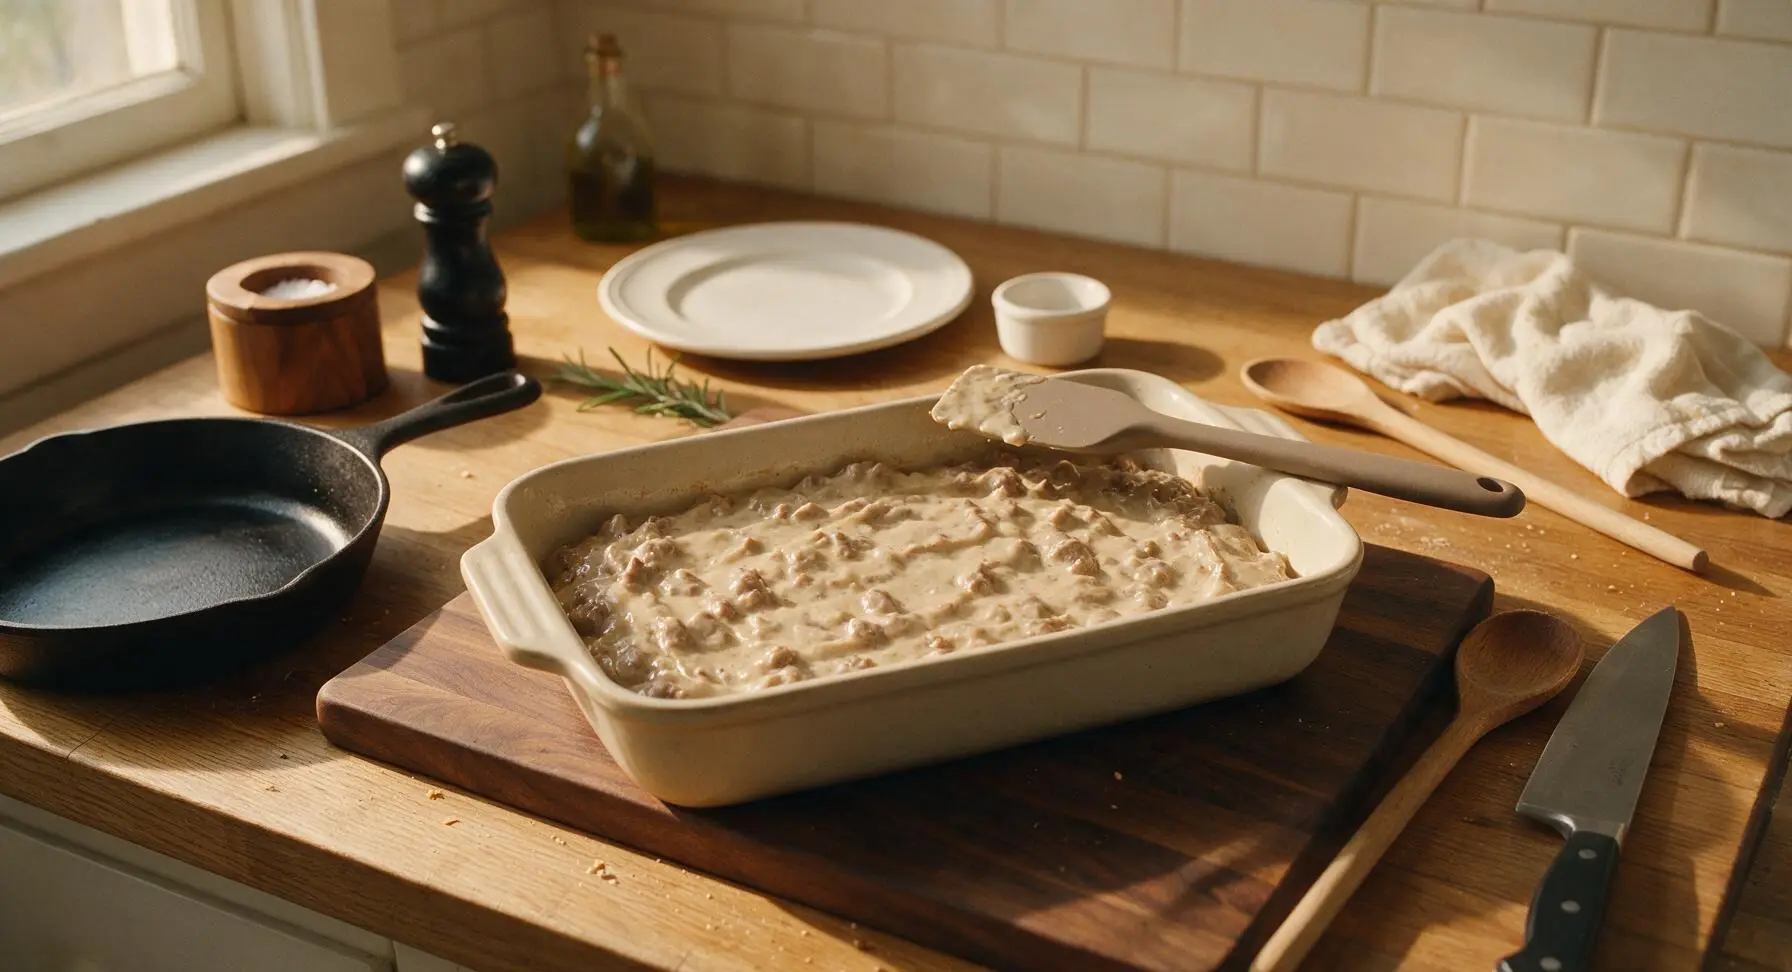
Add Cheese and Tots
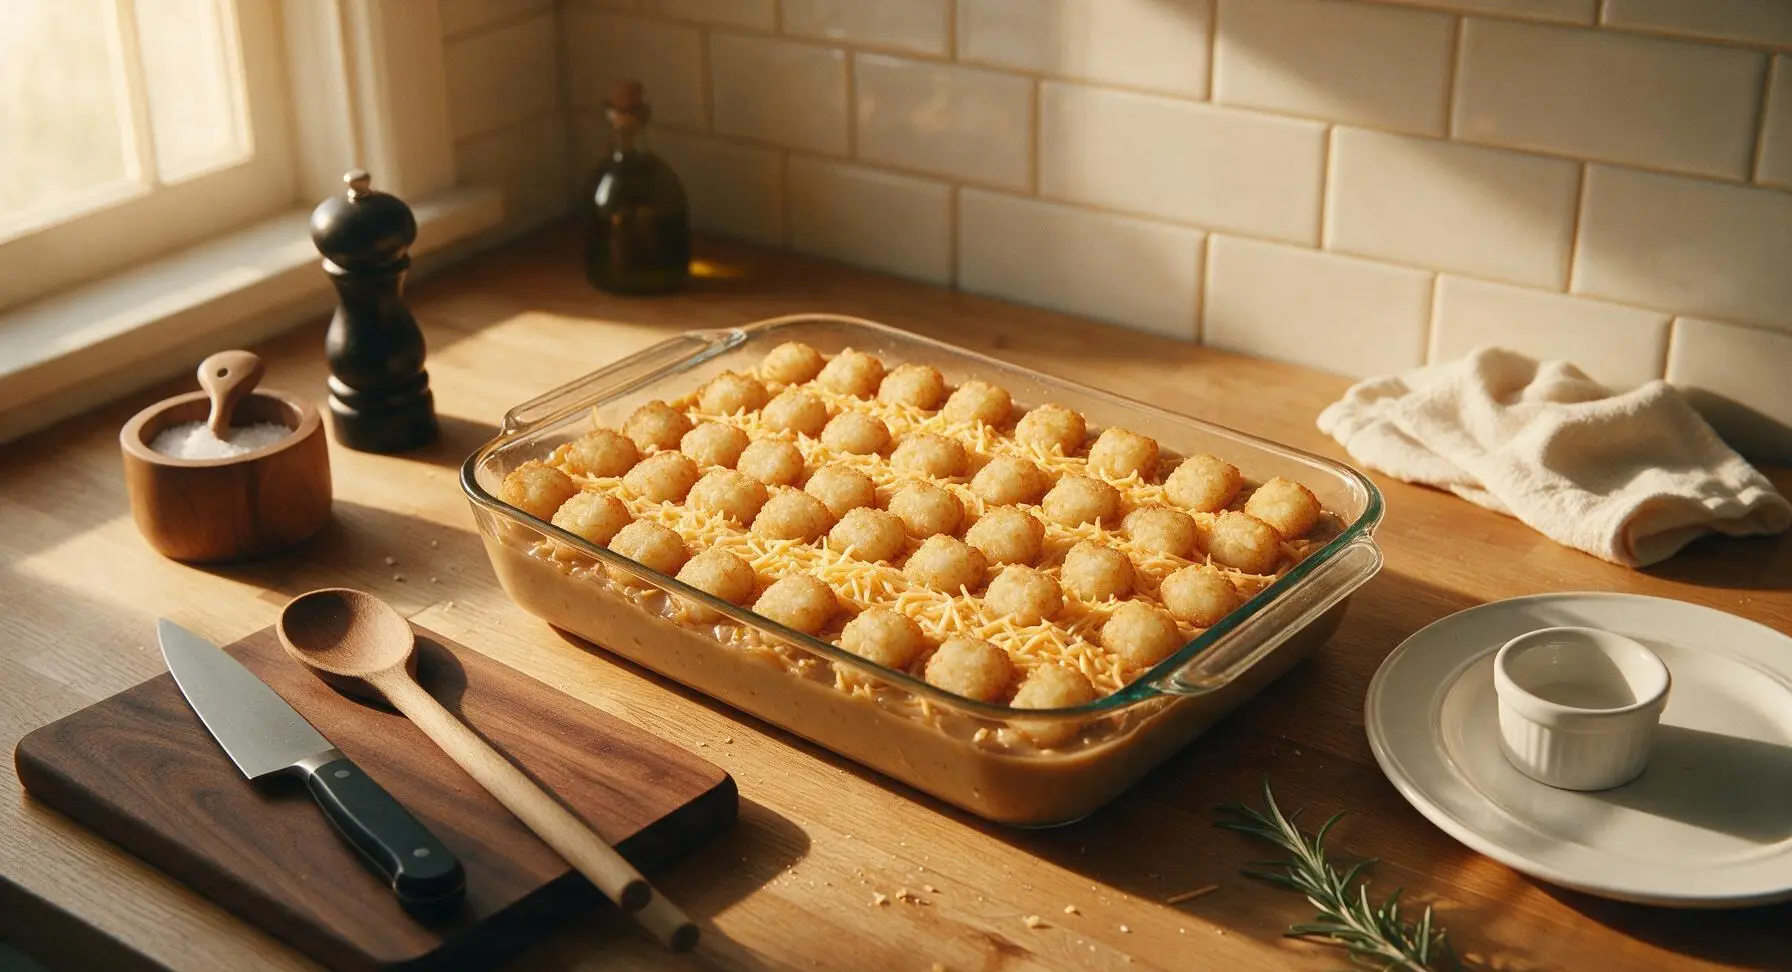
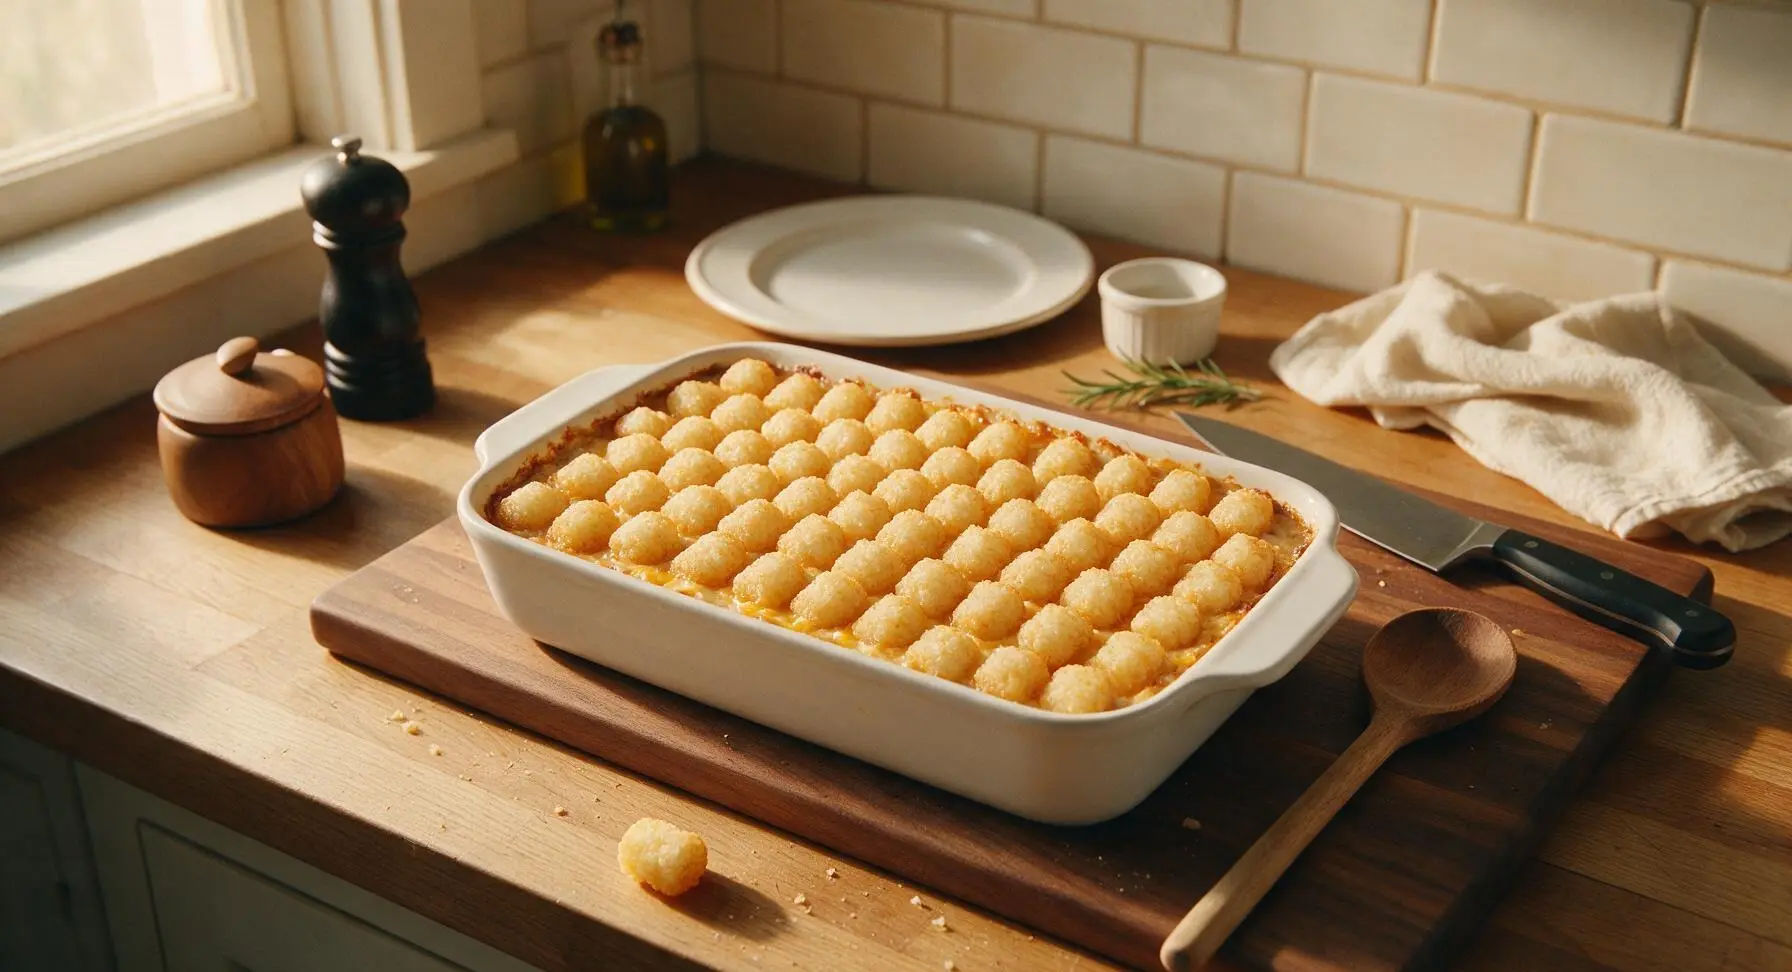
Sprinkle 1 1/2 cups of the shredded sharp cheddar cheese evenly over the top of the gravy layer, leaving the remaining 1/2 cup for the final bake. Arrange the frozen tater tots in tight, neat rows across the entire surface of the cheese, covering the casserole completely—do not leave gaps, as the tots will crisp as they bake and form a crunchy top layer.
Bake Until Crisp
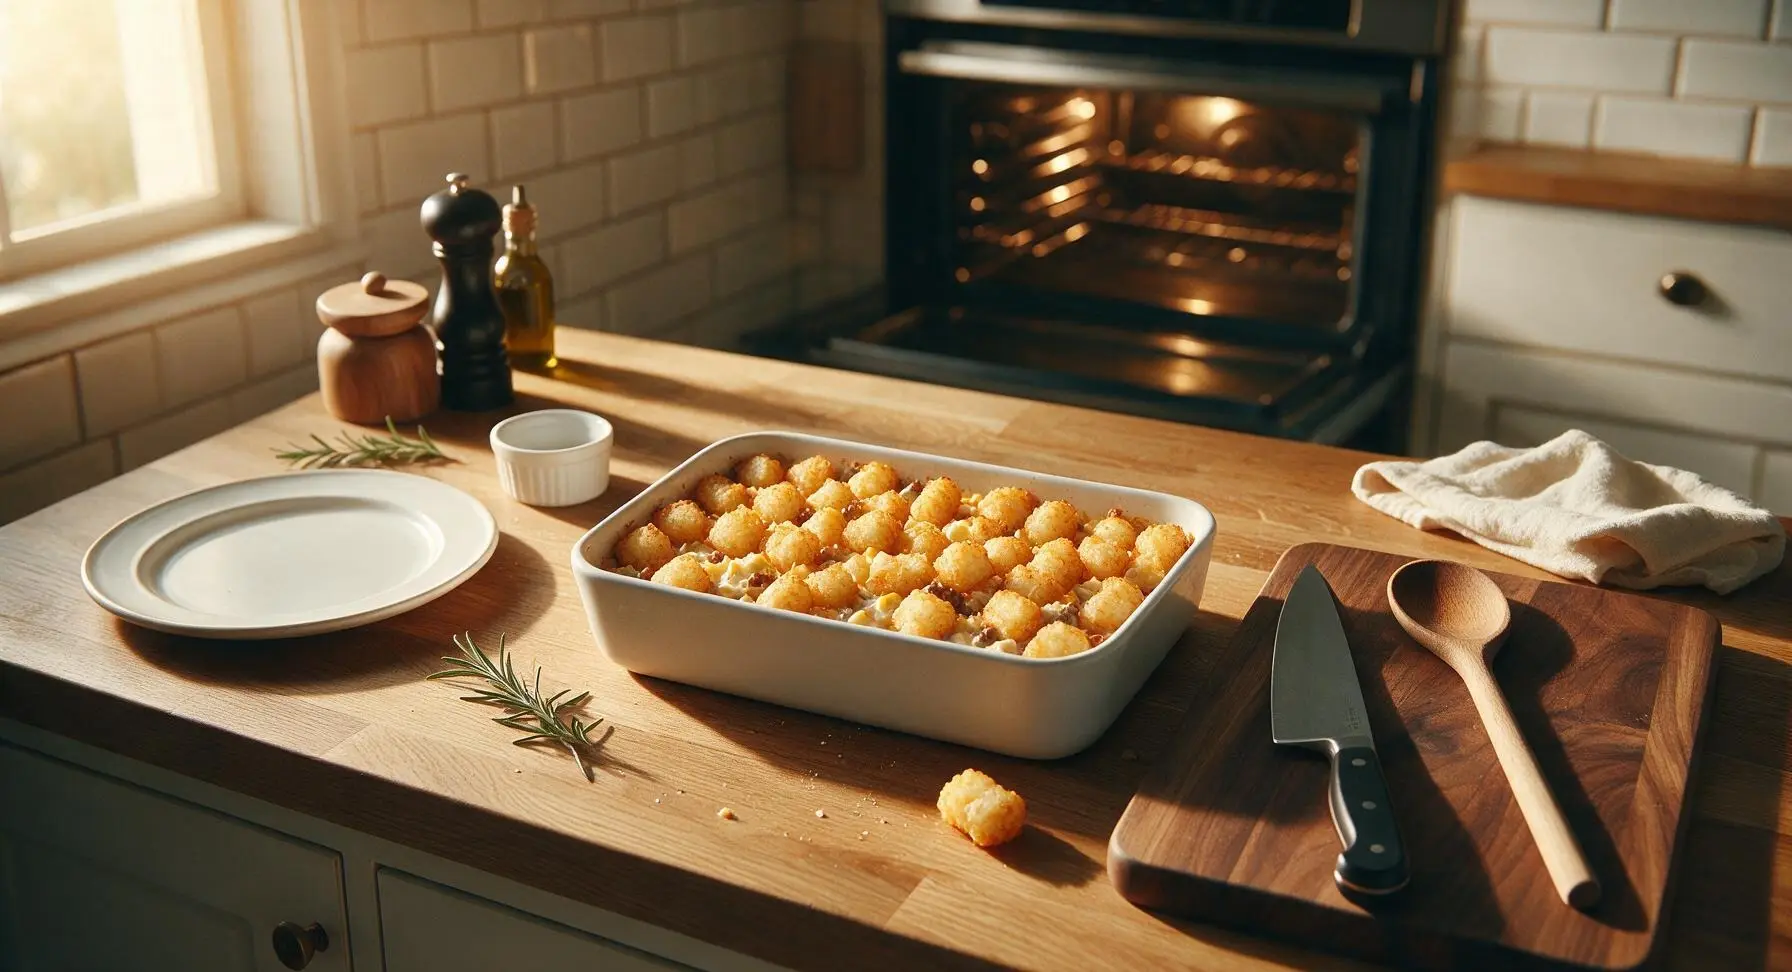
Carefully place the assembled baking dish into the preheated 375°F (190°C) oven. Bake uncovered for 35 minutes, until the gravy bubbles vigorously around the dish edges and tater tots are pale golden on top. Carefully pull the oven rack out slightly, sprinkle the remaining 1/2 cup shredded cheddar evenly over the tater tots, then push the rack back in and bake for 10 additional minutes. Total bake time is 45 minutes, until tater tots are deep golden and crispy, and cheese is fully melted and lightly browned in spots.
Rest and Garnish
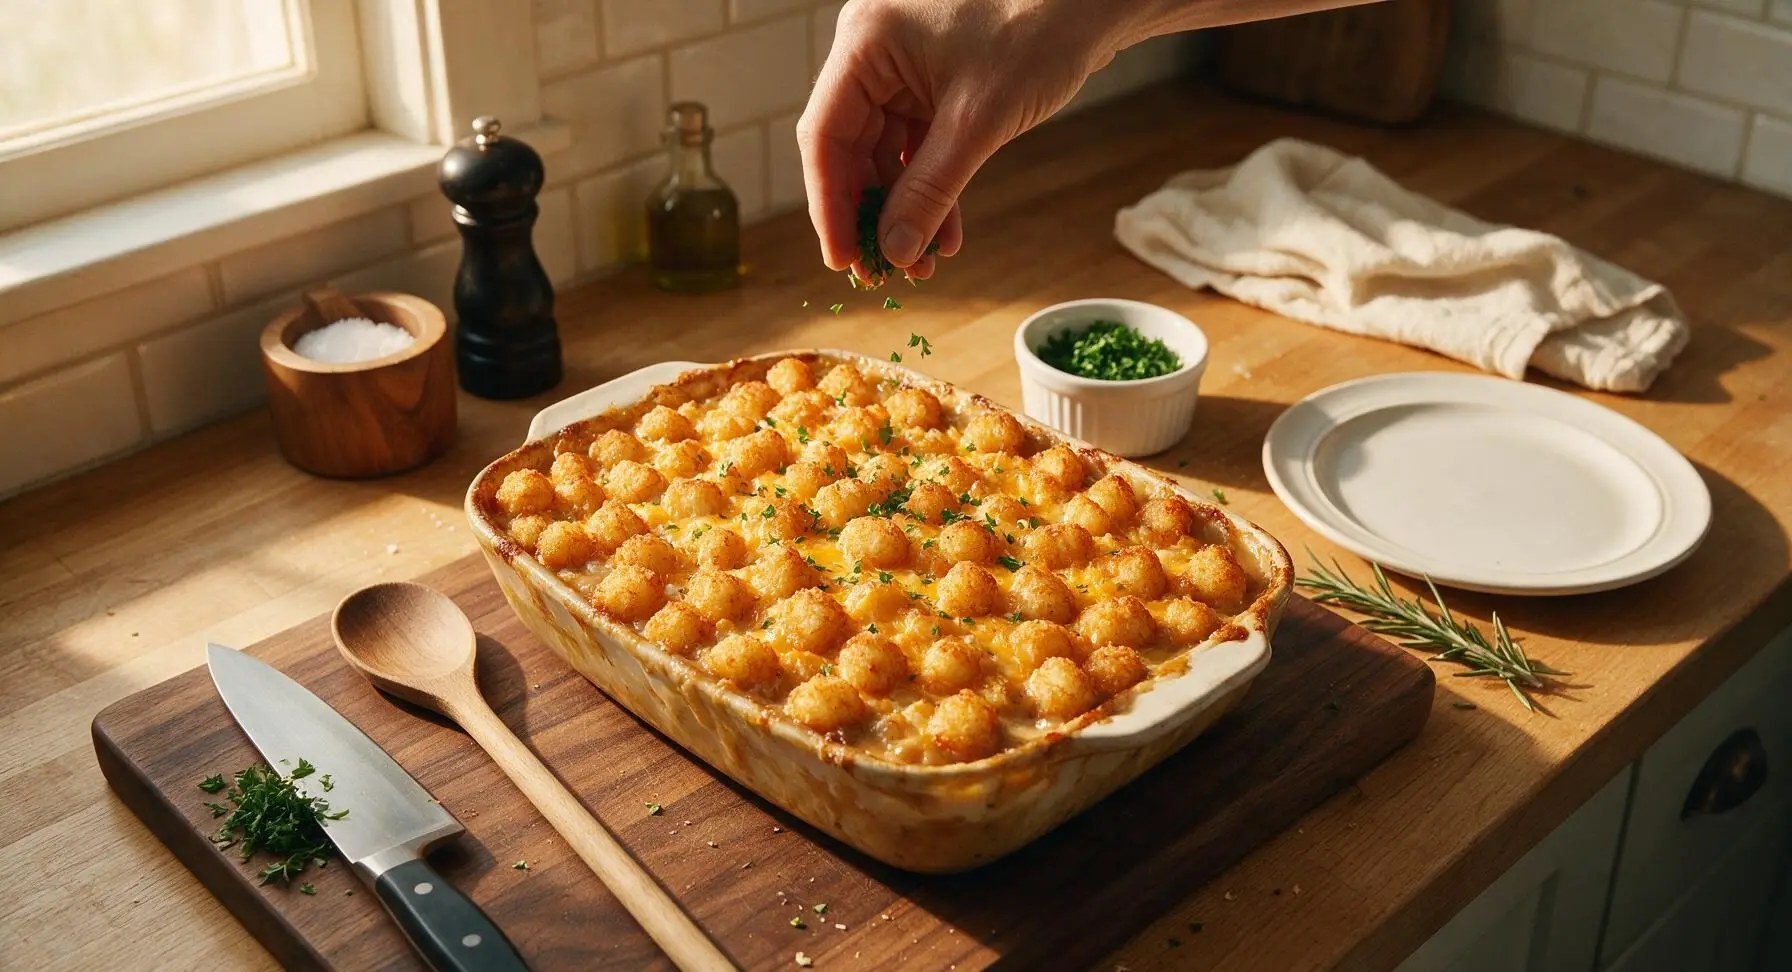
Once fully baked, carefully remove the casserole from the oven and set it back on the center counter to rest for 5 minutes—this allows the gravy to set so servings hold their shape when served. Chop the fresh parsley on the maple cutting board with the chef knife, then transfer it to the small stoneware ramekin from the top of the plate stack. Sprinkle the parsley evenly over the top of the crispy tater tots and melted cheese before serving.
Tips
2.Keep tater tots fully frozen until you arrange them on the casserole: partially thawed tots will absorb excess gravy and turn soggy instead of developing a crisp, golden outer crust as they bake.
3.Let the casserole rest the full 5 minutes after baking: the bubbling gravy will be thin and runny straight out of the oven, and the short rest allows it to thicken and set so servings hold their neat shape instead of spreading across the plate.






OMG y’all, this casserole was an absolute game changer for our weeknight family dinner! I threw it together after work in 10 minutes flat, popped it in the oven, and my two picky toddlers devoured seconds before I even sat down. The gravy is so rich and savory, no weird canned aftertaste at all. 10/10 will be adding this to our monthly rotation!
I brought this to our neighborhood block party potluck last weekend and people were lined up for seconds! I was worried it wouldn’t hold up for the 20 minute drive over, but it stayed perfectly creamy and the tater tots on top were still crispy. So many people asked me for the recipe, I sent them all straight here! Only note is I added a handful of shredded cheddar halfway through baking, total win.
Meal prep win! I made a big pan of this on Sunday, portioned it out into containers for the work week, and it reheats like an absolute dream. No soggy tots, no weird separated gravy, just pure comfort food every single lunch. I swapped the ground beef for ground turkey to lighten it up a little and you couldn’t even tell the difference. SO good.
Wait, this is exactly the gravy my grandma used to make for our casseroles when I was a kid! I’ve been trying to replicate that flavor for years and every other recipe fell flat. This one hit so close I teared up a little when I took the first bite. So simple, no fancy ingredients, just that hearty, peppery pioneer gravy taste I remember. Only thing I did different was use frozen mixed veggies instead of just corn, like grandma did.
Super easy to make, even for someone who burns toast half the time (read: me). I followed the directions exactly, no tweaks, and it came out perfect on the first try. My teen son had three helpings and said it’s better than the cafeteria version at his school, which is the highest possible compliment in our house. Only gripe is I wish I made a double batch, because there were zero leftovers.
I was a little skeptical at first because I feel like tater tot casseroles can be really bland, but that pioneer gravy base has the perfect amount of black pepper and savoriness. I added a can of diced green chiles and a sprinkle of taco seasoning to the meat layer for a little Southwest kick, and it went so hard. Will absolutely be making this again for game night with my roommates.
This recipe is so affordable! I already had most of the ingredients in my pantry and freezer, total cost for the whole pan was like $8, which fed me and my three roommates. It’s so nice to have easy, cheap comfort food recipes that don’t require a run to the fancy grocery store. Cook time was exactly 45 minutes like the recipe said, no guesswork, which I love.
Made this for my in-laws who are visiting from out of town, and even my super picky father-in-law who hates “newfangled recipes” went back for a second helping. He said it tasted like the casseroles his mom used to make back in the 50s, which is the best review I could’ve gotten. The only misstep I made was forgetting to let the gravy thicken a little before pouring it over, so it was a tiny bit runny at first, but it set up as it baked. No issues!
I swapped the all-purpose flour for a 1:1 gluten free flour blend to make this for my sister who has celiac, and it turned out absolutely perfect! No weird gritty texture, no off flavor, the gravy was just as smooth and tasty as the regular version. I was so worried it wouldn’t turn out, but this recipe is super forgiving for substitutions. 10/10, everyone at the table loved it, gluten free or not.
I made this in my cast iron Dutch oven on a recent camping trip, cooked it over the campfire coals for about 50 minutes, and it was the best camp meal we had all weekend. All my camping buddies were raving about it, said it beat the usual hot dogs and hamburgers by a mile. So versatile, works just as well over a fire as it does in your home oven. Who knew?