
Pizza al Taglio
intro
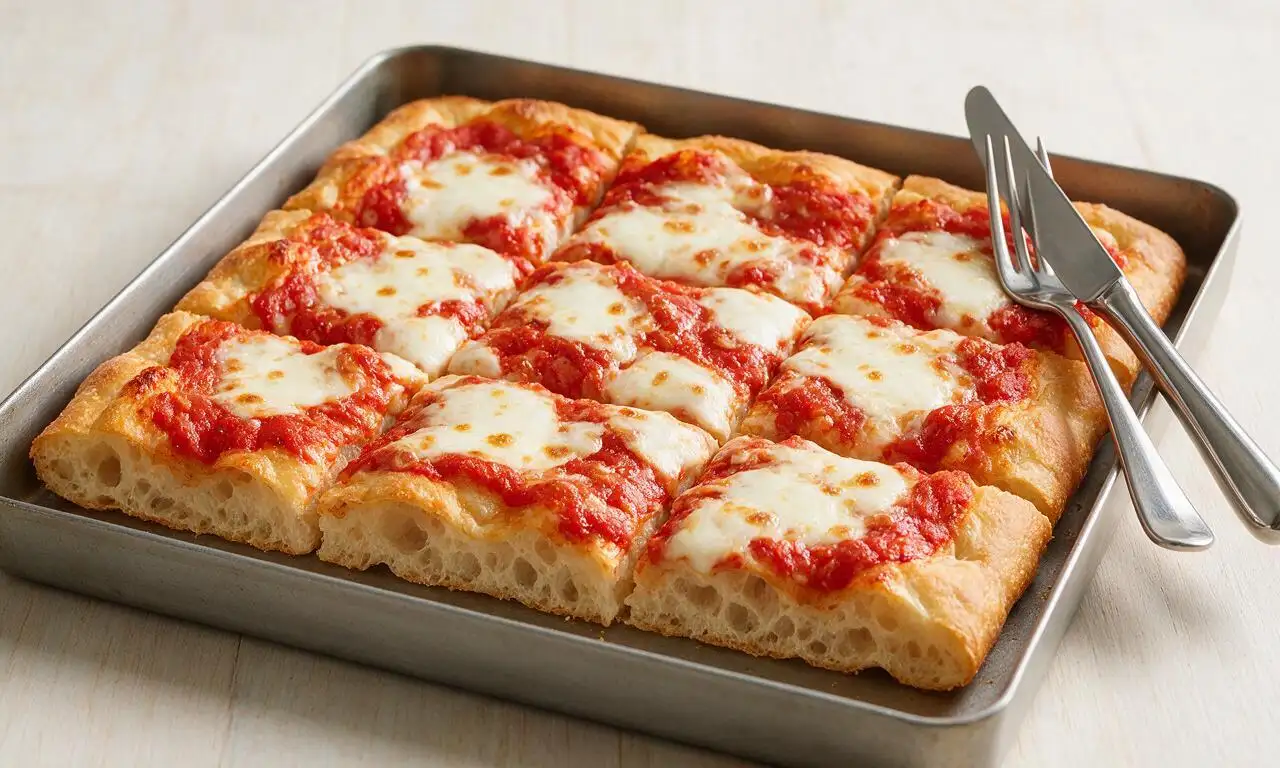
Crispy, airy Roman-style square sheet pan pizza with a light open crumb, bright tomato sauce, and melted mozzarella, cut into easy-to-share rectangular slices.
Ingredients
Steps
Mix the pizza dough
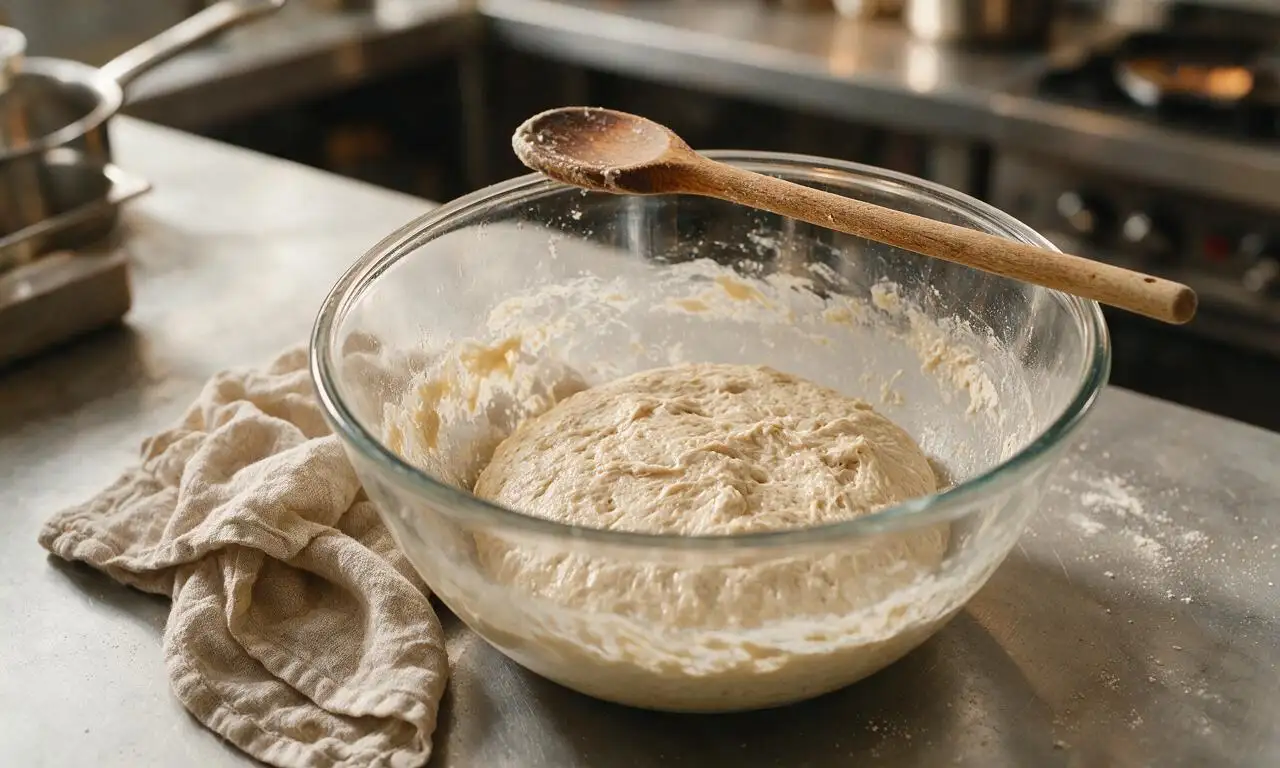
In a large mixing bowl, combine 500g 00 pizza flour, 3g instant dry yeast, and 375ml lukewarm water (32C/90F) with a wooden spoon until a shaggy, sticky mass forms with no dry flour pockets. Let rest 20 minutes covered with a damp tea towel, then add 10g fine sea salt and 15ml (1 tbsp) extra-virgin olive oil, knead by hand for 5 minutes on a lightly oiled counter until smooth and elastic.
First dough proof
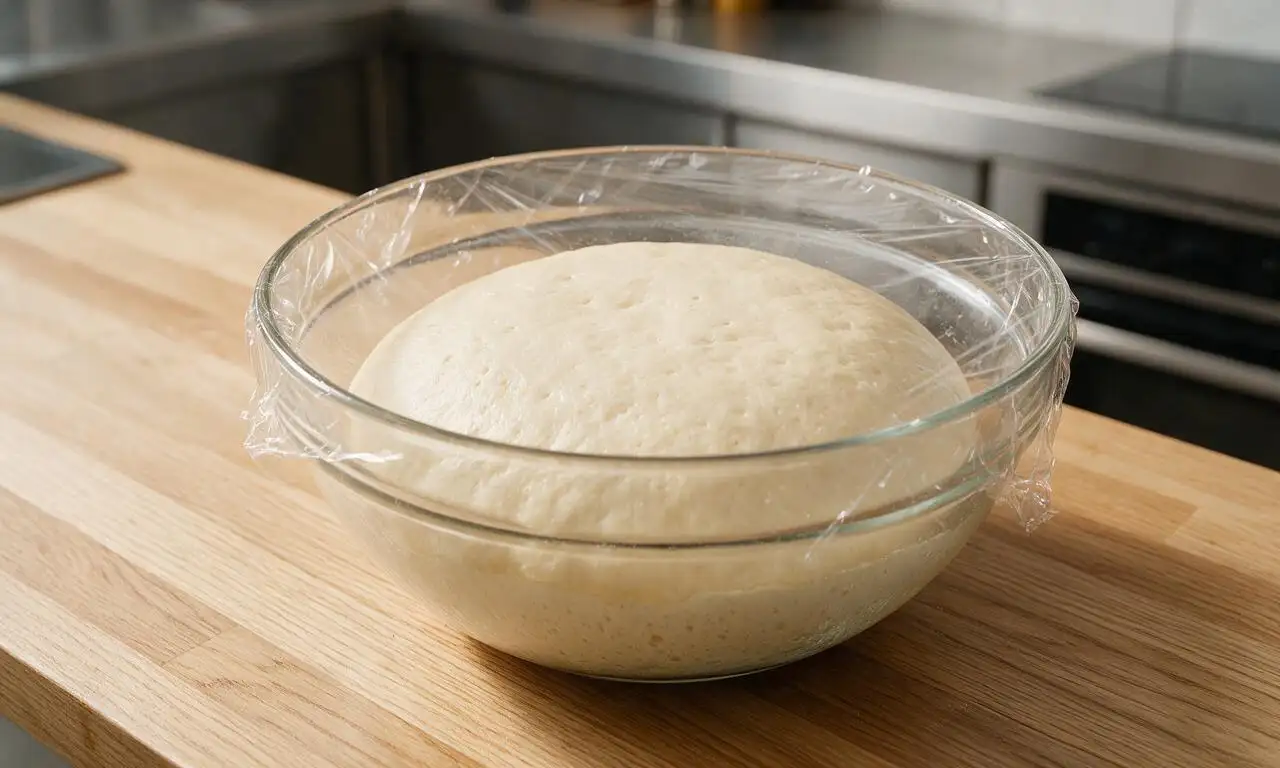
Coat the inside of the same mixing bowl with 5ml (1 tsp) extra-virgin olive oil, return the kneaded dough to the bowl, cover tightly with plastic wrap, and let rise in a warm, draft-free spot (24C/75F) for 1.5 hours until doubled in volume. Gently degas the dough by folding the four edges in toward the center halfway through the rise at the 45-minute mark.
Stretch dough in pan
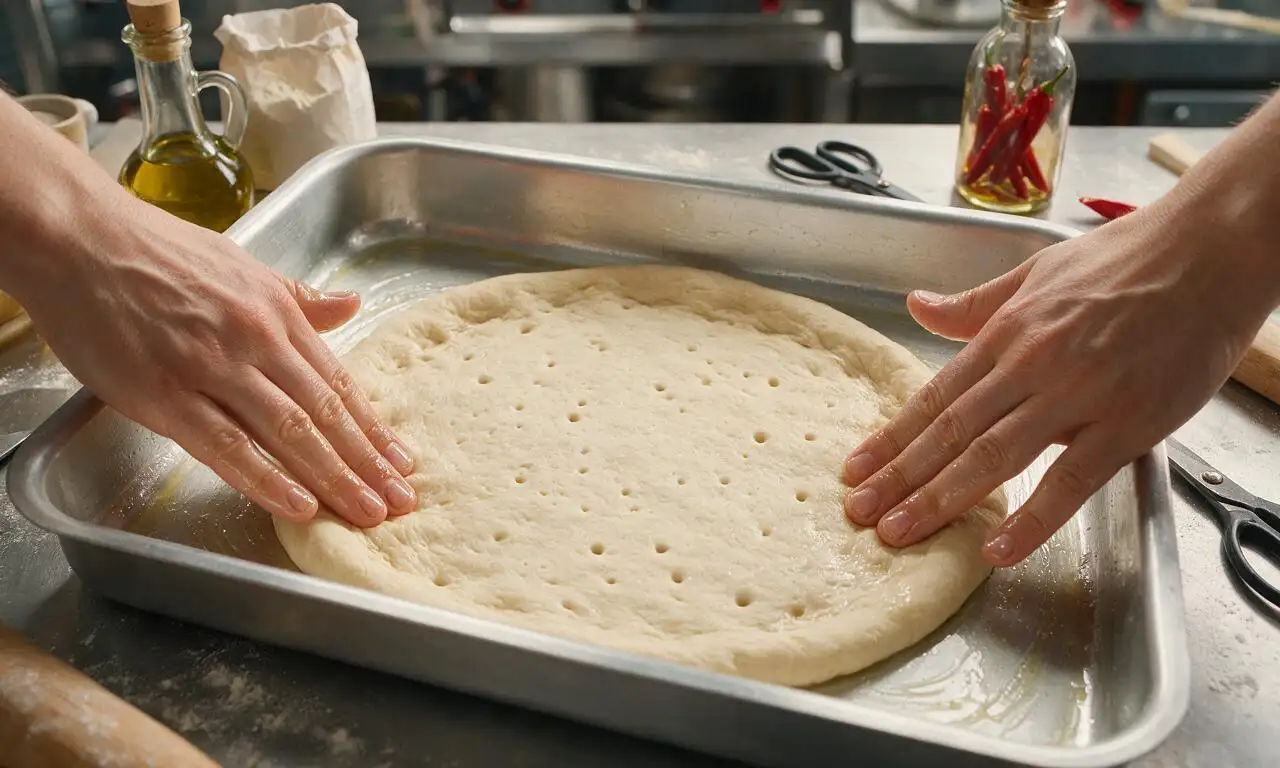
Grease a 33x45cm (13x18 inch) rimmed sheet pan with the remaining 10ml (2 tsp) extra-virgin olive oil, making sure to coat the entire bottom and raised sides fully. Transfer the proofed dough to the center of the pan, gently press and stretch it with oiled fingertips to reach all edges of the pan, taking care not to tear the delicate dough. If the dough springs back tightly when stretched, let it rest 5 minutes then resume stretching until it covers the pan surface evenly.
Layer pizza toppings
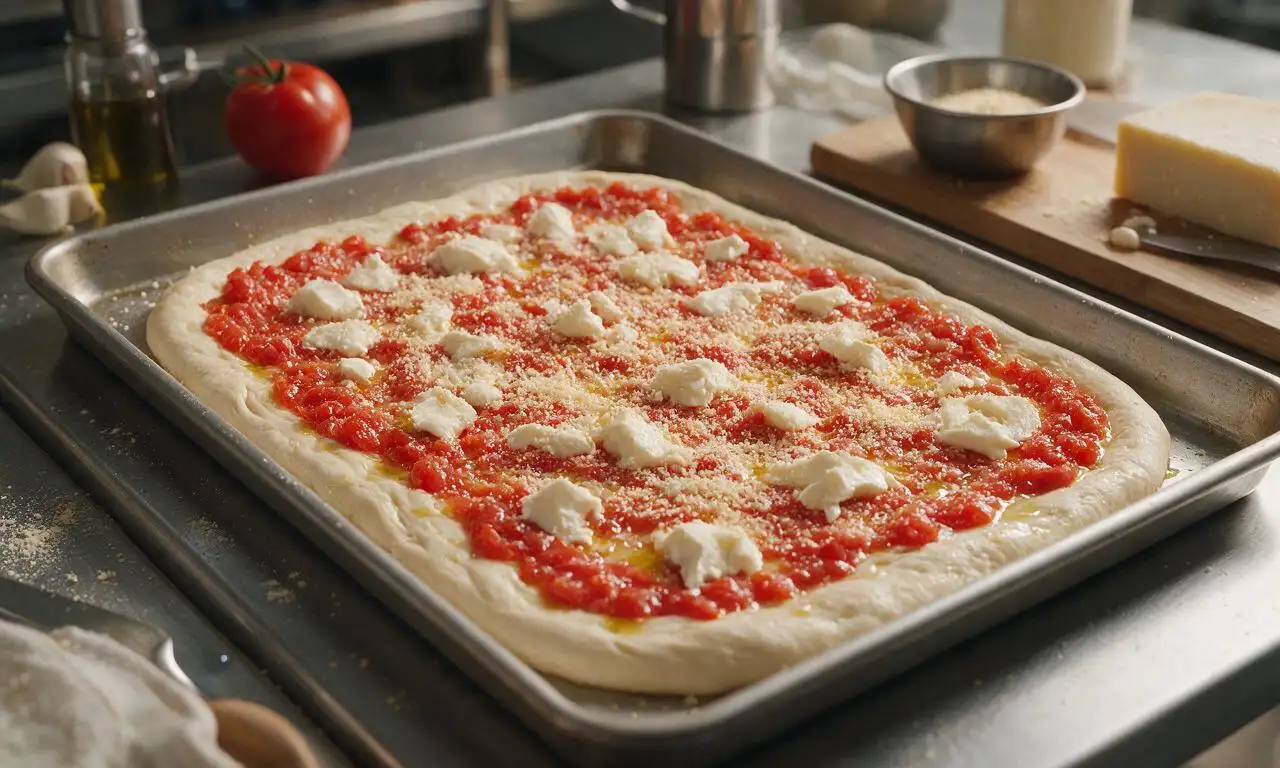
Spoon the 400g drained crushed San Marzano tomatoes evenly over the stretched dough, leaving a 1cm (0.5 inch) bare border for the crust edge, and spread in a thin, even layer with the back of a spoon. Scatter the 250g patted-dry cubed low-moisture mozzarella evenly over the sauce, then sprinkle the 30g grated Parmigiano-Reggiano across the top. Drizzle the remaining 5ml (1 tsp) extra-virgin olive oil over the toppings.
Bake until crispy
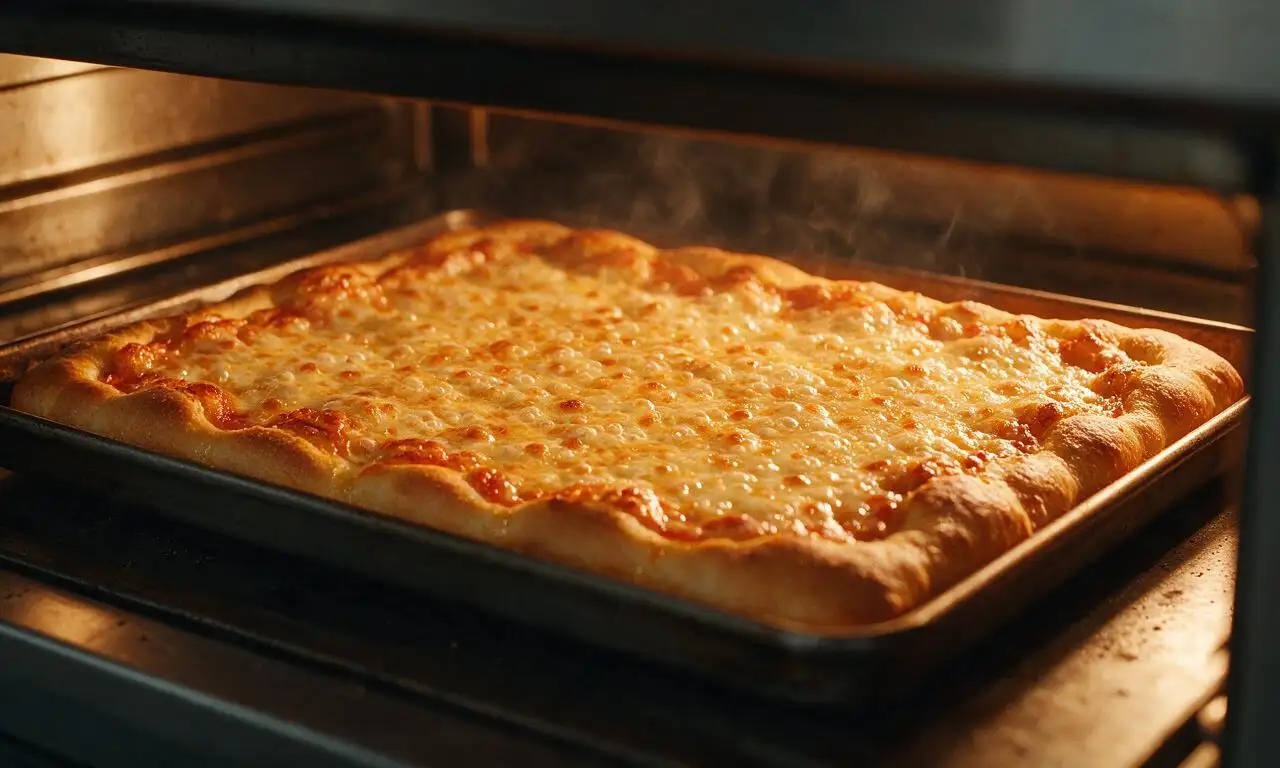
Place the sheet pan on the middle rack of a preheated oven set to 250C (480F), and bake for 14-16 minutes, until the crust edges are deep golden and crispy, the cheese is fully melted and bubbly with small light brown spots, and the bottom of the crust lifts cleanly from the pan with a thin metal spatula. Rotate the pan 180 degrees halfway through baking at the 7-minute mark to ensure even browning on all sides.
Garnish and slice
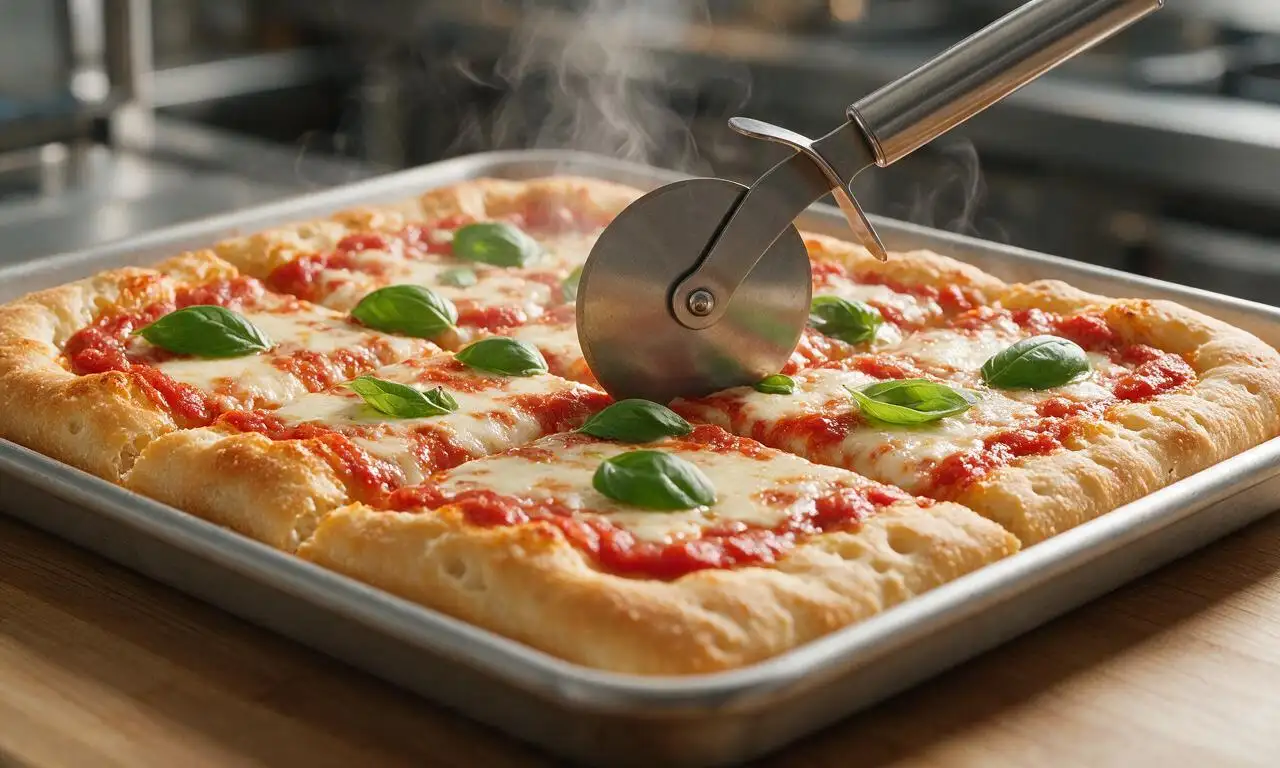
Remove the baked pizza from the oven, immediately scatter the 8g packed fresh basil leaves across the hot cheese surface, and let it rest in the pan for 5 minutes to allow the cheese to set. Use a sharp pizza wheel to slice the pizza into 8 rectangular 10x15cm (4x6 inch) slices, the traditional al taglio cut, and serve warm.
Tips
2.For a deeper, nuttier crust flavor and even airier crumb, you can replace the 1.5-hour room temperature rise with a 24-hour cold ferment in the refrigerator, covered tightly, before stretching and baking.
3.Resist the urge to overload the pizza with thick layers of sauce or extra cheese; Pizza al Taglio is defined by its light, crisp, open crumb, and heavy toppings will weigh down the dough and prevent it from rising properly in the oven.






OMG this crust is PERFECT. I’ve been chasing that light, crispy Roman square pizza texture ever since I had it on a trip to Rome a couple years ago and this recipe nails it. Made it for Sunday family dinner and everyone went back for seconds, even my super picky teen! The 2.5 hour total time was totally worth it, no weird fancy ingredients needed. 10/10
Game changer for weeknight meal prep! I prepped the dough yesterday after work, let it cold rise in the fridge overnight, then baked it tonight when I got home. Topped half with classic margherita and half with pepperoni for the kids, they devoured it. Way easier than I thought it would be for a medium difficulty recipe!
SO good. I brought a whole sheet pan of this on our group day hike last weekend and it held up perfectly even after a couple hours in the cooler. The crust didn’t get soggy even with the tomato and fresh mozz toppings, which is always my biggest issue with sheet pan pizza. Will be making this monthly for sure.
Wait, did I do something wrong? My dough came out a little stickier than the photos show when I was trying to stretch it onto the pan. It still tasted amazing, but I had a hard time getting it to spread evenly to the corners. Any tips for next time?
Made this for my at-home date night with my partner last night and we both agreed it’s better than the fancy pizza place downtown that charges $25 a pie. We did a prosciutto and arugula topping after it came out of the oven, just like we had in Rome, and it was chef’s kiss. Crunchy edge, soft airy middle, zero complaints.
I made the regular version of this last month and it was a total hit with my whole friend group! Has anyone tested this with a 1:1 gluten free flour blend? My sister has celiac and I’m hosting family pizza night this Friday, would love to make an option she can eat too if it works!
Made a double batch of this for my tailgate last weekend and people were asking for the recipe before halftime. The square slices are so easy to grab and eat standing up, no flimsy foldable slices that drip all over your jersey. 10/10, will be my go-to tailgate food from now on.
I swapped a third of the all purpose flour for sourdough discard that I had sitting in my fridge and it added such a nice tangy depth to the crust! Didn’t change the rise time at all, came out perfectly crispy. Would recommend that swap to anyone who has extra discard lying around.
Wait, the total time says 2 hours 30 minutes — is that including the rise time for the dough? I’m a super new cook and I don’t want to mess up the timing for my dinner party tomorrow night. Thanks in advance!
I loaded mine up with roasted veggies — zucchini, bell pepper, caramelized onions, and a sprinkle of feta — and it was SO good. The crust is sturdy enough to hold all the toppings without getting soggy, which is usually my problem with veggie pizzas. This is going into my regular meal prep rotation for weekday lunches!
Made this after my son’s little league game last week for the team, and the kids went crazy for it. I cut the squares into smaller kid-sized slices and they ate three whole sheet pans worth. Even the other parents were asking for the recipe, total home run.
Do I need a special steel pan to make this? I only have a regular aluminum half sheet pan at home, will that work okay, or should I run out and grab a heavier pan before I make this this weekend?
Pro tip from my test run: add a little sprinkle of pecorino Romano right when the pizza comes out of the oven, it adds that extra salty, umami kick that makes it taste exactly like the pizza al taglio I got from the street vendors in Rome. Life changing.
Brought this to my office potluck yesterday and it was the first dish gone. Everyone was raving about how crispy the crust was, and people kept saying it tasted like it came from a fancy pizzeria. I didn’t even tell anyone it was homemade until half the pan was gone, lol. Will definitely be making this for every potluck from now on.
Love that this recipe uses super basic pantry staples! I didn’t have to make a special trip to the fancy grocery store for any weird ingredients — just flour, yeast, salt, canned tomatoes, mozzarella, olive oil. Tastes like a million bucks but cost me like $8 total to make a whole sheet pan. Can’t beat that.
I drizzled a little hot honey over my slices after baking and it was *chef’s kiss*. The sweet heat pairs so perfectly with the salty cheese and crispy crust, I’ll never eat plain pizza again. 10/10 recipe, super easy to customize to whatever toppings you love.
Ugh, I accidentally let my first dough rise go 30 minutes longer than the recipe said because I got caught up on a work call, did I ruin it? It looked super puffy when I finally remembered it, I was worried it would be flat after baking.
I had pizza al taglio every single day when I studied abroad in Rome 10 years ago, and I’ve tried so many copycat recipes since then that never got it right. This one? It’s dead on. The crust texture, the simple tomato sauce, everything. I almost cried when I took my first bite, it tasted exactly like my semester abroad.
I was worried this would be too hard for a medium difficulty recipe since I’m not super experienced with bread making, but the step-by-step instructions were so easy to follow. My pizza came out looking just like the photos! Crispy bottom, puffy edges, perfect sauce to cheese ratio. I feel like a professional pizza chef now, lol.